How to Paint a Rushing Stream in Acrylic
Painting a rushing stream in acrylic is like capturing a moment of nature's wild dance. The vibrant colors and dynamic movement can bring your canvas to life, making it a thrilling adventure for both the artist and the viewer. Whether you're a seasoned painter or just starting, this guide will help you navigate the flowing waters of acrylic painting. Get ready to dive into the world of color, texture, and creativity as we explore the techniques and materials needed to create a stunning representation of a rushing stream.
When it comes to painting a rushing stream, the materials you choose can significantly impact your artwork. Think of your paints, brushes, and canvas as the tools of a craftsman. Each element plays a vital role in the final masterpiece. Here’s a quick overview of what you need:
| Material | Description |
|---|---|
| Acrylic Paints | Opt for high-quality acrylics that offer vibrant colors and good coverage. Look for blues, greens, and whites to mimic the water. |
| Brushes | Use a variety of brushes, including flat, round, and fan brushes, to create different textures and effects in the water. |
| Canvas | A sturdy canvas or acrylic paper will hold the paint well and allow for layering. |
By selecting the right materials, you're setting the stage for an incredible painting experience that will help you capture the essence of a rushing stream.
Water is a living entity; it flows, ripples, and reflects the world around it. To paint a realistic rushing stream, you need to understand how water moves. Imagine standing by a stream, watching how the water dances over rocks and bends around obstacles. This observation is crucial. Water has a rhythm, and your brushwork should echo that rhythm. The key techniques to depict water movement include:
- Flow: Use sweeping brush strokes to mimic the direction of the water.
- Ripples: Short, quick strokes can create the illusion of ripples on the surface.
- Reflections: Capture the mirrored images of surrounding elements in the water.
By mastering these techniques, you can create a sense of motion that draws the viewer into your painting.
Nothing beats the real thing! Observing actual streams can provide invaluable insights into how to represent flowing water accurately. Take a moment to visit a local stream or watch videos of rushing water. Pay attention to how the light plays on the surface and how the colors shift. This real-life observation will inform your brushstrokes and color choices, making your painting more authentic.
Light and shadow are the unsung heroes of any painting, especially when it comes to water. They add depth and dimension, making your stream appear more lifelike. Notice how sunlight glints off the water and creates shadows beneath the surface. When painting, use lighter colors where the light hits and darker hues in the shadowed areas. This contrast will create a more dynamic appearance and enhance the three-dimensional feel of your artwork.
Reflections are like the icing on the cake of your rushing stream painting. They add depth and realism, inviting viewers to look closer. To paint reflections, start by lightly sketching the shapes of the objects that are mirrored in the water. Then, use soft, horizontal strokes to create the illusion of reflection. Remember to adjust the colors slightly to account for the water's distortion. This technique can transform a good painting into a stunning one!
Color theory is your secret weapon in painting. Understanding how colors interact can elevate your work from ordinary to extraordinary. For a rushing stream, consider using a palette that evokes the mood you want to convey. Cool blues and greens can create a calming atmosphere, while vibrant whites and yellows can suggest energy and excitement. Experiment with mixing colors to find the perfect shades that reflect the essence of your stream.
Layering is essential for creating depth in your painting. Just like a cake, the more layers you have, the richer the experience. Start with a base layer for the background, using lighter colors to set the tone. As you build up layers, gradually introduce darker and more vibrant colors to create dimension. This technique not only adds depth but also enhances the overall visual appeal of your rushing stream.
The background of your painting sets the stage for the rushing stream. Think of it as the backdrop of a theater performance. Use soft, blended colors to create a sense of distance and atmosphere. This could include distant trees, hills, or a sky that complements the water's colors. Remember, the background should enhance, not overpower, the main focus of your painting.
Foreground details can significantly enhance your painting's focal point. Incorporate elements like rocks, foliage, or even small animals to enrich your composition. These details create interest and draw the viewer's eye into the scene. Use sharper brush strokes and more vibrant colors for foreground elements to make them stand out against the softer background.
Adding those final touches can elevate your artwork from good to breathtaking. Step back and assess your painting. Are there areas that need more contrast? Perhaps a splash of white to represent frothy water? Use a small brush for fine details and highlights. This is your chance to refine your work and ensure your rushing stream painting is polished and complete. Remember, the goal is to evoke emotion and transport the viewer to that serene, rushing water.
Q: What type of acrylic paint is best for beginners?
A: Look for student-grade acrylics as they are affordable and provide good pigmentation.
Q: Can I use watercolor techniques with acrylics?
A: Absolutely! You can dilute acrylics with water for a more fluid effect, similar to watercolor.
Q: How do I clean my brushes after using acrylic paint?
A: Clean your brushes with water immediately after use to prevent the paint from drying and ruining them.
Choosing the Right Materials
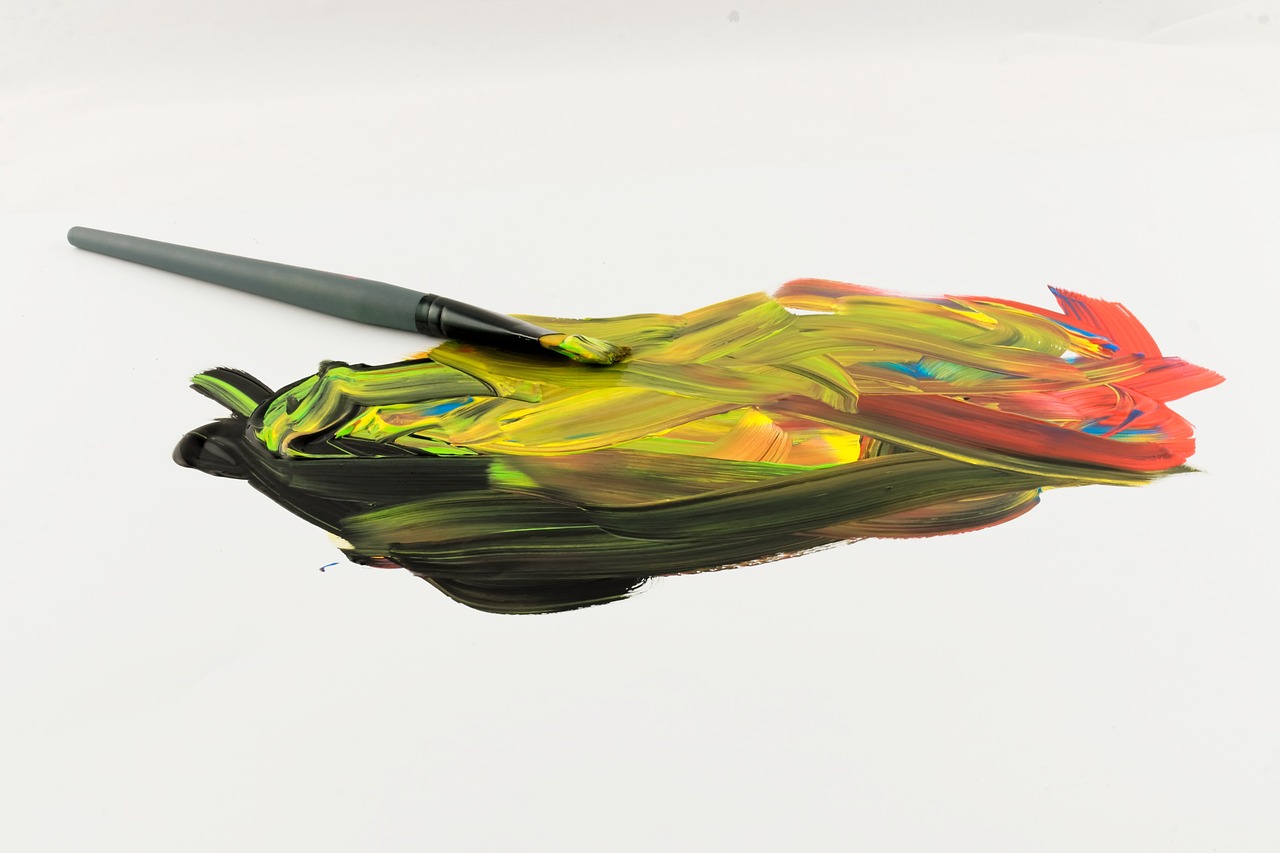
When it comes to painting a rushing stream in acrylics, is absolutely crucial. Think of it as setting the foundation for a house; without a solid base, everything else will crumble. You want to ensure that your acrylic paints, brushes, and canvas are of high quality to achieve that stunning effect of flowing water. So, let's dive into the essentials!
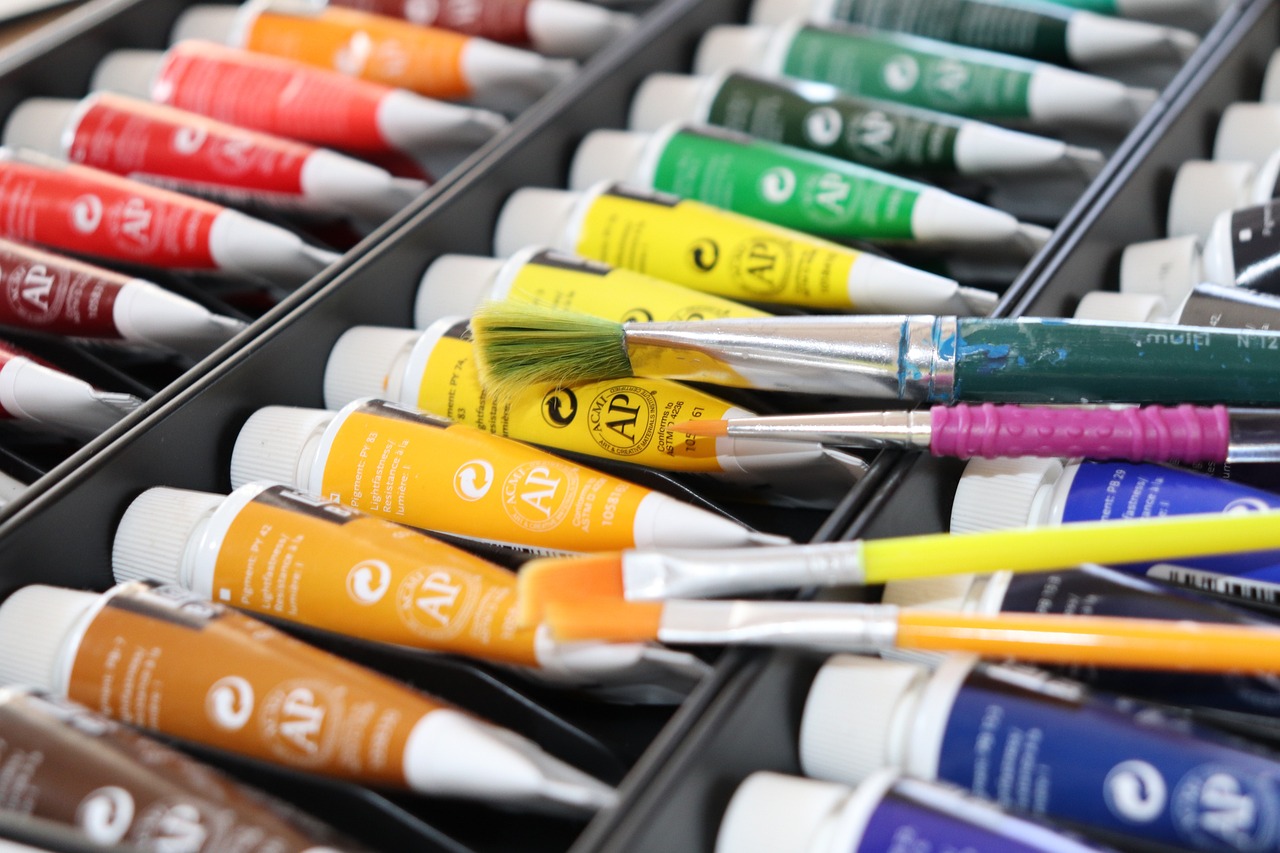
First up, the acrylic paints. You'll want a palette that includes a variety of colors, particularly those that mimic the hues of nature. From deep blues and vibrant greens to earthy browns and soft whites, these colors will help you capture the essence of a rushing stream. Here’s a quick table to guide you in selecting the right colors:
| Color | Use |
|---|---|
| Ultramarine Blue | For deep water areas |
| Cerulean Blue | For lighter, shallower sections |
| Phthalo Green | To add depth and vibrancy |
| Burnt Umber | For rocks and earthy tones |
| White | To create highlights and foamy water |
Next, let’s talk brushes. The right brushes can make all the difference in how you apply your paint and create texture. For painting a rushing stream, you’ll want a mix of brush types:
- Flat Brushes: Perfect for broad strokes and filling in larger areas.
- Round Brushes: Great for details and adding fine lines that mimic the movement of water.
- Fan Brushes: Ideal for creating texture in foliage and water ripples.
As for the canvas, you have options! A stretched canvas or canvas board is typically recommended, as they provide a sturdy surface for your acrylics. The texture of the canvas can also influence the final look of your painting. A smooth surface will allow for finer details, while a more textured canvas can enhance the dynamic nature of water.
Lastly, don’t forget about your palette and water container! A good palette allows you to mix colors effectively, while a clean water container is essential for rinsing your brushes. Remember, a cluttered workspace can lead to a cluttered painting, so keep things organized!
In summary, the materials you choose will significantly impact your ability to capture the vibrant and dynamic flow of a rushing stream. Investing in quality paints, brushes, and canvas will not only enhance your painting experience but also the final result. Now that you have the right tools at your disposal, you're ready to embark on this exciting artistic journey!
Understanding Water Movement
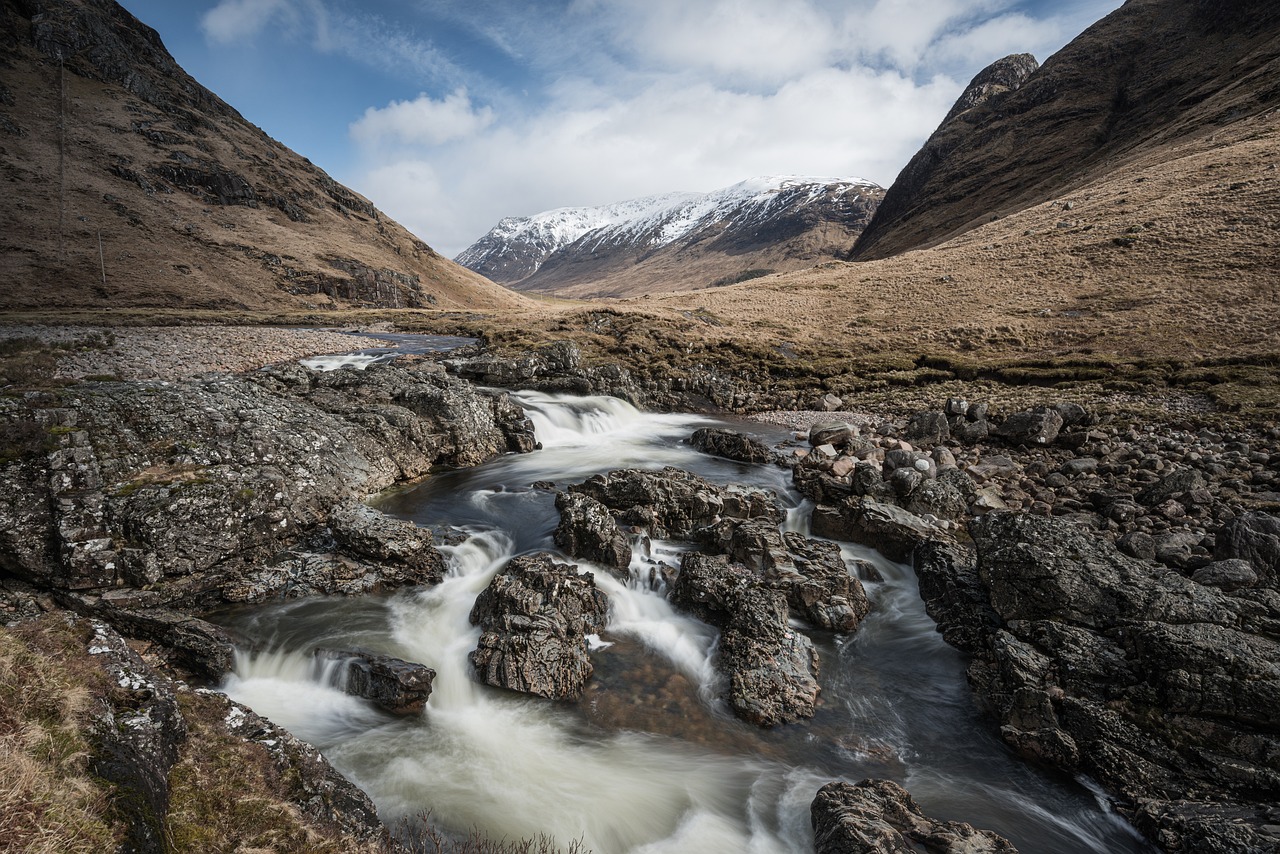
When it comes to painting a rushing stream, understanding water movement is absolutely essential. Water is never static; it flows, swirls, and dances, creating a dynamic scene that can be both challenging and rewarding to capture on canvas. Imagine standing beside a stream, feeling the cool mist on your face as the water rushes by. That very sensation should inspire your brush strokes. While it may seem daunting at first, breaking down the movement of water into its basic elements can make the process much more approachable.
To effectively depict the flow of a rushing stream, you need to observe how water interacts with its environment. Pay attention to the direction of flow—is it a gentle glide or a fierce rush? The speed of the water will influence how you paint it. For instance, fast-moving water will have sharper, more defined lines, while slower water will appear smoother and more reflective. To illustrate this concept, consider these key aspects:
- Ripples: Small waves created by the movement of water. They can be depicted with short, quick strokes.
- Currents: The main flow of water. Use longer, sweeping strokes to convey their power.
- Edges: The edges of the stream, where water meets the land, often create interesting shapes that can enhance your composition.
Additionally, the way water interacts with objects in its path, such as rocks and fallen branches, adds another layer of complexity. When water flows over these obstacles, it creates splashes and foam, which can be depicted with lighter colors and more chaotic brush strokes. Observing these interactions can provide a wealth of inspiration for your painting.
One of the best ways to grasp the principles of water movement is to spend time observing real streams. Take a trip to a local park or nature reserve, and bring along your sketchbook. As you watch the water flow, jot down notes about what you see. Are there areas where the water is turbulent? Are there calm pools? This firsthand observation will inform your painting, allowing you to replicate the fluidity and energy of water on canvas.
Light and shadow are crucial in creating a sense of movement and depth in your water painting. When the sun hits the water, it creates shimmering highlights, while shadows can suggest depth and turbulence. Notice how the light reflects off the surface, creating a myriad of colors that can range from bright whites to deep blues and greens. By carefully observing these elements, you can replicate the effects in your artwork, making the water appear more lifelike.
Reflections are another key component of water movement. They can enhance the realism of your painting and add an extra layer of interest. When painting reflections, consider the following:
| Aspect | Technique |
|---|---|
| Surface Disturbance | Use wavy lines to mimic the distortion caused by moving water. |
| Color Variation | Mix colors from the objects being reflected to create a more realistic effect. |
By mastering these techniques, you will be well on your way to painting a rushing stream that not only captures the essence of water movement but also evokes emotion in the viewer. Remember, practice is key! The more you observe and paint, the more natural it will become. So grab your brushes, and let the water guide your creativity!
Observing Nature
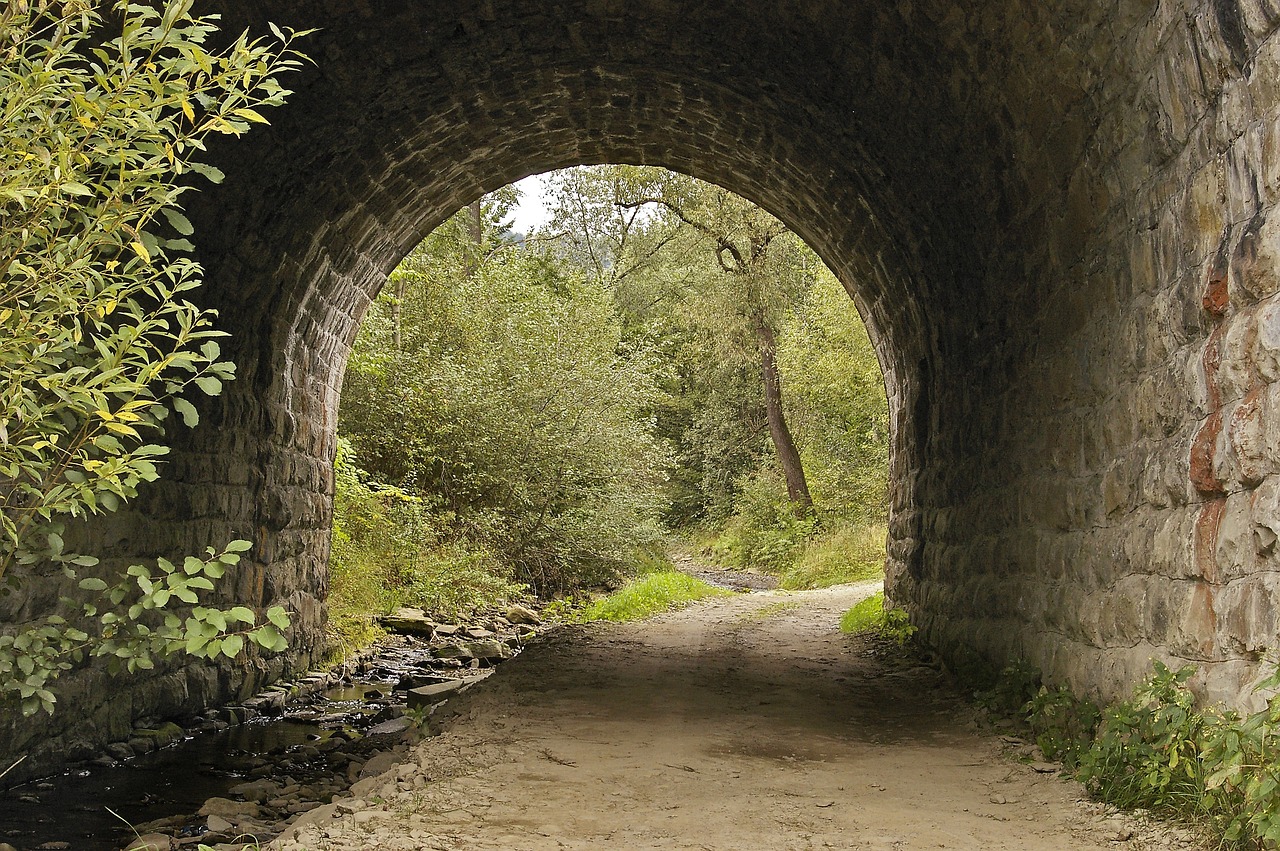
When it comes to painting a rushing stream, one of the most enlightening experiences can be found in simply stepping outside and observing nature firsthand. There’s a certain magic in watching water flow, the way it dances over rocks, glistens in the sunlight, and reflects the surrounding environment. This isn’t just about looking; it’s about immersing yourself in the experience. Grab your sketchbook and take a moment to sit by a stream. Notice how the water moves, the colors it takes on, and how it interacts with the light. You might be surprised at how much detail you can observe when you take the time to really look.
As you observe, consider the following elements that can significantly enhance your painting:
- Flow Patterns: Watch how the water curves and swirls around obstacles. Is it a gentle trickle, or does it crash violently over rocks? Understanding these patterns will help you replicate movement in your painting.
- Color Variations: Take note of the colors in the water. Depending on the time of day and the surrounding foliage, the water may appear blue, green, or even brown. These subtle changes can evoke different moods in your artwork.
- Surface Reflections: Observe how the surface of the water reflects the sky, trees, and rocks. The reflections can add depth and intrigue to your painting, making it feel more lifelike.
Additionally, try to engage all your senses. Listen to the sound of the rushing water; it can inspire the energy you want to convey in your brush strokes. Feel the breeze on your skin and the warmth of the sun. All these sensory experiences can help you create a more dynamic piece of art that captures not just the visual but also the emotional essence of the stream.
Remember, you don’t need to be a professional artist to benefit from observing nature. Whether you're a beginner or an experienced painter, each visit to a stream can provide new insights and inspiration. Keep a journal of your observations and sketches; this can serve as a valuable reference when you sit down to paint. In the end, the more you observe, the better equipped you will be to translate the beauty of a rushing stream onto your canvas.

Analyzing Light and Shadow
When it comes to painting a rushing stream, the interplay of light and shadow is not just important; it's essential. Imagine standing by a stream, watching the sunlight dance on the water's surface. This natural phenomenon creates a mesmerizing display of colors and shapes that can transform your painting from flat to fantastically dynamic. To achieve this effect, you need to carefully observe how light interacts with the water and the surrounding elements. Start by identifying the light source, which in most cases will be the sun. The direction of the light will determine where the highlights and shadows fall, creating a sense of depth and movement.
Consider the different surfaces in your painting. Water reflects light differently than rocks or foliage. For instance, the water's surface might gleam bright white or soft blue where the sun hits directly, while areas in shadow will appear darker, perhaps a deep green or gray. To accurately portray this, you might want to use a palette of colors that includes both bright and muted tones. Here’s a quick guide on how to think about your color choices based on light and shadow:
| Light Area | Shadow Area |
|---|---|
| Bright White | Deep Blue |
| Soft Yellow | Dark Green |
| Sky Blue | Muted Gray |
Another key aspect to consider is the reflections in the water. Light reflections can create a shimmering effect that adds life to your stream. When you paint reflections, think of them as a mirror image of the objects above. If a tree is casting a shadow over the water, the reflection will not only be darker but may also take on the colors of the tree itself. To achieve this, use layering techniques to build up the colors gradually, ensuring that the reflection is slightly blurred to mimic the movement of water.
Lastly, don’t forget about the surrounding environment. Shadows cast by trees, rocks, or even clouds can influence the overall tone of your painting. This means you need to pay attention to how these shadows interact with the stream. For example, a shadow from a tree might darken the water below it, but it could also create a contrast that highlights the areas where the sunlight breaks through. By incorporating these elements thoughtfully, you can create a more cohesive and realistic representation of your rushing stream.
In summary, analyzing light and shadow is crucial in capturing the essence of a rushing stream. By observing the natural world and understanding how light behaves, you can elevate your painting to new heights. Remember, it’s not just about what you see; it’s about how you interpret it on your canvas.
- What colors should I use for highlights in water? Bright whites, soft yellows, and light blues work well for highlights, while deeper blues and greens are great for shadowed areas.
- How can I make my reflections look realistic? Use blurred lines and muted colors to mimic the natural distortion of reflections in moving water.
- Should I paint light or dark first? It's often best to start with darker colors to establish depth and then layer lighter colors for highlights.
Capturing Reflections
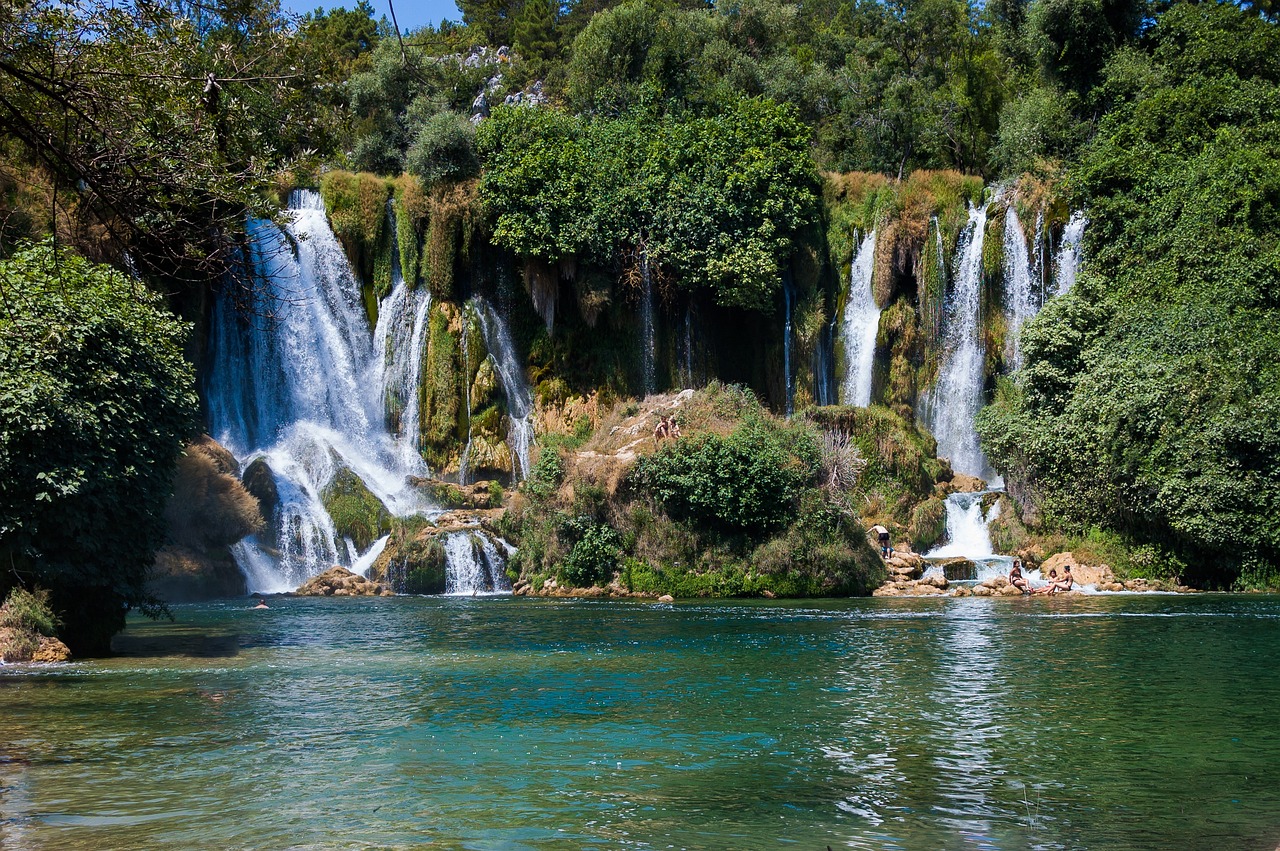
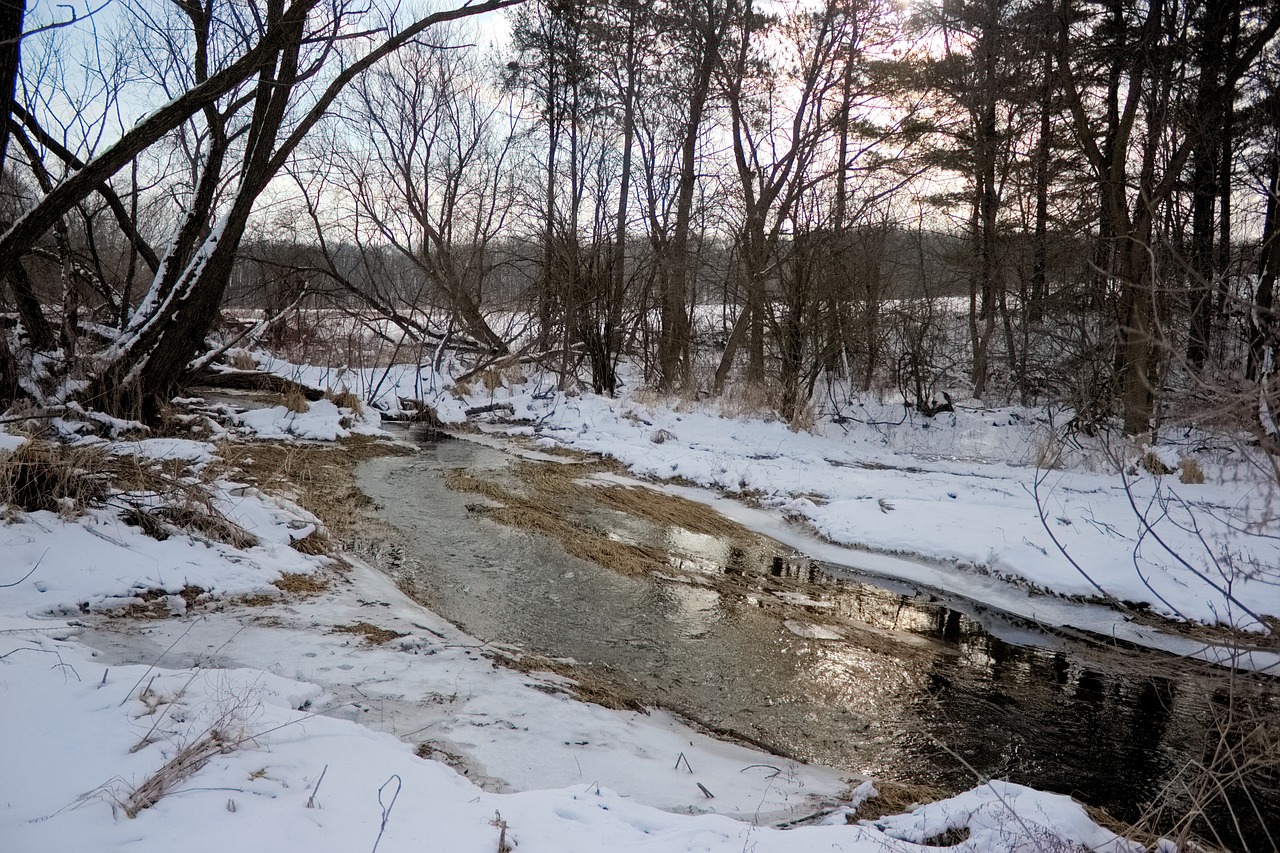
When it comes to painting a rushing stream, can be the secret ingredient that transforms a simple artwork into a breathtaking masterpiece. Think about it: water is like a mirror, reflecting not only the sky but also the surrounding landscape. If you can master the art of painting reflections, your stream will come alive with depth and vibrancy.
To start, you need to observe how reflections behave in real life. Stand by a stream and notice how the colors of the trees, rocks, and sky dance on the surface of the water. The key to painting reflections is to remember that they are often a distorted version of the original image. This means that while the colors remain true, the shapes can become elongated or warped. For example, a tall tree might reflect as a narrow, elongated shape in the water. This is where your artistic license comes into play—don’t be afraid to exaggerate or simplify shapes for a more dramatic effect.
Another important aspect to consider is the color palette. Reflections usually appear slightly darker than the actual objects, so it’s wise to mix your colors accordingly. You might want to add a touch of blue or gray to your green hues when painting trees and foliage. This subtle adjustment will help convey the illusion of water. Additionally, the rippling surface of the stream can create a shimmering effect, so don’t hesitate to use lighter strokes or even a hint of white to represent this sparkle.
As you work on your painting, remember to layer your colors. Start with a base layer that represents the general color of the reflection, then gradually build up with darker shades to create depth. This technique allows you to add complexity and dimension to your water, making it feel more realistic. You can use a soft brush for blending or a fan brush to create the illusion of movement in the water. The goal is to make your reflections feel fluid and dynamic, just like the rushing stream itself.
Lastly, don't forget about light and shadow. The way light interacts with water can significantly affect how reflections appear. Pay attention to where the light source is coming from and how it casts shadows on the water's surface. This can create a sense of movement and life in your painting. By incorporating these elements, you can elevate your artwork and make your rushing stream not just a scene, but a story of nature in motion.
Using Color Theory
When it comes to painting a rushing stream, understanding color theory is like having a secret weapon in your artistic arsenal. It’s not just about slapping on some blue and calling it a day; it’s about creating a vibrant, dynamic scene that captures the viewer’s attention. Think of color as the language of your painting. Each hue conveys emotions, sets the mood, and can even influence how the water looks in your artwork.
To start, consider the color wheel. This handy tool is your best friend for understanding how colors interact with one another. Complementary colors—those that are opposite each other on the wheel—can create stunning contrast. For instance, if your stream is primarily blue, adding touches of orange or yellow can make the water pop! Imagine the sun reflecting off the surface, creating a dance of colors that draws the eye.
Additionally, think about the temperature of your colors. Cool colors like blues and greens will give your stream a refreshing, tranquil vibe, while warm colors like reds and yellows can evoke a sense of energy and movement. This is crucial for a rushing stream, as it’s all about capturing that dynamic flow. You might find that using a mix of cool and warm tones not only brings realism but also adds an emotional depth to your piece.
Another important aspect is the use of transparency. Acrylic paints can be layered to create depth and richness. By using more transparent colors in the foreground and darker, more opaque colors in the background, you can simulate the way light interacts with water. Picture how sunlight filters through the surface, illuminating the depths below. This layering technique can be enhanced by employing a glazing method, where you apply a thin, transparent layer of color over dried paint to adjust the hue without losing the underlying details.
As you mix your colors, don’t forget to think about the local color of the environment surrounding your stream. Are there rocks? Is there lush green foliage? These elements will reflect into the water, creating a more complex color palette. For example, if you have vibrant green trees nearby, hints of green can be added to the water to reflect that natural beauty. This not only enhances realism but also creates a cohesive composition.
Finally, let’s talk about light and shadow. The way you use color can dramatically affect how light is perceived in your painting. Bright whites and light blues can represent sunlight glistening on the water’s surface, while deeper blues and dark greens can depict the shadowed areas, giving your stream a sense of dimension. Remember, the interplay of light and shadow is what brings your painting to life, making it feel like the water is actually flowing right off the canvas!
In summary, using color theory effectively can transform your rushing stream painting from ordinary to extraordinary. By understanding the relationships between colors, the temperature of your palette, and the impact of light, you can create a piece that not only looks beautiful but also tells a story. So grab your brushes, mix those colors, and let the magic of color theory guide you to create a stunning representation of nature!
- What colors should I use for a realistic rushing stream?
Using a mix of blues, greens, and touches of white for highlights will help create a realistic look. Don't forget to incorporate colors from the surrounding environment!
- How can I make my water look more dynamic?
Utilize a variety of colors to depict movement, and pay attention to the light and shadow to give depth and dimension to your stream.
- Is layering important in acrylic painting?
Absolutely! Layering not only adds depth but also allows for more complex color interactions, making your painting more vibrant and lifelike.
Layering Techniques
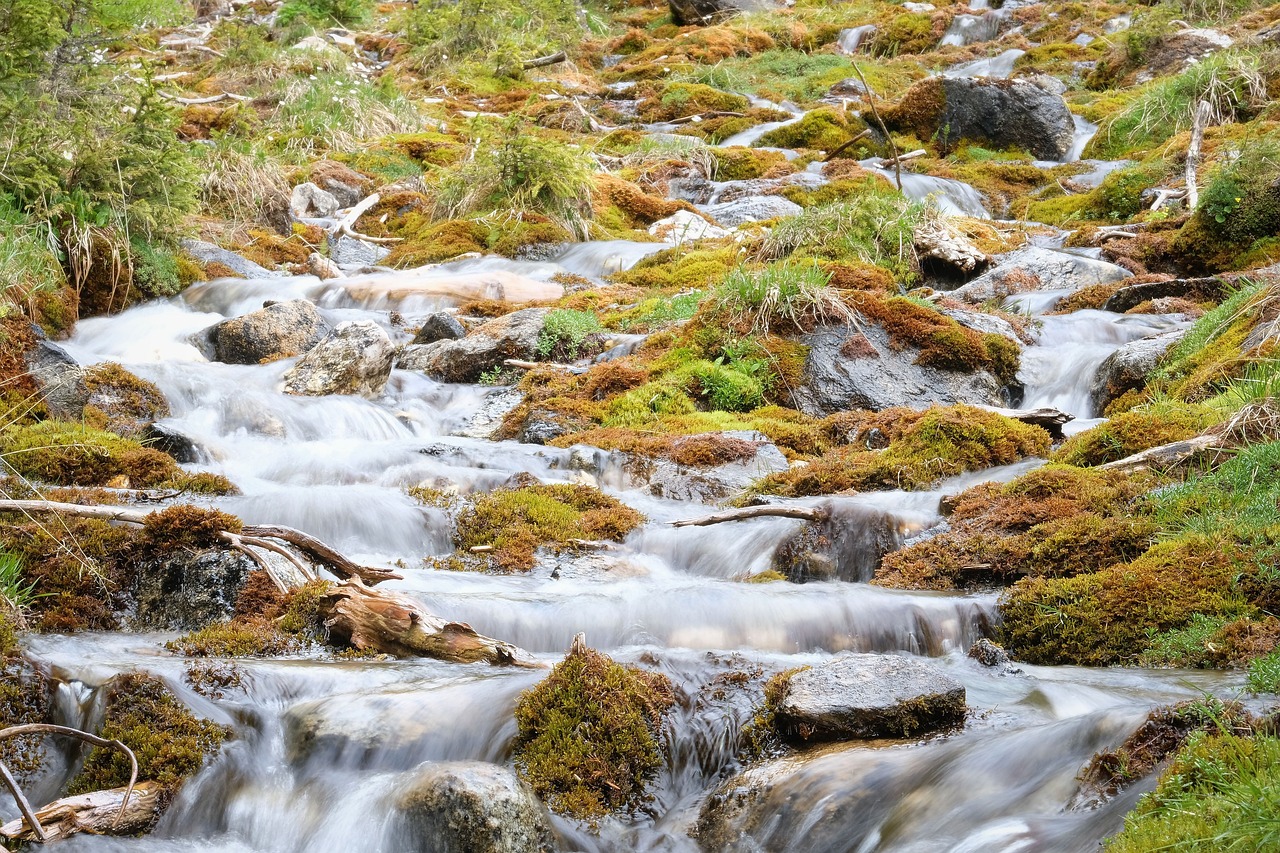
When it comes to painting a rushing stream in acrylics, are your secret weapon for creating depth and dimension. Just like a cake, the more layers you add, the richer and more complex the final product becomes. Layering not only enhances the visual appeal of your artwork but also helps in accurately depicting the fluidity of water. By building up layers, you can achieve a three-dimensional effect that makes your stream appear to flow right off the canvas.
To start, it’s essential to understand the different types of layers you can create. The base layer is your foundation, typically painted in a mid-tone color that represents the overall hue of the water. This layer sets the stage for everything that follows. Once dry, you can add subsequent layers to build up highlights and shadows. Each layer should be applied with a light touch, allowing the colors underneath to show through, which can create a beautiful, translucent effect reminiscent of real water.
One effective technique is to use a glazing method. This involves mixing a small amount of acrylic paint with a glazing medium to create a transparent layer. By applying this glaze over your base layer, you can subtly shift the color and add depth without losing the vibrancy of the underlying tones. For example, if your stream is primarily a cool blue, a glaze of green or even a hint of yellow can add complexity and mimic the way light interacts with water.
In addition to glazing, you can also employ a dry brush technique to add texture. This method involves using a dry brush with minimal paint to lightly drag across the surface of your canvas, creating the illusion of ripples and waves. It’s a fantastic way to add detail to the surface of the water while maintaining the fluidity of the stream. Remember, the key here is to practice restraint; too much paint can lead to a muddy appearance.
Another important aspect of layering is the incorporation of foreground and background elements. The background layers should be softer and less defined, allowing the viewer's eye to focus on the vibrant details of the stream in the foreground. For example, you might use muted greens and browns for the background foliage, while applying brighter, more saturated colors to the rocks and plants that frame the rushing water. This contrast not only adds depth but also creates a sense of movement, drawing the viewer into the scene.
Finally, don’t forget to step back and assess your work from a distance. Sometimes, what looks good up close may not translate well when viewed as a whole. By stepping back, you can evaluate the balance of your layers and make adjustments as necessary. Remember, layering is about building a cohesive composition that captures the essence of a rushing stream, so take your time and enjoy the process!
- What types of acrylic paints are best for layering? Look for high-quality, artist-grade acrylics that offer good pigment concentration and transparency.
- How long should I wait between layers? It's best to wait until each layer is completely dry, which can take anywhere from 15 minutes to a few hours, depending on the thickness of the paint.
- Can I use water to thin my paint for layering? While you can use water, it's better to use a medium designed for acrylics to maintain the paint's integrity and adhesion.
Building Background Layers
When it comes to painting a rushing stream, the background layers are the unsung heroes of your artwork. They set the mood and context, creating a stunning backdrop that enhances the vibrant movement of the water. Think of your background as the stage on which the main event—the rushing stream—will take center stage. To achieve this, you’ll want to start with a solid foundation that complements the colors and dynamics of your stream.
Begin by selecting a color palette that reflects the environment surrounding your stream. If you envision a sunlit scene, consider using warm hues like soft yellows and light blues. On the other hand, if you’re aiming for a more tranquil, shaded area, cooler tones like greens and grays could be more appropriate. Here’s a simple color guide to help you decide:
| Environment | Suggested Colors |
|---|---|
| Sunny Day | Light Blue, Yellow, White |
| Wooded Area | Dark Green, Brown, Soft Gray |
| Twilight Scene | Deep Blue, Purple, Dark Gray |
Once you have your colors sorted, start by applying broad strokes of your chosen hues across the canvas. Use a large brush to create a smooth gradient that gradually transitions from one color to another. This technique not only adds depth but also gives your background a sense of atmosphere. Remember, the goal is to create a harmonious blend that won’t overpower the stream itself.
As you build these layers, consider the use of texture to mimic natural elements like trees, rocks, or distant hills. You can achieve this by employing different brush techniques, such as stippling or dry brushing, to create the illusion of foliage or rocky surfaces. For instance, a fan brush can be incredibly effective for rendering grass or tree leaves, giving your background a lively, organic feel.
Another crucial aspect of building your background layers is the incorporation of light and shadow. This is where your understanding of light dynamics comes into play. By adding darker tones in areas where shadows would naturally fall, you give your painting a three-dimensional quality. Conversely, lighter shades can be used to highlight areas that catch the light, enhancing the overall realism of your scene.
Lastly, don’t forget the importance of layering! Allow each layer to dry before adding the next, which not only helps prevent muddy colors but also allows you to build a rich, complex background. This patience will pay off when you finally introduce the rushing stream—your background will provide a stunning contrast that makes the water pop!
- What type of canvas is best for acrylic painting? A medium to heavy-weight canvas, either stretched or canvas board, works best as it can handle multiple layers of paint without warping.
- How do I prevent my acrylic paints from drying too quickly? Use a slow-drying medium or a palette with a lid to keep your paints moist longer.
- Can I use water to thin acrylic paint? Yes, but be careful not to over-dilute it, as this can affect the paint's adhesion and vibrancy.
Adding Foreground Details
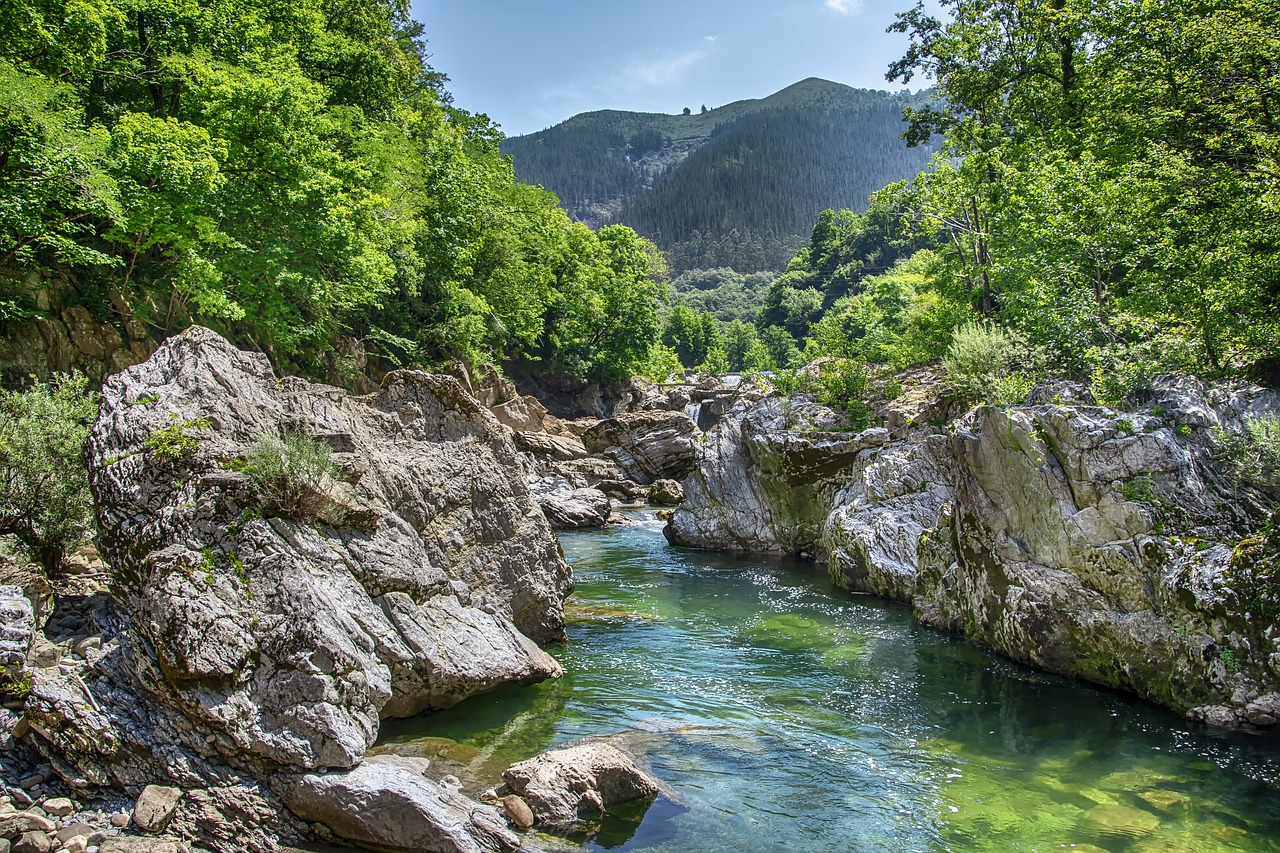
When painting a rushing stream, the foreground is where you can truly bring your artwork to life. It's like the cherry on top of a sundae—essential for making your painting pop! By incorporating elements such as rocks, foliage, and even wildlife, you can create a sense of depth and draw the viewer’s eye into the scene. Imagine standing by a stream; the vibrant greens of the leaves and the rugged textures of the stones are what capture your attention first. This is the kind of detail that will make your painting resonate with anyone who lays eyes on it.
To start, consider the positioning of your foreground elements. You want to create a sense of balance and harmony in your composition. For example, placing larger rocks or fallen branches in the lower corners can help frame your stream, guiding the viewer's gaze towards the water's dynamic flow. Remember: the foreground should not overpower the stream but rather complement it. Think of it as a supporting actor in a movie—crucial, but not stealing the spotlight.
When painting rocks, pay attention to their shapes and colors. Use a variety of shades to depict the natural variations found in stone, from earthy browns to cool grays. You can even add hints of moss or lichen for that extra touch of realism. Texturing is key! Use a dry brush technique to give the rocks a rough appearance, or a sponge for soft, mossy textures. This will not only create visual interest but also enhance the tactile quality of your artwork.
Foliage is another important aspect to consider. Adding plants or grasses around the edges of your stream can create a lush, inviting scene. Utilize different shades of green, and don't shy away from using yellows and browns to indicate sunlight hitting the leaves or the changing seasons. Layering your foliage will add depth; start with the background plants and gradually build up to the more prominent ones in front. You might even want to include some wildflowers for a splash of color—think of them as the confetti at a celebration!
Lastly, consider incorporating wildlife into your foreground. A small bird perched on a rock or a frog leaping into the water can add a narrative element to your painting. These little details can evoke emotions and make the scene feel alive. When painting animals, focus on their positioning and scale in relation to the stream—this will help maintain the overall balance of your composition.
In summary, adding foreground details is all about enhancing the visual story of your rushing stream. By carefully selecting and painting elements like rocks, foliage, and wildlife, you can create a rich, immersive experience for the viewer. So grab your brushes and let your imagination flow—just like the water in your stream!
- What materials do I need to start painting a rushing stream?
You'll need acrylic paints, a variety of brushes, a canvas, and possibly some palette knives for texture. - How do I create realistic water reflections?
Observe how light interacts with water in real life, and use lighter shades of color to depict reflections, blending them softly into the water's surface. - Can I use other mediums with acrylics?
Yes! You can incorporate mixed media elements like pastels or ink for added texture and depth. - How do I know when my painting is finished?
Step back and assess your work. If it feels balanced and conveys the emotion you intended, it’s likely ready to be signed!
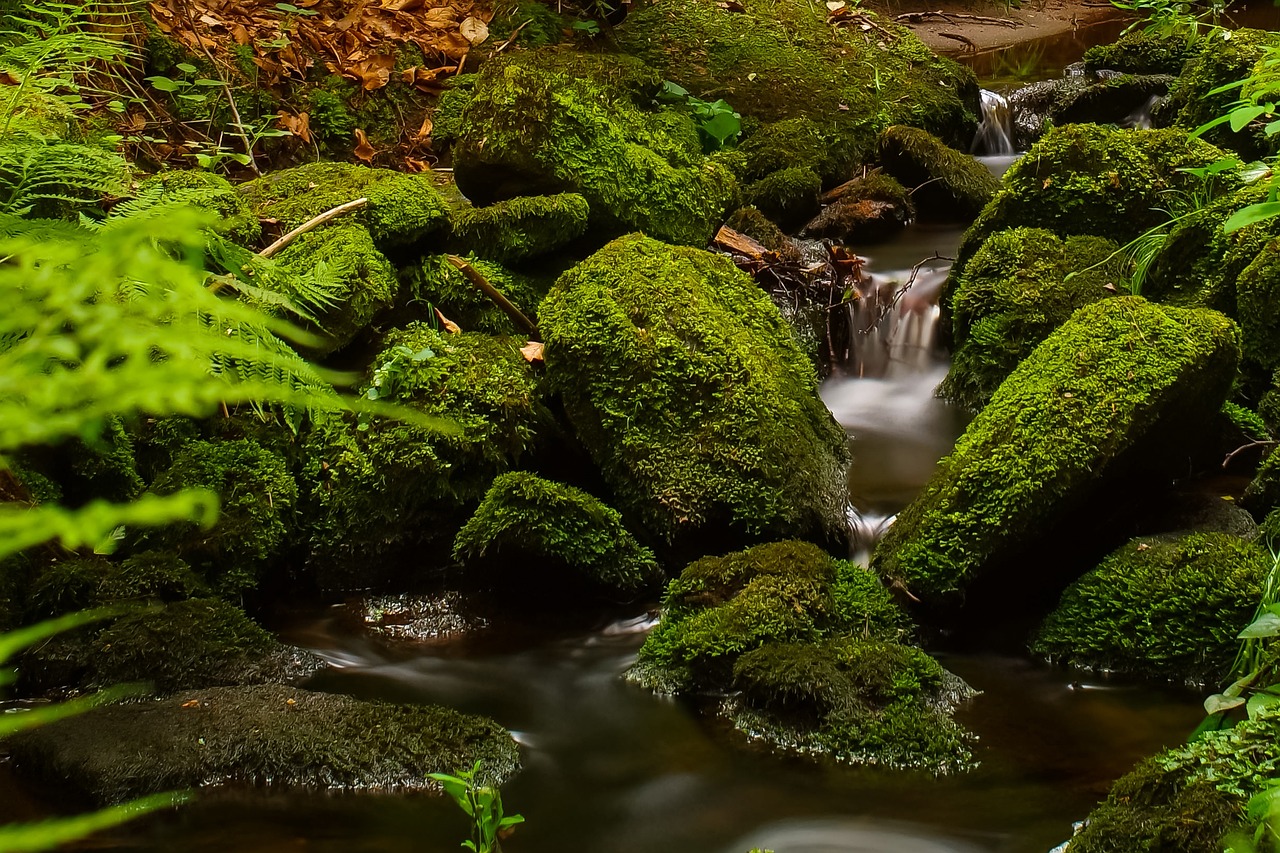
Final Touches and Techniques
As you approach the final stages of your acrylic painting of a rushing stream, it's time to think about those final touches that can truly elevate your artwork from good to stunning. This is where your painting can come alive, and every brushstroke counts! You want to ensure that the viewer's eye is drawn to the dynamic elements you've created, so let’s explore some techniques that will help you refine your masterpiece.
First off, consider the importance of highlights and lowlights. Adding highlights can create a sense of movement in the water, mimicking the way sunlight dances on the surface. Use a small brush and a lighter shade of your base color to add these highlights on the crests of the waves or where the light hits the water most intensely. On the flip side, lowlights can add depth and dimension, especially in the shadowed areas beneath rocks or foliage. A darker hue can create a stark contrast that enhances the overall composition.
Next, don’t underestimate the power of texture. You can create a tactile quality in your painting by using a palette knife or a stiff brush to apply paint in a way that mimics the rough surface of rocks or the smooth flow of water. This technique can add a three-dimensional feel to your artwork, making the stream appear more alive. Remember, texture is not just visual; it can also evoke a sensory experience for the viewer.
Another essential technique is to step back and observe your painting from a distance. This can provide a fresh perspective, allowing you to identify areas that might need more contrast or additional details. Sometimes, the best way to see what’s missing is to take a moment away from your canvas. You might find that a simple adjustment, such as enhancing the color saturation in certain areas or softening the edges of your reflections, can make a significant difference.
When it comes to adding those final details, think about incorporating elements that enhance the narrative of your painting. Perhaps a few rocks peeking through the water or some delicate wildflowers along the bank can add interest and draw the viewer’s eye. These details, while seemingly small, can contribute significantly to the overall story your painting tells.
Finally, don't forget to sign your artwork! Your signature is a personal touch that signifies the completion of your piece. Choose a spot that doesn’t distract from the main elements of your painting but is still visible enough to be recognized. This is your creation, and it deserves to be acknowledged!
- What type of varnish should I use for my acrylic painting?
It’s best to use a water-based varnish specifically designed for acrylics. This will protect your painting from dust and UV damage. - How long should I wait before varnishing my painting?
Allow your painting to dry completely, which can take anywhere from a few days to a couple of weeks, depending on the thickness of the paint. - Can I use oil paints instead of acrylics for this technique?
While oil paints can achieve similar effects, they require different techniques and drying times. Acrylics are more forgiving for beginners. - What should I do if I make a mistake while painting?
Don't panic! Acrylics dry quickly, so you can often paint over mistakes. Just wait for the layer to dry before applying new paint.
Frequently Asked Questions
- What materials do I need to paint a rushing stream in acrylic?
To create a stunning rushing stream painting, you'll need high-quality acrylic paints, a range of brushes (including flat and round brushes), a suitable canvas or acrylic paper, a palette for mixing colors, and water for cleaning your brushes. Don't forget a cloth or paper towels for any spills!
- How can I effectively depict the movement of water?
Understanding water movement is key! Observe real streams to grasp how water flows, ripples, and reflects light. Use swift brush strokes to mimic the dynamic flow, and don’t hesitate to layer your colors to create depth. Think of how a river dances over rocks—capture that energy in your strokes!
- What role do light and shadow play in my painting?
Light and shadow are crucial in giving your painting dimension. Observe how sunlight hits the water, creating bright spots and darker areas. Use lighter colors where the light hits and darker tones in the shadows to create a realistic effect. It’s like adding a sprinkle of magic that brings your stream to life!
- How do I paint reflections in water?
Reflections can add a mesmerizing quality to your artwork. Start by painting the water surface with a base color, then gently mirror the shapes and colors of the objects above the water. Use soft, horizontal strokes to blend them into the water, creating a seamless look. Think of it as painting a mirror image—it's all about capturing that perfect balance!
- What color palette should I use for a rushing stream?
Choosing the right colors is essential to convey the mood of your stream. Use a mix of blues and greens for the water, with whites for highlights and darker shades for shadows. Incorporate earthy tones for rocks and foliage to ground your painting. Remember, colors can evoke emotions, so choose hues that resonate with the feeling you want to express!
- How can I add depth to my painting?
Layering is your best friend when it comes to creating depth. Start with background layers using lighter colors and gradually build up to darker tones in the foreground. This technique will give your painting a three-dimensional feel. Think of it as building a cake—each layer adds to the overall experience!
- What final touches should I consider for my artwork?
Final touches can truly elevate your painting! Look for areas that need more detail or contrast. You might want to add highlights to the water or refine the edges of rocks and foliage. Step back and assess your work; sometimes, a little extra detail can make all the difference. It’s like putting on the finishing touches of a beautiful outfit!


