Create Beautiful Sceneries Using Basic Drawing Skills
Have you ever gazed at a breathtaking landscape and thought, "I wish I could capture that beauty on paper?" Well, you're in luck! This article explores how to enhance your drawing abilities to create stunning landscapes. Whether you're a beginner or looking to refine your skills, we will cover essential techniques, tools, and tips to bring your artistic visions to life. So grab your sketchbook and let’s embark on this creative journey together!
Before diving into scenery creation, it's crucial to grasp fundamental drawing concepts. Drawing is not just about putting pencil to paper; it’s about understanding the elements that make up an image. Line, shape, and form are the building blocks of any artistic endeavor. Think of lines as the skeleton of your drawing, providing structure. Shapes are the flesh, giving your drawing its body, while forms add depth and dimension. By mastering these basics, you’ll be well on your way to creating captivating landscapes that leap off the page.
The right tools can significantly impact your drawing experience. Imagine trying to paint a masterpiece with a brush that’s too coarse; it just wouldn’t work, right? Similarly, selecting the appropriate drawing instruments is essential for achieving your desired outcome. Here are some tools you might consider:
- Pencils: Ranging from hard (H) to soft (B), different pencils create varying shades and textures.
- Pens: Fine liners, gel pens, and brush pens can add detail and flair to your drawings.
- Paper Types: Experiment with different textures and weights to find what complements your style.
By understanding and experimenting with these tools, you can discover what works best for your artistic needs.
Perspective is key to creating depth in your drawings. It’s like the secret ingredient in a recipe that makes everything come together. In landscape drawing, understanding one-point and two-point perspective can help you depict realistic scenes. One-point perspective involves a single vanishing point on the horizon line, perfect for roads or railway tracks. Two-point perspective, on the other hand, uses two vanishing points, ideal for drawing buildings or complex landscapes. Mastering these techniques can dramatically enhance the realism of your drawings.
Light and shadow add dimension to your drawings, creating a sense of realism and mood. Think of your drawing as a stage; without lighting, the performance falls flat. Techniques for shading and highlighting can transform a flat image into a three-dimensional masterpiece. You can use techniques like cross-hatching or stippling to create shadows, while gentle strokes can highlight areas that catch the light. This interplay between light and shadow will breathe life into your scenery illustrations.
Color can transform your drawings dramatically. It’s like adding spices to a dish; the right colors can evoke emotions and set the mood. Understanding the basics of color theory—such as complementary colors, warm vs. cool tones, and color harmony—can help you create vibrant landscapes. Imagine a sunset over a tranquil lake; the warm oranges and cool blues can create a stunning visual contrast that draws the viewer in. Learning to use color effectively will elevate your artwork and make it truly captivating.
Different sketching techniques can yield unique results, much like different cooking methods can produce distinct flavors. Techniques such as contour drawing, gestural sketching, and blocking in shapes can help you develop your landscape drawings. Contour drawing focuses on the outlines of objects, while gestural sketching captures the essence and movement of a scene. Blocking in shapes allows you to establish the composition before adding details. Experimenting with these methods will enhance your versatility as an artist.
Details and textures bring life to your scenery. Think of them as the finishing touches that make a painting sing. Incorporating natural elements like trees, water, and rocks into your artwork can create a more immersive experience. Techniques such as stippling for foliage or wavy lines for water can add a realistic touch. The key is to observe nature closely and replicate those textures in your drawings. This practice will not only improve your skills but also deepen your appreciation for the world around you.
The finishing touches are crucial for a polished piece. Just like a chef tastes their dish before serving, you should refine your drawing to ensure it’s the best it can be. Techniques for refining your drawing include erasing unnecessary lines, blending colors for smooth transitions, and even framing your work to present it beautifully. This final stage is where your artwork transforms from a simple sketch into a stunning piece of art that you can be proud of.
Q: Do I need expensive tools to create beautiful landscapes?
A: Not at all! While quality tools can enhance your experience, you can create stunning art with basic materials. Focus on your skills and techniques first.
Q: How can I improve my drawing skills?
A: Practice is key! Set aside time each day to draw, experiment with different techniques, and don’t be afraid to make mistakes. They are part of the learning process.
Q: What if I don’t know where to start?
A: Start with simple shapes and gradually build your way up to more complex scenes. Follow tutorials, join a drawing group, or take classes to gain confidence.
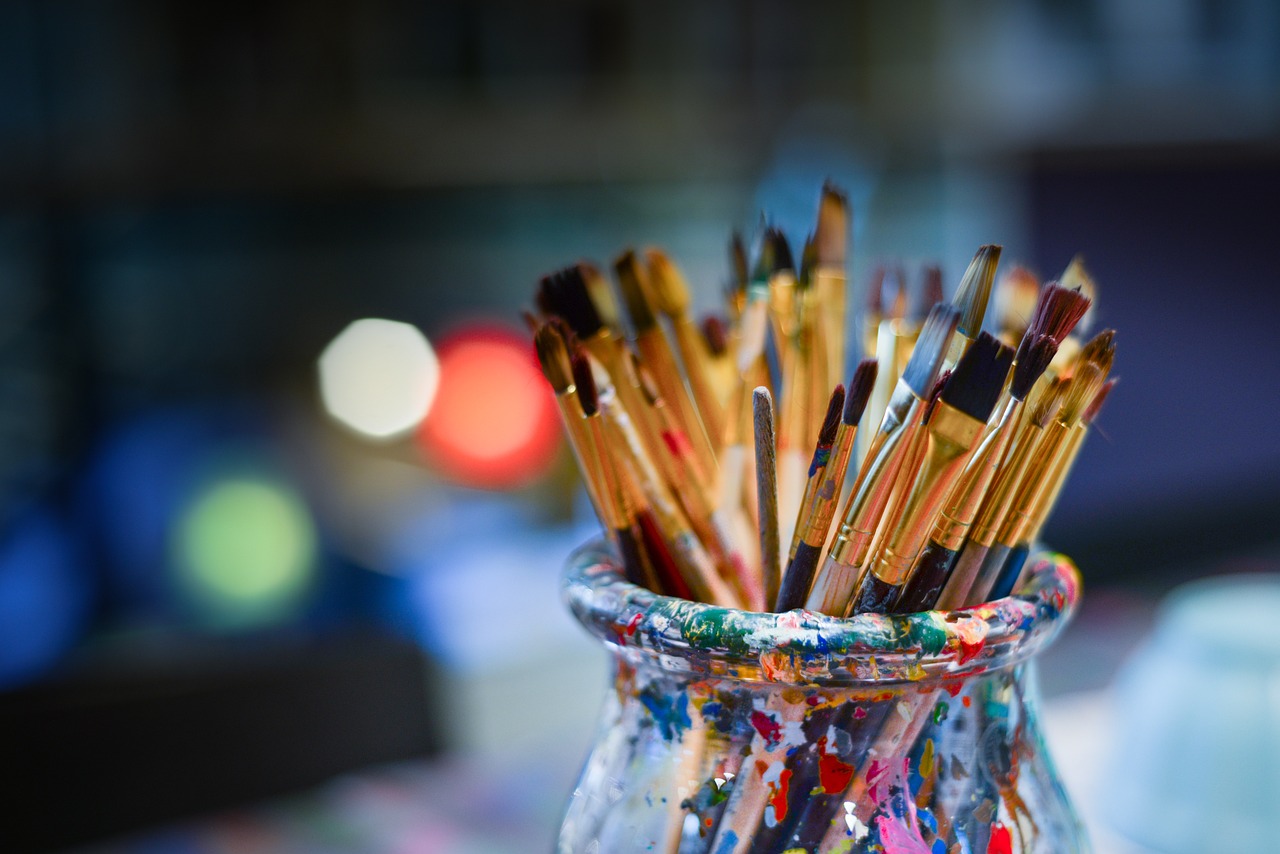
Understanding the Basics of Drawing
When it comes to creating beautiful sceneries, understanding the basics of drawing is your first step towards unleashing your artistic potential. Just like a musician needs to learn notes before composing a symphony, you must familiarize yourself with the building blocks of art. These building blocks include line, shape, and form, which act as the foundation for any artistic endeavor.
Let’s start with line. Lines are the simplest yet most powerful elements in drawing. They can be straight, curved, thick, or thin, and they help to define shapes and forms. Think of lines as the skeleton of your drawing; they outline the structure and provide direction. For instance, when sketching a mountain range, the jagged lines at the peaks create a sense of ruggedness, while smooth lines can represent gentle hills.
Next up is shape. Shapes are formed by closed lines and can be geometric, like squares and circles, or organic, resembling the free forms found in nature. Understanding shapes is crucial because they help you to break down complex objects into simpler components. For example, when drawing a tree, you can start with a simple triangle for the foliage and a rectangle for the trunk. This method makes it easier to build up your drawing gradually, layer by layer.
Now, let’s talk about form. While shapes are two-dimensional, forms add the element of depth, making your drawings appear three-dimensional. This is where your understanding of perspective comes into play, as it helps in creating the illusion of depth on a flat surface. By mastering these three elements—line, shape, and form—you will be equipped to tackle any landscape you wish to create.
To better visualize these concepts, consider the following table that summarizes the differences:
| Element | Description | Example |
|---|---|---|
| Line | The basic building block of drawing; can be straight or curved. | Outlining a mountain range. |
| Shape | Closed lines that create two-dimensional figures. | Using triangles for tree foliage. |
| Form | Three-dimensional representation of shapes. | Creating a cylindrical form for a tree trunk. |
Understanding these basic concepts is not just about memorizing definitions; it's about seeing and interpreting the world around you through an artist's lens. As you practice, you’ll begin to notice how these elements interact in nature. For instance, when you look at a landscape, observe how the lines of the horizon meet the sky, how shapes of trees and mountains come together, and how forms create the illusion of depth. This awareness will greatly enhance your ability to draw.
So, grab your sketchbook, and start practicing these fundamentals! Remember, every great artist started with the basics, and the more you practice, the more intuitive these concepts will become. Before you know it, you’ll be creating stunning landscapes that capture the beauty of the world around you!
- What materials do I need to start drawing? You can begin with just a pencil and paper. As you progress, you might want to explore different tools like charcoal, ink pens, or colored pencils.
- How can I improve my drawing skills? Regular practice is key! Try to draw something every day, even if it’s just a quick sketch.
- Is it necessary to take drawing classes? While classes can be helpful, many artists are self-taught. Utilize online resources, books, and tutorials to learn at your own pace.
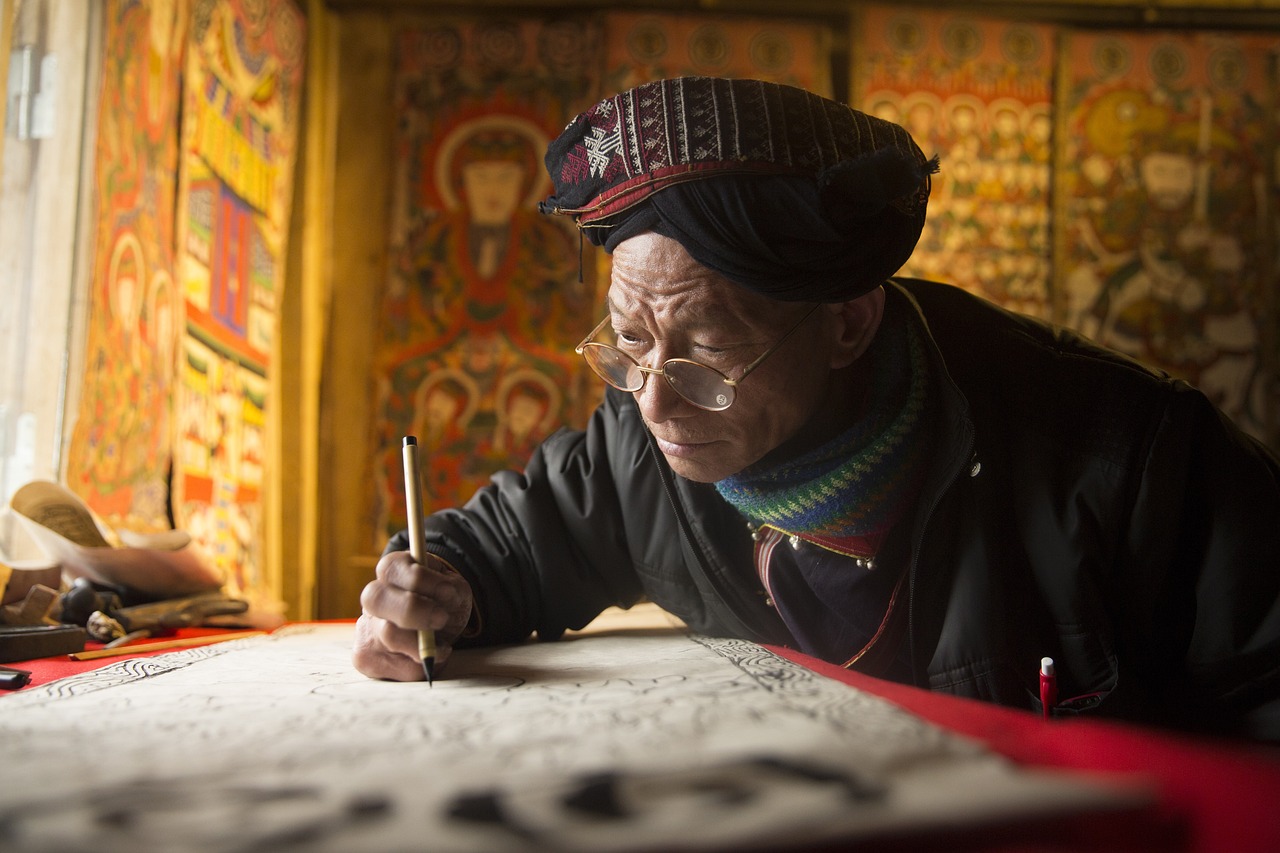
Choosing the Right Tools
When it comes to creating stunning landscapes, the tools you choose can make all the difference. Imagine trying to build a house with a spoon instead of a hammer; it just wouldn’t work, right? Similarly, having the right drawing instruments can elevate your artwork from mediocre to magnificent. So, let’s dive into the world of drawing tools and discover what you need to bring your artistic visions to life.
First off, let’s talk about pencils. They come in a variety of hardness levels, from soft to hard, which affects how dark or light your lines will be. For landscape sketches, a range of pencils is ideal. You might want a 2B pencil for darker lines and a H pencil for lighter, more delicate details. It’s like having a toolbox; each pencil serves a different purpose, helping you achieve the depth and detail your scenery deserves.
Next up, we have pens. If you’re looking to add a touch of permanence to your sketches, fine-tip pens are your best friends. They allow for precise lines and are perfect for adding intricate details to your landscapes. However, be cautious! Unlike pencils, you can’t erase pen marks, so make sure your sketch is just right before committing to ink. Think of it like writing down your secrets; you want to be sure before you spill the beans!
Now let’s not forget about paper—the canvas for your creativity. The type of paper you use can significantly affect your drawing. For detailed landscapes, a smooth, heavyweight paper is ideal as it can handle various mediums without warping. Conversely, if you’re into sketching and want to experiment with different textures, a rough paper can add a beautiful, organic feel to your work. Here’s a quick comparison:
| Paper Type | Best For |
|---|---|
| Smooth Paper | Detailed drawings with fine lines |
| Rough Paper | Sketching and expressive work |
| Watercolor Paper | Mixed media, especially with watercolors |
Additionally, you might want to consider charcoal or pastels for those moments when you want to go wild with your landscapes. Charcoal can create rich, deep blacks and dramatic shading, while pastels offer a vibrant color palette that can bring your scenery to life with just a few strokes. It’s like having a secret weapon in your artistic arsenal!
Finally, don’t overlook the importance of a good eraser. Trust me, you’ll need it! Whether you’re refining your lines or making corrections, a quality eraser can save your artwork from those pesky mistakes. There are various types, like kneaded erasers that can lift graphite without damaging the paper, and vinyl erasers that work wonders on ink. Think of it as your safety net—always there to catch you when you slip!
In conclusion, choosing the right tools is essential for any aspiring artist. Each instrument plays a unique role in your creative process, helping you translate your imagination into stunning landscapes. So, gather your pencils, pens, paper, and other tools, and get ready to unleash your inner artist!

Mastering Perspective
When it comes to creating breathtaking landscapes, perspective is your secret weapon. It’s like the magic wand that transforms a flat drawing into a vibrant, three-dimensional world. So, how do we master this art? Let’s break it down into bite-sized pieces. First off, understanding the difference between one-point perspective and two-point perspective is crucial. Think of one-point perspective as a straight road stretching into the horizon, where all lines converge at a single point. This technique is perfect for drawing scenes like railway tracks or hallways, where depth is created by leading the viewer's eye toward a vanishing point.
On the other hand, two-point perspective is like standing at the corner of a building, where two sets of parallel lines recede into two different vanishing points. This method is incredibly useful for depicting urban landscapes or any scenario where you want to showcase angles and depth. Visualizing these concepts can be tricky, so let’s take a look at a simple table that illustrates the differences:
| Perspective Type | Definition | Best Used For |
|---|---|---|
| One-Point Perspective | Lines converge at a single vanishing point. | Railways, roads, and hallways. |
| Two-Point Perspective | Lines converge at two vanishing points. | Buildings, corners, and complex structures. |
To practice these techniques, grab your sketchbook and try drawing simple shapes like cubes and boxes. Start with one-point perspective by sketching a road or a hallway. Then, challenge yourself with two-point perspective by drawing a building at an angle. As you sketch, remember to keep your lines straight and your vanishing points consistent. The more you practice, the more natural it will feel!
But wait, there's more! Perspective isn’t just about lines; it’s also about scale and proportion. Objects that are closer to you should appear larger, while those further away should shrink in size. This concept is often referred to as atmospheric perspective, where colors and details fade as they recede into the background. Imagine a mountain range where the closest peak is vibrant green, while the ones in the distance are muted blue. This technique adds an extra layer of realism to your landscapes.
Another aspect to consider is foreground, middle ground, and background. By organizing your drawing into these three layers, you can create a sense of depth and dimension. The foreground can include detailed elements like trees or rocks, while the middle ground might feature rolling hills or a river, and the background can fade into a hazy sky or distant mountains. This layering technique is like building a cake; each layer contributes to the overall flavor of your artwork!
So, are you ready to take your landscape drawings to the next level? By mastering perspective, you’ll not only enhance your technical skills but also elevate the emotional impact of your artwork. Remember, every great artist started with the basics, so don’t rush the process. Take your time, enjoy the journey, and soon enough, you’ll find yourself creating stunning sceneries that captivate your audience.
- What is the easiest way to practice perspective? Start with simple shapes and gradually move to more complex scenes. Use one-point and two-point perspective techniques to build your confidence.
- How can I improve my understanding of scale? Observe real-life objects and note how their size changes with distance. Practice drawing them from different viewpoints.
- Is it necessary to use vanishing points? Yes, vanishing points help create depth and realism in your drawings. They guide the viewer’s eye and enhance the overall composition.
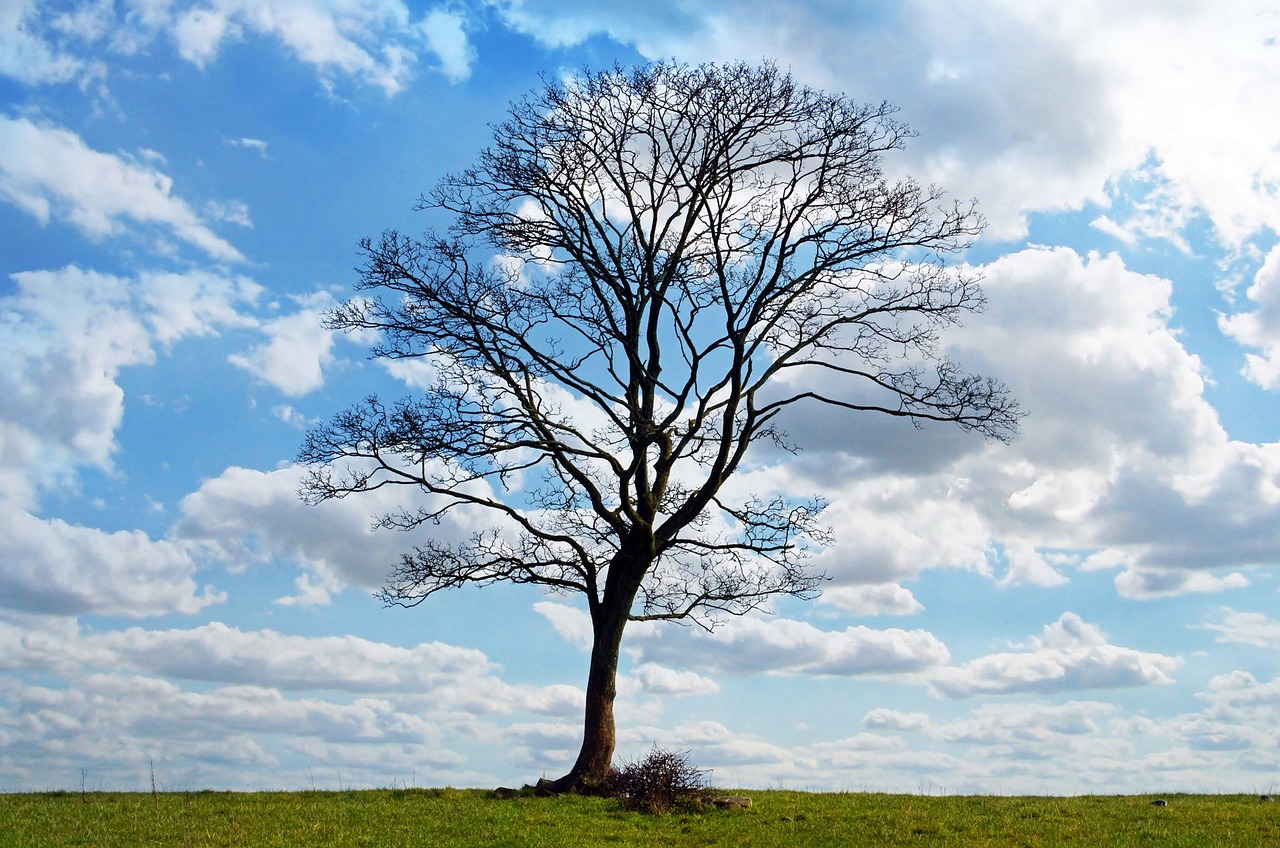
Incorporating Light and Shadow
When it comes to creating stunning landscapes, light and shadow are your best friends. They add depth, dimension, and drama to your drawings, transforming flat images into captivating scenes that seem to leap off the page. Imagine standing in a sun-drenched meadow, where the sunlight dances on the grass and shadows stretch lazily beneath the trees. This interplay is what makes a scene feel alive, and mastering it can elevate your artwork from ordinary to extraordinary.
To get started, it’s important to understand how light behaves. Think of light as a sculptor—it shapes the objects in your drawing, revealing their contours and textures. When you observe a landscape, notice how the light hits different surfaces: some areas may be brightly illuminated, while others are cloaked in shadow. This contrast is crucial for creating a realistic representation. You can think of shadows as the absence of light, and they can vary in intensity and softness depending on the light source. For instance, a bright midday sun casts sharp, defined shadows, while the soft glow of sunset creates gentle, elongated shadows.
One effective technique to incorporate light and shadow is to use hatching and cross-hatching. These are simple yet powerful methods of shading that can add texture and depth to your drawings. Hatching involves drawing parallel lines close together, while cross-hatching adds another layer of lines at an angle. The closer the lines are, the darker the area will appear. This technique can help you depict how light interacts with surfaces, such as the rough bark of a tree or the smooth surface of water.
Another important aspect to consider is the light source. Identifying where the light is coming from in your scene will guide you in determining where to place highlights and shadows. For example, if the sun is setting to the left, the right side of objects will be illuminated, while the left side will be in shadow. This creates a sense of volume and helps the viewer understand the three-dimensionality of your landscape.
When working with shadows, remember that they are not just dark patches; they can also have colors that reflect the surrounding environment. For example, a shadow cast on a grassy field might have hints of green or yellow, depending on the light bouncing off the grass. This attention to detail can make your artwork feel more cohesive and realistic.
To practice this concept, consider creating a simple still life with a single light source. Arrange a few objects, like a fruit bowl or a vase, and observe how the light interacts with them. Take your time to sketch the shadows and highlights, paying close attention to the variations in tone. This exercise will not only improve your understanding of light and shadow but also enhance your overall drawing skills.
As you incorporate light and shadow into your landscapes, you'll find that your drawings become more dynamic and engaging. Remember, it's all about creating contrast and allowing the viewer's eye to dance across the page. So grab your pencils, find a great scene, and let the magic of light and shadow transform your artwork!
- What is the best way to practice light and shadow in drawing?
Start with simple still lifes and focus on observing how light interacts with different objects. - Can I use color to represent shadows?
Absolutely! Shadows can have hues that reflect their surroundings, adding depth to your work. - How do I know where to place shadows in my landscape?
Identify your light source and remember that shadows will fall opposite to it, adapting to the object's shape.
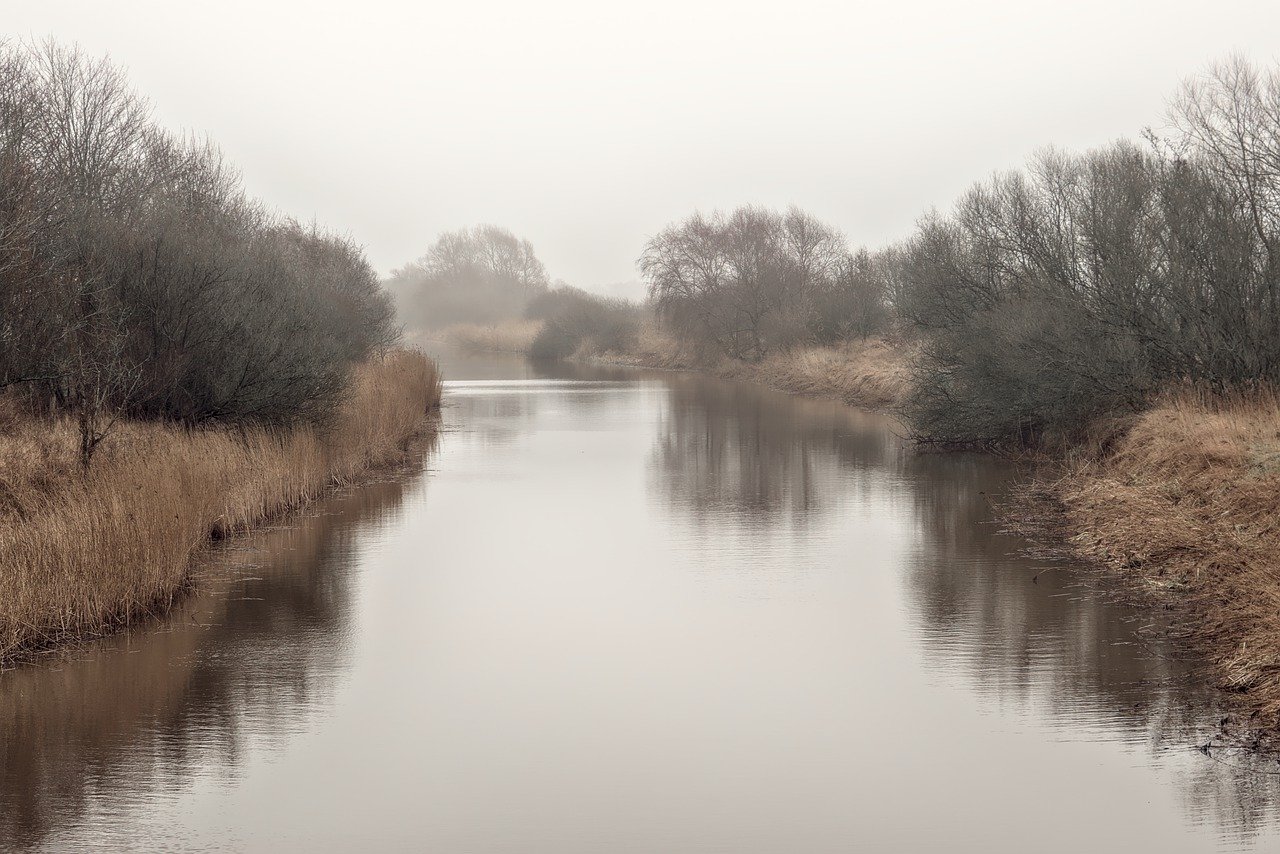
Using Color Effectively
Color is one of the most powerful tools in an artist's toolkit. It has the ability to evoke emotions, set the mood, and bring your landscapes to life. Imagine walking through a lush green forest; the vibrant colors of the leaves and the soft light filtering through the branches create an atmosphere that you can almost feel. When you translate this experience onto paper, using color effectively can make your scenery not just a visual representation, but a gateway to an emotional experience for the viewer.
To harness the full potential of color in your drawings, it's essential to understand some basic principles of color theory. This includes concepts like the color wheel, complementary colors, and color harmony. The color wheel is a circular diagram that shows the relationships between different colors. It can help you see how colors interact with each other. For instance, complementary colors—those that are opposite each other on the wheel—create a striking contrast that can make certain elements of your drawing pop.
When choosing colors for your landscapes, consider the mood you want to convey. Are you aiming for a serene sunset with warm oranges and soft pinks, or a dramatic stormy sky filled with dark blues and grays? The emotional impact of your artwork can significantly change based on your color choices. Here’s a quick overview of how different colors can influence the mood:
| Color | Mood |
|---|---|
| Red | Passion, energy, excitement |
| Blue | Calm, serenity, sadness |
| Yellow | Happiness, optimism, warmth |
| Green | Nature, growth, tranquility |
| Purple | Mystery, creativity, luxury |
Another important aspect of using color effectively is understanding the concept of color temperature. Colors can be categorized as warm (reds, oranges, yellows) or cool (blues, greens, purples). Warm colors tend to advance towards the viewer, creating a sense of excitement and energy, while cool colors recede, giving a feeling of calmness and distance. By strategically combining warm and cool colors, you can create depth and dimension in your landscapes.
Don't forget about the power of light in your color application. The way light interacts with colors can dramatically change their appearance. For example, colors can appear more vibrant in direct sunlight, while they may look muted or shadowed in dim light. Pay attention to how light sources affect your scenery, and use this knowledge to enhance your work. You can add highlights to areas that catch the light while using darker shades in the shadows to create a more realistic representation of your subject.
Finally, practice is key! Experiment with different color combinations and techniques. Try using a limited palette to create a cohesive look, or play with layering colors to achieve unique effects. Remember, the more you practice, the more comfortable you'll become with using color effectively in your artwork. So grab your tools, let your creativity flow, and watch as your landscapes transform into vibrant masterpieces!
- What is the best way to choose colors for my landscape drawings?
Start by considering the mood you want to convey and use the color wheel to find complementary colors that enhance your composition. - How can I create depth in my drawings using color?
Utilize warm colors for foreground elements and cool colors for background elements to create a sense of depth. - What tools can help me with color application?
Watercolor, colored pencils, and pastels are great tools for exploring color in your landscape drawings. - Is it important to understand color theory?
Yes, understanding color theory can significantly improve your ability to create harmonious and impactful artwork.
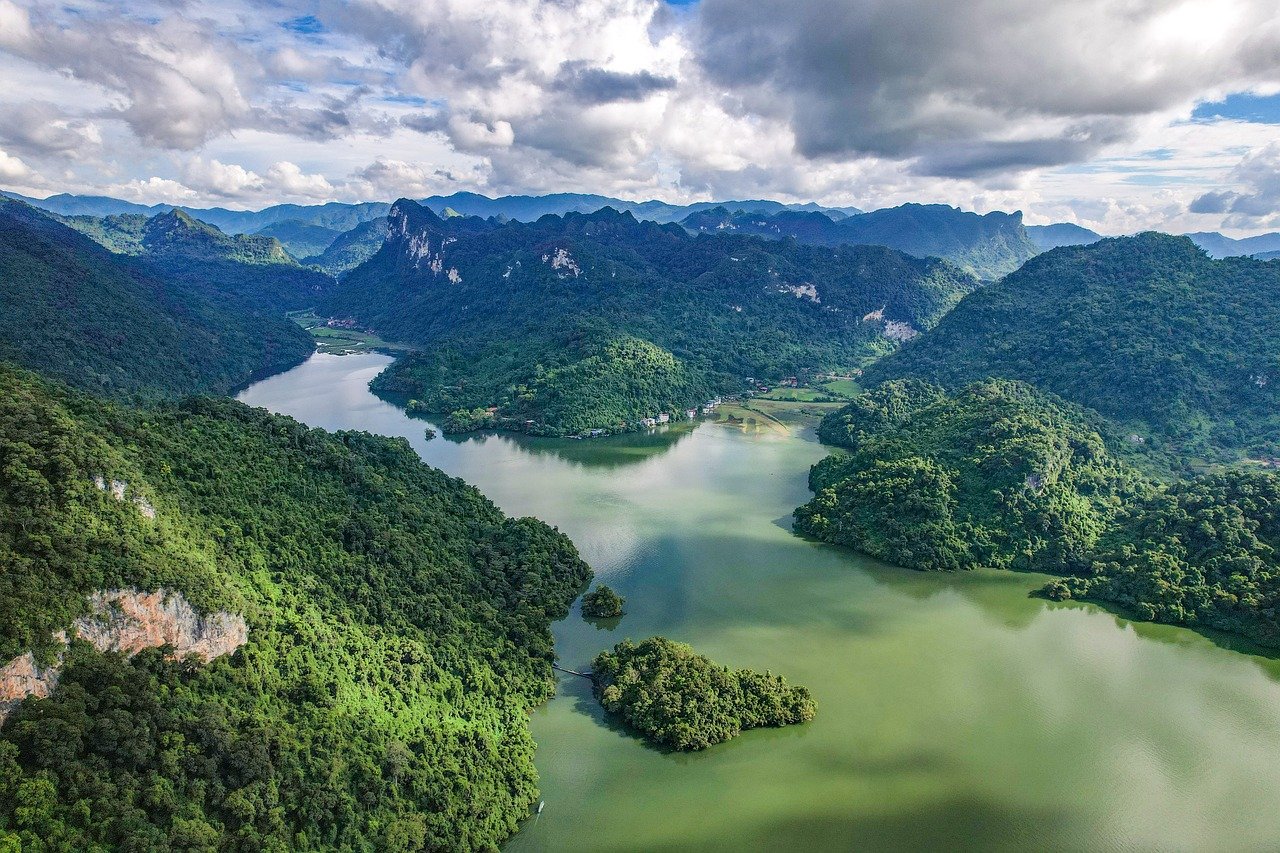
Sketching Techniques for Landscapes
When it comes to sketching landscapes, the techniques you employ can make all the difference between a flat representation and a vibrant, engaging scene. The beauty of landscape sketching lies in its ability to capture the essence of nature, and there are several techniques that can help you achieve stunning results. Let’s dive into some of the most effective methods that can elevate your artwork from ordinary to extraordinary.
One of the foundational techniques is contour drawing. This method involves drawing the outline of your subject without lifting your pencil from the paper. It encourages you to observe closely and capture the essence of your landscape in a single, fluid motion. Imagine tracing the outline of a mountain range or the gentle curves of a riverbank; this technique helps you develop a sense of connection with your subject.
Another exciting approach is gestural sketching. This technique focuses on capturing the movement and energy of a scene rather than getting bogged down in details. Think of it as a dance between your pencil and the paper, where you allow your hand to move freely, creating quick, expressive strokes. This method is particularly useful when sketching dynamic landscapes, such as a breezy meadow or a bustling beach. The spontaneity of gestural sketching can breathe life into your work, making it feel more animated and real.
Additionally, blocking in shapes is a powerful technique that can help you establish the overall composition of your landscape before diving into finer details. Start by using simple shapes to outline the major elements of your scene—like rectangles for buildings, triangles for mountains, and circles for trees. This method not only simplifies the sketching process but also ensures that your proportions are correct. Once you have the basic shapes down, you can gradually refine and add details, allowing your landscape to emerge naturally.
As you experiment with these techniques, remember that practice makes perfect. Don’t shy away from sketching in different environments; try drawing in a park, at the beach, or even from photographs. Each setting offers unique challenges and opportunities to hone your skills. To help you keep track of your progress, consider maintaining a sketchbook dedicated to landscapes. This will not only allow you to see how far you've come but also serve as a source of inspiration for future projects.
Incorporating these techniques can transform your approach to landscape sketching. Whether you prefer the fluidity of contour drawing, the energy of gestural sketches, or the structure of blocking in shapes, each method offers a unique way to express your artistic vision. So grab your sketchbook, find a beautiful view, and let your creativity flow!
- What materials do I need for landscape sketching?
All you need is a good sketchbook, a set of pencils or pens, and possibly some colored pencils or watercolors for later stages. Don’t forget an eraser! - How can I improve my sketching skills?
Practice regularly, study different techniques, and don’t hesitate to seek feedback from fellow artists or online communities. - Is it necessary to use color in landscape sketches?
No, many artists prefer monochromatic sketches to focus on form and composition first. Color can be introduced later as you gain confidence.
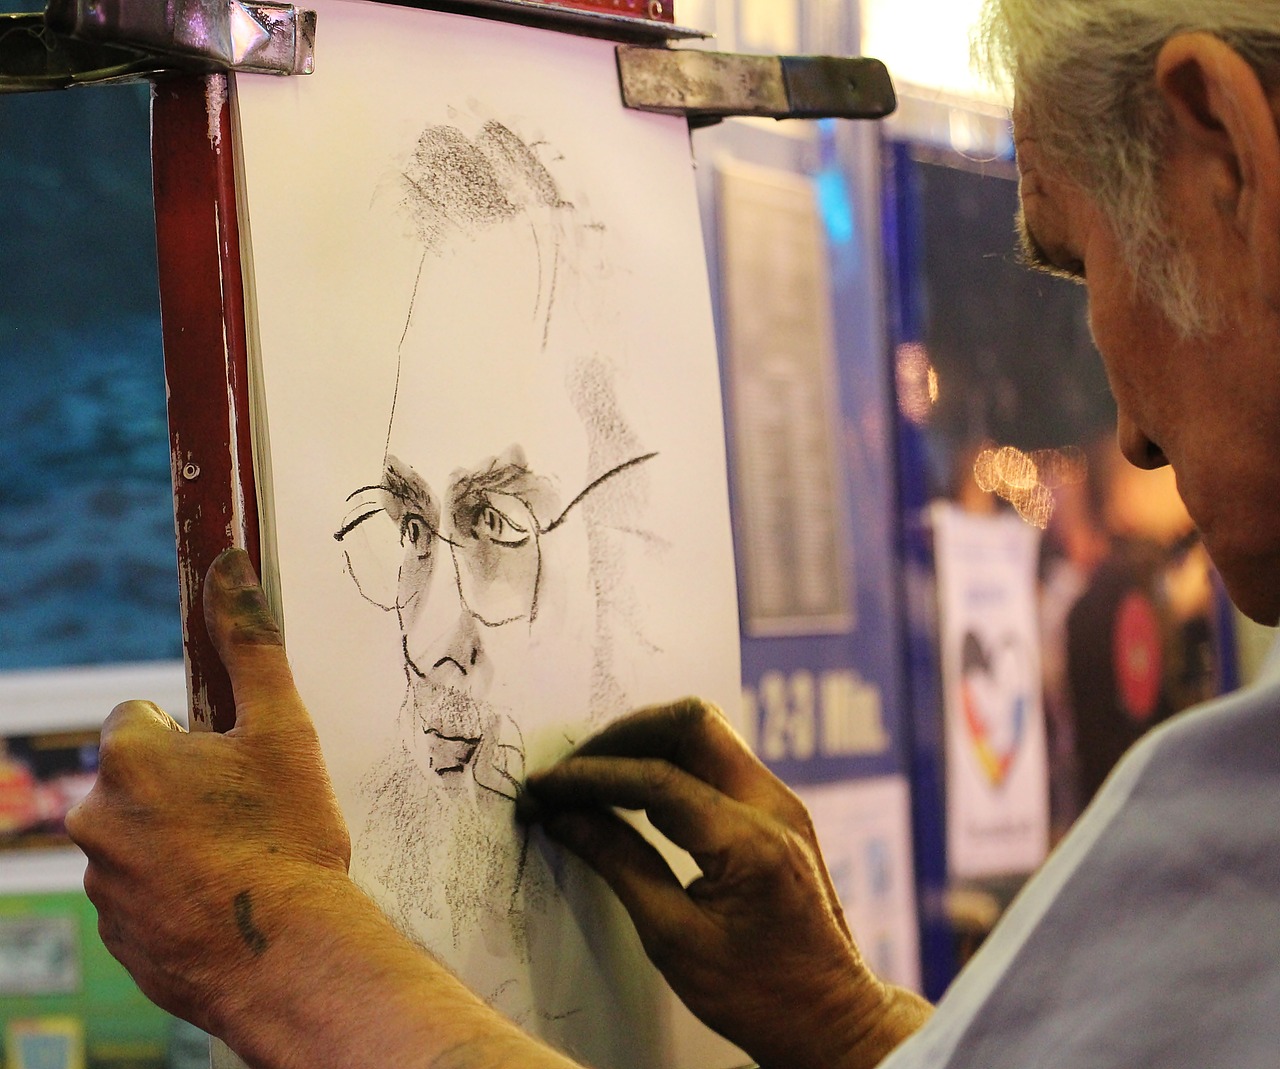
Adding Details and Textures
When it comes to creating stunning landscapes, details and textures are your best friends. They breathe life into your artwork, transforming a simple sketch into a vibrant scene that tells a story. Think about how a photograph captures the essence of a moment; your drawings should do the same. Imagine a serene lake surrounded by towering mountains. Without the intricate details of the trees, the ripples on the water, or the texture of the rocks, the scene would feel flat and lifeless. So, how do you master the art of adding these essential elements?
First, consider the natural elements in your scenery. Each component, whether it's a tree, a mountain, or a body of water, has its unique texture. For instance, the bark of a tree has a rough texture, while water is smooth and reflective. To represent these textures accurately, you can use various techniques:
- Cross-hatching: This technique involves drawing parallel lines that intersect to create shading and texture. It’s perfect for depicting the ruggedness of rocks or the intricate details of tree bark.
- Stippling: By using small dots, you can create a soft texture that works wonderfully for areas like grassy fields or sandy beaches.
- Blending: Using a blending stump or your fingers, you can smooth out pencil strokes to create the illusion of soft surfaces, such as clouds or water.
Next, don't forget about the importance of light. The way light interacts with surfaces can dramatically affect how textures are perceived. For example, sunlight hitting the leaves of a tree creates a play of light and shadow that adds depth. When adding details, think about where your light source is coming from and how it affects each element in your drawing. This consideration will help you to create a more realistic representation of your landscape.
Another key aspect is to layer your details. Start with the larger shapes and gradually build up to the finer details. This approach allows you to maintain a sense of proportion and balance in your artwork. For instance, when sketching a forest, begin with the outlines of the trees, then add the leaves and finally the intricate details of the bark and branches. This layering technique not only helps in organizing your composition but also adds a sense of depth and realism.
Lastly, always remember to step back and evaluate your work. Sometimes, it’s easy to get lost in the minutiae and forget the overall composition. By taking a moment to look at your drawing from a distance, you can better assess whether the details enhance the piece or clutter it. This practice will help you achieve a harmonious balance between detail and simplicity, ensuring that your landscapes are not only beautiful but also captivating.
| Question | Answer |
|---|---|
| What materials are best for adding textures? | Pencils, charcoal, and ink pens are excellent for creating textures. You can also experiment with different types of paper to see how they affect the final look. |
| How can I practice adding details to my drawings? | Start by observing real-life objects and practicing sketching them. Focus on one element at a time, such as a single leaf or a rock, and try to capture its texture accurately. |
| Is it necessary to add a lot of details? | Not necessarily. The key is to find a balance. Sometimes, less is more, and a few well-placed details can have a more significant impact than overwhelming the viewer with too much information. |

Finalizing Your Artwork
Once you've poured your heart and soul into creating a stunning landscape, it's time to take a step back and focus on the final touches. This stage is where your artwork transitions from a rough sketch to a polished masterpiece. Think of it like the icing on a cake; it’s what makes everything come together beautifully. First off, you want to refine your lines. Use an eraser gently to clean up any stray marks or smudges. This will help to create a crisp, clean look that allows your artwork to shine.
Next, consider the blending techniques that can enhance the depth and realism of your drawing. Whether you're using colored pencils or charcoal, blending can smooth out harsh lines and create a more cohesive appearance. You might use your fingers, a blending stump, or even a soft cloth to achieve the desired effect. Remember, blending is not just about making things look smooth; it’s about creating a sense of atmosphere and dimension in your artwork.
Another important aspect is the framing. A well-chosen frame can elevate your artwork and give it a professional touch. When selecting a frame, think about the colors and style of your drawing. A simple, understated frame often works best, allowing your artwork to be the star of the show. If you're feeling adventurous, consider creating a mat board to add an extra layer of sophistication.
Finally, don’t forget to sign your work! This is your creation, and your signature is a mark of ownership and pride. Place it subtly in a corner, where it won’t distract from the overall composition but is still visible. It’s like putting your personal stamp on a letter; it signifies that this piece is uniquely yours.
To summarize, finalizing your artwork involves several key steps:
- Refining Lines: Clean up stray marks and enhance clarity.
- Blending Techniques: Use tools to create smooth transitions and depth.
- Framing: Choose a frame that complements your artwork.
- Signing: Don’t forget to sign your masterpiece!
By paying attention to these details, you can ensure that your landscape drawings not only capture the beauty of nature but also reflect your personal artistic vision. Remember, the final touches are what make your artwork truly stand out and resonate with viewers. So take your time, enjoy the process, and let your creativity shine!
Here are some common questions that budding artists often have about finalizing their artwork:
- How do I know when my artwork is finished? It's often a gut feeling. If you find yourself making minor adjustments that don't significantly change the piece, it might be time to step back and call it done.
- What tools are best for blending? Blending stumps, tortillons, and even your fingers can be effective. Experiment to see what works best for you!
- Should I frame my artwork? Absolutely! A good frame can enhance the visual appeal and protect your work from damage.
- Where should I sign my artwork? A discreet corner is ideal, ensuring it doesn't distract from the main subject but is still visible.
Frequently Asked Questions
- What are the basic drawing skills needed to create beautiful sceneries?
To create stunning landscapes, you need to master fundamental skills such as understanding line, shape, and form. These basics act as the building blocks for any drawing, allowing you to represent the world around you more effectively. Think of it as learning to walk before you run; once you grasp these concepts, you can start crafting intricate scenes with confidence.
- How do I choose the right tools for drawing landscapes?
Selecting the right tools can make a world of difference in your drawing process. Consider using a variety of pencils for different shading techniques, pens for detailed work, and high-quality paper that suits your style. It's like picking the right ingredients for a recipe; the better your tools, the more delicious your artwork will turn out!
- What is perspective, and why is it important in landscape drawing?
Perspective is the technique used to represent three-dimensional objects on a two-dimensional surface. It helps create depth and realism in your drawings. Mastering one-point and two-point perspective is crucial because it allows you to depict landscapes that feel alive and immersive, just like stepping into a painting.
- How can I effectively incorporate light and shadow in my drawings?
Light and shadow are essential for adding dimension to your artwork. By practicing shading techniques and understanding how light interacts with objects, you can create a sense of volume and atmosphere. Imagine your drawing as a stage; the right lighting can transform a flat scene into a captivating performance!
- What are some tips for using color effectively in landscape drawings?
Color theory plays a significant role in conveying emotions and creating vibrant landscapes. Start by familiarizing yourself with the color wheel, and experiment with color harmony to evoke specific feelings. Just like a chef balances flavors, using color thoughtfully can make your artwork pop and resonate with viewers.
- What sketching techniques can I use to improve my landscape drawings?
There are several sketching techniques that can enhance your landscape drawings, including contour drawing, gestural sketching, and blocking in shapes. Each method offers a unique approach to capturing the essence of a scene. Think of these techniques as different paths leading to the same destination—each one can help you discover new artistic possibilities!
- How do I add details and textures to my landscape drawings?
Details and textures breathe life into your artwork. Focus on incorporating natural elements like trees, water, and rocks to create a sense of realism. Using varied line weights and shading techniques can help convey texture. It's like seasoning a dish; the right details can elevate your drawing from ordinary to extraordinary!
- What steps should I take to finalize my artwork?
Finalizing your artwork involves refining your drawing through techniques like erasing unwanted lines, blending colors for smooth transitions, and considering framing options for presentation. Think of it as polishing a gemstone; the final touches can make your piece shine and stand out!


