Landscape Drawing Tips for Beginners
Are you ready to embark on an artistic journey that allows you to capture the breathtaking beauty of nature? Landscape drawing is not just about putting pencil to paper; it's about translating the world around you into a visual narrative that speaks to the soul. Whether you’re gazing at a serene mountain view, a bustling cityscape, or a tranquil forest, your sketchbook is your canvas to express that awe. In this article, we will explore essential tips and techniques that will help you enhance your landscape drawing skills, from choosing the right materials to mastering advanced methods. So, grab your sketchbook, and let’s dive into the world of landscape drawing!
Understanding the various materials available for landscape drawing is crucial. The right tools can make a significant difference in the quality and ease of your work. Start with a good set of pencils; a range from H (hard) to B (soft) will give you the versatility you need. H pencils are excellent for fine lines and details, while B pencils are perfect for shading and creating depth. Don't forget about the paper! A heavier weight paper can handle more layers of pencil and erasing, which is especially important when you're trying to capture the intricate details of nature. Additionally, consider investing in blending stumps or tortillons for smooth transitions in shading, and an eraser that can help you create highlights in your drawings.
Mastering fundamental drawing techniques is essential for beginners. Start by practicing basic strokes; they are the building blocks of any drawing. Experiment with different pressures on your pencil to see how it affects line quality. Once you feel comfortable, move on to shading methods. Remember, shading is not just about making things darker; it's about creating a sense of volume and form. Use hatching, cross-hatching, and stippling to add texture and depth to your landscapes. Think of your drawing as a three-dimensional space, and use these techniques to guide the viewer’s eye through the foreground, middleground, and background.
Perspective is key in landscape drawing. It’s the magic trick that gives your art depth and realism. Begin with one-point perspective, which is often used for roads or paths that lead off into the distance. Imagine you are standing on a straight road; all lines converge at a single point on the horizon. On the other hand, two-point perspective is ideal for buildings or structures. Here, you’ll have two vanishing points on the horizon line, which helps create a more dynamic composition. By mastering these perspectives, you’ll be able to create landscapes that leap off the page!
The horizon line is fundamental in landscape art. It represents the viewer's eye level and can dramatically affect the mood of your drawing. Positioning it high can emphasize the foreground, while a lower horizon line can create a sense of vastness in the sky. Experiment with different placements to see how they change the overall feel of your artwork. A well-placed horizon line can guide the viewer's eye and create a strong focal point in your landscape.
Learning to differentiate between these three layers adds depth to your artwork. The foreground typically contains the most detail and can include elements like rocks, plants, or paths. The middleground is where the main subject of your landscape often resides, such as trees or hills. Finally, the background usually features distant elements, like mountains or clouds, rendered in softer lines and lighter shades. By effectively representing each section, you’ll create a more immersive experience for your viewers, making them feel as if they could step right into your drawing.
Color plays a vital role in landscape drawing. It can evoke emotions and set the tone for your artwork. Start by familiarizing yourself with basic color theory; understand primary, secondary, and complementary colors. When choosing your palette, consider the time of day and the mood you wish to convey. For instance, warm colors like oranges and reds can create a sunset effect, while cool colors like blues and greens can evoke a sense of calm. Don't shy away from experimenting with different color combinations to find what resonates with you!
Experimenting with various landscapes helps improve your skills. Challenge yourself to draw a range of environments, from majestic mountains to serene forests and bustling urban scenes. Each landscape presents its own unique challenges and learning opportunities. For instance, drawing mountains requires you to understand how to depict rugged textures and varying shades, while urban landscapes will test your ability to capture straight lines and architectural details. The more diverse your practice, the more proficient you’ll become!
Natural landscapes present unique challenges. When capturing trees, focus on the shapes and textures of the leaves and bark. Water can be tricky, as it reflects light and colors, so practice rendering ripples and reflections to create realism. Don’t forget to incorporate the sky; it can significantly affect the overall mood of your drawing. Play with clouds and different lighting effects to bring your natural landscapes to life.
Urban landscapes require different approaches. Start by breaking down buildings into basic geometric shapes. This will help you maintain perspective and proportion as you add details. Pay attention to the play of light and shadow on buildings, as this can add depth to your sketches. Consider including people or vehicles to give a sense of scale and life to your urban scenes.
Finding inspiration is crucial for creativity. Nature walks can provide a wealth of ideas, allowing you to observe the changing light and colors in real time. Additionally, online resources such as art forums, social media, and photography websites can spark your imagination. Don’t hesitate to take photos of landscapes that inspire you; they can serve as excellent references for your drawings.
Learning from the masters can enhance your skills. Study the works of notable landscape artists like Claude Monet, Vincent van Gogh, and Ansel Adams. Analyze their techniques, color choices, and compositions. Try to emulate their styles in your own work to discover new methods and approaches that resonate with you.
Using photographs as references can be beneficial. Choose high-quality images that capture the essence of the landscape you wish to draw. Pay attention to how light interacts with the scene and the details that make it unique. As you draw, refer back to the photograph to ensure accuracy, but also allow yourself the freedom to interpret and adapt the scene to fit your artistic vision.
Q: What materials do I need to start landscape drawing?
A: You’ll need a range of pencils, quality drawing paper, an eraser, and blending tools. Optional materials include colored pencils or watercolors for adding color.
Q: How can I improve my perspective in drawings?
A: Practice drawing simple shapes in one-point and two-point perspective. Use reference images to understand how objects recede into the distance.
Q: Is it better to draw from life or from photographs?
A: Both methods have their advantages. Drawing from life helps you observe details and light changes, while photographs can provide a stable reference for intricate scenes.
Q: How do I choose a color palette for my landscapes?
A: Consider the mood you want to convey and the time of day. Start with a limited palette and gradually expand as you become more comfortable with color mixing.
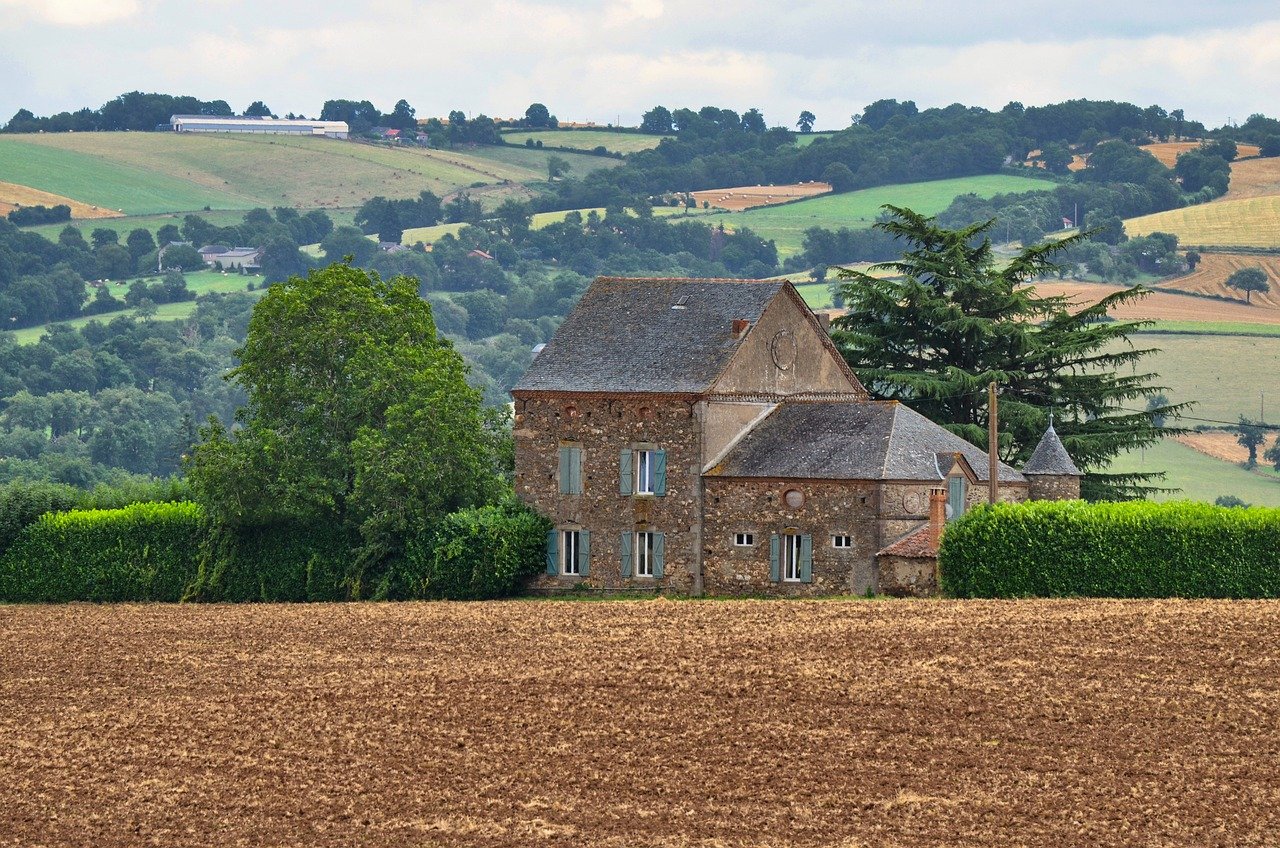
Choosing the Right Materials
When it comes to landscape drawing, the materials you choose can make a significant difference in the outcome of your artwork. Think of your materials as the paintbrushes of a painter; the right tools can elevate your work from mediocre to magnificent. So, what should you consider when selecting your drawing materials? Let’s dive into the essentials!
First and foremost, pencils are a fundamental tool in your drawing arsenal. You'll want to invest in a range of pencils, from hard (H) to soft (B). Hard pencils are excellent for fine lines and details, while soft pencils are perfect for shading and creating rich textures. A basic pencil set typically includes:
- 2H - for light lines
- HB - for general use
- 2B - for darker lines and shading
- 4B and 6B - for deep shadows and rich textures
Next, let’s talk about the paper. The type of paper you choose can greatly affect the final look of your drawing. For landscape drawings, you might want to opt for textured papers, as they can hold graphite better and provide a more interesting finish. Here are a few types of paper you might consider:
- Sketch Paper: Lightweight and ideal for practice.
- Drawing Paper: Heavier and more textured, suitable for detailed work.
- Watercolor Paper: If you’re planning to incorporate watercolors into your landscapes, this is the way to go!
In addition to pencils and paper, don’t overlook the importance of erasers. A good eraser can help you correct mistakes without damaging your paper. There are two main types to consider: the traditional pink eraser, which is great for general use, and the kneaded eraser, which is perfect for lifting graphite without leaving residue. Both have their unique advantages, so having a couple of options at your disposal is wise.
Finally, consider other tools that can enhance your drawing experience. Blending stumps are fantastic for smoothing out pencil strokes and creating soft transitions between light and shadow. Additionally, a ruler can help you maintain straight lines, especially when working on structured landscapes like cityscapes or architectural elements.
In summary, choosing the right materials is a critical step in your landscape drawing journey. By investing in quality pencils, selecting the appropriate paper, and utilizing helpful tools, you'll set yourself up for success. Remember, the right materials not only enhance your drawing experience but also empower you to bring your artistic vision to life!
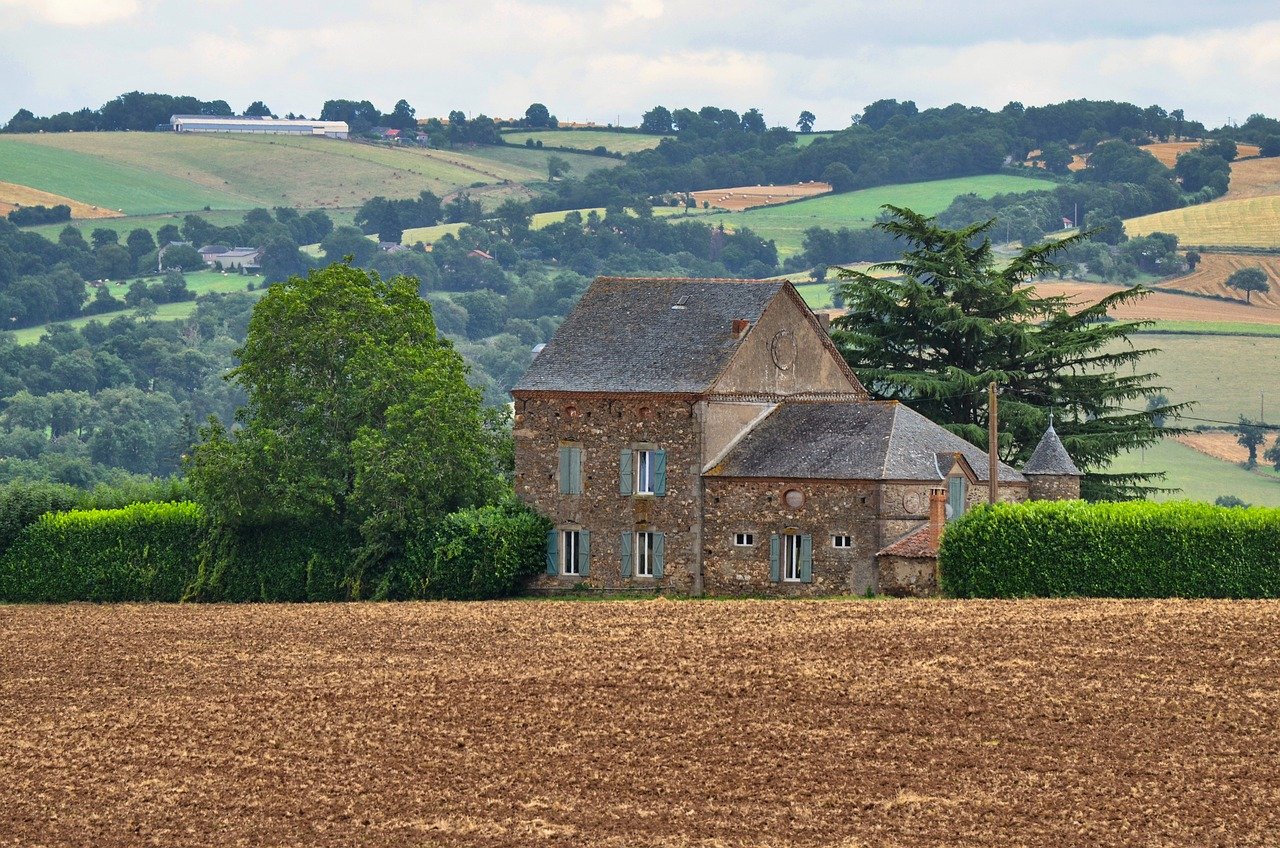
Basic Techniques for Beginners
When it comes to landscape drawing, mastering basic techniques is like laying the foundation for a beautiful house. You wouldn't build a home on shaky ground, right? Similarly, your drawings need solid techniques to stand out. Let's dive into some essential strokes, shading methods, and tips for adding depth to your landscapes that will make your artwork pop!
First off, let's talk about basic strokes. Every artist has their unique style, but understanding how to create different strokes can help you find yours. For starters, practice using your pencil to create a variety of lines: from soft, gentle curves that mimic the flow of a river to sharp, jagged edges that depict rocky cliffs. Experimenting with pressure will also give you a feel for how to vary the darkness and lightness of your lines. This is where the magic happens! You can create texture and movement in your drawings just by adjusting how hard you press down on your pencil.
Next up is shading. Shading is crucial for giving your landscapes that three-dimensional feel. Think of it as the icing on the cake; without it, everything looks flat and uninviting. Start by identifying your light source. Is the sun shining bright, casting long shadows? Or is it a cloudy day with soft, diffused light? Once you know where your light is coming from, you can begin to shade accordingly. Use hatching (parallel lines) or cross-hatching (intersecting lines) to build up shadows gradually. Remember, practice makes perfect! Try shading different objects like trees and rocks to see how light interacts with them.
Another important aspect is creating depth in your drawings. This is where perspective comes into play. Think of your landscape as a stage with different layers: foreground, middleground, and background. The foreground is where you place your focal point—perhaps a stunning tree or a vibrant flower. The middleground can include elements like hills or a small pond, while the background often features distant mountains or a sunset sky. By varying the size and detail of objects in each layer, you can trick the eye into perceiving depth. For instance, larger, more detailed objects in the foreground contrast beautifully with smaller, less detailed shapes in the background.
To help visualize these concepts, consider the following table that outlines the key techniques:
| Technique | Description |
|---|---|
| Basic Strokes | Experiment with different line types and pressures to create texture. |
| Shading | Use hatching and cross-hatching to add dimension based on light source. |
| Creating Depth | Layer your objects by size and detail to enhance the sense of space. |
Finally, don't forget to take breaks and step back to look at your work from a distance. Sometimes, we get so caught up in the details that we lose sight of the bigger picture. Just like in life, taking a moment to reflect can provide clarity and inspiration. So grab your sketchbook, find a cozy spot, and start practicing these techniques. You'll be amazed at how quickly your skills improve!
Q: What materials should I use as a beginner?
A: Start with a basic set of pencils (HB to 6B), good quality sketch paper, and an eraser. As you progress, you can explore colored pencils or watercolors.
Q: How can I improve my shading?
A: Practice makes perfect! Experiment with different techniques like hatching and blending. Pay attention to light sources in your environment.
Q: Is it necessary to draw from real life?
A: While drawing from photographs is helpful, nothing beats drawing from real life. It trains your eyes to see proportions, light, and depth more accurately.

Understanding Perspective
When it comes to landscape drawing, perspective is your secret weapon for creating a sense of depth and realism. Imagine standing in a vast field, gazing at the mountains in the distance. The way those mountains appear smaller than the trees in front of you is all about perspective. For beginners, grasping the concepts of one-point and two-point perspective can feel like learning a new language, but once you get the hang of it, your drawings will leap off the page!
One-point perspective is the simplest form. Picture a straight road disappearing into the horizon. All the lines converge at a single point on the horizon line. This technique is perfect for scenes where you want to draw the viewer's eye into the depth of the landscape. For example, if you're sketching a long pathway lined with trees, the trunks will appear larger as they come closer to you and gradually smaller as they recede into the distance, converging at that vanishing point.
On the other hand, two-point perspective adds a bit more complexity and excitement to your drawings. This method is often used when drawing objects at an angle, like a building seen from the corner. Here, you’ll have two vanishing points on the horizon line. Imagine standing at the intersection of two streets; the buildings on either side will recede towards their respective vanishing points, creating a dynamic and engaging scene. This technique can be particularly useful for urban landscapes, where the interplay of buildings creates a rich tapestry of lines and shapes.
To make the most of perspective in your landscape drawings, consider these key elements:
- Horizon Line: This is where the sky meets the ground. It determines the viewer's eye level and is crucial for establishing perspective.
- Vanishing Points: These are the points on the horizon line where parallel lines appear to converge. The placement of these points can dramatically alter the feel of your artwork.
- Overlap: Objects that are closer to the viewer should overlap those that are further away, enhancing the sense of depth.
As you practice, try sketching simple shapes like boxes or cylinders in both one-point and two-point perspective. Once you feel comfortable, move on to more complex landscapes. Remember, the beauty of perspective lies in its ability to create a three-dimensional feel on a two-dimensional surface. So don’t shy away from experimenting! Your artistic journey is all about discovery, and mastering perspective will open up a world of possibilities in your landscape drawings.
Q: What is the best way to practice perspective drawing?
A: Start with basic shapes and gradually incorporate more complex scenes. Use reference images to understand how perspective works in real life.
Q: How can I improve my understanding of horizon lines?
A: Spend time observing landscapes in real life or through photographs. Notice where the horizon line falls in relation to the objects around it.
Q: Should I always use a vanishing point?
A: Not necessarily! While vanishing points are essential for certain perspectives, you can create depth through overlap and varying sizes of objects.
Using Horizon Lines
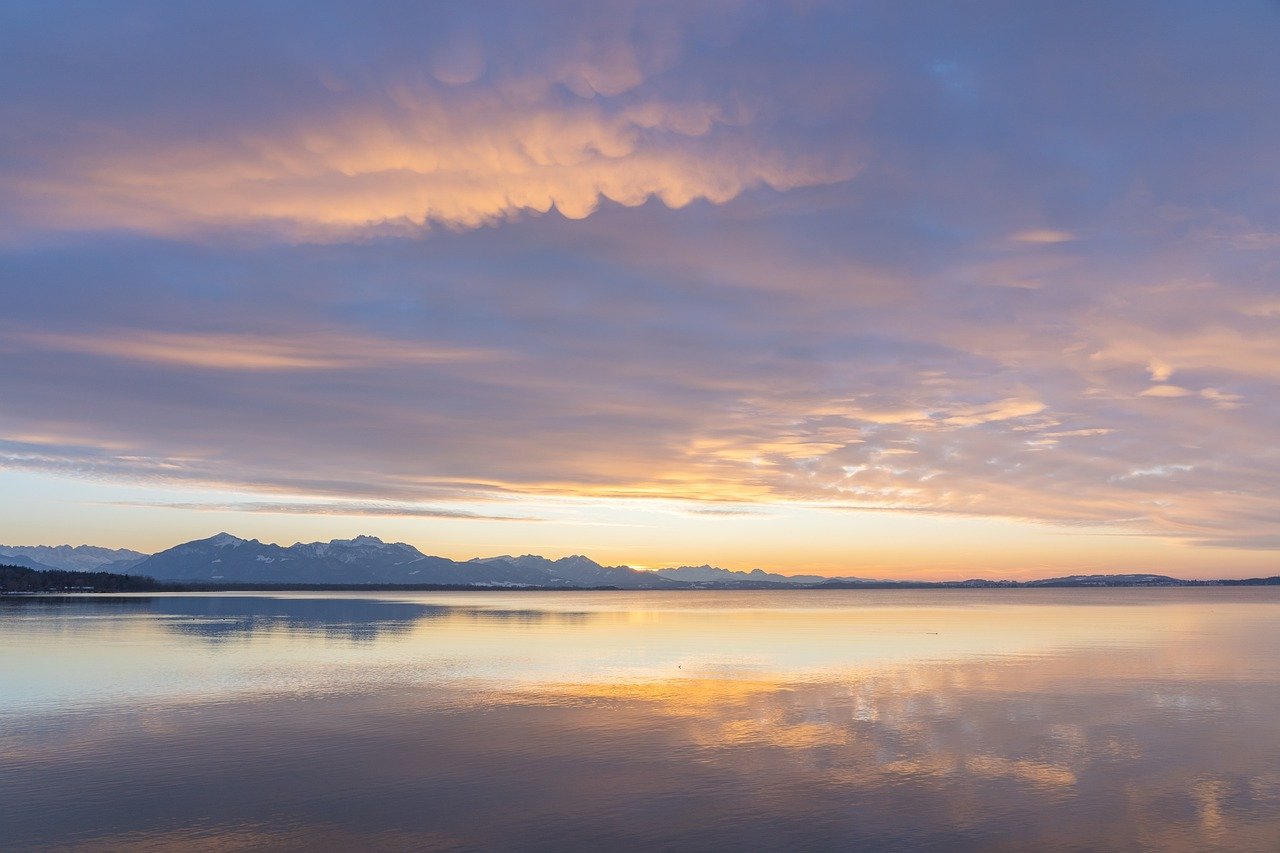
The horizon line is one of the most crucial elements in landscape drawing. It serves as the dividing line between the earth and the sky, establishing a sense of scale and depth in your artwork. Think of it as the foundation upon which your entire landscape is built. When you position the horizon line correctly, it can dramatically influence the viewer's perception of distance and perspective.
To effectively use horizon lines, consider the following tips:
- Placement Matters: The height of your horizon line can alter the mood of your drawing. A lower horizon line often emphasizes the sky, making it feel expansive and open, while a higher horizon line can create a sense of intimacy, focusing more on the land below.
- Creating Depth: By varying the placement of your horizon line, you can create a more dynamic composition. A horizon line positioned higher can give the illusion of vastness, while a lower line can help in emphasizing foreground elements.
- Consistency: Ensure that your horizon line remains consistent throughout your drawing. This consistency is key to maintaining the illusion of depth and perspective.
When drawing landscapes, remember that the horizon line doesn't always have to be straight. It can curve or dip, especially in natural settings like hills or valleys. This can add an element of surprise and make your artwork more engaging. For instance, a gently undulating horizon line can evoke a sense of rolling hills, while a jagged line might suggest rugged mountains.
Moreover, the horizon line can be used to guide the viewer's eye throughout your composition. By strategically placing elements like trees, mountains, or buildings along the horizon, you can create a visual path that leads the viewer deeper into the landscape. This technique not only enhances the overall composition but also invites the viewer to explore your artwork more thoroughly.
In conclusion, mastering the use of horizon lines can significantly elevate your landscape drawings. By understanding their importance and experimenting with their placement, you can create stunning and realistic representations of the natural world. So grab your sketchbook and start experimenting with different horizon lines to see how they transform your landscapes!
Q: What is the purpose of the horizon line in landscape drawing?
A: The horizon line helps establish the viewer's perspective and creates a sense of depth in the artwork. It separates the land from the sky and is essential for accurate perspective.
Q: How can I determine the best placement for my horizon line?
A: The placement of the horizon line depends on the focus of your drawing. If you want to emphasize the sky, place the horizon line lower. If you want to focus on the land, position it higher.
Q: Can the horizon line be curved?
A: Yes! The horizon line can be curved or uneven, especially in natural landscapes. This can add interest and realism to your drawing.
Creating Foreground, Middleground, and Background
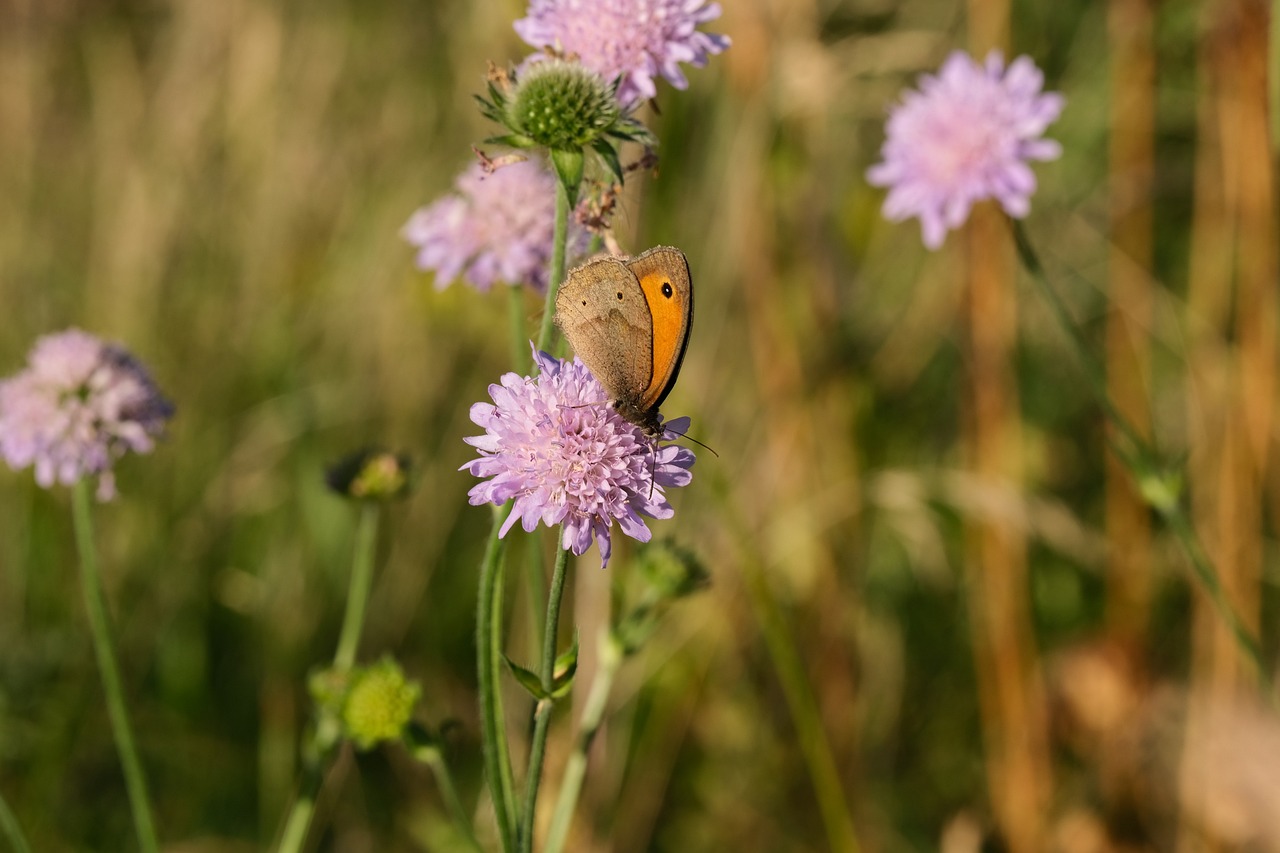
When it comes to landscape drawing, understanding the concept of foreground, middleground, and background is essential for creating a sense of depth and realism. Imagine your drawing as a stage where different elements play their parts, contributing to the overall scene. The foreground is the area that appears closest to the viewer, often filled with detailed elements that draw the eye. This could be a vibrant flower patch, a rocky outcrop, or any object that brings the scene to life. The key here is to use more intricate details and richer colors to make these elements pop, creating an immediate connection with the viewer.
Moving back in your drawing, the middleground serves as a transition area. This is where you can depict larger elements that are still significant but not as close as those in the foreground. Think of rolling hills, trees, or a winding river that leads the eye further into the scene. Here, you want to use slightly less detail compared to the foreground but still maintain some interest. This can be achieved through softer lines and more muted colors, suggesting that these elements are further away.
Finally, the background is where the horizon meets the sky, often filled with distant mountains, clouds, or a fading sunset. This layer should be the least detailed and can be rendered with lighter, more blended colors to create an atmospheric effect. It's important to remember that the background helps to frame your scene, providing context and depth. By layering your drawing in this way, you create a visual journey for the viewer's eye, guiding them from the detailed foreground through the middleground and into the expansive background.
To effectively create these three layers, consider the following techniques:
- Size Variation: Use larger objects in the foreground and gradually smaller ones as you move back. This helps establish depth.
- Color Gradient: Utilize a color gradient where colors become lighter and less saturated as they recede into the background.
- Detail Reduction: Apply more detail in the foreground and reduce detail in the background to enhance the illusion of distance.
By mastering the art of layering your landscape with a clear foreground, middleground, and background, you will not only enhance the visual appeal of your drawings but also create a more immersive experience for your audience. Remember, practice makes perfect, so don’t hesitate to experiment with different scenes and compositions!
Q: How do I choose what to put in the foreground?
A: Choose elements that are interesting and add character to your drawing. They should be something that captures attention and adds detail.
Q: Can I use photographs for reference?
A: Absolutely! Photographs can help you understand how to layer elements and capture realistic details in your landscape drawing.
Q: How do I create a sense of depth in my drawings?
A: Use size variation, color gradients, and detail reduction to create layers that guide the viewer’s eye through the landscape.

Incorporating Color
When it comes to landscape drawing, color is not just an afterthought; it’s a vital component that can breathe life into your artwork. Imagine stepping outside on a bright, sunny day—the vibrant greens of the grass, the deep blues of the sky, and the warm hues of the earth all come together to create a stunning visual symphony. But how do you capture that essence on paper? Let's dive into the basics of color theory and how you can effectively incorporate color into your landscape drawings.
First off, understanding the color wheel is essential. It’s like your roadmap for choosing colors that complement each other. The color wheel consists of primary colors (red, blue, yellow), secondary colors (green, orange, purple), and tertiary colors, which are made by mixing primary and secondary colors. By familiarizing yourself with the relationships between these colors, you can create harmonious palettes that evoke certain moods in your landscapes. For instance, warm colors like reds and yellows can create a sense of warmth and energy, while cool colors like blues and greens can evoke calmness and serenity.
Once you have a basic understanding of color theory, it’s time to think about your palette. Choosing the right colors is crucial for capturing the essence of your landscape. Here are a few tips to help you select your palette:
- Observe Nature: Take a moment to look around you. Notice how colors change with the time of day, the seasons, and the weather. For instance, a sunset might bathe the landscape in warm oranges and purples, while a foggy morning may present a more muted palette.
- Limit Your Colors: As a beginner, it can be tempting to use every color in your arsenal. However, sticking to a limited palette can help create a more cohesive look. Try using three to five colors for a particular drawing to maintain harmony.
- Experiment: Don’t be afraid to mix colors and see what happens! Some of the most stunning landscapes come from unexpected color combinations. Grab your brushes and play around with mixing shades to find what resonates with you.
Additionally, consider the lighting in your landscape. The same scene can look drastically different under various lighting conditions. For example, direct sunlight can wash out colors, while overcast skies can deepen and enrich them. Pay attention to how light affects the colors in your scene and adjust your drawing accordingly. Using lighter tones for areas that catch the light and darker tones for shaded areas can add dimension and realism to your work.
Finally, don’t forget about layering your colors. Just like in a good recipe, sometimes it’s about building flavors. Start with a base layer of color and gradually add more layers to create depth and texture. This technique can be especially effective in landscapes with complex elements like trees, water, or clouds. The more you practice layering, the more natural it will feel, and soon you’ll be able to create landscapes that pop off the page.
In conclusion, incorporating color into your landscape drawings is an art in itself. By understanding color theory, selecting a thoughtful palette, considering lighting, and mastering layering techniques, you can transform your artwork into a vibrant representation of the beauty that surrounds us. So grab your materials, embrace the colors of nature, and let your creativity flow!
Q: What is the best medium for incorporating color in landscape drawing?
A: The best medium often depends on personal preference. Watercolors are great for soft, blended effects, while colored pencils allow for precision and detail. Experiment with different mediums to find what works best for you!
Q: How can I improve my color mixing skills?
A: Practice is key! Spend time experimenting with mixing different colors to see how they interact. Keeping a color journal can also help you track your progress and find combinations you love.
Q: Should I always use vibrant colors in my landscapes?
A: Not necessarily! While vibrant colors can create impact, muted tones can also convey mood and atmosphere. It’s all about what you want to express in your artwork.
Practicing with Different Landscapes
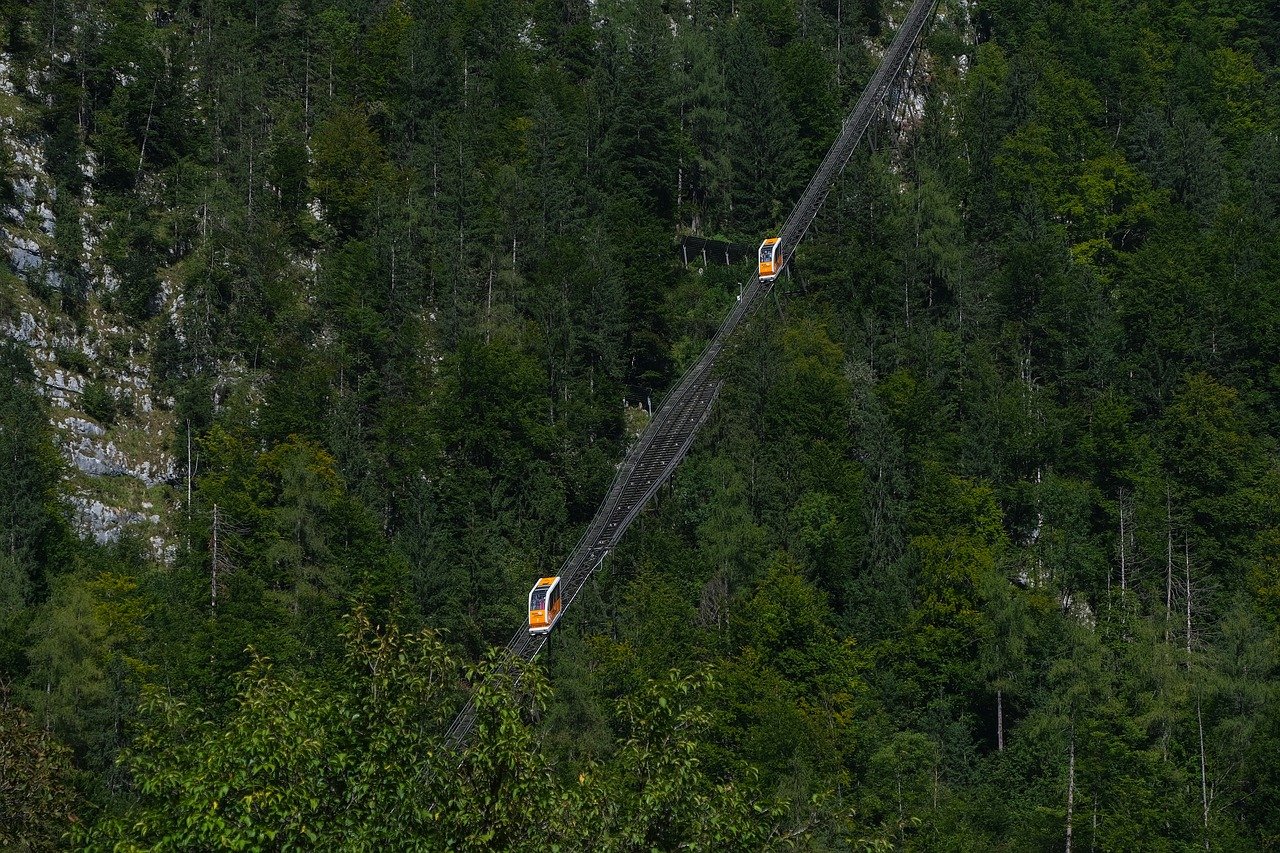
When it comes to landscape drawing, variety is the spice of life! Practicing with different types of landscapes not only enhances your skills but also keeps your creative juices flowing. Imagine standing in front of a majestic mountain range, feeling the cool breeze on your face while you sketch the peaks against the sky. Or picture yourself in a bustling urban environment, with towering skyscrapers and busy streets begging to be captured on paper. Each landscape presents its own unique challenges and rewards, making it essential for beginners to experiment with various settings.
To get started, consider breaking down the landscapes into three main categories: natural landscapes, urban landscapes, and abstract landscapes. Each category offers distinct elements that can enhance your drawing repertoire. For instance, natural landscapes often include elements like trees, rivers, and mountains, while urban landscapes are filled with buildings, streets, and human activity. Abstract landscapes, on the other hand, allow you to play with colors and shapes without the constraints of realism.
Here’s a quick overview of what to focus on when practicing with these different landscapes:
| Landscape Type | Key Elements to Focus On | Techniques to Practice |
|---|---|---|
| Natural Landscapes | Trees, Water, Mountains | Shading, Texture, Depth |
| Urban Landscapes | Buildings, Streets, People | Perspective, Proportion, Composition |
| Abstract Landscapes | Colors, Shapes, Forms | Color Theory, Brush Techniques, Imagination |
As you dive into these different landscapes, don't shy away from making mistakes. Each error is a stepping stone toward improvement. For instance, when drawing natural landscapes, you might struggle with capturing the intricate details of a tree's bark or the shimmering surface of a lake. Instead of getting frustrated, use these challenges as opportunities to learn. Consider spending time outdoors, observing how light interacts with different elements in nature. Take notes, sketch quick studies, and immerse yourself in the beauty around you.
Similarly, urban landscapes can be daunting due to their complexity. Buildings have different architectural styles, and streets are often crowded with people and vehicles. Try to simplify your approach by focusing on the overall composition first, then gradually add details. Consider using a grid method to help maintain proportions, especially when depicting tall buildings. Remember, the goal is not perfection but rather to capture the essence of the scene.
Lastly, don't forget to allow your imagination to roam free when working on abstract landscapes. This is your chance to express your feelings and thoughts through colors and forms, without being tied to reality. Experiment with different palettes and brush strokes, and let your creativity guide you. Who knows? You might discover a new style that resonates with you!
In conclusion, practicing with different landscapes is not just about enhancing your technical skills; it's also about expanding your artistic vision. So grab your sketchbook, find a beautiful spot—whether it’s a serene park, a bustling city street, or even your own backyard—and start drawing. The world is your canvas, and every landscape has a story waiting to be told!
Q: How do I choose which landscape to draw?
A: Choose a landscape that inspires you. It could be a place you’ve visited or a scene from your imagination. The key is to select something that excites you!
Q: What materials do I need for landscape drawing?
A: Basic materials include pencils, sketch paper, erasers, and possibly colored pencils or watercolors for adding color. Start simple and expand your toolkit as you grow.
Q: How often should I practice drawing landscapes?
A: Aim to practice regularly, even if it’s just for a few minutes each day. Consistency is more important than duration, so find a routine that works for you.
Q: Can I use photographs as references for my drawings?
A: Absolutely! Photographs can be excellent references. Just make sure to understand the scene and add your personal touch to make it unique.

Drawing Natural Landscapes
When it comes to , the challenge lies not just in capturing the essence of nature but in translating that beauty onto paper. Imagine standing in a serene forest, the sunlight filtering through the leaves, casting playful shadows on the ground. How do you convey that feeling? It’s all about observation and technique. Start by closely examining the elements around you. Notice the way trees sway in the wind, the texture of rocks, and the fluidity of water. Each component tells a story, and your job as an artist is to narrate that story through your drawings.
One of the first steps in drawing natural landscapes is to understand the different elements that compose the scene. Here are some key components you should focus on:
- Trees: Pay attention to their shapes and textures. Each species has unique characteristics—some are tall and slender, while others are short and bushy. Use varied line weights to depict the solidity and delicacy of branches.
- Water: Capturing the essence of water can be tricky. Observe how light reflects off the surface and how it ripples. Use soft, flowing strokes to convey movement and depth.
- Sky: The sky can set the mood for your landscape. Experiment with gradients and soft blending to create the illusion of clouds and atmospheric depth.
As you begin sketching, consider the composition of your landscape. A well-composed drawing leads the viewer's eye through the scene. Use the rule of thirds to position key elements. For instance, placing a majestic mountain in the background while allowing a winding river to flow through the foreground can create a sense of depth and intrigue.
Don’t forget about lighting! The time of day dramatically influences how you perceive colors and shadows. Early morning light is soft and warm, while midday sun can create stark contrasts. Experiment with different lighting scenarios in your sketches to see how they affect the overall mood of your landscape.
Finally, remember that practice is essential. Don’t hesitate to venture outdoors with your sketchbook. Take a moment to sit quietly in nature, observe, and sketch what you see. Over time, you’ll develop your own style and techniques for capturing the beauty of the natural world. And who knows? You might just find your next masterpiece waiting right outside your door!
Q: What materials are best for drawing natural landscapes?
A: For natural landscapes, a good quality sketchbook, pencils (ranging from H to B), and erasers are essential. If you want to add color, consider watercolors or colored pencils for a vibrant touch.
Q: How do I practice drawing landscapes?
A: Start by drawing simple scenes from photographs or real life. Focus on different elements like trees, water, and skies separately before combining them into a full landscape.
Q: Should I use a reference photo?
A: Yes! Reference photos can help you understand the composition, lighting, and color schemes. Just make sure to add your personal touch to the drawing.
Q: How can I improve my shading techniques?
A: Practice different shading techniques like hatching, cross-hatching, and blending. Observe how light interacts with surfaces in nature to replicate those effects in your drawings.
Sketching Urban Landscapes
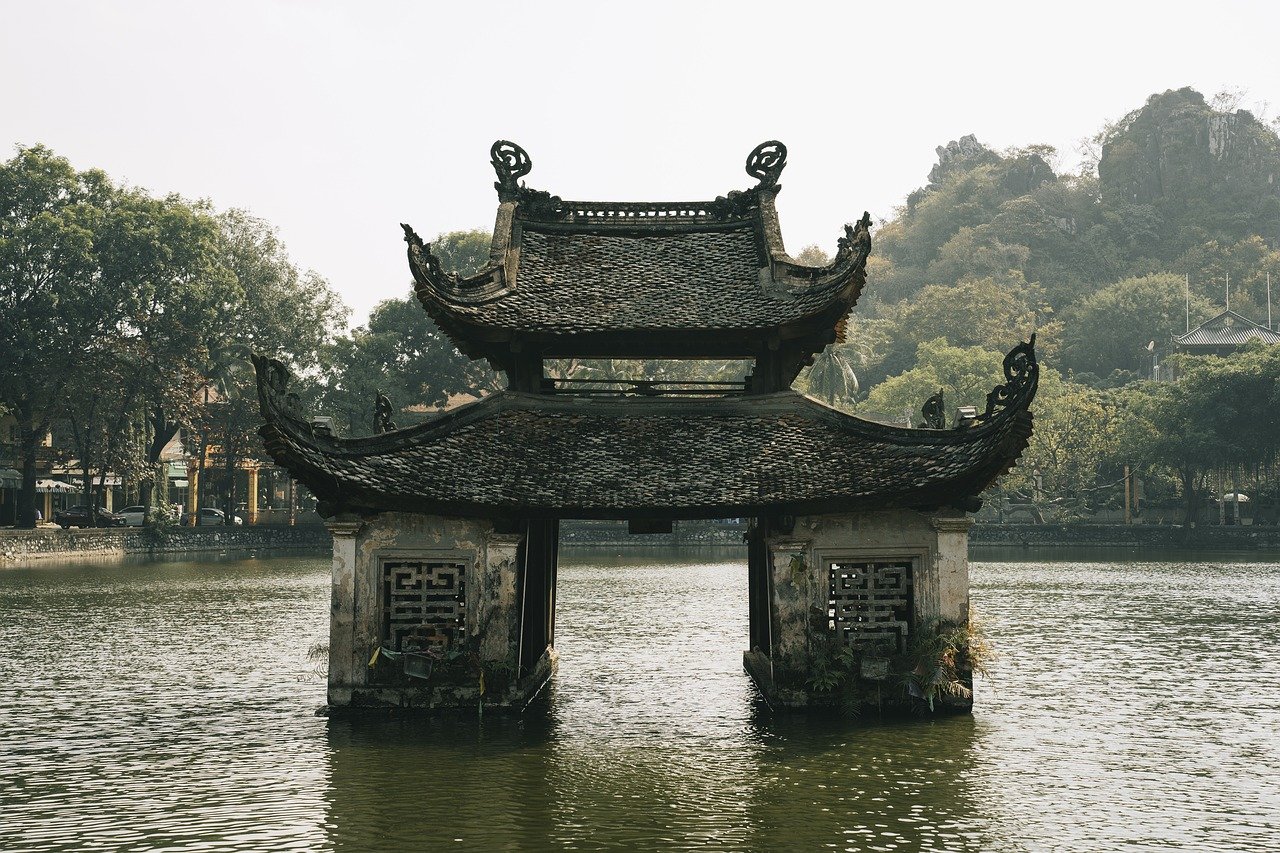
When it comes to urban landscapes, the challenge is as exhilarating as it is daunting. Imagine standing in the heart of a bustling city, where towering skyscrapers meet the vibrant chaos of everyday life. The key to capturing this energy lies in understanding both the structure and the spirit of the city. Urban landscapes are not just about buildings; they encompass the rhythm of life, the play of light, and the intricate details that make each scene unique.
First and foremost, you need to develop a keen eye for perspective. Unlike natural landscapes, where horizons are often gentle and sweeping, urban scenes are filled with sharp angles and vertical lines. To achieve a realistic representation, practice using two-point perspective, where you have two vanishing points on the horizon line. This technique helps create depth, making your buildings appear to recede into the distance. Remember, the horizon line is not just a flat line; it can be dynamic, shifting with the height of the buildings around it.
Another essential aspect of sketching urban landscapes is proportion. Buildings can vary drastically in height and width, and capturing these differences accurately is vital. Start with simple shapes to outline the basic structure of your buildings. Use light pencil strokes to create a rough sketch. Once you are satisfied with the proportions, you can go in with darker lines to define the details. Pay attention to the spacing between structures, as this can convey a sense of scale and distance.
In addition to buildings, don't forget to include the urban environment. Sidewalks, streets, and the people moving through them add life to your sketches. Consider the foreground, middleground, and background in your compositions. For instance, you might draw pedestrians in the foreground to create a sense of activity, while placing distant skyscrapers in the background to establish context. This layering technique enhances the depth and makes your artwork more engaging.
Color can also play a significant role in urban landscape sketches. While many urban scenes can appear gray and dull, don't shy away from using vibrant colors to capture the essence of the city. Consider the time of day; a sunset can cast warm hues over buildings, while the harsh light of midday might create stark contrasts. Experiment with different palettes to see how they affect the mood of your drawing.
Lastly, practice makes perfect! Urban landscapes are everywhere, waiting to be captured. Take your sketchbook on a walk through your city, and don’t be afraid to sit down and sketch what you see. Each sketch is an opportunity to improve your skills and find your unique style. Whether it’s the intricate details of a historic building or the lively atmosphere of a street market, urban landscapes offer endless possibilities for creativity.
- What materials do I need for sketching urban landscapes?
Basic materials include a sketchbook, pencils of varying hardness, an eraser, and possibly some colored pencils or markers for adding color. - How can I improve my perspective drawing skills?
Practice drawing simple shapes in perspective, such as boxes and cylinders, before moving on to more complex structures like buildings. - Is it necessary to draw every detail in an urban landscape?
No, focus on capturing the essence and overall structure; details can be suggested rather than meticulously rendered. - Can I use photographs as references for my sketches?
Absolutely! Photographs can provide valuable perspective and detail, but try to incorporate your own style and interpretation.
Seeking Inspiration
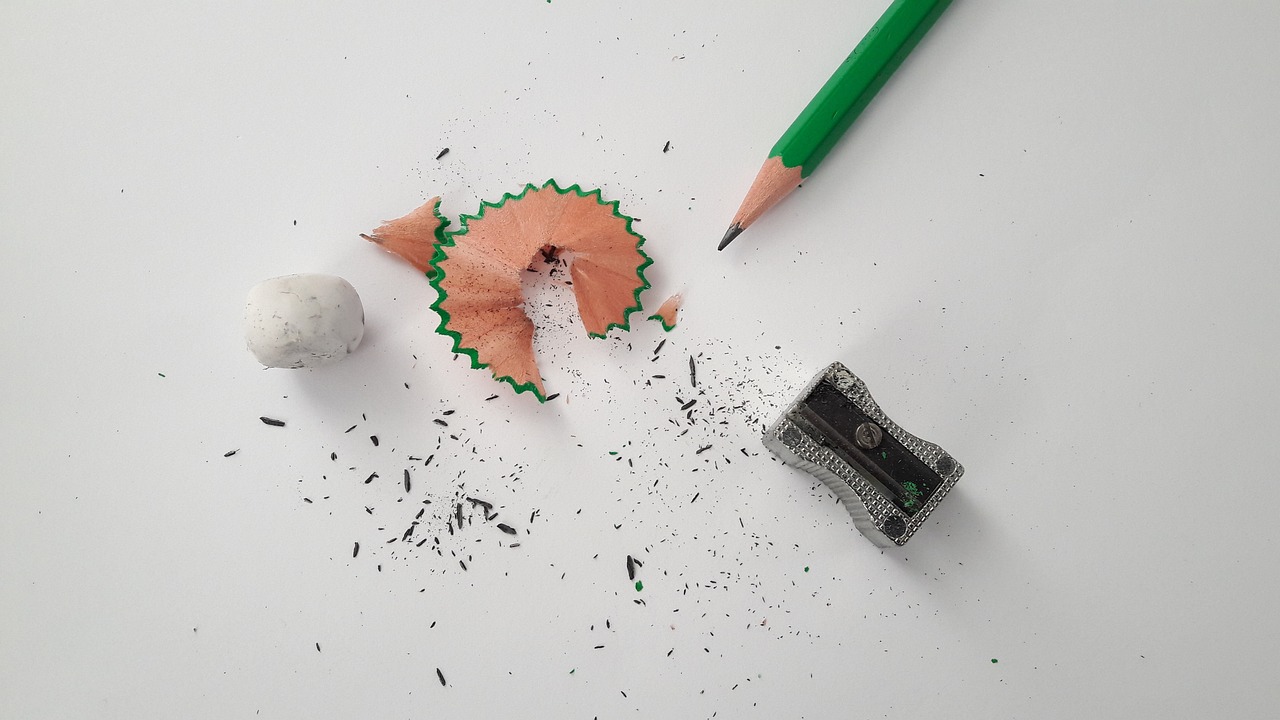
Finding inspiration for your landscape drawings is like searching for treasure; sometimes it’s hidden in plain sight, and other times, you have to dig a little deeper. Whether you’re a novice artist or someone looking to rekindle your passion for drawing, the world around you is brimming with potential ideas. You might be wondering, “Where do I even start?” Well, let’s dive into some exciting ways to spark your creativity!
One of the most accessible ways to gather inspiration is by taking nature walks. When you step outside, you’re greeted by a symphony of colors, textures, and forms. Pay attention to the way light dances on the leaves or how shadows stretch across the ground. Each scene is a canvas waiting for your interpretation. Bring along a sketchbook to jot down quick sketches or notes about what you see—these can serve as fantastic references later!
Another great source of inspiration can be found in online resources. Websites like Pinterest, Instagram, and art forums are treasure troves of artistic ideas. You can search for hashtags like #landscapedrawing or #natureart to find a plethora of stunning images. However, remember to use these as a starting point rather than a crutch. Challenge yourself to recreate the essence of what you see but add your unique twist to it.
Additionally, consider exploring your local parks, gardens, or even urban settings. Each environment offers a distinct atmosphere and a unique set of challenges. For instance, drawing a serene lake surrounded by trees will require different techniques compared to capturing the hustle and bustle of a city street. This variety not only enhances your skills but also keeps your drawing practice fresh and exciting.
Inspiration can also come from studying famous landscape artists. Look at the works of masters like Claude Monet, Vincent van Gogh, or contemporary artists like Andrew Wyeth. Analyze their techniques, color choices, and compositions. What emotions do their landscapes evoke? By understanding their approaches, you can incorporate these elements into your own work, adding depth and richness to your landscapes.
Lastly, don’t underestimate the power of photography. Using photographs as references can help you capture intricate details and complex compositions that might be difficult to observe in real-time. When selecting photos, look for images that resonate with you emotionally. This connection will make it easier to convey that feeling in your drawings. Remember to credit photographers if you share their work or use it as inspiration!
In summary, seeking inspiration for landscape drawing is about being open to your surroundings and the world of art. Whether through nature walks, online resources, studying the masters, or using photography, the key is to keep your eyes and mind open. Every scene has a story, and it’s up to you to capture it on paper!
- Where can I find inspiration for landscape drawing? You can find inspiration in nature walks, online resources, famous artworks, and through photography.
- How can I improve my landscape drawing skills? Practice regularly, experiment with different techniques, and study the works of renowned landscape artists.
- Is it okay to use photographs as references? Absolutely! Just ensure you give credit to photographers when sharing their work.
Studying Famous Landscape Artists
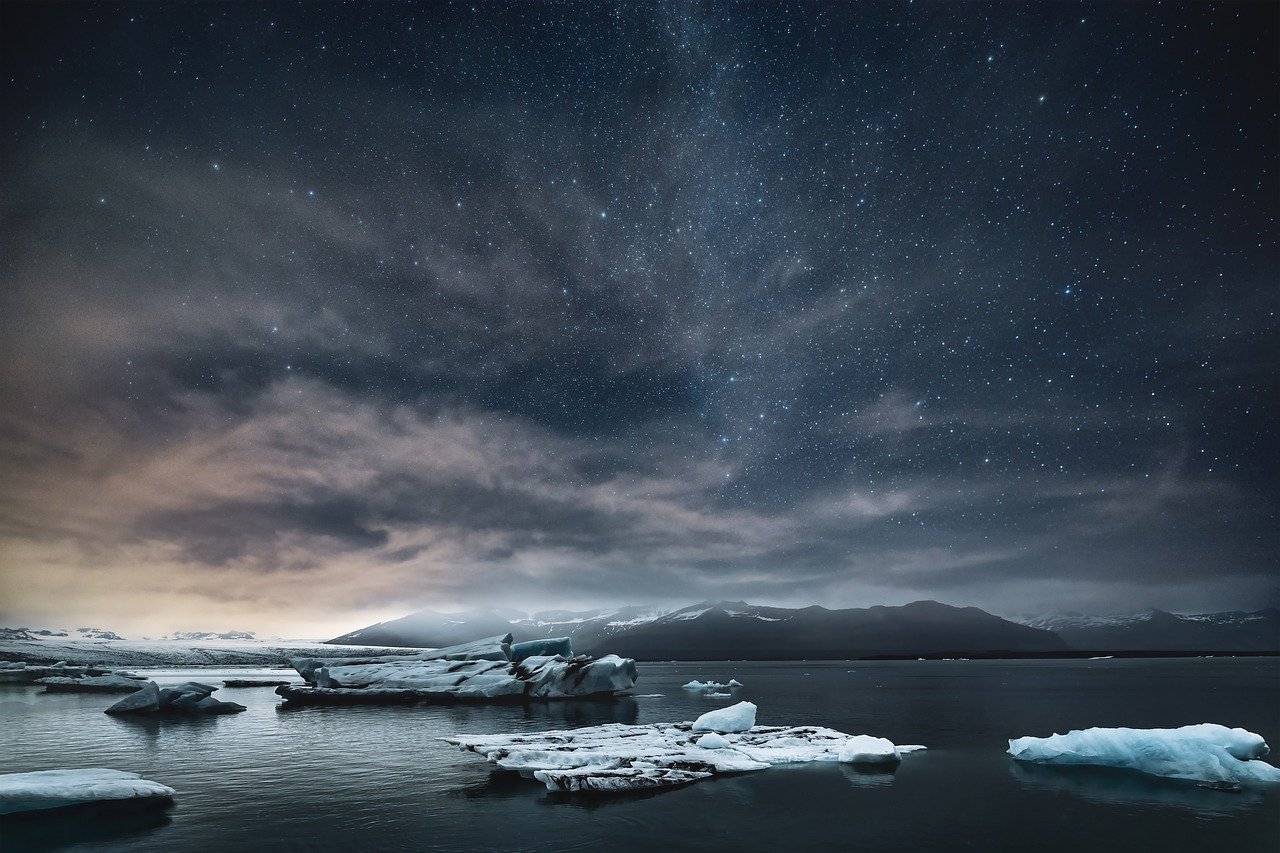
When it comes to enhancing your landscape drawing skills, one of the most enriching activities you can engage in is studying the works of famous landscape artists. These artists have not only mastered their craft but have also left behind a treasure trove of techniques and styles that can inspire and inform your own work. By delving into their art, you can discover a variety of approaches to composition, color, and perspective that will elevate your drawings to new heights.
Take, for example, the breathtaking landscapes of Claude Monet. His use of light and color to depict nature is nothing short of magical. Monet’s famous series of water lilies and his depiction of the Japanese bridge at Giverny showcase his ability to capture the essence of a scene rather than just its physical attributes. By studying his brush strokes and color palettes, you can learn how to convey emotion and atmosphere in your own landscapes.
Another artist worth exploring is John Constable, known for his romantic and realistic portrayal of the English countryside. Constable’s work emphasizes the importance of capturing the natural elements in your drawings, such as the play of light on water or the texture of foliage. His sketches and studies often reveal the underlying structure of his compositions, providing valuable insights into how to build depth and realism in your own work.
For those drawn to a more modern aesthetic, Georgia O'Keeffe offers a unique perspective on landscape art. Her bold use of color and form transforms the American Southwest into a vibrant tapestry of shapes and hues. O'Keeffe’s ability to simplify complex landscapes into striking compositions can teach you how to focus on essential elements, making your work more impactful. By observing her techniques, you can learn how to distill a scene down to its most powerful components.
To help you get started, here’s a quick overview of some notable landscape artists and what you can learn from them:
| Artist | Key Techniques | Notable Works |
|---|---|---|
| Claude Monet | Use of light, color, and brush strokes | Water Lilies, Impression, Sunrise |
| John Constable | Realism, texture, and natural elements | The Hay Wain, Dedham Vale |
| Georgia O'Keeffe | Simplification, bold colors, and forms | Black Mesa Landscape, Red Hills |
As you study these artists, consider visiting art museums or galleries where their works are displayed. Observing the paintings up close can reveal details that are often missed in books or online. Additionally, many artists have documentaries or interviews available that provide insight into their creative processes. This can be a great way to understand their motivations and how they approached their landscape work.
Finally, don’t hesitate to experiment with your own style as you learn from these masters. Try to emulate their techniques in your sketches, but remember to infuse your unique perspective into your work. After all, the goal is not to copy but to be inspired and to grow as an artist. So grab your sketchbook, dive into the world of landscape art, and let the creativity flow!
- How do I choose which landscape artist to study? Start with artists whose styles resonate with you. Explore different periods and movements to find what inspires you the most.
- Can I use photographs of famous artworks for reference? Yes, but make sure to credit the artist and be mindful of copyright laws when sharing your interpretations.
- What materials should I use when practicing landscape drawing? Basic materials like pencils, charcoal, and watercolor paints are great for beginners. As you progress, experiment with different mediums.

Utilizing Photography for Reference
When it comes to landscape drawing, photography can be an invaluable tool. It’s like having a personal assistant that captures the beauty of nature exactly as you see it. By using photographs as references, you can study the intricate details of a scene, from the delicate play of light to the vibrant hues of the sky. But how do you effectively use these images to enhance your drawing skills? Let’s dive into some practical tips!
First and foremost, choose the right photographs. Look for images that resonate with you, whether it’s a breathtaking mountain vista or a serene lakeside view. Pay attention to the composition and lighting of the photo. A well-composed photograph can serve as a powerful guide for your drawing, helping you understand the balance of elements within the frame. Consider aspects such as:
- Lighting: Observe how light interacts with different surfaces.
- Composition: Note the arrangement of elements and how they lead the viewer's eye.
- Color Palette: Analyze the colors present and think about how they can be replicated in your drawing.
Another important aspect is to break down the photograph into manageable sections. Instead of trying to replicate the entire scene at once, focus on one area at a time. This allows you to capture the details more accurately without feeling overwhelmed. For instance, if you’re drawing a forest, you might start with a single tree before expanding to the entire grove. This step-by-step approach can significantly enhance your understanding of how to depict different elements in your landscape.
Moreover, consider the benefits of using digital tools when working with photographs. With software like Adobe Photoshop or even simple apps on your phone, you can adjust the brightness, contrast, and even crop the image to focus on specific areas. This can be particularly helpful when trying to understand how shadows fall or how colors blend together in different lighting conditions.
Finally, don’t forget to combine your photos with real-life observation. While photographs are great references, nothing beats the experience of being in nature. Use your camera to capture moments that inspire you, but also take the time to sit and sketch what you see. This dual approach—using photography and live observation—will not only improve your drawing skills but also deepen your appreciation for the beauty around you.
In summary, utilizing photography for reference in landscape drawing can elevate your work to new heights. By carefully selecting your images, breaking them down into sections, leveraging digital tools, and combining them with real-life observation, you'll find that your ability to capture the essence of nature improves dramatically. So grab your camera, head outside, and start snapping away!
Q: How do I choose the best photographs for my landscape drawing?
A: Look for images that inspire you, focusing on composition, lighting, and color. Choose photos that highlight elements you want to learn more about.
Q: Can I use any photograph as a reference?
A: While you can use any photograph, it’s best to select images that are clear and well-composed to ensure you’re learning the right techniques.
Q: Should I rely solely on photographs for my landscape drawings?
A: No, it's important to combine photographs with real-life observation. This will help you develop a deeper understanding of the subject matter.
Frequently Asked Questions
- What materials do I need to start landscape drawing?
To begin your journey in landscape drawing, you’ll need some essential materials. A good set of pencils (ranging from H to B grades), quality drawing paper, an eraser, and a sharpener are fundamental. You might also want to consider using colored pencils or watercolors to add vibrancy to your artwork. Don't forget a sketchbook to practice whenever inspiration strikes!
- How can I improve my shading techniques?
Improving your shading techniques is all about practice and understanding light. Start by experimenting with different pencil pressures to create varying tones. Use hatching, cross-hatching, or stippling methods to add texture. Observing real-life objects and how light interacts with them can also provide valuable insights into creating realistic shading in your landscapes.
- What is the importance of perspective in landscape drawing?
Perspective is crucial because it gives your drawings depth and realism. By mastering one-point and two-point perspective, you can create the illusion of space and distance in your landscapes. This technique helps to guide the viewer's eye through your artwork, making it more engaging and lifelike.
- How do I effectively use horizon lines?
The horizon line is where the sky meets the ground, and it plays a vital role in establishing perspective. Position it according to your composition—lower for a dramatic sky or higher for a detailed foreground. Remember, the horizon line can dramatically affect the mood of your drawing, so experiment with its placement!
- What should I consider when incorporating color into my landscapes?
When adding color, understanding color theory is key. Familiarize yourself with the color wheel, and consider using complementary colors to create contrast. Choose a color palette that reflects the mood you want to convey. Whether it's the vibrant hues of a sunset or the muted tones of a foggy morning, color can significantly enhance your landscape drawings.
- How can I find inspiration for landscape drawing?
Inspiration can be found everywhere! Take nature walks, visit parks, or explore urban settings—each offers unique scenes to capture. Additionally, browsing through art books or online galleries can spark ideas. Don’t hesitate to look at the work of famous landscape artists for techniques and styles that resonate with you.
- Should I use photographs for reference while drawing?
Absolutely! Using photographs as references can greatly improve your accuracy and understanding of landscapes. Select high-quality images that showcase the elements you want to draw, and use them to study details like light, color, and composition. Just remember to use them as a guide, not a crutch—let your creativity shine through!


