How to Use Acrylic Mediums in Your Painting
Are you ready to unlock the full potential of your creativity? If so, diving into the world of acrylic mediums is your ticket to transforming ordinary paintings into extraordinary masterpieces! Whether you're a newbie just starting out or a seasoned artist looking to spice things up, understanding how to use acrylic mediums can elevate your painting experience. In this article, we'll explore various mediums, their applications, and techniques that can enhance your artwork. So, grab your brushes and let’s get started!
Acrylic mediums are not just fancy additives; they are versatile substances that modify the properties of your acrylic paint. Think of them as the secret ingredients in your artistic recipe! By altering texture, drying time, and transparency, these mediums allow you to achieve effects that standard acrylic paints simply can't deliver. From creating rich textures to enhancing color depth, knowing the right medium for your project is crucial. So, let’s break down the different types of acrylic mediums and help you choose the perfect one for your next adventure!
When it comes to acrylic mediums, variety is the name of the game. Here are the main categories you’ll encounter:
- Gels
- Pastes
- Glazes
Each type has its unique characteristics and applications. Understanding these can significantly enhance your painting techniques. Now, let’s dive deeper into each type!
Acrylic gels are fantastic for those looking to add some serious texture to their work. They can thicken your paint and create stunning visual effects. When using gels, consider the following tips:
- Mix gels with your paint to achieve different consistencies.
- Experiment with layering gels to create depth.
- Use a palette knife for more dramatic textures.
By incorporating gels into your painting routine, you can achieve a range of effects from subtle to bold, making your artwork truly stand out!
Heavy body gels are perfect for those impasto techniques that give your paintings a three-dimensional quality. Imagine applying paint so thickly that it almost jumps off the canvas! These gels maintain their shape, allowing you to create dramatic peaks and valleys in your artwork. They’re ideal for artists who want to add a sense of movement and dynamism to their pieces.
If you prefer a smoother consistency, soft body gels are your best friend. These gels are perfect for glazing techniques, allowing you to layer colors seamlessly. The fluid application means you can create luminous effects that make your artwork glow. Just think of soft body gels as the silky fabric of your painting; they help create a beautiful flow that enhances your overall composition.
Acrylic pastes are another exciting medium that can add unique textures and finishes to your artwork. You can think of pastes as the sculptors of the paint world. They come in various types, including modeling paste and texture paste, each offering different effects. For instance, modeling paste can create a sculptural quality, while texture paste can add grit and depth.
Glazing is a technique that involves applying transparent layers of paint to achieve depth and richness. It’s like putting a beautiful filter over your artwork, allowing the underlying layers to shine through. To create a glaze, simply mix your acrylic paint with a glazing medium. This technique can transform your paintings by adding a luminous quality that captivates the viewer.
To create the perfect glaze, follow these simple steps:
- Start with a small amount of acrylic paint.
- Add a glazing medium to the paint until you achieve a transparent consistency.
- Apply the glaze with a soft brush, building up layers as desired.
By carefully layering glazes, you can achieve vibrant results that will leave your audience in awe!
Layering glazes can produce stunning visual effects, but timing is everything! Pay attention to drying times, as they can vary based on the thickness of your layers. Mixing colors can also create beautiful, complex surfaces. Imagine painting a sunset; the layers of color blend together to create a breathtaking view. Mastering layering techniques will take your artwork to the next level, giving it that extra oomph!
Q: Can I mix different types of acrylic mediums?
A: Absolutely! Mixing different mediums can lead to exciting new textures and effects. Just be sure to test them out on a small scale first!
Q: How do I clean my brushes after using acrylic mediums?
A: Clean your brushes with soap and water immediately after use to prevent the mediums from drying on the bristles.
Q: Are acrylic mediums safe to use?
A: Most acrylic mediums are non-toxic, but it's always wise to check the label for specific safety information.

Understanding Acrylic Mediums
This article explores various acrylic mediums, their applications, and techniques to enhance your painting experience, providing valuable insights for both beginners and experienced artists.
Acrylic mediums are versatile substances that modify the properties of acrylic paint, allowing artists to achieve a wide range of effects that can elevate their artwork to new heights. Whether you're a novice just dipping your toes into the world of acrylics or a seasoned painter looking to expand your toolkit, understanding these mediums is crucial. They can alter texture, transparency, and even drying times, making them an essential part of any artist's arsenal.
To put it simply, think of acrylic mediums as the spices in your painting kitchen. Just as a pinch of salt can enhance the flavor of a dish, the right acrylic medium can transform your paint and bring your creative vision to life. With so many options available, it’s important to know which medium suits your project best. Below is a table that summarizes some common types of acrylic mediums and their primary functions:
| Type of Medium | Function |
|---|---|
| Gels | Thicken paint and add texture |
| Pastes | Create unique textures and finishes |
| Glazes | Apply transparent layers for depth |
Let’s break it down further. Acrylic gels are fantastic for those who want to build up texture in their paintings. They can be mixed with paint to create thick, luscious strokes that can stand proud on the canvas. On the other hand, pastes are ideal for artists looking to add dimension and unique finishes, often resembling the texture of a sculpted surface. Lastly, glazes offer a way to introduce layers of color without losing the beauty of the underlying paint, allowing for a stunning interplay of hues.
In understanding acrylic mediums, it’s also essential to consider how they interact with each other. For instance, mixing a gel with a glaze can yield fascinating results, creating depth while maintaining the texture. Just like in cooking, experimentation is key! So, don’t be afraid to play around with different combinations to discover what works best for your style.
Ultimately, acrylic mediums provide a playground for creativity. They allow artists to push the boundaries of traditional painting, making it possible to explore new techniques and expressions. So, whether you're looking to add a bit of texture or create rich, layered colors, understanding these mediums will undoubtedly enhance your painting experience.
There are several types of acrylic mediums, including gels, pastes, and glazes. This section delves into each type, outlining their specific uses and how they can enhance texture, transparency, and drying time in artwork.
Acrylic gels can thicken paint and create texture. This subheading discusses how to use gels effectively, including tips on mixing them with paint for various effects and achieving desired consistency in your artwork.
Heavy body gels provide a thick consistency, ideal for impasto techniques. This section covers their application and how they can create dramatic textures and three-dimensional effects in your paintings.
Soft body gels offer a smoother consistency, perfect for glazing techniques. This subheading explains how to use them for layering colors and achieving luminous effects while maintaining a fluid application.
Acrylic pastes can create unique textures and finishes. This section explores the different types of pastes, such as modeling paste and texture paste, and how to incorporate them into your artwork for added dimension.
Glazing is a technique that involves applying transparent layers of paint. This section discusses how to create and apply glazes, enhancing depth and richness in your paintings while allowing underlying layers to shine through.
To create a glaze, mix acrylic paint with a glazing medium. This subheading provides step-by-step instructions on achieving the perfect glaze for your artwork, ensuring smooth application and vibrant results.
Layering glazes can produce stunning visual effects. This section discusses various layering techniques, including tips on drying times and color mixing, to help artists achieve beautiful, complex surfaces in their paintings.
Here are some common questions artists have about acrylic mediums:
- What is the difference between gels and pastes? Gels are primarily used to thicken paint and add texture, while pastes are used to create unique finishes and surfaces.
- Can I mix different mediums together? Yes! Experimenting with different mediums can lead to exciting new effects in your artwork.
- How do I clean up after using acrylic mediums? Acrylics can be cleaned up with water while wet, but once dry, they become permanent. Be sure to clean your brushes and tools immediately after use.
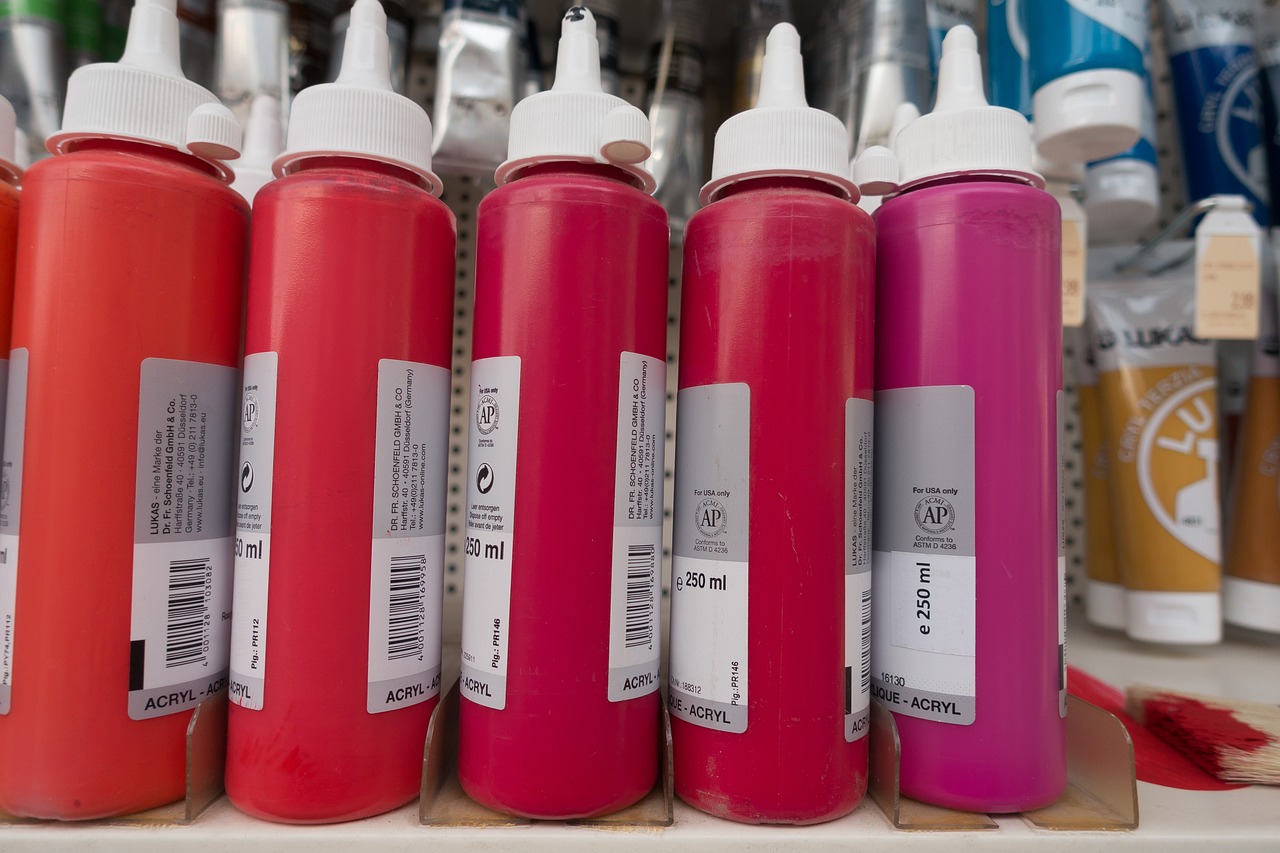
Types of Acrylic Mediums
Acrylic mediums come in various forms, each designed to enhance the properties of acrylic paint in unique ways. Understanding these mediums is crucial for artists who want to expand their creative horizons and achieve specific effects in their artwork. The right medium can transform a simple painting into a masterpiece by adding texture, altering drying times, or modifying transparency. Let’s dive into the different types of acrylic mediums and explore how they can elevate your painting experience.
Among the most popular acrylic mediums are gels, pastes, and glazes. Each of these categories serves a distinct purpose, and knowing when and how to use them can make a significant difference in your artistic process. For instance, gels can thicken paint and create texture, while pastes are excellent for adding unique finishes and dimension. On the other hand, glazes allow for the application of transparent layers, enhancing depth and richness. Let’s break down these types further:
Acrylic gels are fantastic tools for artists looking to manipulate the thickness and texture of their paint. They can be mixed with acrylic paint to create a variety of effects, from a thick impasto surface to a smoother, more fluid application. The beauty of gels lies in their versatility; they can be used to build up layers, create textures, or even extend the volume of paint without altering the color. Here are some of the main types of gels:
| Type of Gel | Description | Best For |
|---|---|---|
| Heavy Body Gels | Thick consistency for impasto techniques | Creating dramatic textures |
| Soft Body Gels | Smoother consistency for glazing | Layering colors and achieving luminosity |
When using gels, it’s essential to experiment with the mixing ratios to achieve the desired consistency. A little goes a long way, so start with small amounts and gradually add more until you reach the effect you want. Remember, the goal is to maintain the integrity of the paint while enhancing its texture.
Acrylic pastes are another exciting medium that can add unique textures and finishes to your artwork. There are several types of pastes, including modeling paste and texture paste, each serving different purposes. Modeling paste is thicker and can be used to create three-dimensional effects, while texture paste is often used to add grit or roughness to a surface. These pastes can be applied with brushes, palette knives, or even your fingers, allowing for a hands-on approach to texture creation.
Incorporating pastes into your work can lead to stunning results. For example, using a texture paste to create a rocky surface can add a sense of realism to a landscape painting. Alternatively, modeling paste can be used to build up areas in a portrait, giving it a more dynamic feel. The key is to layer your pastes effectively, allowing for drying time between applications to achieve the best results.
Glazing is a technique that involves applying transparent layers of paint over dried layers. This method can add depth and richness to your artwork, allowing underlying colors to shine through. To create a glaze, simply mix your acrylic paint with a glazing medium, which thins the paint while maintaining its color vibrancy. The result is a translucent layer that can dramatically alter the appearance of your painting.
Layering glazes can produce stunning visual effects. The beauty of glazing lies in its ability to create complex surfaces that change with the light. By adjusting the drying times and experimenting with color mixing, you can achieve beautiful transitions and effects that add sophistication to your work. It's like building a house; each layer adds stability and character, resulting in a more robust structure.
In conclusion, understanding the different types of acrylic mediums is essential for any artist looking to enhance their painting. Whether you choose gels, pastes, or glazes, each medium offers unique opportunities for creativity and expression. So, grab your brushes, experiment with these mediums, and watch your artwork come to life!
- What is the difference between gels and pastes? Gels are primarily used to thicken paint and create texture, while pastes are thicker mediums that add unique finishes and dimensionality to your artwork.
- Can I mix different types of mediums together? Yes! Many artists mix different mediums to achieve specific effects, but it's essential to test small amounts first to ensure compatibility.
- How do I clean my brushes after using acrylic mediums? Clean your brushes with soap and water immediately after use. Acrylic mediums can dry quickly, so it’s important to act fast!
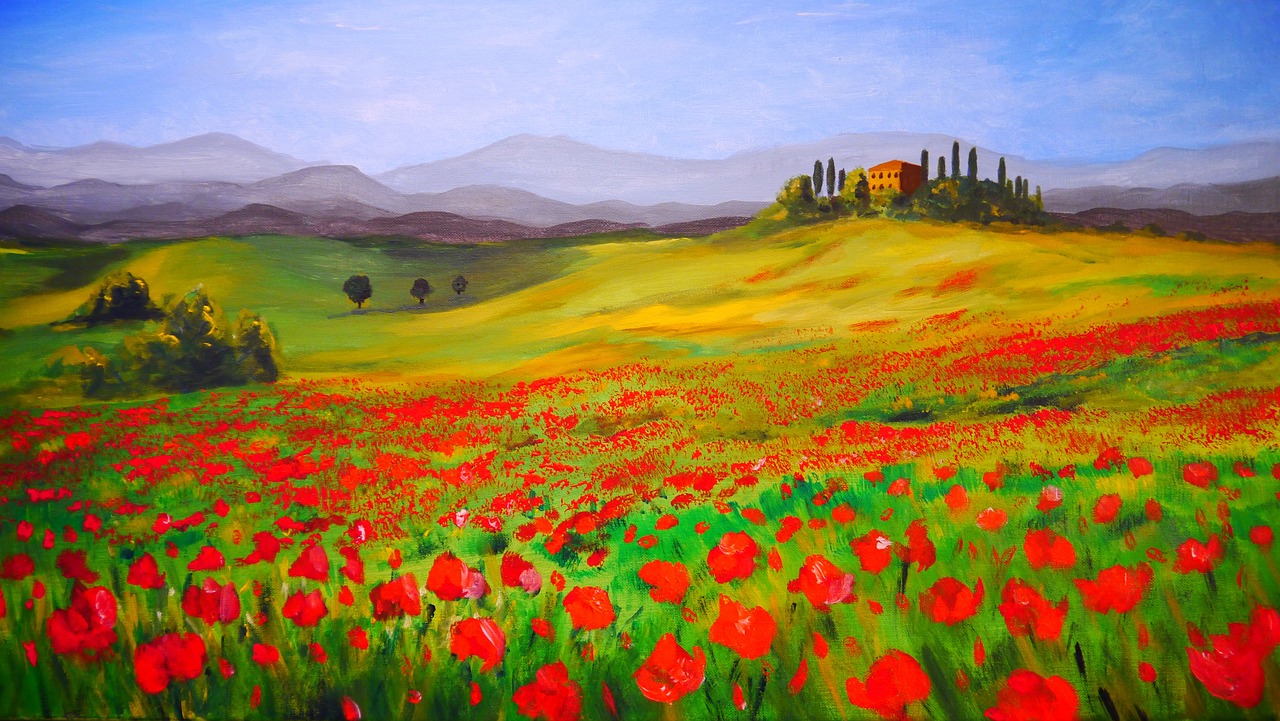
Gels
Acrylic gels are a fantastic tool for artists looking to add depth and texture to their paintings. These mediums can thicken your paint, allowing you to create dramatic, three-dimensional effects that simply can't be achieved with paint alone. Imagine applying a thick layer of paint that stands proud from the canvas, catching the light in a way that adds a whole new dimension to your artwork. That’s the magic of acrylic gels!
When using gels, it’s essential to understand their consistency and how they interact with your paint. There are various types of gels available, each offering unique characteristics that can enhance your artistic expression. For instance, heavy body gels are perfect for those who want to create a thick, impasto effect, while soft body gels provide a smoother texture that is ideal for glazing techniques.
To effectively use gels in your artwork, consider the following tips:
- Mixing: Start by mixing the gel with your acrylic paint. The ratio can vary depending on the desired effect, but a good rule of thumb is to begin with a 1:1 mix and adjust as necessary.
- Application: Use a palette knife or a brush to apply the gel onto your canvas. Experiment with different tools to see how they affect the texture.
- Layering: Don't be afraid to layer gels. You can apply a layer of gel, let it dry, and then add another layer on top to create complex textures.
One of the most exciting aspects of using gels is their ability to transform the look of your paint. For example, when you incorporate a heavy body gel into your palette, you can achieve a rich, textured surface that invites viewers to explore the details of your work. On the other hand, soft body gels can help you create a luminous effect, allowing for beautiful color transitions that seem to glow from within.
In conclusion, acrylic gels are a versatile addition to any artist's toolkit. Whether you're aiming for a bold, textured look or a subtle, glowing finish, these mediums can help you achieve your artistic vision. Don't hesitate to experiment with different types of gels and techniques, as the possibilities are truly endless. So, grab your gels and let your creativity flow!
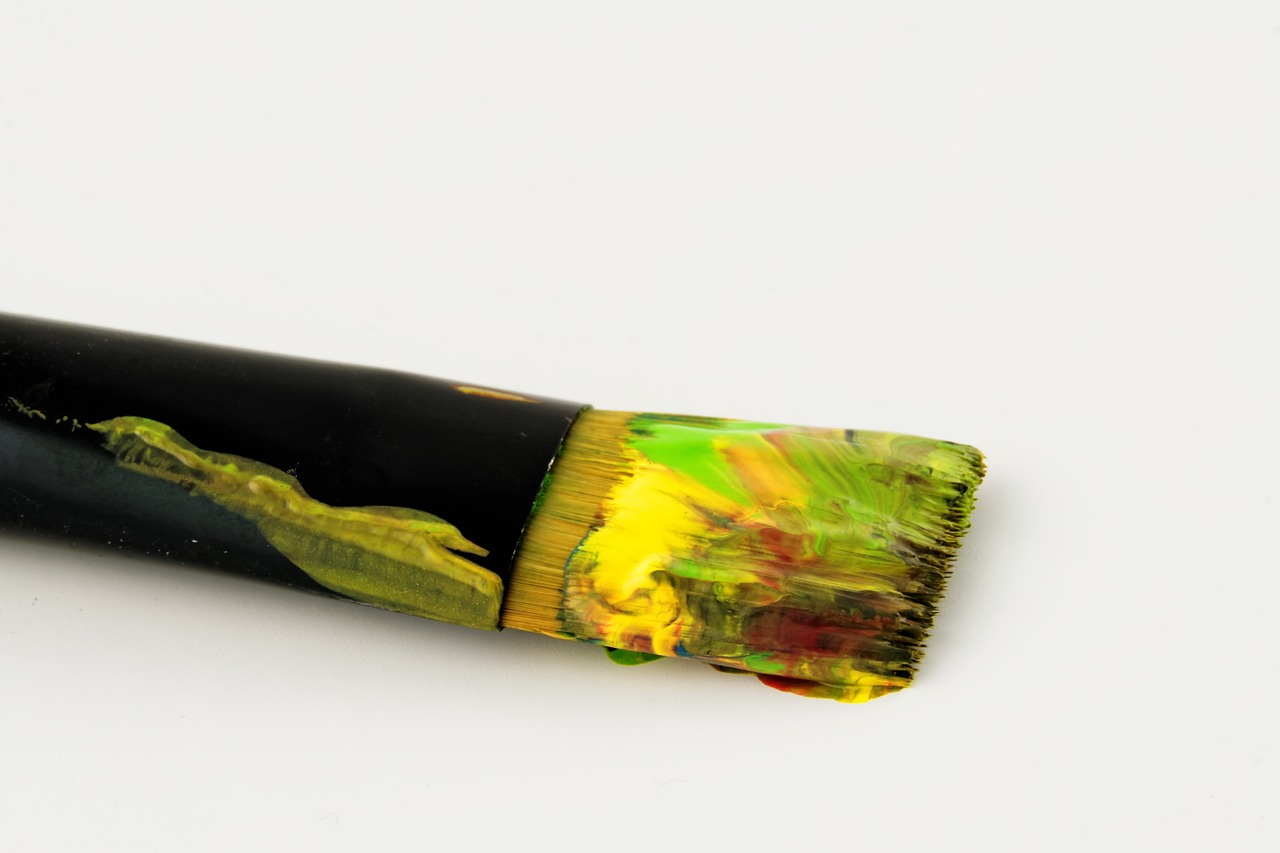
Heavy Body Gels
Heavy body gels are a fantastic tool for artists looking to add depth and dimension to their paintings. These gels have a thick consistency, which makes them perfect for **impasto techniques**—a method where paint is laid on the canvas very thickly, creating a three-dimensional effect. Imagine sculpting with paint; that's the kind of texture you can achieve with heavy body gels!
Using heavy body gels can transform your artwork in several ways. For instance, they can not only thicken your paint but also enhance the overall texture of your piece. When you mix these gels with acrylic paint, you can create a rich, buttery consistency that holds brush strokes beautifully. This is particularly beneficial if you're aiming for bold, expressive strokes that leap off the canvas. Here are some key benefits of using heavy body gels:
- Enhanced Texture: Create dramatic textures that invite viewers to touch and explore your artwork.
- Improved Adhesion: Heavy body gels can help paint adhere better to surfaces, ensuring your artwork stands the test of time.
- Versatile Application: They can be used with a variety of tools, from brushes to palette knives, allowing for endless creativity.
To use heavy body gels effectively, start by mixing them with your acrylic paint. The ratio can vary depending on the effect you want to achieve, but a good starting point is to mix equal parts of paint and gel. This will give you a thick, textured paint that can be easily manipulated on the canvas. If you prefer a more fluid consistency, you can gradually add more paint until you achieve your desired look. Remember, the beauty of heavy body gels lies in their ability to hold shape, so don’t be afraid to experiment!
Another exciting aspect of heavy body gels is their ability to create **layered effects**. You can apply a thick layer of gel and then add a contrasting color on top. As the paint dries, the underlying layer will show through, creating a stunning visual contrast. This technique can be particularly effective in landscapes or abstract works, where depth and complexity are essential.
In summary, heavy body gels open up a world of possibilities for artists. Whether you're looking to add texture, improve adhesion, or create layered effects, these gels can elevate your artwork to new heights. So grab your palette knife, mix up some gel with your favorite colors, and let your creativity flow!
1. Can I mix heavy body gels with other mediums?
Absolutely! Heavy body gels can be mixed with other acrylic mediums to achieve unique textures and finishes. Just remember to test your mixtures on a small scale before applying them to your main piece.
2. How do I clean my brushes after using heavy body gels?
It's best to clean your brushes immediately after use with warm soapy water. Heavy body gels can be quite sticky, so the sooner you clean up, the easier it will be!
3. Are heavy body gels suitable for outdoor paintings?
Yes, they are! Just make sure to use a proper varnish afterward to protect your artwork from the elements.
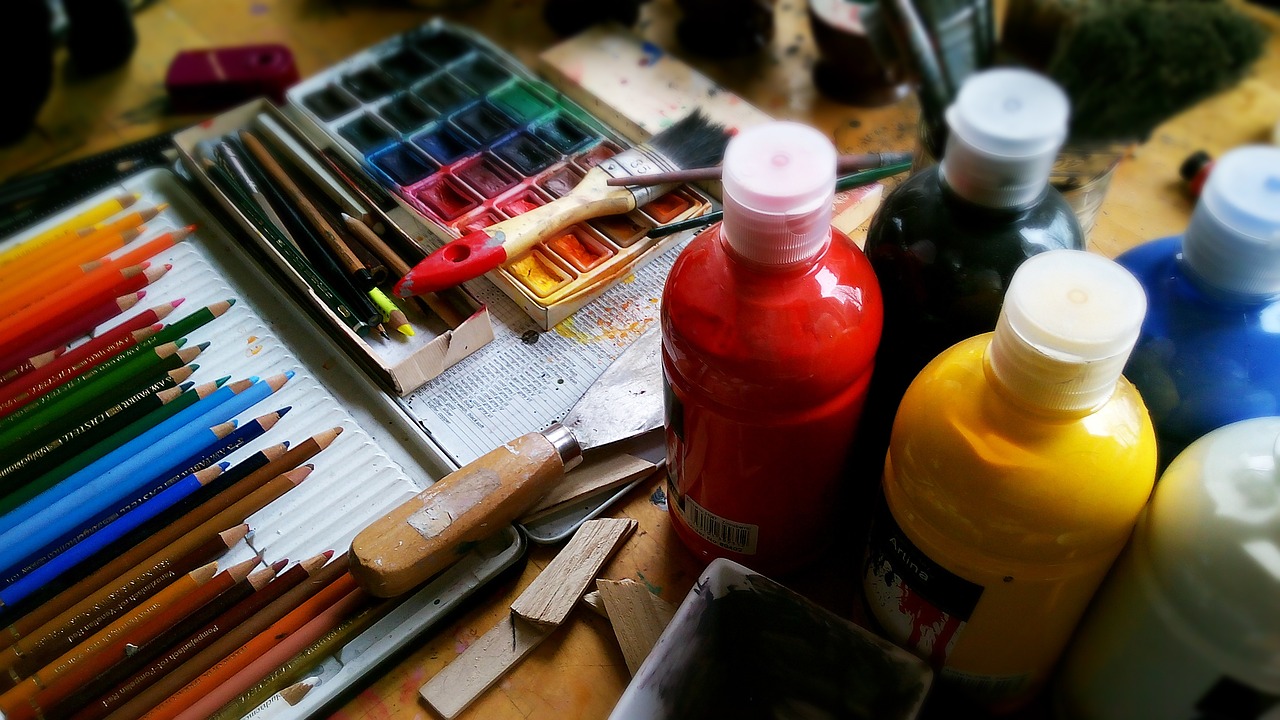
Soft Body Gels
When it comes to acrylic painting, are a game-changer! These gels are designed to enhance the fluidity of your paint, allowing for seamless blending and smooth application. If you've ever struggled with harsh lines or uneven textures, soft body gels can be your secret weapon. They create a beautifully smooth consistency that is perfect for glazing techniques, where you want to build up layers of color without losing the vibrancy of the underlying hues.
One of the best things about soft body gels is their versatility. You can mix them with your favorite acrylic paints to create a luminous effect that adds depth to your artwork. Imagine painting a sunset where the colors blend effortlessly into one another, creating a stunning gradient. That’s the magic of soft body gels! They allow you to maintain the transparency of your colors while ensuring that your brush strokes remain fluid and controlled.
To use soft body gels effectively, start by squeezing a small amount onto your palette. Add your acrylic paint to the gel, mixing thoroughly until you achieve the desired consistency. You can experiment with different ratios; for instance, using more gel will give you a more transparent finish, while less gel will yield a more opaque result. This flexibility means you can tailor your application to suit your artistic vision.
Soft body gels are also fantastic for layering. When you want to add depth to your painting, simply apply a layer of the gel mixture over your dried paint. This not only enhances the luminosity of the colors but also allows you to create a sense of depth that can make your artwork truly pop. Just remember to allow each layer to dry completely before adding the next one to avoid muddying your colors.
In addition to their blending capabilities, soft body gels can also be used to create glossy finishes. If you're aiming for a high-shine look, consider using a gloss medium mixed with your soft body gel. This combination can be particularly striking when used on abstract pieces or vibrant landscapes, where light reflection can bring your artwork to life.
Lastly, don't be afraid to experiment! The beauty of soft body gels lies in their ability to transform your work. Whether you're a beginner or an experienced artist, incorporating these gels into your practice can lead to exciting discoveries and innovations in your painting style. So grab your brushes, mix those colors, and let your creativity flow like never before!
- What is the difference between soft body gels and heavy body gels? Soft body gels are thinner and more fluid, making them ideal for glazing and smooth applications, while heavy body gels are thicker and are great for creating texture and impasto effects.
- Can I use soft body gels with other mediums? Absolutely! Soft body gels can be mixed with other acrylic mediums to achieve different effects. Just be sure to test your mixtures to see how they interact.
- How do I clean my brushes after using soft body gels? Clean your brushes with water immediately after use. If the gel dries on your brushes, it may be difficult to remove, so act quickly!
Pastes
Acrylic pastes are an artist's secret weapon when it comes to creating unique textures and finishes in your artwork. Imagine transforming a flat canvas into a dynamic landscape of peaks and valleys, where light dances across the surface, creating an ever-changing visual experience. With the right paste, you can achieve this and so much more!
There are several types of acrylic pastes available, each offering different properties and effects. For instance, modeling paste is perfect for building up textures and can be sanded or carved once dry, allowing for a sculptural quality in your paintings. On the other hand, texture paste adds a rough, gritty finish that can mimic natural elements like stone or sand. The versatility of these pastes means that you can experiment and find the perfect combination that suits your artistic vision.
When incorporating pastes into your work, consider the following tips to maximize their potential:
- Mixing: Combine pastes with acrylic paint to create colored textures. This allows you to maintain the integrity of the paste while adding your desired hues.
- Application: Use palette knives, brushes, or even your fingers to apply pastes. Each tool will give you a different texture, so don't be afraid to experiment!
- Layering: Apply multiple layers of paste for added depth. Just make sure to let each layer dry completely before adding the next to avoid mixing and muddying your colors.
Moreover, pastes can also be used in conjunction with other mediums. For example, after applying a layer of modeling paste, you might want to glaze over it to enhance the depth and richness of the colors beneath. This interplay between mediums can lead to stunning results, making your artwork truly stand out.
In summary, acrylic pastes open up a world of creative possibilities. Whether you're aiming for a smooth, polished finish or a rugged, textured look, these mediums can help you achieve your artistic goals. Remember, the key to mastering pastes is experimentation—so grab your brushes, let your imagination run wild, and see what incredible textures you can create!
Using Glazes
Ah, glazes! They’re like the secret sauce in your painting recipe, adding depth and vibrancy that can transform an ordinary piece into something extraordinary. If you’ve ever marveled at a painting that seems to glow from within, chances are, glazes played a crucial role. So, what exactly is glazing? In simple terms, it's the technique of applying transparent layers of paint over dried layers to create a rich, luminous effect. This method allows the underlying colors to shine through, giving your artwork a sense of depth that can be both captivating and mesmerizing.
To get started with glazing, you'll need to mix your acrylic paint with a glazing medium. This medium is typically more fluid than standard acrylic paint, allowing for a smooth application that won’t disturb the layers beneath. The beauty of glazing lies in its versatility; you can create anything from subtle shifts in color to bold, dramatic effects. Plus, it’s an excellent way to unify your painting, bringing together disparate elements into a cohesive whole.
Here's a simple process to create your own glazes:
- Start with a base color that you want to enhance.
- Mix your acrylic paint with a glazing medium. A common ratio is about 1 part paint to 3 parts medium, but feel free to adjust based on your desired transparency.
- Test your glaze on a scrap piece of paper to see how it looks when dry.
- Once satisfied, apply the glaze with a soft brush, using gentle strokes to build up the color gradually.
One of the most exciting aspects of glazing is the layering technique. By applying multiple layers of different colors, you can achieve a stunning array of visual effects. Each layer adds complexity, allowing colors to interact in unexpected ways. For instance, layering a warm glaze over a cool base can create a beautiful contrast that draws the eye. However, timing is crucial here; you must wait for each layer to dry before applying the next. This patience pays off, as the resulting depth and richness can be breathtaking.
To help you visualize the impact of glazes, consider the following table that compares the effects of glazing versus traditional painting techniques:
| Technique | Effect | Best For |
|---|---|---|
| Glazing | Creates depth and luminosity | Layering and color enhancement |
| Opaque Painting | Solid and flat colors | Bold statements and coverage |
As you experiment with glazes, don’t be afraid to play with color mixing. Mixing complementary colors can yield stunning, unexpected results. And remember, the key to successful glazing is to keep your layers thin and transparent. Think of it like building a house of cards; one wrong move can topple the entire structure. But with careful application, you can create a masterpiece that feels alive and full of energy.
In conclusion, glazing is an invaluable technique for any artist looking to elevate their work. Whether you’re a beginner or a seasoned pro, incorporating glazes into your painting practice can unlock new creative possibilities. So grab your brushes, mix up some glazes, and let your imagination run wild!
- What is the difference between glazing and traditional painting? Glazing involves applying transparent layers over dry paint, while traditional painting typically uses opaque colors.
- Can I use any acrylic paint for glazing? Yes, but it’s best to use high-quality acrylics for more vibrant results.
- How do I know when to apply a new layer of glaze? Wait until the previous layer is completely dry to avoid disturbing your work.
- What if my glaze is too thick? You can always thin it down with more glazing medium or water to achieve the desired consistency.
Creating Glazes
Creating glazes is one of the most rewarding techniques in acrylic painting, as it allows artists to add depth and luminosity to their work. To start, you'll need to mix your acrylic paint with a glazing medium. This medium is designed to make the paint more transparent, which is essential for achieving that beautiful layered effect. But how do you get it just right? Let’s break it down step by step.
First, choose a glazing medium that suits your desired effect. There are various brands available, and they can differ in viscosity and drying time. A good rule of thumb is to select a medium that is labeled specifically for glazing, as they are formulated to enhance transparency while maintaining the paint’s adhesion. Once you have your medium, it’s time to mix!
To create the perfect glaze, follow these simple steps:
- Start with a small amount of paint: Squeeze out a dime-sized amount of your chosen acrylic paint onto your palette.
- Add the glazing medium: Pour a small amount of glazing medium next to the paint. A typical ratio is about 1 part paint to 2 parts medium, but you can adjust this based on how transparent you want your glaze to be.
- Mix thoroughly: Use a palette knife or brush to blend the paint and medium together until you achieve a smooth, even consistency. It should look glossy and fluid, not thick or clumpy.
- Test your glaze: Before applying it to your artwork, test the glaze on a scrap piece of canvas or paper. This allows you to see how it interacts with the underlying colors and ensures you’re happy with the result.
Once you've created the perfect glaze, the next step is application. Use a clean brush to apply the glaze over your dried painting. You can use long, sweeping strokes for a smooth application or dab with a sponge for a more textured look. Remember, the key to glazing is to work in thin layers. Allow each layer to dry completely before adding another; this will help you build up depth without losing the vibrancy of the underlying colors.
As you layer glazes, you’ll notice how they can transform your artwork. Each additional layer adds complexity and richness, much like how the atmosphere changes the colors of a sunset. To keep track of your layering process, consider jotting down notes about the colors and mediums you used. This can be invaluable for future projects and helps you refine your technique.
Finally, don’t be afraid to experiment! Glazing is all about exploration and finding what works best for your style. Whether you’re enhancing a landscape with a warm glow or adding depth to a portrait, the possibilities are endless. So grab your brushes, mix up some glazes, and let your creativity flow!
- What is the purpose of using a glazing medium? Glazing mediums increase the transparency of acrylic paint, allowing for layering effects that enhance depth and richness in your artwork.
- Can I use regular water instead of a glazing medium? While water can thin acrylic paint, it doesn’t provide the same transparency or adhesion that a glazing medium does, which is crucial for achieving the best results.
- How long does it take for a glaze to dry? Drying times can vary based on the thickness of application and the specific products used, but generally, most acrylic glazes dry within 30 minutes to an hour.
- Can I mix different colors of glazes together? Absolutely! Mixing glazes can create stunning effects and new color variations, just remember to test the mixture on a scrap surface first.
Layering Techniques
Layering techniques in painting can be likened to building a delicious multi-layered cake; each layer adds flavor and depth to the overall masterpiece. When it comes to acrylics, layering is not just about adding more paint; it's about creating a rich tapestry of color and texture that invites the viewer to explore your artwork. To achieve stunning visual effects, artists must understand the intricacies of drying times, color mixing, and the application of glazes.
First off, let's talk about drying times. Acrylic paints dry quickly, which can be both a blessing and a curse. While it allows for rapid work, it can also make layering tricky. To effectively layer glazes, consider using a slow-drying medium. This will give you more time to manipulate the paint before it sets. A good rule of thumb is to wait until the previous layer is fully dry before applying the next. This prevents colors from muddling and ensures each layer retains its vibrancy.
Now, onto color mixing. When layering glazes, it's essential to mix your colors thoughtfully. A common mistake is to use opaque colors, which can overpower the underlying layers. Instead, opt for transparent or semi-transparent colors. This allows the light to pass through, creating a luminous effect that adds depth to your painting. For instance, if you're working with a blue glaze over a yellow base, the greenish hue that emerges can create a magical transition that captivates the eye.
Another crucial aspect of layering techniques is the method of application. Using a soft brush can help in applying glazes smoothly, while a stiffer brush can create texture. You might find it helpful to experiment with different brushes and tools to discover what works best for your style. For instance, a sponge can produce intriguing textures, while a palette knife can add sharp, defined lines. Don't hesitate to play around with these tools; after all, art is about exploration!
To illustrate some effective layering techniques, here’s a simple table that outlines various methods:
| Technique | Description | Best Used With |
|---|---|---|
| Glazing | Applying a thin, transparent layer over dried paint. | Creating depth and richness. |
| Scumbling | Applying a thin layer of opaque paint, allowing underpainting to show through. | Creating texture and interest. |
| Wet-on-Wet | Applying wet paint onto wet paint for soft edges. | Blending colors seamlessly. |
Finally, layering glazes can be a dance of colors, where each brushstroke contributes to the overall harmony of your piece. Don’t be afraid to experiment with different combinations and techniques. Remember, art is subjective, and what works for one artist may not work for another. Trust your instincts, and allow your creativity to flow. With practice, you’ll find your unique layering style that will set your work apart.
- What is the best medium for glazing? A good glazing medium will extend the drying time of your paint, allowing for more manipulation. Look for products specifically designed for glazing.
- How can I prevent my layers from becoming muddy? Always ensure that each layer is completely dry before applying the next, and use transparent colors for glazing.
- Can I use acrylic mediums with other types of paint? While acrylic mediums are designed for acrylic paints, some can be used with oil paints, but be sure to check the manufacturer's instructions.
Frequently Asked Questions
- What are acrylic mediums and why should I use them?
Acrylic mediums are versatile additives that alter the properties of acrylic paint. They can change the texture, transparency, and drying time of your paint, allowing you to achieve a variety of effects in your artwork. Whether you're looking to create depth or enhance texture, using acrylic mediums can elevate your painting experience.
- How do I choose the right acrylic medium for my project?
Choosing the right acrylic medium depends on the effect you want to achieve. For instance, if you're aiming for a thick texture, heavy body gels are your best bet. On the other hand, if you want to create smooth, transparent layers, soft body gels or glazes would be more suitable. Always consider the desired outcome and experiment with different mediums to find what works best for you!
- Can I mix different types of acrylic mediums?
Absolutely! Mixing different acrylic mediums can lead to exciting and unique results. Just be mindful of the properties of each medium; for example, combining a thick gel with a fluid medium might alter the consistency more than you expect. Experimentation is key to discovering new textures and effects!
- What is the difference between gels and pastes?
Gels are typically used to thicken paint and create texture without adding much bulk, while pastes are designed to create more substantial textures and finishes. Pastes, like modeling paste, can be used to build up layers and create three-dimensional effects, whereas gels can enhance the paint's flow and transparency.
- How do I create a glaze with acrylic paint?
To create a glaze, mix your acrylic paint with a glazing medium in a ratio that suits your desired transparency. Start with a small amount of paint and gradually add the glazing medium until you achieve the perfect consistency. This mixture allows you to apply transparent layers that enhance depth while allowing underlying colors to show through.
- What are some tips for layering glazes effectively?
When layering glazes, patience is key! Allow each layer to dry completely before applying the next to prevent muddy colors. Additionally, consider the drying times of your mediums and paints, and experiment with color mixing to achieve the desired visual effects. Remember, layering is all about building depth and richness in your artwork!


