
Exploring The World Through Watercolor Painting
Watercolor painting is not just a medium; it's a gateway to imagination and a delightful escape into the world of colors. Imagine the soft, flowing hues that dance on paper, capturing the vibrant essence of life. With each brushstroke, artists can evoke emotions, tell stories, and transport viewers to breathtaking landscapes or serene still lifes. Whether you're a seasoned artist or a curious beginner, the world of watercolor offers endless possibilities to explore.
In this article, we will delve into the enchanting realm of watercolor painting, exploring its rich history, essential supplies, and the techniques that can elevate your artistic journey. We'll also uncover the inspirations that nature provides, guiding you to create stunning works of art that resonate with your inner self. So, grab your brushes and let’s dive into this colorful adventure!
Watercolor painting has a rich history that dates back centuries. Its roots can be traced back to ancient civilizations, where artists utilized natural pigments mixed with water to create stunning visuals. Over the years, this medium has evolved, influenced by various cultures and artistic movements. From the delicate works of the Renaissance masters to the bold expressions of modern artists, watercolor has continually adapted, showcasing its versatility and charm.
Choosing the right materials is crucial for watercolor painting. The essence of a beautiful watercolor piece lies in the supplies you use. Here’s a breakdown of the essential items every artist needs:
- Watercolor Paints: Available in tubes and pans, each type has its own unique characteristics.
- Brushes: Different shapes and sizes are essential for various techniques.
- Paper: The right paper can make or break your artwork.
Watercolor paints come in various forms, including tubes and pans. Tubes offer a creamy consistency and are perfect for larger washes, while pans are portable and great for quick sketches. Understanding these differences can significantly affect your painting process and the final outcome.
The difference between professional and student-grade paints can impact your artwork. Professional-grade paints contain higher pigment concentrations, resulting in richer colors and better lightfastness. In contrast, student-grade paints are more affordable but may lack vibrancy. Choosing the right quality depends on your artistic goals and budget.
Different brushes serve various purposes in watercolor painting. Round brushes are ideal for details, while flat brushes excel at washes. Selecting the best brushes for specific techniques can greatly enhance your control and the overall effect of your artwork.
The choice of paper significantly influences the outcome of a watercolor painting. Watercolor paper is typically categorized into three types: hot-pressed (smooth), cold-pressed (textured), and rough. Each type offers distinct qualities that can affect how paint interacts with the surface. For instance, hot-pressed paper is excellent for fine details, while cold-pressed paper allows for beautiful texture and blending.
Mastering watercolor techniques is essential for creating stunning artwork. Techniques such as wet-on-wet, dry brush, and layering can bring your paintings to life. Each technique requires practice and experimentation, but the results can be incredibly rewarding.
The wet-on-wet technique allows colors to blend beautifully on the paper. By applying wet paint onto a wet surface, artists can create soft edges and dreamy washes. This method is perfect for capturing the ethereal quality of clouds or the gentle flow of water.
Layering and glazing are vital techniques for adding depth to watercolor paintings. By applying multiple transparent layers of color, artists can achieve a sense of luminosity and richness. This method requires patience, but the results can transform a simple painting into a vibrant masterpiece.
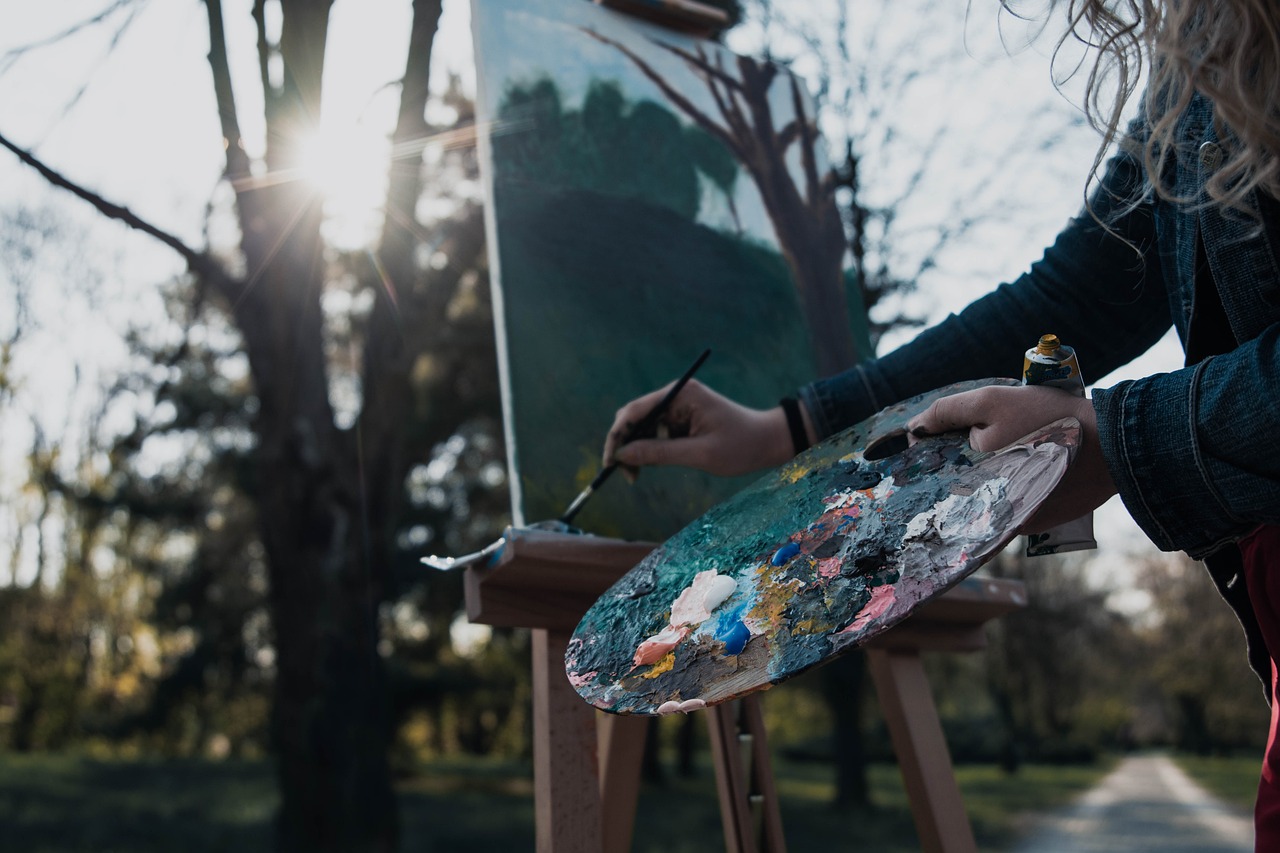
Nature is a limitless source of inspiration for watercolor artists. From the intricate details of a flower to the sweeping vistas of a mountain range, the natural world offers endless subjects to explore. Observing the play of light and shadow in your surroundings can ignite your creativity and enhance your artistic expression.
Landscapes are a favorite subject for watercolorists. Techniques for capturing the beauty of landscapes include careful composition, thoughtful color choices, and an understanding of atmospheric effects. By paying attention to the elements that make a landscape unique, you can create captivating representations of the world around you.
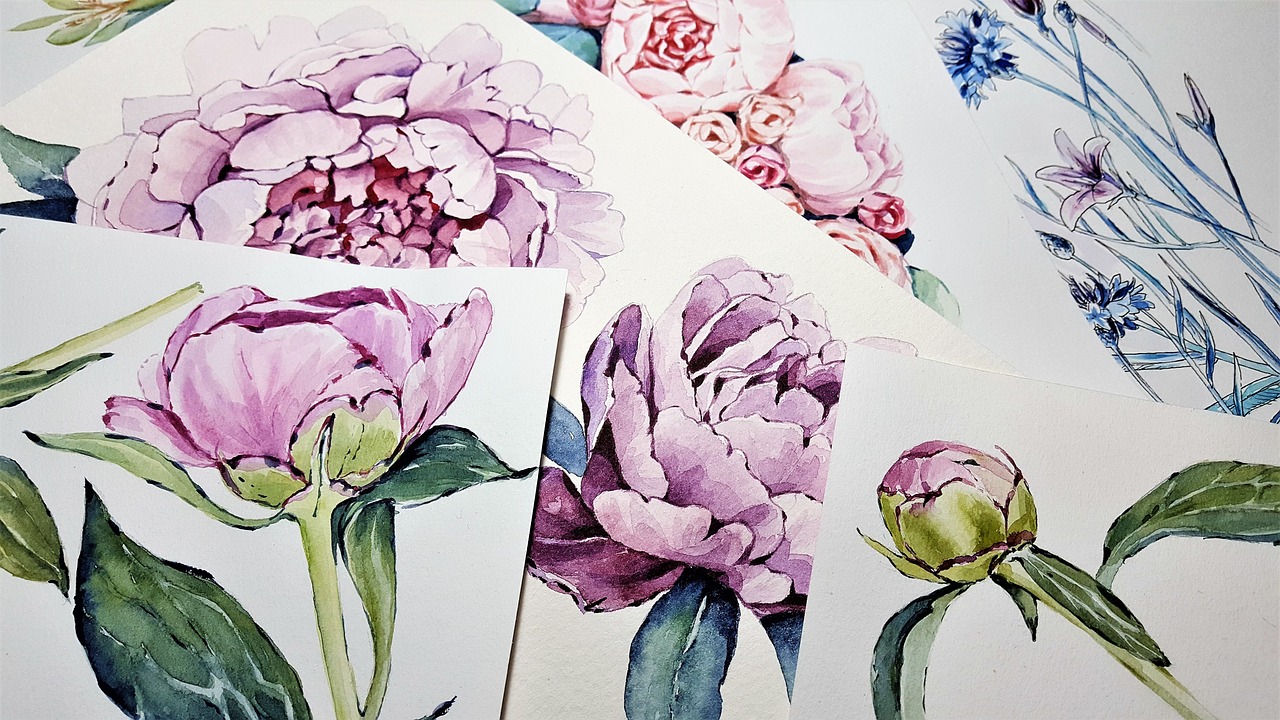
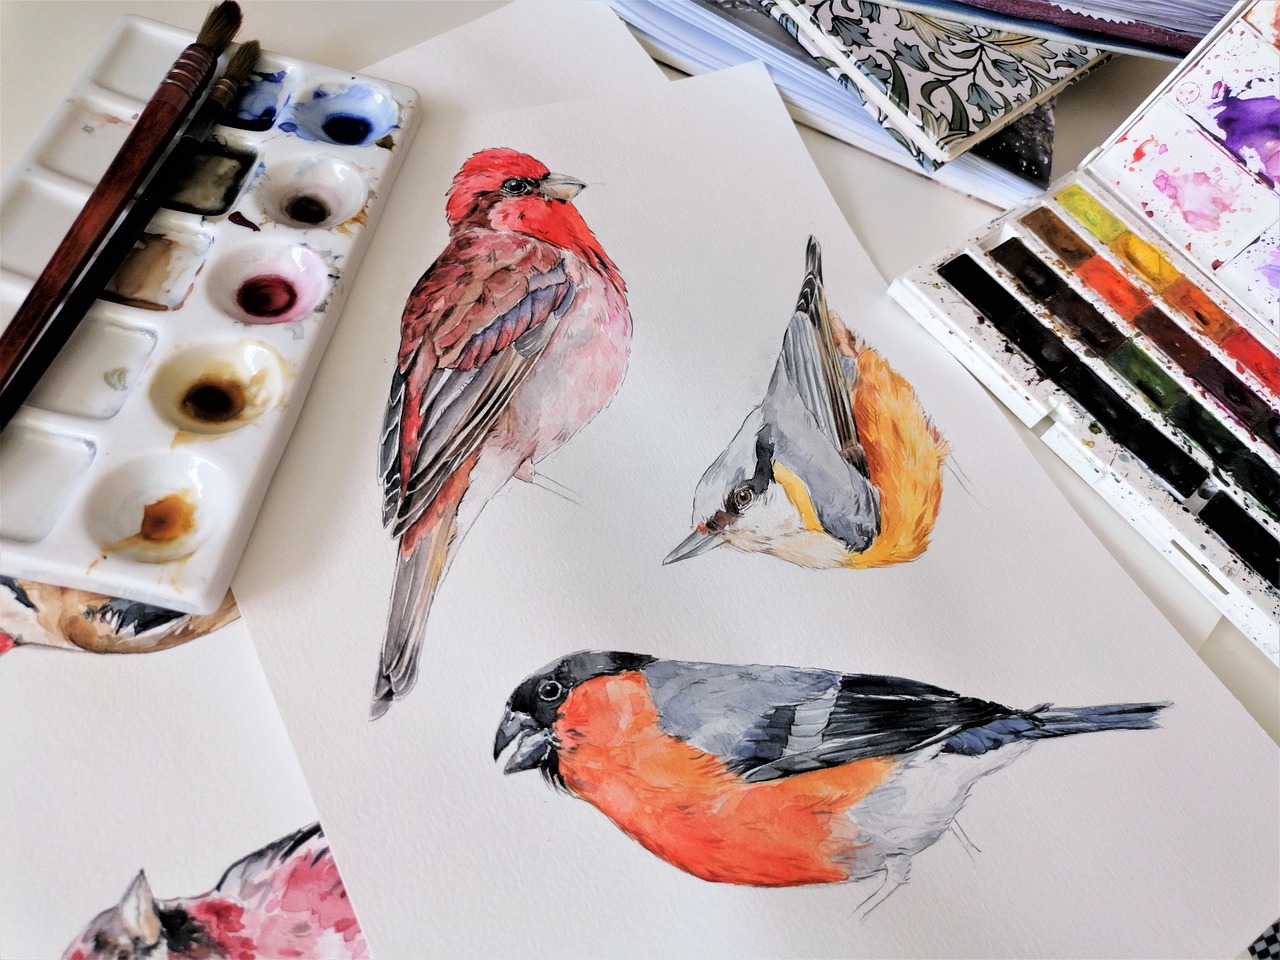
Flora and fauna offer unique challenges and rewards in watercolor painting. Accurately depicting plants and animals requires keen observation and technique. Focusing on the intricate details and characteristics of your subjects can lead to stunning results that celebrate the beauty of nature.
Once your watercolor paintings are complete, showcasing them is the next step. Presenting your artwork professionally can attract viewers and potential buyers. Consider framing your pieces thoughtfully and exploring various exhibition opportunities to share your passion with the world.
Preparing for an exhibition involves more than just painting. Logistics such as framing, presentation, and marketing your work play a crucial role in attracting an audience. A well-prepared exhibition can elevate your status as an artist and open doors to new opportunities.
In today’s digital age, online platforms offer artists new avenues for showcasing their work. Websites like Instagram, Etsy, and dedicated art platforms allow you to reach a broader audience, making it easier to share your passion and connect with fellow art enthusiasts.
Q: What type of paper is best for watercolor painting?
A: Cold-pressed watercolor paper is often recommended for beginners due to its versatility. It allows for great texture and blending.
Q: Can I use regular paints for watercolor techniques?
A: While you can experiment, it's best to use watercolor-specific paints for optimal results, as they are designed to work with water.
Q: How do I prevent my colors from becoming muddy?
A: Clean your brush thoroughly between colors and work from light to dark to maintain vibrancy.
The History of Watercolor Painting
Watercolor painting is not just a modern artistic endeavor; it has a rich tapestry woven through centuries of creativity and innovation. Its origins can be traced back to ancient civilizations, where artists used natural pigments mixed with water to create vibrant images. The earliest evidence of watercolor-like techniques dates back to ancient Egypt, where artists painted on papyrus using a form of water-based paint. This practice evolved through the ages, with significant contributions from various cultures.
During the Renaissance, watercolor began to gain popularity in Europe as a medium for sketching and preliminary studies. Artists like Albrecht Dürer and Raphael utilized watercolors to capture the essence of their subjects with a sense of immediacy and fluidity. The medium was celebrated for its transparency and the ability to create delicate washes, making it ideal for depicting landscapes and botanical studies.
In the 18th century, watercolor painting truly flourished, particularly in England. The establishment of the Royal Watercolour Society in 1804 marked a pivotal moment in the history of this medium. Artists such as J.M.W. Turner and John Constable pushed the boundaries of watercolor, using it not just for studies but as a legitimate medium for finished works. Turner, in particular, is renowned for his ability to capture the effects of light and atmosphere, showcasing the expressive potential of watercolors.
| Era | Key Artists | Significant Contributions |
|---|---|---|
| Ancient Civilizations | Egyptians | Use of natural pigments on papyrus |
| Renaissance | Albrecht Dürer, Raphael | Sketching and studies with watercolors |
| 18th Century | J.M.W. Turner, John Constable | Elevating watercolor to a fine art medium |
As the 19th century rolled in, watercolor painting underwent further transformations with the introduction of new materials and techniques. The advent of tube paints made watercolors more accessible and portable, allowing artists to paint en plein air (outdoors) with ease. This shift led to the rise of Impressionism, where artists like Claude Monet embraced the spontaneity and immediacy of watercolor to capture fleeting moments in nature.
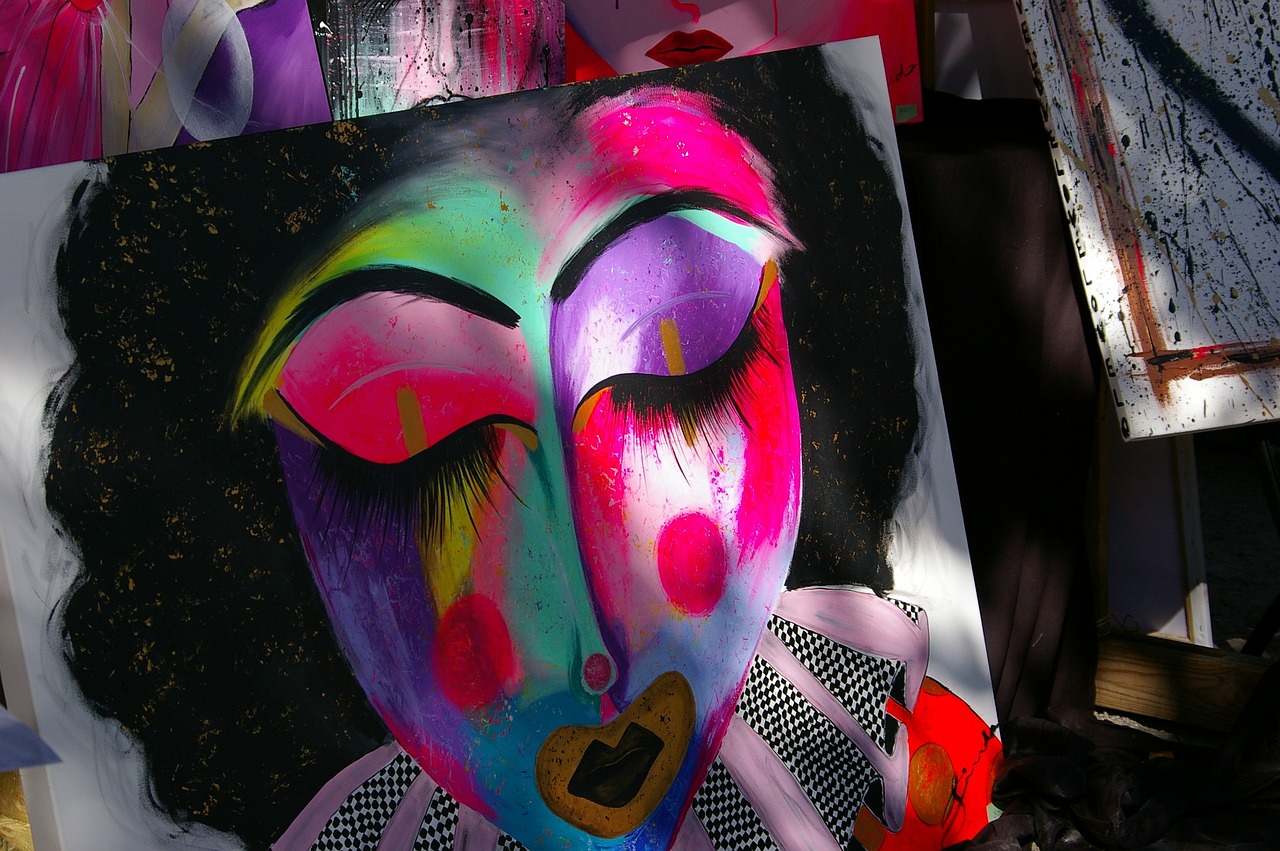
In the 20th century, watercolor continued to evolve, with artists experimenting with mixed media and abstract styles. The medium became a favorite among modern artists who appreciated its versatility and the unique textures it could produce. Today, watercolor painting remains a beloved form of artistic expression, with countless artists around the globe exploring its endless possibilities.
In summary, the history of watercolor painting is a fascinating journey that reflects the evolution of artistic practices and societal changes. From ancient Egypt to contemporary art, watercolor has captured the imaginations of artists and audiences alike, serving as a powerful medium for expressing the beauty and complexity of the world.
Essential Watercolor Supplies
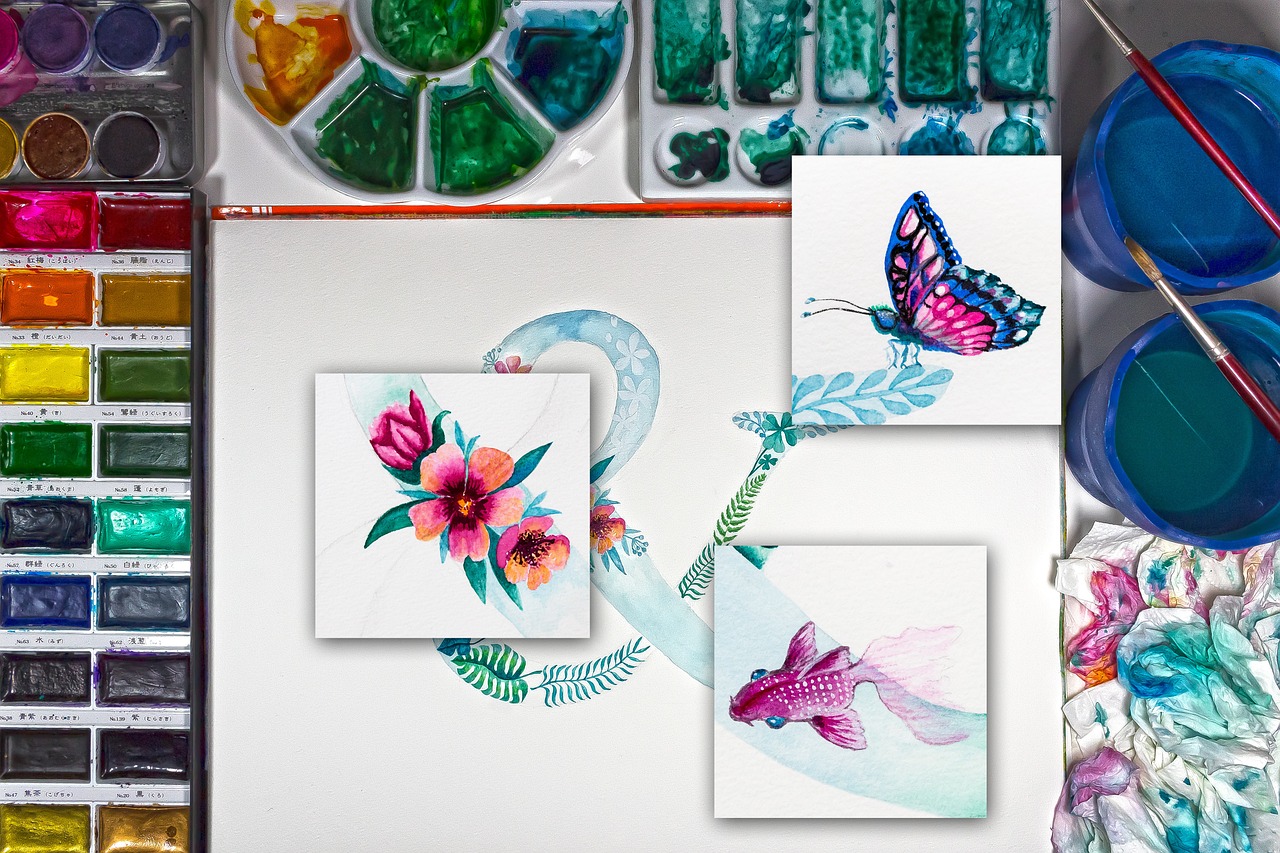
When it comes to watercolor painting, the right supplies can make all the difference. Think of your tools as the magic wands of your artistic journey. Just like a chef needs the right utensils to create a culinary masterpiece, an artist requires specific materials to bring their visions to life. So, what exactly do you need to get started on this colorful adventure? Let's dive into the essential watercolor supplies that will set you up for success!
First and foremost, you’ll need watercolor paints. These come in various forms, primarily tubes and pans. Each has its own unique charm and usability. Tubes are great for vibrant, rich colors, while pans are perfect for portability and ease of use. The choice between these two often depends on your personal style and the nature of your projects. Are you planning to paint on the go? Then pans may be your best friend!
Next up are watercolor brushes. Just like different instruments in a symphony, each brush serves a unique purpose. You’ll find a variety of shapes and sizes, from round brushes for detailed work to flat brushes for bold strokes. A good rule of thumb is to have a few key brushes in your toolkit: a large flat brush for washes, a medium round brush for versatility, and a fine detail brush for those intricate touches. Remember, the right brush can elevate your painting from ordinary to extraordinary!
Now, let’s talk about watercolor paper. This is where the magic happens, so choosing the right paper is crucial. Watercolor paper comes in different weights and textures, which can significantly affect your painting's outcome. Generally, you’ll want to opt for 200 lb (or 425 gsm) paper for heavy washes and more intense techniques. The texture can range from hot-pressed (smooth) to cold-pressed (rough), each providing a different feel and finish to your artwork. It’s like choosing the perfect canvas for a masterpiece; the right paper will absorb water and pigments beautifully, allowing your colors to shine.
To help you visualize the differences in watercolor supplies, here’s a simple table comparing the types of paints and papers:
| Type | Description | Best For |
|---|---|---|
| Tubes | Rich, vibrant colors that can be mixed easily. | Larger paintings and detailed work. |
| Pans | Compact and portable, perfect for travel. | Sketching and plein air painting. |
| Hot-Pressed Paper | Smooth surface, ideal for fine details. | Detailed illustrations and washes. |
| Cold-Pressed Paper | Textured surface that holds water well. | General watercolor techniques and washes. |
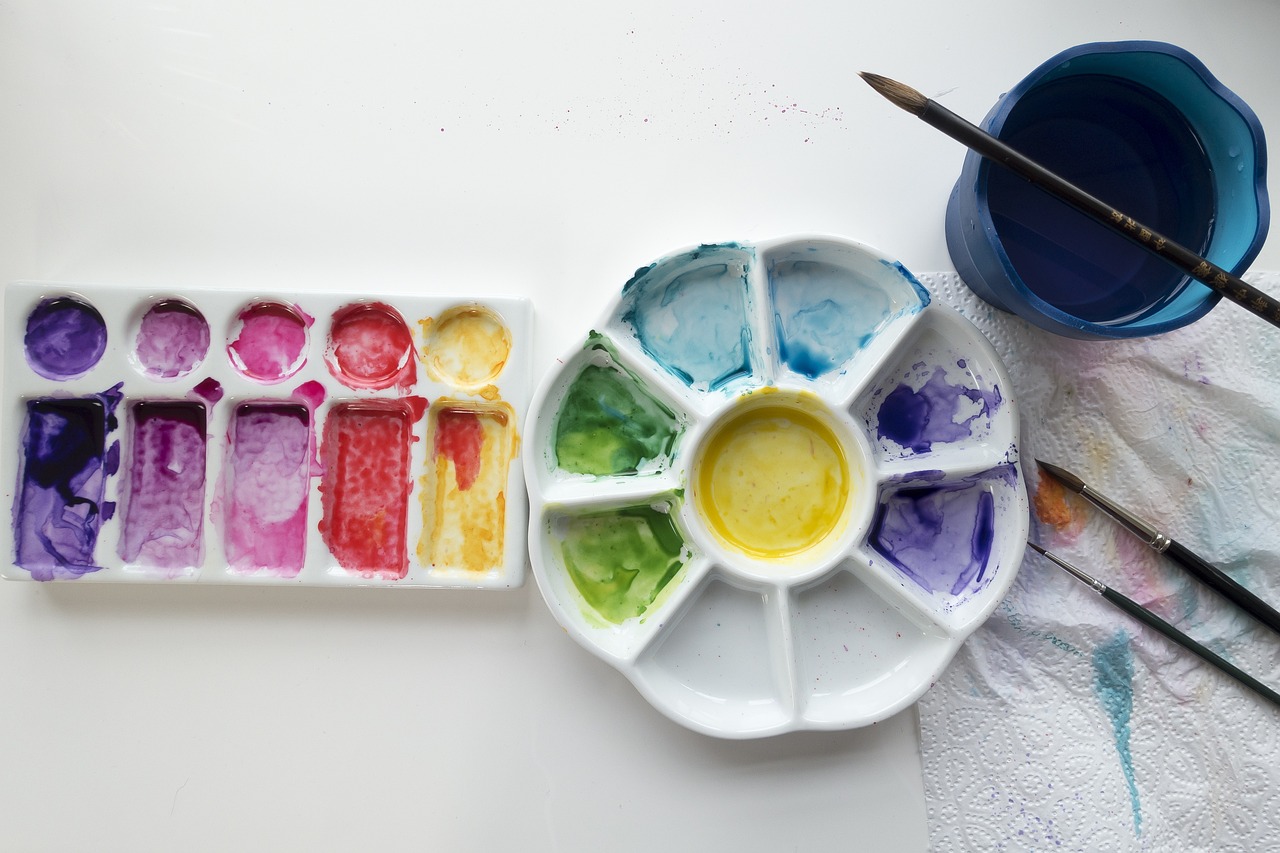
Finally, don’t forget about water containers and paper towels. These may seem like small details, but having a dedicated space to rinse your brushes and wipe off excess paint is essential for maintaining control over your work. A simple jar or cup can serve as your water container, while paper towels are perfect for blotting and correcting mistakes. It’s all about creating a comfortable and efficient workspace, allowing your creativity to flow freely.
In summary, gathering the right watercolor supplies is like assembling a toolbox for a home improvement project. Each item plays a crucial role in helping you achieve your artistic vision. So, take the time to invest in quality materials, and you’ll find that your watercolor journey becomes not only easier but also more enjoyable. With the right tools at your disposal, you’ll be well on your way to creating stunning works of art that capture the beauty of the world around you!
- What is the best type of watercolor paint for beginners? Generally, student-grade watercolors are recommended for beginners as they are more affordable and still provide good quality. Once you gain more experience, you can explore professional-grade paints.
- Can I use regular paper for watercolor painting? While you can experiment with regular paper, it’s not recommended as it may warp or tear when wet. Investing in watercolor paper will yield much better results.
- How do I clean my watercolor brushes? Rinse your brushes in clean water immediately after use and reshape the bristles. Avoid letting paint dry on the brushes, as this can damage them.
Types of Watercolor Paints
When it comes to watercolor painting, one of the most exciting aspects is the variety of paints available to artists. Understanding the different types of watercolor paints can significantly enhance your painting experience and the quality of your artwork. Watercolor paints are primarily available in two main forms: tubes and pans. Each type has its own unique characteristics and benefits that cater to different styles and preferences.
Tubes are typically favored by artists who prefer a more fluid and creamy consistency. They contain a higher concentration of pigment and allow for vibrant color mixing right on your palette. This form is ideal for artists who enjoy working with large washes and need a lot of paint at their disposal. However, tubes can be a bit more challenging for beginners, as they require a steady hand and a good understanding of water control.
On the other hand, pans are compact and convenient, making them perfect for artists on the go. These little squares of dried paint can be activated with water, allowing for easy transport and quick setup. Pans are often favored by beginners due to their simplicity and the fact that they don’t require as much paint to get started. However, they may not provide the same level of vibrancy as tubes, especially when it comes to layering techniques.
To help you decide which type might be best for your artistic journey, here’s a quick comparison:
| Type | Pros | Cons |
|---|---|---|
| Tubes |
|
|
| Pans |
|
|
Choosing between tubes and pans ultimately depends on your personal preference and the style of painting you wish to pursue. Regardless of your choice, both types can yield stunning results when used effectively. Many artists often find that a combination of both forms serves them best, allowing for versatility and experimentation in their work.
In addition to the form, it’s also essential to consider the quality of the watercolor paints. Professional-grade paints are made with the highest quality pigments and binders, leading to more vibrant colors and better lightfastness. In contrast, student-grade paints are more affordable and are great for practice, but they may not offer the same depth of color or durability. Understanding these differences will help you make informed decisions that align with your artistic goals.
In conclusion, exploring the types of watercolor paints is just the beginning of your journey into the world of watercolor artistry. Whether you prefer the convenience of pans or the richness of tubes, each choice opens up a realm of possibilities for creativity and expression. So grab your brushes, and let your imagination flow!

Professional vs. Student Grade
When stepping into the vibrant world of watercolor painting, one of the first choices an artist faces is whether to invest in professional-grade or student-grade paints. This decision can significantly influence the outcome of your artwork, so it's essential to understand the differences.
Professional-grade watercolors are crafted with high-quality pigments, offering superior lightfastness and color saturation. They allow for greater transparency and mixing capabilities, enabling artists to achieve a wide range of hues and effects. These paints are often more expensive, but they provide a richness and depth that can elevate your work to a professional standard.
On the other hand, student-grade watercolors are designed with beginners in mind. While they may lack the vibrancy and permanence of professional paints, they are more affordable and still suitable for practice. These paints often contain fillers that can dilute the pigment, leading to less intense colors. However, they can be a great starting point for those just beginning their artistic journey.
| Feature | Professional Grade | Student Grade |
|---|---|---|
| Pigment Quality | High-quality, pure pigments | Lower-quality pigments with fillers |
| Lightfastness | Excellent, resistant to fading | Variable, may fade over time |
| Color Intensity | Rich and vibrant | Less intense, more muted |
| Price | Higher cost | More affordable |
Ultimately, the choice between professional and student-grade watercolors depends on your goals and budget. If you're serious about your art and plan to exhibit your work, investing in professional-grade paints is advisable. However, if you're just starting or experimenting with techniques, student-grade options can be a great way to hone your skills without breaking the bank.
As you explore the nuances of watercolor painting, consider how each type of paint aligns with your artistic vision. Remember, every artist's journey is unique, and the right materials can help you unlock your creative potential.
- What is the main difference between professional and student-grade watercolors?
Professional-grade watercolors contain higher quality pigments and offer better lightfastness and color saturation compared to student-grade options. - Are student-grade watercolors good for beginners?
Yes, student-grade watercolors are perfect for beginners as they are more affordable and allow for practice without a significant financial commitment. - Can I mix professional and student-grade paints?
While it's possible to mix them, the results may vary. It's generally best to stick with one type for consistency in your artwork.
Watercolor Brushes
When it comes to watercolor painting, the choice of brushes can make or break your artwork. Just like a chef needs the right knives to create a culinary masterpiece, a watercolor artist requires an array of brushes to achieve different effects and techniques. The variety of brushes available can be overwhelming, but understanding their unique characteristics is essential for every artist. Each brush serves a specific purpose, from broad washes to fine details, and selecting the right one can elevate your painting to new heights.
Watercolor brushes are typically categorized by their shape, size, and the type of bristles they use. Here are some common types of brushes you should consider:
- Round Brushes: These are versatile and ideal for detail work, lines, and washes. Their pointed tip allows for precision, while the belly holds a good amount of paint.
- Flat Brushes: Perfect for creating bold strokes and washes, flat brushes can cover large areas quickly and are great for making sharp edges.
- Filbert Brushes: With a shape that combines features of both round and flat brushes, filberts are excellent for blending and creating soft edges.
- Fan Brushes: These are unique in shape and are perfect for creating textures, such as foliage or fur.
- Mop Brushes: Large and fluffy, mop brushes are fantastic for washes and covering large areas with a smooth application.
When selecting watercolor brushes, consider the bristle material. Natural hair brushes, such as those made from squirrel or sable, offer superior water retention and smooth application. However, they can be quite expensive. On the other hand, synthetic brushes are more affordable and can mimic the performance of natural hair brushes, making them a great choice for beginners or artists on a budget.
Additionally, the size of the brush matters significantly. Smaller brushes are ideal for intricate details, while larger brushes are perfect for washes and broader strokes. It’s essential to have a range of sizes in your toolkit to accommodate various techniques and styles. Remember, just as a painter uses different colors to create a masterpiece, the right brushes can help you express your artistic vision more effectively.
In conclusion, investing in quality watercolor brushes tailored to your style will enhance your painting experience. Don’t hesitate to experiment with different types and sizes to find what works best for you. After all, each brush is like a unique instrument in an orchestra, contributing to the symphony of colors and textures in your artwork.
Q: How do I clean my watercolor brushes?
A: Cleaning your watercolor brushes is essential to maintain their shape and longevity. Rinse them under lukewarm water immediately after use, gently reshaping the bristles. Avoid using soap unless necessary, as it can strip the natural oils from the bristles.
Q: How often should I replace my watercolor brushes?
A: The lifespan of watercolor brushes depends on usage and care. With proper maintenance, high-quality brushes can last for years. However, if you notice fraying or loss of shape, it may be time to invest in a new brush.
Q: Can I use acrylic or oil brushes for watercolor painting?
A: While you can use them in a pinch, it's best to use brushes specifically designed for watercolor. Acrylic and oil brushes may not hold water as effectively and can leave streaks or damage your paper.
Choosing the Right Paper
When it comes to watercolor painting, the choice of paper is not just a matter of preference; it’s a crucial element that can make or break your artwork. Think of watercolor paper as the canvas for your creativity—it needs to be able to handle the unique properties of watercolors without buckling or tearing. The right paper can enhance your painting experience, allowing your colors to flow and blend beautifully, while the wrong paper can lead to frustration and unsatisfactory results. So, how do you choose the right paper for your watercolor adventures?
First and foremost, you should consider the weight of the paper. Watercolor paper typically comes in three weights: 190 lb (or 800 gsm), 140 lb (or 300 gsm), and 90 lb (or 200 gsm). Heavier papers, like 300 gsm, are ideal for wet techniques as they can absorb more water without warping. On the other hand, lighter papers are better suited for dry techniques or quick sketches. If you’re unsure, starting with 300 gsm paper is a safe bet.
Next, the texture of the paper plays a significant role in the final appearance of your artwork. Watercolor papers come in three main textures: rough, cold-pressed (also known as NOT or not hot pressed), and hot-pressed (or smooth). Each texture provides a different effect:
- Rough: This paper has a pronounced texture, which can create interesting effects with brush strokes and is great for creating depth.
- Cold-Pressed: This is the most versatile option, offering a balance between texture and smoothness, making it suitable for a variety of techniques.
- Hot-Pressed: If you prefer a smooth surface for detailed work and fine lines, this is the paper for you.
Another important factor to consider is the composition of the paper. High-quality watercolor papers are often made from 100% cotton, which provides excellent absorbency and durability. Cotton papers tend to hold color better and allow for more vibrant washes. However, there are also cellulose-based papers that can be more affordable and suitable for beginners. It's essential to find a balance between quality and budget, especially if you're just starting out.
Lastly, always remember to test your paper before diving into a full painting. Many artists keep a small swatch book of different papers to see how they react with their favorite paints. This way, you can discover which paper works best for your style and techniques, giving you the confidence to create stunning watercolor pieces.
Q: What weight of watercolor paper should I use?
A: For most watercolor techniques, 140 lb (300 gsm) is a great choice. It can handle a good amount of water without warping.
Q: Can I use regular paper for watercolor painting?
A: Regular paper is not recommended for watercolor painting as it can easily buckle and tear. Always opt for watercolor-specific paper for the best results.
Q: What is the difference between cold-pressed and hot-pressed paper?
A: Cold-pressed paper has a textured surface, ideal for various techniques, while hot-pressed paper is smooth and great for fine details.
Q: Is cotton paper worth the investment?
A: Yes, 100% cotton paper offers superior performance and durability, making it a worthwhile investment for serious artists.
Techniques for Watercolor Painting
Mastering watercolor techniques is essential for any artist looking to create stunning and expressive artwork. This medium, known for its fluidity and transparency, allows for a range of effects that can bring a painting to life. Whether you are a beginner or a seasoned artist, understanding the various techniques available can significantly enhance your skills and broaden your creative horizons.
One of the most popular techniques is the wet-on-wet method. This technique involves applying wet paint onto wet paper, allowing colors to blend and flow into one another. The result is often a soft, dreamy effect that can be particularly captivating. To achieve the best results, it's essential to control the amount of water used; too much can lead to a muddy appearance, while too little may not allow for the desired blending. Artists often use this technique for backgrounds or when they want to create atmospheric effects.
Another vital technique is layering and glazing. These methods involve applying multiple layers of paint, allowing each layer to dry before adding the next. This approach not only adds depth and richness to the colors but also provides the opportunity to create intricate details. When layering, it's crucial to use transparent paints; otherwise, the underlying layers may become obscured. Artists often find that glazing can transform a painting, making colors more vibrant and dynamic.
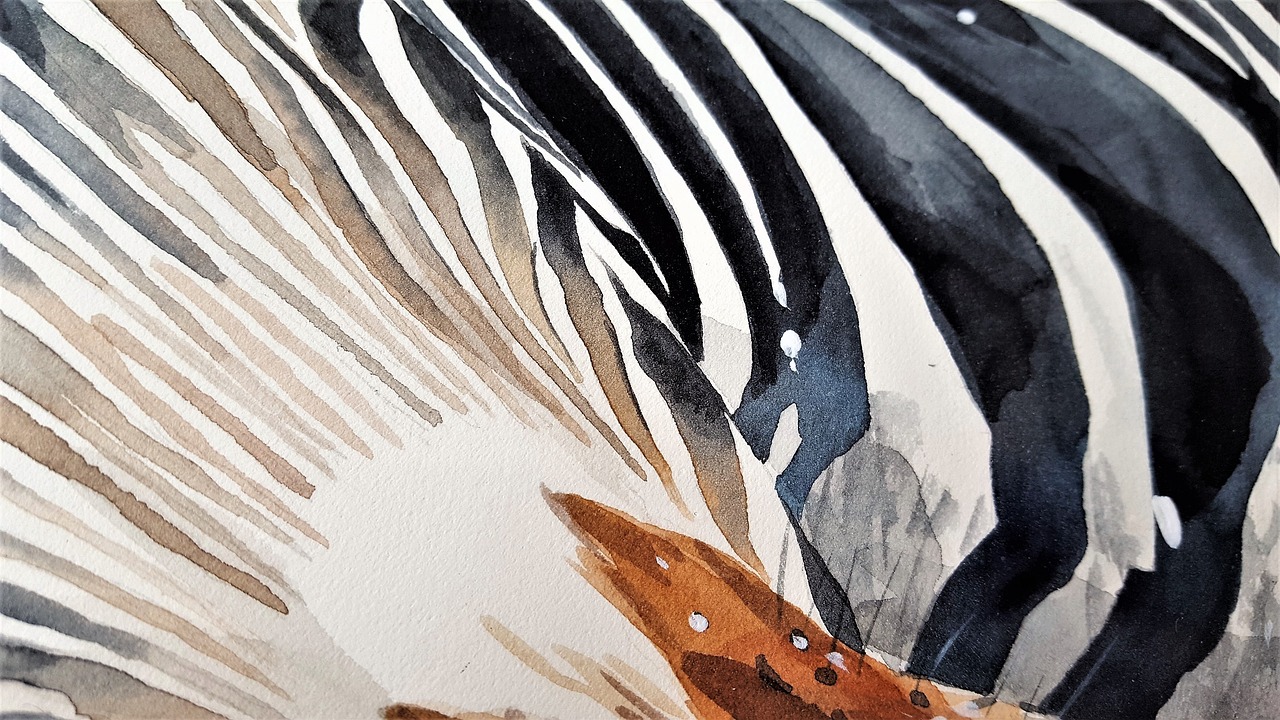
In addition to these techniques, artists often experiment with dry brush methods, where a brush with minimal water is used to create texture and fine details. This technique can be particularly effective for depicting rough surfaces like tree bark or the delicate veins of a leaf. Understanding how to manipulate the brush and paint consistency is key to mastering this technique.
For those who love to explore, salt technique is another exciting method. Sprinkling salt onto wet paint creates unique textures as the salt absorbs the water and pigment, leaving behind interesting patterns. This technique is perfect for creating backgrounds or adding a touch of whimsy to a piece. However, it's essential to remember that the effects can be unpredictable, which adds an element of surprise to the artwork.
As you dive deeper into watercolor painting, remember that practice is invaluable. Each technique requires time and experimentation to master, and the beauty of watercolor lies in its unpredictability. Embrace the happy accidents and let your creativity flow. The world of watercolor painting is vast and full of possibilities, waiting for you to explore and express your unique artistic vision.
- What is the best paper for watercolor painting? The best paper for watercolor painting is usually 100% cotton, as it holds water well and allows for multiple washes without warping.
- Can I use regular paints for watercolor techniques? No, regular paints are not suitable for watercolor techniques. Watercolor paints are specifically formulated to work with water and provide the desired transparency and blending.
- How do I clean my watercolor brushes? Clean your watercolor brushes with water immediately after use. For stubborn paint, a gentle soap can help restore them to good condition.
- Is it necessary to use professional-grade paints? While professional-grade paints offer better pigmentation and longevity, student-grade paints can also yield beautiful results, especially for beginners.
Wet-on-Wet Technique
The is a magical approach in watercolor painting that allows colors to blend seamlessly on the paper. Imagine the way colors dance and swirl together, creating ethereal landscapes that seem to breathe with life. This technique is particularly captivating because it emphasizes spontaneity and fluidity, making it a favorite among artists seeking to capture the essence of a moment rather than just a static image.
To get started with the wet-on-wet technique, you first need to wet your paper thoroughly. This can be done with a clean brush or a spray bottle filled with water. Once the paper is wet, you can begin applying your watercolor paint. The beauty of this method lies in the way the paint spreads and mingles with the water, allowing for soft edges and gentle transitions between colors. It's like watching a watercolor dream unfold before your eyes!
Here are some tips to keep in mind when practicing the wet-on-wet technique:
- Use High-Quality Paper: Opt for watercolor paper that can handle a lot of water. Look for paper with a weight of at least 200 lb (425 gsm) to avoid warping.
- Experiment with Color: Don’t be afraid to mix colors directly on the paper. This technique allows for unexpected and beautiful results!
- Control Your Water: Too much water can lead to muddy colors, while too little can cause the paint to dry too quickly. Finding the right balance is key.
When applying paint, try to work quickly before the water dries. This will allow you to manipulate the paint more effectively. If you want to create soft clouds in a sky or gentle waves in water, the wet-on-wet technique is your best friend. Just remember, while it’s all about letting go and allowing the paint to do its thing, having a plan can help guide your process. Think of it as creating a beautiful dance where you lead, but the colors have their own rhythm!
As you practice, you might find that certain colors work better together than others. Keep a sketchbook handy to jot down your experiments and results. This will not only help you refine your technique but also inspire future projects. Over time, you’ll develop a unique style that reflects your personality and artistic vision. So grab your brushes, embrace the unpredictability, and let the wet-on-wet technique take you on a colorful journey!
Q: Can I use any type of watercolor paint for the wet-on-wet technique?
A: While you can use any watercolor paint, it’s recommended to use artist-grade paints for better pigmentation and flow. This will enhance the blending effect.
Q: How do I know when my paper is wet enough?
A: The paper should have a shiny surface without pooling water. If it looks too dry, apply more water; if it’s pooling, it’s too wet. Finding the sweet spot is essential!
Q: What if I make a mistake while painting?
A: Mistakes can lead to beautiful outcomes in watercolor. Embrace them! You can always lift paint with a damp brush or add more layers to correct it.
Layering and Glazing
Layering and glazing are two fundamental techniques in watercolor painting that can transform a simple piece into a vibrant masterpiece. These methods allow artists to build depth and complexity in their artwork, creating stunning visual effects that can captivate viewers. But what exactly do these terms mean, and how can you effectively incorporate them into your own work?
Layering involves applying multiple washes of color on top of one another. Each layer is allowed to dry before the next is applied, which helps maintain the integrity of the colors beneath. This technique is essential for creating shadows, highlights, and intricate details in your painting. Think of it as constructing a building; each layer adds stability and character to the overall structure. The key is to start with lighter colors and gradually build up to darker shades, allowing the luminosity of the lighter hues to shine through.
On the other hand, glazing refers to the application of a transparent layer of paint over a dry layer. This technique can alter the color and tone of the layers beneath without completely obscuring them. Imagine glazing as putting a tinted lens over a beautiful photograph; it enhances the image while still allowing the original details to be seen. By using glazing, artists can create a sense of depth and richness that is hard to achieve with a single layer of paint.
To effectively use layering and glazing, consider the following tips:
- Always allow each layer to dry completely before adding the next. This prevents muddy colors and helps maintain clarity.
- Experiment with different levels of transparency in your paints. Some colors are more opaque than others, which can influence the final outcome.
- Use a limited color palette to maintain harmony in your artwork. Too many colors can lead to confusion and detract from the overall effect.
One of the most exciting aspects of layering and glazing is the ability to create unexpected results. As you experiment, you may discover new color combinations and effects that surprise you. It’s this element of surprise that can make watercolor painting so exhilarating. Remember, practice is key! The more you play with these techniques, the more intuitive they will become.
In summary, layering and glazing are not just techniques; they are essential tools that can elevate your watercolor paintings to new heights. By understanding how to manipulate these methods, you can add depth, luminosity, and a sense of life to your artwork. So grab your brushes, mix those colors, and let your creativity flow freely!
Q: What is the difference between layering and glazing?
A: Layering involves applying multiple washes of color on top of one another, while glazing refers to applying a transparent layer of paint over a dry layer to alter its appearance.
Q: How long should I wait between layers?
A: It's best to wait until each layer is completely dry before applying the next one. This can take anywhere from a few minutes to several hours, depending on the thickness of the paint and the humidity of your environment.
Q: Can I use any type of watercolor paint for layering and glazing?
A: Yes, but the transparency of the paint is crucial. Transparent paints work best for glazing, while semi-opaque and opaque paints can be used for layering.
Finding Inspiration in Nature
Nature is a boundless source of inspiration for watercolor artists, offering a vibrant palette of colors, textures, and forms that can ignite creativity. Imagine standing in a lush forest, the sunlight filtering through the leaves, casting a kaleidoscope of greens and golds on the forest floor. This is the kind of scene that can spark a thousand ideas for your next painting. The beauty of nature is not just in its colors, but also in its ability to evoke emotions and tell stories through art. So, how can artists tap into this vast reservoir of inspiration?
One effective way to draw inspiration from nature is by immersing yourself in different environments. Whether it’s a serene beach, a bustling city park, or a tranquil mountain landscape, each setting offers unique elements to explore. Take your sketchbook along and capture the essence of these places. Observing the changing light, the movement of clouds, or the subtle shifts in color can greatly enhance your understanding of how to translate these experiences onto paper.
Consider the following elements when seeking inspiration:
- Color Variations: Notice how colors change with the time of day or season. Early morning light can create soft pastels, while the golden hour before sunset can offer rich, warm tones.
- Textures: The rough bark of a tree, the delicate petals of a flower, or the smooth surface of a pebble can all provide interesting textures to replicate in your work.
- Patterns: Nature is full of patterns, from the spirals of a seashell to the symmetry of leaves. These can inspire not only your subject matter but also your composition.
Furthermore, don't forget to engage your senses. Take a moment to breathe in the fresh air, listen to the rustling leaves, or feel the cool breeze on your skin. These sensory experiences can deepen your connection to the environment and help you convey that feeling in your artwork. It’s like translating a melody into a visual symphony on your canvas.
Another excellent source of inspiration lies in observing the flora and fauna that surround you. Each plant and animal has its own story and characteristics. For instance, painting a majestic eagle soaring through the sky can evoke a sense of freedom, while the intricate details of a blooming flower can symbolize renewal and beauty. By studying these subjects closely, you can learn to capture their essence in your watercolor paintings.
To further enhance your artistic journey, consider joining local nature walks or art retreats. These experiences not only allow you to connect with fellow artists but also provide opportunities to explore different landscapes and subjects. Sharing insights and techniques with others can lead to unexpected breakthroughs in your own work, creating a collaborative atmosphere that fosters growth and creativity.
Q: How can I find inspiration in my local environment?
A: Look for parks, gardens, or natural reserves nearby. Even urban settings can provide inspiration through their architecture and landscaping. Take walks and keep a sketchbook handy to capture ideas as they come.
Q: What if I struggle to find inspiration?
A: It’s normal to hit a creative block. Try changing your routine, visiting new places, or experimenting with different techniques. Sometimes, stepping away from your usual subjects can reignite your passion.
Q: Should I always paint from direct observation?
A: While painting from direct observation is beneficial, you can also draw inspiration from photographs, memories, or even imagination. The key is to connect with the subject matter, whether it's real or conceptual.
Capturing Landscapes
When it comes to watercolor painting, capturing the beauty of landscapes can feel like a monumental task. However, with the right techniques and a touch of creativity, you can transform a simple scene into a breathtaking masterpiece. Imagine standing in front of a vast expanse, the colors of the sky blending into the horizon, and the gentle sway of trees dancing in the breeze. How do you translate that feeling onto paper? Well, let's dive into some essential tips that can help you bring those stunning vistas to life!
First and foremost, composition is key. Before you even dip your brush into paint, take a moment to observe your surroundings. What elements stand out? Is there a focal point, such as a mountain peak or a shimmering lake? Consider using the rule of thirds to create a balanced composition. This technique involves dividing your canvas into nine equal parts and placing important elements along these lines or at their intersections. By doing so, you can lead the viewer's eye through your painting, creating a sense of movement and interest.
Next, let's talk about color choices. The colors you select can evoke different emotions and set the mood for your landscape. For instance, warm colors like oranges and yellows can create a feeling of warmth and cheerfulness, while cooler colors such as blues and greens can convey calmness and serenity. Take a moment to study the colors in your scene; you might be surprised by the subtle variations that exist in nature. Don't shy away from mixing colors on your palette to achieve the perfect hue!
Another crucial aspect of landscape painting is atmospheric effects. The way light interacts with the landscape can dramatically change the appearance of your painting. For example, during sunrise or sunset, the light can create a warm glow that enhances the colors of the sky and land. To capture this effect, consider using a wet-on-wet technique, where you apply wet paint onto wet paper, allowing the colors to blend seamlessly. This method can create soft edges and a dreamy quality that perfectly mimics the ethereal beauty of nature.
Lastly, don’t forget to embrace the spontaneity of watercolor. One of the most beautiful aspects of this medium is its unpredictability. Sometimes, the best results come from happy accidents. Allow yourself to experiment with different techniques and let the paint flow freely. You might discover unique textures and patterns that add depth and character to your landscape.
In summary, capturing landscapes in watercolor is about more than just replicating what you see; it’s about conveying the essence of a moment. By focusing on composition, color choice, atmospheric effects, and embracing spontaneity, you can create stunning landscape paintings that resonate with viewers. So grab your brushes, immerse yourself in nature, and let your creativity flow!
- What is the best time of day to paint landscapes? The golden hours, shortly after sunrise or before sunset, provide the best light for capturing vibrant colors and dramatic shadows.
- Can I paint landscapes from photographs? Absolutely! Many artists use photographs as references, but be sure to add your personal touch to make the painting unique.
- What are some common mistakes to avoid in landscape painting? Avoid overworking the paint, using too many colors, and neglecting the importance of composition.

Painting Flora and Fauna
When it comes to watercolor painting, capturing the essence of flora and fauna can be both a thrilling challenge and a rewarding experience. Each subject presents its own unique set of obstacles that can test the skills of even the most seasoned artists. Think of it like trying to catch a butterfly with a net; you need to be patient, observant, and ready to adapt to the unpredictable nature of your subjects. With the right techniques and a keen eye, you can transform a simple piece of paper into a vibrant representation of the natural world.
One of the first steps in painting flora and fauna is to develop an understanding of your subject. Spend some time observing the plants and animals you wish to paint. Notice their colors, shapes, and textures—these are the elements that will bring your artwork to life. For instance, when painting a flower, consider the way light interacts with its petals. Is it soft and diffused, or bright and glaring? This understanding will help you choose the right colors and techniques to use.
In addition to observation, it's essential to have a clear plan before you begin painting. Sketching your subject lightly with a pencil can serve as a helpful guide. This initial outline doesn't need to be perfect, but it should capture the basic shapes and proportions. Once you have your sketch, you can start layering colors to build depth and dimension. Remember, watercolor is a transparent medium, so layering is key. Start with lighter washes and gradually add darker tones to create shadows and highlights.
Here are some specific tips for painting flora and fauna:
- Flora: When painting plants, pay attention to the various shades of green. Nature is rarely monochromatic, so mix different greens with yellows, blues, and even reds to achieve a more realistic look.
- Fauna: For animals, focus on their unique markings and textures. Use fine brushes for details like fur or feathers, and remember to capture the light reflecting off their bodies.
- Background: Don’t forget about the background! A well-painted background can enhance your subject and provide context. Soft washes of color can suggest distance and atmosphere.
As you embark on your journey of painting flora and fauna, don’t be afraid to experiment. Watercolor is all about exploration and discovery. Try different techniques like wet-on-wet for softer edges or dry brush for sharper details. The more you practice, the more confident you’ll become in your ability to capture the beauty of the natural world.
| Question | Answer |
|---|---|
| What type of paper is best for painting flora and fauna? | Cold-pressed watercolor paper is often recommended due to its texture, which can help capture the details of plants and animals. |
| How can I make my colors more vibrant? | Use high-quality paints and allow each layer to dry before applying additional colors. This layering technique can enhance vibrancy. |
| Is it necessary to sketch before painting? | While it's not strictly necessary, sketching can provide a helpful framework and improve the accuracy of your composition. |
Exhibiting Your Watercolor Art
Once your watercolor paintings are complete, you may find yourself brimming with excitement and anticipation to showcase your creations to the world. Exhibiting your artwork is not just about hanging pieces on a wall; it's an opportunity to share your passion, connect with others, and perhaps even sell your art. So, how do you go about presenting your watercolor art professionally and effectively? Let’s dive into the essential steps you need to consider.
First and foremost, preparation is key. Think of it like getting ready for a big date; you want to put your best foot forward! This means ensuring your paintings are in pristine condition. Check for any smudges or imperfections and clean them up. Additionally, consider the presentation: framing your artwork can significantly enhance its appeal. Choose frames that complement your paintings without overshadowing them. A well-framed piece can turn heads and attract attention.
Next, let’s talk about the logistics of exhibiting your work. You'll need to think about the venue. Are you considering a local gallery, a community center, or perhaps a coffee shop? Each venue has its own vibe, and it’s essential to choose one that aligns with your artistic style. Once you’ve secured a space, consider how to arrange your pieces. A thoughtful layout can guide viewers through your work, creating a narrative that enhances their experience. For instance, grouping similar pieces together can evoke emotions and tell a story.
Marketing your exhibition is another crucial element. Utilize social media platforms to create buzz around your event. Share sneak peeks of your artwork and invite your friends and followers to attend. You could also create a simple invitation using online tools and distribute it via email or print. The more people you can reach, the better your chances of drawing a crowd. Don’t forget to include important details such as the date, time, and location of your exhibition!
Moreover, consider providing a small printed guide or program for attendees. This can include information about each piece, your artistic process, and even some background about yourself as an artist. It adds a personal touch and helps viewers connect with your work on a deeper level. You might even want to include a “Meet the Artist” section, where you can share your inspirations and the stories behind your paintings.
Finally, let’s not overlook the importance of engaging with your audience. Be present during the exhibition; interact with viewers, answer questions, and share your passion for watercolor painting. This personal connection can leave a lasting impression and might even lead to future sales or commissions. Remember, art is not just about the final product; it’s about the journey and the conversations it sparks.
- How do I choose the right venue for my exhibition? - Consider the audience you want to attract and the atmosphere that best showcases your artwork.
- What should I include in my marketing materials? - Include your name, the exhibition title, date, time, location, and a brief description of your artwork.
- Is it necessary to frame my watercolor paintings? - While not mandatory, framing can enhance the presentation and protect your work.
- How can I price my artwork for sale? - Research similar works, consider your materials and time spent, and set a price that reflects your skill level and the market.
Preparing for an Exhibition
Preparing for an exhibition is not just about showcasing your artwork; it's an entire experience that requires thoughtful planning and execution. Imagine this: you’ve poured your heart and soul into your watercolor paintings, and now it’s time to share them with the world. But how do you ensure that your art truly shines? The first step is to select the right venue. Whether it's a local gallery, a community center, or an online platform, the space you choose can significantly impact how your work is perceived. Each venue has its own vibe, so make sure it aligns with the essence of your artwork.
Next comes the critical aspect of presentation. Your paintings deserve to be framed in a way that complements their beauty. Consider using frames that enhance the colors and textures of your watercolors. A well-chosen frame can elevate your artwork from good to extraordinary. You might also want to think about the layout of your exhibition. How will you arrange your pieces? A thoughtful arrangement can guide the viewer’s experience, creating a journey through your artistic vision.
But wait, there’s more! Marketing your exhibition is equally important. You could have the most stunning artwork in the world, but if no one knows about it, what good is it? Utilize social media platforms to create buzz around your exhibition. Share sneak peeks of your work, behind-the-scenes shots of your preparation, and invite your followers to join you for the event. Consider creating an event page on platforms like Facebook or Eventbrite, where you can provide all the necessary details and keep track of attendees.
Lastly, don’t forget about the logistics. Here’s a quick checklist to keep you on track:
- Finalize the date and time of the exhibition.
- Prepare an artist statement that explains your work.
- Organize a guest book for visitors to leave their thoughts.
- Arrange for refreshments if your budget allows.
In summary, preparing for an exhibition is a multifaceted process that combines art, marketing, and logistics. By paying attention to these details, you can create an engaging and memorable experience for your audience, allowing them to connect with your art on a deeper level. So, roll up your sleeves, dive into the preparation, and watch your watercolor paintings captivate the hearts of those who see them!
Q: How do I choose the right venue for my exhibition?
A: Consider the atmosphere of the venue and how it aligns with your artwork. Look for spaces that have hosted similar exhibitions and have a good foot traffic.
Q: What type of frames should I use for my watercolor paintings?
A: Choose frames that complement the colors and style of your paintings. Simple frames often work best to let the artwork shine.
Q: How can I effectively market my exhibition?
A: Utilize social media platforms, create event pages, and engage with your audience through sneak peeks and behind-the-scenes content.
Q: What should I include in my artist statement?
A: Your artist statement should convey your inspiration, the themes you explore in your work, and any techniques you use. It’s an opportunity to connect with viewers on a personal level.
Online Platforms for Artists
In the digital age, the art world has undergone a remarkable transformation, opening up a plethora of online platforms for artists to showcase their work. No longer do artists need to rely solely on galleries or local exhibitions; the internet has become a vibrant marketplace where creativity can flourish. Whether you are a seasoned professional or a budding artist, these platforms provide opportunities to reach a global audience, connect with fellow creatives, and even sell your artwork.
One of the most popular platforms is Instagram, where artists can share their work visually and engage with followers through stories, reels, and posts. The visual nature of Instagram makes it an ideal space for artists to create a personal brand and build a community around their art. By using relevant hashtags and engaging with other artists, you can significantly increase your visibility.
Another noteworthy platform is ArtStation, which caters primarily to digital artists and illustrators. This site allows artists to create a professional portfolio and connect with potential clients and collaborators. ArtStation also hosts competitions and showcases, providing artists with additional exposure. Similarly, DeviantArt has been a long-standing platform for artists to share their work, receive feedback, and participate in community challenges.
For those looking to sell their artwork, platforms like Etsy and Saatchi Art are excellent choices. Etsy is well-known for handmade and unique items, making it a popular choice for artists selling prints, original pieces, or art-related merchandise. On the other hand, Saatchi Art offers a more curated experience for artists looking to sell original pieces to collectors worldwide. These platforms not only facilitate sales but also provide tools for marketing and promoting your work.
Moreover, social media platforms like Facebook and Pinterest can also be leveraged for art promotion. Facebook groups focused on art can provide a supportive community where artists can share their work and receive constructive criticism. Pinterest, with its emphasis on visuals, allows artists to create boards showcasing their art, leading to increased traffic to their websites or online shops.
In addition to these platforms, creating a personal website can be a game-changer for artists. A website serves as a central hub where you can showcase your portfolio, share your artistic journey through a blog, and provide information on how to purchase your work. It also allows for greater control over your brand and how you present yourself to the world.
Ultimately, the key to success on these online platforms lies in consistent engagement and authentic interaction with your audience. Share your creative process, respond to comments, and connect with other artists. The more you engage, the more your work will resonate with others, leading to greater opportunities and growth in your artistic career.
Q: What is the best platform for selling artwork online?
A: Platforms like Etsy and Saatchi Art are excellent for selling artwork, depending on whether you prefer selling prints or original pieces.
Q: How can I increase my visibility as an artist online?
A: Use social media platforms, engage with your audience, and utilize hashtags effectively to reach a wider audience.
Q: Do I need a personal website as an artist?
A: While not mandatory, having a personal website can enhance your professionalism and serve as a central hub for your work.
Frequently Asked Questions
- What are the essential supplies needed for watercolor painting?
To get started with watercolor painting, you'll need a few key supplies. First, high-quality watercolor paints, either in tubes or pans, are essential. You'll also need a set of watercolor brushes, which come in various shapes and sizes for different techniques. Don't forget about watercolor paper, as its texture and weight can significantly affect your artwork. Lastly, a palette for mixing colors and a container for water are also necessary to create your masterpieces!
- How do I choose between professional and student-grade watercolor paints?
The choice between professional and student-grade paints boils down to your experience and what you're aiming to achieve. Professional paints generally have higher pigment concentrations, resulting in richer colors and better lightfastness. On the other hand, student-grade paints are more affordable and can be a great starting point for beginners. If you're just starting out, student-grade paints can help you practice without breaking the bank. Once you're more comfortable, consider upgrading to professional paints for more vibrant results!
- What techniques should I learn as a beginner in watercolor painting?
As a beginner, focusing on a few fundamental techniques can really elevate your skills. Start with the wet-on-wet technique, where you apply wet paint onto wet paper, allowing colors to blend beautifully. Layering is another essential technique; it involves building up colors gradually to create depth. Lastly, practice dry brush techniques for texture. These foundational skills will help you explore the endless possibilities of watercolor painting!
- Where can I find inspiration for my watercolor paintings?
Nature is a fantastic source of inspiration for watercolor artists! From stunning landscapes to intricate flowers and wildlife, the natural world offers endless subjects to capture. You can also explore local parks, gardens, or even your backyard for inspiration. Additionally, consider visiting art galleries or browsing online platforms like Pinterest for fresh ideas and techniques that spark your creativity!
- How can I effectively exhibit my watercolor art?
Exhibiting your watercolor art involves a few key steps. Start by ensuring your paintings are professionally framed to enhance their presentation. Next, consider the logistics of displaying your work, whether in a physical gallery or online. Utilize social media platforms to market your art and attract viewers. Engaging with your audience and sharing your creative process can also help build a following and increase interest in your artwork!


