How to Paint a Pet Portrait: Step-by-Step Guide
Creating a pet portrait is not just about putting paint on canvas; it’s about capturing the essence of your furry friend. Whether you’re a seasoned artist or just starting out, this guide will walk you through the entire process, ensuring that your artwork reflects the personality and charm of your beloved pet. Imagine the joy on your face when you see their likeness come to life under your brush! So, grab your supplies, and let’s dive into the world of pet portrait painting.
Before you even think about painting, you need to gather the right materials. This is crucial because the quality of your supplies can significantly affect the outcome of your portrait. Start with the type of paint you want to use. Acrylics are great for beginners due to their quick drying time and ease of use, while oils offer a rich depth of color but require more time and skill to master. Here’s a quick breakdown of materials you might consider:
| Material | Description |
|---|---|
| Acrylic Paint | Fast-drying, versatile, and easy to clean up. |
| Oil Paint | Rich colors, longer drying time, requires solvents for cleanup. |
| Watercolor Paint | Translucent, great for soft effects, but can be challenging. |
| Brushes | Variety of shapes and sizes for different techniques. |
| Canvas | Choose between stretched canvas or canvas boards based on your preference. |
Don’t forget about your brushes! A mix of flat and round brushes will give you the versatility you need. And of course, a sturdy canvas is essential for your masterpiece. The right materials lay a solid foundation for your artistic journey.
Now that you have your materials, it’s time to prepare your workspace. A clutter-free, organized area can make all the difference in your painting experience. Think of it as setting the stage for a performance; everything needs to be in its right place. Ensure you have good lighting—natural light is ideal, but a bright lamp can work wonders too. Here are some tips to create an inviting workspace:
- Choose a comfortable chair and table height.
- Keep all your materials within arm's reach.
- Play some music to inspire creativity.
- Minimize distractions—put your phone on silent!
By creating a comfortable and inspiring environment, you’ll find it easier to focus on capturing the spirit of your pet.
To paint a realistic pet portrait, you need to understand the anatomy of the animal you're portraying. This doesn’t mean you need to be a vet, but having a basic grasp of their features can help tremendously. For instance, notice the way a dog’s ears flop or how a cat’s whiskers frame its face. Each pet has unique characteristics that make them special. Take some time to observe your pet, or even look up images online to get a better idea of their anatomy. Understanding these features will allow you to depict them more accurately in your artwork.
The right reference photo can be a game-changer. It’s like having a roadmap for your painting journey. Look for high-quality images that showcase your pet’s personality. A photo taken in natural light often reveals the true colors and textures of their fur. Also, consider capturing a candid moment that reflects their character. A playful pose or a serene expression can add life to your portrait. Remember, the better the reference, the easier it will be to create an authentic representation of your furry friend.
Once you have your reference photo, it’s time to start sketching. This step is crucial, as a solid outline sets the stage for your painting. Use a light pencil to sketch the basic shapes of your pet’s head, body, and features. Don’t worry about getting it perfect on the first try; you can always adjust as you go. Focus on proportions and placements—think of it as building a framework for a house. Once you’re satisfied with your sketch, you can start layering in the colors.
Layering is an essential technique in painting that adds depth and dimension to your artwork. Think of it as building a cake; each layer contributes to the overall structure and flavor. Start with a base layer of color, then gradually add more layers, allowing each one to dry before applying the next. This technique is especially effective for capturing the texture of your pet’s fur. Experiment with different brush strokes and techniques to see what works best for your style.
Now comes the fun part—adding color and texture! This is where your portrait really starts to come to life. Mix colors to match your pet’s fur, paying attention to highlights and shadows. Use a combination of brush strokes to create a realistic texture; for example, short, quick strokes can mimic the look of fur. Don’t be afraid to experiment with different techniques until you find what resonates with you. Remember, art is subjective, and there’s no right or wrong way to express yourself!
The final touches are what can elevate your portrait from good to great. This is where you’ll add highlights to the eyes, shadows to create depth, and fine details that capture your pet’s unique features. Step back and evaluate your work; sometimes, a little adjustment can make a big difference. Don’t rush this process—take your time to ensure every detail is just right, and your portrait will truly shine.
Once your masterpiece is complete, it’s time to show it off! Consider framing your pet portrait to give it a polished look. Choose a frame that complements the colors in your artwork. When hanging it, find a spot that gets plenty of light but is away from direct sunlight to prevent fading. Additionally, take care of your artwork by keeping it dust-free and protected. Remember, this is not just a painting; it’s a cherished memory of your beloved pet!
Q: What type of paint is best for beginners?
A: Acrylic paint is often recommended for beginners due to its ease of use and quick drying time.
Q: How do I choose the right reference photo?
A: Look for high-quality images that capture your pet's personality and are taken in natural light.
Q: Can I paint my pet from a photo taken on my phone?
A: Absolutely! Just ensure the photo is clear and well-lit to capture the details.
Q: How do I add texture to my painting?
A: Experiment with different brush strokes and layering techniques to create a realistic texture.
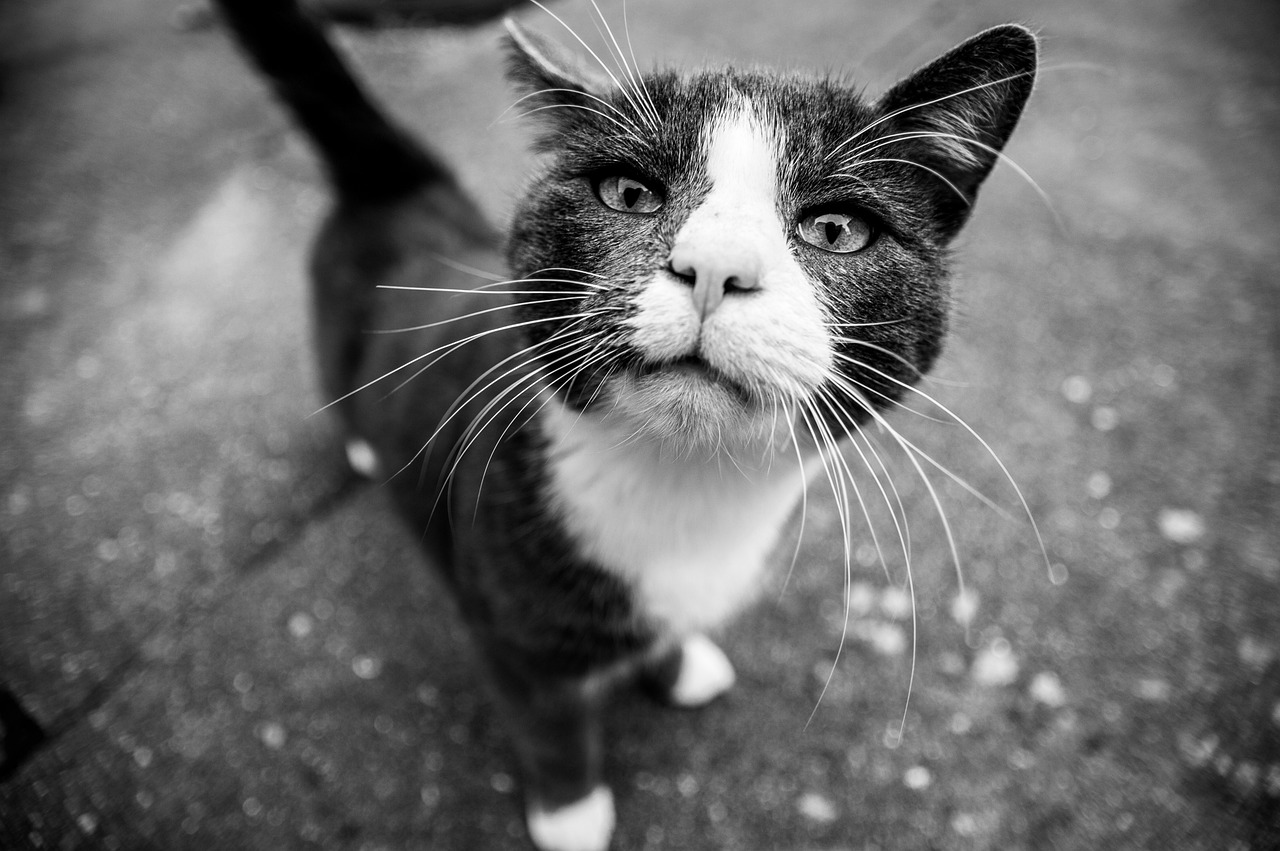
Choosing the Right Materials
When it comes to creating a stunning pet portrait, the right materials can make all the difference. Imagine trying to bake a cake without the right ingredients—it's just not going to turn out the way you want! Similarly, selecting the appropriate supplies is crucial for achieving that lifelike representation of your furry friend. First and foremost, let's talk about the paints. Acrylics are a popular choice for beginners due to their versatility and quick drying time, while oils offer a richness in color and blending that can truly elevate your artwork. Watercolors can also be used, but they require a different approach and technique.
Next, you'll want to consider your brushes. The type of brush you choose can impact the texture and detail of your painting. A variety of brush shapes and sizes will give you the flexibility to create fine details, like the sparkle in your pet's eyes, as well as broader strokes for fur and background. For instance, a round brush is excellent for detail work, while a flat brush can help you cover larger areas efficiently. Here’s a quick rundown of some essential brushes:
- Round Brushes: Perfect for details and fine lines.
- Flat Brushes: Great for broad strokes and filling in larger areas.
- Filbert Brushes: A versatile option for blending and soft edges.
Now, let's not forget about the canvas. The surface you choose can affect how the paint adheres and the overall texture of your portrait. Canvas boards are durable and easy to transport, while stretched canvases provide a more professional feel. If you're feeling adventurous, you might even consider painting on wood or paper for a unique look.
In addition to paints, brushes, and canvases, having the right accessories will enhance your painting experience. A palette for mixing colors, a water container for cleaning brushes, and rags or paper towels for quick clean-ups are all essential. You might also want to invest in a good easel to keep your canvas steady and at a comfortable height. Trust me, painting at an awkward angle can lead to frustration and less-than-ideal results!
Finally, consider your color palette. Having a selection of colors that represent your pet's fur, eyes, and background will allow you to create a more dynamic and engaging portrait. Think about the colors that capture your pet's personality. Are they a vibrant orange tabby or a soft gray Persian? Each shade will help convey their unique characteristics and charm.
In summary, choosing the right materials is like setting the stage for a fantastic performance. With the right paints, brushes, canvases, and accessories, you'll be well on your way to creating a beautiful pet portrait that captures the essence of your beloved companion. So gather your supplies, and let your creativity flow!
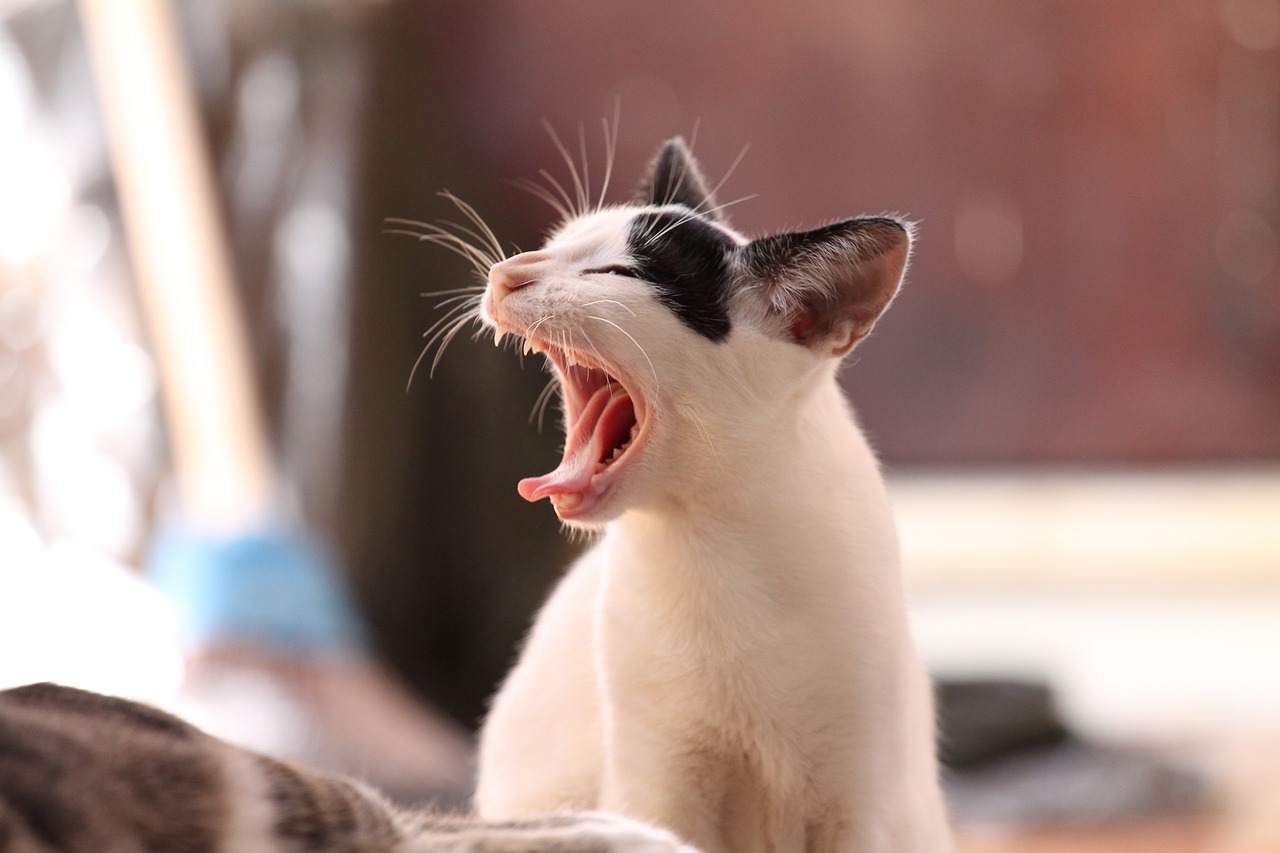
Preparing Your Workspace
Creating a stunning pet portrait isn't just about having the right skills; it's also about setting the stage for your creativity to flourish. A well-organized workspace can significantly enhance your painting experience, making it more enjoyable and productive. Think of your workspace as your personal art studio, a sanctuary where inspiration can flow freely and distractions are kept at bay. So, how do you transform your ordinary space into an extraordinary creative haven? Let's dive in!
First and foremost, consider the lighting. Natural light is your best friend when it comes to painting. Position your easel near a window to take advantage of the soft, diffused light that can illuminate your canvas beautifully. If natural light isn’t an option, invest in some good-quality daylight bulbs that mimic the sun’s rays. This will help you see the true colors of your paints and make your artwork pop!
Next, think about comfort. You’ll likely spend hours at your easel, so having a comfortable chair and a sturdy table can make a world of difference. Ensure that your chair supports your back and allows you to maintain a good posture while you work. A table at the right height will also prevent unnecessary strain on your neck and shoulders. Remember, comfort breeds creativity!
Now, let’s talk about organization. Keep your materials within arm’s reach to minimize interruptions. Use containers or caddies to store your paints, brushes, palettes, and other supplies. Not only does this keep everything tidy, but it also allows you to focus on your artwork rather than searching for that one elusive brush you know you had somewhere. You might even consider labeling your containers for easy access!
Another aspect to consider is inspiration. Surround yourself with things that spark joy and creativity. This could be a mood board filled with images of pets, colors that inspire you, or even quotes from your favorite artists. A little bit of visual stimulation can ignite your passion and motivate you to pick up that brush and start painting!
Lastly, don’t forget about minimizing distractions. Whether it’s putting your phone on silent or choosing a quiet time of day to paint, reducing interruptions can help you get into the right mindset. Your workspace should be a sanctuary where you can immerse yourself in your art without the chaos of daily life intruding. Think of it as your creative bubble—one that allows you to focus solely on capturing the essence of your furry friend.
In summary, preparing your workspace is all about creating an environment that fosters creativity and comfort. By focusing on lighting, comfort, organization, inspiration, and minimizing distractions, you’ll set yourself up for a successful painting experience. So grab your materials, set up your space, and let your artistic journey begin!
- What type of lighting is best for painting? Natural light is ideal, but if that's not available, use daylight bulbs to mimic sunlight.
- How can I keep my workspace organized? Use containers or caddies to store your supplies and consider labeling them for easy access.
- What should I do to minimize distractions? Put your phone on silent and choose a quiet time to paint, allowing you to focus entirely on your artwork.
- How important is comfort in my workspace? Very important! A comfortable chair and table can help you maintain good posture and stay focused for longer periods.
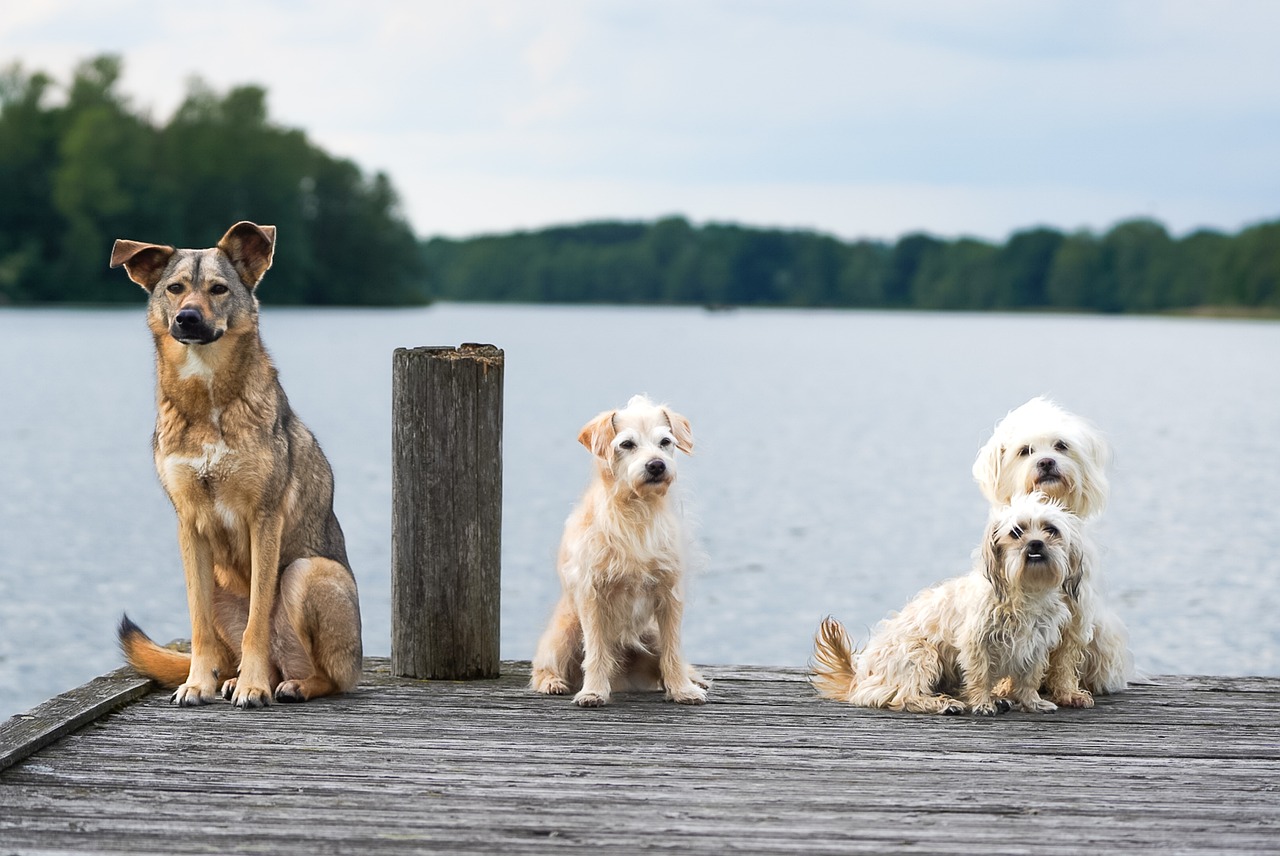
Understanding Pet Anatomy
When it comes to painting a pet portrait, understanding the anatomy of your furry friend is absolutely essential. Just like a sculptor needs to know the structure of their material, an artist must grasp the underlying forms of the subject to create a lifelike representation. This means more than just knowing where the eyes and nose are; it's about capturing the unique characteristics that make each pet special. Whether you’re painting a fluffy Golden Retriever or a sleek Siamese cat, each breed has its quirks and traits that can be highlighted in your artwork.
Start by observing the proportions of the pet. For instance, dogs typically have a more elongated body compared to their height, while cats have a more compact frame. Pay attention to the relationship between the head, body, and limbs. To get a better idea of these proportions, you might want to create a simple proportional grid on your reference image. This will help you accurately capture the essence of your pet's anatomy.
| Pet Type | Key Anatomical Features |
|---|---|
| Dog | Long snouts, floppy ears, and varying tail shapes |
| Cat | Short snouts, upright ears, and flexible bodies |
| Rabbit | Short legs, long ears, and round bodies |
Next, focus on the facial features that convey personality. The eyes are often referred to as the windows to the soul, and this is especially true for pets. Different breeds have distinct eye shapes and colors that can evoke various emotions. For example, a soulful gaze from a Labrador can be heartwarming, while the piercing stare of a Persian cat can be mysterious. Make sure to study these features closely, as they can significantly influence the mood of your portrait.
Additionally, the texture of the fur plays a crucial role in your painting. Each breed has its own fur texture, whether it’s the wiry coat of a Terrier or the silky fur of a Maine Coon. Understanding how light interacts with these textures will help you create a more dynamic and realistic portrait. Consider using different brush techniques to mimic the fur's flow and direction, which can add depth to your work.
Finally, don't forget about the body language of your pet. The way they stand, sit, or even tilt their head can tell a story. Capturing these subtle nuances in your portrait can transform a simple image into a captivating piece of art. So, take your time to observe your pet in various poses and expressions; this will not only improve your painting skills but also deepen your connection with your subject.
In conclusion, understanding pet anatomy is not just about learning the physical features; it’s about diving into the personality and essence of your furry friend. By mastering these aspects, you will be well on your way to creating a pet portrait that is not only visually appealing but also emotionally resonant.
- Why is understanding pet anatomy important for painting? Understanding anatomy helps you accurately depict your pet's features and personality, leading to a more lifelike portrait.
- How can I improve my observation skills for pet anatomy? Spend time with your pet, take photos from different angles, and study reference images to enhance your understanding.
- What are the best resources for learning about pet anatomy? Books on animal anatomy, online courses, and tutorials can provide valuable insights and techniques.
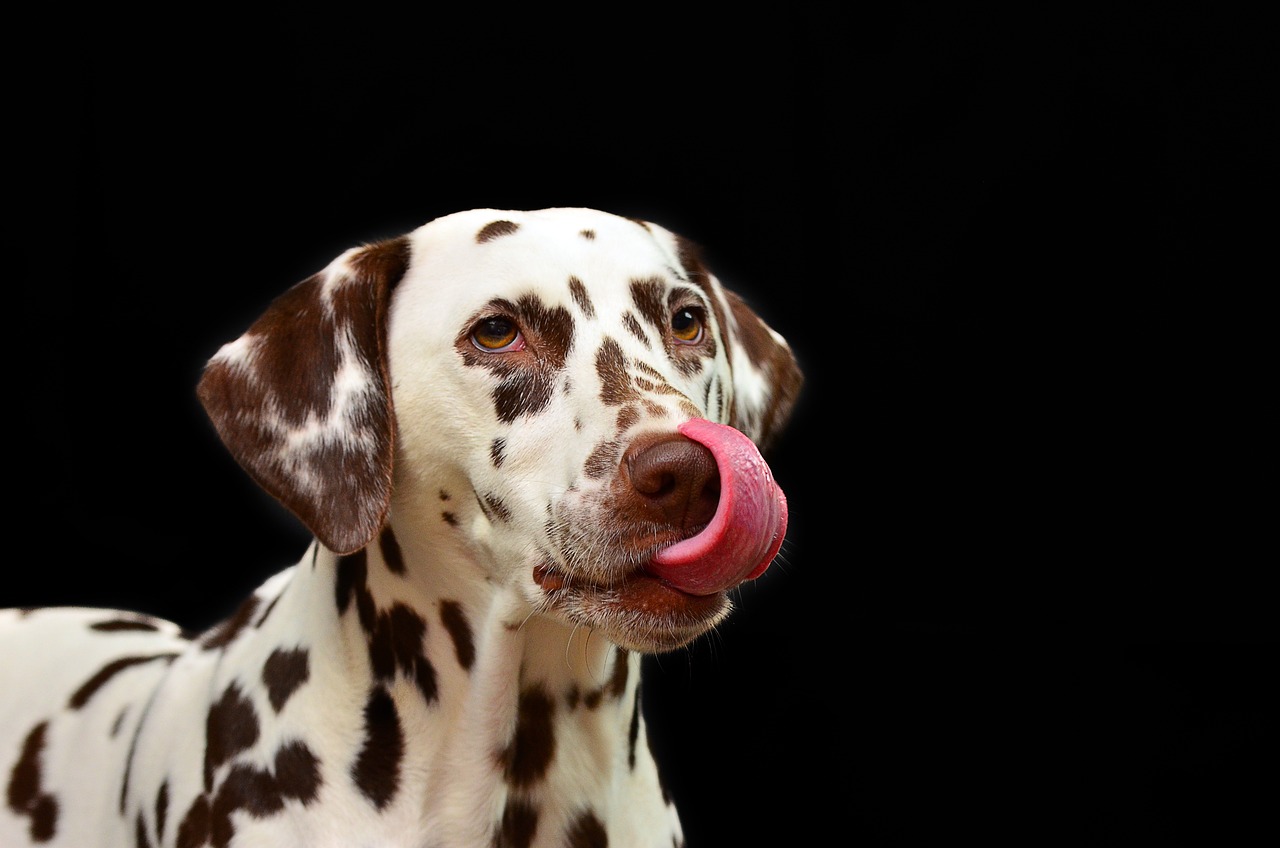
Choosing the Right Reference Photo
Choosing the right reference photo is one of the most critical steps in creating a stunning pet portrait. Think of the reference photo as your roadmap; without it, you may find yourself lost in the creative process. A high-quality image will not only help you capture the unique personality of your furry friend but also ensure that the details are sharp and clear. So, what should you look for when selecting that perfect snapshot?
First and foremost, focus on lighting. Natural light is your best friend when it comes to photography. It brings out the true colors and textures of your pet’s fur, making it easier for you to replicate those nuances on canvas. Avoid photos taken in harsh, fluorescent lighting, as they can distort colors and shadows. Ideally, aim for a photo taken outdoors during the golden hour—just after sunrise or just before sunset—when the light is soft and warm.
Next, consider the angle of the photo. A straight-on shot can sometimes lack the depth and character you want to convey in your portrait. Instead, look for images taken at eye level or slightly above, as these angles can create a more intimate and engaging perspective. This approach allows you to showcase your pet’s personality, whether they are playful, curious, or regal.
Another vital aspect is the background. A cluttered or distracting background can take the focus away from your pet. When choosing a reference photo, opt for one with a simple, unobtrusive background that highlights your pet. A blurred background can also work wonders, as it keeps the attention on your subject while adding a professional touch to your artwork.
Don't forget about the expression! Capturing a moment that showcases your pet's personality is key to creating a portrait that resonates with viewers. Whether it's a goofy grin or a serene gaze, the right expression can evoke emotions and tell a story. Spend some time observing your pet’s behavior; you might even want to take several photos during playtime or nap time to find that perfect moment.
Lastly, you might want to consider taking multiple photos and creating a composite reference. This means combining elements from different images to create a more dynamic reference. For example, you might like the expression from one photo but prefer the lighting from another. This approach allows you to capture the essence of your pet while incorporating the best aspects of each image.
In summary, selecting the right reference photo can significantly enhance your painting experience and the final outcome. Keep these tips in mind:
- Use natural lighting to capture true colors.
- Choose an engaging angle for a more intimate perspective.
- Opt for a simple background to keep the focus on your pet.
- Look for a photo that showcases your pet’s unique expression.
- Consider creating a composite reference for the best elements.
With the right reference photo in hand, you’ll be well on your way to creating a pet portrait that not only looks like them but also captures their spirit. So grab your camera, snap some shots, and get ready to bring your furry friend to life on canvas!
Q: How can I ensure my reference photo is high quality?
A: Make sure your photo is taken with a good camera, preferably in natural light. Avoid blurry images and ensure the focus is sharp on your pet.
Q: Can I use a photo from social media?
A: While you can use social media photos, ensure they are clear and of high resolution. Always ask for permission if the photo is not yours.
Q: What if I can't get a good photo of my pet?
A: If you're struggling to capture a great image, consider hiring a professional photographer who specializes in pet photography.
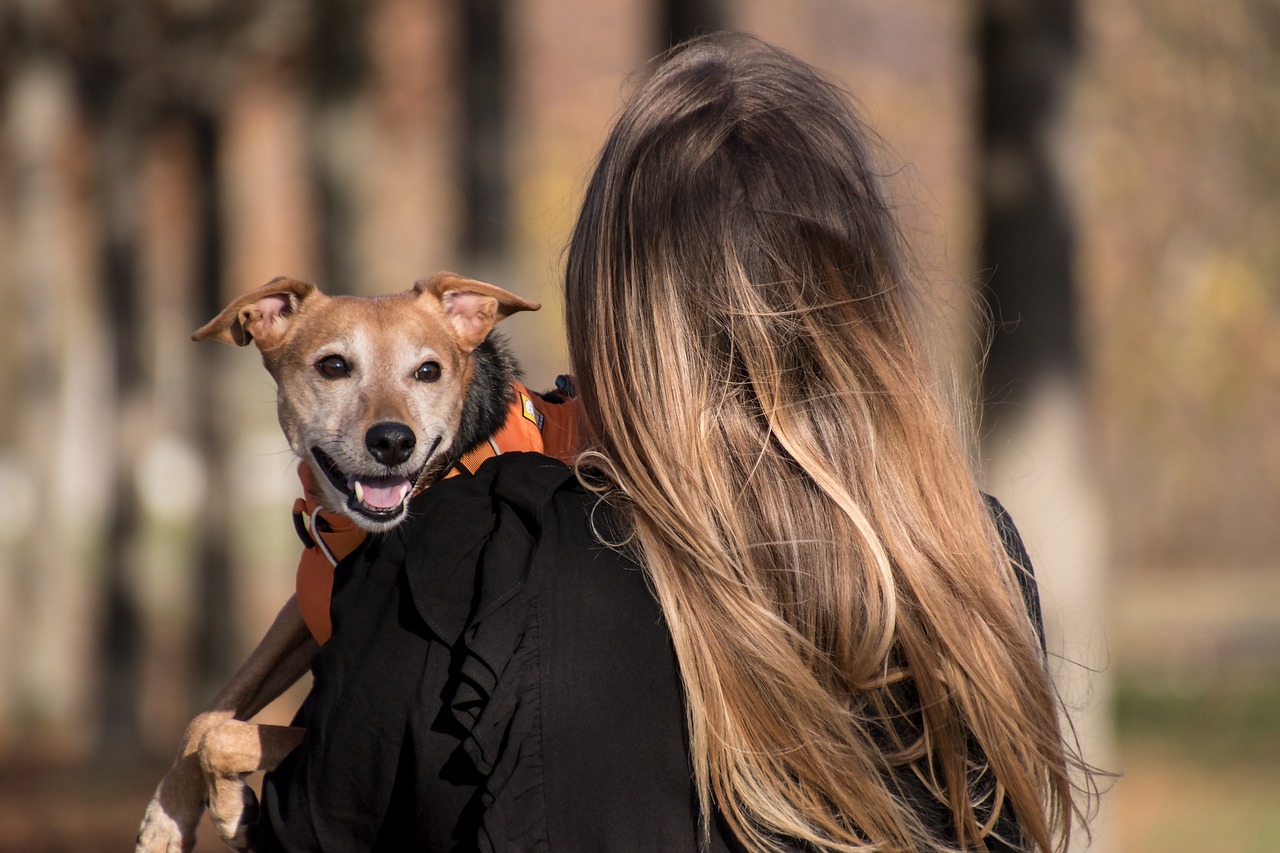
Sketching the Outline
When it comes to creating a stunning pet portrait, the sketching phase is like laying the groundwork for a beautiful building. It’s the foundation that supports everything else you’ll add later. Without a solid outline, your final painting might end up looking off-balance or distorted. So, let’s dive into how to sketch an outline that captures the true essence of your furry friend.
First things first, grab your pencil and some quality paper. You want to start with a light hand; think of it as a gentle whisper rather than a shout. This initial outline is all about getting the proportions right. Begin by observing your reference photo closely. Notice the shapes that make up your pet's head, body, and limbs. Most pets can be broken down into simple shapes: circles for the head, ovals for the body, and triangles for the ears. Visualizing your pet in this way will help you achieve accurate proportions.
As you start sketching, it’s important to keep your lines light and fluid. This allows you to make adjustments easily as you go along. If you find that one part of your outline looks off, don’t hesitate to erase and correct it. Remember, this is just the first layer of your artwork. The goal is to capture the basic structure before diving into the details.
Here’s a quick step-by-step approach to sketching your pet’s outline:
- Start with Basic Shapes: Use circles and ovals to define the head and body.
- Map Out Proportions: Pay attention to the size of the head in relation to the body. Are the legs too short or too long? Adjust as needed.
- Add Guidelines: Lightly draw lines to indicate where the eyes, nose, and mouth will go. This will help you maintain symmetry.
- Refine the Outline: Once you’re satisfied with the basic shapes, begin refining the outline by adding more details like the contours of the ears, the curve of the tail, and the shape of the paws.
Now, you might be wondering, “How do I ensure my sketch captures my pet’s personality?” This is where observation becomes key. Spend some time watching your pet. Does he have a playful glint in his eye? Does she have a unique tilt to her head? Incorporating these little nuances into your outline will set the stage for a portrait that not only looks like your pet but also feels like them.
Once you’re happy with your outline, it’s time to step back and take a look. Does it feel balanced? Are the proportions correct? If all looks good, you can move on to the next phase. But if something feels off, don’t be afraid to make adjustments. Just like in life, sometimes you have to take a step back to see the bigger picture.
In conclusion, sketching the outline is a crucial step in the process of painting a pet portrait. It’s your chance to establish a solid foundation that will support the vibrant colors and textures you’ll add later. So grab that pencil, let your creativity flow, and remember: every great masterpiece starts with a single line!
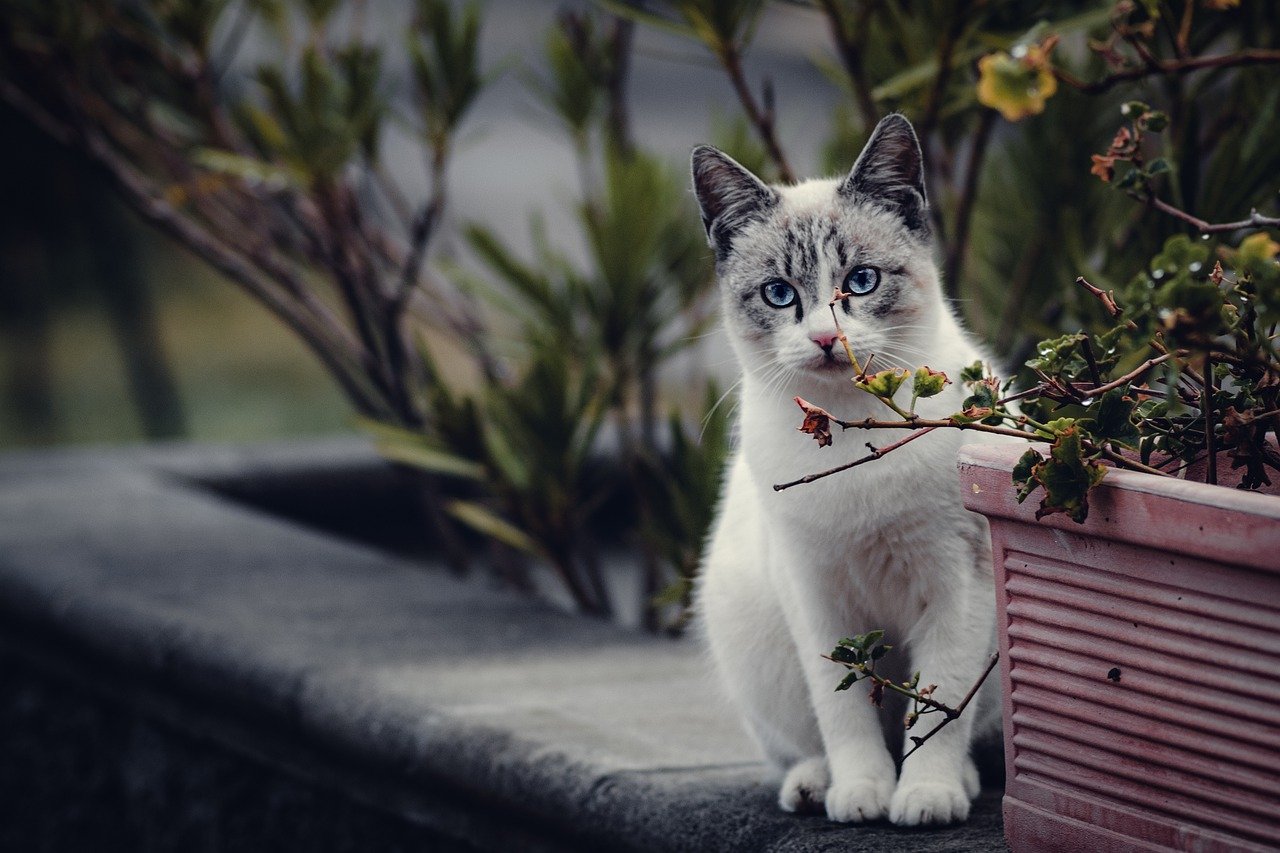
Layering Techniques in Painting
When it comes to painting a pet portrait, layering techniques are your best friends. Think of layering as building a cake; each layer adds depth, flavor, and texture to the final product. In painting, layering allows you to create a rich, vibrant representation of your pet, capturing the nuances of their fur and features. The key to successful layering is patience and practice, but don't worry—once you get the hang of it, you'll be amazed at how much life you can breathe into your artwork!
To start, you'll want to choose your base colors carefully. This initial layer sets the tone for your entire painting. For instance, if you're painting a golden retriever, you might begin with a warm yellow or ochre base. This foundational layer will shine through subsequent layers, giving your portrait a natural glow. Once your base is dry, you can begin to build up layers of color, gradually adding darker shades to create depth and dimension. Remember, it’s all about gradual buildup; rushing this process may lead to muddy colors.
As you layer, consider using different brush strokes to achieve various textures. For example, a soft, dry brush can create the illusion of fluffy fur, while a stiff brush can help you define sharper features like the eyes or nose. Here’s a quick breakdown of some effective layering techniques:
- Glazing: This technique involves applying a thin, transparent layer of paint over a dry base layer. It’s perfect for achieving depth in colors without losing the vibrancy of the underlying tones.
- Scumbling: Using a dry brush with a little paint, lightly drag it across the surface to create a textured effect. This is especially useful for fur, as it can mimic the natural layering of hair.
- Wet-on-wet: This technique involves applying wet paint onto wet paint, allowing colors to blend seamlessly. It’s great for creating soft transitions and highlights.
Don’t forget about the importance of transparency and opacity in your layers. Transparent layers allow the underlying colors to show through, while opaque layers can completely cover previous colors. Experimenting with these properties can lead to stunning effects in your portrait. A good rule of thumb is to start with transparent layers and gradually move to more opaque ones as you refine your painting.
Finally, always step back and evaluate your work as you layer. This allows you to see the overall composition and make adjustments as needed. Sometimes, what looks good up close may not translate well from a distance. Trust your instincts—if something feels off, it probably is! Layering is not just a technique; it’s an art form that requires both skill and intuition. So, grab your brushes and start layering your way to a beautiful pet portrait!
Q: How many layers should I apply in my pet portrait?
A: There's no strict rule, but typically, 3-5 layers are sufficient to achieve depth and detail. More layers can be applied depending on the complexity of the fur and features.
Q: Can I use acrylics for layering?
A: Absolutely! Acrylics are excellent for layering due to their quick drying time and versatility. Just remember to work quickly or use a slow-drying medium if you want more blending time.
Q: What if I make a mistake while layering?
A: Mistakes can often be corrected by painting over them with a new layer. If it’s a significant error, you can also use a wet cloth to gently wipe off the paint before it dries.
Q: Is it necessary to let each layer dry completely?
A: For techniques like glazing, yes, it’s crucial to let each layer dry completely. However, for wet-on-wet techniques, you’ll want to work while the paint is still wet.
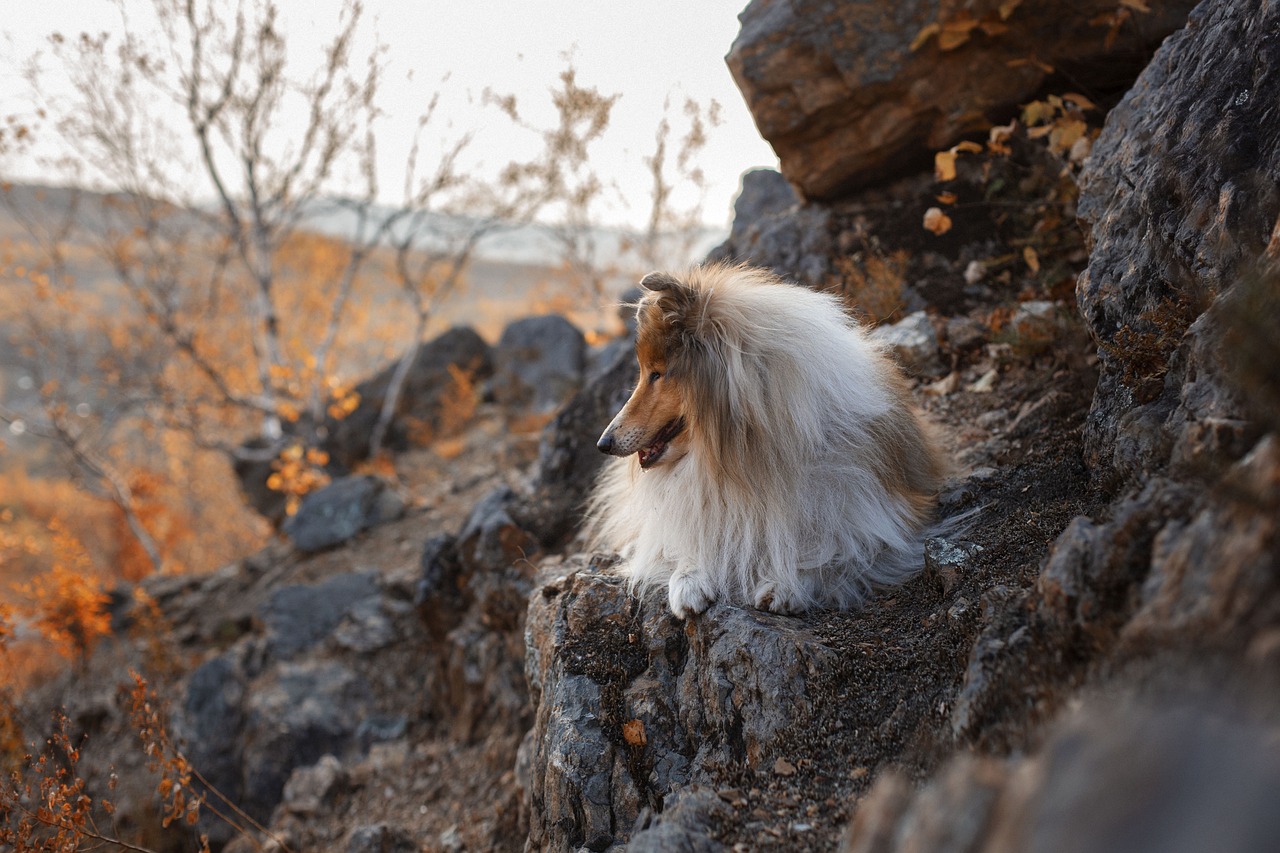
Adding Color and Texture
When it comes to creating a stunning pet portrait, color and texture are the secret ingredients that can transform your artwork from ordinary to extraordinary. Imagine your painting as a beautiful garden; just as flowers need vibrant colors to bloom, your portrait needs the right hues to bring your furry friend to life. But how do you achieve that perfect blend of colors and textures? Let’s dive into the world of painting techniques!
First off, color mixing is essential. You don't want to just slap on any color straight from the tube; instead, think of it as a chef creating a signature dish. Start by understanding the color wheel—primary, secondary, and tertiary colors. Mixing colors allows you to create shades that are more reflective of your pet’s unique fur. For instance, if you're painting a golden retriever, you might mix yellow ochre with a touch of white to get that soft, sun-kissed fur tone. Remember, the key is to experiment and find what works best for your subject!
Next, consider your application methods. Different brushes can yield different results. A flat brush is great for broad strokes and filling in large areas, while a round brush is perfect for details and textures. You might even want to use a fan brush for creating the illusion of fur. Think of your brush as a magic wand—each stroke can add character and depth to your painting. Try using varying brush techniques, such as stippling or dry brushing, to create a unique texture that mimics the soft or wiry fur of your pet.
Texture plays a crucial role in making your portrait feel lifelike. To achieve realistic fur texture, layering is your best friend. Start with a base coat that matches the overall color of your pet’s fur. Once that layer dries, add additional layers using different shades to create depth. For example, if your pet has a mix of colors in their fur, use a lighter shade for highlights and a darker shade for shadows. This technique not only adds dimension but also gives your painting a more three-dimensional feel.
Don’t forget about the background! A well-chosen background can enhance the focal point of your portrait. Whether you opt for a soft, blurred background or a more detailed setting, ensure that it complements the colors of your pet. For instance, a light pastel background can make a darker-colored pet stand out, while a vibrant backdrop can add energy to the overall composition. Think of it as the frame of a picture—it should enhance, not overpower!
Finally, once you're satisfied with the color and texture, take a step back and assess your work. Sometimes, adding a few final highlights can make all the difference. Use a fine brush to apply lighter shades to areas where light naturally hits your pet, such as the tip of their nose or the tops of their ears. These little touches can give your portrait that extra sparkle and make it truly pop!
In summary, adding color and texture to your pet portrait is a delightful journey of exploration and creativity. By mixing colors thoughtfully, experimenting with various application techniques, layering effectively, and considering your background, you can create a piece that captures the essence of your beloved pet. So grab those brushes, unleash your imagination, and let your artwork shine!
- What type of paint is best for pet portraits?
Acrylic paints are popular for pet portraits due to their quick drying time and vibrant colors, but oil paints can also create beautiful depth. - How do I choose the right colors for my pet?
Observe your pet's fur in different lighting conditions and mix colors to match their unique shades. - Can I use a photo reference?
Absolutely! A high-quality photo can help you capture the details and personality of your pet more accurately. - What if I make a mistake while painting?
Don't worry! Paint is forgiving. You can always paint over mistakes or adjust colors as needed.
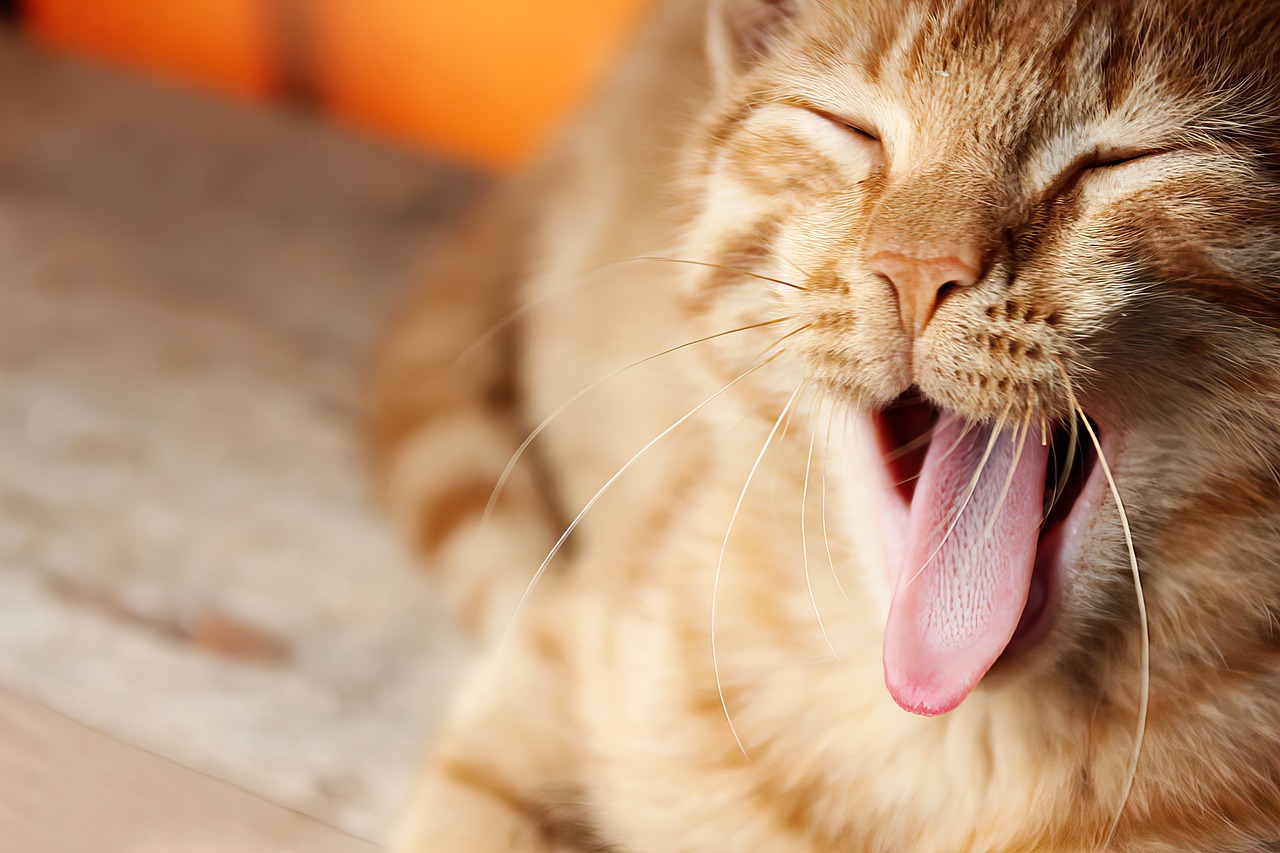
Final Touches and Details
Once you've completed the bulk of your pet portrait, it's time to focus on the final touches that will take your artwork from simply good to absolutely stunning. These subtle enhancements can make a world of difference, adding depth, dimension, and personality to your piece. Think of this stage as the icing on the cake; it’s the final flourish that brings everything together.
First, consider the highlights. Adding highlights to your pet's eyes can create a lively and engaging expression. Use a fine brush and a lighter shade of your base color to carefully dot the areas where light naturally hits the eye. This small detail can breathe life into your portrait, making it seem as if your pet is looking right back at you.
Next, let’s talk about shadows. Shadows are essential for creating a sense of depth. Look closely at your reference photo and identify the areas where shadows fall. Using a slightly darker tone than your base colors, apply these shadows to the appropriate areas, such as under the chin, behind the ears, and along the body. This technique will help your pet appear more three-dimensional, as if they are ready to leap off the canvas!
Additionally, fine details like whiskers, fur texture, and even the subtle variations in color can elevate your portrait. For whiskers, use a very thin brush to paint delicate lines that mimic their natural growth. When it comes to fur, consider using a stippling technique; this involves dabbing your brush to create texture and mimic the softness of your pet’s coat. The more attention you pay to these details, the more realistic your portrait will become.
Finally, don't forget about the background. A well-chosen background can enhance the focus on your pet and tie the whole composition together. Whether you opt for a simple wash of color or a more detailed scene, make sure it complements your pet without overpowering them. You want your furry friend to be the star of the show!
As you embark on your pet portrait journey, you might have some questions. Here are a few frequently asked questions that can help guide you:
- How long does it take to complete a pet portrait? The time varies based on your skill level and the complexity of the portrait, but typically it can take anywhere from a few hours to several days.
- What type of paint is best for pet portraits? Acrylics and oils are popular choices, with acrylics drying faster and oils allowing for more blending time.
- Can I paint my pet from a photo taken on my phone? Absolutely! Just ensure the photo is clear and well-lit to capture the details you need.
- Do I need to be an experienced artist to create a pet portrait? Not at all! With practice and the right techniques, anyone can create a beautiful portrait of their beloved pet.
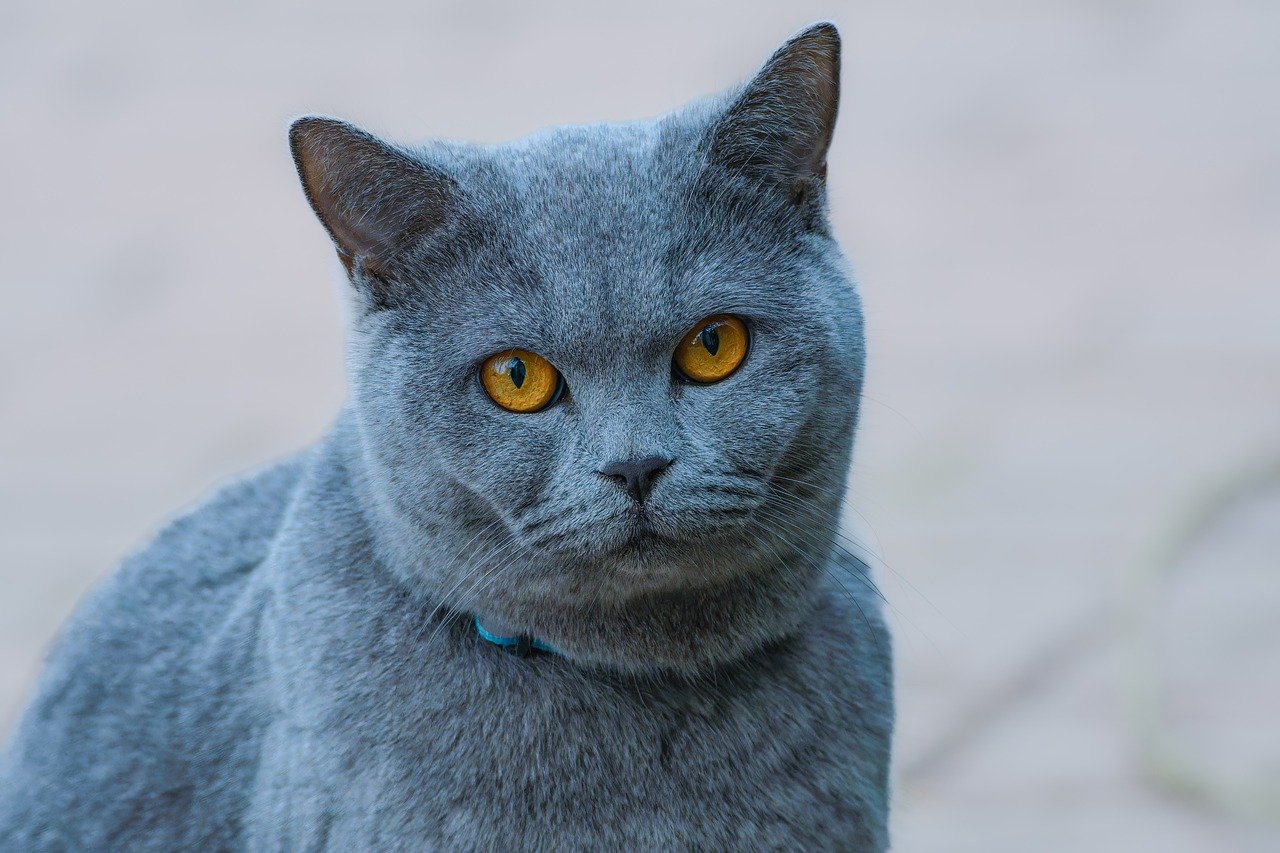
Displaying Your Artwork
Once you've poured your heart and soul into creating a stunning pet portrait, the final step is to display it in a way that truly honors your furry friend. After all, what’s the point of a masterpiece if it’s hidden away in a closet? not only showcases your talent but also allows you to share the joy of your beloved pet with family and friends.
First things first, let’s talk about framing. Choosing the right frame can significantly enhance the overall look of your portrait. A well-chosen frame can complement the colors and style of your painting, drawing the viewer’s eye right to the artwork. Consider the following options:
| Frame Type | Description |
|---|---|
| Wooden Frame | Classic and versatile, wooden frames add warmth and can be stained or painted to match any decor. |
| Metal Frame | Modern and sleek, metal frames offer a contemporary touch and are often more durable. |
| Canvas Wrap | No frame needed! A canvas wrap gives a clean, gallery-style look that is perfect for a more casual display. |
Once your portrait is framed, the next step is to decide where to hang it. Think about the natural light in your home; too much direct sunlight can fade colors over time, so choose a spot that offers some protection. A living room or entryway can be ideal, making it a focal point for guests. Don't shy away from creating a gallery wall by grouping your pet portrait with other artwork or photographs. This can create a cohesive look that tells a story about your home and your life with your pet.
Now, let’s not forget about caring for your artwork. To keep your portrait looking fresh and vibrant, dust it regularly with a soft, dry cloth. If you used acrylic or oil paints, consider using a protective varnish to shield it from dust and UV rays. This simple step can help maintain the integrity of your colors and ensure your pet’s likeness remains vivid for years to come.
In addition to hanging your portrait, think about other ways to display your artwork. Consider placing it on a shelf or mantle where it can be admired from different angles. You might even create a dedicated pet corner in your home, complete with photos, toys, and other memorabilia that celebrate your furry friend.
Ultimately, displaying your pet portrait is about celebrating the unique bond you share with your pet. Whether you choose to hang it in a prominent spot or keep it in a cozy nook, the key is to ensure it brings joy and sparks conversation. So take a step back, admire your work, and let the world see the beauty of your pet through your artistic lens!
- How do I choose the right frame for my pet portrait? Consider the style of your artwork and your home decor. A wooden frame adds warmth, while a metal frame offers a modern touch.
- Can I display my artwork in direct sunlight? It's best to avoid direct sunlight, as it can fade the colors over time. Opt for a well-lit area that doesn’t receive harsh sunlight.
- How can I protect my painting from dust? Regularly dust your artwork with a soft, dry cloth. You can also apply a protective varnish if you used acrylic or oil paints.
Frequently Asked Questions
- What materials do I need to paint a pet portrait?
To create a stunning pet portrait, you'll need essential materials such as high-quality paints (acrylics or oils), a variety of brushes (round and flat), a suitable canvas or paper, and a palette for mixing colors. Don't forget to have water or solvent for cleaning your brushes, and some rags or paper towels on hand for any spills!
- How can I prepare my workspace for painting?
Preparing your workspace is key to a smooth painting process. Make sure to choose a well-lit area, preferably near a window for natural light. Organize your materials within reach, and eliminate distractions. A comfortable chair and a sturdy table will help you focus on your masterpiece without any interruptions.
- Why is understanding pet anatomy important?
Understanding pet anatomy is crucial because it helps you accurately capture the unique features of your furry friend. By knowing the proportions and structure of their body, you can create a more lifelike representation. Think of it like building a house; you need a solid foundation to create something beautiful!
- What should I look for in a reference photo?
Choosing the right reference photo can make a world of difference in your painting. Look for high-quality images that showcase your pet's personality, with good lighting and clear details. A photo that captures their expression and unique features will help you create a more authentic portrait.
- How do I sketch the outline of my pet?
Start by lightly sketching the basic shapes of your pet using a pencil. Focus on proportions and placements to ensure everything looks just right. Remember, this is your foundation, so take your time! Once you're satisfied, you can move on to adding more details before applying paint.
- What are layering techniques in painting?
Layering techniques involve applying multiple layers of paint to create depth and dimension in your artwork. Start with a base layer and gradually build up color and texture. This method helps to achieve a realistic look, especially when painting fur and other intricate details.
- How do I add color and texture to my portrait?
To bring your portrait to life, mix colors that match your pet’s fur and apply them using different brush strokes. Experiment with techniques like stippling or glazing to create texture. Remember, it’s all about layering and blending to achieve that lifelike effect!
- What final touches should I add to my portrait?
Final touches can truly elevate your painting. Focus on adding highlights and shadows to enhance the three-dimensional feel. Fine details, like the sparkle in your pet’s eyes or the texture of their fur, can make a huge difference. Take a step back and assess your work before calling it done!
- How should I display my completed pet portrait?
Displaying your artwork is the final step! Consider framing it to protect it from dust and damage. Choose a location that showcases your portrait, whether it’s a living room wall or a dedicated art space. And don’t forget to care for it by keeping it away from direct sunlight to prevent fading!


