
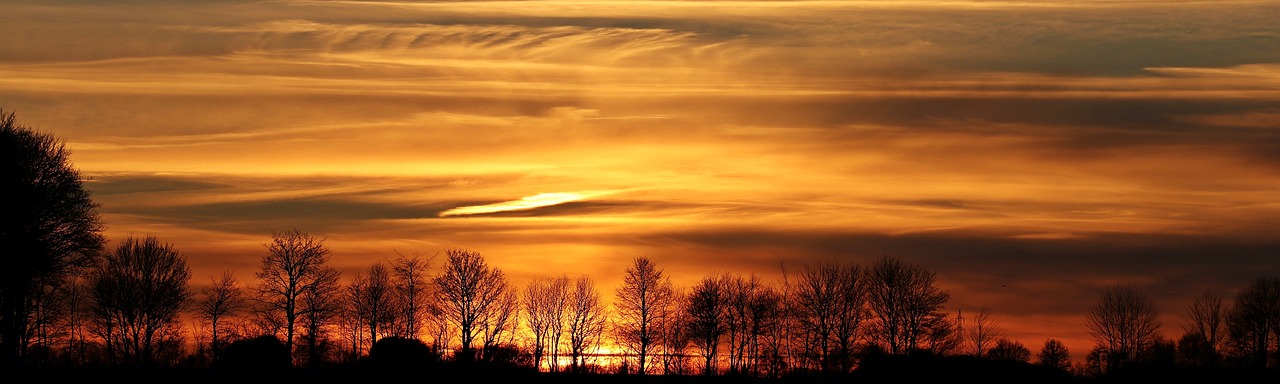
How to Paint A Realistic Sunset: A Step-By-Step Guide
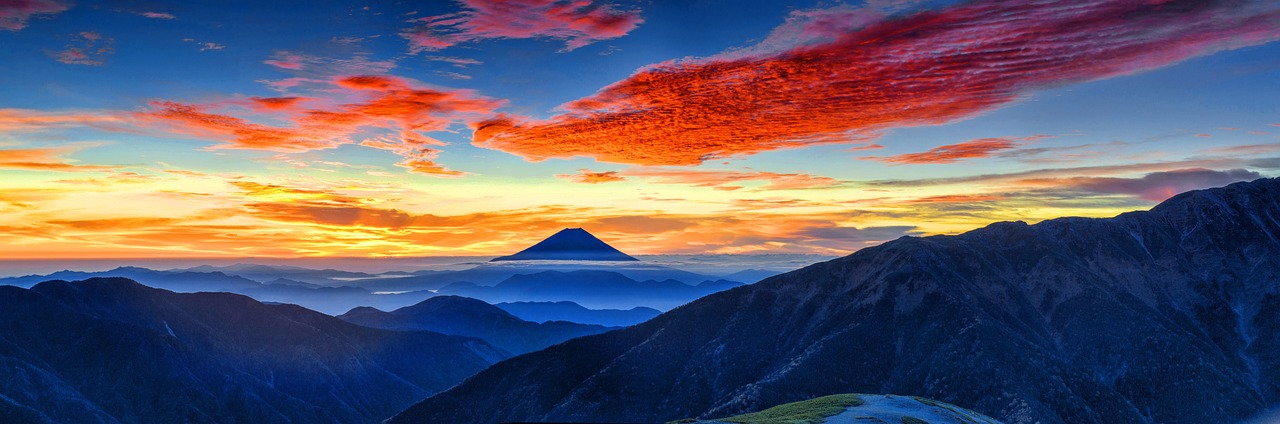
Painting a realistic sunset can feel like capturing a fleeting moment of nature's beauty on canvas. It’s not just about slapping some colors together; it’s about understanding the nuances of light, color, and atmosphere. In this guide, we’ll walk you through the essential techniques and tips necessary to create a stunning sunset painting that will leave viewers in awe. Are you ready to unleash your inner artist and transform your blank canvas into a breathtaking sunset scene? Let’s dive in!
Color theory is the backbone of any great painting, especially when it comes to capturing the essence of a sunset. To create those stunning hues that dance across the sky, you need to understand how colors interact. Think of primary colors—red, blue, and yellow—as your building blocks. By mixing these, you can create secondary colors like orange and purple, which are crucial for sunsets. Complementary colors, those that sit opposite each other on the color wheel, can also enhance the vibrancy of your painting. For example, pairing warm oranges with cool blues can create a striking contrast that mimics the beauty of a sunset. So, before you even pick up a brush, take some time to familiarize yourself with these color relationships.
Now that you have a grasp of color theory, it’s time to talk about materials. The right paints, brushes, and canvases can make a world of difference in your sunset painting journey. Each artist has their preferences, but here’s a breakdown of what you should consider:
When it comes to paint, you have several options, each with its own unique characteristics:
| Paint Type | Advantages | Disadvantages |
|---|---|---|
| Acrylics | Quick drying, vibrant colors | Can dry too fast for blending |
| Oils | Rich colors, excellent for blending | Long drying time, requires solvents |
| Watercolors | Transparent layers, easy to manipulate | Less control over saturation |
Choosing the right paint type depends on your personal style and the effect you want to achieve. Acrylics are great for beginners due to their fast-drying nature, while oils allow for more intricate blending.
The type of brush you use can significantly impact the texture and blending of your colors. For sunsets, you’ll want a mix of flat brushes for broad strokes and round brushes for detail work. A fan brush can also be handy for creating soft cloud textures. Remember, each brush has its own personality, so experiment with a few to find what feels right for you!
Your choice of canvas can affect the overall look of your painting. Options range from stretched canvases to canvas boards. A rough texture can add depth, while a smooth surface allows for fine detail. Consider the size of your canvas as well; a larger canvas can make your sunset more dramatic, while a smaller one might feel more intimate.
Before you start painting, it’s essential to set up a workspace that inspires creativity. Make sure you have good lighting—natural light is ideal. Organize your paints, brushes, and other materials within easy reach. A clutter-free environment can help you focus on your masterpiece. Remember, a well-prepared workspace is like setting the stage for a grand performance—everything needs to be just right!
Once your workspace is ready, it’s time to sketch your composition. A solid composition is crucial for a successful painting. Start by lightly sketching the horizon line; this will serve as the foundation for your sunset. Position it about one-third from the bottom of the canvas for a balanced look. Don’t forget to incorporate foreground elements like trees or mountains to add depth and interest to your scene.
The horizon line plays a vital role in creating depth in your sunset painting. By positioning your horizon correctly, you can create a sense of space and perspective. If your horizon is too high or too low, it can throw off the balance of your entire painting. Aim for a natural feel, as if you’re standing in front of the scene you’re depicting.
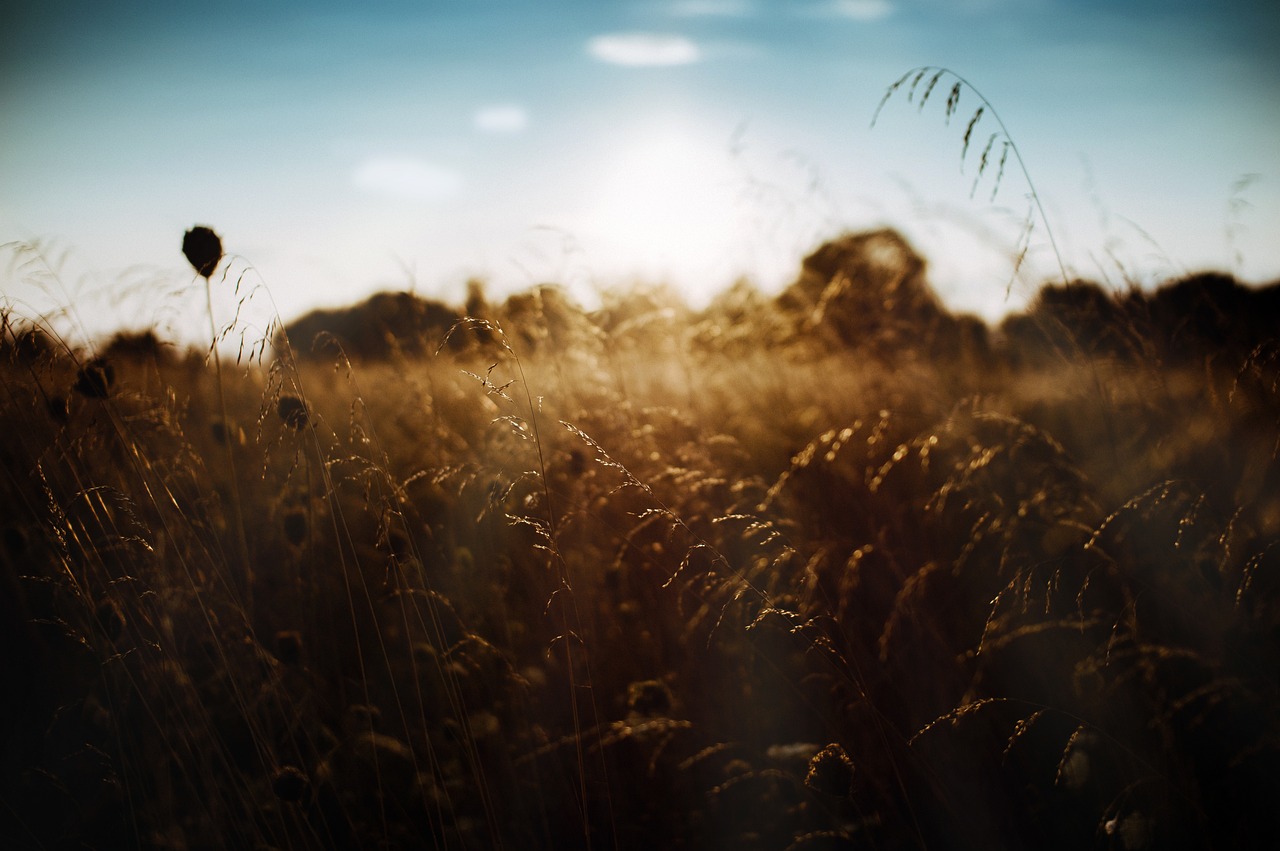
Adding foreground elements can enhance the realism of your sunset. Whether it’s silhouetted trees, a distant mountain range, or even a calm body of water, these elements can draw the viewer's eye into the painting. Think of them as the frame that holds your sunset masterpiece together.
Effective blending techniques are key to achieving those smooth transitions between colors that are characteristic of sunsets. One popular method is the wet-on-wet technique, where you apply wet paint onto wet paint, allowing the colors to mix seamlessly on the canvas. This technique can create vibrant skies that resemble the breathtaking colors of a sunset.
Using the wet-on-wet technique allows for a fluid mix of colors, resulting in a dynamic and lively sky. Start with a wet brush and apply your base colors. Then, while the paint is still wet, introduce other colors to blend them together. You’ll be amazed at how easily you can create those stunning gradients!
On the other hand, the dry brushing technique can add texture and depth to your painting. By using a dry brush with minimal paint, you can create soft cloud formations that enhance the overall atmosphere of your sunset. This technique is perfect for adding those delicate touches that make your painting come alive.
As you near completion, it’s time for the final touches that will elevate your sunset painting. Adding highlights and shadows can create a polished look and bring your artwork to life. Think about where the light is coming from and how it interacts with the clouds and foreground elements.
Strategically highlighting clouds can create dramatic effects in your sunset painting. Use a lighter shade of your cloud color to add dimension and depth. This technique can make your clouds appear as if they are glowing in the sunset light, capturing that magical moment.
If your sunset includes water, don’t forget to paint reflections! Water can mirror the colors of the sky, creating a beautiful symmetry in your artwork. Use horizontal strokes to mimic the gentle ripples of the water, and don’t shy away from blending colors to achieve a realistic effect.
- What is the best time of day to paint a sunset? The best time is during the "golden hour," just before sunset when the light is soft and warm.
- Can I use any type of paint for sunset paintings? Yes, but acrylics and oils are preferred for their blending capabilities.
- Do I need to sketch before painting? While it's not mandatory, sketching helps in planning your composition effectively.
- How can I make my sunset painting more vibrant? Use a variety of colors and pay attention to blending techniques for a more dynamic look.
Understanding Color Theory
This article provides a comprehensive guide on painting a realistic sunset, covering essential techniques, color blending, and tips for creating depth and atmosphere in your artwork.
When it comes to painting a stunning sunset, is your secret weapon. It’s like having a treasure map that guides you through the vibrant landscape of colors. At its core, color theory revolves around the relationships between colors and how they interact with each other. To capture the essence of a sunset, you need to grasp the concept of primary colors, complementary colors, and the magic that happens when they blend together.
Let’s break it down. The primary colors—red, blue, and yellow—are the building blocks of all other colors. By mixing these colors, you can create secondary colors like green, orange, and purple. But here’s where it gets interesting: when you pair complementary colors (colors opposite each other on the color wheel), they create a striking contrast that can make your sunset pop! For instance, if you’re painting a vibrant orange sky, consider using a touch of blue to make it more dynamic.
To illustrate this, here’s a simple table showing some primary and complementary color pairs:
| Primary Color | Complementary Color |
|---|---|
| Red | Green |
| Blue | Orange |
| Yellow | Purple |
Now, let’s talk about the color wheel. This handy tool is essential for any artist. It helps you visualize how colors relate to one another and can guide you in choosing the right hues for your sunset. Imagine the color wheel as a palette of possibilities, where you can explore various shades and tones to find that perfect blend that captures the sky's beauty.
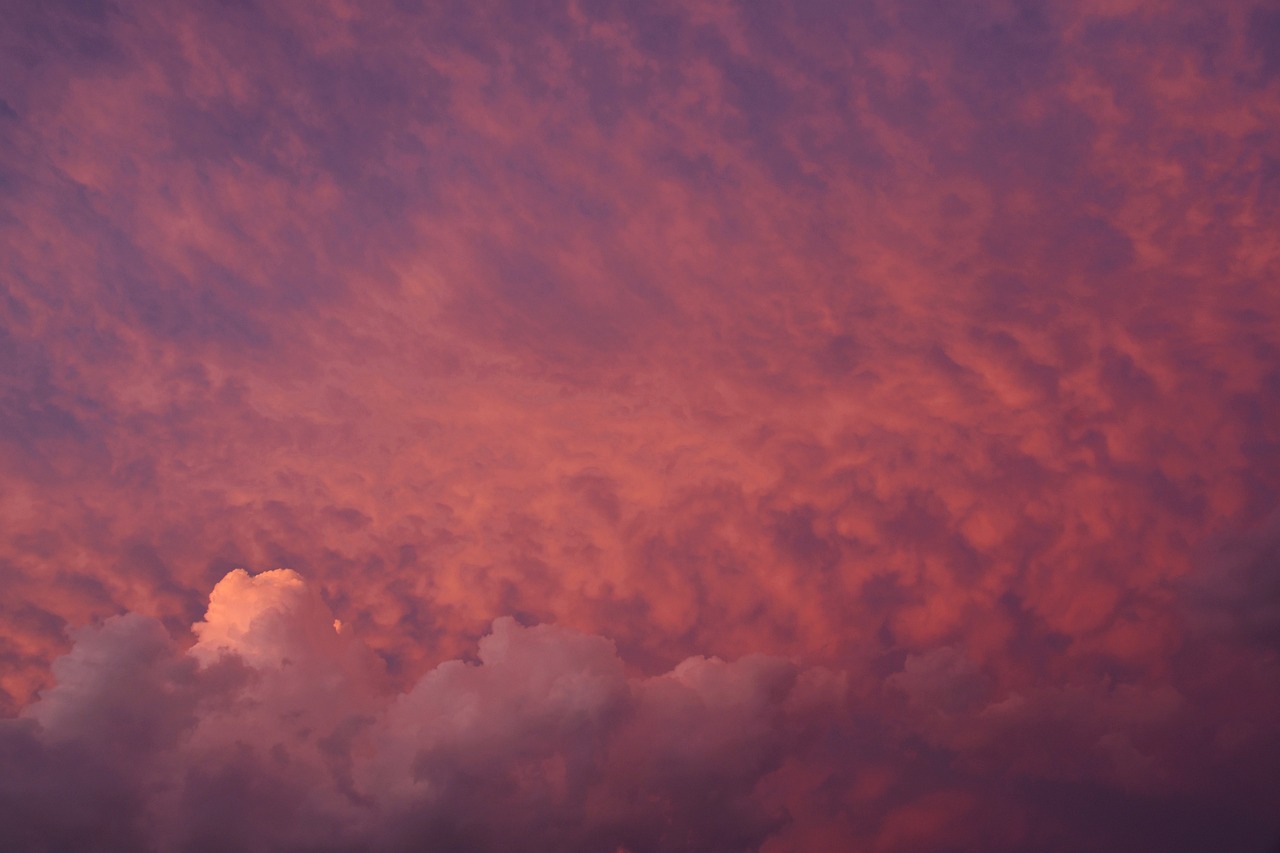
In a sunset, you’ll often see a gradient of colors, transitioning from deep blues at the top, through purples and pinks, and finally into warm oranges and yellows near the horizon. This blending of hues is what creates the magical effect of a sunset. To achieve this in your painting, consider using a technique called color glazing, where you apply thin layers of transparent color over one another, allowing the underlying colors to show through. This creates depth and a luminous quality that is characteristic of real sunsets.
As you embark on your sunset painting journey, remember that practice is key. Experiment with different color combinations and blending techniques to discover what works best for you. Don’t be afraid to mix colors on your palette and on your canvas; after all, painting is about exploration and expression!
- What colors should I use for a sunset painting? Start with a palette that includes reds, oranges, yellows, and purples, along with blues for the sky. Experiment with blending these colors to find your unique sunset hues.
- Can I use any type of paint for sunset paintings? Yes, you can use acrylics, oils, or watercolors. Each type of paint has its own characteristics, so choose one that you feel comfortable with.
- How can I create depth in my sunset painting? Use a combination of layering colors and incorporating foreground elements like trees or mountains to create a sense of depth.
Choosing the Right Materials
When it comes to painting a realistic sunset, selecting the right materials is absolutely crucial. Think of it as choosing the right ingredients for a gourmet meal; the quality and type of materials can make or break your artwork. You want to ensure that your paints, brushes, and canvas work harmoniously together to create that stunning sunset effect you envision. Let’s dive into the essential components you'll need to set yourself up for success.
First off, let's talk about paints. The type of paint you choose will significantly impact the vibrancy and texture of your sunset. You have several options to consider:
| Paint Type | Advantages | Disadvantages |
|---|---|---|
| Acrylics | Fast-drying, easy to blend, vibrant colors | Can dry too quickly for blending |
| Oils | Rich colors, excellent blending, longer drying time | Longer setup and cleanup time |
| Watercolors | Transparent layers, easy to control washes | Less vibrant, can be challenging for beginners |
Next, let’s consider brush selection. The right brush can make all the difference in achieving the textures and blending you need for a beautiful sunset. For instance, flat brushes are excellent for broad strokes and creating smooth backgrounds, while round brushes are perfect for adding fine details like clouds or distant objects. Don’t forget to have a few different sizes on hand; a variety of brushes can help you achieve the intricate details that make your sunset pop.
Now, let’s not overlook the importance of canvas options. The type of canvas you choose can greatly affect the final look of your painting. You might opt for a traditional stretched canvas, which provides a nice texture for oil and acrylic paints, or a watercolor paper if you’re leaning toward a more fluid style. The size of your canvas is equally important; a larger canvas can allow for more dramatic sunsets, while a smaller one might be perfect for quick studies. Here are a few common options:
- Stretched Canvas: Great for oils and acrylics, provides a classic look.
- Canvas Boards: More affordable, easy to transport, suitable for practice.
- Watercolor Paper: Ideal for watercolors, offers texture for washes.
Finally, don’t forget about your workspace setup. A well-organized painting area can help you focus on your creative process without distractions. Make sure you have ample lighting, a comfortable easel, and easy access to all your materials. This will make your painting experience smoother and more enjoyable, allowing you to fully immerse yourself in the beauty of creating a sunset.
In summary, choosing the right materials for your sunset painting is a blend of personal preference and practical considerations. Whether you prefer the quick-drying nature of acrylics or the rich depth of oils, each choice will contribute to the overall impact of your artwork. So gather your supplies, set up your space, and get ready to bring those breathtaking sunsets to life on your canvas!
Q: What type of paint is best for a beginner?
A: Acrylics are often recommended for beginners due to their ease of use and quick drying time.
Q: Can I use regular paper for painting?
A: While you can practice on regular paper, it's best to use canvas or watercolor paper for final pieces to achieve better results.
Q: How do I clean my brushes?
A: Clean your brushes immediately after use with water for acrylics or an appropriate solvent for oils to keep them in good condition.

Paint Types
When it comes to painting a realistic sunset, the type of paint you choose can make all the difference. Each paint medium has its unique characteristics and can yield different results, so it's essential to understand the options available to you. Let's dive into the most popular paint types used for sunset paintings: acrylics, oils, and watercolors.
Acrylic Paints are a favorite among many artists due to their versatility and fast-drying properties. They are water-based, which means you can easily clean your brushes with soap and water. Acrylics allow for vibrant colors and can be layered to create depth. However, because they dry quickly, you need to work faster than with other paint types. This can be a double-edged sword; if you're not careful, you might find it challenging to blend colors seamlessly. But don't let that discourage you! With practice, you can master the art of acrylic sunset painting.
Oil Paints, on the other hand, are known for their rich texture and depth of color. They take longer to dry, which gives you ample time to blend and manipulate the paint on the canvas. This slow drying time is ideal for creating the soft gradients typical of sunsets. However, oil paints require solvents for cleanup, which can be a drawback for some artists. Additionally, the longer drying time means that you might need to wait days or even weeks before your painting is fully dry. But the stunning results are often worth the wait!
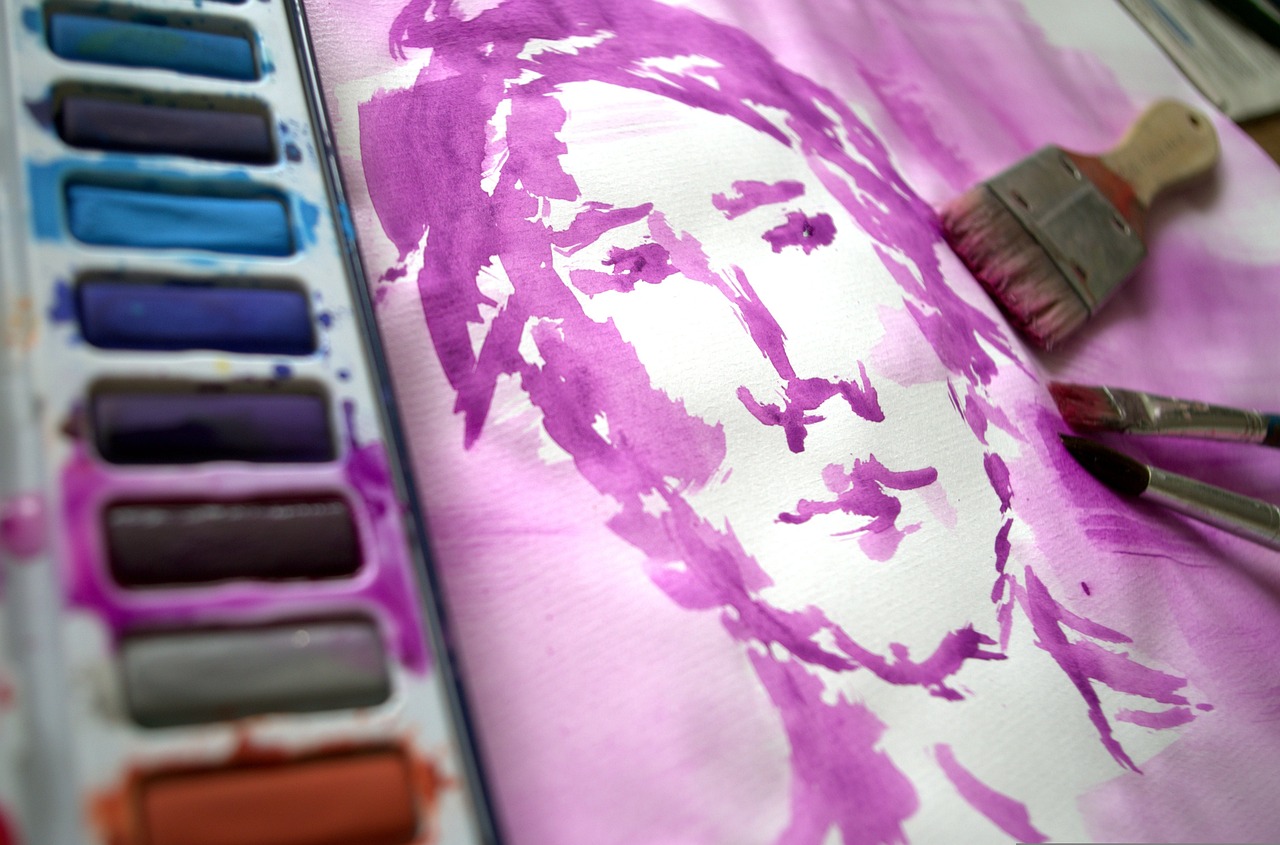
Watercolors offer a completely different approach. They are transparent and can create delicate washes of color, making them perfect for capturing the ethereal quality of a sunset. However, working with watercolors requires a good understanding of water control and layering techniques. Unlike acrylics and oils, watercolors can be unforgiving if you make a mistake, as it's challenging to cover up errors. But the beauty of watercolors lies in their ability to produce soft, luminous effects that can beautifully depict the fleeting nature of a sunset.
| Paint Type | Advantages | Disadvantages |
|---|---|---|
| Acrylics | Fast-drying, vibrant colors, easy cleanup | Quick drying can hinder blending |
| Oils | Rich texture, excellent blending, long drying time | Requires solvents for cleanup, long drying time |
| Watercolors | Soft washes, luminous effects | Challenging to control, difficult to correct mistakes |
Ultimately, the choice of paint depends on your personal preference and the effect you wish to achieve in your sunset painting. Each medium has its unique charm and can bring your artistic vision to life in different ways. So, experiment with each type to find the one that resonates with you and your style!
1. Can I mix different types of paint in one painting?
While it's generally not recommended to mix acrylics, oils, and watercolors directly, you can use different mediums in separate layers as long as you follow the correct drying times. Just be cautious about how they interact.
2. What is the best paint for beginners?
Acrylic paints are often recommended for beginners due to their ease of use, quick drying time, and straightforward cleanup process.
3. How do I clean my brushes after using oil paints?
To clean brushes used with oil paints, you'll need to use a solvent like turpentine or mineral spirits. Make sure to wash them thoroughly with soap and water afterward to remove any residue.
4. Can I create a sunset effect with watercolors?
Absolutely! Watercolors can create beautiful, soft sunsets. The key is to master the technique of wet-on-wet blending to achieve those smooth gradients.
Brush Selection
When it comes to painting a sunset, the brush you choose can make all the difference in the world. Think of your brush as an extension of your artistic vision—it's not just a tool; it's a gateway to expressing the beauty of those vibrant colors and soft gradients. So, how do you select the right brush for your sunset masterpiece? Let's dive into the details!
First off, you'll want to consider the size of your brush. Larger brushes are fantastic for broad strokes and blending vast areas of sky, while smaller brushes are essential for adding details, like the delicate wisps of clouds. A good rule of thumb is to have a variety of brushes at your disposal. Here’s a quick rundown of the types you might consider:
- Flat Brushes: Perfect for creating sharp lines and sweeping strokes. They work wonders for the horizon and large areas of color.
- Round Brushes: Ideal for detailed work, such as painting cloud formations and foreground elements.
- Fan Brushes: Great for texture, especially when depicting grassy areas or the intricate details of clouds.
- Filbert Brushes: A versatile choice that combines the benefits of flat and round brushes, making them perfect for blending.
Next, let’s talk about the bristle type. Brushes come with either synthetic or natural bristles, and each has its own unique advantages. Synthetic brushes are generally more durable and easier to clean, making them a great choice for beginners. On the other hand, natural bristle brushes tend to hold more paint and provide a smoother application, which can be particularly beneficial for achieving those soft sunset blends.
Another factor to consider is the shape of the brush. The shape will determine the type of strokes you can create. For instance, a flat brush can cover large areas quickly, while a round brush is perfect for adding intricate details. Experimenting with different shapes will help you discover which ones you feel most comfortable with and which yield the results you desire.
Finally, don’t underestimate the importance of quality. Investing in a few high-quality brushes can elevate your painting game significantly. Cheaper brushes can shed bristles and wear down quickly, leading to frustration and uneven application. So, while it might be tempting to go for the less expensive options, remember that quality often trumps quantity.
In conclusion, selecting the right brushes is a crucial step in painting a realistic sunset. By considering size, bristle type, shape, and quality, you can enhance your painting experience and achieve stunning results. So gather your brushes, let your creativity flow, and watch as your sunset painting comes to life!
Q: How many brushes do I need for painting a sunset?
A: It's best to have a variety of brushes, including flat, round, fan, and filbert brushes. This variety allows you to create different effects and details in your painting.
Q: Can I use the same brush for different paint types?
A: While you can use the same brush for different paint types, it's advisable to have separate brushes for acrylics, oils, and watercolors to maintain the integrity of the paint and avoid mixing unwanted residues.
Q: How do I clean my brushes after painting?
A: Cleaning your brushes depends on the type of paint used. For acrylics, rinse them in water immediately after use. For oils, use a solvent like turpentine or mineral spirits. Always reshape the bristles after cleaning to maintain their form.
Canvas Options
When it comes to painting a breathtaking sunset, the choice of canvas can significantly influence the final outcome of your artwork. A canvas is not just a surface; it’s the foundation upon which your creative vision comes to life. Understanding the different types of canvas available will help you select the one that best suits your style and technique.
There are primarily two types of canvases you can choose from: stretched canvases and canvas boards. Stretched canvases are typically made from cotton or linen fabric stretched over a wooden frame. They provide a nice, taut surface that is ideal for both acrylic and oil paints. On the other hand, canvas boards are made by gluing canvas onto a rigid board. They are generally more affordable and portable, making them a great option for beginners or those who like to paint on the go.
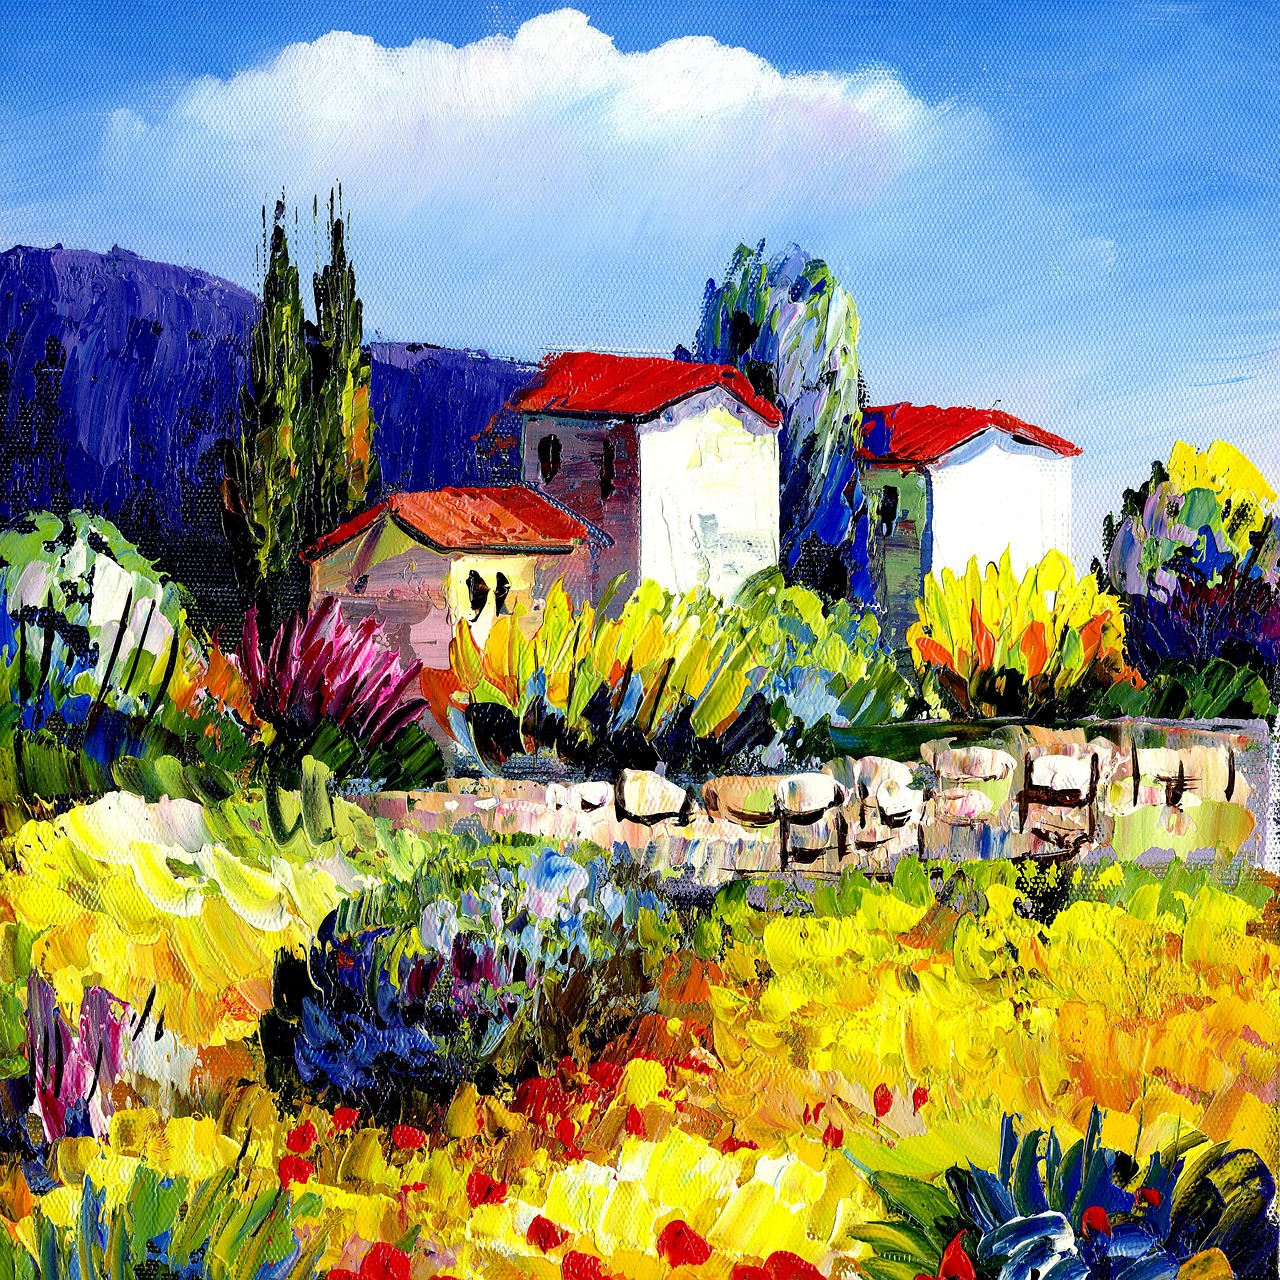
Moreover, the texture of the canvas plays a crucial role in how your colors will appear. A rough-textured canvas can add depth and interest to your painting, allowing for more dynamic brush strokes and a more impressionistic feel. Conversely, a smooth-textured canvas is perfect for achieving fine details and smooth blends, which are essential for capturing the soft gradients of a sunset.
When selecting the size of your canvas, consider the scale of the sunset you wish to depict. A larger canvas can make your sunset painting more dramatic and immersive, while a smaller canvas may allow for more intimate scenes. Here’s a quick reference table to help you decide:
| Canvas Size | Best For |
|---|---|
| 8"x10" | Small, intimate sunsets |
| 16"x20" | Medium-sized landscapes |
| 24"x36" | Large, dramatic scenes |
Ultimately, the best canvas option for your sunset painting will depend on your personal preference and the specific effects you want to achieve. Don’t hesitate to experiment with different canvases to find the one that resonates with your artistic vision. Remember, the canvas is your playground, so let your creativity flow!
- What type of canvas is best for beginners? A canvas board is often recommended for beginners due to its affordability and ease of use.
- Can I use acrylic paint on a canvas board? Yes, acrylic paint works well on both stretched canvases and canvas boards.
- Does the texture of the canvas affect the painting? Absolutely! The texture can influence how colors blend and the overall feel of the artwork.

Preparing Your Workspace
Creating the perfect workspace for your sunset painting is like setting the stage for a grand performance. A well-organized area not only enhances your creativity but also ensures that you have everything you need at your fingertips. Imagine trying to create a masterpiece while rummaging through clutter—it's like trying to find a needle in a haystack! So, let’s dive into how to set up a workspace that inspires you and keeps the creative juices flowing.
First and foremost, lighting is crucial. Natural light is your best friend when it comes to painting. Position your easel near a window to take advantage of the soft, diffused sunlight. If you’re painting at night or in a poorly lit area, invest in a good quality lamp with adjustable brightness. This way, you can control the light intensity and avoid harsh shadows that can distort your colors.
Next, consider your workspace surface. A sturdy table or an easel that can hold your canvas securely is essential. You don’t want your canvas wobbling around as you paint! Make sure your table is at a comfortable height to prevent strain on your back and neck. If you’re using an easel, ensure it’s stable and can be adjusted to your preferred angle.
Now, let’s talk about organization. Keep your paints, brushes, and other materials within easy reach. You can use a rolling cart or a simple caddy to store your supplies. This not only keeps your workspace tidy but also allows you to easily grab what you need without interrupting your creative flow. Here’s a quick list of essential items you might want to have on hand:
- Paints (acrylics, oils, or watercolors)
- Brushes of various sizes
- Palette for mixing colors
- Water container (if using water-based paints)
- Rags or paper towels for cleaning
- Palette knife for mixing and applying paint
Don’t forget about ventilation. If you’re working with oil paints or solvents, ensure your workspace is well-ventilated to avoid inhaling harmful fumes. Open a window or use a fan to circulate the air. Your health is just as important as your art!
Lastly, add a personal touch to your workspace. Surround yourself with items that inspire you—whether it’s a beautiful photograph, a potted plant, or even a quote that motivates you. These little details can make a big difference in your mood and creativity.
In summary, preparing your workspace is about creating an environment that fosters creativity, comfort, and efficiency. By paying attention to lighting, organization, and personal touches, you’ll be well on your way to painting a stunning sunset that captures the beauty of nature.
Q: What is the best lighting for painting?
A: Natural light is ideal, but if you paint at night, use adjustable lamps to mimic daylight.
Q: How can I keep my workspace organized?
A: Use a rolling cart or caddy to store your supplies within reach and keep your workspace tidy.
Q: Do I need ventilation when using oil paints?
A: Yes, ensure proper ventilation to avoid inhaling fumes from solvents.
Q: What materials are essential for painting a sunset?
A: Key materials include paints, brushes, a palette, and a sturdy easel or table.
Sketching the Composition
Before diving into the vivid world of colors, it's essential to lay down a solid foundation for your sunset painting. Sketching the composition is akin to setting the stage for a grand performance; it provides a blueprint that guides your artistic journey. Start by visualizing the scene you want to create. Are you picturing a serene beach, a majestic mountain range, or perhaps a bustling city skyline? Whatever it may be, having a clear vision will help you translate your imagination onto the canvas.
One of the first things to consider is the horizon line. This line is crucial as it dictates the viewer's perspective and the balance of your composition. A well-placed horizon line can create a sense of depth and drama in your artwork. For instance, if you position it lower on the canvas, it allows more room for the vibrant sky, making your sunset the star of the show. Conversely, a higher horizon line emphasizes the foreground, drawing attention to elements like trees or silhouettes that can frame your sunset beautifully.
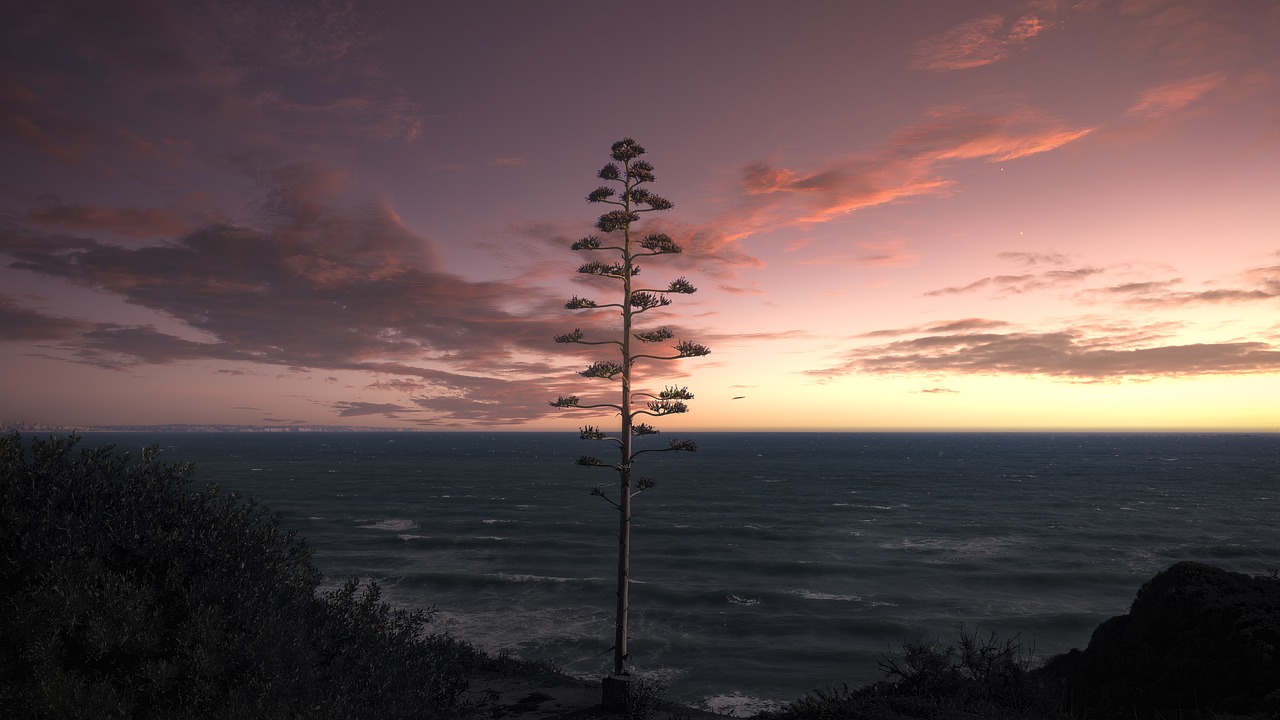
Incorporating foreground elements also adds interest and realism to your painting. Think of how the objects in the foreground can lead the viewer's eye into the scene. For example, you might want to sketch a few tall palm trees swaying gently in the breeze or a rocky shoreline that contrasts with the soft hues of the sunset. These elements not only enhance the composition but also provide a sense of scale, making your sunset feel more immersive.
When sketching, keep your lines light and fluid. You can use a pencil or a light charcoal to outline the major shapes and forms. Remember, this is just a preliminary step, so don’t stress about perfection. You can always refine your lines later as you start painting. A rough sketch allows you to experiment with the placement of various elements without the fear of making irreversible mistakes.
To help visualize your composition, consider creating a small thumbnail sketch. This quick drawing can be a mini version of your final piece, allowing you to experiment with different arrangements and perspectives. You might find that shifting the horizon line or repositioning a foreground object can significantly enhance the overall impact of your sunset painting. Here’s a simple guideline to follow for your thumbnail sketch:
- Choose your horizon line position.
- Sketch the main elements (foreground, midground, and background).
- Experiment with different arrangements until you find the most appealing layout.
Once you have your composition sketched out, take a step back and evaluate it. Does it convey the mood you’re aiming for? Is there a balance between the colors and shapes? This reflective process is vital, as it allows you to make adjustments before committing to paint. Remember, the sketching phase is all about exploration and creativity. Embrace the process, and let your imagination guide you!
- What materials do I need for sketching? A simple pencil and eraser are sufficient for initial sketches. You can also use charcoal for a bolder effect.
- How detailed should my sketch be? Focus on the major shapes and forms. Details can be added later during the painting process.
- Can I change my composition while painting? Absolutely! Feel free to adjust elements as you go along. Flexibility can lead to unexpected and beautiful results.
Using Horizon Lines
When it comes to painting a sunset, the placement of your horizon line is crucial. Think of the horizon as the spine of your painting; it provides structure and balance to your composition. A well-placed horizon can dramatically affect the viewer's perception of depth and space in your artwork. So, where should you position it? Generally, there are a few common approaches:
- High Horizon: This technique emphasizes the foreground, making it feel more intimate. If you want to showcase intricate details like trees or rocks, a high horizon line can help draw the viewer's eye to these elements.
- Low Horizon: This approach allows for a more expansive sky, perfect for capturing the vastness of a sunset. If your goal is to create a breathtaking display of colors in the sky, consider placing your horizon line lower.
- Center Horizon: While this can create a sense of symmetry, it often results in a static composition. Use this sparingly, as it may lead to a less dynamic feel in your painting.
To create a sense of depth, think about the distance between the horizon and the foreground elements. The closer the horizon is to the top of your canvas, the more dramatic the foreground will appear. Conversely, a lower horizon can evoke feelings of openness and tranquility. As you sketch your horizon line, consider the overall mood you wish to convey. Are you aiming for a calm and serene atmosphere, or something more dynamic and intense? Your horizon line will help set the stage for this emotional journey.
Additionally, don't forget to consider the angle of your horizon line. A straight, horizontal line can be effective, but you can also experiment with slight angles for a more dynamic feel. For instance, if you tilt your horizon line slightly upward on one side, it can create a sense of movement, as if the landscape is rolling gently. This technique can add an element of surprise to your sunset painting, drawing the viewer in and inviting them to explore the scene further.
In summary, the horizon line is not just a simple line; it serves as a powerful tool for composition. By thoughtfully considering its placement, angle, and relationship to foreground elements, you can create a stunning sunset that captivates the viewer and brings your artistic vision to life. So grab your pencil, sketch out that horizon, and let your creativity flow!
Here are some common questions artists have when it comes to using horizon lines in sunset paintings:
- Q: How do I decide where to place my horizon line?
A: Consider the elements you want to emphasize. If you want to showcase the sky, place the horizon lower. If you wish to highlight foreground details, position it higher. - Q: Can I change the horizon line after I've started painting?
A: Yes, but it may require some adjustments to your composition. It's best to plan it out during the sketching phase. - Q: What if I want a more dramatic effect?
A: Experiment with angles and placement. A tilted horizon can create a sense of movement and drama in your painting.
Incorporating Foreground Elements
When it comes to painting a stunning sunset, the foreground is like the cherry on top of a delicious cake. It adds depth, context, and a sense of realism to your artwork. Imagine standing on a beach, watching the sun dip below the horizon. What do you see in front of you? Maybe it's silhouettes of palm trees swaying gently in the breeze or rugged mountains basking in the last light of day. Incorporating these elements not only enriches your painting but also draws the viewer's eye into the scene.
To effectively integrate foreground elements, start by considering the composition of your painting. Think about how these elements can lead the viewer's gaze toward the sunset. For instance, if you choose to include trees, position them slightly off-center to create a natural flow. This technique prevents the composition from feeling static and adds an organic touch to your artwork.
Here are some common foreground elements you might consider including in your sunset painting:
- Trees: They can frame your painting and add height, creating a beautiful contrast against the colorful sky.
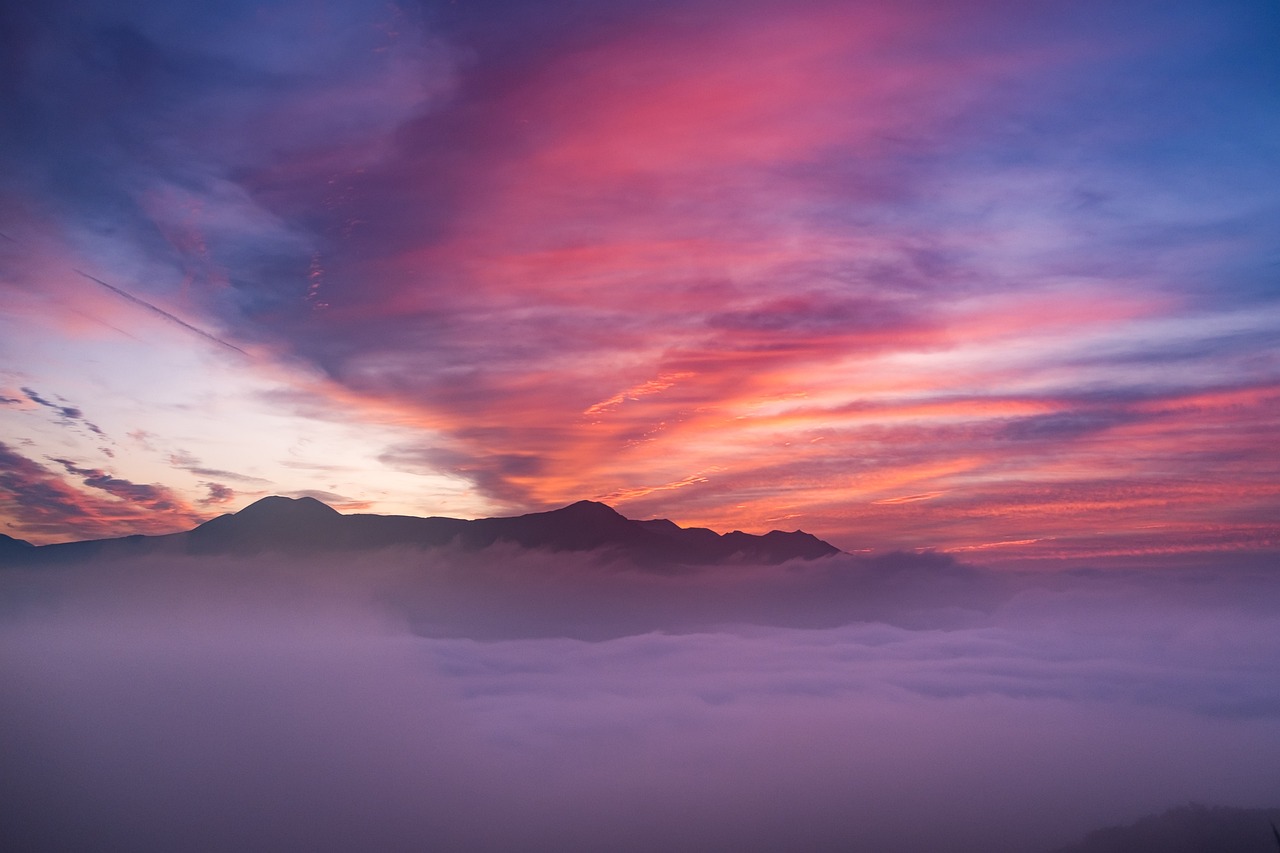
- Mountains: These can provide a dramatic backdrop, enhancing the sense of scale and depth.
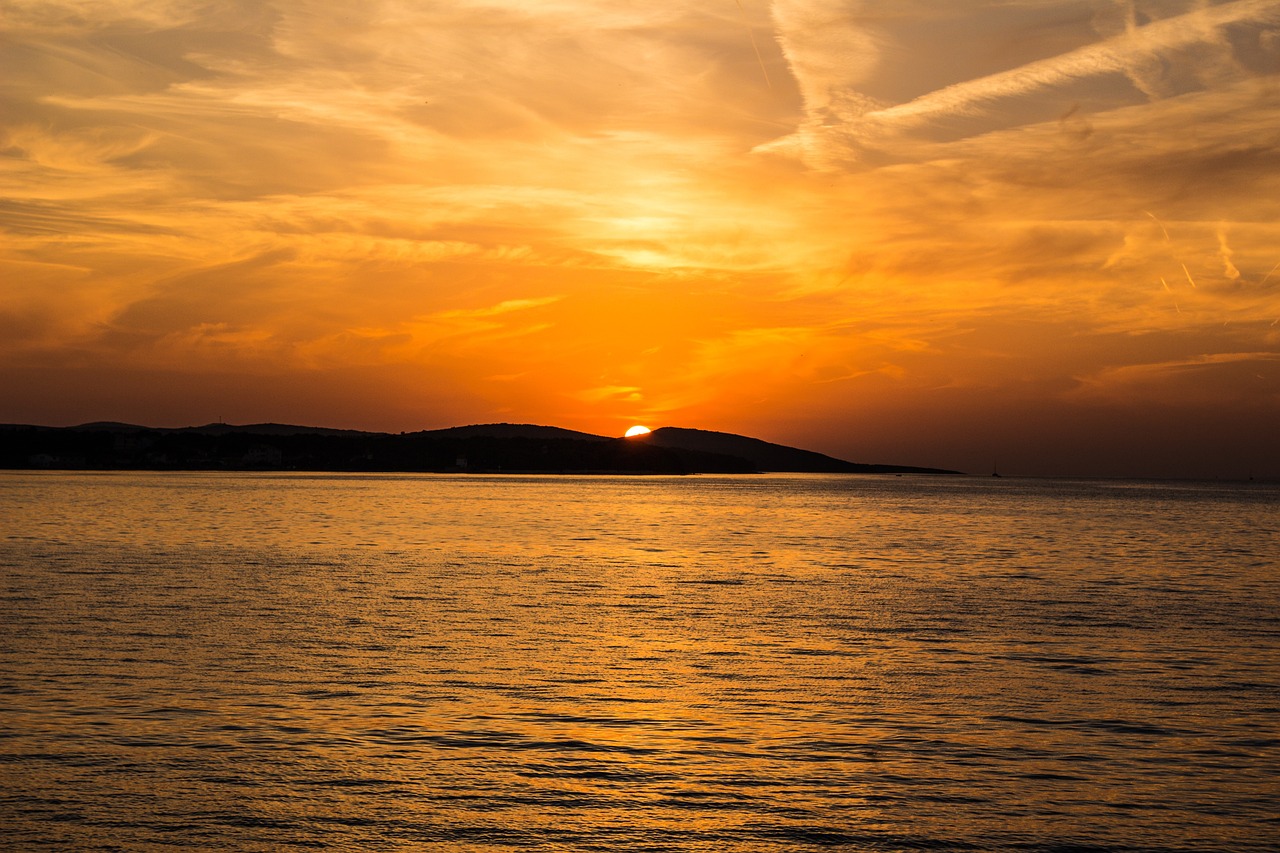
- Water: If you're painting a coastal scene, reflections in the water can mirror the sunset's colors, adding to the overall harmony of your artwork.
- Silhouettes of People or Animals: These can add a narrative element to your painting, inviting viewers to imagine the story behind the scene.
When painting these elements, remember to use darker colors for the foreground, as they will stand out against the lighter hues of the sunset. This contrast is crucial for creating a realistic effect. For example, if you're painting a tree, use deep greens or browns, and don’t shy away from adding texture to the bark and leaves. This can be achieved through techniques such as dry brushing, which can give your trees a more lifelike appearance.
Incorporating foreground elements is all about balance. Too many details can overwhelm the viewer, while too few can leave the painting feeling flat. Aim for a harmonious blend where the foreground complements the sunset without stealing the show. Think of it as a supporting actor in a film; it should enhance the main storyline—the breathtaking sunset—without overshadowing it.
Finally, don’t forget about the play of light and shadow. As the sun sets, the light changes, casting long shadows and creating highlights. Pay attention to how these elements interact with your foreground objects. This attention to detail will elevate your painting from a simple landscape to a captivating scene that resonates with viewers.
- What types of foreground elements work best for sunset paintings? Trees, mountains, water, and silhouettes of people or animals are excellent choices that add depth and interest.
- How can I ensure my foreground elements don’t overshadow the sunset? Use darker colors for the foreground and maintain a balanced composition that complements the sunset.
- Should I add intricate details to the foreground? While details can enhance realism, be careful not to overdo it. Aim for a balance that supports the overall scene.

Blending Techniques
When it comes to painting a realistic sunset, are your best friends. They allow you to create those stunning gradients that mimic the natural transitions of color in the sky. Imagine standing on a beach as the sun dips below the horizon, the sky ablaze with a riot of colors—those soft, seamless transitions are what you want to replicate on your canvas. In this section, we’ll dive into some effective methods that will help you achieve those breathtaking effects.
One of the most popular techniques for blending colors is the wet-on-wet technique. This method involves applying wet paint onto wet paint, allowing the colors to mix directly on the canvas. It’s like a dance of colors, where they swirl and merge beautifully, creating a vibrant sunset sky. To use this technique effectively, start with a wet brush and apply your first color to the canvas. Then, while the paint is still wet, introduce a second color next to it and gently blend the edges with a clean brush. This technique is particularly effective for achieving the soft, diffused look of clouds during sunset.
Another technique to consider is dry brushing. This method is perfect for adding texture and depth to your painting, especially when depicting clouds. Unlike wet-on-wet, dry brushing involves using a dry brush with a small amount of paint. By lightly dragging the brush across the canvas, you can create a soft, feathery effect that mimics the look of wispy clouds. This technique can be particularly impactful when you want to add highlights to your clouds after the initial layers have dried. The contrast between the smooth blended areas and the textured clouds can really bring your sunset to life.
To give you a clearer picture of these techniques, here’s a simple comparison:
| Technique | Best For | How It Works |
|---|---|---|
| Wet-on-Wet | Seamless color transitions | Mixing wet paint on the canvas |
| Dry Brushing | Texture and detail | Applying dry paint with a dry brush |
As you experiment with these techniques, remember that practice makes perfect. Don’t be afraid to play around with your brush strokes and color combinations. Try layering different colors using both techniques to see how they interact. You might find that combining wet-on-wet for the background sky with dry brushing for the clouds gives you the depth and realism you’re aiming for. Each stroke you make will bring you closer to capturing that stunning sunset you envision.
In the end, the key to mastering blending techniques is to keep your palette lively and your brushwork fluid. So grab your paints, set up your canvas, and let the colors flow. Your sunset masterpiece awaits!
- What is the best paint type for blending techniques? Acrylics are often preferred for beginners due to their quick drying time, but oils allow for longer blending times.
- Can I use a sponge for blending? Yes! Sponges can create unique textures and are great for blending larger areas smoothly.
- How do I fix mistakes while blending? If you make a mistake, wait for the paint to dry and then paint over it with the correct color or use a clean brush to blend it out.
Wet-on-Wet Technique
The is a magical approach that allows artists to create stunning, fluid transitions between colors, making it particularly effective for painting sunsets. Imagine dipping your brush into a vibrant orange and then swirling it into a rich purple; the colors blend seamlessly, just like the sky during twilight. This technique is all about working with wet paint on top of wet paint, which can lead to breathtaking results if executed correctly.
To get started with the wet-on-wet technique, you'll want to prepare your canvas by applying a thin layer of paint (often referred to as a "wash") that will serve as your base. This initial layer should be wet when you start adding other colors. The beauty of this method lies in its spontaneity; the colors will naturally mix and create soft gradients that mimic the enchanting hues of a sunset. Remember, the key is to work quickly before the paint dries!
Here are some tips to maximize your success with the wet-on-wet technique:
- Choose the Right Paint: Acrylics dry quickly, while oils remain workable for longer periods, making them ideal for wet-on-wet techniques. Watercolors can also be used, but they require a different approach.
- Use a Large Brush: A bigger brush will help you cover more area and create broader strokes, which is essential for achieving that soft, blended look.
- Layering Colors: Start with your lightest colors and gradually build up to darker shades. This way, you maintain the luminosity of the sunset.
As you practice this technique, don’t hesitate to experiment. Try different color combinations and brush strokes to see how they affect the outcome. You might find that a gentle circular motion creates soft clouds, while quick horizontal strokes can depict the calmness of the water below. The wet-on-wet technique is all about exploration and finding your unique style.
Ultimately, the wet-on-wet technique is not just a method; it’s an experience. It invites you to engage with your canvas in a way that feels alive and dynamic. So grab your brushes and let the colors dance across the canvas, capturing the breathtaking beauty of a sunset in all its glory!
Q: Can I use the wet-on-wet technique with acrylic paint?
A: Yes, you can! However, acrylics dry faster than oils, so you’ll need to work quickly or use a slow-drying medium to extend the working time.
Q: How do I prevent mud from forming when using this technique?
A: To avoid muddy colors, make sure to clean your brush between colors and use contrasting hues. Also, layering lighter colors over darker ones can help maintain vibrancy.
Q: Is the wet-on-wet technique suitable for beginners?
A: Absolutely! It’s a fantastic way for beginners to learn about color blending and develop their painting skills in a fun and expressive manner.
Dry Brushing Technique
The is a fantastic method that can add texture and depth to your sunset painting, making it feel more alive and dynamic. Unlike traditional painting methods where the brush is loaded with a lot of paint, dry brushing involves using a brush that is only lightly coated with paint. This technique allows for a more subtle application, which is particularly useful when creating the soft, fluffy clouds that often grace a stunning sunset sky.
To begin with, you'll want to select a stiff-bristled brush, as it works best for this technique. A flat or angular brush is ideal, as it can create varied strokes that mimic the natural formations of clouds. Before you start painting, make sure to remove excess paint from your brush. You can do this by dipping the brush into your paint, then wiping it on a paper towel until it’s almost dry. This step is crucial because too much paint can lead to harsh lines, which you want to avoid when aiming for a soft sunset effect.
When applying the dry brush technique, think about the direction and shape of the clouds. Lightly drag your brush across the canvas, allowing the texture of the canvas to show through. This creates a beautiful layered effect that can replicate the wispy nature of clouds at sunset. You might want to use a mixture of colors—perhaps a soft white mixed with hints of pink or orange—to capture the warmth of the setting sun. Remember, the key is to build up layers gradually; it's much easier to add more than to take away!
As you work, consider the overall atmosphere you want to convey. If you’re aiming for a dramatic sunset, you can use darker colors towards the top of your canvas, transitioning to lighter shades as you move downward. This gradient effect can be achieved effectively with the dry brushing technique, as it allows for smooth transitions between colors without the need for harsh lines. The result is a serene and captivating sunset that draws the viewer in.
Lastly, don’t forget to step back and assess your work from a distance. Sometimes, what looks good up close may not translate well from afar. Adjust your dry brushing accordingly, adding more highlights or softening areas that might be too harsh. This technique, when mastered, can truly elevate your sunset painting, giving it the depth and realism that will captivate anyone who gazes upon it.
- What is dry brushing? Dry brushing is a painting technique that involves using a brush that is only lightly coated with paint to create texture and depth.
- Can I use any brush for dry brushing? While you can experiment, stiff-bristled brushes, especially flat or angular ones, work best for achieving the desired effects.
- How do I know if I have the right amount of paint on my brush? The brush should feel dry to the touch; you can test it on a paper towel to ensure excess paint is removed.
- Is dry brushing suitable for other painting styles? Yes! While it's great for sunsets, dry brushing can also be used in landscapes, portraits, and other forms of art.
Final Touches and Details
When it comes to painting a sunset, the final touches can make all the difference between a good painting and a stunning masterpiece. These finishing details are what truly bring your artwork to life, adding depth, dimension, and realism. You want your sunset to evoke emotion, to transport the viewer to that moment when the sky is ablaze with color. So, let’s dive into some essential techniques for enhancing your painting.
One of the most impactful elements of a sunset painting is the way you highlight clouds. Clouds can catch the light in fascinating ways, and by using a lighter color or even a touch of white, you can create a dramatic effect. Imagine the sun dipping below the horizon, casting its golden rays onto fluffy clouds; this is the moment you want to capture. Use a small, soft brush to apply highlights on the edges of the clouds, ensuring you blend them gently into the surrounding colors. This technique not only adds dimension but also draws the viewer's eye to the focal points of your painting.
Another crucial aspect is adding reflections, especially if your sunset is reflected in water. The water can act like a mirror, capturing the vibrant colors of the sky. To achieve this, you can use horizontal strokes to mimic the gentle ripples of the water. Start with the same colors from your sky and apply them in a slightly darker hue to reflect the depth of the water. This technique can create a mesmerizing effect, making your sunset painting feel more cohesive and lifelike.
Let’s not forget about the importance of contrast. Adding shadows can enhance the overall look of your painting. For instance, if you have trees or mountains in your foreground, consider using darker colors to create shadows where the light from the sunset wouldn’t reach. This contrast between light and dark not only adds interest but also helps to ground your painting, giving it a sense of place and stability.
Finally, take a step back and evaluate your painting as a whole. Sometimes, the best final touch is simply to adjust the balance of colors or shapes. Look for areas that may need a little more attention or where you can enhance the overall composition. Remember, art is subjective; trust your instincts and make adjustments that resonate with you.
- What type of paint is best for sunset paintings? Acrylics are popular for their quick drying time and vibrant colors, but oils can also create stunning effects due to their blending capabilities.
- How do I know when my painting is finished? A good rule of thumb is to step back and look at your painting from a distance. If it evokes the emotion you intended and feels balanced, it may be complete.
- Can I use a palette knife for adding details? Absolutely! A palette knife can be great for adding texture and sharp highlights, especially on cloud edges.

Highlighting Clouds
When it comes to painting a realistic sunset, is one of the most crucial steps to achieving that breathtaking effect. Think of clouds as the canvas's natural embellishments; they catch the light and reflect the vibrant colors of the setting sun, creating a stunning visual impact. To highlight clouds effectively, you need to consider the direction of the light source, which in this case is the sun. The best way to approach this is by using a combination of techniques to ensure your clouds look both realistic and captivating.
First, choose your colors wisely. The most common hues for highlighting clouds during a sunset are soft whites, pale yellows, and even hints of pink or lavender. These colors mimic the light reflecting off the clouds as the sun dips below the horizon. You can create a palette like this:
| Color | Purpose |
|---|---|
| White | For bright highlights |
| Pale Yellow | To mimic sunlight |
| Soft Pink | For warmth and depth |
| Lavender | To add cool tones |
Next, the technique you choose for applying these highlights will significantly affect the outcome. One popular method is the dry brushing technique. This involves using a brush with minimal paint on it to lightly drag over the surface of the clouds. The result is a soft, feathery look that can mimic the airy quality of real clouds. Remember, less is more! You can always add more highlights, but it’s challenging to take them away once they’re on the canvas.
Another effective technique is to use a stippling method. By tapping the brush onto the canvas, you can create a textured effect that gives clouds a more natural appearance. This method works well for fluffy cumulus clouds, especially when you want to depict the light catching the edges of the clouds. As you apply these highlights, consider the overall composition of your painting. Are your clouds scattered or clustered? This will influence how you apply your highlights and shadows.
Finally, don’t forget about the shadows. While highlighting is essential, shadows play a vital role in creating depth and dimension. Use darker shades of the colors you've chosen for highlights to create depth beneath the lighter areas. This contrast will make your clouds pop and add realism to your sunset painting.
In summary, highlighting clouds in your sunset painting is all about the balance of light and shadow. By selecting the right colors, employing effective techniques, and considering the composition, you can create clouds that not only enhance your sunset but also draw the viewer's eye into your artwork. Remember, practice makes perfect, so don’t hesitate to experiment until you find the style that resonates with you!
- What colors should I use for highlighting clouds? Soft whites, pale yellows, and hints of pink or lavender are ideal for capturing the essence of a sunset.
- Can I use different techniques for highlighting clouds? Absolutely! Techniques like dry brushing and stippling can create different textures and effects.
- How do I create depth in my clouds? Use darker shades for shadows beneath the highlights to add dimension and realism.
- Is it necessary to paint clouds in a sunset? While not mandatory, clouds can significantly enhance the beauty and depth of your sunset painting.

Adding Reflections
When it comes to painting a sunset, one of the most captivating aspects is the reflections that dance upon the water's surface. These reflections not only enhance the realism of your artwork but also create a sense of depth and tranquility. Imagine standing by a serene lake as the sun dips below the horizon, casting its vibrant colors onto the water. Capturing this moment on canvas can be both rewarding and challenging.
To begin, it's important to observe how the colors of the sky are mirrored in the water. The hues of orange, pink, and purple should be reflected, albeit with a slightly muted tone. This is because the water absorbs some light, resulting in softer shades. When painting these reflections, consider the following tips:
- Color Matching: Use the same colors from your sunset palette but dilute them slightly with white or a touch of water to achieve that softer look.
- Horizontal Strokes: Employ horizontal brush strokes to mimic the natural flow of water. This technique helps to create a smooth, reflective surface.
- Layering: Build up layers gradually. Start with a base color for the water and then add the sunset hues in thin layers, allowing each to dry before applying the next.
Additionally, don't forget to include the effects of light on the water. The sun's rays might create shimmering spots, which can be represented by leaving small areas of the canvas untouched or by using a lighter color to create highlights. This technique can add a touch of magic to your painting, making it feel alive.
As you work on your reflections, consider the surrounding elements. If there are trees or mountains near the water, their silhouettes will also be reflected. This adds another layer of complexity to your painting. To achieve this, simply replicate the shapes of these elements in the water, adjusting the colors to match the sunset's palette.
In summary, adding reflections to your sunset painting can transform a simple scene into a breathtaking masterpiece. By paying attention to color, technique, and surrounding elements, you can create a stunning visual experience that captures the essence of a beautiful sunset. So, grab your brushes and let the colors flow!
Q: How do I choose the right colors for my sunset reflections?
A: Start with the colors you used in your sunset sky. Dilute them slightly with white or water to create softer tones for the reflection. Remember, the colors in the water should be less vibrant than those in the sky.
Q: What brush techniques work best for painting reflections?
A: Horizontal strokes are key for achieving a realistic water effect. You can also use a fan brush for more textured reflections, especially for ripples or waves.
Q: Should I paint the reflections first or last?
A: It's usually best to paint the sunset sky first and then add the reflections afterward. This allows you to match the colors accurately and create a cohesive look.
Q: How can I make the water look more realistic?
A: Incorporate highlights and shadows in your water reflections. Use lighter colors to depict areas where the light hits the surface and darker tones to suggest depth.
Frequently Asked Questions
- What colors should I use for painting a sunset?
When painting a sunset, it's essential to use a mix of warm colors like reds, oranges, and yellows along with cooler tones such as purples and blues. These colors blend beautifully to create the vibrant hues typical of a sunset. Don't forget to experiment with complementary colors to enhance the overall effect!
- Do I need special brushes for painting sunsets?
While you don't need special brushes, having a variety of brushes can greatly improve your sunset painting. A flat brush is excellent for broad strokes and blending, while a fan brush can help create texture for clouds. Consider investing in a few different sizes to achieve the best results.
- Can I use any type of paint for sunset painting?
Yes, you can use different types of paint like acrylics, oils, or watercolors. Each has its advantages: acrylics dry fast and are easy to blend, oils provide rich colors and longer drying times, while watercolors allow for delicate washes. Choose the one that suits your style!
- How do I create depth in my sunset painting?
Creating depth involves using techniques like horizon lines and incorporating foreground elements. Position your horizon line strategically and add elements like trees or mountains in the foreground to draw the viewer's eye into the scene.
- What blending techniques work best for sunsets?
The wet-on-wet technique is fantastic for achieving smooth color transitions. By applying wet paint onto wet paint, you can create soft gradients. Alternatively, the dry brushing technique can add texture and depth, especially for clouds.
- How can I add final touches to my sunset painting?
Adding final touches involves highlighting clouds and creating reflections in water. Use a lighter color to highlight the edges of clouds for a dramatic effect, and for water reflections, mirror the colors of the sky below. These details can elevate your painting to the next level!


