How to Paint a Still Life Fruit Bowl
Creating a stunning still life painting of a fruit bowl is not just about slapping some paint on a canvas; it’s an exciting journey that combines creativity, observation, and technique. Whether you’re a seasoned artist or a curious beginner, this guide will walk you through the essential steps and techniques to help you craft a beautiful masterpiece. From selecting the right fruits to mastering light and shadow, each step is crucial in bringing your artwork to life. So, grab your brushes, and let’s dive into the vibrant world of still life painting!
When it comes to painting a fruit bowl, the first step is selecting the right fruits. Think of your fruit bowl as a stage where each fruit plays a role in the overall composition. You want to choose a variety of fruits that not only have different shapes and sizes but also boast a range of colors and textures. Imagine the contrast between a smooth, shiny apple and a rough, textured orange. This diversity adds visual interest and harmony to your painting. Consider including:
- Bright colors: Strawberries, bananas, and grapes can add pops of color.
- Unique shapes: Pears, apples, and pineapples offer varying forms.
- Different textures: The smooth skin of a peach versus the bumpy surface of a kiwi.
By thoughtfully selecting your fruits, you set the stage for a captivating still life that draws the viewer in.
Now that you have your fruits, it’s time to arrange them in a way that is visually appealing. Composition is all about balance and focal points. You want your viewer's eyes to be guided through the painting, creating a sense of flow. One effective strategy is to apply the rule of thirds. Imagine your canvas divided into a grid of nine equal sections. Placing your focal point at the intersections of these lines creates a more dynamic composition. Additionally, consider the following principles:
- Balance: Distribute your fruits evenly across the canvas to avoid a lopsided look.
- Focal Point: Choose one fruit to be the star of the show, drawing attention immediately.
- Negative Space: Leave some empty space around your bowl to give it room to breathe.
With a well-thought-out composition, you’ll create a still life that not only looks good but also feels balanced and harmonious.
No painting is complete without the magic of light and shadow. Understanding how light interacts with your fruits is key to achieving that three-dimensional look. Consider the light source in your setup—whether it’s natural light streaming through a window or a lamp casting a warm glow. The way light hits the surfaces of your fruits creates highlights and shadows that add depth to your painting. The interplay of these elements can transform a flat image into a vibrant piece of art.
Highlights are essential for adding vibrancy and life to your fruits. Think of them as the sparkle in your painting, the little touches that make your artwork pop. To create effective highlights, use a lighter shade of your base color and apply it to the areas of the fruit that catch the most light. This technique will give your fruits a juicy, fresh appearance, making them almost irresistible.
Shadows ground your fruit bowl in space, giving it a sense of reality. To accurately depict shadows, consider the color choices you make. Often, shadows are not just a darker version of the base color; they can incorporate complementary colors to create a more realistic effect. Use blending techniques to soften the edges of your shadows, making them blend seamlessly into the surrounding areas.
The colors you choose for your painting can dramatically affect the mood and harmony of your artwork. A well-thought-out color palette can enhance the visual appeal of your fruit bowl. Familiarize yourself with color theory—understanding how colors interact can lead to stunning results. Mixing colors to achieve the desired effect is crucial; don’t be afraid to experiment with different combinations until you find the perfect mix that brings your fruits to life.
Different fruits have unique textures that can be challenging to replicate on canvas. But fear not! With the right techniques, you can convey these textures effectively. Brushwork plays a significant role here. For instance, a stippling technique can mimic the dimpled surface of a strawberry, while a smooth, sweeping stroke can capture the sleekness of a banana. Layering colors is also essential for building depth and complexity in your painting.
The type of brush you use can significantly affect the outcome of your painting. Different brushes create different textures, so it’s essential to choose wisely. Flat brushes are great for broad strokes, while round brushes can help you achieve finer details. Experiment with various brush types to discover what works best for the textures you want to create in your still life.
Layering colors is a powerful technique that can transform your painting from flat to fabulous. Start with a base layer and gradually build up additional layers, allowing each one to dry before adding the next. This method creates depth and richness in your colors, making your fruits appear more lifelike. Remember, patience is key—take your time to build up those layers for maximum impact.
- What type of paint should I use for a still life? Acrylics and oils are both excellent choices, but acrylics dry faster, making them great for beginners.
- How do I choose a good light source? Natural light is often the best choice as it provides a soft, even illumination. Experiment with different times of day to see how the light changes.
- Can I use photographs as a reference? Absolutely! Photographs can help you capture details and colors that you might miss in real life.
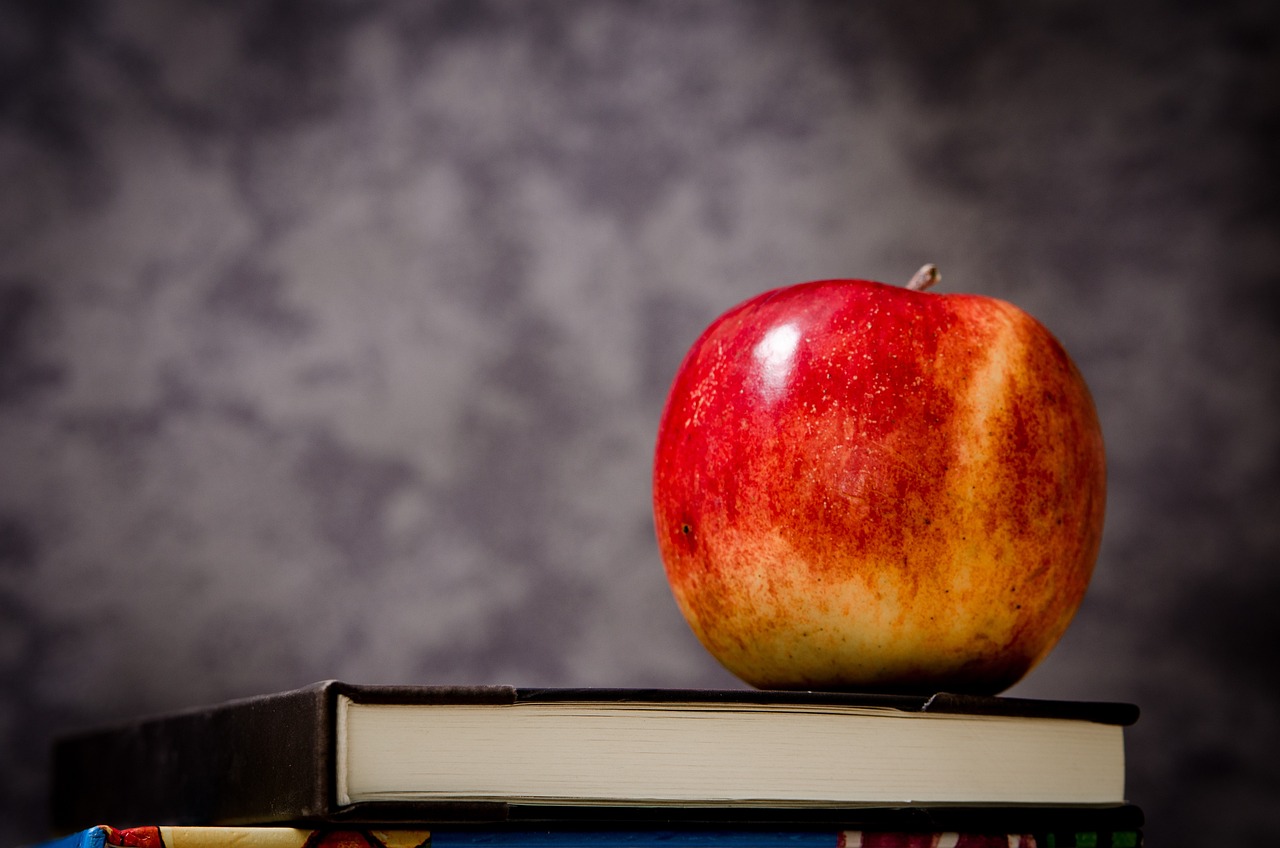
Choosing the Right Fruits
When embarking on the journey of painting a still life fruit bowl, the first step is to choose the right fruits. This decision is not merely about picking your favorites; it’s about selecting a variety that offers a stunning visual experience. Imagine walking into a vibrant market filled with fruits of all shapes, sizes, and colors. The goal is to create a composition that is not only appealing but also tells a story. You want fruits that contrast yet complement each other, creating a delightful harmony that draws the viewer in.
Start by considering color. Fruits like bananas, apples, and oranges can create a lively palette, while darker fruits like plums or grapes can add depth. Think of how these colors will work together on your canvas. For instance, a bright yellow banana can pop against the deep red of an apple, creating a striking focal point. Also, pay attention to shapes. Round, oval, and elongated fruits add variety to your composition. A mix of shapes can lead to a more dynamic arrangement, making the piece visually interesting.
Texture is another crucial element. The smooth skin of an apple contrasts beautifully with the roughness of a kiwi or the bumpy surface of a pineapple. These differences can be highlighted in your painting, enhancing the realism of your work. Consider fruits like:
- Apples - for their shiny, smooth surface.
- Oranges - with their textured skin.
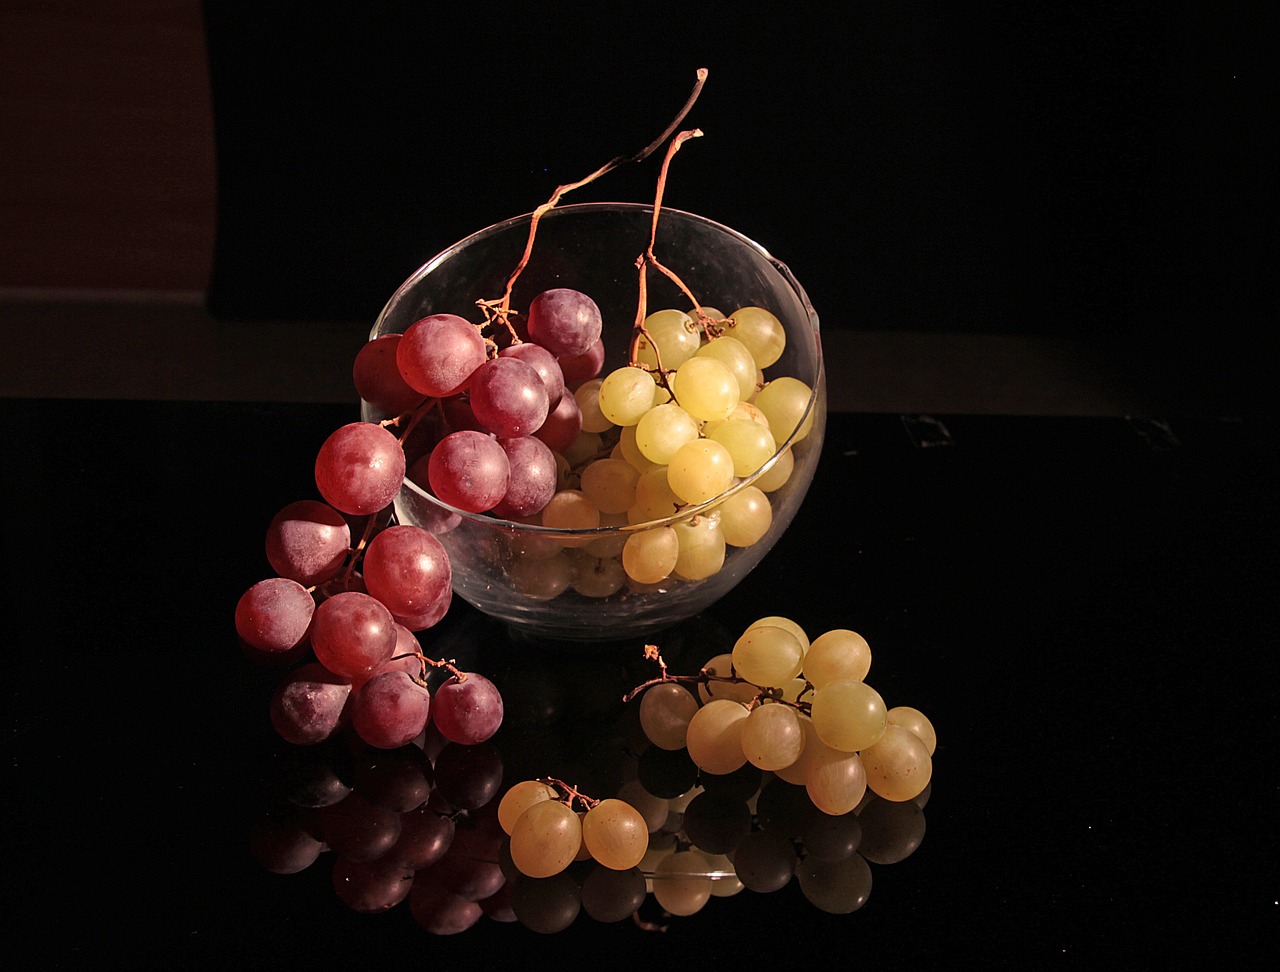
- Grapes - for their clustered arrangement and translucence.
- Bananas - adding a curve to your composition.
- Pineapples - for their unique shape and spiky texture.
Additionally, think about the seasonality of your fruits. Seasonal fruits not only taste better but also evoke emotions associated with particular times of the year. For example, a bowl filled with autumn fruits like pears and figs can bring warmth and nostalgia, while a summer selection of peaches and berries can feel refreshing and light. The story you want to tell with your painting can greatly influence your fruit choices.
Lastly, don't forget to consider the size of your fruits relative to your canvas. Larger fruits can serve as focal points, while smaller ones can fill in spaces and create balance. Picture a grand still life where a large watermelon takes center stage, surrounded by smaller strawberries and blueberries. This arrangement not only creates visual interest but also guides the viewer's eye across the entire piece.
In summary, choosing the right fruits for your still life painting involves a thoughtful selection of colors, shapes, textures, and sizes. By carefully considering these elements, you can create a captivating composition that not only looks beautiful but also expresses a deeper narrative. So, the next time you’re at the market, take a moment to explore the possibilities. Your perfect fruit bowl awaits!
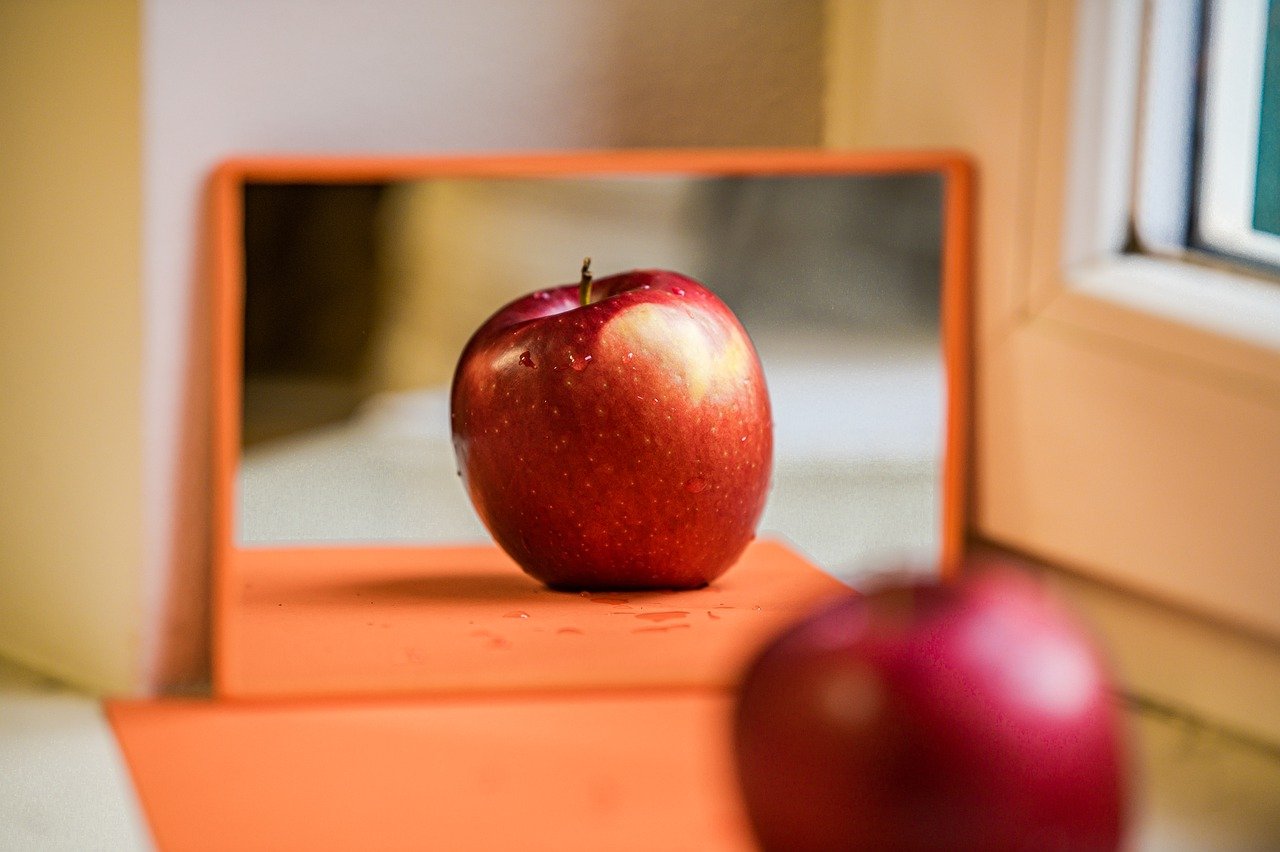
Setting Up Your Composition
When it comes to painting a still life fruit bowl, composition is everything. Think of it as the backbone of your artwork; without a solid structure, even the most vibrant colors and intricate details can fall flat. So, how do you create a composition that draws the viewer in? First, consider the arrangement of your fruits. You want to choose a variety of shapes, sizes, and colors that not only complement each other but also create a dynamic visual interest. Imagine placing a shiny red apple next to a textured yellow banana; the contrast can be striking and will keep the viewer's eyes moving across the canvas.
Next, let's talk about balance. This doesn’t mean everything should be symmetrical; rather, you want to achieve a sense of equilibrium in your composition. For example, if you have a large pineapple on one side, balance it with a cluster of smaller fruits on the opposite side. Think of your canvas as a scale; you want it to feel stable, yet engaging. This is where the rule of thirds comes into play. Imagine dividing your canvas into a grid of nine equal parts. By placing your main focal point along these lines or at their intersections, you create a more compelling composition that naturally draws the eye.
Another key aspect is the focal point. What do you want your audience to notice first? Is it the glistening surface of a ripe peach or the vibrant colors of a mixed fruit bowl? By strategically placing your focal point, you guide the viewer's attention and create a narrative within your painting. Use leading lines—like the curve of a banana or the edge of a bowl—to direct the viewer’s gaze toward your focal point. This is like telling a story; you want to guide your audience through the scene.
Lastly, don't underestimate the power of negative space. This is the area around and between your subjects. It can be just as important as the fruits themselves. By leaving some areas of your canvas empty, you allow the viewer's eye to rest and create a sense of breathability in your composition. Think of it as the pauses in a song; they give rhythm and allow the melody to shine. So, as you set up your fruit bowl, consider how the arrangement, balance, focal points, and negative space will work together to create a stunning still life.
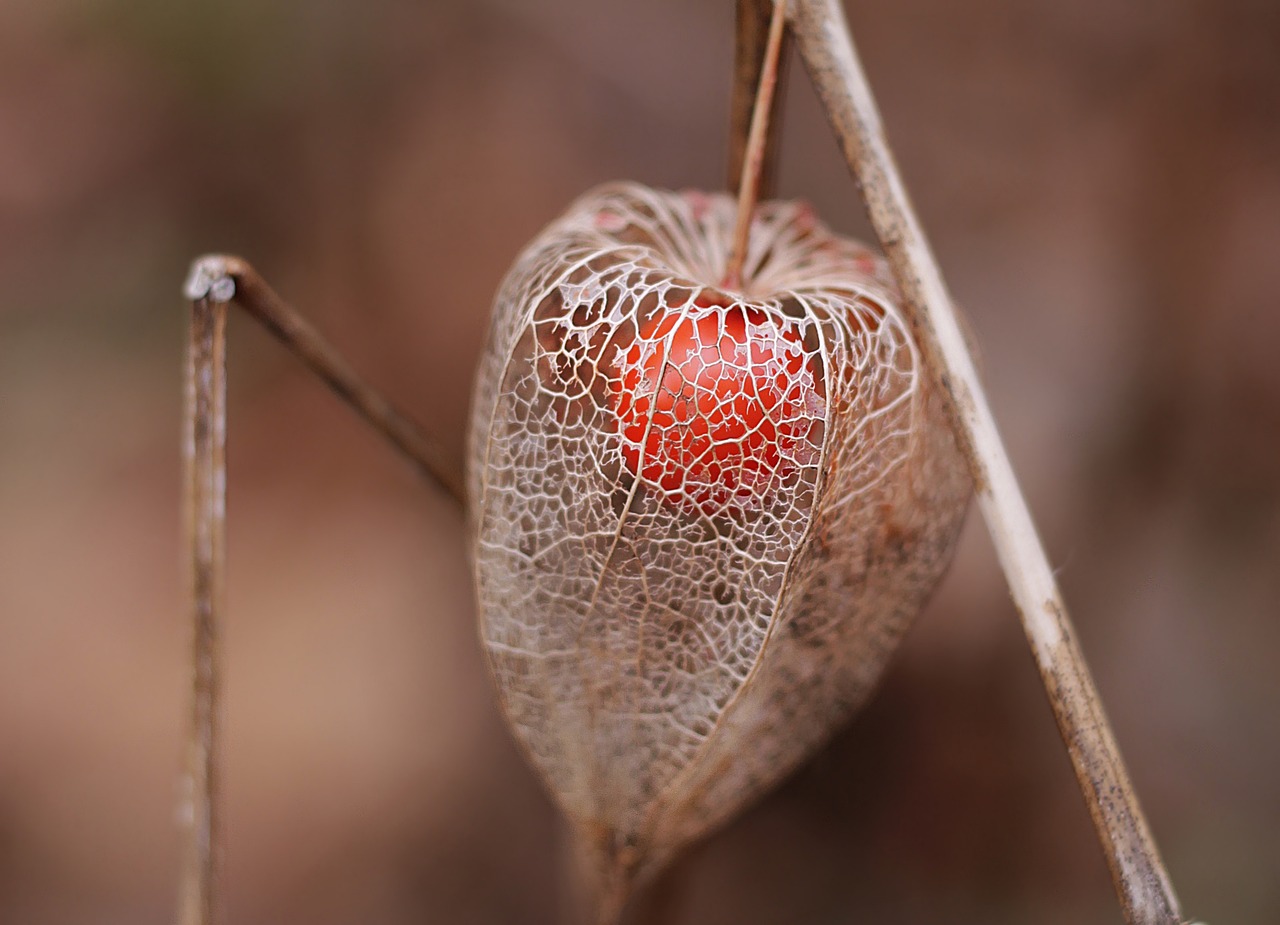
Understanding Light and Shadow
When it comes to painting a still life fruit bowl, one of the most captivating elements you can incorporate is the play of light and shadow. It’s like the secret sauce that brings your artwork to life! Imagine walking into a room filled with natural sunlight, where the colors of the fruits seem to dance and shimmer. That’s the magic you want to recreate on your canvas. Understanding how light interacts with your subjects not only enhances the three-dimensionality of your painting but also adds a layer of realism that can truly wow your audience.
So, how does light work in your painting? Think of light as a spotlight that highlights certain areas while casting shadows in others. This creates a lovely contrast that can guide the viewer's eye to your focal point. To master this, you need to observe how light hits your fruits. Are there areas that glow with brightness? Are there deep shadows that add mystery? Here’s a simple breakdown:
- Direct Light: This is the light that comes straight from a source, like the sun or a lamp. It creates sharp highlights and defined shadows.
- Diffused Light: This occurs when light is softened, such as on a cloudy day. It leads to softer shadows and a more uniform light across the objects.
- Reflected Light: Sometimes, light bounces off nearby surfaces and illuminates areas that would otherwise be in shadow. This can add a beautiful glow to your fruits!
Now, let’s talk about how to apply this understanding to your painting. Start by observing your setup closely. Notice the direction of the light source and how it affects your fruit bowl. You might want to sketch a quick outline of where the highlights and shadows fall. This will serve as a roadmap for your painting, ensuring you capture the essence of the light effectively.
When it comes to creating highlights, think of them as the icing on the cake. They should be bright and vibrant, drawing attention to the most reflective parts of the fruit. Use a lighter color or even white, but remember to blend it well with the base color of the fruit to maintain realism. On the other hand, shadows are equally important. They ground your fruit bowl in space and give it weight. Use darker shades of your fruit colors, and don’t shy away from mixing in some complementary colors to create depth.
In conclusion, mastering light and shadow is like learning a new language in art. It allows you to communicate depth, form, and emotion through your still life painting. So, grab your brushes, set up your fruit bowl, and let the light guide your artistic journey!
- How do I choose the best light source for my still life painting? Natural light is often the best choice, as it provides a range of colors and shadows. Position your setup near a window for the best results.
- Can I use artificial lighting for my painting? Absolutely! Just be mindful of the color temperature of the bulbs you use, as they can affect the colors of your fruits.
- What if my shadows look too harsh? You can soften shadows by blending them with a dry brush or using a lighter shade to transition into the shadow area.
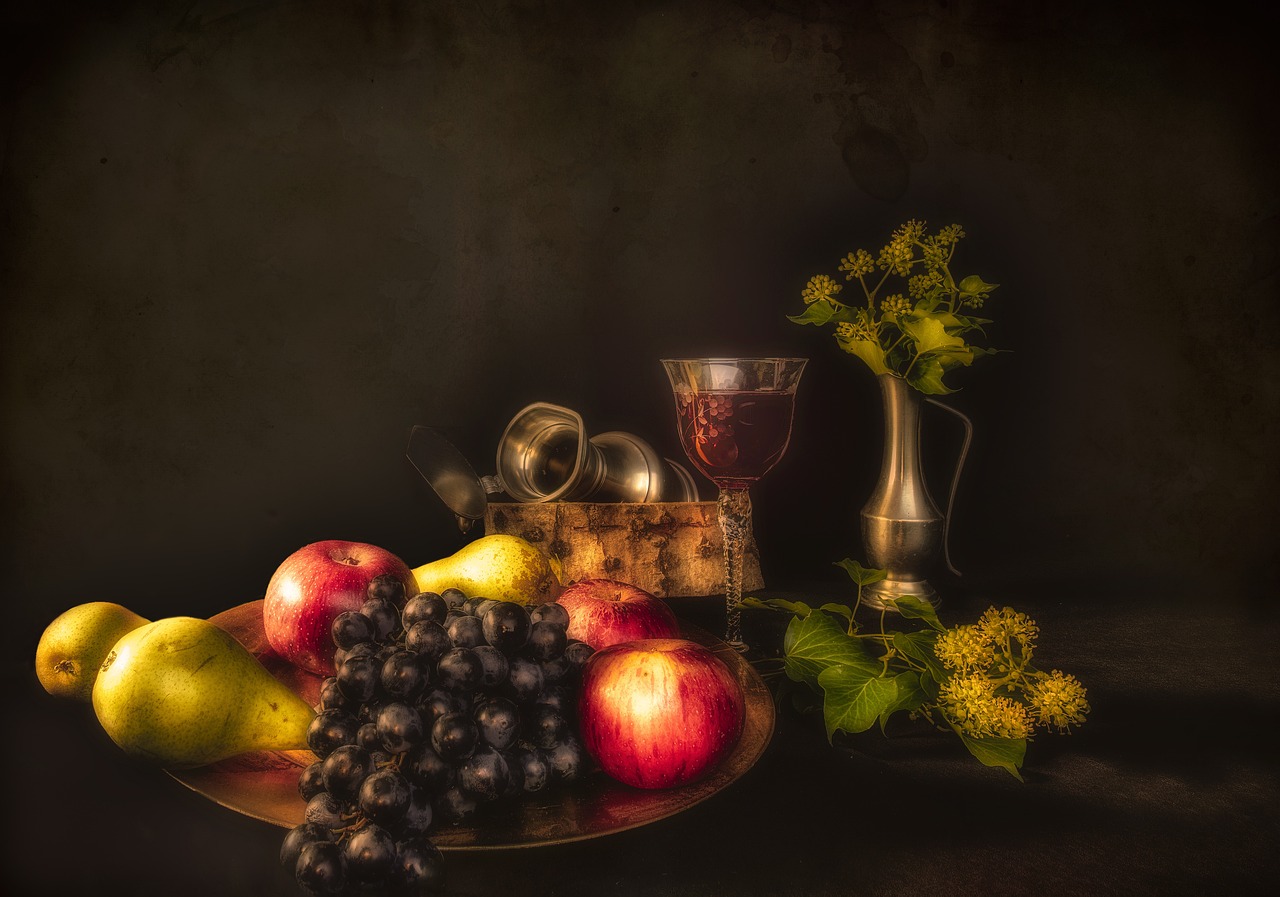
Creating Highlights
Creating highlights in your still life painting is one of the most exhilarating parts of the process. Think of highlights as the magic that brings your artwork to life, adding that extra sparkle that draws the viewer's eye. When you look at a piece of fruit, what catches your attention? It's often the way light dances off its surface, creating those stunning glimmers. To effectively create highlights, you'll want to consider a few key techniques that can elevate your painting from mundane to mesmerizing.
First and foremost, understanding the light source is crucial. Is your light coming from a window, a lamp, or perhaps a softbox? The direction and intensity of your light will dictate where the highlights fall on your fruits. For instance, if your light source is positioned to the left, you'll want to place your highlights on the left side of each fruit. This simple observation can make a world of difference in achieving a realistic effect.
Next, let’s talk about color choice. Highlights are not just plain white; they can take on the color of the fruit itself. For a ripe banana, for example, a pale yellow or even a hint of green can serve as a highlight. Similarly, for a red apple, a soft pink or light peach can mimic the light reflecting off its surface. By mixing a bit of your base color with white or a lighter shade, you can create highlights that feel cohesive and natural.
Now, onto the application technique! You want to apply your highlights with a light touch. Use a small brush or even a palette knife to gently dab the highlight onto the fruit. This technique can help you achieve a soft, luminous effect rather than a harsh, stark line. Remember, less is often more when it comes to highlights. You want to suggest light rather than paint it literally.
Here’s a quick tip: consider the size and shape of the fruit when applying highlights. A round fruit like an orange will have a different highlight pattern compared to a flat fruit like a pear. Take a moment to observe how light interacts with different shapes, and let that guide your brushwork.
Finally, don’t forget to step back and evaluate your work. Sometimes, highlights can look perfect up close but may need adjustments when viewed from a distance. Trust your instincts and make any necessary tweaks to ensure your fruit bowl radiates with life and vibrancy.
In summary, creating highlights is about understanding the light, choosing the right colors, applying them delicately, and considering the shapes of your fruits. With practice, you'll find your own rhythm and style in highlighting, turning your still life into a stunning visual feast that captures the essence of the fruits in your bowl.
- What type of paint is best for creating highlights? Acrylics and oils both work well, but acrylics dry faster, allowing for quicker layering.
- Can I use white paint for highlights? Yes, but it's often better to mix white with the base color to maintain harmony.
- How do I know where to place highlights? Observe your light source and the way it interacts with the fruit. Look for the brightest spots.
- Is it important to use a small brush for highlights? Yes, a small brush allows for more precision and control when applying highlights.
Defining Shadows
Shadows are not just dark patches on your canvas; they are essential elements that ground your fruit bowl in reality. When painting a still life, accurately depicting shadows can transform a flat image into a vibrant, three-dimensional masterpiece. Think of shadows as the unsung heroes of your artwork; they provide context and depth, guiding the viewer's eye and enhancing the overall composition.
To start defining shadows effectively, it's crucial to observe how light interacts with your fruits. Each fruit will cast its own unique shadow based on its shape and the light source's direction. For instance, a round apple will create a softer shadow compared to the sharper, more defined shadow of a banana. This variance is what makes your painting feel alive and dynamic.
When painting shadows, consider the following tips:
- Color Choices: Shadows are rarely just black or gray. Instead, they often contain hues that complement the object casting them. For example, if you have a bright orange fruit, the shadow might have hints of purple or blue to create a more realistic effect.
- Blending Techniques: Use a soft brush or a blending tool to gently merge the shadow with the surrounding colors. This will help create a smooth transition and avoid harsh lines, which can distract from the overall beauty of your painting.
- Layering: Start with a base layer of shadow and gradually build up the darkness. This technique allows you to control the intensity of the shadow and gives you the flexibility to adjust as needed.
Additionally, pay attention to the shape and direction of the shadows. Shadows can elongate or shorten depending on the light source's angle. If the light is coming from above, shadows will be shorter and more concentrated directly beneath the fruit. Conversely, if the light is coming from the side, shadows will stretch outwards, creating a dramatic effect. This interplay of light and shadow can add a sense of movement to your still life, drawing the viewer in.
Finally, don't forget about the background and how it interacts with your shadows. A contrasting background can make the shadows pop, while a similar tone might create a more subdued effect. Experiment with different backgrounds to see how they affect the overall mood of your painting.
In summary, defining shadows is a crucial step in painting a still life fruit bowl. By understanding the nuances of light and shadow, you can create a more realistic and captivating piece of art that highlights the beauty of your chosen fruits.
Q: What colors should I use for shadows?
A: Shadows should not be purely black or gray. Instead, consider using colors that complement the object casting the shadow, incorporating cool tones for depth.
Q: How can I make shadows look more realistic?
A: Observe real-life shadows closely and mimic their shapes and colors. Use blending techniques to create soft transitions and avoid harsh lines.
Q: Is it necessary to paint shadows in a still life?
A: Yes, shadows are essential for adding depth and grounding your objects within the composition. They enhance the three-dimensionality of your painting.

Choosing Your Color Palette
When it comes to painting a still life fruit bowl, selecting the right color palette is essential for achieving a harmonious and visually appealing artwork. Think of your color palette as the musical score for a symphony; it sets the tone and mood of your painting. You want to create a composition that not only reflects the natural beauty of the fruits but also evokes emotion and draws the viewer in. Start by considering the colors of the fruits you’ve chosen. Each fruit has its own unique hue, and when combined, they can create a stunning visual feast. For instance, the vibrant reds of apples can contrast beautifully with the soft yellows of bananas and the deep greens of grapes.
One effective approach to building your color palette is to utilize color theory. Understanding the color wheel can help you select complementary colors that enhance each other. For example, if you have bright oranges in your bowl, pairing them with shades of blue can create a striking contrast that catches the eye. Additionally, you might want to consider the temperature of the colors. Warm colors (like reds, oranges, and yellows) can create a feeling of warmth and vibrancy, while cool colors (like blues and greens) can evoke calmness and tranquility. By balancing these temperatures, you can create a dynamic composition that feels alive.
Another important aspect of choosing your color palette is to think about the mood you want to convey. Are you aiming for a cheerful, bright scene or a more subdued, contemplative atmosphere? If you want to create a sense of joy, you might lean towards brighter, more saturated colors. However, if you’re looking for something more serene, softer pastels or muted tones can work wonders. Mixing colors can also play a significant role in achieving the desired effect. For example, you can mix a bit of white to lighten a color or add a touch of black to darken it. This will allow you to create a range of shades that can add depth and dimension to your painting.
Here’s a simple table to help you visualize some common fruit colors and their complementary shades:
| Fruit | Main Color | Complementary Color |
|---|---|---|
| Apple | Red | Green |
| Banana | Yellow | Purple |
| Grapes | Purple | Yellow-Green |
| Orange | Orange | Blue |
Lastly, don’t forget to test your colors before applying them to your canvas. Create a small color swatch on a separate piece of paper to see how the colors interact with each other. This practice can save you from unpleasant surprises when you start painting. Remember, the goal is to create a cohesive and balanced look that captures the essence of your still life fruit bowl. So take your time, experiment with different combinations, and let your creativity shine!
- What is the best way to mix colors for my painting? Start with the primary colors and gradually mix them to create secondary colors. Always test your mixes on a separate palette.
- How do I choose a color scheme for my still life? Consider the colors of your fruits and use the color wheel to find complementary colors that enhance each other.
- Can I use acrylics for a still life painting? Absolutely! Acrylics are versatile and can be used to achieve a variety of effects.
Techniques for Painting Textures
When it comes to painting a still life fruit bowl, capturing the unique textures of each fruit is essential for creating a realistic and engaging artwork. Different fruits possess distinct surfaces that can challenge even the most seasoned artists. For instance, the smooth skin of an apple contrasts sharply with the rough surface of a kiwi. To effectively convey these textures, you must employ various techniques that enhance the visual appeal of your painting.
One of the most effective ways to replicate the texture of fruits is through brushwork. Different brushes can create diverse effects, allowing you to mimic the qualities of each fruit. For example, a flat brush can be used to create broad strokes that represent the sleek surface of a pear, while a round brush can help you achieve the fine details of a grape's skin. Experimenting with different brush types can open up a world of possibilities for your still life. Here’s a quick overview of some brush types and their uses:
| Brush Type | Effect |
|---|---|
| Flat Brush | Great for broad strokes and smooth surfaces |
| Round Brush | Perfect for detail work and round shapes |
| Fan Brush | Ideal for creating texture and foliage |
| Filbert Brush | Versatile for both broad strokes and fine details |
Another technique to consider is layering colors. This method involves applying multiple layers of paint to build depth and complexity in your textures. For instance, start with a base layer of color to establish the fruit's primary hue. Once it dries, you can add additional layers to create highlights and shadows, enhancing the three-dimensionality of the fruit. This technique not only adds richness to the colors but also allows you to create a sense of realism that draws the viewer into your artwork.
In addition to brushwork and layering, glazing is a powerful technique for achieving texture. Glazing involves applying a thin, transparent layer of paint over a dried layer. This method can add luminosity and depth to your fruit, making it appear more vibrant and lifelike. For example, a light glaze of yellow over a dried red apple can create a warm glow, mimicking the way light interacts with the fruit's surface.
Don't forget about the importance of contrast in texture. Using contrasting colors and values can help define the different surfaces within your painting. For instance, if you have a shiny orange next to a matte banana, the contrast between their textures can create a dynamic focal point. By playing with contrasts, you can guide the viewer's eye and enhance the overall composition of your still life.
Finally, practice is key! The more you paint, the better you will become at recognizing and replicating the textures of various fruits. Set up a simple still life with a variety of fruits and spend some time experimenting with these techniques. Remember, every artist has their unique style, so don't be afraid to let your personality shine through in your work. With patience and persistence, you'll be able to create stunning still life paintings that truly capture the essence of your subjects.
- What types of paint are best for still life painting? Acrylics and oils are popular choices due to their versatility and rich colors.
- How do I choose the right colors for my fruit bowl? Consider using a color wheel to find complementary colors that enhance each other.
- Can I use photographs as references? Absolutely! Photographs can help you capture details and colors accurately.
- How long does it take to complete a still life painting? It varies based on complexity, but setting aside several hours to days is common.
Using Brushes Effectively
When it comes to painting a still life fruit bowl, the choice of brush can make a world of difference. Think of your brushes as the tools of a sculptor; each one has its unique purpose and can create different effects on your canvas. Selecting the right brush for the job is essential for achieving the textures and details that will bring your fruit bowl to life. For example, a flat brush is fantastic for broad strokes and filling in large areas, while a round brush is perfect for finer details and intricate work.
One key aspect to consider is the size of the brush. Larger brushes can cover more area quickly, which is great for blocking in colors and shapes, but they can also obscure finer details if not used carefully. On the other hand, smaller brushes allow for precision, enabling you to paint the delicate nuances of each fruit's texture. As a rule of thumb, start with larger brushes to establish your composition and then switch to smaller ones for detailing. This layered approach not only saves time but also adds depth to your painting.
Additionally, the material of the brush plays a significant role in how paint is applied. For instance, synthetic brushes are often stiffer and can hold their shape well, making them ideal for detailed work. Conversely, natural hair brushes, like those made from sable or hog bristle, are softer and can create smoother blends, which is particularly useful for painting the subtle transitions in color that you see on the skin of fruits like peaches or plums.
Don't forget about the technique! How you hold the brush can significantly impact your painting style. A relaxed grip allows for more fluid strokes, while a firmer grip can provide more control. Experiment with different techniques, such as stippling for texture or dry brushing to add highlights, to see what works best for your painting. Remember, practice makes perfect, so don't hesitate to try out various brushes and techniques on a scrap piece of canvas before diving into your masterpiece.
Lastly, maintaining your brushes is crucial for achieving the best results. Clean them thoroughly after each painting session to prevent paint from drying in the bristles, which can ruin their shape and effectiveness. A well-cared-for brush will last longer and perform better, ensuring that your still life painting shines with vibrancy and detail.
- What type of brushes should I use for painting fruits?
It's best to use a combination of flat and round brushes. Flat brushes are great for broad strokes, while round brushes excel in detailing.
- How do I clean my brushes properly?
Use warm water and mild soap to clean your brushes after each use. Make sure to reshape the bristles and lay them flat to dry.
- Can I use synthetic brushes for oil painting?
Yes, synthetic brushes can be used for oil painting and are often more affordable than natural hair brushes.
Layering Colors
When it comes to painting a still life, particularly a vibrant fruit bowl, is not just a technique; it's an art form that can transform your painting from flat to fantastic. Imagine the way sunlight dances on the surface of a ripe apple or how the deep hues of a plum catch your eye. Achieving that depth and richness requires more than just slapping on a single coat of paint; it involves a delicate process of building up layers to create a sense of realism and vibrancy.
To start layering effectively, it’s essential to understand that each layer contributes to the overall effect of your painting. Think of it like building a cake: each layer adds flavor and texture, making the final product much more delightful. Begin with a base layer that establishes the primary colors of your fruits. This initial layer sets the foundation, so choose your colors wisely! For instance, if you're painting a banana, start with a light yellow, allowing it to dry before adding deeper shades for shadows and highlights.
Once your base layer is dry, it's time to add glazing layers. Glazing involves applying a thin, transparent layer of paint over your base. This technique is particularly effective for fruits like grapes or oranges, where you want to create a sense of translucence. Use a medium, such as linseed oil, to thin your paint, allowing the underlayer to shine through while adding richness to the color. With each glaze, you can enhance the luminosity of your fruits, making them appear more three-dimensional.
As you layer, pay attention to the transitions between colors. Smooth transitions can be achieved by gently blending the edges of each layer. For instance, when painting a peach, you might want to transition from a soft yellow to a warm pink, and then to a deeper orange. This gradual change not only adds depth but also mimics the way light interacts with the surface of the fruit. Remember, the key here is to be patient; allow each layer to dry before adding the next, ensuring that your colors remain vibrant and true.
Finally, don't forget about the importance of textural layering. Different fruits have distinct textures that can be enhanced through careful brushwork and layering techniques. For example, to depict the fuzzy skin of a peach, you might use a dabbing motion with a stiff brush to create that soft, velvety look. Layering isn't just about color; it's also about capturing the essence of your subjects, making them leap off the canvas.
In conclusion, layering colors is a vital skill for any artist looking to create a stunning still life painting. By building up your colors gradually and thoughtfully, you can achieve a depth and richness that will make your fruit bowl come alive. So, grab your brushes, choose your colors, and let the magic of layering transform your artwork!
- What is the best medium for glazing? - Linseed oil is a popular choice for glazing as it allows for a smooth application and enhances color transparency.
- How long should I wait between layers? - It’s generally best to wait until each layer is completely dry, which can take anywhere from a few hours to a day, depending on the thickness of the paint.
- Can I use acrylics for layering? - Absolutely! Acrylic paints can be layered effectively, but remember to use a glazing medium to achieve the same transparency as oils.
Frequently Asked Questions
- What fruits should I choose for my still life painting?
When selecting fruits, aim for a variety that offers different shapes, colors, and textures. Think about how the colors will complement each other and create visual interest. Fruits like apples, oranges, bananas, and grapes can provide a vibrant palette and engaging composition.
- How do I set up a balanced composition for my fruit bowl?
To create a balanced composition, consider the rule of thirds. Arrange your fruits in a way that draws the viewer's eye to a focal point. Ensure there's a mix of heights and shapes to keep it dynamic. Don't forget to leave some negative space to avoid a cluttered look!
- Why is understanding light and shadow important in still life painting?
Light and shadow add depth and realism to your artwork. By observing how light interacts with your fruits, you can create highlights and shadows that enhance the three-dimensionality of your painting. This technique makes your still life more lifelike and visually appealing.
- How can I create effective highlights on my fruits?
To create highlights, use a lighter color than your base fruit color and apply it sparingly to the areas where light hits. This can be done with a dry brush technique or by layering lighter paint over the base. The goal is to make your fruits pop and look vibrant!
- What color palette should I use for a fruit bowl painting?
A harmonious color palette is key to a successful painting. Consider using complementary colors to create contrast and interest. Mixing colors based on color theory can help you achieve the desired effect, making your fruits appear fresh and enticing.
- How do I paint different textures of fruits?
Each fruit has its unique texture, so pay attention to how they feel visually. Use different brushwork techniques, like stippling or glazing, to replicate textures. Layering colors can also help you build the complexity needed to convey the fruits' surfaces effectively.
- What types of brushes are best for painting fruits?
Different brushes can create various effects. Flat brushes are great for broad strokes and washes, while round brushes can help with detail work. Experiment with different sizes and shapes to find what works best for the textures you want to achieve in your still life.
- Why is layering colors important in painting?
Layering colors allows you to build depth and complexity in your painting. By applying multiple thin layers, you can create a sense of transparency and richness in your fruits. This technique is essential for achieving a realistic representation that captures the eye.


