How to Draw Animals: A Comprehensive Guide
Welcome to the fascinating world of animal drawing! Whether you're a seasoned artist or a complete novice, this guide is designed to help you unlock your creative potential and enhance your skills. Drawing animals can be incredibly rewarding, as it allows you to connect with nature and express your artistic vision. But where do you start? In this comprehensive guide, we will explore a variety of techniques and tips that can elevate your animal drawings from simple sketches to stunning representations.
First, let's talk about the importance of understanding animal anatomy. Just like a musician needs to know their instrument, an artist must grasp the fundamental structures that make up the creatures they wish to depict. This knowledge of anatomy will not only improve your accuracy but also give your drawings a sense of life and movement. Imagine trying to draw a horse without knowing where its muscles lie or how its legs move—it's like trying to play a song without knowing the notes!
Next up, we’ll discuss the materials you'll need to get started. The right tools can make all the difference. From pencils to paper, each choice can impact the final outcome of your artwork. You might be surprised to learn how different types of pencils can create varying effects, or how the texture of your paper can influence your drawing style. It's essential to experiment and find what works best for you.
Now, let’s break down the drawing process into manageable steps. One effective method is to start with basic shapes. By simplifying animals into fundamental forms—like circles, ovals, and rectangles—you can easily capture their likeness and proportions. Think of it as building a house: you wouldn’t start with the roof before laying the foundation, right? This approach not only makes drawing less daunting but also paves the way for adding details later on.
As you gain confidence, you'll want to focus on capturing movement. Animals are dynamic beings, and your drawings should reflect that energy. Techniques such as gesture drawing can help you depict action and fluidity, bringing your subjects to life on the page. Imagine a cheetah sprinting across the savannah; the grace and speed of its movement can be captured with just a few well-placed lines if you understand the principles of motion.
Adding textures and details is another critical aspect of animal drawing. The way fur, scales, or feathers are rendered can significantly enhance the realism of your artwork. By using various techniques—like cross-hatching for fur or stippling for scales—you can create depth and interest in your drawings. Think of textures as the seasoning in a dish; they can elevate your artwork from bland to flavorful!
Using reference images effectively is also key to improving your skills. High-quality photos can provide insights into the anatomy, posture, and unique features of animals. However, it’s crucial to use these references wisely and not just copy them. Instead, aim to understand the underlying structure and essence of the animal. This practice will deepen your comprehension and make your drawings more authentic.
Of course, every artist makes mistakes, and learning from them is part of the journey. Common pitfalls include neglecting proportions, over-relying on outlines, or failing to observe details. Recognizing these challenges is the first step in overcoming them. Remember, even the greatest artists faced obstacles on their path. Embrace your errors as opportunities for growth!
Finally, don’t shy away from practicing different animal types. The diversity among mammals, birds, reptiles, and more can enrich your artistic repertoire. Each species has its own unique characteristics, and experimenting with various subjects can enhance your versatility. Set aside time to sketch different animals, and you’ll be amazed at how your skills evolve over time.
- What materials do I need to start drawing animals? You will need pencils, erasers, good quality paper, and possibly colored pencils or markers for added effects.
- How can I improve my animal drawing skills? Practice regularly, study animal anatomy, and use reference images to guide your work.
- Is it necessary to understand anatomy to draw animals? While it’s not strictly necessary, a solid understanding of anatomy can significantly enhance the realism and accuracy of your drawings.
- What are some common mistakes to avoid? Some common mistakes include poor proportions, lack of detail, and neglecting to capture movement.
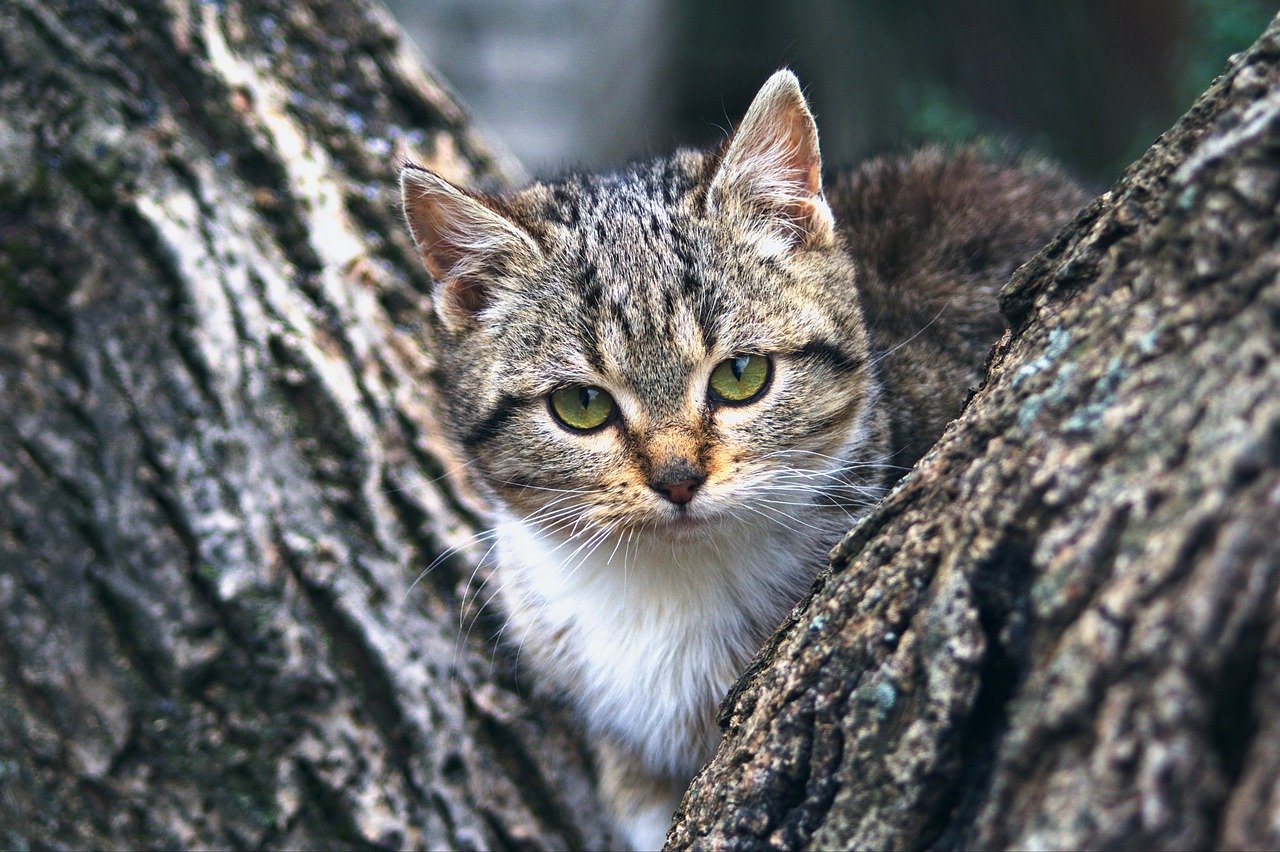
Understanding Animal Anatomy
When it comes to drawing animals, understanding anatomy is not just a luxury—it's a necessity. Think of it like building a house; if you don't know the structure, your creation might collapse. Each species has its unique anatomical features that influence not only how they look but also how they move. For instance, the way a cat's muscles are structured allows it to leap gracefully, while a bird's lightweight bones enable it to soar through the skies. By familiarizing yourself with these features, you can create more realistic and engaging artwork.
Let’s break down some key anatomical aspects that every aspiring animal artist should consider:
- Skeleton Structure: Understanding the basic skeleton of an animal helps you grasp the underlying framework. This knowledge is crucial for depicting accurate proportions and poses.
- Muscle Groups: Muscles give animals their shape and bulk. Knowing where the major muscle groups are located will enhance your ability to render movement.
- Body Proportions: Different animals have varying proportions. For example, a horse has long legs and a powerful body, while a rabbit is compact with shorter limbs. Recognizing these differences is key to capturing their likeness.
To give you a clearer picture, here's a simple
| Animal | Key Anatomical Features | Movement Style |
|---|---|---|
| Dog | Strong legs, flexible spine | Running, jumping |
| Cat | Agile body, retractable claws | Leaping, climbing |
| Bird | Lightweight bones, wings | Flying, gliding |
By studying these features, you can start to visualize how each animal's anatomy influences its movement and posture. For example, when sketching a running dog, pay attention to how its muscles tense and release, and how its legs position themselves for maximum propulsion. This understanding will not only improve your drawing skills but also allow you to infuse life into your artwork.
Additionally, consider the relationship between anatomy and expression. Animals communicate through body language, and a keen understanding of their anatomical structure can help you capture these subtle cues. For instance, a dog wagging its tail conveys happiness, while a cat with arched back shows defensiveness. By incorporating these elements into your drawings, you can create pieces that resonate with viewers on an emotional level.
In conclusion, mastering animal anatomy is a journey worth embarking on. It requires observation, practice, and a willingness to learn. As you delve deeper into the intricacies of animal forms, you'll find that your drawings become more lifelike and compelling. So grab your sketchbook and start exploring the fascinating world of animal anatomy!

Choosing the Right Materials
When it comes to drawing animals, the materials you choose can make a world of difference in your creative process. Think of your tools as the paintbrushes of a painter; they can either enhance your artwork or hinder your progress. First and foremost, let's talk about pencils. The type of pencil you select can greatly influence the quality of your lines and shading. For instance, a graphite pencil with a range of hardness (like 2H to 6B) allows for versatility in your strokes. Softer pencils (B grades) are perfect for rich dark lines and shading, while harder pencils (H grades) are excellent for lighter, more precise details. You might even consider mechanical pencils for fine lines, as they maintain a consistent point without the need for sharpening.
Next up is paper. Not all paper is created equal, especially when it comes to drawing animals. A smooth paper is great for detailed work, while textured paper can add an interesting dimension to your sketches. For animal drawings, you might want to explore mixed media paper or bristol board, which can handle various mediums like pencils, inks, and even watercolor. The weight of the paper also matters; heavier paper can withstand more erasing and layering, which is essential when you're perfecting your animal forms.
Now, let’s not forget about erasers. A good eraser can be your best friend. You might want to have a kneaded eraser on hand, which allows for gentle lifting of graphite without damaging the paper. Additionally, a plastic eraser can help you achieve clean, precise corrections. Remember, the right eraser can help you refine your work without leaving unsightly marks.
To further enhance your animal drawings, consider experimenting with blending tools such as tortillons or blending stumps. These tools can help you create smooth transitions between shades, mimicking the soft textures of fur or feathers. Additionally, you might want to invest in some colored pencils or markers if you’re looking to add a splash of color to your sketches. Each medium has its own unique qualities that can bring your animal illustrations to life.
In summary, the right materials can set the stage for your artistic journey. Here’s a quick reference table to help you choose the best tools for your animal drawing adventures:
| Material | Purpose |
|---|---|
| Pencils | For detailed lines and shading |
| Paper | To support various drawing techniques |
| Erasers | To correct mistakes and refine details |
| Blending Tools | For smooth transitions and textures |
| Colored Pencils/Markers | Add color and vibrancy to your work |
Choosing the right materials is like laying a strong foundation for a house; it sets the tone for everything that follows. By investing in quality tools, you're not just drawing animals—you're creating art that captures their essence and spirit. So, gather your materials, and let your imagination run wild!
Q: What type of pencil is best for beginners?
A: For beginners, a set of pencils ranging from H to B grades is ideal. This variety allows you to experiment with different techniques and find what works best for you.
Q: Can I use regular printer paper for drawing?
A: While you can use printer paper, it's not recommended for detailed work, as it may not hold up to erasing and layering. Investing in quality drawing paper is beneficial.
Q: How do I know which blending tool to use?
A: It depends on your preference! Tortillons are great for small areas, while larger blending stumps work well for broader strokes. Experiment to see what feels right for your style.
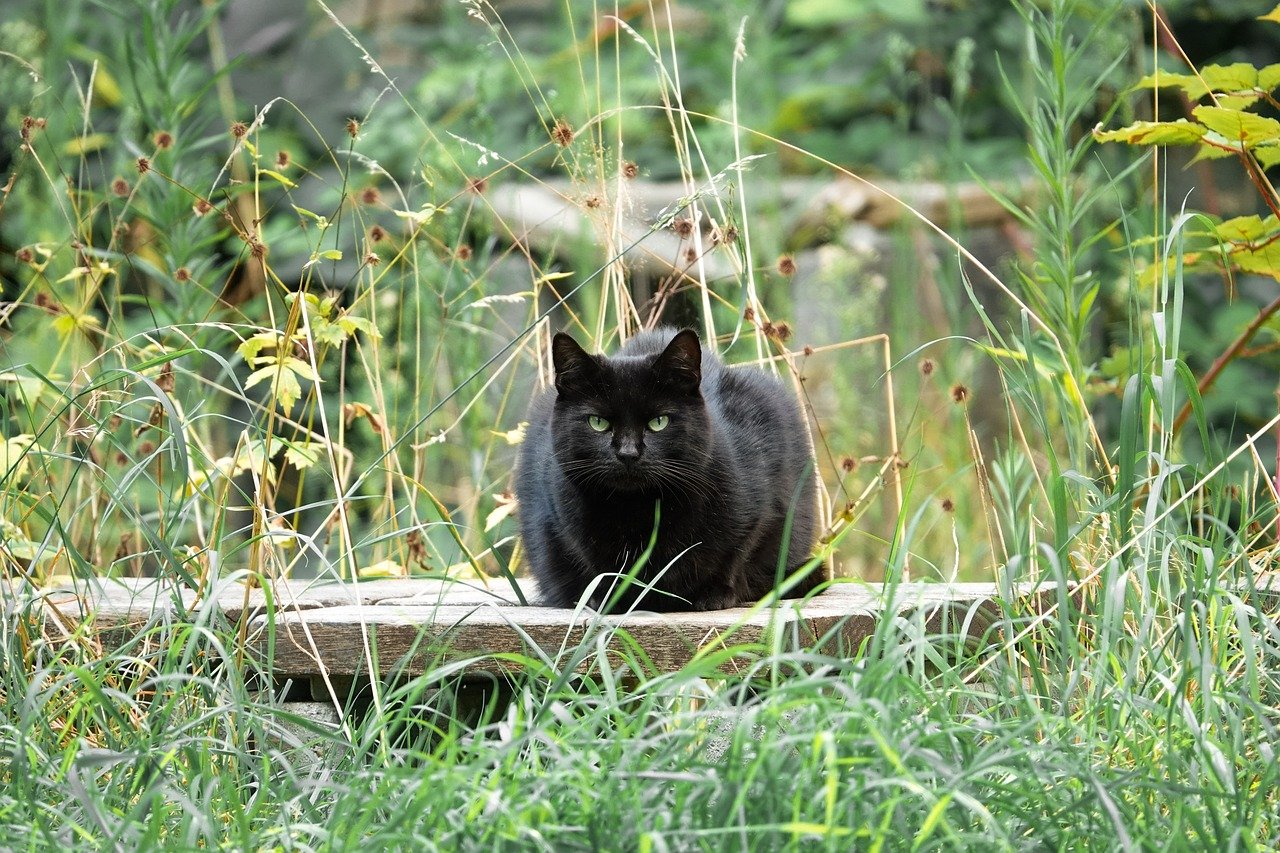
Basic Shapes for Animal Drawing
When it comes to drawing animals, starting with basic shapes can be a game changer. Imagine trying to build a house without a solid foundation; the same principle applies to drawing. By breaking down complex forms into simpler shapes, you can create a more accurate representation of the animal you wish to depict. This approach not only simplifies the drawing process but also enhances your understanding of proportions and spatial relationships.
Most animals can be represented using a combination of simple geometric shapes. For instance, you might use circles for the head, ovals for the body, and rectangles for the legs. Let’s take a closer look at how these shapes can be utilized:
| Animal | Basic Shapes Used | Example |
|---|---|---|
| Dog | Circle (head), Oval (body), Rectangle (legs) |  |
| Cat | Circle (head), Oval (body), Triangle (ears) |  |
| Bird | Circle (head), Oval (body), Triangle (wings) |  |
By visualizing animals in this way, you can easily sketch out their basic forms before adding intricate details. For example, when drawing a dog, start with a large oval for the body and a smaller circle for the head, then connect them with simple lines for the neck. Once you have the basic shape down, you can refine the drawing by adding features like the ears, tail, and legs.
Furthermore, understanding how these shapes relate to one another is key. The proportions of the shapes you use can drastically change the overall appearance of the animal. For instance, a tall rectangle for the legs of a giraffe versus shorter rectangles for a bulldog will give you a more accurate representation of each animal's unique structure. By practicing with various animals and focusing on their basic shapes, you can develop a strong foundation for more complex drawings.
One effective exercise is to take a reference image of an animal and attempt to sketch it using only basic shapes. This not only sharpens your observation skills but also helps you to see animals in a new light. You may be surprised at how much easier it becomes to draw once you have mastered this technique!
Lastly, remember that practice makes perfect. Don't be discouraged if your first few attempts don’t look as polished as you'd like. Every artist starts somewhere, and the more you practice breaking down animals into basic shapes, the more confident and skilled you will become. So grab your sketchbook and start sketching those shapes!
- What are the most common shapes used in animal drawing? Typically, circles, ovals, and rectangles are the foundational shapes used to represent various animals.
- How do I improve my understanding of animal proportions? Practice drawing animals from different angles and using reference images to study their proportions and shapes.
- Can I use this method for drawing other subjects? Absolutely! The technique of breaking down forms into basic shapes can be applied to various subjects beyond animals.
Techniques for Capturing Movement
When it comes to drawing animals, capturing movement is like trying to catch a fleeting moment in time. It’s about more than just sketching a static pose; it’s about breathing life into your artwork. Imagine a gazelle leaping gracefully across the savanna or a cat pouncing on its unsuspecting prey. These moments are filled with energy and dynamism, and your goal as an artist is to convey that feeling on paper.
One of the best ways to start capturing movement is through gesture drawing. This technique is all about creating quick sketches that focus on the essence of the pose rather than the details. Think of it as a warm-up exercise for your artistic muscles. Set a timer for one to five minutes and draw the animal in various poses. Don't worry about perfection; instead, concentrate on the flow of the lines and the overall shape. This method will help you understand how animals move and how their bodies are structured in action.
Next, consider the concept of line of action. This is an imaginary line that runs through the center of your subject, guiding the viewer’s eye and providing a sense of direction. For example, if you're drawing a horse galloping, the line of action might curve from the horse's head through its body and down to its hooves. This technique not only adds energy to your drawing but also helps maintain balance and proportion, ensuring that your depiction feels natural and fluid.
Another effective technique is to study reference images. Watching videos of animals in motion can be incredibly beneficial. Pay attention to how their limbs move, how their bodies shift, and how they interact with their environment. You might also want to create a reference library of images that showcase various animals in action. By analyzing these references, you can better understand the subtleties of movement, which will greatly enhance your ability to depict it accurately in your drawings.
Additionally, don't forget about the importance of body language. Animals communicate through their posture and movements, and understanding these cues can help you convey their emotions and intentions. For instance, a dog with its tail wagging and ears perked up is expressing excitement, while a cat with its back arched and fur standing on end indicates fear or aggression. By incorporating these elements into your drawings, you can create a more compelling narrative and engage your audience on a deeper level.
To further enhance your skills in capturing movement, consider practicing with a variety of animal types. Each species has its unique way of moving, and by diversifying your subjects, you will become more versatile as an artist. Here’s a quick overview of different animal movements:
| Animal Type | Movement Characteristics |
|---|---|
| Cheetah | Fast, fluid strides; elongated body during sprinting. |
| Bird | Flapping wings; dynamic take-offs and landings. |
| Frog | Powerful leaps; smooth transitions between water and land. |
| Horse | Rhythmic gallops; powerful kicks and turns. |
In conclusion, capturing movement in animal drawing is an art form that requires practice, observation, and a little bit of creativity. By utilizing techniques like gesture drawing, understanding the line of action, studying reference images, and recognizing body language, you’ll be well on your way to creating dynamic and engaging animal illustrations. Remember, the more you practice, the more natural it will feel, and soon enough, you’ll find yourself not just drawing animals, but truly bringing them to life on the page.
- What is gesture drawing? Gesture drawing is a quick sketching technique that captures the essence of a pose, focusing on movement rather than details.
- How can I improve my understanding of animal movements? Observing videos and reference images of animals in action can greatly improve your understanding of their movements.
- What materials do I need for practicing movement in drawing? A sketchbook, pencils, and a timer for quick sketches are ideal for practicing movement.

Adding Textures and Details
When it comes to drawing animals, textures and details are what truly bring your artwork to life. Imagine looking at a drawing of a lion; the way its fur catches the light or how the scales on a snake shimmer can make all the difference between a flat image and a captivating piece of art. To achieve this level of realism, you need to understand how to represent different textures effectively. Each animal has unique characteristics that require distinct approaches to texture rendering.
To start, consider the type of animal you are drawing. For instance, fur has a different texture than feathers or scales. When drawing fur, you can use short, quick strokes to mimic the softness and flow of the hair. Think of your pencil as a paintbrush, where each stroke adds depth and dimension. You might want to use varying pressure on your pencil to create lighter and darker areas, simulating how light interacts with the fur. Similarly, when drawing feathers, layering is key. Begin with the base shape and gradually add details, making sure to overlap your strokes to create a natural look.
For scales, such as those found on reptiles, a different technique is required. Scales can be represented with small, repetitive shapes that follow the contours of the animal's body. You can create a sense of depth by varying the size and spacing of the scales, ensuring that they appear natural and not uniform. Remember, the goal is to imitate the way light reflects off these surfaces. Using a combination of shading and highlighting will make your scales look three-dimensional.
Here’s a quick breakdown of techniques for different textures:
| Texture | Technique |
|---|---|
| Fur | Short, quick strokes; varying pressure |
| Feathers | Layering; overlapping strokes |
| Scales | Small, repetitive shapes; varied size and spacing |
In addition to these techniques, don’t overlook the importance of details. Small features like whiskers, claws, or the glint in an animal's eye can elevate your drawing from good to exceptional. These details often require patience and a keen eye. Take your time and observe your reference images closely. You might find that spending a few extra minutes on the eyes can make your animal look more lifelike and engaging.
Finally, practice makes perfect. The more you draw different animals, the better you will become at capturing their unique textures and details. Don’t hesitate to experiment with different tools, such as blending stumps or even your fingers, to create softer textures. Remember, every artist has their own style, so find what works best for you and keep practicing!
- What tools should I use for adding textures? You can use a variety of tools, including pencils, charcoal, and blending stumps. Experiment to see what gives you the best results!
- How do I know which texture technique to use? It depends on the animal you are drawing. Study reference images and practice different techniques to find what works best for each texture.
- Can I use digital tools to add textures? Absolutely! Many artists use software like Photoshop or Procreate to add textures digitally, which can offer even more flexibility.

Using Reference Images Effectively
When it comes to drawing animals, using reference images can be a game changer. Imagine trying to capture the grace of a galloping horse or the intricate details of a bird's feathers without a visual guide. It’s like trying to navigate a maze blindfolded—you might get there eventually, but it’ll take a lot longer and be way more frustrating! Reference images serve as your eyes, helping you understand the anatomy, posture, and textures of different animals. But how do you use them effectively? Let’s dive into some practical tips.
First and foremost, it's important to select high-quality reference images. Look for photos that are clear and well-lit. A blurry or poorly lit image can lead to confusion about the animal’s features. Websites such as Unsplash, Pixabay, and even social media platforms like Instagram can be treasure troves of inspiration. When you find an image you love, take a moment to analyze it. What draws you in? Is it the animal's expression, the way the light hits its fur, or perhaps its dynamic pose? Understanding what captivates you will help you focus on those elements in your own drawings.
Another effective strategy is to gather multiple reference images of the same animal. This approach allows you to see different angles and poses, which is crucial for capturing the full essence of the creature. For example, if you’re drawing a cat, look for images of it sitting, playing, and even stretching. This variety not only helps you understand the animal's anatomy better but also enables you to portray its personality more accurately. You might even consider creating a mood board with your favorite references, which can serve as a visual guide throughout your drawing process.
While reference images are incredibly useful, it's essential to use them wisely. Relying too heavily on a reference can stifle your creativity. Instead of copying the image directly, think of it as a starting point. Use the reference to inform your understanding of the animal’s structure and movement, but don’t be afraid to add your own flair. For instance, if you're drawing a dog, you might want to exaggerate its playful nature by emphasizing its wagging tail or bright eyes. This way, you infuse your personality into the artwork, making it truly yours.
Additionally, consider the context in which the animal is placed. A reference image of a lion lounging in the sun can evoke a different mood than one of it prowling through tall grass. Think about how the environment can enhance your drawing. You can create a more dynamic composition by incorporating elements from the background, like trees or other animals. This not only adds depth to your work but also tells a story, inviting the viewer to engage more deeply with your art.
Lastly, don’t forget to practice ethical use of reference images. Always credit photographers when applicable, and be mindful of copyright issues. Some artists prefer to use their own photographs, which can be a great way to ensure originality and maintain ethical standards. If you’re venturing into wildlife photography, remember to respect the animals and their habitats. Capturing moments in nature can provide you with a wealth of unique references while also promoting conservation.
In summary, reference images are invaluable tools for any artist looking to improve their animal drawing skills. By choosing high-quality images, gathering multiple references, using them as guides rather than crutches, considering context, and practicing ethical use, you can enhance your understanding and portrayal of the animal kingdom. So, grab your sketchbook, find some inspiring images, and start creating!
- What types of reference images are best for animal drawing? Look for high-quality, clear images that showcase different angles and poses of the animal.
- How can I avoid copying reference images too closely? Use the reference as a guide for understanding anatomy and movement, but feel free to add your own creative elements.
- Is it ethical to use reference images from the internet? Always credit photographers when possible and consider using your own photos to avoid copyright issues.
Common Mistakes to Avoid
When diving into the world of animal drawing, it's easy to stumble into a few common traps that can hinder your progress. Even seasoned artists can fall prey to these pitfalls, so awareness is key! One of the most frequent mistakes is neglecting the importance of proportions. Animals come in all shapes and sizes, and getting the proportions right is crucial for achieving a realistic look. For instance, if you're drawing a cat, its head should not be the same size as its body. Paying attention to the relationship between different body parts is essential.
Another common error is failing to observe the anatomy of the animal you’re drawing. Many artists make the mistake of drawing from memory rather than from observation. This can lead to inaccuracies in muscle structure and bone placement. To combat this, consider using reference images or even sketching from life whenever possible. By doing so, you’ll gain a deeper understanding of how an animal's body works, which will reflect in your artwork.
Additionally, many artists rush through the sketching phase. This is a critical step that lays the foundation for your drawing. Skipping it can lead to a lack of structure in your final piece. Instead of jumping straight into detailing, take your time to create a solid outline using basic shapes. This approach not only helps in maintaining proportions but also allows for adjustments before committing to finer details.
Another common mistake is the misuse of shading techniques. Many artists tend to overdo it, resulting in a flat appearance. Instead, focus on creating depth by varying your shading pressure and using a range of pencils. For example, a soft pencil can create darker areas, while a harder pencil can produce lighter shades. This variation can make your drawings pop and give them a more three-dimensional feel.
Lastly, don't forget about practice. It sounds cliché, but it's true! Many aspiring artists expect to master animal drawing overnight. The reality is that improvement comes with consistent practice. Set aside time each week to draw different animals, experimenting with various styles and techniques. Remember, every stroke is a step towards becoming a better artist!
To summarize, here are some common mistakes to avoid:
- Neglecting proportions
- Ignoring animal anatomy
- Rushing through the sketching phase
- Misusing shading techniques
- Expecting instant mastery
By keeping these points in mind and consciously working to avoid these mistakes, you’ll find that your animal drawings will improve significantly. Remember, every artist has their share of missteps; the key is to learn from them and keep pushing forward!
Q: How can I improve my animal drawing skills?
A: The best way to improve is through consistent practice. Try drawing different animals regularly and study their anatomy and proportions.
Q: Should I always use reference images?
A: While it’s not mandatory, using reference images can greatly enhance your understanding of animal anatomy and poses, leading to more accurate drawings.
Q: What materials do I need for animal drawing?
A: Basic materials include a variety of pencils, good-quality paper, and erasers. Experiment with different tools to find what works best for you.
Q: How can I capture movement in my drawings?
A: Gesture drawing is an excellent technique for capturing movement. Focus on the flow and energy of the pose rather than getting bogged down in details.
Q: What should I do if I make mistakes in my drawings?
A: Mistakes are part of the learning process. Analyze what went wrong, make adjustments, and don’t be afraid to start over if needed!
Practicing Different Animal Types
When it comes to honing your skills as an artist, is like opening a treasure chest filled with a variety of gems. Each animal offers unique challenges and rewards, pushing your creativity and technical abilities to new heights. Just think about it: drawing a majestic lion is entirely different from sketching a delicate hummingbird. By diversifying your subjects, you not only enhance your versatility but also deepen your understanding of animal anatomy and movement.
Imagine embarking on an artistic journey where each animal you draw teaches you something new. For instance, mammals often possess complex fur textures and body structures, while birds present challenges in capturing their feather patterns and flight dynamics. To get the most out of your practice, consider dedicating time to various animal categories:
- Mammals: Focus on their fur, muscle structure, and how they move. Animals like dogs, cats, and elephants can teach you about different body shapes and textures.
- Birds: Pay attention to their wings and feathers. Birds like eagles and sparrows can help you understand the elegance of flight and the intricacies of feather layering.
- Reptiles: Drawing reptiles such as snakes and lizards can enhance your skills in depicting scales and unique body postures.
- Marine Animals: Explore the fluidity of fish and mammals like dolphins. Their movement through water can inspire a different approach to illustrating dynamics.
It's essential to remember that practice makes perfect. Set aside time each week to focus on a specific animal type. Challenge yourself to create a series of sketches, each one emphasizing different aspects—like anatomy, movement, and texture. You might even consider creating a sketchbook dedicated to each category, allowing you to track your progress and revisit your earlier work for reflection.
Moreover, don't shy away from using reference images. They can be incredibly helpful in understanding the nuances of each animal. Whether you’re capturing the fierce gaze of a tiger or the playful leap of a frog, reference images can provide insights into posture, proportions, and even the subtleties of color.
As you practice, be mindful of your creative process. It can be tempting to rush through sketches, but taking your time to observe and study each animal will yield far better results. Consider setting up a routine where you draw from life whenever possible. Visit zoos, aquariums, or even local parks to observe animals in their natural habitats. This real-world experience can make a significant difference in how you perceive and represent them on paper.
Finally, don’t forget to have fun! Drawing should be an enjoyable experience, not a chore. Celebrate your progress, no matter how small, and embrace the learning curve. Each line you draw brings you one step closer to mastering the art of animal drawing. So grab your sketchbook and start exploring the wonderful world of animals—your artistic journey awaits!
Q1: How often should I practice drawing different animal types?
A1: It's beneficial to practice regularly, ideally a few times a week. Consistency helps you improve your skills over time.
Q2: Do I need to use reference images when drawing animals?
A2: While not mandatory, reference images can significantly enhance your understanding of animal anatomy and movement, leading to more accurate drawings.
Q3: What is the best way to learn about different animal movements?
A3: Observing animals in real life, either at a zoo or in nature, is one of the best ways to learn about their movements. You can also study videos that showcase animals in action.
Q4: Should I focus on one animal type at a time?
A4: Focusing on one animal type can help you master specific skills, but it’s also beneficial to mix it up to improve your versatility as an artist.
Frequently Asked Questions
- What materials do I need to start drawing animals?
To kick off your animal drawing journey, you'll need some basic materials. A good set of pencils with varying hardness, quality drawing paper, and a reliable eraser are essential. You might also want to consider sketching pens or colored pencils for added flair. Think of it as gathering your tools for an artistic adventure!
- How can I improve my understanding of animal anatomy?
Understanding animal anatomy is like learning the secret language of your subjects. You can start by studying books or online resources that focus on animal anatomy. Observing real animals, whether in person or through videos, can also help you grasp their shapes and movements better. Remember, the more you know, the better your drawings will become!
- Is it necessary to use reference images?
Absolutely! Reference images are like a treasure map for artists. They guide you in capturing accurate proportions, textures, and poses. Whether you take your own photos or find them online, using references can significantly enhance your artwork. Just ensure you’re using them ethically!
- What are some common mistakes to avoid when drawing animals?
Every artist stumbles at times, but knowing common pitfalls can save you from frustration. One common mistake is not paying attention to proportions; animals have specific body ratios that are crucial for realism. Another is neglecting the importance of gesture drawing, which can lead to stiff-looking poses. Keep these in mind to elevate your skills!
- How can I practice drawing different types of animals?
Diversity is key! Challenge yourself by drawing a variety of animals, from furry mammals to feathered birds. Set up a practice schedule where you focus on a different animal each week. You can also join online communities or art classes to share your work and get feedback. It’s like having a workout routine for your artistic muscles!


