
How to Draw a Bicycle: Step by Step Tutorial
Are you ready to unleash your inner artist and learn how to draw a bicycle? Whether you're a budding artist or just someone looking to pick up a new hobby, this step-by-step tutorial is designed to guide you through the process with ease. Drawing a bicycle might seem daunting at first, but once you break it down into manageable parts, you'll find that it's not only fun but also incredibly rewarding. So grab your pencils, and let's get started on this exciting journey!
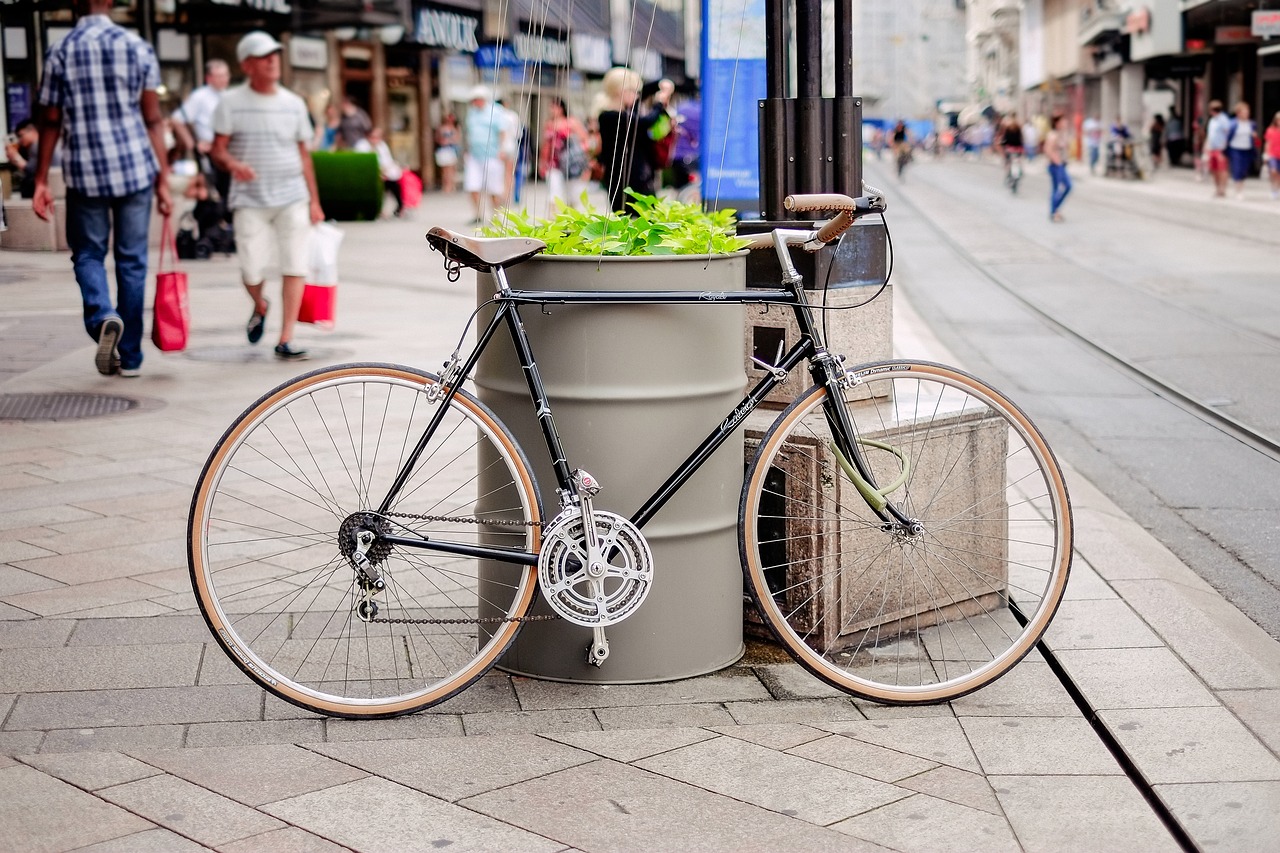
Before you dive into your drawing, it's essential to familiarize yourself with the different components that make up a bicycle. Understanding these parts will not only help you draw them accurately but will also give you a deeper appreciation for the design and functionality of the bike. Here are the key components you should know:
- Frame: The backbone of the bicycle, providing structure and support.
- Wheels: The circular parts that allow the bike to roll smoothly.
- Handlebars: The steering mechanism, crucial for control.
- Pedals: Where the rider applies force to propel the bike forward.
By understanding these components, you can visualize how they fit together, making your drawing process much smoother. Think of it as assembling a puzzle; each piece plays a vital role in creating the whole picture.
Now that you're familiar with the bicycle's components, it's time to gather your materials. Having the right tools can make a world of difference in your drawing experience. Here's what you'll need:
- Pencils: A range of pencils (from HB to 6B) will allow you to create different shades and textures.
- Erasers: A good eraser is essential for correcting mistakes and refining your lines.
- Paper: Choose a sketchpad or drawing paper that can handle pencil work.
- Reference Images: Having images of bicycles can help you visualize the details better.
With your materials ready, you're all set to start sketching. Remember, the right tools can enhance your creativity and lead to a more enjoyable drawing process!
Every great drawing starts with basic shapes. Think of this as the skeleton of your bicycle. Start by lightly sketching circles for the wheels and an oval for the frame. This foundational step is crucial as it helps establish proportions and placement. Don't worry about getting it perfect; the goal here is to create a rough outline that you can refine later. Imagine you're building a house; you need a solid foundation before you can add the walls and roof.
Once you have the basic shapes in place, it's time to focus on the bicycle frame. Pay close attention to the angles, curves, and connections between the different parts. This is where your drawing starts to take shape! Use your reference images to guide you, and don't hesitate to adjust your lines as you go. Think of this step as adding the muscle and flesh to your skeleton; it’s what gives your drawing character and realism.
The wheels are arguably the most critical part of the bicycle. To draw them effectively, practice creating perfect circles and adding spokes. Start with the outer rim and then work your way in, ensuring that your wheels appear balanced and proportionate to the rest of the bike. Remember, wheels are not just circles; they have depth and texture. Think of them as the beating heart of your bicycle, driving it forward.
Handlebars and pedals are essential for the bike's functionality, so capturing their details accurately is crucial. For the handlebars, focus on their shape and position relative to the frame. As for the pedals, make sure to illustrate their connection to the crank arm clearly. This step is like adding the finishing touches to a masterpiece; it’s what makes your bicycle come alive!
To add depth and realism to your drawing, explore various shading and texturing techniques. Use lighter strokes for highlights and darker ones for shadows. This contrast will give your bicycle a three-dimensional quality. Think of shading as the seasoning in a dish; it enhances the overall flavor and makes your artwork pop!
In the final step, refine your drawing by erasing unnecessary lines and adding those last-minute details. This process ensures that your artwork looks polished and showcases your hard work. Take a moment to step back and admire your creation. Like a sculptor chiseling away at a block of stone, your careful refinements will reveal the beauty of your bicycle drawing.
Q: Do I need to be an experienced artist to draw a bicycle?
A: Not at all! This tutorial is designed for all skill levels. Just take your time and enjoy the process.
Q: What if I make mistakes while drawing?
A: Mistakes are part of the learning process. Use your eraser and adjust your lines as needed.
Q: Can I use digital tools for this drawing?
A: Absolutely! Many artists use digital tools to create stunning artwork. Just apply the same principles outlined in this tutorial.
Understanding Bicycle Components
To truly master the art of drawing a bicycle, it's essential to dive into the key components that make up this incredible machine. Each part not only contributes to the bike's overall design but also plays a crucial role in its functionality. Think of a bicycle as a finely tuned orchestra, where every component must work in harmony for a smooth ride. So, let’s break down the main parts you need to understand before you put pencil to paper.
The most prominent feature of any bicycle is its frame, which serves as the backbone of the bike. The frame is typically made from materials like aluminum, steel, or carbon fiber, and its shape can vary widely depending on the type of bicycle—be it a mountain bike, road bike, or cruiser. Understanding the frame's geometry, including its angles and proportions, will help you create a more accurate representation. It’s like knowing the skeleton of a body; once you have that down, the rest becomes easier.
Next up are the wheels. These circular wonders are not just round shapes; they are complex structures that include rims, spokes, and tires. Drawing wheels can be tricky, but they are essential for giving your bicycle that authentic look. When sketching, pay close attention to the spokes, which radiate from the hub to the rim. They should be evenly spaced and create a sense of depth. A well-drawn wheel can make your bicycle drawing stand out, almost like the icing on a cake!
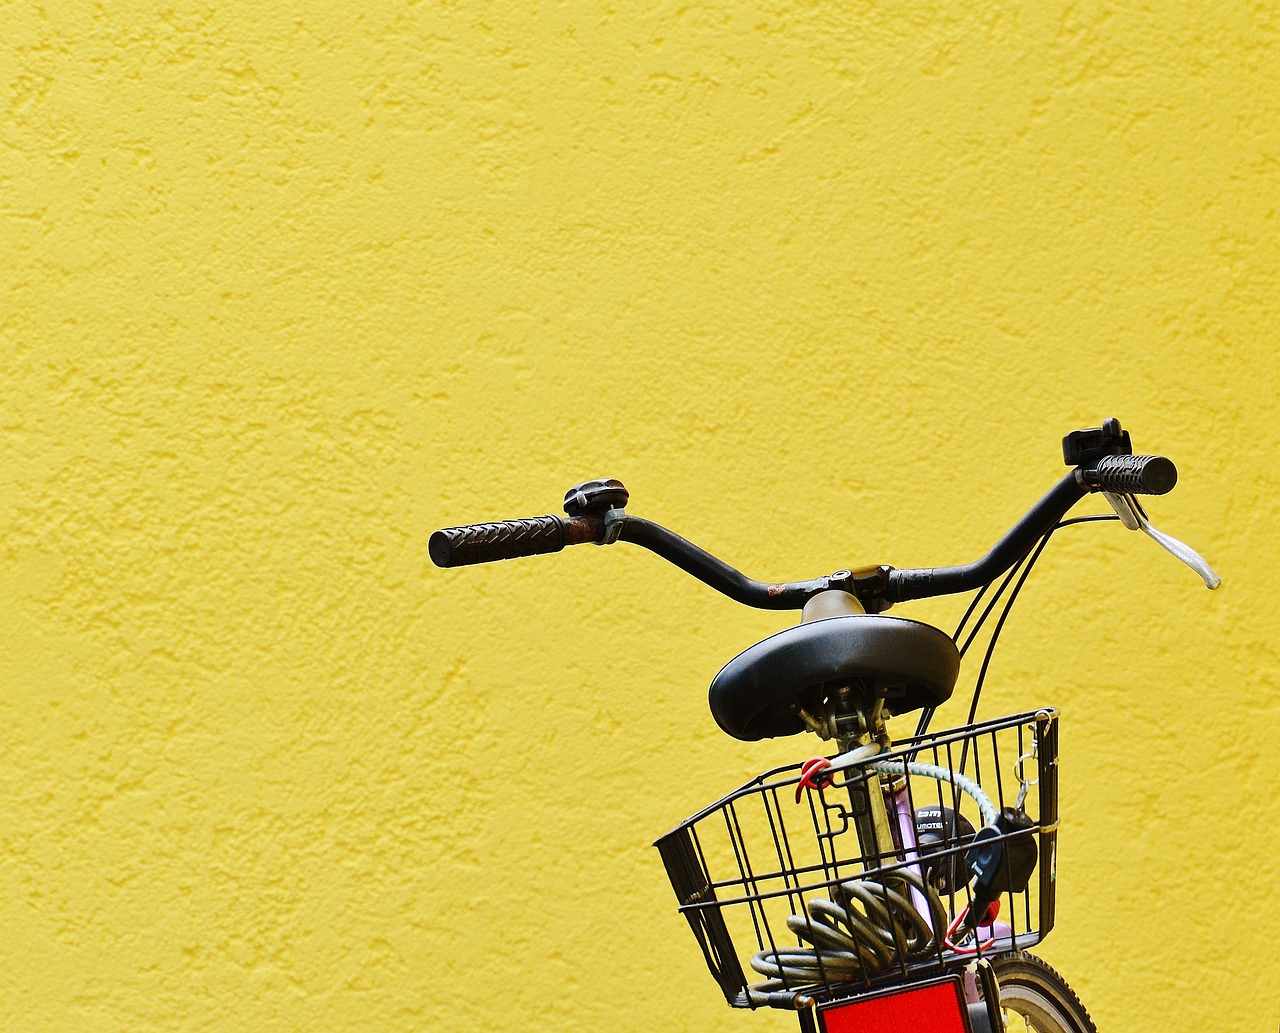
Then we have the handlebars. These are what the rider grips to steer the bike, and they come in various styles, each designed for different types of riding. When drawing handlebars, consider their position in relation to the frame. They should appear comfortable and functional, as if inviting the rider to take control. The angle and width of the handlebars can dramatically change the character of the bike, so don’t overlook this detail!
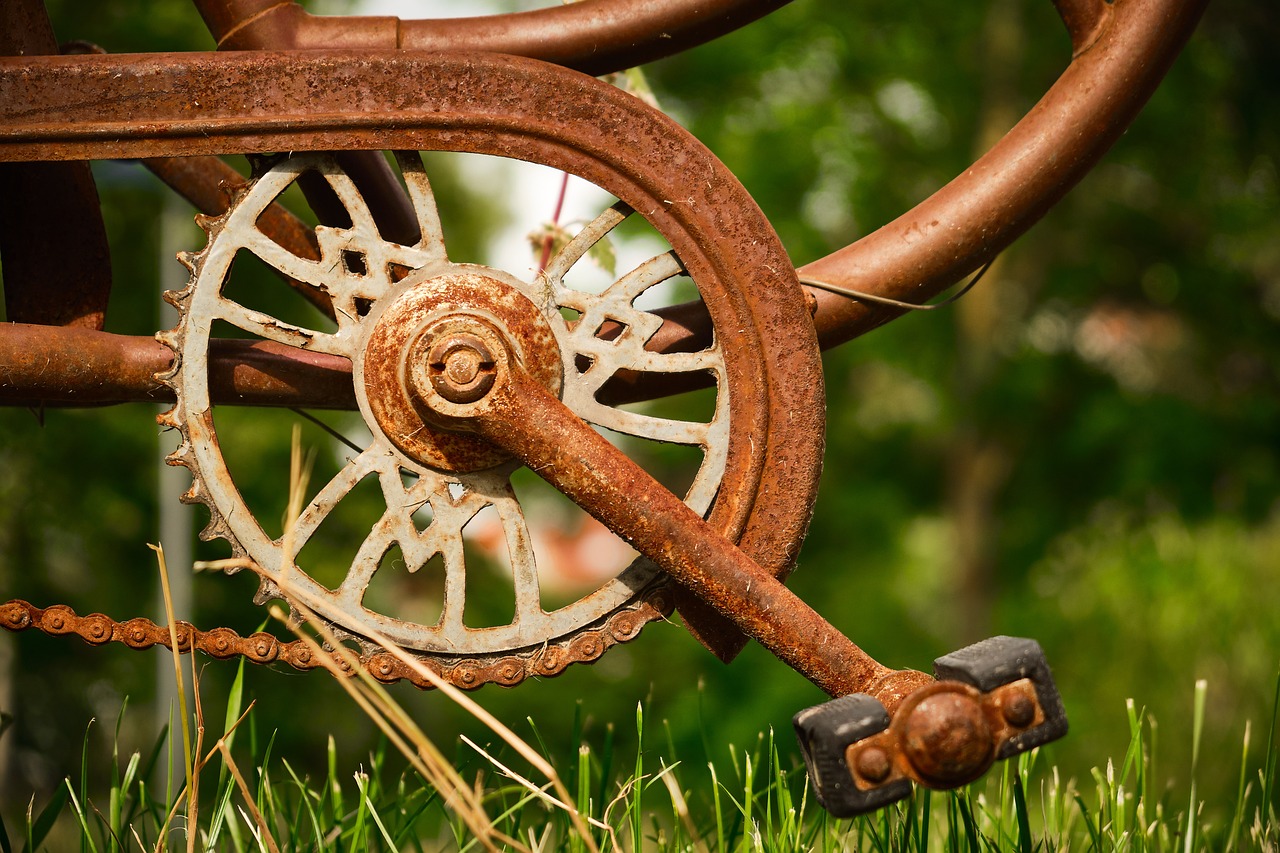
Finally, let’s not forget about the pedals, which are vital for propelling the bicycle forward. Pedals come in different shapes and sizes, and their placement is crucial for balance. When drawing pedals, ensure they are aligned with the crank arms and that they appear capable of supporting a rider's foot. It’s like the engine in a car; without it, the bike simply won’t go anywhere.
In summary, understanding these components will provide you with a solid foundation for your bicycle drawing. Here’s a quick overview of the main parts:
| Component | Function |
|---|---|
| Frame | Holds all components together and determines the bike's geometry. |
| Wheels | Provides mobility and balance; includes rims, spokes, and tires. |
| Handlebars | Allows the rider to steer and control the bike. |
| Pedals | Enables the rider to propel the bike forward. |
By familiarizing yourself with these components, you'll not only enhance your drawing skills but also gain a deeper appreciation for the intricate design of bicycles. So, grab your pencils and get ready to transform your understanding into art!

Gathering Your Materials
Before diving into the exciting world of bicycle drawing, it’s essential to gather all the necessary materials that will serve as your artistic toolkit. Think of this as preparing for a grand adventure; you wouldn’t set off into the wilderness without the right gear, right? Similarly, having the right supplies can make a significant difference in your drawing experience and the quality of your final artwork.
First and foremost, you’ll need a good set of pencils. I recommend having a range of pencils, from hard (H) to soft (B) leads. A 2B pencil is perfect for sketching, while an HB pencil can be used for more precise lines. Additionally, a mechanical pencil can be handy for those fine details. Don’t forget a quality eraser as well; it’s your best friend when it comes to correcting mistakes or lightening areas.
Next, let’s talk about paper. The choice of paper can greatly influence your drawing. If you’re working with pencils, a smooth drawing paper or sketchbook will allow for easy blending and shading. Alternatively, if you’re feeling adventurous and want to try out some color, consider using colored pencils or markers on a heavier paper designed for mixed media. The texture and weight of the paper can affect how your materials interact, so choose wisely!
To add a little flair to your drawing, you might want to gather some reference images. These can be photographs of bicycles from different angles or illustrations that inspire you. Having these references can guide you in understanding the proportions and details of a bicycle, making your drawing process smoother. You can create a small collection of images, either printed out or saved on your device, to refer back to as you draw.
Lastly, consider any additional tools that might enhance your drawing experience. A blending stump can help you achieve smooth shading, while a ruler can assist in drawing straight lines for the frame. If you’re interested in adding color, gather some colored pencils, markers, or even watercolors. Just like a chef needs their spices, these tools can add the perfect finishing touch to your masterpiece.
In summary, gathering your materials is a crucial step that sets the stage for your drawing adventure. By ensuring you have the right tools, you’ll feel more confident and ready to create. So, take a moment to gather your supplies, and let your creativity flow!
- What type of paper is best for drawing a bicycle? A smooth drawing paper or sketchbook is ideal, but if you plan to use colored materials, heavier mixed media paper is recommended.
- Do I need to use colored pencils or markers? It’s not necessary, but adding color can enhance your drawing and make it more vibrant.
- Can I use digital tools instead of traditional ones? Absolutely! Digital drawing tools can offer flexibility and various effects that traditional materials may not.
Sketching the Basic Shapes
When it comes to drawing a bicycle, starting with the basic shapes is like laying the groundwork for a beautiful masterpiece. Think of it as building a house; you wouldn't start with the roof, right? Instead, you need a solid foundation. In this case, the foundation consists of simple geometric shapes that will guide you in creating the bicycle's structure. Begin by visualizing the bicycle as a collection of circles, lines, and rectangles. This approach makes it easier to get the proportions and positioning just right.
Start with two large circles for the wheels; these will serve as the base of your bicycle. Make sure they are evenly spaced apart to maintain balance. Next, draw a rectangle or an elongated oval to represent the frame. This shape will connect the wheels and give your bicycle its characteristic silhouette. Imagine the frame as the spine of a human body; it supports everything else. The placement of this rectangle is crucial, as it will determine the angle and stance of your bike.
Once you have the wheels and frame sketched out, it’s time to add the handlebars and seat. For the handlebars, you can use a smaller rectangle or a line extending upward from the front of the frame. The seat can be represented by a small oval shape positioned above the rear part of the frame. At this stage, don’t worry about getting everything perfect. Just focus on capturing the overall form and layout of the bicycle.
Remember, the goal here is to establish proportions and placement. You can always refine the details later. If you're feeling adventurous, you might want to add a few more shapes to represent the pedals and chain. This is where your creativity can shine! Just keep in mind that the bicycle needs to look balanced and functional. If you find yourself struggling with proportions, don’t hesitate to use a ruler or a compass to help you create more precise shapes.
To summarize, the basic shapes are your friends in the drawing process. They provide a framework that will support your artistic journey. As you sketch, keep the following tips in mind:
- Use light pencil strokes so that you can easily erase and adjust as needed.
- Focus on the overall form before diving into details.
- Keep checking proportions to ensure a realistic representation.
With these basic shapes in place, you'll have a solid foundation to build upon. In the next section, we will dive deeper into adding details to the frame, but for now, enjoy the process of sketching and let your creativity flow!

Adding Details to the Frame
Once you've established the basic shapes of your bicycle, it's time to dive into the exciting world of adding details to the frame. This step is crucial because the frame is essentially the backbone of the bicycle, providing both structure and style. Think of the frame as the skeleton of your drawing; without it, everything else would simply collapse. Start by observing the angles and curves that characterize different types of bicycle frames. Whether you're drawing a sleek road bike or a sturdy mountain bike, each frame has its own unique features that give it character.
As you begin to refine the frame, pay close attention to the junctions where the tubes meet. These connections are not just functional; they also add visual interest to your drawing. You can achieve a realistic look by incorporating slight variations in thickness and texture at these joints. For instance, the welds on a frame can be depicted with small, subtle lines that suggest the strength and craftsmanship behind the bike. Don't hesitate to use reference images to guide you; they can be invaluable in helping you understand how different frames are constructed.
Another aspect to consider is the geometry of the frame. Most bicycles have a triangular structure, which provides stability and strength. When drawing, emphasize this shape by using bold lines for the main tubes and lighter lines for the smaller components. This technique not only helps in creating depth but also guides the viewer's eye through your artwork. Remember, the goal is to create a harmonious balance between all the elements, so take your time to adjust the proportions as needed.
Additionally, think about the materials used in bicycle frames. Are you drawing a classic steel frame, or perhaps a modern aluminum or carbon fiber design? Each material has a different texture and finish that you can represent through your drawing. For example, steel frames often have a smooth, shiny finish, while carbon fiber can appear more matte and textured. You can use cross-hatching or stippling techniques to convey these differences effectively. Experiment with various shading techniques to find what works best for your particular drawing style.
Lastly, don’t forget to include any additional elements that might enhance the frame's details, such as cable housings, brakes, or even decorative decals. These small features can add personality to your bicycle and make your drawing stand out. Consider how these components interact with the frame and adjust their placement accordingly. The more attention you pay to these details, the more lifelike and captivating your bicycle drawing will become.
In summary, adding details to the bicycle frame is not just about making it look good; it's about understanding the functionality and design that makes each bike unique. By focusing on angles, textures, and additional components, you can elevate your drawing from a simple sketch to a stunning representation of a bicycle.

Drawing the Wheels
When it comes to drawing a bicycle, the wheels are undoubtedly one of the most critical components to get right. They not only provide the bicycle with its mobility but also contribute significantly to its overall aesthetic. Imagine a bicycle without wheels—it would be like a car without tires! So, let's dive into the process of sketching those all-important wheels.
Start by drawing two large circles for the wheels. These circles should be roughly the same size, as consistency is key to achieving a balanced look. If you’re using a pencil, don’t press too hard; you’ll want to adjust and refine later. Use a compass if you have one; it can help you achieve a perfect circle. However, if you prefer a more freehand approach, just remember to keep your hand steady.
Once you have your circles, it’s time to add the spokes. Spokes are the thin lines that connect the wheel’s rim to the hub at the center. To draw the spokes, imagine a clock face; start from the center of the wheel and draw lines outward to the edge of the circle. You can opt for a traditional spoke design with multiple spokes radiating from the center or go for a more modern look with fewer, thicker spokes. Here’s a quick tip: the more spokes you add, the more realistic your wheels will look, but don’t overdo it; aim for a clean and tidy appearance.
Next, let’s add some depth to the wheels. This is where shading comes into play. Lightly shade one side of the wheel to create the illusion of curvature. Think of how light interacts with a round object; the side facing the light source will be brighter, while the opposite side will be darker. Use a blending stump or your finger to smooth out the pencil strokes for a more natural look. This technique will help your wheels pop off the page, giving them a three-dimensional effect.
After you’ve shaded the wheels, it’s time to refine them. Look for any uneven lines or areas where the shading could use a bit more work. Don’t hesitate to erase and redo sections if they don’t meet your expectations. Remember, art is all about practice and patience. As you refine your wheels, take a step back and assess how they fit with the rest of the bicycle. Are they proportionate? Do they enhance the overall design? If something feels off, adjust accordingly.
Finally, if you’re feeling adventurous, consider adding a bit of texture to the wheels. You can draw subtle lines to represent tire tread or even add some reflective highlights to give the appearance of shiny metal rims. These small details can elevate your drawing from good to great, making it truly stand out.
In summary, drawing the wheels of a bicycle involves a series of steps: creating circles, adding spokes, shading for depth, and refining the details. Each step is essential for achieving a realistic and appealing look. So grab your pencils and get to work—your bicycle is waiting to roll off the page!
- How do I make my wheels look more realistic? Focus on proper shading and adding details like spokes and texture to give depth.
- What if my circles aren't perfect? Don't worry! You can always adjust them or use a compass for more precision.
- Can I use color in my drawing? Absolutely! Adding color can enhance the overall look of your bicycle drawing.
Incorporating Handlebars and Pedals
When it comes to drawing a bicycle, the handlebars and pedals are essential components that not only enhance the bike's functionality but also contribute significantly to its overall aesthetic. Think of the handlebars as the steering wheel of the bike; they provide direction and control, while the pedals are akin to the engine that propels the bicycle forward. To accurately depict these elements, it’s important to consider their placement and proportions in relation to the bicycle frame.
First, let's tackle the handlebars. Begin by observing how they connect to the frame. The handlebars typically extend horizontally from the top tube, so start by sketching a simple line representing the top tube. Then, add two vertical lines for the handlebar posts, ensuring they are positioned symmetrically. The shape of the handlebars can vary, from a straight bar to more intricate designs like drop bars or bullhorns. Don't hesitate to look at reference images to capture the correct shape. Once you have the basic outline, refine the curves and angles, paying close attention to how they taper towards the ends.
Next, we move on to the pedals. Pedals are usually attached to the crank arms, which are in turn connected to the bike's bottom bracket. To draw the pedals, start by sketching a rectangle for the pedal body, then add two smaller rectangles for the pedal straps. Ensure that the pedals are drawn at an angle that reflects their position in relation to the bike frame. A common mistake is to draw pedals that appear flat; remember, they should have some depth. You can illustrate this by adding shading to one side of the pedal to indicate light and shadow.
It’s also crucial to consider the relationship between the handlebars and pedals. For instance, when a cyclist rides, their hands are positioned on the handlebars while their feet are on the pedals. This dynamic interaction can be represented in your drawing by adjusting the angles and proportions of these elements. To achieve a more realistic look, try to visualize the cyclist in motion; this will help you understand how the handlebars and pedals function together.
As you incorporate these components, don’t forget about the details. Adding texture to the handlebars can enhance realism; consider drawing grip patterns or even small embellishments that reflect the bike's style. Similarly, for the pedals, you might want to include details like the pedal pins or reflectors, which can add depth and interest to your drawing.
Finally, remember that practice makes perfect. Don’t be discouraged if your first attempt doesn’t turn out as expected. Keep refining your skills by sketching different styles of bicycles and experimenting with various handlebar and pedal designs. With time, you’ll find your unique approach to incorporating these vital components into your artwork.
- How can I make my handlebars look more realistic? Pay attention to the shape and texture. Use reference images and try to capture the subtle curves and grips.
- What is the best way to draw pedals? Start with basic shapes and gradually add details. Remember to show depth with shading.
- Do I need to include every detail in my drawing? While details enhance realism, focus on the overall shape and proportion first. You can add finer details later.

Shading and Texturing Techniques
When it comes to making your bicycle drawing pop, shading and texturing are your best friends. Think of shading as the magic wand that transforms a flat sketch into a three-dimensional masterpiece. It adds depth, dimension, and realism, making your bicycle look like it could roll right off the page. To start, consider the light source in your drawing. Where is the light coming from? This will determine where the shadows and highlights fall. For instance, if the light is coming from the left, the right side of the bike will be darker, creating a natural contrast that draws the eye in.
One effective technique is to use a gradual shading method. Start with light pressure on your pencil and gradually increase it to create darker areas. This technique mimics how light interacts with surfaces in real life. You can also use a blending stump or your finger to smooth out the transitions between light and dark areas, giving your bike a soft, polished look. Remember, the goal is to create a sense of volume and form. For example, the curved parts of the bicycle frame will naturally catch more light, while the areas tucked away from the light will be darker.
Textures are equally important; they add character and detail to your drawing. Think about the materials that make up the bicycle. Is the frame made of shiny metal or matte paint? Each material has its own texture, and you can use different techniques to represent them. For shiny surfaces, you might want to add highlights with an eraser or a white pencil, creating a gleaming effect. On the other hand, for matte surfaces, softer shading may be more appropriate. Experiment with cross-hatching or stippling for various textures, as these techniques can effectively convey the feel of different materials.
To help you visualize the impact of shading and texturing, here’s a simple table that outlines some common techniques and their effects:
| Technique | Description | Effect |
|---|---|---|
| Hatching | Drawing parallel lines to create shading. | Creates a linear texture and depth. |
| Cross-Hatching | Layering intersecting lines. | Adds richness and complexity to shadows. |
| Blending | Using a blending stump or finger to smooth shading. | Creates soft transitions and a polished look. |
| Stippling | Using dots to create texture and shading. | Adds a unique texture and can imply depth. |
As you practice these techniques, don’t forget to step back and assess your work. Sometimes, taking a break can give you fresh eyes and help you see areas that need more shading or texture. Remember, art is a journey, and each drawing is an opportunity to learn and improve. So grab your pencils, embrace the shading, and let your bicycle drawing come to life!
Q: How can I improve my shading skills?
A: Practice makes perfect! Try different shading techniques on various surfaces and materials. Experiment with light sources to understand how they affect shadows.
Q: What tools are best for shading?
A: Graphite pencils of varying hardness, blending stumps, and erasers are great tools for shading. You can also use colored pencils for added effects.
Q: How do I know where to place shadows?
A: Always consider the light source. Shadows will be opposite to the light source and will vary in intensity based on the angle and distance of the light.

Final Touches and Refinements
As you approach the final stages of your bicycle drawing, it's time to focus on those final touches that will elevate your artwork from good to exceptional. This is where your attention to detail truly shines, so grab your eraser and fine-tipped pens, and let’s refine your masterpiece! Start by carefully erasing any unnecessary lines that may have been left from your initial sketches. This step is crucial because it cleans up your drawing and allows the essential elements to stand out. Think of it as polishing a diamond; you want to reveal its brilliance.
Next, take a moment to step back and observe your drawing as a whole. Are the proportions correct? Do the wheels look balanced? If something feels off, don’t hesitate to make adjustments. Sometimes, a simple tweak can make all the difference. As you refine the bicycle frame, focus on enhancing the angles and curves. Use a sharper pencil or pen to add definition to the lines, giving your bicycle a more polished and professional look.
Shading is another crucial aspect of your final touches. Consider where the light source is coming from and add shadows accordingly. Use hatching and cross-hatching techniques to create depth in the frame and wheels. This not only adds realism but also brings your drawing to life. For instance, the areas under the handlebars and between the spokes should have darker shading, indicating that they are less exposed to light. You can even experiment with different shading techniques to see which one enhances your drawing the most.
Finally, don’t forget to add those tiny details that can make your bicycle drawing truly pop! Consider incorporating elements like the texture of the tires, the reflective surfaces of the handlebars, or even a small logo on the frame. These little touches can add personality to your bike, making it uniquely yours. As you wrap up, remember that the goal is to showcase your hard work and artistic skills, so take your time and enjoy the process of bringing your bicycle to life.
- What materials do I need to draw a bicycle? You will need pencils, erasers, paper, and reference images to guide you.
- How can I improve my drawing skills? Practice regularly, observe real bicycles, and study different drawing techniques.
- What is the best way to add shading? Use hatching and cross-hatching techniques to create depth and realism.
- Can I use color in my bicycle drawing? Absolutely! Adding color can enhance your drawing and make it more vibrant.
Frequently Asked Questions
- What materials do I need to draw a bicycle?
To get started with your bicycle drawing, you'll need some basic materials. Grab a good quality pencil, an eraser, and a sketchbook or some sheets of drawing paper. If you want to refine your work, consider using colored pencils or markers for detailing. Having reference images handy can also help you understand the bicycle's components better!
- How do I start drawing a bicycle?
Begin by sketching the basic shapes that make up the bicycle's structure. Think of it like building a house; you need a solid foundation. Start with circles for the wheels and rectangles for the frame. This will help you get the proportions right before diving into the details!
- What are the key components to focus on when drawing a bicycle?
When drawing a bicycle, pay special attention to its key components: the frame, wheels, handlebars, and pedals. Each part has its unique shape and function, so understanding how they fit together will enhance your drawing's accuracy and realism.
- How can I make my bicycle drawing look more realistic?
To add realism to your drawing, focus on shading and texturing techniques. Use different pencil pressures to create depth and dimension. Shadows and highlights can make your bicycle look three-dimensional, bringing it to life on paper!
- What should I do in the final touches of my drawing?
In the final touches, take a moment to refine your drawing. Erase any unnecessary lines and add details that enhance the overall look. This is your chance to polish your artwork and show off your hard work, so take your time!


