Painting a Perfect Moonlit Night: Tips and Techniques
Exploring the beauty of a moonlit night can be a magical experience for any artist. The soft glow of the moon, the shimmering reflections on water, and the shadows cast by trees create a unique ambiance that can captivate anyone's imagination. In this article, we will delve into essential tips and techniques that will not only enhance your painting skills but also inspire your creativity. Whether you're a seasoned artist or a beginner, these insights will guide you in capturing the enchanting essence of a moonlit night on canvas.
Before you even pick up a brush, it's crucial to understand the unique characteristics of moonlight. Unlike sunlight, moonlight has a cooler color temperature, which can significantly affect how we perceive colors in a night scene. Moonlight tends to wash out colors, creating a more subdued palette. It interacts with the environment in fascinating ways, casting soft shadows and illuminating certain areas while leaving others in darkness. By grasping these aspects, you will be better equipped to depict the effects of moonlight in your artwork.
The color palette you choose plays a vital role in setting the mood for your moonlit painting. Selecting the right hues can transform a simple scene into a captivating masterpiece. A well-thought-out palette will enhance the atmosphere and realism of your artwork, making it more engaging for viewers. Here are some key considerations:
Cool tones are essential for creating a serene night atmosphere. Think of deep blues, soft purples, and muted greens. These colors evoke feelings of calm and tranquility, which are characteristic of nighttime. Balancing these cool tones with warmer accents can create a stunning contrast that brings your painting to life.
When it comes to shades of blue, each can evoke different feelings in your artwork. For instance, a deep navy can create a sense of depth and mystery, while a lighter sky blue can convey a tranquil evening. Understanding the emotional impact of these shades will help you select the right ones for your moonlit night scene.
While cool tones dominate moonlit scenes, incorporating warm colors as accents can add depth and interest. Think about using soft yellows or gentle oranges to highlight areas where the moonlight hits. These warm highlights can create a beautiful contrast against the cooler background, drawing the viewer's eye to focal points in your painting.
Mastering the art of layering is crucial for creating depth and texture in your moonlit night paintings. By applying multiple layers of paint, you can build complexity and realism. Start with a base layer of cool tones, then gradually add warmer accents and highlights. This technique will give your artwork a rich, multi-dimensional quality that mimics the intricate play of light and shadow found in nature.
Brush techniques can greatly enhance the texture of your moonlit scenes. Different strokes can create unique effects that add life to your painting. Experimenting with various brushes and techniques will open up new avenues for your creativity. For instance, using a fan brush can create the illusion of foliage, while a flat brush can add smooth washes of color.
Dry brushing is a technique that can help you achieve soft, ethereal effects in your moonlit night paintings. By using a dry brush with minimal paint, you can create delicate textures that mimic the shimmering light of the moon. This method is particularly effective for depicting clouds or the gentle ripple of water under moonlight.
Another powerful technique is glazing, which involves applying a thin, transparent layer of paint over a dried layer. This method adds depth and richness to your colors, transforming your painting into a luminous night scene. Experiment with different glazing mediums to see how they affect the final look of your artwork.
Effective composition is key to creating a balanced and engaging moonlit night scene. A well-composed painting will draw viewers in and create a focal point that captures their attention. Consider the following tips:
The rule of thirds is a fundamental guideline in composition that can help you create dynamic scenes. By dividing your canvas into a grid of nine equal parts and placing key elements along these lines or at their intersections, you can enhance visual interest in your moonlit paintings.
Establishing focal points within your moonlit scenes is essential for guiding the viewer's eye. A strong focal point, such as a brightly lit tree or a reflective body of water, can convey the emotion of your artwork and create a deeper connection with the audience.
- What colors should I use for a moonlit night painting?
Cool tones like blues and purples are ideal, with warm colors as accents to create contrast.
- How can I create depth in my painting?
Use layering techniques and glazing to add richness and depth to your colors.
- What brush techniques work best for night scenes?
Dry brushing and glazing are excellent techniques for achieving soft effects and depth.
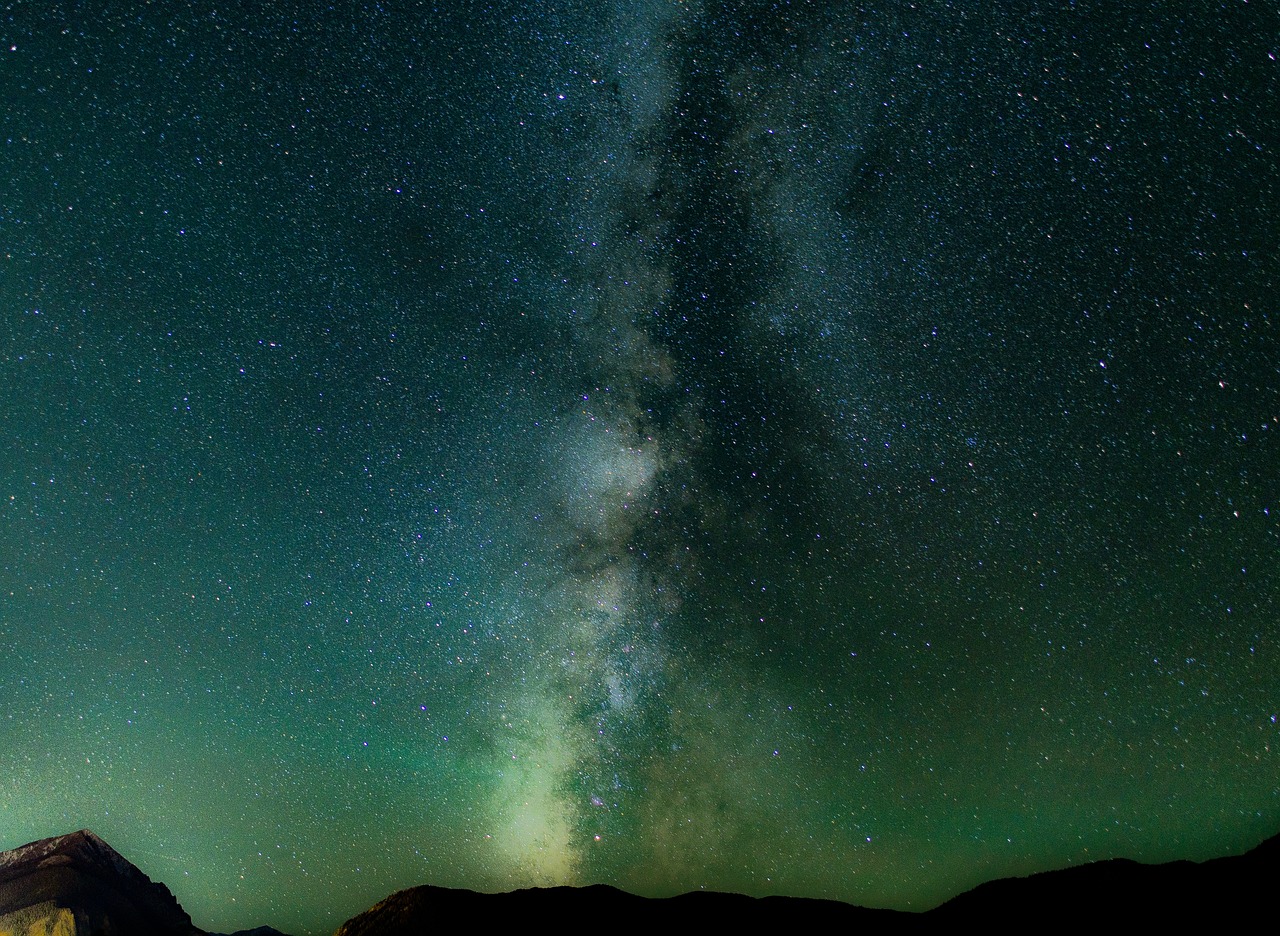
Understanding Moonlight
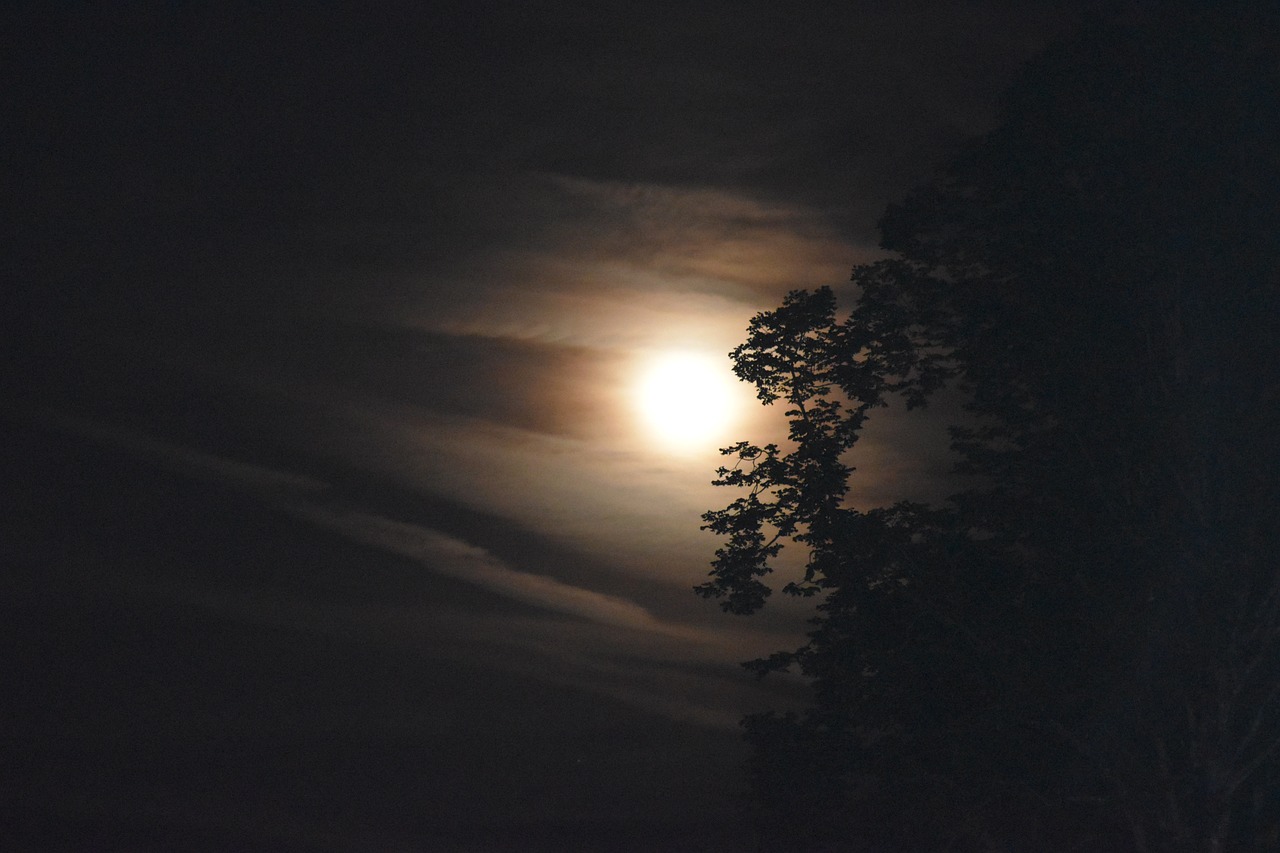
When it comes to painting a moonlit night, understanding the unique characteristics of moonlight is crucial. Unlike sunlight, moonlight has a softer, cooler quality that can transform a landscape into a dreamlike scene. The color temperature of moonlight typically hovers around 4000K to 5000K, giving it a bluish tint that can evoke feelings of calmness and serenity. This cool light interacts with the environment in fascinating ways, casting gentle shadows and creating subtle highlights that can enhance the overall mood of your artwork.
One of the most striking features of moonlight is how it affects colors. While sunlight tends to wash out colors, moonlight can bring out their richness in a different way. For instance, when you look at a tree under the moonlight, its leaves might appear to shimmer with silvery hues, while the bark takes on deeper shades. Understanding these interactions can help you accurately depict the effects of moonlight in your paintings.
To truly capture the essence of moonlight, consider the following aspects:
- Reflections: Moonlight often reflects off surfaces, creating glimmers on water or highlights on wet surfaces. Pay attention to how these reflections can add depth to your painting.
- Shadows: The shadows cast by moonlight are softer than those created by the sun. They can create a mysterious ambiance, so don’t be afraid to experiment with softer edges when painting.
- Atmospheric Effects: The presence of clouds or mist can diffuse moonlight, resulting in a range of effects from ghostly glows to ethereal landscapes. Incorporating these elements can add intrigue and complexity to your artwork.
In summary, moonlight is not just a simple light source; it is a dynamic element that interacts with its surroundings in unique ways. By grasping these characteristics, you will be better equipped to create stunning moonlit night paintings that resonate with viewers. Remember, the key to capturing the magic of moonlight lies in your ability to observe and translate its subtle effects onto your canvas.
Choosing the Right Palette
When it comes to painting a mesmerizing moonlit night, choosing the right palette is absolutely crucial. The colors you select can evoke emotions and set the entire mood of your artwork. Imagine standing under a starry sky, with the moon casting its soft glow on the landscape. The hues you choose should reflect this serene atmosphere, creating a captivating visual experience for your audience. So, how do you go about selecting the perfect colors?
First, it's essential to understand the color temperature of moonlight. Unlike the warm, golden light of the sun, moonlight has a cooler tone. This means that your palette should primarily consist of cool colors, such as various shades of blue and violet. These colors can create a tranquil and mysterious ambiance that is characteristic of night scenes. However, don't shy away from incorporating some warm colors as accents. A splash of warm hues can add depth and contrast, making your painting pop.
Here’s a quick breakdown of the colors you might consider for your moonlit palette:
| Color Type | Examples | Emotional Impact |
|---|---|---|
| Cool Tones | Ultramarine Blue, Cobalt Blue, Lavender | Calm, Serenity |
| Warm Accents | Golden Yellow, Soft Orange, Warm White | Contrast, Focus |
As you begin to mix your colors, remember that the balance between cool and warm tones is key. Too much of one can overshadow the other, leading to a less harmonious composition. A good rule of thumb is to use cool colors as the base and then introduce warm accents sparingly. This approach will not only enhance the overall mood but also guide the viewer's eye to focal points in your painting.
Another aspect to consider is the lighting. The way moonlight interacts with various surfaces can create a fascinating play of light and shadow. For instance, a moonlit path may reflect cooler shades of blue, while the trees on the side may have hints of warm brown or green. This interplay can add a layer of realism to your work, making it more engaging.
In conclusion, choosing the right palette for your moonlit night painting is a blend of understanding color theory and trusting your artistic instincts. By focusing on cool tones, introducing warm accents, and considering the effects of light, you can create a stunning piece that captures the magic of a moonlit night.
- What colors are best for moonlit paintings? Cool colors like blues and violets are ideal, with warm colors as accents.
- How can I create depth in my moonlit paintings? Use layering techniques and glazing to enhance depth and richness in your colors.
- Should I use a limited palette? A limited palette can help maintain harmony, but feel free to experiment with additional colors for interest.
Cool Tones for Night Scenes
When it comes to painting moonlit night scenes, cool tones play a pivotal role in creating a serene and tranquil atmosphere. Think of cool tones as the gentle whispers of the night, wrapping your canvas in a soft embrace that evokes feelings of calmness and introspection. These colors, primarily in the blue and violet families, help to mimic the way moonlight casts its enchanting glow over the landscape. But why are cool tones so essential, and how can you effectively use them in your artwork? Let’s dive deeper!
Firstly, cool tones can significantly influence the mood of your painting. They have a unique ability to create depth and suggest the coolness of the night air. Imagine standing outside on a crisp evening, feeling the chill as the moonlight bathes everything in its glow. This sensation can be beautifully captured using shades of blue, teal, and even hints of lavender. Each of these colors can evoke different emotions and set the stage for your artistic narrative.
Here are a few key cool tones you might consider incorporating into your palette:
- Cerulean Blue: A bright, vibrant blue that can represent clear skies or the reflective quality of water under moonlight.
- Ultramarine Blue: A deeper blue that adds richness and depth, perfect for shadowed areas.
- Prussian Blue: A darker blue that can create dramatic contrasts and a sense of mystery.
- Violet: Adding violet can enhance the coolness of your scene and introduce a touch of magic.
To effectively balance these cool tones, it’s crucial to understand the concept of color harmony. Mixing different shades can create a more dynamic composition, allowing your artwork to resonate with viewers. For instance, pairing a deep ultramarine with a lighter cerulean can create a gradient effect that mimics the transition of night skies. This not only adds visual interest but also gives your painting a sense of realism.
Moreover, don’t shy away from using neutral tones alongside cool colors. Shades of gray or even soft whites can enhance the impact of your cool tones, providing a backdrop that allows them to shine. Think of these neutrals as the canvas upon which your cool colors dance, creating an enchanting night scene that draws the viewer in.
As you experiment with these cool tones, remember that layering is your friend. By applying multiple layers of color, you can achieve a depth that is often seen in nighttime landscapes. Start with a base layer of a cool tone and build upon it, adding lighter shades to highlight areas where the moonlight hits. This technique not only adds texture but also brings your painting to life.
In conclusion, mastering the use of cool tones in your moonlit night paintings is essential for creating captivating and immersive artwork. By understanding their emotional impact, experimenting with color harmony, and utilizing layering techniques, you can transform your canvas into a breathtaking nocturnal scene that resonates with all who gaze upon it. So grab your brushes, mix those cool colors, and let your creativity flow under the moonlit sky!
- What are the best colors to use for moonlit scenes? Cool tones such as blues and violets work best to create a serene atmosphere.
- How can I create depth in my moonlit painting? Layering colors and using different shades can help achieve depth and richness.
- Should I use warm colors in a moonlit scene? Yes, warm colors can be used as accents to create contrast and interest within the cool tones.
Shades of Blue
When it comes to painting moonlit night scenes, the color blue plays a crucial role in setting the mood and atmosphere. Each shade of blue can evoke different emotions and sensations, making it essential to choose wisely. For instance, a deep navy blue can create a sense of calm and mystery, while a lighter, softer blue might evoke feelings of serenity and tranquility. It's like choosing the right filter for a photograph; the shade you select can dramatically alter the viewer's perception.
To help you navigate the world of blues, here are some popular shades and their effects:
| Shade of Blue | Emotion Evoked | Best Use |
|---|---|---|
| Navy Blue | Calm, Mystery | Backgrounds, Night Skies |
| Sky Blue | Serenity, Peace | Foregrounds, Reflections |
| Aquamarine | Refreshing, Lively | Water, Moon Reflections |
| Cerulean Blue | Joy, Openness | Stars, Highlights |
When using these shades, consider how they interact with other colors in your palette. For instance, pairing a deep navy with a bright cerulean can create a stunning contrast, drawing the viewer's eye to specific areas of your painting. Additionally, layering different shades can add depth and complexity, mimicking the natural variations of light and shadow found in real moonlit scenes.
Remember, painting is not just about replicating what you see; it’s about expressing what you feel. So, don’t hesitate to experiment with various blues until you find the perfect combination that resonates with your artistic vision. After all, the magic of a moonlit night lies in its ability to inspire creativity and evoke emotion.
- What is the best way to mix shades of blue? Mixing shades of blue can be done by combining primary colors or adding white to lighten your base color. Experimentation is key!
- How can I create depth with blue in my paintings? Use layering techniques and glazes to build depth. Darker shades can recede while lighter shades can come forward.
- Are there any specific brands of blue paint that you recommend? Popular brands like Winsor & Newton and Daniel Smith offer high-quality blues that are perfect for achieving vibrant moonlit effects.

Accents of Warm Colors
When it comes to painting moonlit scenes, the use of warm colors can truly elevate your artwork from ordinary to extraordinary. While moonlight often casts a cool, silvery glow, incorporating accents of warm colors can create a striking contrast that adds depth and interest to your painting. Think of warm colors as the gentle whispers of warmth amidst the cool night air; they can evoke feelings of comfort and intrigue, drawing the viewer in.
Warm colors, such as yellows, oranges, and reds, can be strategically placed in your composition to highlight certain areas, such as the edges of clouds or the reflections on water. This not only enhances the overall mood but also guides the viewer's eye to focal points within the scene. For instance, imagine a serene lake reflecting the moonlight, with soft golden hues dancing on the surface. This interplay of warm and cool tones creates a captivating visual experience.
When applying warm accents, consider the following techniques:
- Subtle Highlights: Use warm colors sparingly to create highlights that mimic the natural light sources in your scene. A touch of warm yellow on the moon's edge can suggest its brightness.
- Contrasting Shadows: Use warm tones in shadows to create depth. A hint of warm red or orange in the shadows of trees can add richness and complexity to the scene.
- Layering Techniques: Layer warm colors over cool ones to achieve a luminous effect. This technique can create a sense of glow, making your painting feel alive.
Additionally, understanding the emotional impact of warm colors can significantly enhance your artwork. Warm colors tend to evoke feelings of warmth, happiness, and even nostalgia. When you incorporate these colors into your moonlit night paintings, you create a balance that resonates with viewers on a deeper level. It’s like adding a heartbeat to your artwork, making it more relatable and engaging.
In conclusion, while cool tones are essential for capturing the essence of a moonlit night, don’t underestimate the power of warm colors. They can transform your painting, adding a layer of complexity and emotional depth that will leave your audience captivated. Remember, art is about expression and connection, and the right use of color can bridge that gap beautifully.
Q1: Why are warm colors important in moonlit paintings?
A1: Warm colors provide contrast to the cool tones of moonlight, adding depth and emotional resonance to your artwork. They can highlight focal points and create a more dynamic composition.
Q2: How can I effectively incorporate warm colors into my moonlit scenes?
A2: Use warm colors sparingly as accents, such as highlights on clouds or reflections on water. Layering warm tones over cool ones can also enhance luminosity and depth.
Q3: What are some examples of warm colors to use in my paintings?
A3: Common warm colors include yellows, oranges, reds, and even warm browns. These can be used strategically to create highlights and contrast in your moonlit compositions.
Layering Techniques
When it comes to creating mesmerizing moonlit night paintings, mastering is essential. Layering allows you to build depth, texture, and complexity in your artwork, transforming a simple canvas into a captivating scene that draws the viewer in. Think of layering like building a cake; each layer adds flavor and richness, creating a more satisfying experience. In this section, we will explore various layering methods that can elevate your moonlit compositions.
One of the most effective ways to layer is by using transparent glazes. This technique involves applying thin layers of paint over dried layers, which allows the underlying colors to shine through. The result is a luminous effect that mimics the way moonlight interacts with the landscape. For instance, when painting a night sky, you might start with a deep blue base and gradually add lighter blues and whites to create the illusion of shimmering stars and a glowing moon. This method not only enhances the depth of your painting but also brings a sense of realism that can be quite breathtaking.
Another important aspect of layering is the use of opaque layers. While transparent glazes are fantastic for luminosity, opaque layers can add solidity and structure to your painting. For example, when depicting trees or buildings in a moonlit scene, you might want to use a thicker, more opaque paint to ensure these elements stand out against the softer background. The contrast between the opaque and transparent layers creates a dynamic visual experience, guiding the viewer's eye through the composition.
As you delve deeper into layering, consider the order of application. Typically, artists start with the background and work their way forward. This approach not only helps in maintaining the depth but also allows for better control over the overall composition. If you were to paint a serene lake reflecting the moonlight, you would first establish the sky, then the water, and finally add the details of the shoreline and any objects in the foreground. This method ensures that the background elements set the stage for the more detailed foreground elements, creating a harmonious balance.
Don't forget about the importance of drying time. Each layer needs to be adequately dried before applying the next to avoid muddying your colors. Patience is key here; allowing each layer to dry fully will ensure that the colors remain vibrant and distinct. You might even want to experiment with different drying techniques, such as using a heat gun or simply allowing nature to take its course. Each method can yield different results, adding to the uniqueness of your painting.
Finally, layering can be enhanced by incorporating various tools and mediums. For instance, a palette knife can be used to create texture in your paint, while sponges can add soft, blended effects. Mixing mediums like linseed oil or acrylic gels can also alter the transparency and thickness of your paint, giving you even more control over your layers. The possibilities are endless, and experimenting with different tools can lead to beautiful, unexpected results.
In summary, mastering layering techniques is crucial for achieving stunning moonlit night paintings. By understanding the use of transparent and opaque layers, the order of application, drying times, and the incorporation of various tools, you can create artwork that captivates and inspires. Remember, each layer adds a new dimension to your painting, making it not just a visual experience but an emotional one as well.
- What is the best medium for layering in moonlit night paintings? Acrylics are often recommended for beginners due to their quick drying time, but oils offer longer blending times for more experienced artists.
- How do I know when to stop layering? A good rule of thumb is to step back and assess your painting from a distance. If it feels balanced and visually engaging, you may be ready to stop.
- Can I use a limited color palette for layering? Absolutely! A limited palette can create a cohesive look and enhance the mood of your painting, especially in moonlit scenes.
Brush Techniques for Texture
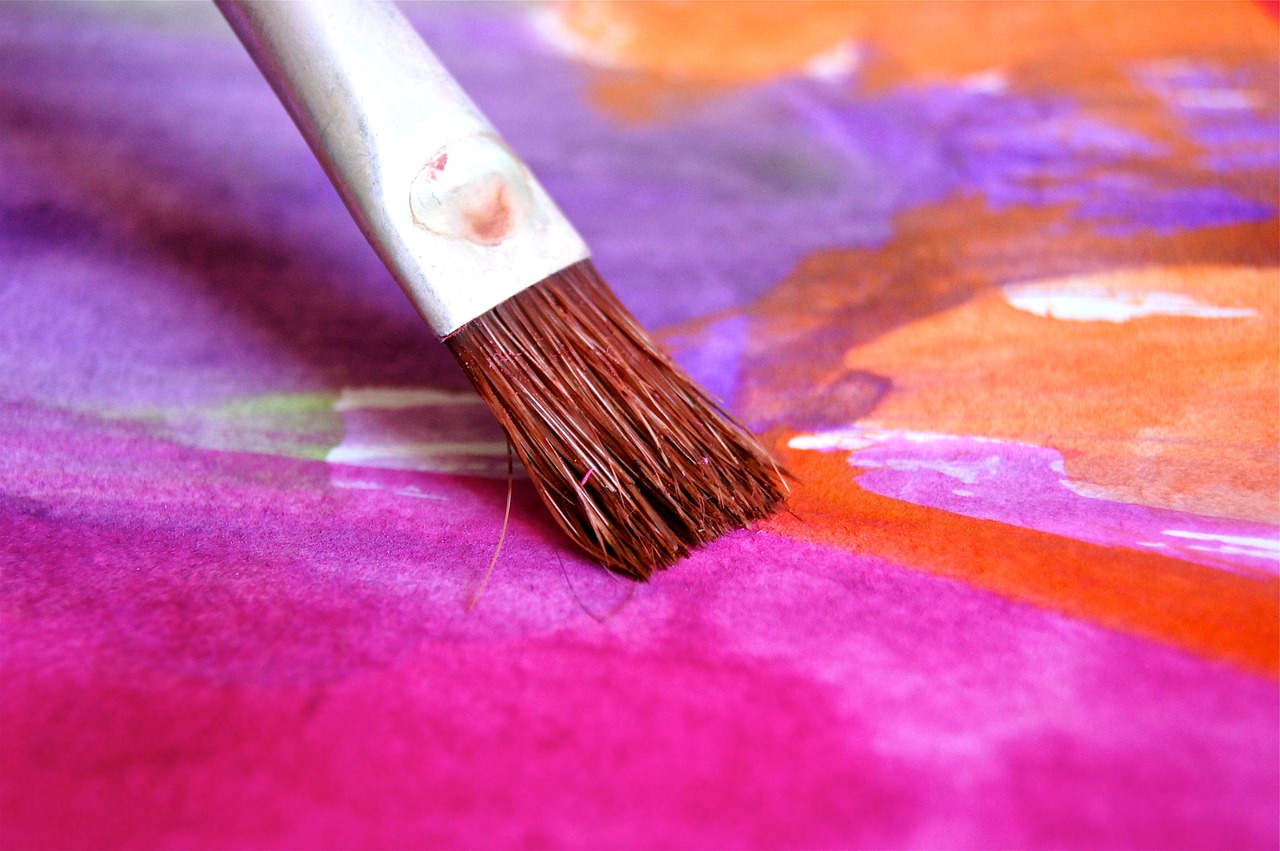
When it comes to painting moonlit night scenes, brush techniques play a pivotal role in capturing the ethereal beauty of the moonlight. The right strokes can transform a flat canvas into a vibrant, textured masterpiece that draws the viewer into a world bathed in silvery light. One of the most effective techniques is dry brushing, which involves using a brush with very little paint on it. This technique allows you to create soft, wispy effects that mimic the gentle caress of moonlight on various surfaces. Imagine painting the shimmering reflections on a tranquil lake or the delicate shadows cast by trees; dry brushing can make these elements come alive.
Another technique that deserves attention is glazing. This method involves applying thin layers of transparent paint over dried layers to create depth and luminosity. By using glazes, you can enhance the moonlight's glow, making it appear more radiant and dynamic. For instance, a light blue glaze over a darker base can simulate the shimmering effect of moonlight filtering through clouds, adding a magical quality to your artwork. It’s like adding a layer of mystery, inviting viewers to look deeper into the scene.
It’s also essential to explore different brush shapes and sizes. Flat brushes can create broad strokes for skies or large areas, while round brushes are perfect for detailing, such as the twinkling stars or the intricate branches of trees. Using a fan brush can yield stunning effects for foliage, giving your moonlit scene a more natural and organic feel. Each brush type offers unique possibilities, so don’t hesitate to experiment!
To illustrate the impact of these techniques, consider the following table that summarizes their characteristics:
| Technique | Description | Best Used For |
|---|---|---|
| Dry Brushing | Using a brush with minimal paint for soft effects | Creating ethereal light and shadow |
| Glazing | Applying transparent layers for depth | Enhancing luminosity and color richness |
| Flat Brush | Broad strokes for large areas | Skies and backgrounds |
| Round Brush | Detail work and fine lines | Stars and intricate details |
| Fan Brush | Unique texture effects | Foliage and natural elements |
Ultimately, the key to mastering brush techniques lies in practice. Don’t be afraid to experiment and make mistakes; each stroke is a step toward discovering your unique artistic voice. So grab your brushes, let your creativity flow, and watch as your moonlit night scenes come to life with texture and depth!
Q: What is the best type of paint to use for moonlit night paintings?
A: Acrylics are popular for their quick drying time and versatility, while oils can offer richer textures and blending capabilities. Choose based on your comfort and desired effect!
Q: How can I make the moon appear more realistic in my painting?
A: Pay attention to the color temperature and use glazes to create a soft glow around the moon. Adding subtle clouds can also enhance realism.
Q: Is it necessary to use a reference photo for moonlit paintings?
A: While it's not mandatory, using a reference can help you understand the nuances of light and shadow, making your artwork more authentic.
Dry Brushing for Soft Effects
When it comes to painting moonlit nights, achieving that dreamy, soft effect can feel like magic. One of the most effective techniques to create this ethereal look is dry brushing. This method involves using a brush that has little paint on it, allowing you to gently apply color to the canvas, creating a beautiful, diffused effect that mimics the soft glow of moonlight. Imagine the way moonlight dances across a serene lake—this technique can help you capture that very essence in your artwork.
To start dry brushing, you'll want to select a stiff-bristled brush. The key here is to ensure that the brush is not overloaded with paint. You can achieve this by dipping your brush into the paint, then wiping off the excess on a paper towel or the edge of your palette. The goal is to leave just a hint of color on the bristles. When you apply this to your canvas, you'll notice that it lightly grazes the surface, allowing the underlying layers to show through. This is what creates that soft, almost misty effect that is so characteristic of moonlit scenes.
Another aspect to consider when using the dry brushing technique is the direction of your strokes. By varying the angle and pressure of your brush, you can create different textures and effects. For example, using short, quick strokes can simulate the shimmering light on water, while longer, sweeping motions can evoke the gentle caress of moonlight filtering through trees. It's all about experimentation—don't be afraid to play around with different approaches to find what works best for your painting.
Here are some tips to keep in mind while practicing dry brushing for soft effects:
- Choose the right colors: Opt for lighter hues that can blend seamlessly with darker base layers. Soft blues, pale yellows, and muted whites work wonders for moonlit scenes.
- Layering is key: Start with a dark base and gradually build up lighter colors using dry brushing to create depth and dimension.
- Practice makes perfect: Don't be discouraged if your first attempts don't turn out as expected. The beauty of this technique lies in its subtlety, and it often takes time to master.
As you refine your dry brushing skills, you'll find that it becomes an invaluable tool in your artistic arsenal. The soft effects it produces can transform your moonlit night paintings, adding an enchanting quality that draws viewers in. So grab your brush, choose your colors wisely, and let the magic of dry brushing elevate your artwork to new heights!
What is dry brushing? Dry brushing is a painting technique that involves using a brush with minimal paint to create soft, textured effects on the canvas.
What type of brush should I use for dry brushing? A stiff-bristled brush is ideal for dry brushing, as it allows for better control and texture.
Can I use dry brushing with acrylics? Yes! Dry brushing works beautifully with acrylic paints, and you can achieve stunning effects with this medium.
How can I practice dry brushing? Start by experimenting on scrap paper or canvas, focusing on different strokes and color combinations to see what effects you can create.
Glazing for Depth
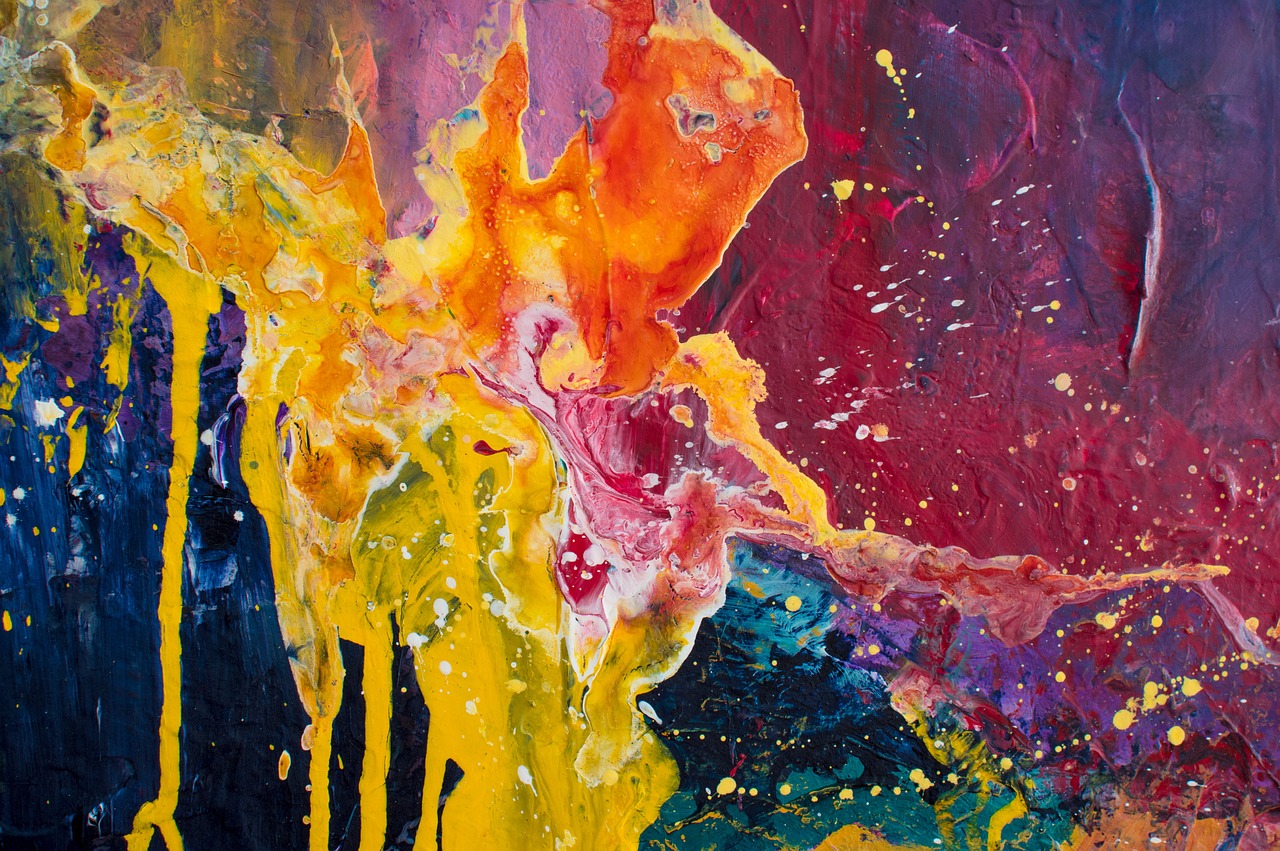
When it comes to painting moonlit night scenes, glazing is an essential technique that can elevate your artwork to new heights. This method involves applying a thin, transparent layer of paint over a dried layer to create a sense of depth and luminosity. Imagine the way moonlight dances on water; it’s not just a single color but a beautiful interplay of shades that creates a captivating glow. By mastering glazing, you can mimic that enchanting effect and bring your paintings to life.
To start glazing, you’ll want to choose the right medium. Many artists prefer using a glazing medium or a mix of water and a slow-drying medium like linseed oil. This combination allows for smoother application and longer working time, which is crucial when layering colors. The key here is to use a small amount of pigment mixed with your medium to ensure that the glaze remains transparent. Think of it as adding a delicate veil of color over your canvas, enhancing rather than overpowering the underlying layers.
When applying your glazes, consider the following tips:
- Start Light: Begin with lighter colors and gradually build up to darker tones. This approach helps maintain the luminous quality of your moonlit scenes.
- Use a Soft Brush: A soft, flat brush works best for glazing. It allows for even application and minimizes streaks, giving your painting a smooth finish.
- Layering is Key: Apply multiple thin layers rather than one thick layer. This technique creates a richer depth of color and allows the underlying layers to shine through.
For example, if you’re painting a tranquil lake under the moonlight, you might start with a base layer of deep blue. Once that’s dry, you can apply a glaze of lighter blue with a hint of white to simulate the reflection of the moon. This not only adds depth but also creates a shimmering effect that draws the viewer's eye. The beauty of glazing lies in its ability to transform your painting, making it feel alive with the gentle glow of moonlight.
In addition to enhancing colors, glazing can also be used to modify the mood of your painting. For instance, if you want to evoke a sense of mystery, a glaze of deep violet over your blue tones can create a more atmospheric and moody scene. On the other hand, a warm glaze of yellow or gold can add a feeling of warmth and comfort, even in a night scene. The versatility of glazing allows you to experiment and find the perfect balance for your artwork.
In conclusion, glazing is a powerful technique that can add incredible depth and richness to your moonlit night paintings. By carefully layering transparent colors, you can achieve a stunning luminosity that captures the essence of a moonlit landscape. So grab your brushes, experiment with glazes, and watch your paintings transform into breathtaking nocturnal scenes!
Q: What is glazing in painting?
A: Glazing is a technique where a thin, transparent layer of paint is applied over a dried layer to create depth and luminosity in artwork.
Q: Can I use any paint for glazing?
A: While you can use various types of paint, oil paints are commonly preferred for glazing due to their transparency and slow-drying properties.
Q: How do I know when to apply a glaze?
A: Wait until your base layer is completely dry before applying a glaze to ensure that the colors blend seamlessly and enhance the underlying layers.

Composing Your Scene
When it comes to painting a captivating moonlit night, the way you compose your scene is absolutely crucial. Think of composition as the backbone of your artwork; it’s what holds everything together and guides the viewer’s eye across the canvas. A well-composed painting not only draws attention but also tells a story. So, how do we achieve that perfect balance? Let’s dive into some essential techniques that will elevate your moonlit night paintings.
First off, consider the Rule of Thirds. This classic guideline is like a secret weapon for artists! By dividing your canvas into a grid of nine equal parts with two horizontal and two vertical lines, you can position important elements along these lines or at their intersections. This technique creates a sense of balance and makes your painting more dynamic. For example, if you’re painting a serene lake under the moonlight, you might place the horizon along the top third of the canvas while positioning the moon at one of the intersections. This simple shift can transform a static scene into something truly engaging.
Next, let’s talk about creating focal points. Every painting needs a star, something that grabs the viewer's attention right away. In a moonlit scene, your focal point could be a glowing moon, a silhouette of a tree, or even a distant mountain. The key is to make this element stand out through contrast, color, or detail. For instance, if your moon is bright and luminous, consider surrounding it with darker shades to emphasize its glow. This contrast not only highlights your focal point but also adds depth to the overall composition.
Additionally, think about the foreground, middle ground, and background in your painting. This layering creates a sense of depth and invites the viewer to explore your scene. You can place interesting elements in the foreground, such as a silhouette of a person or an animal, while keeping the background more subdued. This technique helps guide the viewer's gaze from the front to the back of the canvas, creating a more immersive experience.
Lastly, don’t shy away from experimenting with negative space. This refers to the empty spaces around and between your subject matter. Utilizing negative space effectively can enhance your composition by providing breathing room and allowing the viewer to focus on the main elements. In a moonlit night painting, the dark sky can serve as negative space that highlights the moon and other focal points, making them pop even more.
In conclusion, composing your moonlit night scene is all about balance, focus, and depth. By applying the Rule of Thirds, creating strong focal points, layering your elements, and embracing negative space, you can craft a stunning composition that captivates your audience. Remember, practice makes perfect, and the more you experiment with these techniques, the more natural they will become. Now, let your creativity flow and paint the night sky!
- What is the Rule of Thirds? The Rule of Thirds is a compositional guideline that suggests dividing your canvas into a grid of nine equal parts to position elements effectively.
- How can I create a focal point in my painting? You can create a focal point by using contrast, color, or detail to make a particular element stand out in your composition.
- What is negative space and how do I use it? Negative space refers to the empty areas around your subject. It can enhance your composition by providing balance and focus on the main elements.
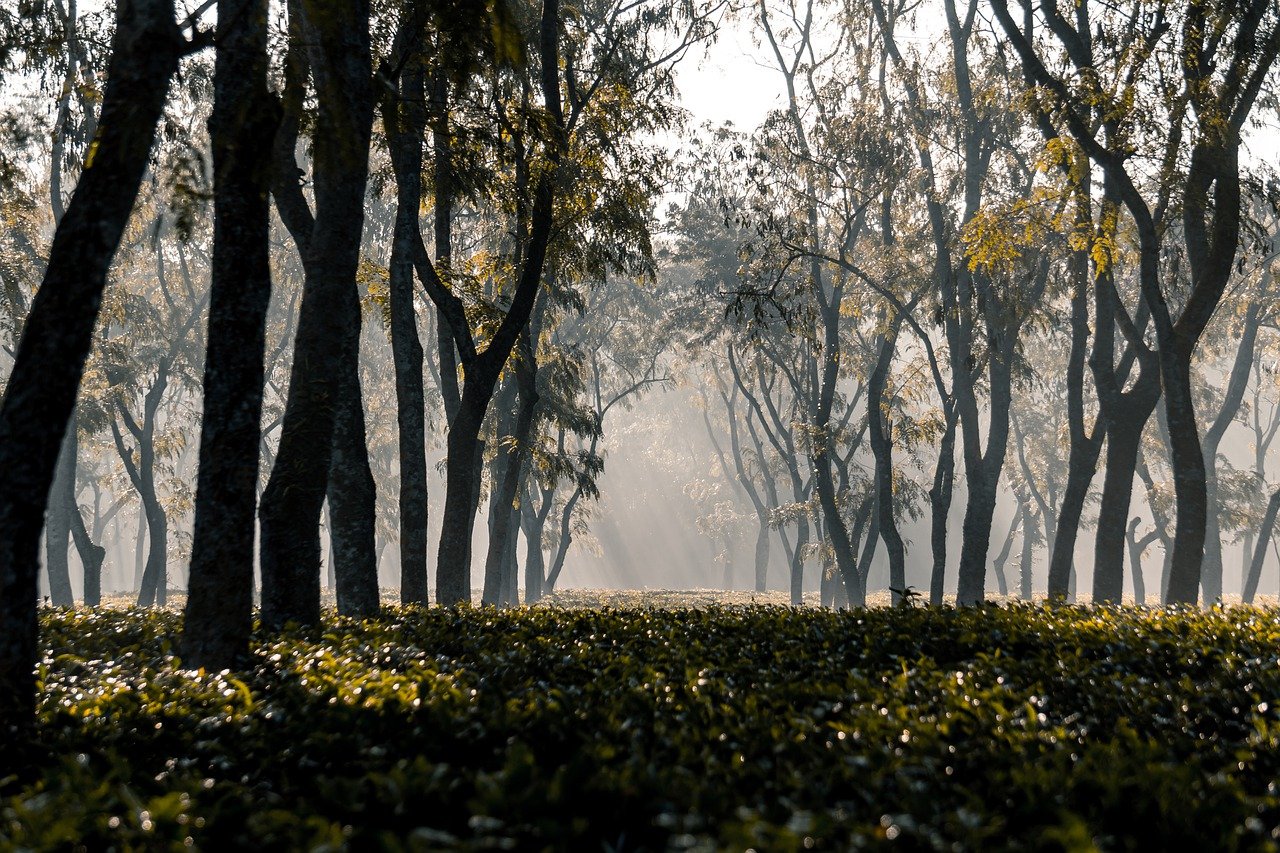
Rule of Thirds
The is a fundamental principle in visual composition that can elevate your moonlit night paintings to a whole new level. Imagine dividing your canvas into a grid of nine equal sections, creating two vertical and two horizontal lines. This simple technique helps you strategically place the key elements of your artwork, guiding the viewer's eye and enhancing the overall balance and harmony of the scene.
When applying the Rule of Thirds, it’s essential to position the most important elements of your painting along these lines or at their intersections. For instance, if you're painting a serene landscape under a glowing moon, consider placing the moon at one of the intersections. This positioning draws attention and creates a natural focal point, inviting viewers to explore the rest of your artwork. Think of it as placing a star performer in the spotlight while the supporting cast enhances the performance.
Moreover, using the Rule of Thirds can help you achieve a sense of movement and flow within your painting. You might find that placing elements like trees, hills, or water features along these lines creates a dynamic composition that feels more alive. It’s like orchestrating a symphony where every note contributes to the overall melody—each component of your painting should harmonize with the others, creating a cohesive and engaging visual experience.
To better understand how to implement the Rule of Thirds, consider the following tips:
- Visualize the Grid: Before you start painting, lightly sketch the grid on your canvas or visualize it in your mind. This will help you plan your composition effectively.
- Experiment with Placement: Don’t be afraid to move elements around. Try different placements along the grid to see what feels right for your scene.
- Focus on Balance: While the Rule of Thirds is a great guide, remember that balance is key. If you place a large object on one side, consider adding a smaller element on the opposite side to maintain equilibrium.
In conclusion, mastering the Rule of Thirds can significantly enhance your moonlit night paintings. It’s a simple yet powerful technique that encourages creativity and thoughtful composition. So, the next time you’re preparing to paint a tranquil night scene, remember to break your canvas into thirds and let your artistic instincts guide you. The world of moonlight awaits your unique interpretation!
Q: What is the Rule of Thirds?
A: The Rule of Thirds is a compositional guideline that suggests dividing your canvas into a grid of nine equal parts to help position key elements effectively.
Q: How does the Rule of Thirds enhance my painting?
A: By strategically placing elements along the grid lines or intersections, you create a more balanced and engaging composition, drawing the viewer's eye naturally throughout the artwork.
Q: Can I break the Rule of Thirds?
A: Absolutely! While the Rule of Thirds is a helpful guideline, feel free to experiment and break the rules if it suits your artistic vision.
Q: Is the Rule of Thirds applicable to all types of paintings?
A: Yes, the Rule of Thirds can be applied to various forms of visual art, including landscapes, portraits, and abstract works, making it a versatile tool in any artist's toolkit.
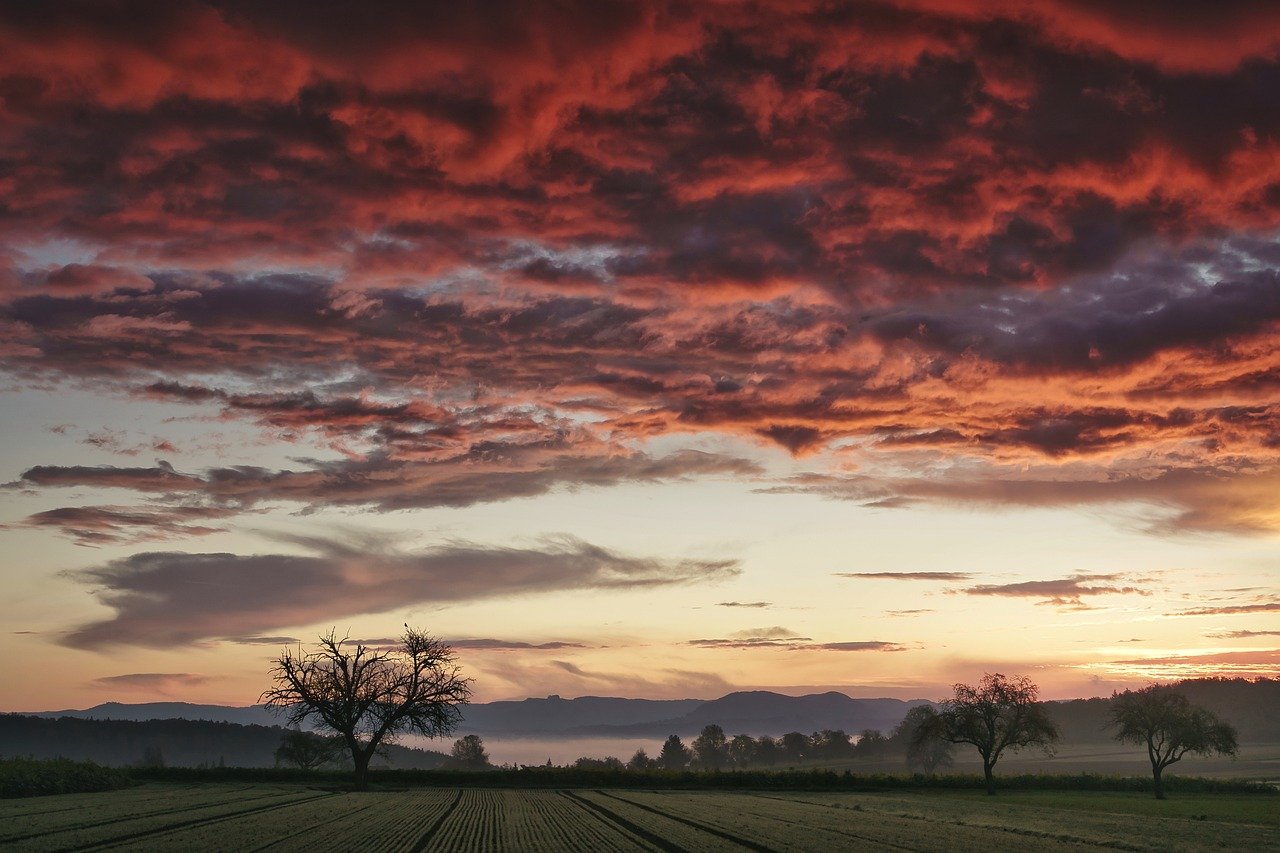
Creating Focal Points
When it comes to painting a captivating moonlit night scene, is essential for guiding the viewer's eye and conveying the emotional depth of your artwork. Think of your painting as a story; the focal point is the main character that draws the audience in, making them want to explore the entire narrative. So, how do you establish these focal points effectively? Let's dive into some techniques that will elevate your moonlit paintings.
First and foremost, consider the placement of your focal point. A common technique is to use the Rule of Thirds. Imagine dividing your canvas into a grid of nine equal parts with two vertical and two horizontal lines. Positioning your focal point along these lines or at their intersections creates a sense of balance and harmony. For instance, if you have a glowing moon, placing it slightly off-center can make the composition feel more dynamic and engaging.
Another crucial aspect is to use contrast. The focal point should stand out from the surrounding elements, drawing immediate attention. This can be achieved through color, light, and detail. For example, if your moon is a bright, luminous white, consider surrounding it with darker shades of blue or black to make it pop. Similarly, if you have a silhouette of trees or a distant mountain range, adding intricate details or warmer colors to these elements can create a striking contrast that enhances the focal point's visibility.
Additionally, leading lines can guide the viewer's gaze towards your focal point. These lines can be created with natural elements in your scene, such as the curve of a river, the alignment of trees, or even the path of stars in the sky. For instance, if you have a winding path leading to a cottage bathed in moonlight, the path naturally draws the viewer's eye toward the focal point, creating a sense of journey and discovery.
Lastly, don't underestimate the power of emotional resonance. Your focal point should evoke a feeling or tell a story. Whether it's a serene lake reflecting the moonlight or a cozy cabin with smoke curling from the chimney, the subject should resonate with the viewer on a personal level. This emotional connection can make your artwork more impactful and memorable.
In summary, creating focal points in your moonlit night paintings involves a thoughtful approach to placement, contrast, leading lines, and emotional resonance. By implementing these techniques, you'll not only enhance the visual appeal of your artwork but also invite viewers to immerse themselves in the enchanting world you've created. So grab your brushes, embrace your creativity, and let your moonlit scenes shine!
- What is a focal point in painting?
A focal point is the area of a painting that draws the viewer's attention first. It is often the most detailed or brightly colored part of the artwork. - How can I create a focal point in my moonlit painting?
You can create a focal point by using the Rule of Thirds, enhancing contrast, incorporating leading lines, and ensuring the subject evokes emotion. - Is it necessary to have a focal point in every painting?
While not every painting requires a focal point, having one can help guide the viewer's eye and create a more engaging composition.
Frequently Asked Questions
- What are the unique characteristics of moonlight?
Moonlight has a cool, soft quality that differs from sunlight. It often casts a bluish hue and creates gentle shadows, which can significantly affect the atmosphere of your painting. Understanding these characteristics is crucial for accurately depicting moonlit scenes.
- How do I choose the right color palette for a moonlit night painting?
Selecting a color palette that includes cool tones like blues and purples, complemented by warm accents, can enhance the mood of your artwork. The right combination will help create a captivating and realistic depiction of a moonlit scene.
- What layering techniques should I use for depth in my moonlit paintings?
Layering is essential for adding depth and texture. Techniques like glazing and dry brushing can help you build complexity in your artwork. By applying multiple layers, you can achieve a rich, vibrant effect that brings your moonlit night to life.
- What brush techniques enhance texture in moonlit scenes?
Different brush techniques can create various textures. For instance, dry brushing can produce soft effects, while glazing can add richness to your colors. Experimenting with these techniques will allow you to add life and dimension to your moonlit paintings.
- How can I effectively compose a moonlit night scene?
Utilizing the rule of thirds can help you create balanced and engaging compositions. By positioning key elements according to this guideline, you can enhance visual interest and draw viewers into your artwork. Establishing strong focal points is also essential for guiding the viewer's eye.


