How to Paint a Beautiful Winter Landscape Scene
Painting a winter landscape can be a magical experience that allows you to express the serene beauty of the season. Imagine a scene where snow blankets the ground, trees stand tall with frosty branches, and the sky is a canvas of soft blues and whites. In this article, we will explore various techniques and tips that will help you create stunning winter landscapes, focusing on color palettes, composition, and specific painting methods. Whether you are a seasoned artist or a beginner, these insights will guide you in capturing the essence of winter on canvas.
When it comes to painting winter landscapes, selecting the appropriate colors is crucial for conveying the mood. The chill of winter can be expressed through a palette that features cool blues, soft whites, and muted grays. However, don't shy away from incorporating warmer tones to create contrast and interest. For instance, a splash of warm orange or deep red can evoke the warmth of a sunset against a snowy backdrop. Here are some color schemes you might consider:
- Cool Tones: Various shades of blue, white, and gray.
- Warm Accents: Touches of orange, red, or yellow to create focal points.
- Monochromatic Scheme: Different shades of a single color for a harmonious look.
Experimenting with these palettes will help you find the right combination that resonates with your artistic vision. Remember, the key is to evoke feelings that reflect the beauty of winter.
Composition is the backbone of any painting, and it plays a vital role in landscape art. A well-composed painting guides the viewer's eye and creates a sense of balance. One of the most effective ways to achieve this is by applying the Rule of Thirds, which involves dividing your canvas into a grid of nine equal parts. Positioning key elements along these lines or at their intersections can create a more dynamic and engaging composition.
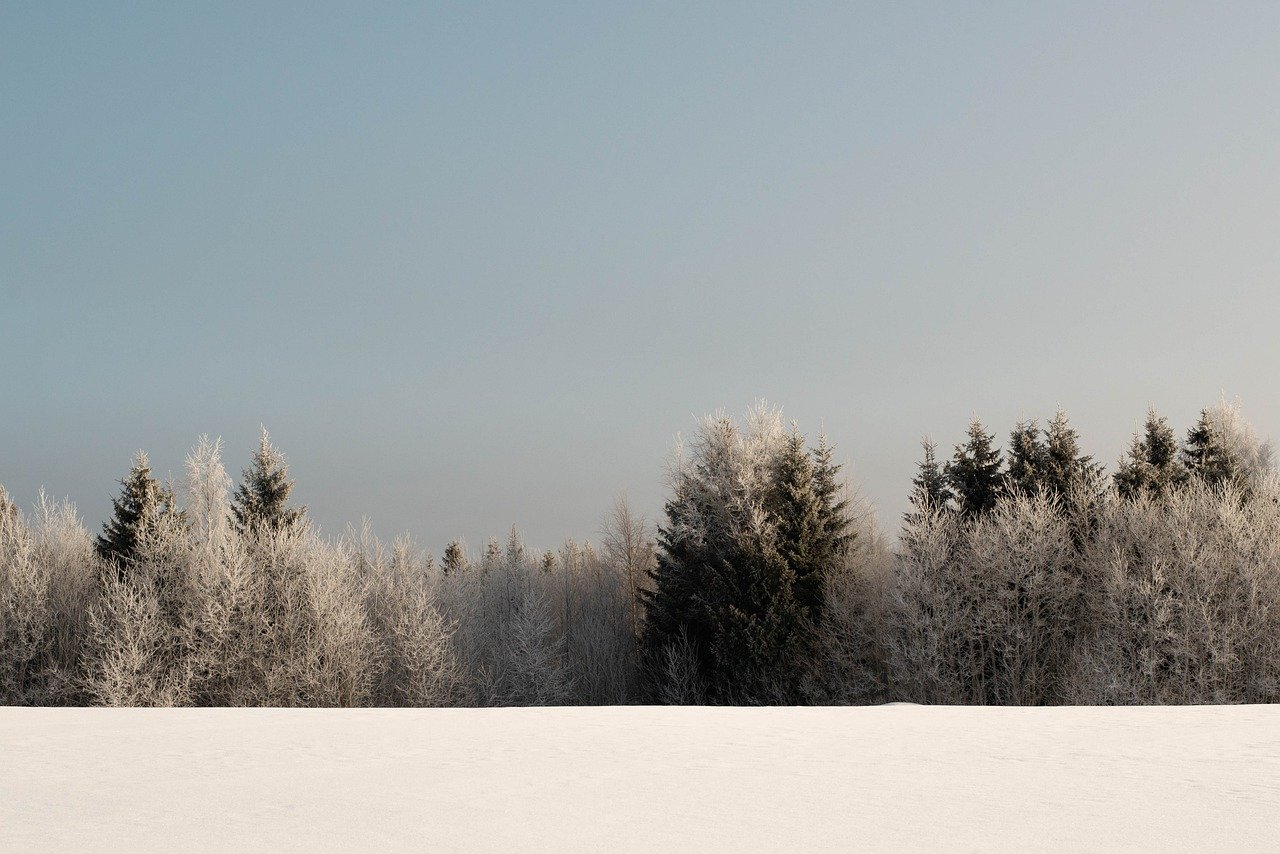
The Rule of Thirds is a fundamental principle in art that can be easily applied to winter landscapes. For example, if you are painting a snowy field, you might place the horizon line along the top third of the canvas, allowing the foreground to dominate the lower two-thirds. This creates an inviting perspective that draws the viewer in.
Establishing focal points is another essential aspect of composition. In winter landscapes, focal points can be anything from a cozy cabin to a striking tree. To create strong focal points, consider using contrasting colors or textures that stand out against the cooler background. This will naturally guide the viewer's eye to the most important elements of your painting.
Leading lines can enhance depth and perspective in your artwork. Imagine a winding path through a snow-covered forest; this path can act as a leading line that draws the viewer deeper into the scene. You can create these lines through natural elements like rivers, roads, or even the arrangement of trees. The goal is to create a sense of movement that invites the viewer to explore your painting.
Depth and perspective can transform a flat painting into a three-dimensional scene. To achieve this, consider layering your elements. Start with the background, such as distant mountains or trees, and gradually add mid-ground elements like a frozen lake or a cluster of birch trees. Finally, place foreground details, such as footprints in the snow or a close-up of a snow-covered branch. This layering technique creates a sense of depth that makes your winter landscape come alive.
The right tools and materials can significantly impact the outcome of your painting. For winter landscapes, consider using high-quality paints and brushes that can help you achieve the desired effects. Here are some essential supplies you might need:
- Canvas: Choose a sturdy canvas that can hold up to multiple layers of paint.
- Paints: Acrylics and oils are both excellent choices, each offering unique benefits.
- Brushes: A variety of brushes, including flat, round, and fan brushes, will help you create different textures.
Different brush types can produce various textures and effects in your winter scenes. For instance, a fan brush can create the illusion of snowflakes, while a flat brush can help you lay down smooth, even layers of paint. Don't hesitate to experiment with different techniques, such as dry brushing or glazing, to add depth and interest to your work.
Choosing between oil and acrylic paints can affect your painting process. Oils offer a longer drying time, allowing for more blending and layering, which is perfect for capturing the subtle nuances of winter light. On the other hand, acrylics dry quickly and can be layered easily, making them ideal for artists who prefer a faster approach. Each medium has its pros and cons, so consider your personal style and preferences when making your choice.
Q: What are the best colors to use for a winter landscape?
A: Cool blues, whites, and grays are ideal, but adding warm accents like reds and oranges can create contrast.
Q: How can I create depth in my painting?
A: Layer your elements from background to foreground, using smaller details in the front to enhance depth.
Q: Is it better to use oil or acrylic paints for winter landscapes?
A: It depends on your style; oils allow for more blending, while acrylics dry quickly and are easier to work with.
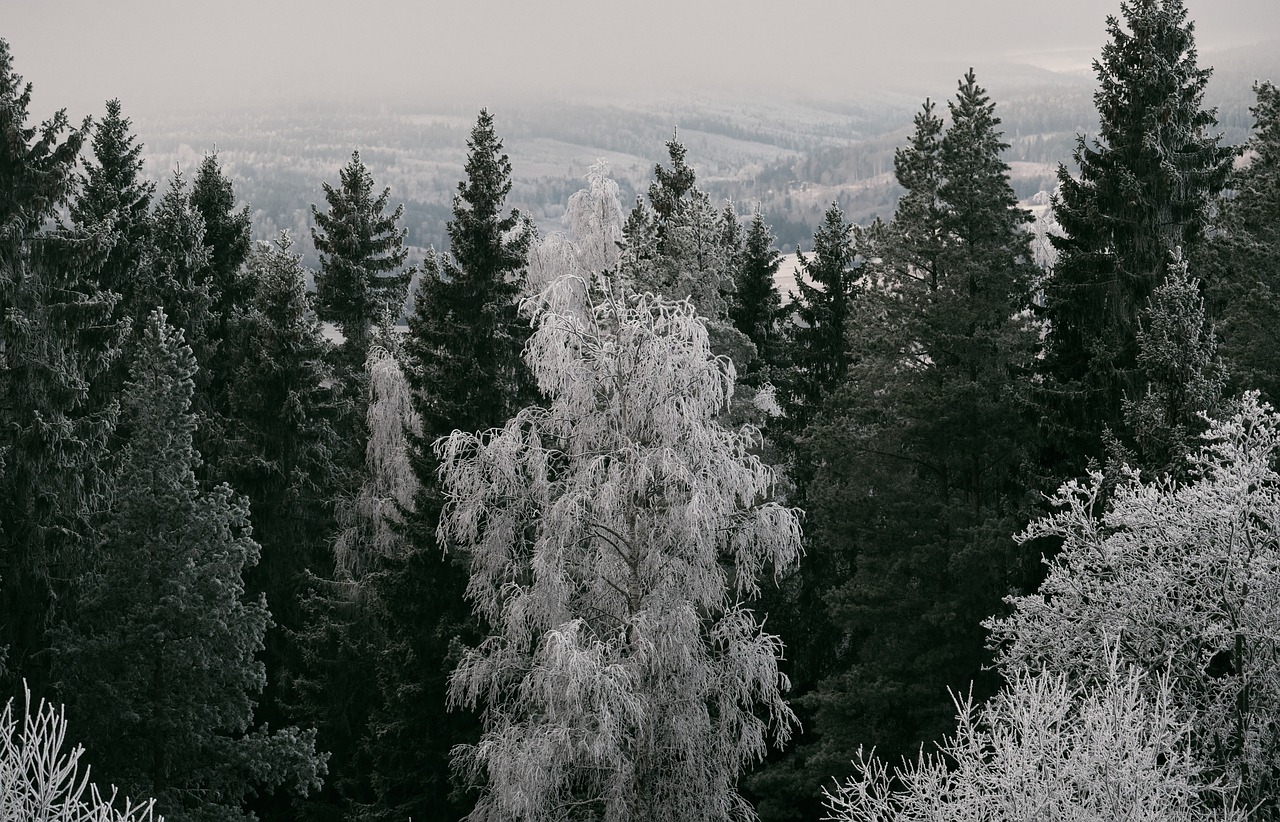
Choosing the Right Color Palette
When it comes to painting a stunning winter landscape, is absolutely essential. The colors you select can evoke emotions, set the mood, and even transport your viewers to a serene snowy wonderland. Think about it: when you picture a winter scene, what colors come to mind? Perhaps you envision soft whites, icy blues, and muted grays. These hues can create a sense of calm and tranquility, while brighter colors can add a touch of vibrancy to an otherwise chilly scene.
To start, consider using a cool color palette. This typically includes shades of blue, violet, and green, which can effectively convey the crispness of winter air. For example, a soft sky blue can represent a clear winter day, while a deep navy can suggest the depth of twilight. In contrast, you might want to incorporate some warmer colors, like burnt sienna or soft yellows, to portray sunlight reflecting off snow or the warmth of a cozy cabin in the distance. These contrasting colors can bring your painting to life and add depth to your composition.
Another technique is to use a monochromatic color scheme, which involves using variations of a single color. This can create a harmonious and cohesive look for your painting. For winter landscapes, varying shades of blue can depict everything from the sky to the shadows on the snow, providing a unified aesthetic. You can mix in some whites and grays to represent the snow’s texture and the light reflecting off it. Imagine the soft glow of a winter sunset casting a gentle blue hue across a blanket of snow; that’s the magic of a well-chosen monochromatic palette!
When selecting your colors, it’s also important to consider the time of day you want to capture. Early mornings may be depicted with soft pastels, while late afternoons can be portrayed with richer, deeper tones. A sunset in winter can be particularly breathtaking, with vibrant oranges and pinks contrasted against the cool blues of the twilight sky. Here’s a quick reference table to help you with color choices based on the time of day:
| Time of Day | Color Suggestions |
|---|---|
| Morning | Soft pastels (light pinks, pale blues, soft yellows) |
| Midday | Bright whites, clear blues, and light grays |
| Afternoon | Rich yellows, deep blues, and warm browns |
| Sunset | Vibrant oranges, pinks, and purples against cool blues |
Finally, don’t forget about the emotional impact of color. The hues you choose can tell a story and evoke feelings in your audience. For instance, a bright, cheerful palette may create a sense of joy and warmth, while a more muted color scheme can evoke feelings of solitude and introspection. As you mix your colors, think about the story you want your winter landscape to tell. Are you capturing a peaceful, snowy morning or a lively winter festival? Your palette will play a significant role in conveying that narrative.
In conclusion, the right color palette can make all the difference in your winter landscape painting. By thoughtfully selecting your colors, considering the time of day, and being aware of the emotional impact of your choices, you can create a breathtaking scene that resonates with viewers. So grab your brushes and let your imagination run wild as you bring the beauty of winter to life on your canvas!
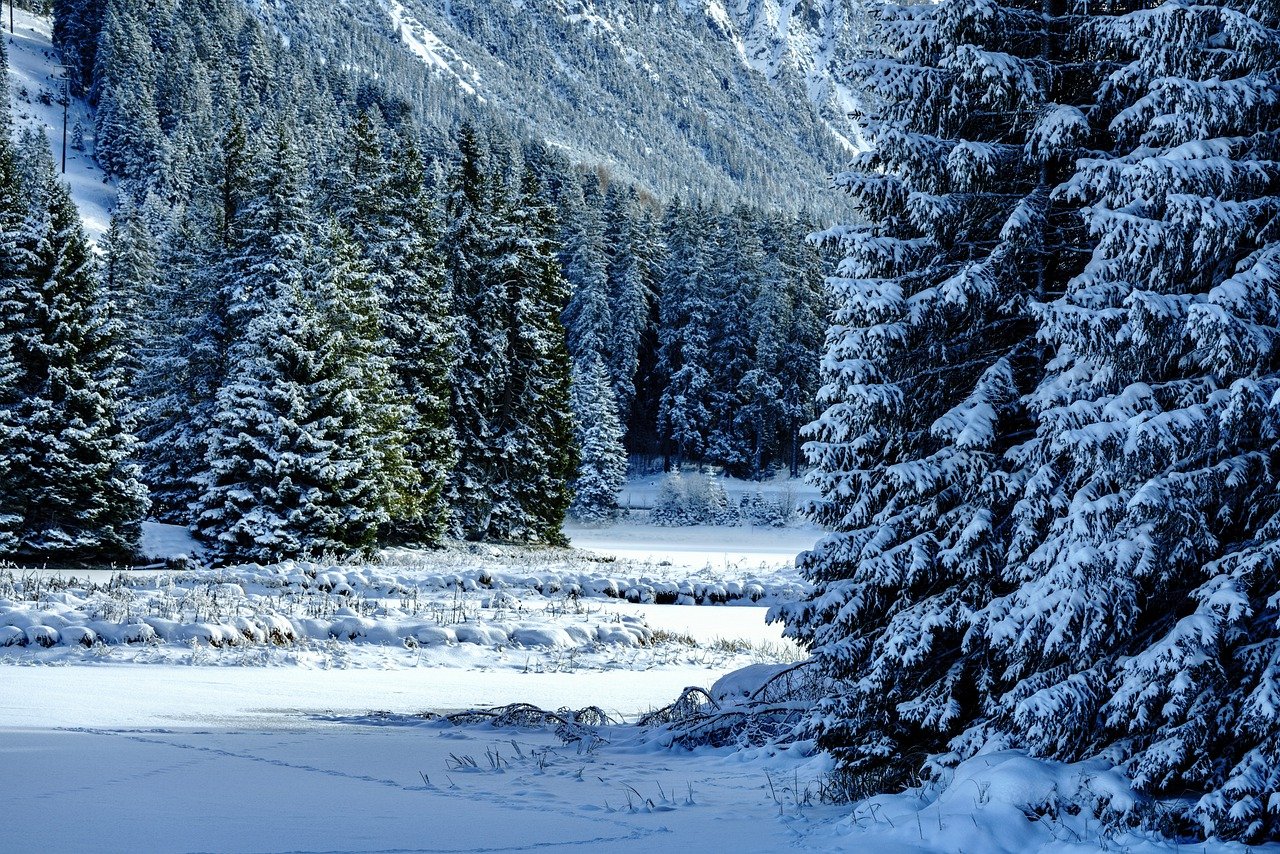
Understanding Composition Techniques
When it comes to painting a captivating winter landscape, understanding composition techniques is essential. Composition is not just about arranging elements on the canvas; it’s about creating a visual story that draws the viewer in and keeps their attention. Think of your painting as a stage where every element plays a role, and the arrangement can either enhance or detract from the overall impact.
One of the most effective ways to achieve a balanced composition is by using the Rule of Thirds. This technique divides your canvas into a grid of nine equal parts, with two horizontal lines and two vertical lines. By placing key elements along these lines or at their intersections, you create a natural balance that is pleasing to the eye. Imagine you are setting up a photo shoot; you wouldn’t just center everything in the middle, right? The same principle applies to painting.
Another critical aspect of composition is establishing focal points. A focal point is where you want the viewer's eye to land first. In a winter landscape, this could be a snow-covered tree, a quaint cabin, or a distant mountain range. To create a strong focal point, consider using contrasting colors or increased detail in that area. This draws attention and creates a sense of intrigue, much like a spotlight on a performer in a theater.
Additionally, leading lines can significantly enhance the depth and perspective of your winter landscape. These are lines within the painting that guide the viewer’s eye towards the focal point or through the scene. For example, a winding path covered in snow can lead the viewer's gaze deeper into the painting, creating a sense of movement and journey. Think of it as the pathway to adventure in your artwork, inviting viewers to explore the scene.
To effectively incorporate depth in your winter landscapes, consider techniques such as overlapping elements and varying the size of objects. For instance, placing larger trees in the foreground and smaller ones in the background creates a sense of space and distance. This technique transforms a flat image into a three-dimensional experience, allowing viewers to feel as though they could step into the scene.
In summary, mastering composition techniques is vital for creating stunning winter landscapes. By applying the Rule of Thirds, establishing focal points, utilizing leading lines, and incorporating depth, you can craft a visually compelling piece that resonates with your audience. Remember, each element in your painting should work together harmoniously to tell a story, inviting the viewer to immerse themselves in the beauty of winter.
Rule of Thirds
The is a foundational principle in both photography and painting that can dramatically enhance your winter landscape compositions. Imagine dividing your canvas into a grid with two vertical and two horizontal lines, creating nine equal sections. The idea is to place the most important elements of your painting along these lines or at their intersections. This technique not only makes your artwork more balanced but also guides the viewer's eye through the scene, creating a natural flow.
When applying the Rule of Thirds to a winter landscape, consider where your horizon line falls. Instead of centering the horizon, try positioning it either in the top third or the bottom third of your canvas. For instance, if you want to emphasize a snow-covered mountain range, placing the horizon lower allows the majestic peaks to dominate the scene. Conversely, if you want to highlight the foreground, such as frosted trees or a frozen pond, position the horizon higher, drawing attention to the details below.
It’s also crucial to think about how you can incorporate key elements like trees, buildings, or shadows into your composition. By aligning these features with the grid lines or intersections, you create a more engaging visual experience. For example, a solitary tree could be placed at one of the intersections, drawing the viewer's gaze and providing a strong focal point amidst the serene winter backdrop.
To help visualize this concept, consider the following table that illustrates the placement of elements using the Rule of Thirds:
| Element | Positioning | Effect |
|---|---|---|
| Horizon Line | Top Third | Emphasizes foreground details |
| Horizon Line | Bottom Third | Highlights mountains or sky |
| Focal Point (e.g., tree) | Intersection of lines | Creates a strong visual anchor |
| Leading Lines (e.g., path) | Along the grid lines | Guides the viewer’s eye through the painting |
Incorporating the Rule of Thirds into your winter landscape paintings not only enhances their aesthetic appeal but also invites the viewer to explore the scene more thoroughly. It's like creating a visual journey where every glance reveals something new. So, the next time you set out to paint a snowy scene, remember to step back and consider how the Rule of Thirds can elevate your work to new heights!
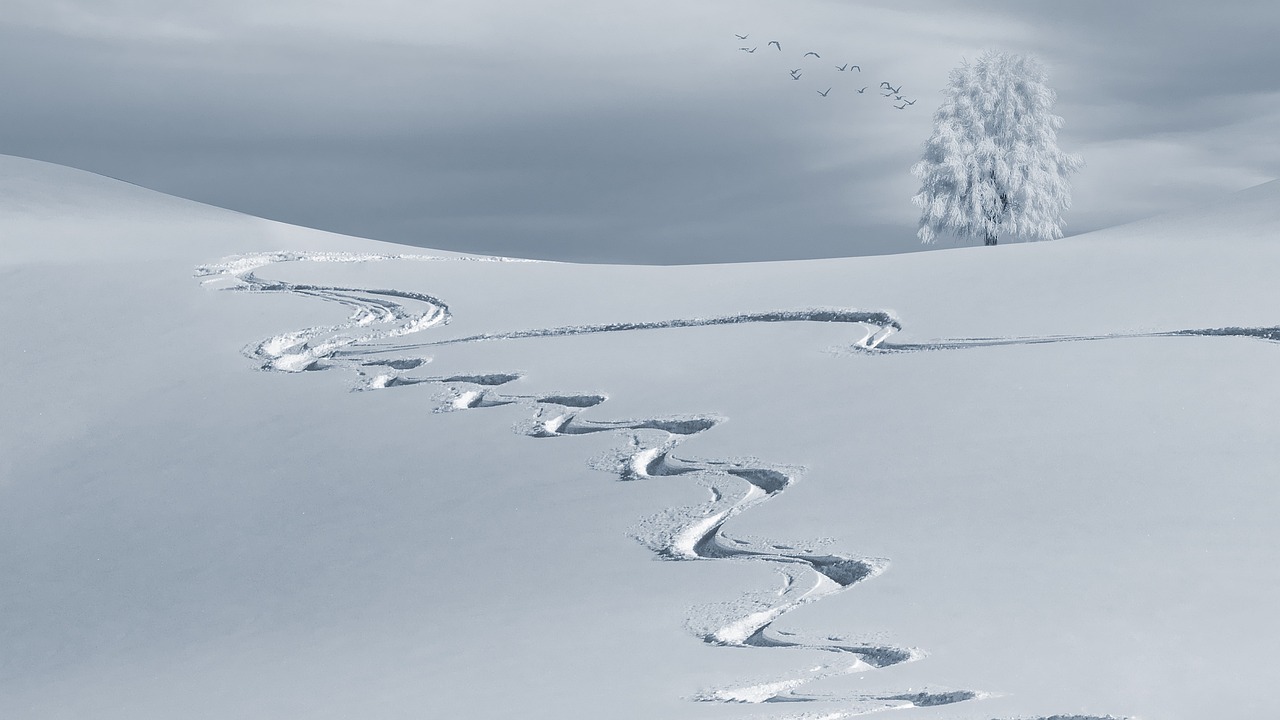
Creating Focal Points
When it comes to painting winter landscapes, establishing focal points is essential for guiding the viewer's eye and creating a sense of narrative within your artwork. Think of your focal point as the main character in a story; it’s what draws people in and keeps them engaged. Without a clear focal point, your painting may feel disjointed or chaotic, lacking a central theme that resonates with the audience.
To create a strong focal point, start by considering the elements of your landscape that naturally stand out. This could be a majestic tree dusted with snow, a cozy cabin with smoke curling from its chimney, or even a frozen pond reflecting the pale winter sky. Once you’ve identified your focal point, you can use several techniques to make it pop:
- Contrast: Use contrasting colors or values to make your focal point stand out. For instance, if your landscape is primarily composed of cool blues and whites, adding a warm orange or red element can draw attention.
- Size: Larger elements naturally attract more attention. If you have a small detail that you want to emphasize, consider enlarging it or placing it in a way that it becomes the centerpiece of your composition.
- Detail: Adding more intricate details to your focal point can also help it stand out. For example, if you’re painting a tree, consider detailing the bark texture or the way the snow clings to its branches.
Another effective method to enhance your focal point is through the use of framing. You can frame your focal point with surrounding elements, such as branches, hills, or even shadows, creating a natural border that draws the viewer’s eye directly to the area of interest. This technique not only highlights the focal point but also adds depth to your painting.
Additionally, consider the placement of your focal point within the overall composition. The Rule of Thirds is a great guideline to follow. By positioning your focal point off-center, you create a more dynamic and engaging scene. Imagine dividing your canvas into a three-by-three grid; placing your focal point at one of the intersections can lead to a more balanced and visually appealing artwork.
Lastly, don’t forget about the power of negative space. By leaving some areas of your painting less detailed or more open, you can create a contrast that emphasizes your focal point even further. Think of negative space as the quiet moments in a conversation; they allow the important points to resonate more deeply.
In summary, creating effective focal points in your winter landscape paintings is all about drawing the viewer in and guiding their gaze. By utilizing techniques like contrast, size, detail, framing, and strategic placement, you can craft a breathtaking scene that captivates and inspires. Remember, your focal point is the heart of your painting; nurture it, and let it shine!
Q1: What is a focal point in painting?
A focal point is the area of a painting that attracts the viewer's attention first. It serves as the main subject or area of interest, guiding the viewer's gaze throughout the artwork.
Q2: How can I create a focal point in my winter landscape painting?
You can create a focal point by using contrast, size, detail, framing, and strategic placement. Consider what element you want to emphasize and apply these techniques to make it stand out.
Q3: Is it necessary to have a focal point in every painting?
While not every painting requires a focal point, having one can enhance the overall composition and provide a clear narrative, making your artwork more engaging for viewers.
Leading Lines
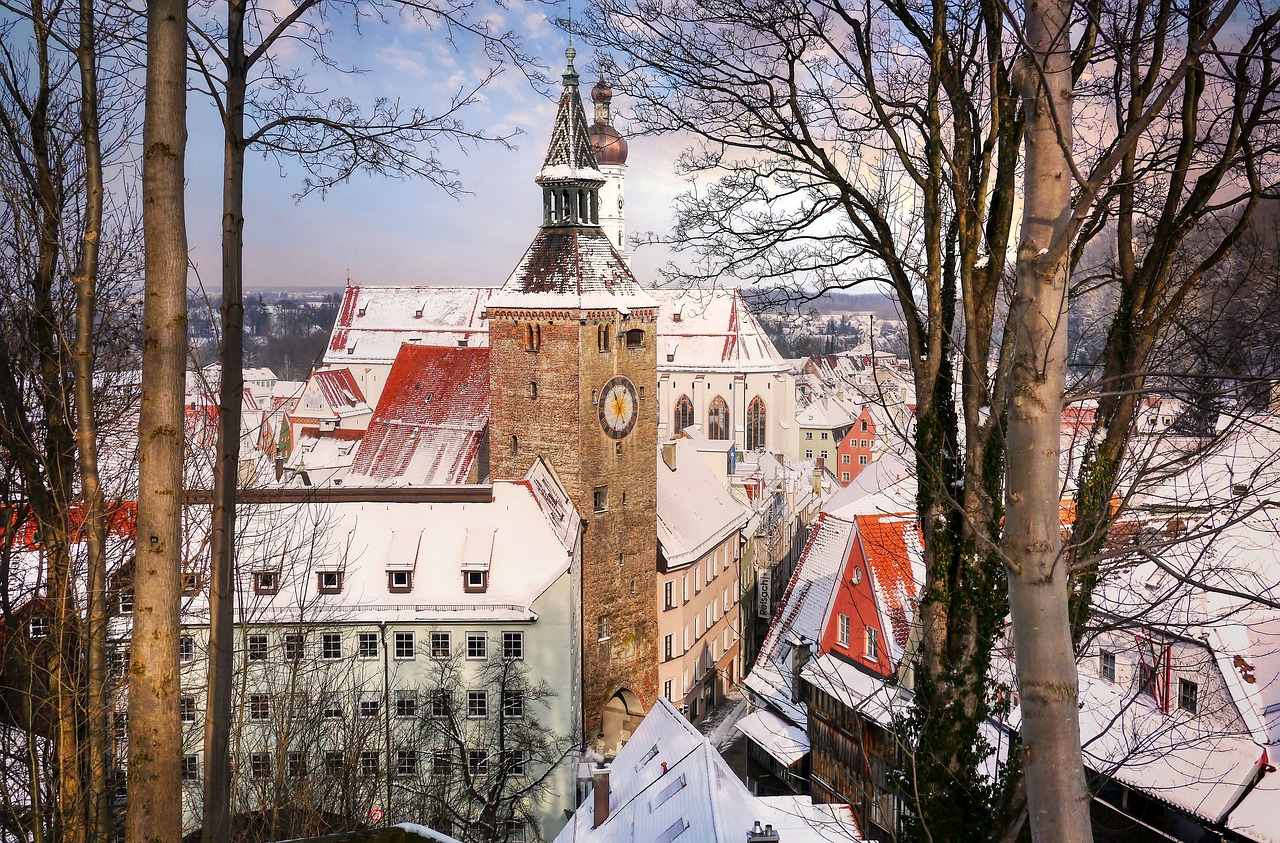
When it comes to painting winter landscapes, are your secret weapon for creating a sense of depth and guiding the viewer's eye through the scene. Imagine standing at the edge of a snow-covered path, where the snow-laden branches of trees frame your view. The lines formed by the path and the trees draw you in, inviting you to explore the painting further. This technique is all about creating a visual journey that captivates your audience and enhances the overall composition.
To effectively use leading lines in your winter landscape, consider the following techniques:
- Natural Elements: Use elements like rivers, paths, or rows of trees to create lines that lead into the distance. These natural features can draw the viewer's eye toward the horizon, creating a sense of adventure and exploration.
- Snow Patterns: The way snow accumulates can also provide interesting lines. For instance, the gentle curves of snow drifts can lead the eye towards a focal point, such as a cabin or a distant mountain.
- Horizon Lines: The placement of the horizon can serve as a leading line as well. A low horizon can emphasize the foreground, while a high horizon can draw attention to the sky, which might be filled with soft, swirling clouds or a stunning sunset.
Moreover, it's essential to remember that leading lines should not be too rigid or straight. Think of them as gentle guides rather than hard edges. Curved lines can evoke a sense of calm and serenity, which is particularly fitting for the tranquil beauty of winter. For example, a winding path through a snow-covered forest can create a sense of mystery and invite the viewer to imagine what lies beyond the next bend.
By incorporating leading lines into your winter landscape paintings, you not only enhance the composition but also create a narrative that engages your audience. They become part of the story, feeling as if they are stepping into a winter wonderland where every element invites them to explore further. So, as you set your brush to canvas, keep an eye out for those lines that will lead your viewer’s gaze and enrich their experience of your art.
Q: What are leading lines in painting?
A: Leading lines are compositional elements that guide the viewer's eye towards a focal point in the artwork. They can be natural features like paths, rivers, or even the arrangement of trees.
Q: How can I create depth using leading lines?
A: To create depth, use lines that lead from the foreground to the background. This can be achieved by placing paths or rivers that recede into the distance, giving the illusion of three-dimensional space.
Q: Are straight or curved lines better for winter landscapes?
A: Both straight and curved lines can be effective, but curved lines often evoke a sense of calm and flow, which suits the serene nature of winter landscapes. Experiment with both to see what works best for your composition.
Using Depth and Perspective
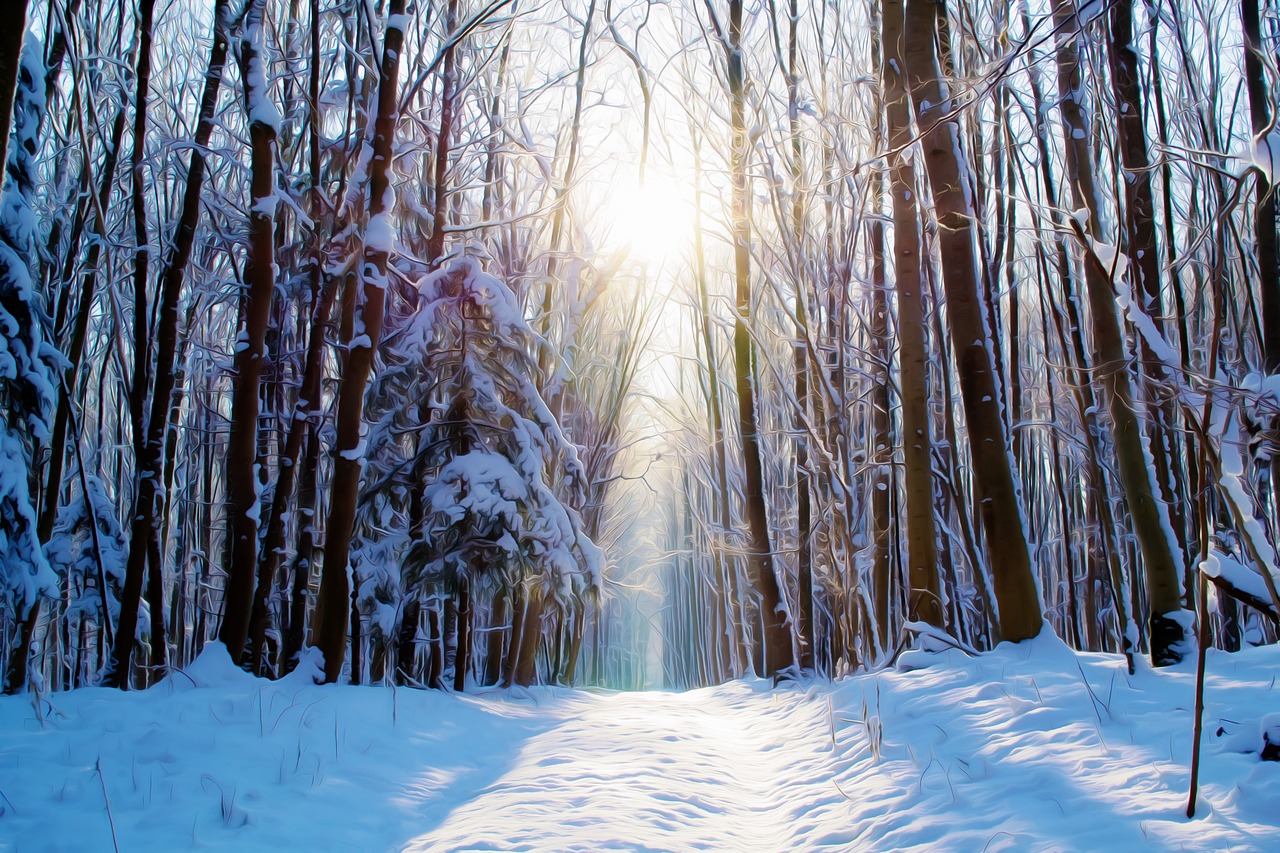
When it comes to painting a stunning winter landscape, depth and perspective are your best friends. Imagine standing in a serene snow-covered forest, where the trees seem to stretch endlessly into the distance. This sense of depth can transform your artwork from a mere depiction of winter to a captivating journey into the scene itself. So, how do you achieve this effect on canvas? Let’s dive into some techniques!
First off, think of your landscape in layers. The foreground, midground, and background should each have distinct characteristics. For example, in the foreground, you might paint detailed elements like frosty branches or snow-laden rocks, using brighter colors and sharper details to draw the viewer in. As you move to the midground, soften the details and colors slightly, representing elements like a distant cabin or a frozen lake. Finally, in the background, use muted colors and less detail to create the illusion of distance, perhaps hinting at a range of mountains fading into the horizon.
One effective method to create depth is to utilize atmospheric perspective. This technique involves altering the color and clarity of objects as they recede into the distance. For instance, distant mountains should appear more bluish and less defined than those in the foreground. This not only enhances the sense of depth but also adds a realistic touch to your painting. Think of it as a way to mimic how our eyes perceive the world—objects further away tend to lose their vibrancy and detail.
Another key element to consider is the use of overlapping elements. When you place objects in front of one another, it creates a natural sense of layering. For example, if you have a cluster of trees in the foreground, overlapping them with a distant hill can significantly enhance the three-dimensionality of your scene. It’s like creating a visual pathway for your viewers, guiding them through the layers of your painting.
Additionally, you can employ leading lines to direct the viewer's gaze through the painting. These lines can be anything from a winding path in the snow to the lines created by the branches of trees. They help create a sense of movement and guide the eye deeper into the landscape, making the viewer feel as if they are stepping into the scene. Imagine a snow-covered path leading towards a cozy cabin; it invites the viewer to explore further.
Finally, don’t forget about the sky. The way you paint the sky can greatly influence the overall depth of your winter landscape. A dramatic sunset or a cloudy sky can add layers of color and mood, enhancing the feeling of depth. For instance, a vibrant sunset can cast shadows and reflections on the snow, adding another layer of complexity to your painting.
In summary, using depth and perspective in your winter landscapes is about creating a dynamic visual experience. By layering your elements, employing atmospheric perspective, utilizing overlapping features, incorporating leading lines, and thoughtfully painting the sky, you can create a scene that not only captures the beauty of winter but also invites viewers to lose themselves in the chill and charm of your artwork.
- What is atmospheric perspective? Atmospheric perspective is a technique used in painting to create the illusion of depth by changing the color and clarity of objects as they recede into the background.
- How can I create depth in my landscape painting? You can create depth by using layers, overlapping elements, adjusting colors for distance, and incorporating leading lines to guide the viewer's eye.
- What colors should I use for distant objects? Distant objects should generally be painted with cooler and muted colors, often leaning towards blues and grays, to mimic how our eyes perceive them.

Choosing the Right Tools and Materials
When it comes to painting a stunning winter landscape, the tools and materials you choose can make all the difference in the final outcome of your artwork. Think of your painting supplies as the ingredients in a recipe; without the right mix, you might end up with something less than delicious. So, what do you need to create that breathtaking winter scene? Let’s dive into the essentials.
First off, you’ll need a good set of brushes. Different brush types can yield various textures and effects, which are crucial for capturing the essence of winter. For example, flat brushes are fantastic for covering large areas of snow, while round brushes can help you add intricate details like tree branches or delicate frost patterns. It’s like having a toolbox filled with different wrenches—each one is suited for a specific job.
Next, let’s talk about the type of paint you'll use. The debate between oil and acrylic paints is a classic one among artists. Each medium has its own set of pros and cons. For instance, oils take longer to dry, allowing for more blending and layering, which can be beneficial for capturing the soft, diffused light of winter. On the other hand, acrylics dry quickly, making them ideal for artists who prefer to work fast and layer their colors. Here’s a quick comparison:
| Feature | Oil Paints | Acrylic Paints |
|---|---|---|
| Drying Time | Slow | Fast |
| Texture | Rich and buttery | Thinner and more versatile |
| Color Mixing | Excellent for blending | Less forgiving, dries quickly |
| Cleanup | Requires solvents | Water-soluble |
Now, let’s not forget about the canvas! The surface you choose can greatly influence your painting style. A textured canvas can add depth to your work, while a smooth surface is perfect for detailed brushwork. It’s like choosing between a rough and a fine-grit sandpaper; each will give you a different finish.
Finally, consider your palette. A good palette allows you to mix colors easily and keep your workspace organized. Some artists prefer a traditional wooden palette, while others opt for a disposable paper palette for convenience. Whichever you choose, make sure it has enough space for mixing those beautiful winter hues!
In summary, the right tools and materials are essential for creating a stunning winter landscape. By carefully selecting your brushes, paints, canvas, and palette, you’ll set yourself up for success. Remember, every artist has their unique preferences, so don’t hesitate to experiment until you find what works best for you. Happy painting!
- What type of brushes are best for winter landscapes? Flat and round brushes are ideal for covering large areas and adding details, respectively.
- Should I use oil or acrylic paints? It depends on your preference; oils allow for more blending, while acrylics dry quickly.
- What canvas should I use? A textured canvas is great for depth, while a smooth one is better for detailed work.
- How do I choose a color palette for winter scenes? Focus on cool tones like blues and whites, but don't forget to include warm accents for contrast.
Brush Types and Techniques
When it comes to painting a stunning winter landscape, the choice of brush types can make all the difference. Each brush brings its own unique texture and effect, allowing you to convey the chilly beauty of the season more effectively. For instance, a flat brush is perfect for broad strokes and can help you create smooth, even layers of snow, while a round brush is ideal for detailing trees and other intricate elements in your scene.
Let’s dive deeper into some of the most effective brush types you should consider:
- Fan Brush: This brush is fantastic for creating the illusion of foliage and texture. Its unique shape allows you to mimic the delicate branches of trees, especially when dusted with snow.
- Filbert Brush: With its oval shape, the filbert brush is versatile and can be used for both broad strokes and finer details. It’s particularly useful for blending colors smoothly, which is essential in capturing the soft light of winter.
- Detail Brush: As the name suggests, this brush is perfect for adding those tiny details that can really bring your painting to life. Use it for highlights on snow or the intricate patterns of frost.
Now, let’s talk about some essential techniques to maximize the potential of these brushes. Dry brushing is a technique that can lend a beautiful, textured look to your snow-covered landscapes. To do this, lightly load your brush with paint and apply it to the canvas without much pressure. This technique allows the underlying colors to peek through, creating a sense of depth and dimension.
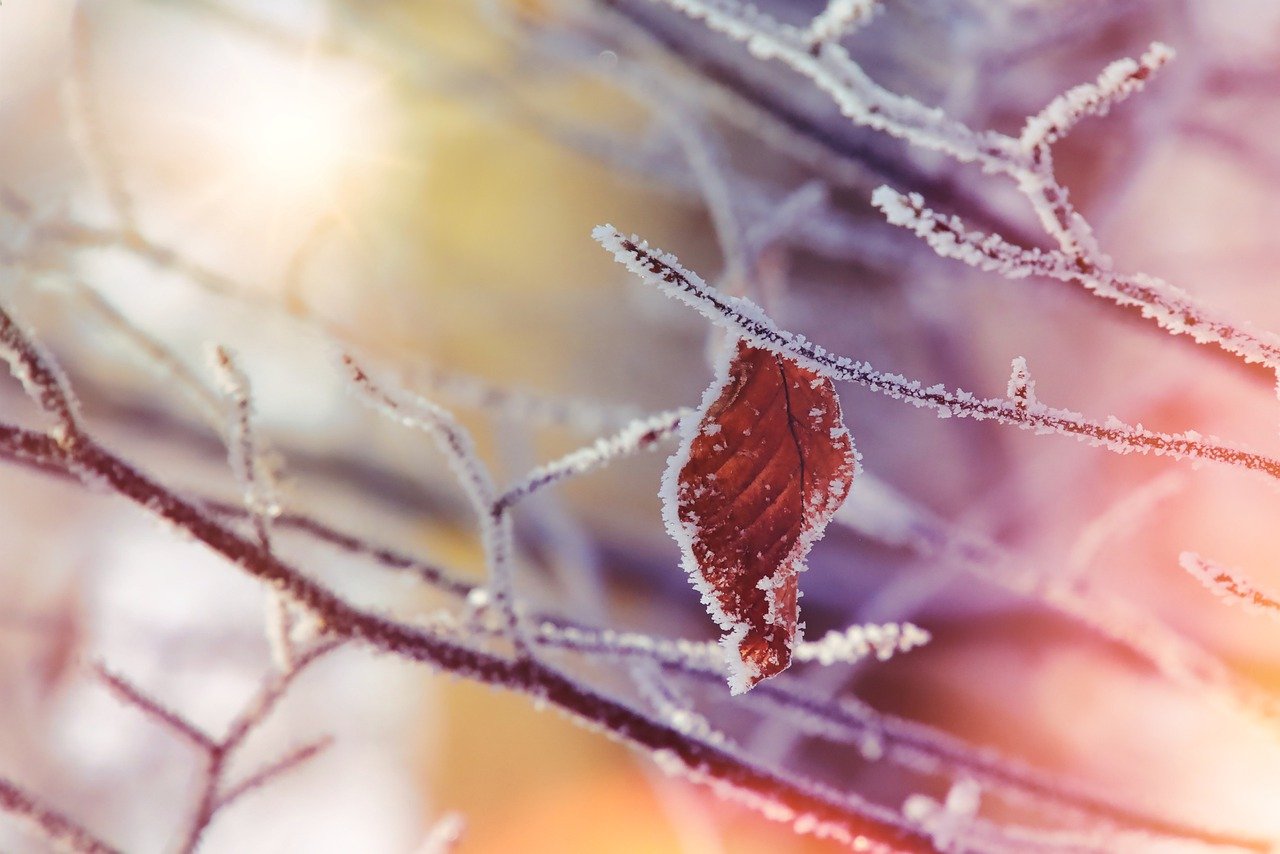
Another technique worth mastering is glazing. This involves applying a thin, transparent layer of paint over a dried layer. It’s especially useful for winter scenes where you want to create a subtle glow or a cool shadow effect. By layering colors, you can achieve a rich, luminous quality that captures the essence of a winter day.
Lastly, don't underestimate the power of stippling. This technique involves using the tip of your brush to create small dots or dabs of color. It can be incredibly effective in representing the texture of snow or the sparkle of ice, giving your landscape that extra pop that draws the viewer in.
In summary, experimenting with different brush types and techniques can significantly enhance your winter landscape paintings. Don’t be afraid to try out various brushes and find the combination that works best for you. Remember, the beauty of art lies in its subjectivity and personal expression.
- What type of paint is best for winter landscapes?
Both oil and acrylic paints have their advantages. Oils offer richness and depth, while acrylics dry quickly and are easier to manipulate. - Can I use watercolor for winter landscapes?
Absolutely! Watercolors can create beautiful, soft effects that are perfect for capturing the lightness of snow. - How do I create realistic snow in my painting?
Using a mix of white with hints of blue or purple can help you achieve a more realistic snow effect, especially in the shadows.
Paint Types: Oils vs. Acrylics
When it comes to painting beautiful winter landscapes, the choice between oil paints and acrylics can make a significant difference in your creative process and the final outcome of your artwork. Each medium has its own unique characteristics, advantages, and disadvantages, which can influence how you approach your painting. So, let's dive into the world of paint types and see which one might be the best fit for your winter scenes!
Oil paints are known for their rich, vibrant colors and smooth blending capabilities. They have a slow drying time, which allows artists to work at their own pace, making adjustments and blending colors seamlessly. This can be particularly beneficial when capturing the subtle gradients of a winter sunset or the intricate details of snow-covered trees. However, the slow drying time can also be a double-edged sword; if you're eager to finish your painting, you might find yourself waiting longer than you'd like.
On the other hand, acrylic paints dry much faster, which can be a huge advantage for artists who prefer to work quickly or layer their colors. This quick drying time allows for rapid changes and corrections, making it easier to build up texture and depth in your winter landscapes. However, the fast drying can also lead to challenges, such as the paint drying on your brush or palette before you have a chance to use it. To combat this, many artists use a palette extender or a wet palette to keep their acrylics workable.
To help you decide which medium might work best for you, here’s a quick comparison:
| Feature | Oil Paints | Acrylic Paints |
|---|---|---|
| Drying Time | Slow | Fast |
| Color Blending | Excellent | Good |
| Texture | Rich and thick | Variable, can be thick or thin |
| Ease of Use | Requires solvents for cleanup | Water-based, easy cleanup |
| Longevity | Long-lasting, less prone to fading | Can fade over time if not properly sealed |
In conclusion, both oil and acrylic paints have their unique strengths that can enhance your winter landscape paintings. If you enjoy slow, detailed work and love the idea of blending colors over a longer period, oils might be your perfect match. However, if you prefer a more dynamic and fast-paced painting experience, acrylics could be the way to go. Ultimately, the best choice depends on your personal style and how you want to express the beauty of winter through your art.
- Can I mix oil and acrylic paints? Mixing these two mediums is generally not recommended, as they have different properties and drying times. However, you can use them in layers, allowing one to dry completely before applying the other.
- How do I clean my brushes? For oil paints, you'll need solvents like turpentine or mineral spirits. For acrylics, a simple rinse with water usually does the trick, but make sure to clean them thoroughly to avoid paint buildup.
- Which medium is more suitable for beginners? Acrylic paints are often recommended for beginners due to their ease of use, quick drying time, and water-based nature, making cleanup much simpler.
Frequently Asked Questions
- What colors should I use for a winter landscape?
When painting a winter landscape, it's best to choose a color palette that reflects the cool, serene atmosphere of the season. Consider using shades of blue, white, and gray to represent the snow and sky, while soft pastels can add warmth and depth. Don't forget to incorporate some earthy tones for trees and foreground elements to create contrast!
- How do I create depth in my winter landscape painting?
Creating depth is all about perspective! Use the Rule of Thirds to position your focal points and guide the viewer's eye through the painting. Additionally, layering your colors and using blues for distant objects can give the illusion of depth. Don't shy away from experimenting with leading lines to draw attention towards your main subject!
- What kind of brushes are best for painting winter scenes?
For winter landscapes, a variety of brushes can help you achieve different textures. A flat brush is great for broad strokes of snow, while a fan brush can create the look of tree branches. A detail brush is perfect for adding intricate details like icicles or distant trees. Experiment with different brushes to see what works best for your style!
- Should I use oil or acrylic paints for my winter landscape?
Both oil and acrylic paints have their advantages! Oils offer a rich texture and longer drying time, allowing for more blending and layering, which can be perfect for capturing the soft transitions in a winter scene. On the other hand, acrylics dry quickly and are easier to clean up, making them a great choice for beginners. It really depends on your personal preference and painting style!
- How can I make my winter landscape painting more interesting?
To add interest to your painting, consider incorporating various elements like animals, people, or buildings in the scene. Use contrasting colors to make your focal points pop, and don't forget to experiment with different textures and brush techniques. Adding a dramatic sky can also enhance the overall mood of your winter landscape!


