
How to Draw a Cat: A Step-by-Step Guide
Welcome to the whimsical world of feline artistry! Drawing a cat may seem like a daunting task, but with the right guidance and a sprinkle of creativity, you can transform a blank page into a stunning portrait of your favorite furry friend. This guide provides a comprehensive overview of techniques and tips for drawing cats, catering to both beginners and experienced artists. Follow along to enhance your artistic skills and create stunning feline illustrations that will make you purr with pride.
Before diving into the world of cat drawing, it's essential to gather all the necessary materials. Having the right tools can make a world of difference in your artistic journey. So, what do you need? Here’s a quick list of must-have supplies:
- Pencils: A range of pencils (from H to B grades) for sketching and shading.
- Eraser: A good eraser to correct any mistakes and refine your work.
- Paper: Quality sketch paper or drawing pads that can handle various media.
- Fine liners: For outlining your drawing and adding intricate details.
- Colored pencils or markers: If you want to add a splash of color to your masterpiece!
Having these materials at hand will set you up for success. Remember, the journey of a thousand strokes begins with a single pencil!
Before you can capture the essence of a cat on paper, it's crucial to understand its anatomy. Just as a sculptor must know their medium, an artist must grasp the structure of their subject. Cats have unique features and proportions that define their grace and agility. In this section, we will explore the key elements that contribute to a realistic representation of our feline companions.
Focusing on the head and face is vital for capturing a cat's expression. The face is where the personality shines through, and understanding its structure will help you create a more lifelike portrayal. Start by sketching a basic shape, often resembling a rounded triangle for the head. From there, you can refine the angles and curves that define the cheeks and jawline. Don't forget to pay attention to the placement of the eyes, nose, and mouth, as these features are essential for conveying emotion.
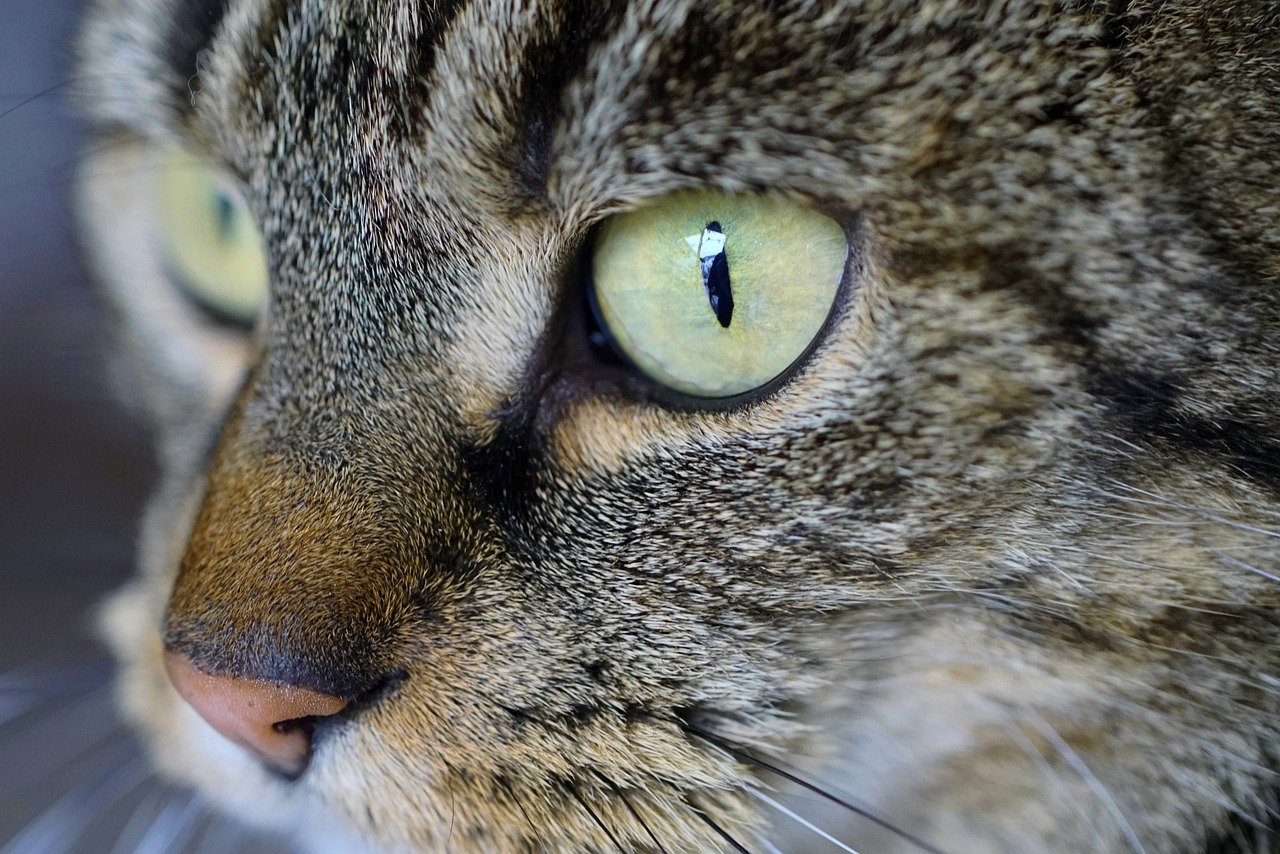
The eyes and ears are defining features of a cat. Their expressive eyes can communicate a range of emotions, from curiosity to mischief. When drawing the eyes, consider their shape; they are typically almond-shaped with a slight upward tilt. Use light strokes to indicate the iris and pupils, adding depth to the gaze. Ears, on the other hand, are often triangular and can be positioned in various ways depending on the cat's mood. Drawing them with a slight curve can add a touch of realism.
The muzzle and whiskers add personality to your drawing. The muzzle is generally a soft, rounded shape, and the whiskers are long and delicate. To draw the whiskers, use quick, light strokes to create a sense of movement and life. Remember, whiskers are not just for show; they play a crucial role in a cat's navigation and perception of their environment.
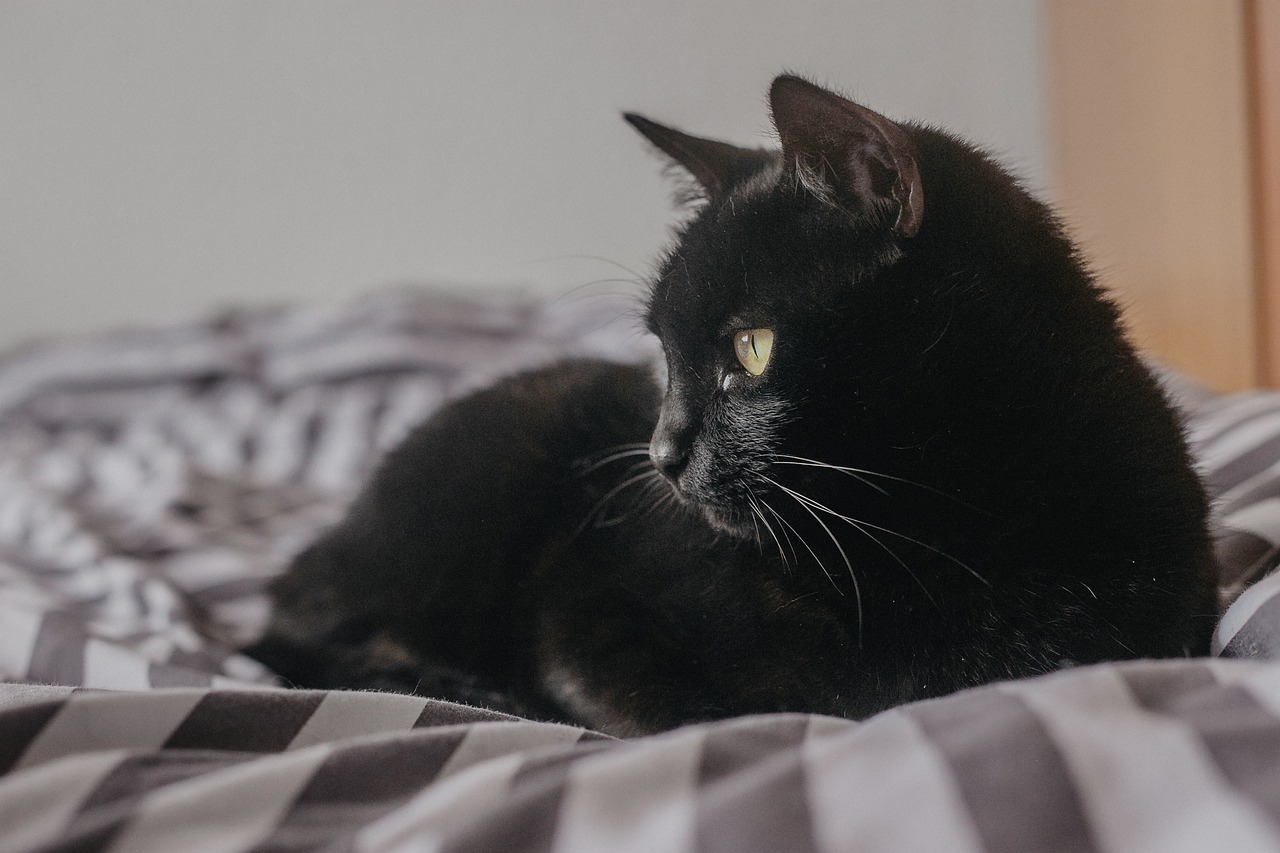
Understanding the body proportions of cats helps create a balanced drawing. Cats are known for their sleek and agile bodies, so it's essential to capture that essence. Start with a simple outline, focusing on the general shapes and sizes that contribute to a realistic feline form. Pay attention to the length of the legs, the curve of the back, and the position of the tail. These elements work together to create a harmonious representation of a cat in motion or at rest.
Once you're familiar with anatomy, it's time to sketch the outline. This is where your creativity can take flight! Begin with light pencil strokes to create a rough sketch that establishes the overall composition. Don't worry about perfection at this stage; the goal is to capture the essence of your cat. As you refine your sketch, focus on the proportions and angles that bring your feline friend to life.
After the outline, adding details brings your drawing to life. This part of the process is where your cat truly starts to emerge from the page. Enhance features like the fur texture, the subtle curves of the body, and the intricate patterns that make each cat unique. Use your pencil to create varying line weights and textures, giving your drawing depth and dimension.
Shading adds depth and dimension to your drawing. It's the secret ingredient that transforms a flat sketch into a three-dimensional masterpiece. Explore various shading techniques such as hatching, cross-hatching, and blending. Each technique can evoke different textures and effects. For instance, use softer strokes for the belly and firmer lines for the legs. Remember, light and shadow are your best friends in creating realism!
Q: What if I'm not good at drawing?
A: Everyone starts somewhere! Practice is key. The more you draw, the better you'll become.
Q: Do I need expensive materials to draw a cat?
A: Not at all! You can create beautiful art with basic materials. It's about how you use them.
Q: How long does it take to learn to draw cats well?
A: It varies for everyone. Some may take weeks, while others might take months. Enjoy the process!
Gathering Your Materials
Before diving into the exciting world of cat drawing, it's essential to gather all the necessary materials that will help you bring your feline friends to life on paper. Think of this as your toolkit; just like a chef needs the right utensils to whip up a delicious meal, an artist requires specific tools to create stunning artwork. The good news is that you don’t need to break the bank to gather your supplies. Many of these items can be found around your home or at a local art store.
First and foremost, you'll need some quality drawing paper. A sketchbook with smooth, thick pages is ideal, as it can handle erasing and shading without tearing. If you're feeling adventurous, you might even want to try textured paper, which can add a unique flair to your drawings. Next on the list is your choice of pencils. A range of graphite pencils, such as 2H, HB, and 4B, will give you the versatility you need for different shading techniques. The harder pencils (like 2H) are perfect for light lines, while the softer ones (like 4B) allow for darker, more expressive strokes.
But wait, there’s more! Erasers are your best friends in the drawing world. A kneaded eraser is fantastic for lifting graphite without damaging your paper, while a precision eraser can help you clean up those pesky details. If you’re looking to add some flair to your cat drawings, consider investing in colored pencils or markers. These can help you bring your illustrations to life with vibrant colors, making your cats look even more stunning.
Lastly, don't forget about blending tools! Blending stumps or tortillons can help you achieve smooth transitions in your shading, giving your cat a more realistic look. If you're feeling creative, you can even use your fingers to blend, although this might get a bit messy. To summarize, here’s a quick overview of what you’ll need:
| Material | Description |
|---|---|
| Drawing Paper | Smooth or textured paper for sketching and shading. |
| Graphite Pencils | A range of hardness for different line qualities. |
| Erasers | Kneaded and precision erasers for clean corrections. |
| Colored Pencils/Markers | For adding color and vibrancy to your drawings. |
| Blending Tools | Blending stumps or fingers for smooth shading. |
Now that you have your materials ready, you’re all set to start your artistic journey. Remember, the key to a great drawing lies not just in the tools you use but also in your creativity and passion. So, grab your materials, find a cozy spot, and let your imagination run wild as you prepare to draw the most adorable cats!
Understanding Cat Anatomy
When it comes to drawing cats, understanding their anatomy is not just helpful; it's absolutely essential! Think of it as learning the blueprint of a house before you start building. By grasping the key features and proportions that define a cat's structure, you can create illustrations that are not only stunning but also realistic. So, let’s dive into the fascinating world of feline anatomy!
First off, let's break down the anatomy into a few key areas that are crucial for your drawings:
- Head and Face Structure: The head is where the magic happens! Capturing a cat's expression relies heavily on understanding its facial proportions.
- Body Proportions: A cat's body is sleek and agile. Knowing how to depict these proportions will help you create a balanced and lifelike drawing.
- Limbs and Tail: The limbs and tail contribute to a cat's overall posture and movement. Pay attention to how they relate to the body for a dynamic pose.
Starting with the head, a cat's skull is unique and gives it that adorable, yet slightly mysterious appearance. The shape of the head is generally a rounded triangle, with a slightly wider base at the jaw. This triangular structure leads up to the ears, which are often pointed and can vary in size depending on the breed. The eyes, typically large and expressive, are positioned to give the cat a keen sense of awareness. They are often a focal point in your drawing, so understanding their placement and shape is crucial.
Next, let’s talk about the body. Cats are known for their graceful and agile forms, which can be broken down into basic shapes to simplify the drawing process. The body can be visualized as a series of overlapping ovals and circles. For instance, the torso can be represented by a larger oval, while the legs can be depicted with elongated cylinders. This method helps in maintaining correct proportions, especially when depicting movement.
Another important aspect is the limbs. Cats have a unique way of moving, often appearing to glide rather than run. To capture this fluidity, pay attention to the angles of the legs and how they connect to the body. The front legs are usually straighter, while the back legs have a more pronounced bend, especially when they are preparing to leap. The tail, often a forgotten detail, plays a significant role in balance and communication, so don’t neglect it in your drawings!
Understanding the anatomy of a cat is like having a secret weapon in your artistic arsenal. It allows you to create drawings that not only look good but also convey the essence of these fascinating creatures. With practice, you’ll find that your ability to draw cats improves dramatically as you become more familiar with their anatomical structure. So grab your pencil and start sketching, because the world of feline art awaits!
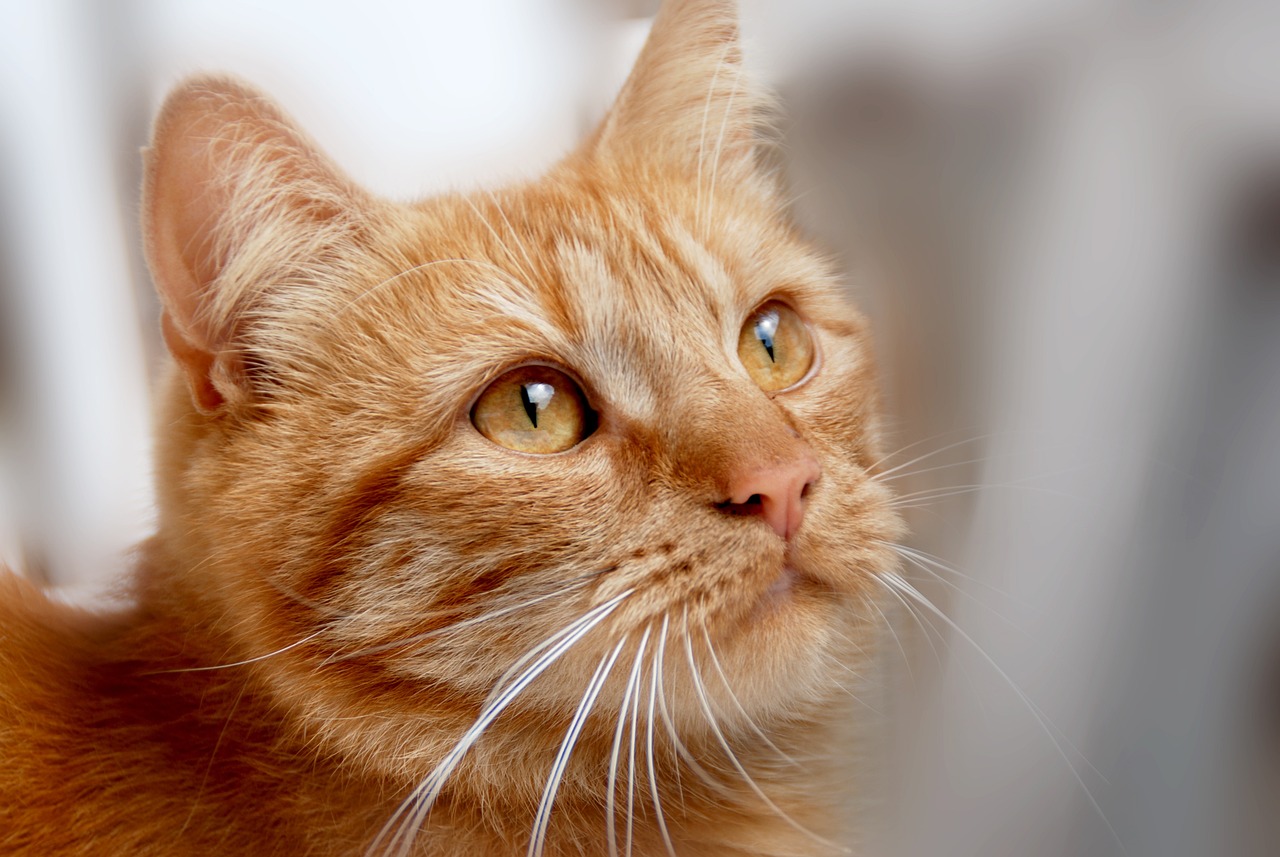
Head and Face Structure
When it comes to drawing a cat, the is where the magic begins. This is the area that captures the essence of your feline friend, and understanding its shapes and angles is essential for creating a lifelike portrayal. Imagine the head as a rounded shape, somewhat like a soft ball, where the features are carefully positioned to convey personality and emotion. Start by sketching a simple circle for the head, and then add a slightly narrower oval for the muzzle. This basic structure will serve as your foundation.
Next, let's focus on the facial features. The eyes are not just windows to the soul; they can express a wide range of emotions, from curiosity to mischief. To draw the eyes, think of them as almond shapes, slightly tilted. Place them about one eye-width apart to maintain proportion. The pupils can vary in size depending on the cat's mood, so feel free to experiment with their shapes. Remember, a cat's eyes can be captivating, so don’t shy away from adding a little sparkle to them!
Moving on to the ears, these triangular structures sit atop the head and are crucial for conveying a cat's alertness. When drawing the ears, remember they should be large enough to catch attention but not overpower the face. Position them slightly tilted outward from the head, as if they are always ready to catch the slightest sound. The inner ear detail can be added later to give them a more realistic touch.
Now, don’t forget about the muzzle and whiskers. The muzzle is the area around the nose and mouth, and it’s typically short and slightly protruding. Draw a small triangle for the nose at the bottom of the muzzle, and from there, sketch the mouth, which can be a simple line or a gentle curve, depending on the expression you want to convey. Whiskers, those delicate sensory hairs, can be drawn as long, curved lines extending from the muzzle. They add character and help define the cat's personality, so make sure to give them some flair!
In summary, the head and face structure of a cat is a combination of simple shapes that come together to create a complex and expressive character. By focusing on the proportions and details of the eyes, ears, muzzle, and whiskers, you’ll be able to capture the unique essence of each cat you draw. So grab your pencil and start sketching, and remember to enjoy the process of bringing your feline friend to life!
- What materials do I need to draw a cat? You’ll need paper, pencils, erasers, and possibly colored pencils or markers for finishing touches.
- How can I make my cat drawing look more realistic? Focus on the details of the eyes and fur texture, and practice shading techniques to add depth.
- Can I use references when drawing? Absolutely! Using reference images can help you understand proportions and details better.

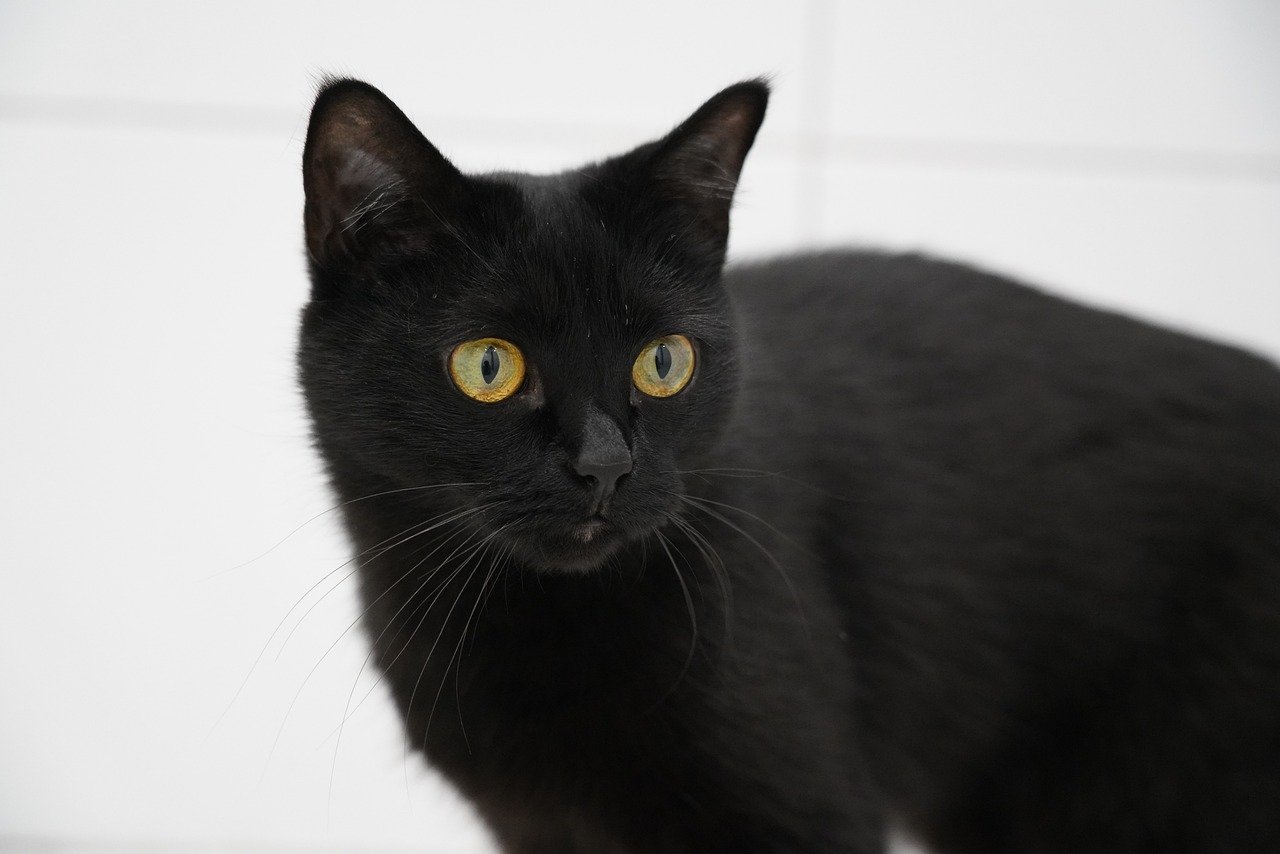
Eyes and Ears
When it comes to drawing a cat, the are two of the most striking features that can bring your artwork to life. These elements not only define the cat's appearance but also convey its emotions and personality. Think of the eyes as the windows to the soul; they can express a range of feelings from curiosity to playfulness. To truly capture the essence of a cat, you need to pay close attention to the unique shapes and positions of these features.
The eyes of a cat are typically large and almond-shaped, which gives them an expressive look. When drawing the eyes, consider the following tips:
- Shape: Start with a basic almond shape, but remember that the upper lid often has a more pronounced curve, while the lower lid is softer.
- Pupil Shape: Cats have vertical slit pupils that can change size depending on the light. Make sure to capture this detail for realism.
- Highlight: Adding a small white dot to the pupil can create a sense of depth and life in the eyes.
Now, let’s talk about the ears. A cat's ears are often triangular and pointed, positioned on top of the head. They are incredibly expressive and can indicate a cat’s mood. For instance, ears that are perked up can signal curiosity or alertness, while ears that are flattened against the head may indicate fear or aggression. Here are some tips for drawing cat ears:
- Base Shape: Start with a triangle, but slightly round the edges to give it a softer look.
- Inner Ear Detail: Don’t forget to add the inner ear fur, which can be drawn with soft, curved lines.
- Positioning: Ensure the ears are placed correctly on the head, usually slightly tilted outward.
Incorporating these details will enhance the character of your cat drawing. Pay close attention to the alignment of the eyes and ears, as they should complement each other. Remember, a cat's expression can change with the slightest adjustment in these features. So, take your time, observe real cats, and practice drawing them from different angles. This practice will not only improve your skills but also help you develop your unique style.
Q: What materials do I need to draw a cat?
A: Basic materials include pencils, erasers, paper, and optional colored pencils or markers for adding color.
Q: How can I make my cat drawing look more realistic?
A: Focus on the details of the eyes and ears, and pay attention to the proportions and anatomy of the cat.
Q: Is it necessary to learn about cat anatomy before drawing?
A: While not strictly necessary, understanding anatomy can greatly enhance the accuracy and realism of your drawings.
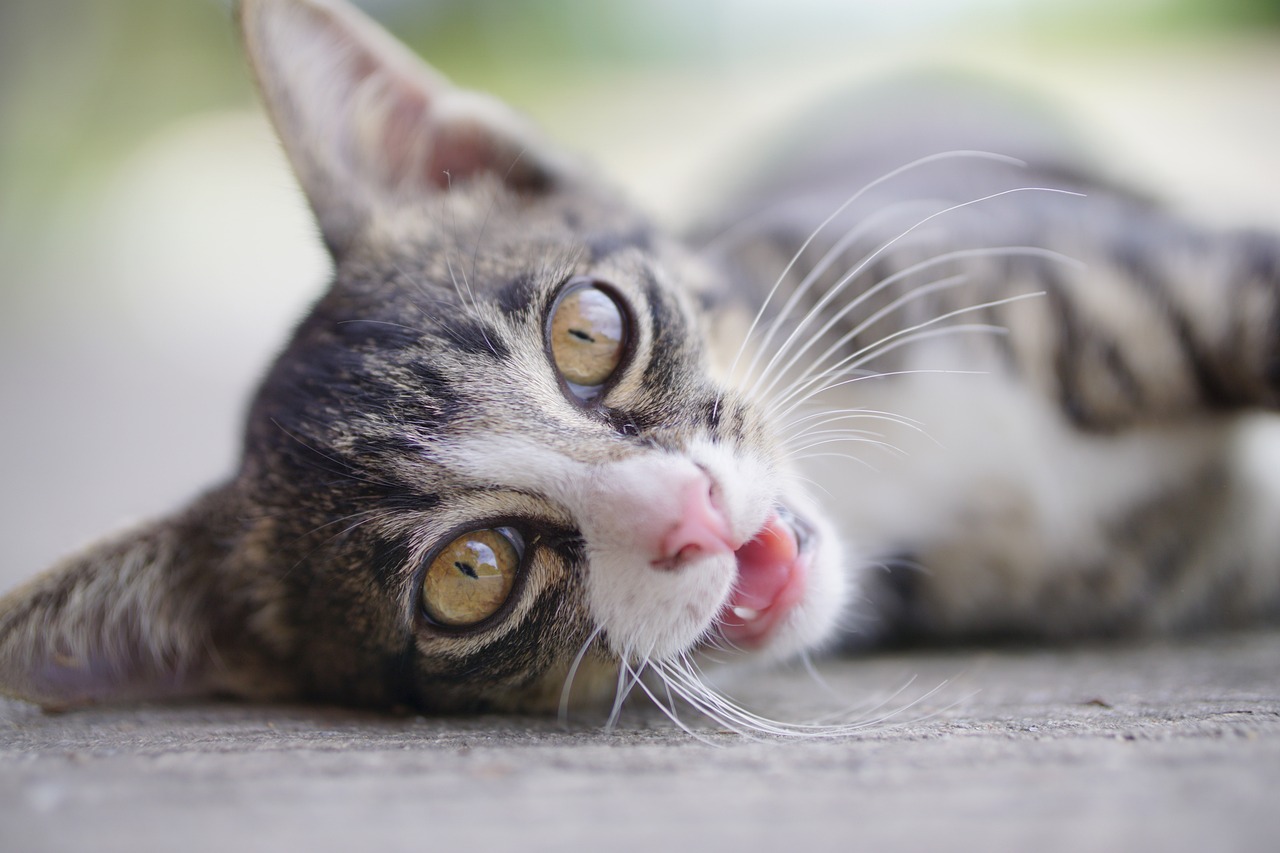
Muzzle and Whiskers
When it comes to drawing a cat, the muzzle and whiskers are not just details; they are the essence of your feline's personality. The muzzle gives structure to the face, while whiskers add that touch of character that can make your drawing truly come alive. To start, let’s break down how to effectively capture these features.
The muzzle itself is often overlooked, but it plays a crucial role in defining the cat's expression. A cat's muzzle is typically broad and slightly rounded, tapering down to the nose. When sketching the muzzle, think about the overall shape. You can visualize it as a small rectangle or a rounded triangle, depending on the breed of cat you are drawing. For example, a Persian cat has a much more pronounced and rounded muzzle compared to a sleek Siamese. Pay attention to the proportions; a well-defined muzzle can enhance the realism of your drawing.
Next, let’s talk about the whiskers. These long, delicate hairs are not just for show; they serve a practical purpose in a cat's life, helping them navigate their surroundings. In your drawing, whiskers should be depicted as thin, curved lines that radiate outward from the muzzle. To make them look natural, vary the lengths and angles slightly. This will create a more dynamic and lifelike appearance. Remember, whiskers are often longer than you might initially think, so don’t be afraid to extend them beyond the face.
To add a touch of flair, consider the expression you want to convey. Is your cat curious, playful, or perhaps a bit aloof? The position of the whiskers can inform the viewer about the cat's mood. For a curious cat, whiskers might be drawn more upright, while a relaxed cat might have them angled downwards. This subtle detail can significantly enhance the emotional impact of your artwork.
Here’s a quick tip: when drawing, use light pencil strokes to outline the whiskers first. This way, you can adjust their placement as needed before committing to darker lines. Once you’re satisfied with their positioning, go ahead and darken them, adding a touch of shading at the base to create depth. This technique will help your whiskers stand out and give them a more three-dimensional look.
In summary, when drawing the muzzle and whiskers of a cat, focus on their shapes and how they relate to the overall expression. By paying close attention to these features, you can elevate your cat illustrations from simple sketches to stunning representations of these beloved creatures. Remember, practice makes perfect, so keep experimenting with different styles and techniques!
- How important is the muzzle in cat drawings? The muzzle is essential for defining the cat's expression and overall character. It helps create a realistic portrayal of the feline.
- What is the best way to draw whiskers? Start with light pencil strokes to outline the whiskers, varying their lengths and angles for a natural look. Darken them once you're satisfied with their placement.
- Can I use references when drawing a cat's muzzle and whiskers? Absolutely! Using references can greatly enhance your understanding of proportions and details.
Body Proportions
Understanding the body proportions of a cat is essential for creating a realistic and appealing drawing. Cats are elegant creatures, and their body structure plays a significant role in conveying their grace and agility. When you start sketching, it's important to focus on the overall shape and proportions rather than getting bogged down by details right away. Think of a cat's body as a series of geometric shapes that fit together harmoniously. For instance, the body can be broken down into a few key components: the head, torso, legs, and tail. Each of these parts has its own proportionate size that contributes to the overall look of the cat.
To visualize this better, consider the following proportions:
- The head is typically about one-third the size of the entire body.
- The torso is elongated and should be about one and a half times the length of the head.
- The legs should be roughly equal in length to the torso, giving the cat a balanced appearance.
- The tail usually extends to about the same length as the body, adding to the cat's graceful silhouette.
When sketching, it can be helpful to use light lines to outline these shapes before refining them. Start with a simple oval for the body and a circle for the head. Then, add rectangles for the legs and a long, curved shape for the tail. This approach allows you to adjust proportions easily before committing to more detailed lines. Remember, cats come in various breeds, so proportions may vary slightly. For example, a Persian cat will have a rounder body and shorter legs compared to a sleek Siamese. Observing different breeds can provide insight into how to adapt your drawing style accordingly.
As you refine your sketch, pay attention to the natural curves and angles that define a cat's physique. Cats are not just straight lines; their bodies have a fluidity that reflects their agility. The way they move and pose can greatly influence how you want to represent them in your artwork. For instance, when a cat stretches, its body elongates, while a cat in a crouched position appears compact and taut. Capturing these nuances will add life to your drawing and make it feel more dynamic.
In conclusion, mastering cat body proportions is a crucial step in your artistic journey. By focusing on the basic shapes and understanding how they relate to one another, you can create a solid foundation for your drawing. With practice and observation, you'll be able to depict cats in various poses and styles, bringing their unique charm to life on paper. So grab your pencil, sketch out those shapes, and let your creativity flow!
Q: What materials do I need to start drawing a cat?
A: To begin, you'll need a pencil, eraser, sketchbook or drawing paper, and optionally some colored pencils or markers for later stages.
Q: How can I improve my cat drawing skills?
A: Practice regularly, study real cats or photographs, and experiment with different styles and techniques. Joining a drawing class can also be beneficial.
Q: Is it necessary to understand anatomy to draw cats?
A: While it's not mandatory, having a basic understanding of cat anatomy can significantly enhance the accuracy and realism of your drawings.
Q: What should I focus on when drawing a cat's face?
A: Pay attention to the shapes of the eyes, ears, and muzzle, as these features convey a lot of emotion and personality in your drawing.
Sketching the Outline
Now that you've got a solid grasp of cat anatomy, it's time to put pencil to paper and start sketching the outline of your feline friend. Think of this stage as the skeleton of your drawing; it’s where you lay the groundwork for everything else. The outline doesn't have to be perfect, but it should capture the overall shape and posture of your cat. Start with light, loose strokes—this isn't the time to press hard or commit to anything just yet. You can always refine your lines later!
Begin by sketching basic shapes. For example, the head can be represented as a circle, while the body can be depicted as an oval. This method helps you visualize the proportions and positioning of the cat. Once you have those basic shapes down, you can connect them with gentle curves to form the neck and tail. Remember, cats are known for their elegant and fluid movements, so try to capture that grace in your lines. Think of it like tracing the path of a dancer—each curve should flow into the next.
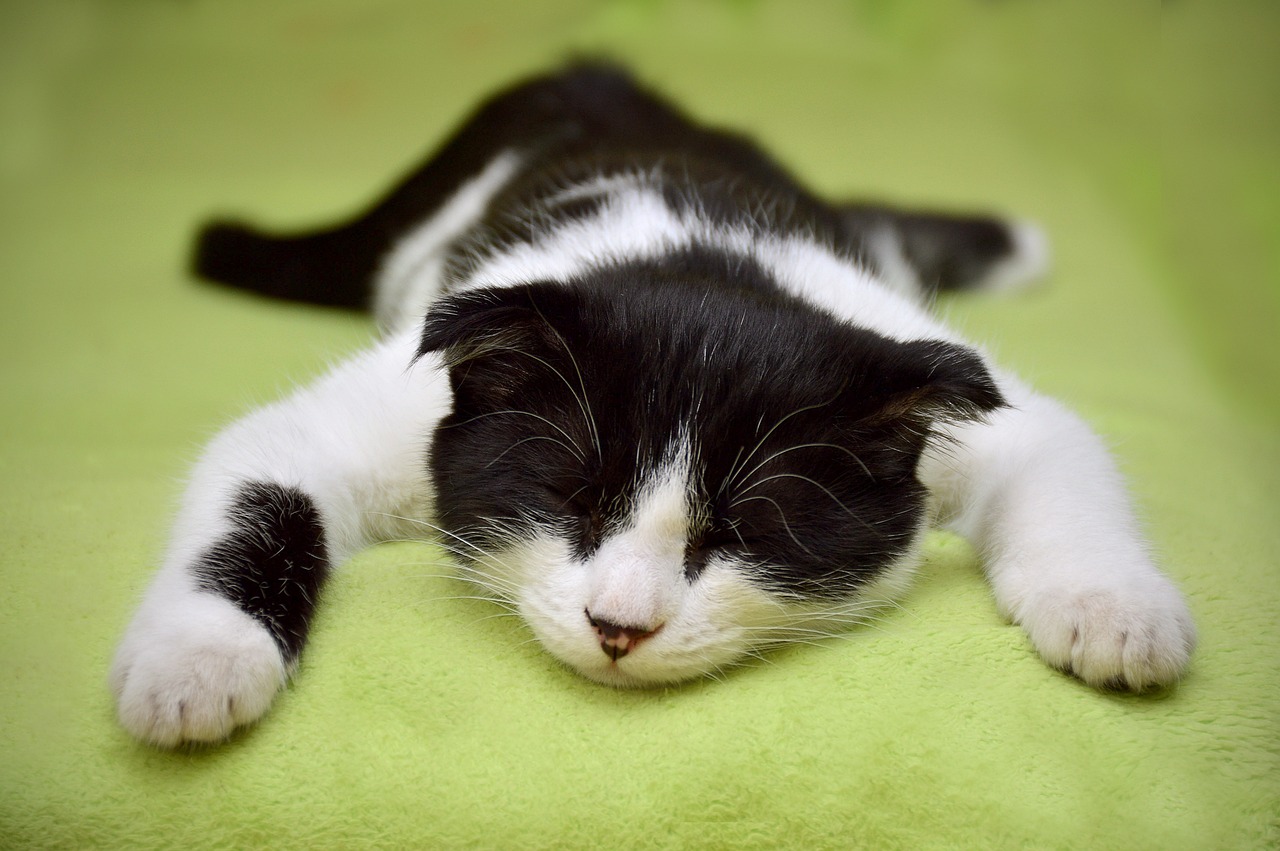
As you sketch, consider the pose of your cat. Is it lounging lazily on a windowsill, or is it playfully pouncing on a toy? The pose will dictate the angles and proportions you need to focus on. For instance, if your cat is sitting, the hind legs will be more pronounced, while a cat in mid-leap will have a more elongated body. Pay attention to how the legs bend and how the tail balances the overall structure. This is the time to be aware of the dynamic nature of your subject!
Once you’ve established the main shapes and lines, it’s time to refine your outline. Go over your initial strokes with more confidence. Add in the details like the ears, which can be triangular or rounded depending on the breed, and the paws, which should be proportionate to the body. If you find yourself struggling to get the shapes just right, don’t hesitate to refer back to your understanding of cat anatomy. Remember, this is your chance to create a solid foundation for your drawing.
Here’s a quick tip: use a light hand when sketching the outline. This allows you to easily erase and adjust as necessary without leaving heavy marks on your paper. A good practice is to keep your pencil strokes light and fluid, almost as if you’re dancing across the page. This way, you can maintain the flexibility to make changes until you're completely satisfied with the overall layout.
After finishing your outline, take a step back and assess your work. Does it capture the essence of a cat? Is the posture believable? If something feels off, don’t be afraid to make adjustments. Remember, art is a process, and every great drawing starts with a few rough lines. Once you’re happy with your sketch, you’ll be ready to move on to the next step: adding details and bringing your cat to life!
- How do I choose the right pose for my cat drawing? Consider observing real cats or referencing photos to find a pose that inspires you.
- Can I use a reference image while sketching? Absolutely! Using reference images can help you understand proportions and details better.
- What if I make a mistake while sketching? Don't worry! Mistakes are part of the process. Use an eraser and adjust as needed.
Adding Details
Once you've laid down the foundation of your cat drawing with a solid outline, it's time to bring it to life by . This is where the magic happens, and your feline friend starts to emerge from the page. Think of your drawing as a blank canvas waiting for the vibrant colors of personality and character. The details are not just embellishments; they are the essence of your artwork, giving it depth and realism.
To effectively add details, start by focusing on the features that define a cat's unique appearance. For instance, the fur texture can vary dramatically from one breed to another. Some cats have short, sleek coats, while others boast long, fluffy fur. Use short, quick strokes of your pencil or brush to mimic the direction of the fur growth. Remember, each stroke counts! Observe how light interacts with the fur; this will help you determine where to add highlights and shadows.
When it comes to the eyes, they are often described as the windows to the soul. Cats have captivating eyes that can express a range of emotions from curiosity to playfulness. Pay special attention to the iris and pupil shapes. For a more lifelike effect, consider the following:
- Highlighting: Add a small white dot or line to represent light reflection, giving the eyes a sparkling effect.
- Shading: Use darker shades around the edges of the iris to create depth.
- Color Variation: Mix different shades to capture the complexity of the cat's eye color.
Next, let’s talk about the whiskers. These delicate features are not merely for show; they play a crucial role in a cat's sensory perception. When drawing whiskers, make sure they are long and slightly curved, radiating from the muzzle. Vary their lengths and thickness to create a natural look. Remember, whiskers can also tell a story about the cat's mood—if they are pointing forward, the cat is likely curious or excited, while whiskers pulled back may suggest fear or aggression.
Don’t forget about the paws and claws! Cats have unique paw shapes that can add personality to your drawing. Observe how the toes are positioned and how the claws are slightly retracted. Adding subtle details like the pads on the bottom of the paws can enhance realism. A well-placed shadow beneath the paws can also ground your cat in the drawing space.
Finally, consider the background. While your focus may be on the cat, a simple backdrop can enhance the overall composition. Whether it's a cozy living room, a sunlit window, or a garden, a few details can set the scene. Use soft strokes or muted colors to ensure that the background complements rather than distracts from your main subject.
In conclusion, adding details is all about observation and practice. The more you draw, the better you'll become at noticing the little nuances that make each cat unique. So grab your tools, unleash your creativity, and watch as your cat illustration transforms into a stunning piece of art!
Here are some common questions that aspiring cat artists often ask:
- What materials do I need for drawing cats? You can start with basic pencils, erasers, and paper. As you progress, consider adding colored pencils or markers.
- How can I improve my drawing skills? Practice regularly, study real cats, and try different styles to find what works best for you.
- Is it necessary to understand cat anatomy? Yes! A good grasp of anatomy helps in creating accurate and realistic drawings.

Shading Techniques
Shading is like the magic wand of your drawing toolkit; it transforms a flat sketch into a vibrant, three-dimensional masterpiece. When it comes to drawing cats, mastering shading techniques is essential to convey the softness of their fur and the depth of their features. So, how do you go about adding that lifelike quality to your feline illustrations? Let’s dive into the world of shading!
First off, you need to understand the basic principles of light and shadow. Imagine the sun shining down on your cat; the areas facing the light will be brighter, while the parts turned away will be darker. This interplay creates depth and dimension. To achieve this effect, you can use a variety of shading techniques, such as hatching, cross-hatching, and blending. Each technique offers a different texture and feel, allowing you to choose the one that best suits your artistic style.
For instance, hatching involves drawing parallel lines close together. This method is great for creating a light texture, perfect for the soft fur of a cat. On the other hand, cross-hatching adds another layer of lines in a perpendicular direction, which deepens the shadow and adds complexity. Blending, which can be achieved with a blending stump or your fingers, smooths out the lines and creates a softer transition between light and dark areas.
Here's a quick overview of these techniques:
| Technique | Description | Best For |
|---|---|---|
| Hatching | Drawing parallel lines to create light shading. | Soft fur textures. |
| Cross-Hatching | Layering lines in different directions for deeper shadow. | Complex shadows. |
| Blending | Smoothing out lines for a softer look. | Realistic transitions. |
When you start shading your cat drawing, begin with the lightest areas and gradually build up to the darkest shadows. This gradual approach helps you maintain control over the shading process. If you go too dark too soon, it can be challenging to lighten it up later. Also, consider the direction of your light source; this will help you determine where to place your shadows accurately.
Another tip is to observe real cats or reference photos closely. Notice how the light interacts with their fur, creating subtle variations in color and texture. Pay attention to the areas around the ears, under the chin, and along the back, where shadows naturally occur. These details will not only enhance the realism of your drawing but also add character to your feline friend.
Lastly, don’t be afraid to experiment! Try using different tools like charcoal, colored pencils, or even digital brushes if you’re working on a tablet. Each medium has its unique way of creating texture and depth, so find what resonates with you. Remember, shading is an art form in itself, and with practice, you'll develop your own techniques that will make your cat illustrations truly stand out.
- What tools do I need for shading? You can use pencils, charcoal, or even pastels. Each tool offers a different texture and effect.
- How can I improve my shading skills? Practice regularly, study real-life references, and try different techniques to see what works best for you.
- Is it important to understand light and shadow? Absolutely! Understanding how light interacts with objects is crucial for creating realistic drawings.
Frequently Asked Questions
- What materials do I need to draw a cat?
To get started with your cat drawing, you'll need a few basic materials. Grab some good quality sketch paper, a set of pencils (preferably ranging from H to B for different shading), an eraser, and perhaps some colored pencils or markers if you want to add some flair. Don't forget a reference photo of a cat to help guide your drawing!
- How do I understand cat anatomy for drawing?
Understanding cat anatomy is crucial for creating realistic drawings. Start by observing the basic shapes that make up a cat's body. Look at the proportions of the head, body, and limbs. Study the way cats move and how their muscles are structured. You can find plenty of resources online or in books that break down cat anatomy into simple shapes.
- What are the key features to focus on when drawing a cat's face?
The face is where a cat's personality shines through! Pay special attention to the shapes of the eyes, ears, and muzzle. The eyes should be large and expressive, while the ears can vary in position depending on the cat's mood. Practice sketching different angles to capture a range of expressions.
- How can I improve my sketching skills?
Improving your sketching skills takes practice! Start with loose sketches to get a feel for the shapes and proportions. Don't be afraid to make mistakes—every artist does! Try to draw regularly, and consider joining a drawing group or taking classes for feedback and motivation.
- What techniques can I use for shading my cat drawing?
Shading adds depth to your drawing and can really bring your cat to life! Use techniques like hatching, cross-hatching, or stippling to create different textures. Pay attention to the light source in your drawing and shade accordingly to create shadows and highlights, making your cat look more three-dimensional.
- Can I use digital tools to draw cats?
Absolutely! Digital drawing tools can be a fantastic way to create cat illustrations. Software like Procreate or Adobe Illustrator offers various brushes and effects that can enhance your artwork. Plus, you can easily undo mistakes and experiment with different styles without wasting paper!


