Exploring the Still Life in Acrylic Painting
Welcome to the enchanting universe of still life in acrylic painting, where mundane objects transform into captivating visual narratives. This art form isn't just about arranging fruits or flowers; it's a profound exploration of color, light, and composition. Imagine a simple vase of flowers or a bowl of fruit on a table. At first glance, it may seem ordinary, but through the eyes of an artist, it becomes a canvas of endless possibilities, waiting to be brought to life with vibrant strokes and textures.
Still life painting has a rich history, tracing back to ancient civilizations where artists sought to capture the beauty of everyday items. Over the centuries, it has evolved into a vital genre within the art world, offering artists a unique opportunity to study the interplay of light and shadow, the harmony of colors, and the arrangement of objects. Think of it as a dance between the artist and the inanimate, where each brushstroke tells a story and every hue evokes emotion.
In this article, we will embark on a journey through the techniques, materials, and artistic principles that make still life painting such a captivating discipline. Whether you're a seasoned artist or a curious beginner, there's always something new to learn in this vibrant realm. So, grab your brushes and palette, and let’s dive into the world of acrylic still life painting!
At its core, still life painting is about depicting inanimate objects in a way that highlights their beauty and significance. It allows artists to focus on composition, light, and color without the distractions of a moving subject. This genre holds a special place in art history, as it has been a medium for artists to experiment with various techniques and styles.
Still life arrangements often consist of everyday items such as fruits, flowers, and household objects. By thoughtfully arranging these elements, artists can explore the relationships between shapes, colors, and textures. This careful consideration of composition enables a deeper understanding of how to create balance and harmony in their work.
Choosing the right materials is essential for bringing your still life creations to life. Acrylic paints are versatile and come in a variety of formulations that cater to different artistic styles and preferences. Understanding these materials can significantly enhance your painting experience and the quality of your artwork.
Acrylic paints can be categorized into several types, each offering unique characteristics that can influence your still life painting:
| Type of Acrylic Paint | Characteristics | Best For |
|---|---|---|
| Heavy Body Acrylics | Thick consistency, retains brush strokes | Textured compositions |
| Fluid Acrylics | Watery consistency, smooth application | Blending and glazing techniques |
| Interactive Acrylics | Allows for extended working time | Detailed work and layering |
Heavy body acrylics are a favorite among artists who love to create texture in their work. Their thick consistency allows for bold brush strokes and impasto techniques, making them perfect for still life compositions that require a tactile quality. When applied, they retain their shape, giving life to the objects depicted in your painting.
On the other hand, fluid acrylics offer a more watery consistency, allowing for smooth application and excellent blending capabilities. These paints are ideal for capturing the subtleties of light and shadow in still life paintings. They can create a luminous quality that adds depth and richness to your artwork.
Brushes are the artist's primary tools, and selecting the right ones can make all the difference in your still life paintings. Different brush types serve various functions, from broad strokes to fine details. Here are some common brush types used in acrylic painting:
- Flat Brushes: Great for broad strokes and filling in large areas.
- Round Brushes: Ideal for detail work and creating fine lines.
- Filbert Brushes: Versatile for both broad and detailed work, thanks to their oval shape.
Understanding these tools and how to use them effectively will elevate your still life paintings, allowing you to express your creativity fully.
1. What is the best way to start a still life painting?
Begin by selecting a few simple objects and arranging them in an interesting composition. Sketch the outlines lightly on your canvas, then start painting from the background to the foreground.
2. Can I use other mediums with acrylics?
Yes! Acrylics can be mixed with other mediums like gels or pastes to create different textures and effects. Just ensure they are compatible to achieve the desired results.
3. How do I clean my brushes after using acrylic paint?
Acrylic paint dries quickly, so it's essential to clean your brushes immediately after use with soap and water to prevent the paint from hardening on the bristles.
Understanding Still Life
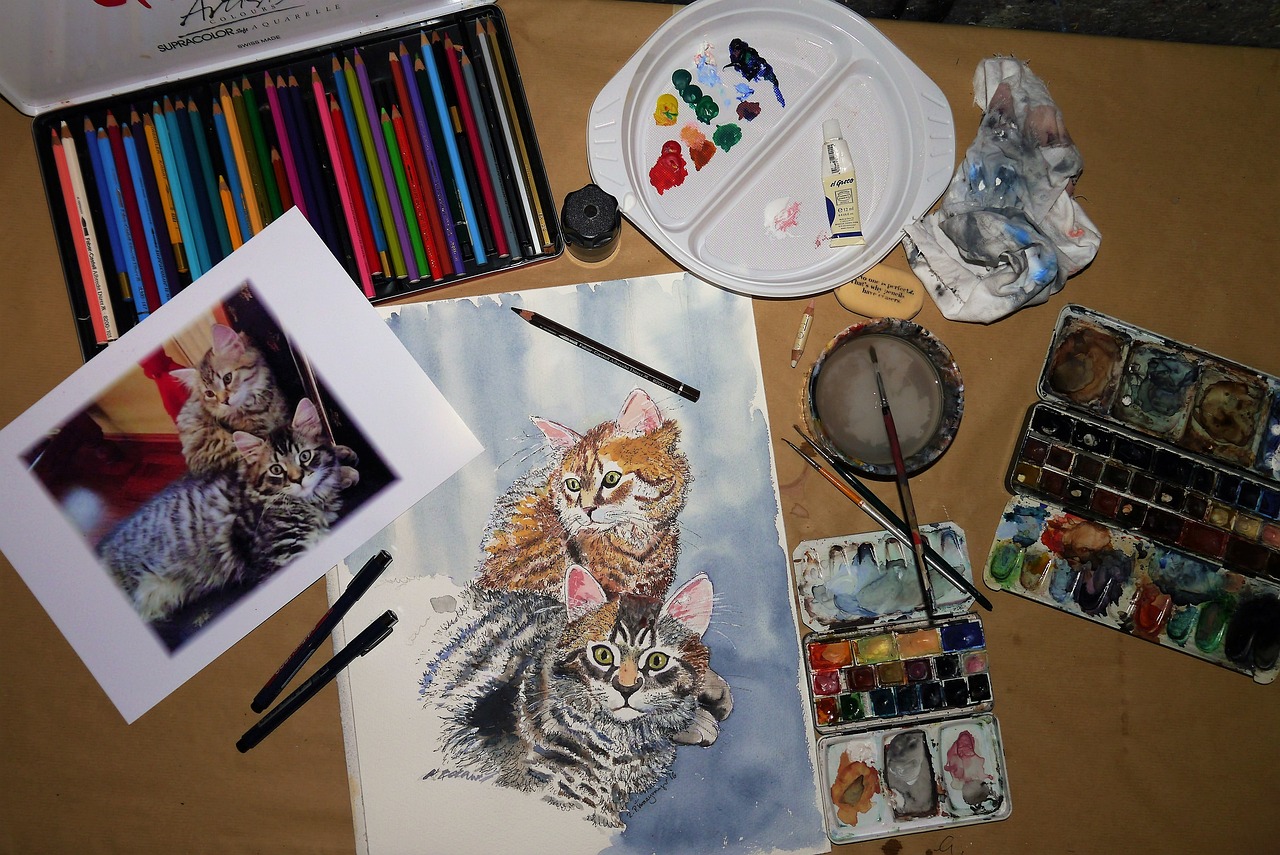
Still life painting is a fascinating genre that captures the essence of inanimate objects, transforming everyday items into stunning works of art. Imagine walking into a room filled with vibrant fruits, rustic pottery, or delicate flowers, all carefully arranged to tell a story. This art form allows artists to explore various elements such as composition, light, and color, making it a powerful medium for expression and creativity. Historically, still life has been significant in art, dating back to ancient civilizations. It serves not only as a means of aesthetic pleasure but also as a tool for artists to hone their skills in observation and technique.
One of the remarkable aspects of still life is its ability to convey meaning beyond the objects themselves. Each item can symbolize different themes, such as mortality, abundance, or the passage of time. For instance, a painting featuring a wilting flower might evoke thoughts of transience, while a bowl overflowing with fruit can represent prosperity. This depth of interpretation invites viewers to engage with the artwork on a personal level, making still life an intriguing subject for both artists and audiences alike.
Moreover, still life painting provides an excellent opportunity for artists to experiment with various techniques and styles. Whether it's the meticulous realism of a Dutch master or the bold colors of a modern abstract piece, the genre allows for a wide range of artistic expression. As artists arrange their subjects, they must consider factors such as balance, harmony, and contrast, which are essential for creating a visually compelling composition.
In the world of still life, light plays a pivotal role. The way light interacts with objects can dramatically alter the perception of color and form. Artists often study the effects of natural and artificial light, learning how to manipulate shadows and highlights to create depth and dimension in their work. This exploration of light not only enhances the realism of the painting but also adds an emotional layer that can resonate with the viewer.
To sum it up, still life painting is more than just a collection of objects; it's a rich tapestry of history, symbolism, and technique. It challenges artists to observe the world around them closely and express their unique perspectives through their creations. Whether you're an aspiring artist or a seasoned professional, understanding the nuances of still life can greatly enhance your artistic journey.
- What is the purpose of still life painting? Still life painting allows artists to explore composition, light, and color while conveying deeper meanings through inanimate objects.
- How can I improve my still life painting skills? Practice observing objects closely, experiment with different arrangements, and study light and shadow effects to enhance your skills.
- What materials do I need for still life painting? Essential materials include acrylic paints, various brushes, a suitable canvas or paper, and a well-arranged set of objects to paint.

Materials for Acrylic Painting
When it comes to acrylic painting, the right materials are essential for bringing your still life visions to life. Choosing the right supplies can make a significant difference in your artistic process and the final outcome of your artwork. Acrylic paints are known for their versatility and vibrant colors, but not all acrylics are created equal. Understanding the different types of paints, brushes, and canvases available will empower you to make informed decisions that enhance your creativity.
First and foremost, let’s talk about acrylic paints. They come in several formulations, and each type offers unique properties that can influence your painting style. Here’s a brief overview of the main types:
| Type of Acrylic Paint | Characteristics | Best Suited For |
|---|---|---|
| Heavy Body Acrylics | Thick consistency, retains brush strokes | Textured still life compositions |
| Fluid Acrylics | Thin, watery consistency, excellent for blending | Subtle details and smooth applications |
| Interactive Acrylics | Stay wet longer, allowing for blending and reworking | Techniques requiring extended working time |
In addition to selecting the right paint, you’ll also need to choose the appropriate brushes. Brushes are crucial for achieving different effects and textures in your still life artwork. Here are a few types of brushes to consider:
- Flat Brushes: Ideal for broad strokes and filling in large areas.
- Round Brushes: Great for detail work and creating lines.
- Filbert Brushes: A blend of flat and round, perfect for soft edges.
- Fan Brushes: Useful for creating texture and foliage.
Lastly, the choice of canvas can dramatically impact your painting experience. Acrylics can be used on various surfaces, including canvas, wood panels, and even paper. For still life, a primed canvas or canvas board is often preferred, as it provides a smooth surface that allows for easy application and blending of colors. Additionally, consider the size of your canvas; larger canvases can create a more dramatic impact, while smaller ones can be perfect for intricate details.
In conclusion, investing in quality materials is a vital step in your artistic journey. By selecting the right acrylic paints, brushes, and canvases, you set the stage for creating stunning still life paintings that capture the imagination. Remember, each artist's needs are unique, so feel free to experiment with different materials until you find what works best for you!
Q: What is the best type of acrylic paint for beginners?
A: Heavy body acrylics are often recommended for beginners due to their forgiving texture and ease of use.
Q: Can I mix different types of acrylic paints?
A: Yes, you can mix different types of acrylic paints, but be mindful of their properties as it may affect the final outcome.
Q: How do I clean my brushes after using acrylic paint?
A: Clean your brushes with soap and water immediately after use to prevent the paint from drying and damaging the bristles.
Q: What surface is best for acrylic painting?
A: Primed canvas or canvas boards are generally the best surfaces for acrylic painting, but you can also experiment with wood panels and acrylic paper.
Types of Acrylic Paint
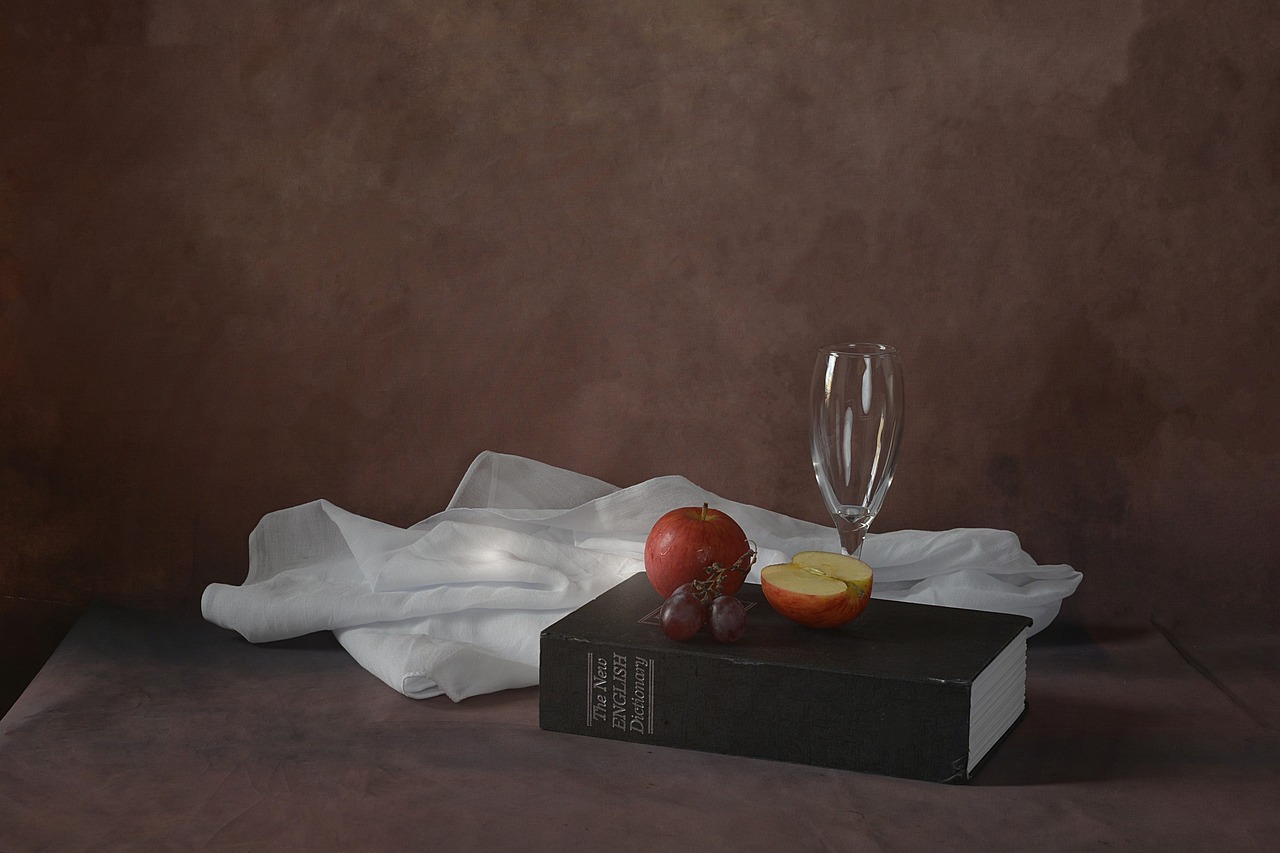
Acrylic paints are a versatile medium that has gained immense popularity among artists, especially those delving into the world of still life. The beauty of acrylics lies in their ability to cater to various artistic styles and preferences. They come in several formulations, each with its unique characteristics, making it essential for artists to choose the right type based on their desired outcome. Understanding these types can significantly enhance your still life paintings, allowing for greater creativity and expression.
One of the most common types of acrylic paint is the heavy body acrylics. These paints are thick and creamy, providing excellent coverage and the ability to retain brush strokes. This quality makes them ideal for artists who wish to create textured compositions. When using heavy body acrylics, artists can easily manipulate the paint to create impasto effects, where the paint stands out from the canvas, adding a three-dimensional feel to the artwork. This technique is particularly useful in still life, where the texture of objects can be emphasized, making them almost tangible.
On the other hand, fluid acrylics offer a more watery consistency, which allows for smooth application and blending. These paints are perfect for artists who want to achieve subtle gradients and delicate washes of color. Fluid acrylics are especially beneficial when painting transparent objects or when striving for a light, airy feel in a still life composition. Their ability to flow easily makes them ideal for glazing techniques, where layers of color can be built up to create depth and luminosity.
Another fascinating category is the interactive acrylics. These paints have a unique formulation that allows them to stay wet longer than traditional acrylics, providing artists with more time to blend and manipulate colors on the canvas. This extended working time can be particularly advantageous when tackling complex still life arrangements that require precision and attention to detail. Artists can create smooth transitions and intricate details without the rush that often comes with faster-drying paints.
To summarize, here’s a quick comparison of the different types of acrylic paints:
| Type of Acrylic Paint | Characteristics | Best For |
|---|---|---|
| Heavy Body Acrylics | Thick, retains brush strokes | Textured compositions, impasto effects |
| Fluid Acrylics | Watery consistency, smooth application | Subtle gradients, delicate washes |
| Interactive Acrylics | Longer drying time | Blending, detailed work |
By understanding these different types of acrylic paints, artists can make informed decisions that align with their artistic vision and the specific requirements of their still life paintings. Whether you're aiming for bold textures with heavy body acrylics or soft, blended colors with fluid acrylics, each type offers unique possibilities that can elevate your artwork to new heights. So, the next time you sit down to create a still life piece, consider how the type of acrylic paint you choose can influence the final outcome of your masterpiece!
Heavy Body Acrylics
Heavy body acrylics are a favorite among artists who crave texture and depth in their still life compositions. These paints are known for their thick consistency, which allows them to hold brush strokes beautifully, creating a three-dimensional effect on the canvas. Imagine applying paint that behaves like butter—rich, creamy, and full of possibilities! This quality makes heavy body acrylics particularly suitable for artists who want to add an expressive touch to their work.
When using heavy body acrylics, you can achieve a variety of techniques that enhance your still life paintings. For instance, you can create impasto effects, where the paint is applied thickly to the canvas, allowing for dramatic peaks and valleys. This technique not only adds visual interest but also invites the viewer to engage with the artwork on a tactile level. The interplay of light and shadow across these textured surfaces can evoke a sense of realism that draws the eye and captures the imagination.
One of the biggest advantages of heavy body acrylics is their versatility. They can be used straight from the tube for a bold application or thinned with water or mediums for a more fluid consistency. This adaptability makes them perfect for layering techniques, where you can build up colors gradually to achieve a rich, luminous quality. Additionally, they dry quickly, which means you can work efficiently without waiting long periods between layers. However, it's essential to note that while they dry fast, the paint remains workable for a limited time, so planning your strokes is key.
Artists often find themselves experimenting with heavy body acrylics to discover unique effects. Here are some popular techniques that can be applied:
- Palette Knife Techniques: Using a palette knife instead of a brush can create bold, textured strokes that are perfect for adding dimension to your still life.
- Dry Brushing: This technique involves using a dry brush to apply a small amount of paint, allowing the texture of the canvas to show through, which can add subtle highlights to your objects.
- Mixing with Gel Mediums: Combining heavy body acrylics with gel mediums can enhance texture even further, providing a glossy finish that can elevate your still life compositions.
In conclusion, heavy body acrylics offer a wealth of creative opportunities for artists looking to explore the world of still life painting. Their thick consistency, ability to hold texture, and versatility make them an excellent choice for those wanting to express their artistic vision in a dynamic and engaging way. So, grab your brushes and palette knives, and let your creativity flow!
1. What is the difference between heavy body acrylics and other types of acrylic paints?
Heavy body acrylics are thicker and retain brush strokes better than fluid acrylics, which are more watery and ideal for smooth applications. This thickness allows for more texture and dimension in artwork.
2. Can I mix heavy body acrylics with other types of acrylics?
Yes, you can mix heavy body acrylics with fluid acrylics or even acrylic inks. However, be mindful of the consistency changes, as it may affect the final texture of your painting.
3. How do I clean my brushes after using heavy body acrylics?
It's essential to clean your brushes immediately after use with soap and water. Acrylic paint dries quickly, and once it dries on your brushes, it can be challenging to remove.
Fluid Acrylics
Fluid acrylics are a fantastic choice for artists looking to achieve a smooth, flowing application in their still life paintings. Unlike their heavy body counterparts, fluid acrylics have a more watery consistency, which allows for effortless blending and layering. This unique quality makes them particularly well-suited for capturing the delicate subtleties of light and color in inanimate objects. Imagine painting a glass vase filled with flowers; the way light dances through the glass can be beautifully rendered using fluid acrylics, giving your artwork a sense of transparency and depth.
One of the standout features of fluid acrylics is their versatility. They can be used straight from the bottle for a vibrant, saturated color or thinned with water or acrylic mediums for a more transparent wash. This adaptability means that artists can easily manipulate the paint to suit their desired effect, whether that’s creating soft gradients or bold, striking contrasts. In still life compositions, the ability to layer colors without losing their vibrancy is invaluable, allowing for a more dynamic and engaging piece.
When working with fluid acrylics, it’s essential to consider the following techniques to maximize their potential:
- Wet-on-Wet Technique: This involves applying wet paint onto wet paint, allowing for seamless blending and soft edges.
- Glazing: Building up layers of transparent color can create a luminous effect, enhancing the overall depth of the painting.
- Dripping and Pouring: These methods can add an element of spontaneity and texture, making your still life compositions more exciting.
To truly harness the power of fluid acrylics, it’s also important to select the right tools. A variety of brushes, such as soft, synthetic brushes or even palette knives, can yield different effects. For instance, a soft brush can create gentle blends, while a palette knife can add texture and movement. Experimenting with these tools will help you discover what works best for your artistic style and the specific still life subjects you are portraying.
In conclusion, fluid acrylics offer incredible possibilities for artists looking to explore the captivating world of still life painting. Their ability to blend seamlessly, create luminous layers, and adapt to various techniques makes them a must-try medium. So, gather your materials, set up your still life arrangement, and let your creativity flow with fluid acrylics!

Choosing the Right Brushes
When it comes to acrylic painting, particularly in the realm of still life, the choice of brushes can make or break your artistic vision. The right brush can help you achieve the desired texture, detail, and overall feel of your artwork. So, how do you choose the perfect brush for your still life creations? Let’s dive into the world of brushes and explore the different types available, their unique characteristics, and how they can enhance your painting experience.
First off, there are several types of brushes that every acrylic painter should consider. Each brush type is designed for specific techniques and effects. For instance, flat brushes are fantastic for creating broad strokes and filling in large areas, making them ideal for backgrounds or larger objects in your still life. On the other hand, round brushes are perfect for detail work, allowing you to paint fine lines and intricate features that can bring your still life to life.
Moreover, filbert brushes, which have a rounded edge, are excellent for blending and softening edges, giving your painting a more natural look. If you’re aiming for texture, consider using fan brushes, which can create unique patterns and strokes that add depth to your composition. Each brush type can serve a distinct purpose, and understanding these can significantly elevate your painting skills.
When selecting brushes, consider the bristle type as well. Synthetic brushes are often favored for acrylics because they hold up well against the thick consistency of the paint and provide a smooth application. Natural bristle brushes, while traditionally used for oil painting, can also be used with acrylics for specific effects, especially when you want a more textured finish. It's worth experimenting with both to see which works best for your style.
| Brush Type | Best For | Characteristics |
|---|---|---|
| Flat Brush | Large areas and backgrounds | Wide, rectangular shape |
| Round Brush | Detail work and fine lines | Pointed tip for precision |
| Filbert Brush | Blending and softening edges | Oval shape with a rounded edge |
| Fan Brush | Creating texture and patterns | Fanned bristles for unique strokes |
In addition to brush type and bristle material, consider the size of the brushes as well. Having a variety of sizes on hand—from small detail brushes for intricate work to larger brushes for broad strokes—will provide you with the flexibility to tackle any aspect of your still life composition. It’s like having a toolbox; the more tools you have, the more options you can explore!
Lastly, remember that the way you hold and use your brush can also influence your painting style. Experiment with different grips and techniques, such as using the brush’s side for broad strokes or the tip for fine details. The more comfortable you become with your brushes, the more expressive your still life paintings will be.
In conclusion, choosing the right brushes for your acrylic still life painting is a crucial step in your artistic journey. By understanding the different types, materials, and sizes available, you can select the perfect tools to bring your creative vision to life. Don’t hesitate to experiment and find what works best for you. After all, art is about exploration and self-expression!
- What type of brush is best for beginners? Start with a basic set that includes a flat and round brush. This will give you versatility for various techniques.
- Can I use oil brushes for acrylic painting? While it's possible, it's recommended to use brushes specifically designed for acrylics to achieve the best results.
- How do I clean my acrylic brushes? Clean brushes immediately after use with soap and water to prevent paint from drying on the bristles.
Techniques for Capturing Light
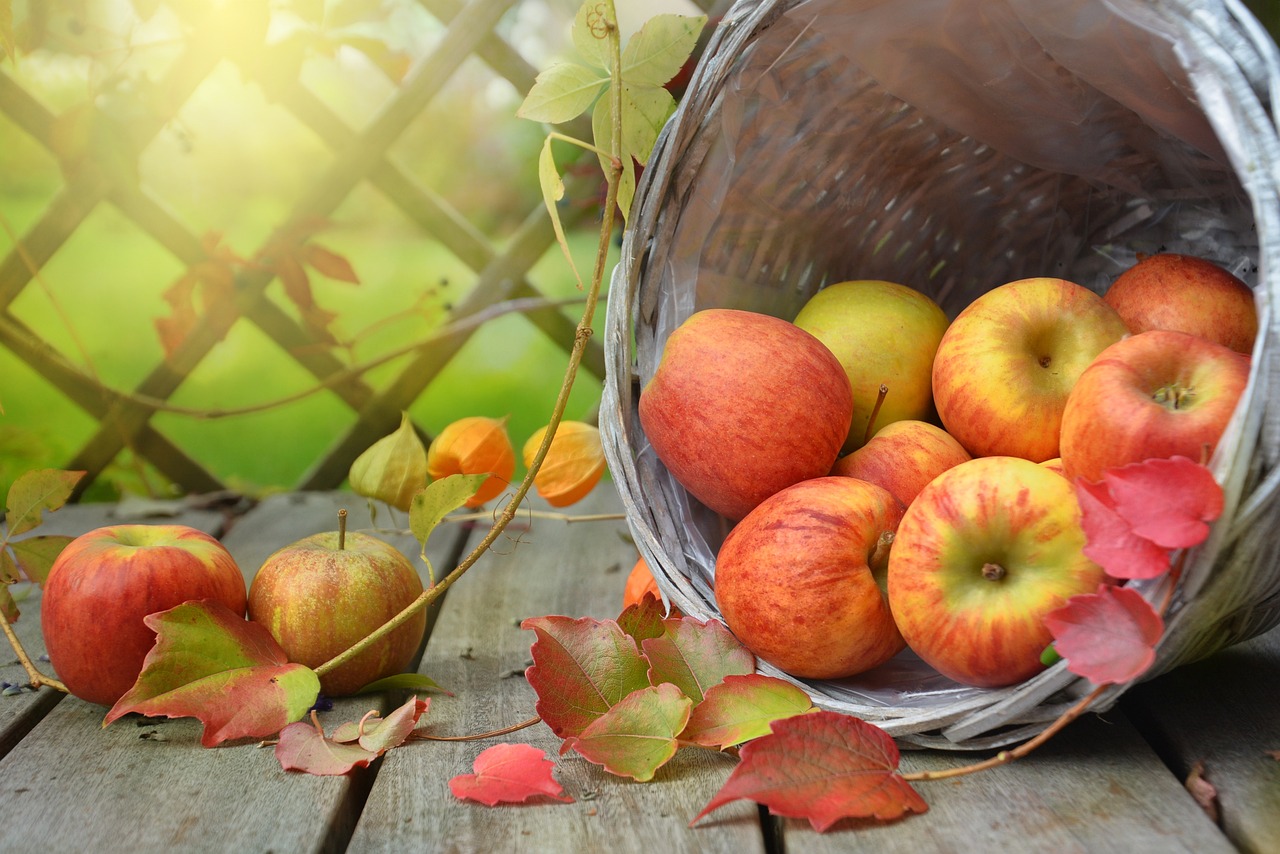
When it comes to still life painting, capturing light is not just an artistic choice; it's an essential element that breathes life into inanimate objects. Think about it: without light, a painting can feel flat and lifeless. By understanding how to manipulate light and shadow, artists can create depth, mood, and a sense of realism that draws viewers into their work. This section will explore various techniques that can help you master the art of light in your still life compositions.
One of the most effective methods for capturing light is the Chiaroscuro technique. This Italian term translates to "light-dark" and refers to the dramatic contrast between light and shadow. Imagine a spotlight illuminating a subject while everything else fades into darkness. This technique can create a three-dimensional effect, making your objects appear more lifelike. To effectively use chiaroscuro, start by determining your light source. Then, observe how the light interacts with your objects—where it hits, where it casts shadows, and how it changes the colors of the surfaces. By emphasizing these contrasts, you can guide the viewer's eye and add a dynamic quality to your painting.
Another fantastic approach to capturing light is through glazing techniques. Glazing involves applying thin layers of transparent paint over dried layers to create luminosity and depth. This technique allows you to build up color gradually, resulting in a rich, glowing effect that can transform your still life. For instance, if you're painting a fruit bowl, you might start with a solid base layer of color and then apply a glaze of a lighter hue to mimic the way light reflects off the surface of the fruit. The key to successful glazing is patience; allow each layer to dry before adding the next, giving you the control to manipulate the final outcome.
As you experiment with these techniques, remember that light also affects the color of your objects. Natural light can change dramatically throughout the day, so consider the time of day when setting up your still life. Morning light is often soft and warm, while midday light can be harsh and bright. Observing these changes can help you choose the right colors and tones for your painting. Additionally, you can use a color wheel to understand how light interacts with different colors. For example, a yellow object in direct sunlight will appear much brighter and more vibrant than the same object in shadow.
Incorporating these techniques into your still life paintings can take your work to the next level. By understanding how to manipulate light and shadow, you can create compelling compositions that not only capture attention but also evoke emotion. So, grab your brushes and start experimenting! You might find that the more you practice these techniques, the more confident you'll become in your ability to convey light in your artwork.
- What is the best light source for still life painting? Natural light is often preferred for still life as it provides a soft, even illumination. However, artificial light can also work well if managed correctly.
- How can I enhance the depth in my still life paintings? Using techniques like chiaroscuro and glazing can significantly enhance depth. Pay close attention to your light source and the shadows it creates.
- Is it necessary to have a professional setup for still life painting? No, you can create a still life with everyday objects at home. The key is to arrange them thoughtfully and consider your light source.
Chiaroscuro Technique
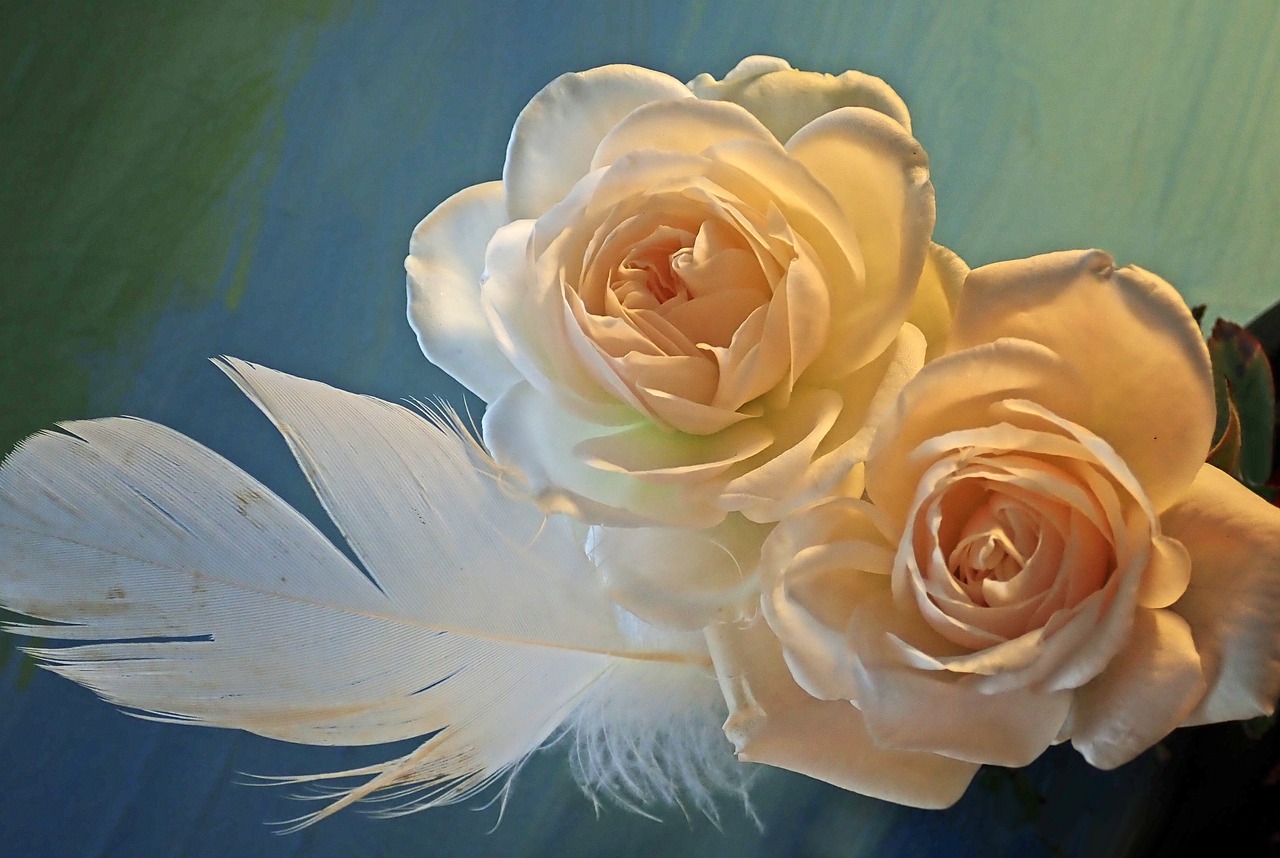
The is a powerful tool in the artist's arsenal, particularly when it comes to still life painting. Originating from the Italian words for "light" (chiaro) and "dark" (scuro), this method involves the use of strong contrasts between light and shadow to create a sense of volume and three-dimensionality in a two-dimensional space. Imagine walking into a dimly lit room where a single beam of light illuminates a beautifully arranged fruit bowl; the way the light dances off the surfaces creates not just a visual feast but a narrative, drawing the viewer into the scene.
To effectively employ chiaroscuro in your still life, start by observing how light interacts with your objects. Notice the way shadows fall and how they can transform the ordinary into the extraordinary. For instance, a simple apple can appear almost sculptural when light hits it just right, highlighting its curves and contours. When painting, consider the following aspects:
- Light Source: Determine where your light is coming from. A single, strong light source will create more dramatic shadows and highlights.
- Contrast: Use a range of values from dark to light to enhance the depth of your painting. This contrast is what brings your still life to life.
- Layering: Build your painting in layers, starting with darker tones and gradually adding lighter shades to create highlights.
One effective way to practice this technique is to set up a simple still life with a variety of objects, such as a vase, fruit, and fabric. Position a light source to one side and observe how the shadows and highlights change as you adjust the angle and intensity of the light. As you paint, remember to focus on the transitions between light and dark; these gradients are essential for achieving the desired depth.
Additionally, consider using a limited color palette. This approach not only simplifies your choices but also forces you to pay closer attention to the values of light and dark. By mixing your colors thoughtfully, you can create a harmonious balance that enhances the chiaroscuro effect. For instance, a deep purple shadow on a yellow object can create a striking contrast that captures the viewer's eye.
Ultimately, mastering the chiaroscuro technique can elevate your still life paintings from mere representations of objects to evocative pieces that tell a story. The interplay of light and shadow can evoke emotions, create drama, and invite viewers to engage with your work on a deeper level. So grab your brushes, set up your still life, and let the light guide your hand!
Q: What is the best way to practice chiaroscuro?
A: The best way to practice is to set up a still life with a strong light source and observe how it interacts with your objects. Focus on capturing the contrasts between light and shadow in your painting.
Q: Do I need special paints to achieve chiaroscuro effects?
A: No special paints are required, but using a range of acrylics in various values will help you achieve the desired effects. A limited color palette can also enhance your ability to focus on light and shadow.
Q: Can chiaroscuro be used in other forms of painting?
A: Absolutely! Chiaroscuro is a technique that can be applied across various styles and mediums, including oil painting, watercolor, and digital art.
Glazing Techniques
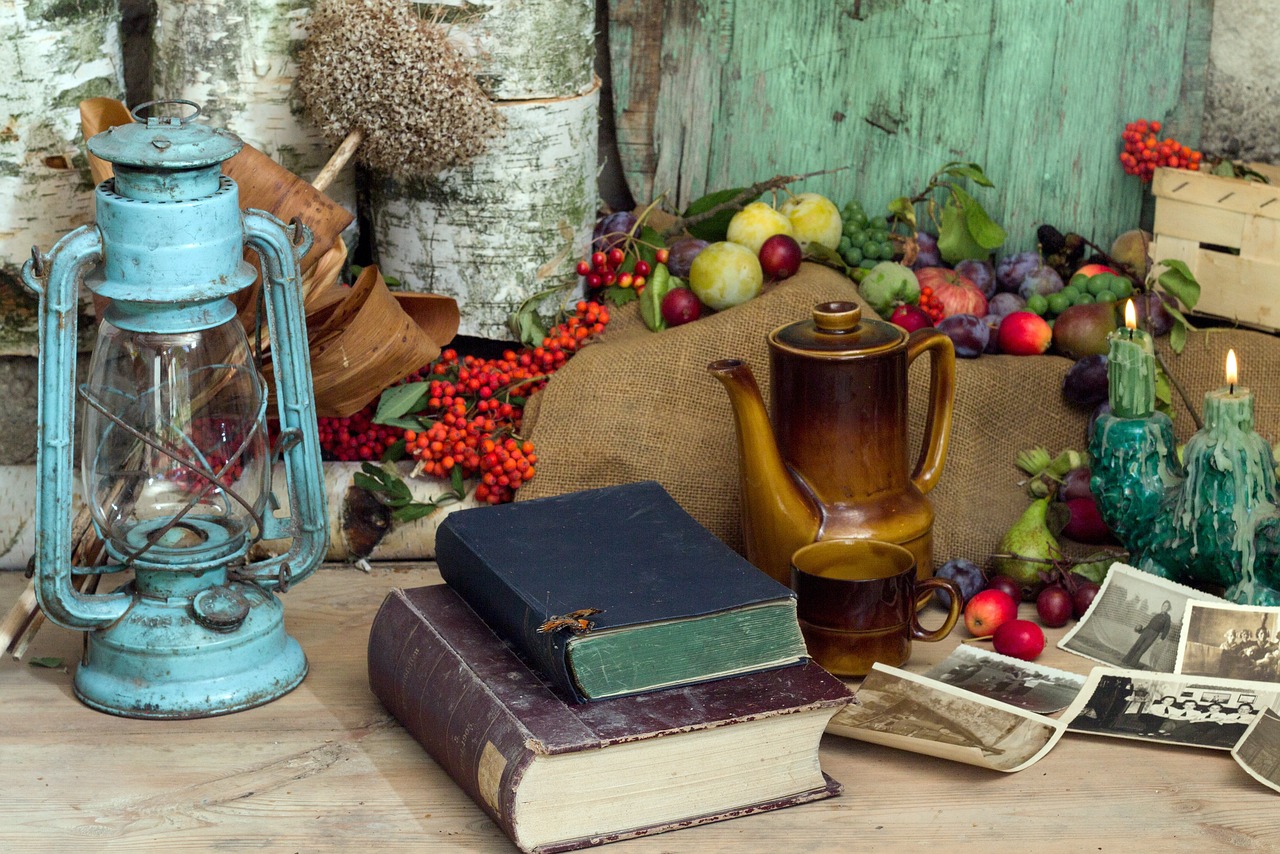
Glazing is a remarkable technique in acrylic painting that allows artists to achieve a stunning depth and luminosity in their still life compositions. By applying transparent layers of paint over dried layers, artists can create a sense of richness and vibrancy that is often difficult to achieve with opaque colors alone. Imagine glazing as the way sunlight filters through leaves, casting varied shades and highlights; it’s all about building up layers to create that enchanting effect. The beauty of glazing lies in its ability to transform a flat painting into a dynamic visual experience.
To get started with glazing, you’ll need to understand the importance of transparency and how to mix your acrylic paints accordingly. Typically, you would use a glazing medium to extend the paint while maintaining its clarity. This medium allows for a smoother application and helps the colors to remain vibrant without becoming muddy. When applying a glaze, it's essential to work with a light hand. Think of it like applying a sheer layer of frosting on a cake; too much can overwhelm the base, but just the right amount can enhance the overall flavor.
Here’s a simple step-by-step process to master glazing:
- Prepare Your Base Layer: Start with a fully dried base layer. This could be an underpainting or the first layers of your still life.
- Mix Your Glaze: Combine your acrylic paint with a glazing medium. Aim for a mixture that is transparent enough to see the layers beneath while still providing color.
- Apply the Glaze: Use a soft brush to apply the glaze in thin layers. Remember, it's better to build up gradually than to apply too much at once.
- Layering: Allow each layer to dry before applying the next. This will prevent the colors from mixing unintentionally and allow for a clearer depth effect.
One of the most exciting aspects of glazing is the ability to manipulate color and light. For instance, if you want to create a glowing effect on a piece of fruit in your still life, you might start with a warm base color and then apply a cool glaze. This contrast will make the fruit appear to shimmer and pop off the canvas, drawing the viewer's eye directly to it.
Moreover, glazing can also be used to adjust the overall tone of your painting. If you find that your still life feels too bright or too dull, a simple glaze can help balance the colors. Just think of it as adjusting the brightness on your screen; sometimes, a slight tweak can make all the difference.
As you experiment with glazing, don’t be afraid to play with different color combinations and layering techniques. Each artist develops their unique style, and glazing can be a fantastic way to express your individuality. Whether you're aiming for a subtle, atmospheric effect or a bold, striking contrast, glazing offers endless possibilities to enhance your still life artwork.
- What is the best medium for glazing in acrylic painting? A good glazing medium specifically designed for acrylics is recommended, as it helps maintain transparency while enhancing flow.
- Can I use regular water to thin acrylic paint for glazing? While water can be used, it may alter the paint's binding properties. It's best to use a glazing medium for optimal results.
- How many layers should I apply when glazing? There’s no set number; it depends on the desired effect. Start with one or two layers and build up as needed.
Composition and Arrangement
This article delves into the captivating world of still life in acrylic painting, examining techniques, historical context, and tips for artists to enhance their skills and creativity.
Still life painting involves depicting inanimate objects, often arranged thoughtfully. This section explores its significance in art history and how it allows artists to study composition, light, and color.
Choosing the right materials is crucial for acrylic painting. This section discusses the different types of acrylic paints, brushes, canvases, and other essential tools that can enhance your still life artwork.
Acrylic paints come in various formulations, including heavy body, fluid, and interactive. This subheading examines the characteristics of each type and their suitability for still life painting.
Heavy body acrylics are thick and retain brush strokes well, making them ideal for textured still life compositions. Here, we discuss their application techniques and benefits.
Fluid acrylics offer a more watery consistency, allowing for smooth application and blending. This section highlights how fluid acrylics can enhance the subtleties in still life paintings.
Brushes play a pivotal role in achieving desired effects in acrylic painting. This part covers the various brush types and their functions in still life artwork.
Light plays a crucial role in still life painting. This section discusses techniques for capturing light and shadow, helping artists create depth and realism in their compositions.
Chiaroscuro involves strong contrasts between light and dark to create volume. This subheading explores how to effectively use this technique in still life painting.
Glazing allows artists to build layers of color and achieve luminosity. This section delves into how glazing can enhance the depth and vibrancy of still life works.
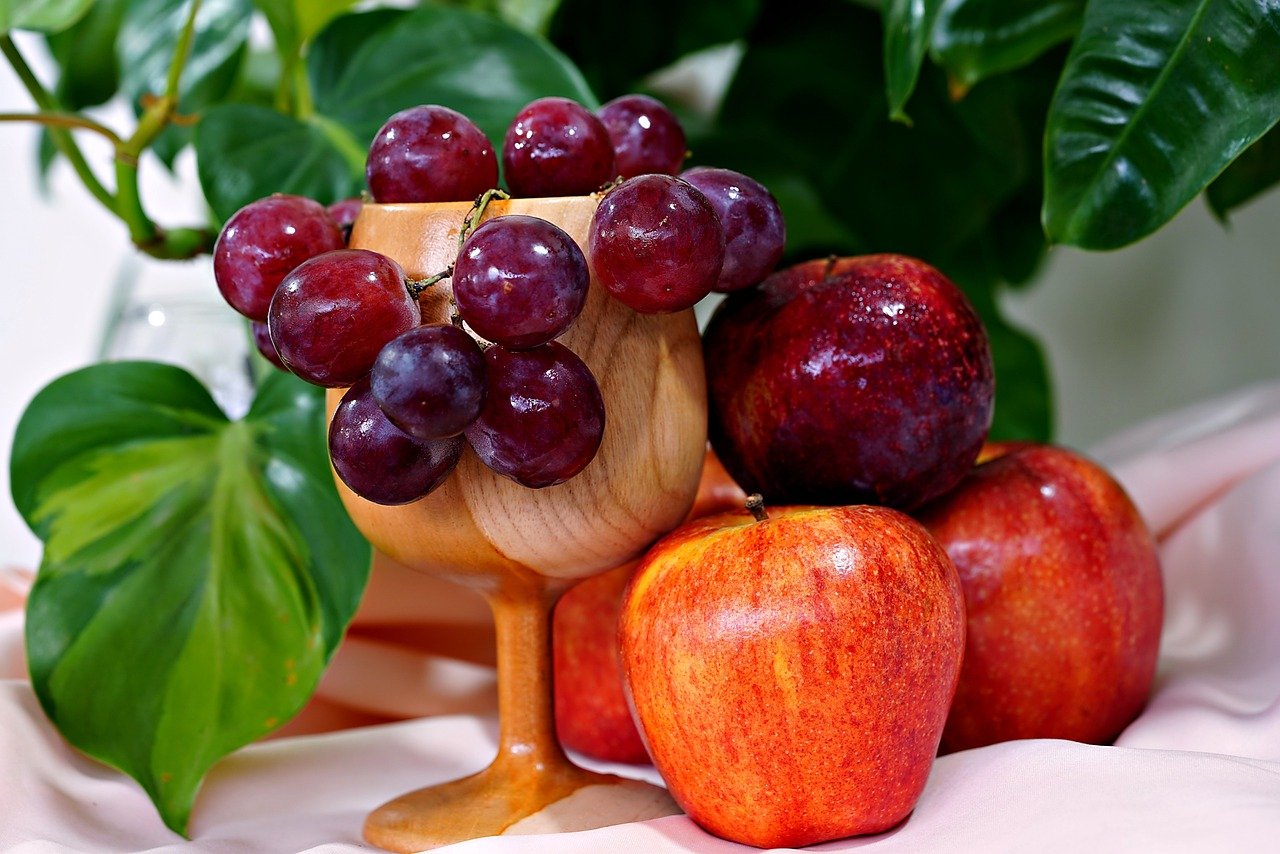
When it comes to still life painting, composition and arrangement are not just technical aspects; they are the very essence that breathes life into your artwork. Think of composition as the backbone of your painting—it supports the entire piece and guides the viewer's eye. A well-thought-out arrangement can transform a simple collection of objects into a compelling narrative. So, how do you achieve that stunning composition that captivates and engages?
First, consider the Rule of Thirds. This classic principle divides your canvas into a grid of nine equal parts. By positioning your subjects along these lines or at their intersections, you can create a more dynamic and visually appealing composition. Imagine your still life as a stage, where each object plays a role in telling a story. By placing your focal points strategically, you can lead the viewer's gaze through the entire piece, creating an engaging journey.
Next, let’s talk about focal points. Establishing a focal point is crucial; it's what draws the viewer's eye first. You can achieve this through contrast, color, or placement. For instance, if you have a vibrant red apple among muted tones, that apple will naturally become the star of your composition. Think of it like a spotlight on a stage; it highlights the most important part of your artwork. You can also use elements like leading lines or shapes to guide the viewer's attention toward this focal point.
Another important aspect of composition is balance. You want your painting to feel stable and harmonious. There are two types of balance to consider: symmetrical and asymmetrical. Symmetrical balance involves mirroring elements on either side of a central axis, while asymmetrical balance uses different elements to create a sense of equilibrium. For example, if you have a large vase on one side, you might balance it with several smaller objects on the other side. This creates a visual tension that keeps the viewer engaged without feeling chaotic.
Finally, don't forget about negative space. This is the area around and between your subjects. It’s just as important as the objects themselves because it helps define their shapes and enhances the overall composition. Think of it as the silent partner in your artwork; it gives breathing room and allows your objects to stand out. By consciously incorporating negative space, you can create a sense of depth and perspective that enriches your still life painting.
- What is the best way to start a still life painting? Begin with a simple arrangement of objects and focus on the composition before adding details.
- How can I improve my color mixing skills? Practice mixing colors on a palette and experiment with different combinations to understand how they interact.
- What are some common mistakes to avoid in still life painting? Avoid overcrowding your composition and ensure you have a clear focal point to guide the viewer's eye.
- How can I make my still life painting more dynamic? Use varied shapes, colors, and textures, and consider incorporating contrasting elements to create interest.
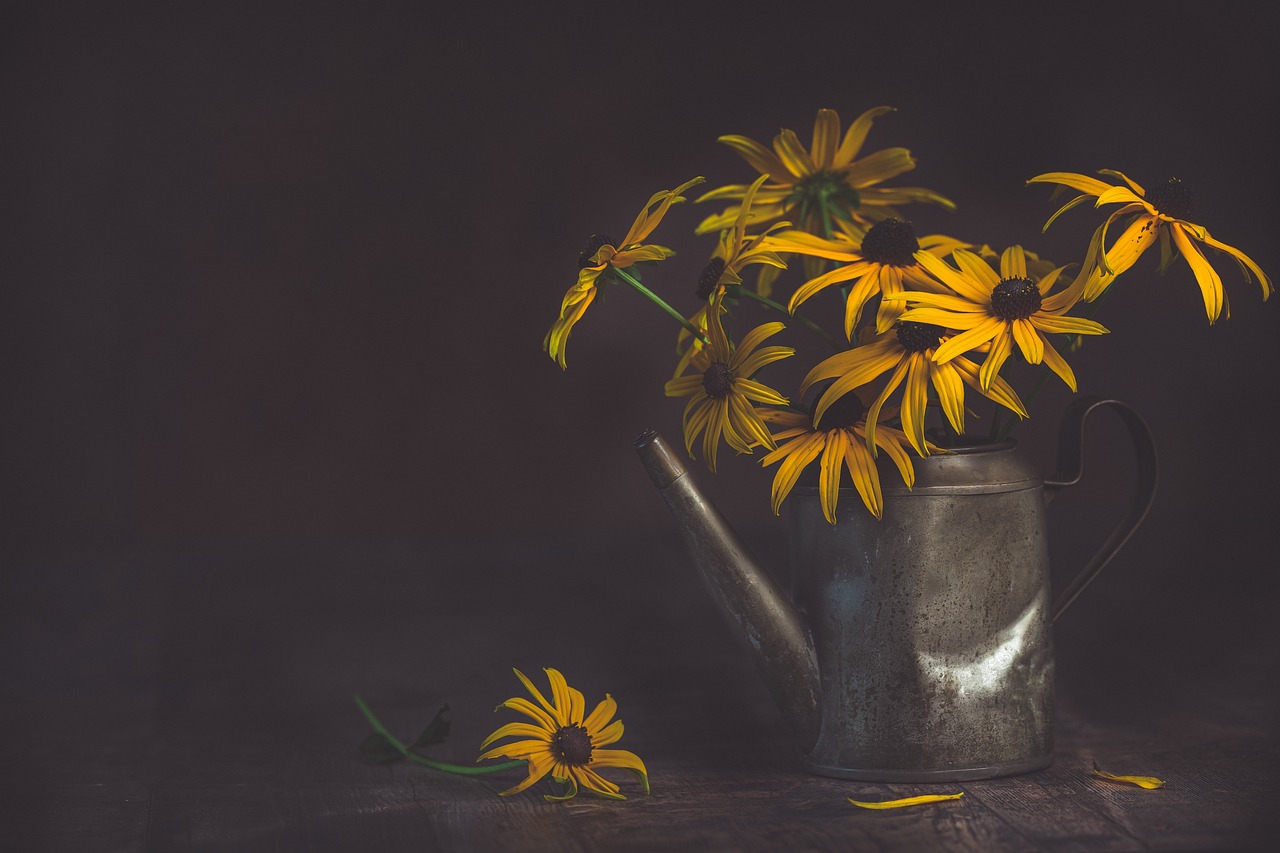
Rule of Thirds
The is one of the most fundamental principles in visual composition, and it can transform your still life paintings from ordinary to extraordinary. Imagine dividing your canvas into nine equal parts, creating a grid with two vertical and two horizontal lines. This technique isn’t just a suggestion; it’s a roadmap that guides the viewer's eye through your artwork, creating a sense of balance and harmony. By strategically placing your focal points along these lines or at their intersections, you can create a composition that feels more dynamic and engaging.
Think of it this way: if your still life arrangement is like a delicious meal, the Rule of Thirds is the perfect plate that presents it beautifully. Instead of centering everything, which can sometimes feel a bit static or boring, using the Rule of Thirds invites the viewer to explore different areas of your painting. For example, if you’re painting a vibrant bouquet of flowers, placing the flowers off-center can lead to a more intriguing composition, allowing the surrounding space to breathe and engage the viewer.
To illustrate the effectiveness of this technique, consider the following example:
| Placement | Description |
|---|---|
| Center | Can feel static and less engaging. |
| Left Third | Draws the eye across the canvas, creating movement. |
| Right Third | Offers a balanced view, allowing the viewer to explore the background. |
When applying the Rule of Thirds, it’s essential to remember that it’s not a hard-and-fast rule; rather, it’s a guideline that can be bent or broken. Some artists find that their most compelling pieces come from a more instinctive approach, where they allow their creativity to flow freely. However, if you're just starting out or feeling uncertain, the Rule of Thirds can serve as a reliable foundation upon which to build your artistic skills.
In addition to placement, consider the relationship between your objects. For instance, if you’re painting a fruit bowl, try positioning the bowl at one of the intersections while allowing the fruits to cascade naturally into the surrounding space. This not only adheres to the Rule of Thirds but also creates a sense of movement and life within your composition.
Ultimately, the Rule of Thirds is about creating a visual journey for the viewer. It encourages you to think critically about where to place your objects and how they interact with one another. By mastering this technique, you’ll be well on your way to creating still life paintings that not only catch the eye but also tell a story, inviting viewers to linger a little longer and appreciate the beauty of your art.
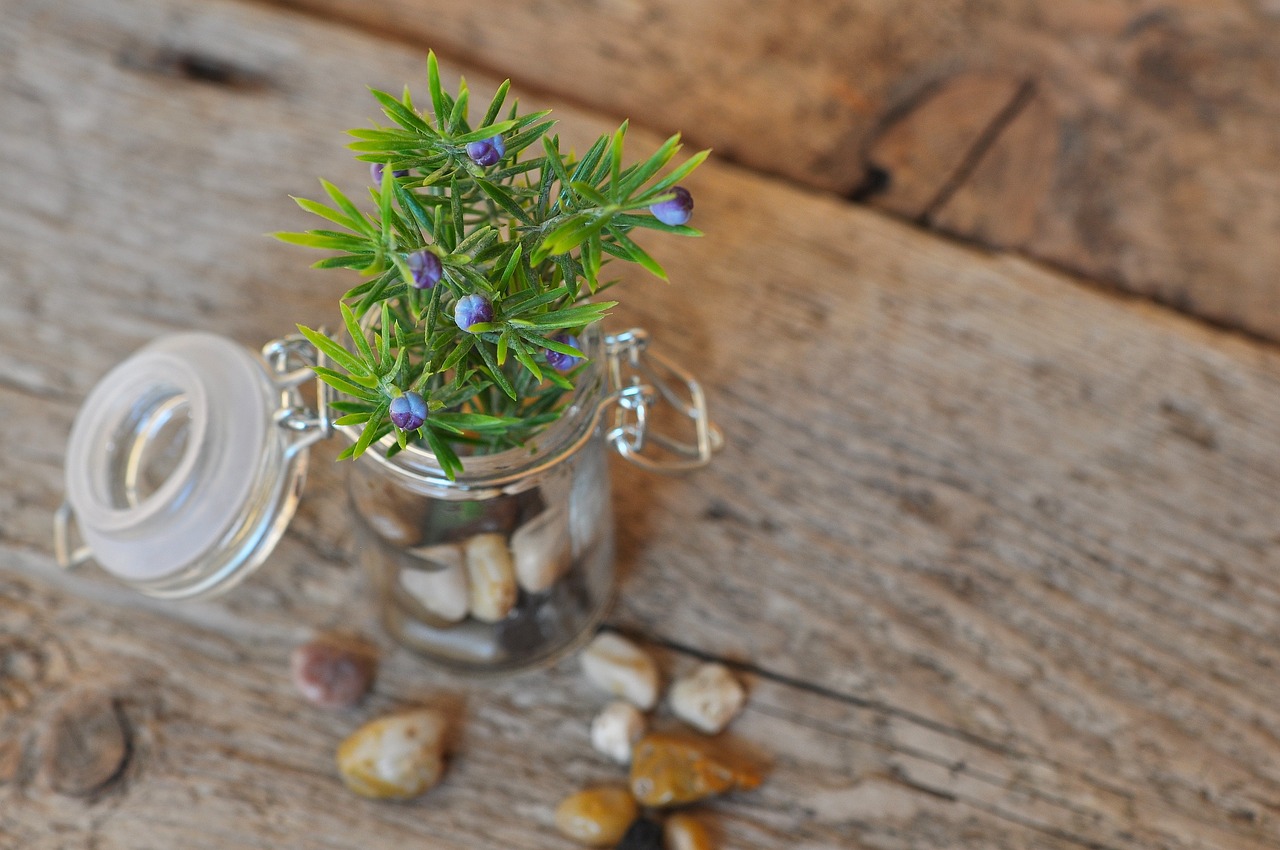
Creating Focal Points
When it comes to still life painting, establishing a focal point is akin to setting the stage for a captivating performance. Just like a spotlight highlights the lead actor in a play, a well-placed focal point draws the viewer's eye and invites them into the story your artwork tells. But how do you create this captivating center of interest? The answer lies in a combination of strategic placement, contrast, and the thoughtful use of color and detail.
First and foremost, consider the placement of your objects. To create a strong focal point, you might position your main subject slightly off-center. This technique aligns with the Rule of Thirds, a fundamental guideline in composition that suggests dividing your canvas into a grid of nine equal parts. By placing your focal point along these lines or at their intersections, you can achieve a more dynamic and engaging composition.
Contrast is another powerful tool in your artistic arsenal. By juxtaposing your focal point against less detailed or muted elements, you can make it stand out. For instance, if your main subject is a vibrant red apple, surrounding it with softer, pastel-colored fruits can create a striking visual impact. This contrast not only highlights the apple but also adds depth to the overall composition.
Color plays a pivotal role in establishing focal points as well. Utilize complementary colors to enhance your focal point. If your main subject is warm-toned, consider using cool tones in the background. This technique not only creates visual interest but also helps to guide the viewer's gaze directly to your focal point. Additionally, incorporating variations in texture can enhance this effect; a smooth surface juxtaposed with rough textures can create a compelling visual narrative.
Another effective method for creating emphasis is through the use of detail. By rendering your focal point with more intricate detail compared to the surrounding objects, you draw the viewer’s attention. Imagine painting a delicate flower in the foreground with intricate brushwork while rendering the background fruits with broader strokes. This technique not only adds depth but also invites viewers to explore the nuances of your focal point.
Lastly, consider the use of negative space. Allowing space around your focal point can enhance its prominence. This breathing room provides the viewer's eye with a place to rest, making the focal point even more striking. Think of it as a quiet pause in a conversation; it allows the important points to resonate more profoundly.
In conclusion, creating focal points in still life painting is a blend of art and strategy. By thoughtfully considering placement, contrast, color, detail, and negative space, you can craft a composition that not only captures attention but also evokes emotion and invites exploration. So, next time you set up your still life, remember these techniques and watch as your paintings come to life with vibrant focal points that tell a story all their own.
- What is a focal point in art? A focal point is the area in a composition that draws the viewer's attention first, often due to its placement, contrast, or detail.
- How can I create a focal point in my still life painting? You can create a focal point by strategically placing your main subject, using contrast, color, detail, and negative space.
- Is the Rule of Thirds important? Yes, the Rule of Thirds is a fundamental guideline that helps create dynamic compositions by placing focal points off-center.
- Can I have more than one focal point? While it's possible to have multiple focal points, it's generally best to keep one primary focal point to avoid overwhelming the viewer.
Frequently Asked Questions
- What is still life painting?
Still life painting is an artistic genre that focuses on depicting inanimate objects, typically arranged in a thoughtful composition. This form of art allows artists to explore elements like light, color, and texture, making it a fantastic way to hone their skills.
- What materials do I need for acrylic painting?
To get started with acrylic painting, you’ll need a few essential materials: high-quality acrylic paints, a variety of brushes, a suitable canvas or painting surface, a palette for mixing colors, and water for thinning the paint and cleaning your brushes. Don't forget a cloth or paper towels for quick clean-ups!
- What are the different types of acrylic paints?
Acrylic paints come in several formulations, including heavy body, fluid, and interactive. Heavy body acrylics are thick and maintain brush strokes, making them great for textured effects. Fluid acrylics, on the other hand, have a watery consistency that allows for smooth blending. Interactive acrylics stay wet longer, giving you more time to work with them.
- How can I capture light in my still life paintings?
Capturing light is crucial for creating depth and realism in your still life. Techniques like chiaroscuro, which uses strong contrasts between light and dark, can help create volume. Additionally, glazing techniques allow you to build layers of color, enhancing the luminosity of your work.
- What is the rule of thirds in composition?
The rule of thirds is a fundamental guideline that suggests dividing your canvas into a 3x3 grid. By placing key elements of your still life along these lines or at their intersections, you can create a more dynamic and engaging composition that naturally draws the viewer's eye.
- How do I create a focal point in my painting?
Creating a focal point is all about drawing the viewer's attention to a specific area of your painting. You can achieve this through strategic placement of objects, contrasting colors, or varying levels of detail. The goal is to make that part of the artwork stand out and invite closer inspection.


