Essential Tips for a Successful Acrylic Painting
Acrylic painting is a vibrant and versatile medium that opens up a world of creativity for artists of all skill levels. Whether you're just dipping your brush into the acrylics for the first time or you're a seasoned painter looking to refine your craft, understanding a few essential tips can make all the difference. Imagine standing before a blank canvas, your heart racing with the excitement of possibilities. With the right techniques and knowledge, you can transform that canvas into a stunning work of art that resonates with your unique style.
In this article, we will delve into various aspects of acrylic painting, from choosing the right materials to mastering color theory and layering techniques. Think of this as your personal guide, designed to help you navigate the sometimes overwhelming world of acrylics. Each section is packed with insights that can elevate your painting experience and ensure that you not only create beautiful pieces but also enjoy the process. So, grab your brushes and let's embark on this colorful journey together!
Before you even think about picking up a brush, it’s vital to understand that the quality of your materials can significantly impact your final artwork. Just like a chef wouldn’t use dull knives or poor-quality ingredients, an artist should invest in quality paints, brushes, and canvases. When selecting acrylic paints, look for brands that offer a wide range of pigments and are known for their lightfastness—that is, their ability to resist fading over time.
Brushes are another essential element in your toolkit. You might be surprised to learn that different brushes can create vastly different effects. For instance, a flat brush can give you bold, sweeping strokes, while a round brush is perfect for detail work. Don't forget about the canvas; whether you choose stretched canvas, canvas boards, or even paper, make sure it can handle the weight and moisture of acrylic paints.
Color theory is the backbone of any painting. It’s like the secret language that helps you communicate your emotions and ideas through art. When you grasp the basics of color theory, you can create harmonious compositions that captivate your audience. You’ll find that mixing colors effectively and understanding color schemes can elevate your artwork to new heights.
The color wheel is a fantastic tool for artists. It showcases the relationships between colors and helps you understand how to mix them. Primary colors—red, blue, and yellow—are the building blocks of all other colors. When you mix these, you get secondary colors: green, orange, and purple. Tertiary colors emerge from mixing primary and secondary colors, creating a rich palette for your artwork.
Understanding the difference between warm and cool colors is crucial for setting the mood of your painting. Warm colors, like reds and yellows, can evoke feelings of excitement and energy, while cool colors, such as blues and greens, often bring a sense of calm and tranquility. By strategically using these colors, you can guide the viewer's emotions and create a deeper connection with your artwork.
Developing a cohesive color palette is essential for successful compositions. Think of your palette as the music score of your painting; it sets the tone and rhythm. When selecting colors, consider the mood you want to convey. You can create a palette by choosing a dominant color and complementing it with analogous colors (those next to each other on the color wheel) or contrasting colors (those opposite each other). Mixing colors on your palette can also yield unique shades that will make your artwork truly one-of-a-kind.
Layering is a fundamental technique in acrylic painting that adds depth and dimension to your work. By applying multiple layers of paint, you can create a rich, textured surface that draws the viewer in. There are various layering techniques you can explore, such as glazing, where you apply a transparent layer of color over a dry base layer, enhancing the luminosity of your work.
Different brush techniques can yield diverse effects in acrylic painting. Understanding how to manipulate your brush can help you achieve the desired results. For example, dry brushing creates a textured effect that can add interest to your paintings, while washes can provide a smooth, even layer of color.
Dry brushing involves using a brush that has very little paint on it, creating a soft, textured effect. This technique is fantastic for adding highlights or creating the illusion of depth in your artwork. Mastering dry brushing can make your paintings come alive with subtle details that catch the eye.
Glazing and washes are techniques that can create luminous effects in acrylics. A glaze is a thin, transparent layer of paint that can alter the color beneath it without completely covering it. Washes, on the other hand, involve diluting your paint with water to create a translucent layer. Both techniques can bring a sense of light and depth to your paintings.
A well-organized workspace can significantly impact your painting experience. Consider your environment: good lighting, comfortable seating, and easy access to your materials can enhance your creativity. A clutter-free area allows your mind to focus on your artwork rather than distractions. Think of your workspace as your creative sanctuary, where every item has its place, and inspiration flows freely.
Acrylic painting requires practice and patience to master. Don’t be discouraged by mistakes; they are part of the learning process. Every artist has faced challenges, but it’s how you respond to them that defines your growth. Embrace your journey, learn from each stroke, and remember that persistence is key. Just like a sculptor chiseling away at a block of stone, you will gradually shape your skills into something beautiful.
- What are the best acrylic paints for beginners? Look for student-grade acrylics that offer good pigmentation and are easy to work with.
- Can I mix acrylic paint with other mediums? Yes, you can mix acrylics with water, gels, and mediums to achieve different effects.
- How do I clean my brushes after using acrylic paint? Rinse them in water immediately after use, and use soap to remove any residue.
Choosing the Right Materials
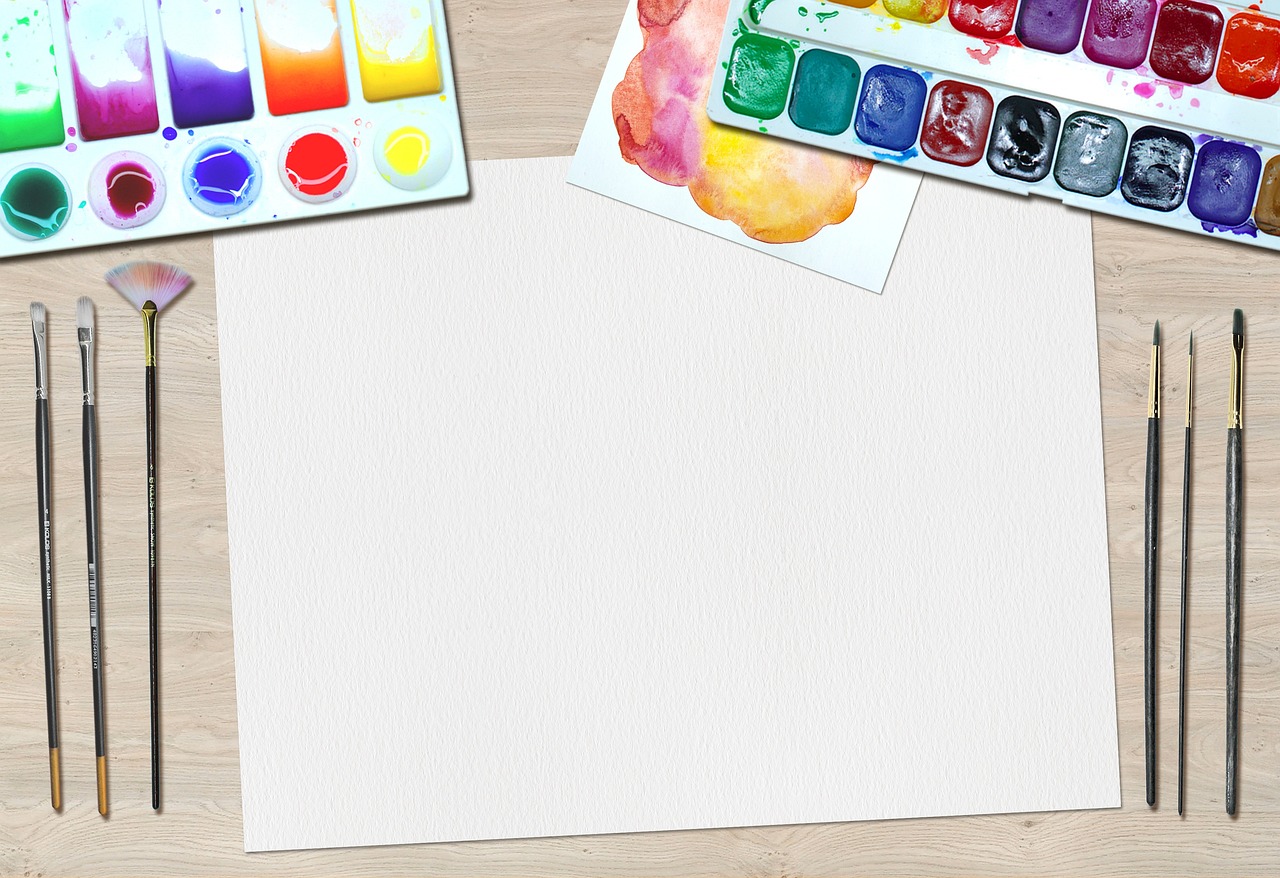
When it comes to acrylic painting, the first step towards creating a masterpiece is choosing the right materials. Imagine setting out to bake a cake without the right ingredients—just like that, using subpar supplies can lead to frustrating results. The quality of your paints, brushes, and canvas can significantly impact your artistic journey. So, let’s dive into the essentials that will elevate your acrylic painting experience!
First and foremost, selecting high-quality acrylic paints is crucial. Unlike oil paints, acrylics dry quickly, allowing for rapid layering and blending. However, not all paints are created equal. Look for brands that offer a rich pigment concentration and smooth consistency. This will not only make your colors more vibrant but also ensure better coverage. Some of the top brands recommended by artists include Golden, Liquitex, and Winsor & Newton.
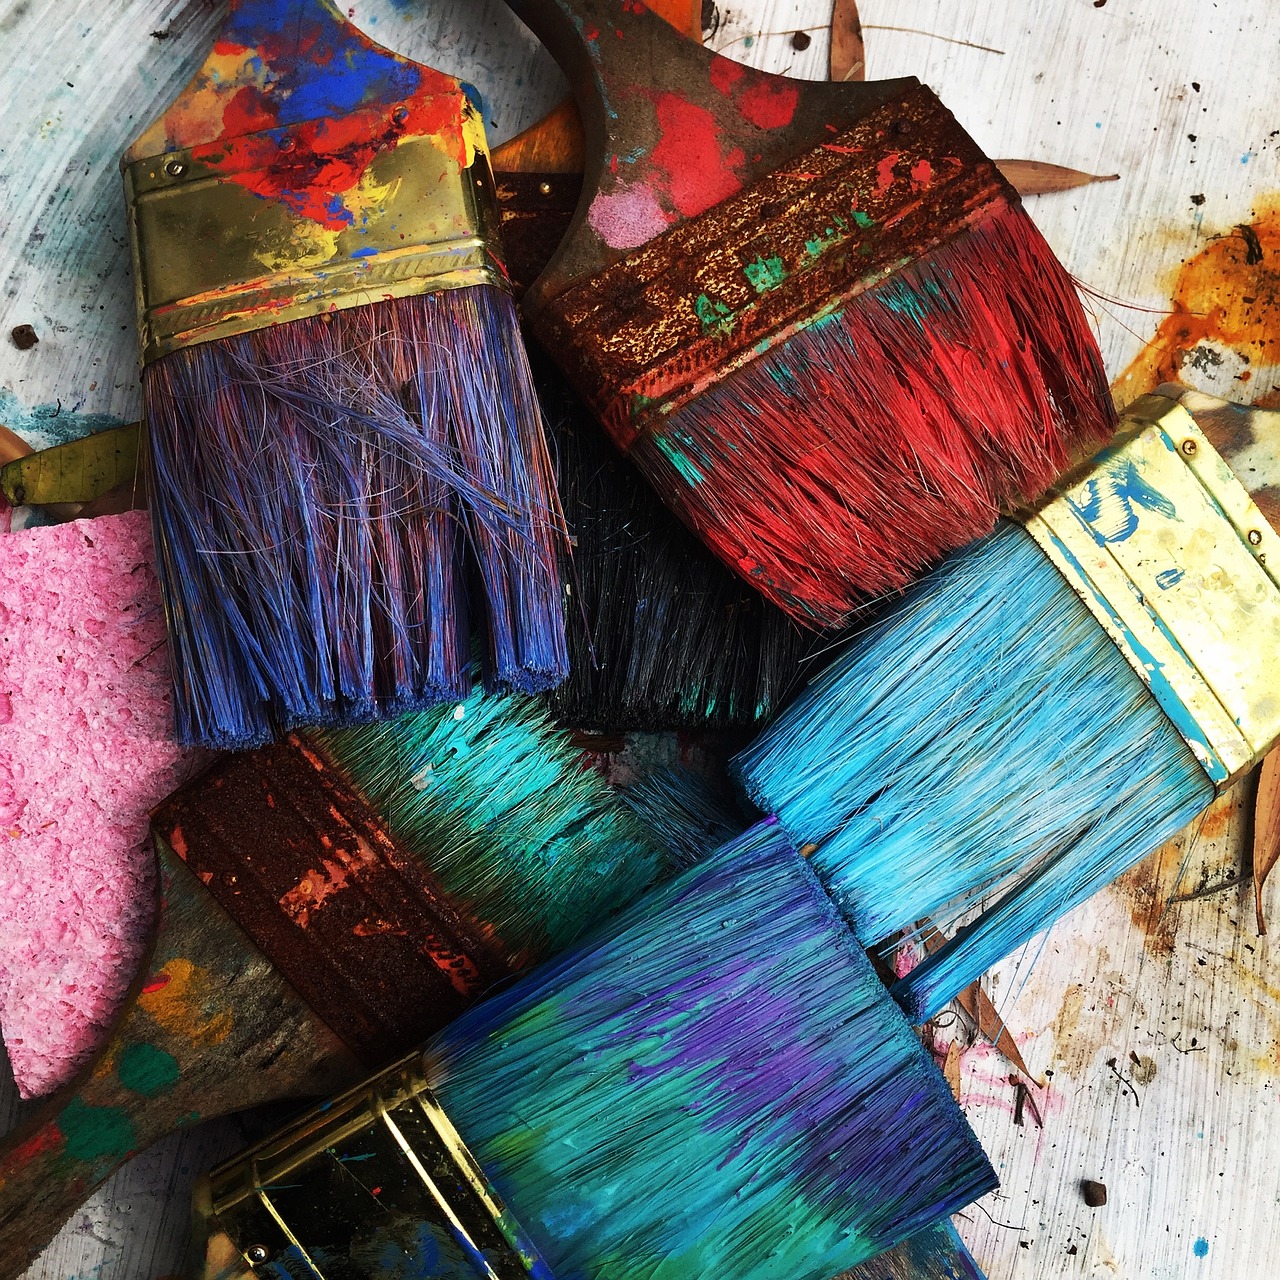
Next up, you need to consider your brushes. A wide variety of brushes can be used for acrylic painting, and each type serves a different purpose. For example, flat brushes are fantastic for bold strokes, while round brushes are perfect for detail work. Investing in a good set of brushes will make a world of difference. Here’s a quick breakdown of essential brush types:
- Flat Brushes: Great for broad strokes and filling in large areas.
- Round Brushes: Ideal for details and fine lines.
- Filbert Brushes: Versatile for both detail and broader strokes.
- Fan Brushes: Perfect for creating textures like foliage or fur.
Now, let's talk about the canvas. The surface you choose to paint on can dramatically alter the feel of your artwork. Acrylics can be applied to various surfaces, but a primed canvas or acrylic paper is usually the best choice. These surfaces are specifically designed to hold the paint and allow for easy blending. You can choose between stretched canvases, canvas boards, or even watercolor paper, depending on your preference.
Finally, don’t forget about your palette. A good palette will help you mix colors effectively. You can opt for a traditional wooden palette, a disposable palette pad, or even a glass palette for easy cleanup. Whatever your choice, ensure it has enough space for mixing various colors without becoming cluttered.
In summary, investing in quality materials is like laying a solid foundation for your acrylic painting journey. With the right paints, brushes, and canvas, you’ll find that your creative process becomes not only easier but also more enjoyable. Remember, the right tools can inspire you to explore and push the boundaries of your artistic expression!
Understanding Color Theory
Color theory is the backbone of any successful acrylic painting, serving as a guide to create visually appealing compositions. Imagine stepping into a world where colors dance together, each hue telling a story and evoking emotions. Understanding color theory isn't just about knowing which colors look good together; it's about grasping how they interact, blend, and influence the viewer's perception. By mastering this essential aspect of art, you can elevate your acrylic paintings from mere images to captivating experiences.
At its core, color theory revolves around the color wheel, a powerful tool that categorizes colors into primary, secondary, and tertiary groups. Primary colors—red, blue, and yellow—are the building blocks of all other colors. By mixing these, you create secondary colors: green, orange, and purple. But wait, there's more! When you mix primary and secondary colors, you get tertiary colors, which include shades like red-orange and blue-green. This understanding of color relationships is crucial for creating depth and harmony in your artwork.
Let’s dive deeper into the significance of these color categories. Primary colors are unique because they cannot be created by mixing other colors. They are the foundation of your palette. Secondary colors, on the other hand, are born from the marriage of two primary colors. For instance, mixing blue and yellow gives you green. Tertiary colors arise from mixing a primary color with a secondary color, adding even more nuance to your palette. This complex interplay of colors allows you to create a rich tapestry in your paintings, making them more engaging and vibrant.
Now, let's talk about the emotional impact of colors. Warm colors, such as reds, oranges, and yellows, tend to evoke feelings of warmth, energy, and excitement. These colors can draw the viewer in, creating a sense of intimacy or urgency. In contrast, cool colors like blues, greens, and purples often convey calmness, serenity, and distance. They can create a soothing atmosphere, making your painting feel more expansive and tranquil. Understanding how to balance these warm and cool colors in your work can significantly affect the mood and message of your art.
Developing a cohesive color palette is like setting the stage for your painting. It’s where the magic happens! A well-thought-out palette can unify your work and guide the viewer's eye. When selecting colors, consider the emotions you want to evoke and the story you want to tell. You might start with a limited palette of just a few colors and gradually expand it as you become more comfortable. Mixing colors is an art in itself; experiment with different combinations to discover unique shades and tones that resonate with your vision.
In summary, understanding color theory is an essential skill for any acrylic artist. By grasping the relationships between primary, secondary, and tertiary colors, recognizing the emotional impact of warm and cool colors, and creating cohesive color palettes, you can enhance your paintings dramatically. So the next time you pick up your brush, remember: color is not just a visual element; it’s a language that speaks to the heart and soul of your audience.
- What is the color wheel, and why is it important? The color wheel is a circular diagram that organizes colors based on their relationships. It helps artists understand how colors interact and can be mixed to create new shades.
- How do I choose a color palette for my painting? Start by deciding on the mood you want to convey, then select a few colors that align with that emotion. Experiment with mixing them to create variations.
- Can I use too many colors in one painting? Yes, using too many colors can make a painting feel chaotic. It's often more effective to limit your palette to create harmony and focus.
Primary, Secondary, and Tertiary Colors
Understanding the color wheel is a fundamental step for any artist looking to enhance their acrylic painting skills. The color wheel consists of three primary types of colors: primary, secondary, and tertiary. Each category plays a crucial role in creating a harmonious composition that captivates the viewer's eye.
Primary colors are the building blocks of all other colors. They include red, blue, and yellow. These colors cannot be created by mixing other colors together, but they can be combined in various ways to produce a wide spectrum of shades. For instance, mixing red and yellow yields orange, while blue and yellow create green. This is where the magic of color mixing begins!
Next, we have secondary colors, which are formed by mixing two primary colors. The secondary colors are green, orange, and purple. Understanding how these colors interact with primary colors can help you achieve the desired effects in your artwork. For example, if you want to create a vibrant sunset, blending red, orange, and yellow can produce a breathtaking gradient that brings your painting to life.
Finally, we arrive at tertiary colors, which are created by mixing a primary color with a secondary color. These colors add depth and complexity to your palette, making your artwork more visually appealing. Tertiary colors include shades like red-orange, yellow-green, and blue-purple. By incorporating these hues into your paintings, you can create stunning contrasts and subtle transitions that draw the viewer in.
To visualize these relationships better, here’s a simple table:
| Color Type | Examples |
|---|---|
| Primary Colors | Red, Blue, Yellow |
| Secondary Colors | Green, Orange, Purple |
| Tertiary Colors | Red-Orange, Yellow-Green, Blue-Purple |
As you experiment with these colors, remember that the relationships between them can evoke different emotions and moods in your artwork. For instance, using warm colors like red and orange can create a sense of energy and passion, while cool colors like blue and green often evoke tranquility and calmness.
In conclusion, mastering primary, secondary, and tertiary colors is essential for any artist who wants to create impactful and engaging acrylic paintings. By understanding how these colors interact, you can elevate your artwork and express your unique artistic vision.
- What are the primary colors? The primary colors are red, blue, and yellow.
- How do you create secondary colors? Secondary colors are created by mixing two primary colors together.
- What are tertiary colors? Tertiary colors are formed by mixing a primary color with a secondary color.
- Why is color theory important in painting? Color theory helps artists understand how colors interact, allowing them to create harmonious and visually appealing compositions.
Warm vs. Cool Colors
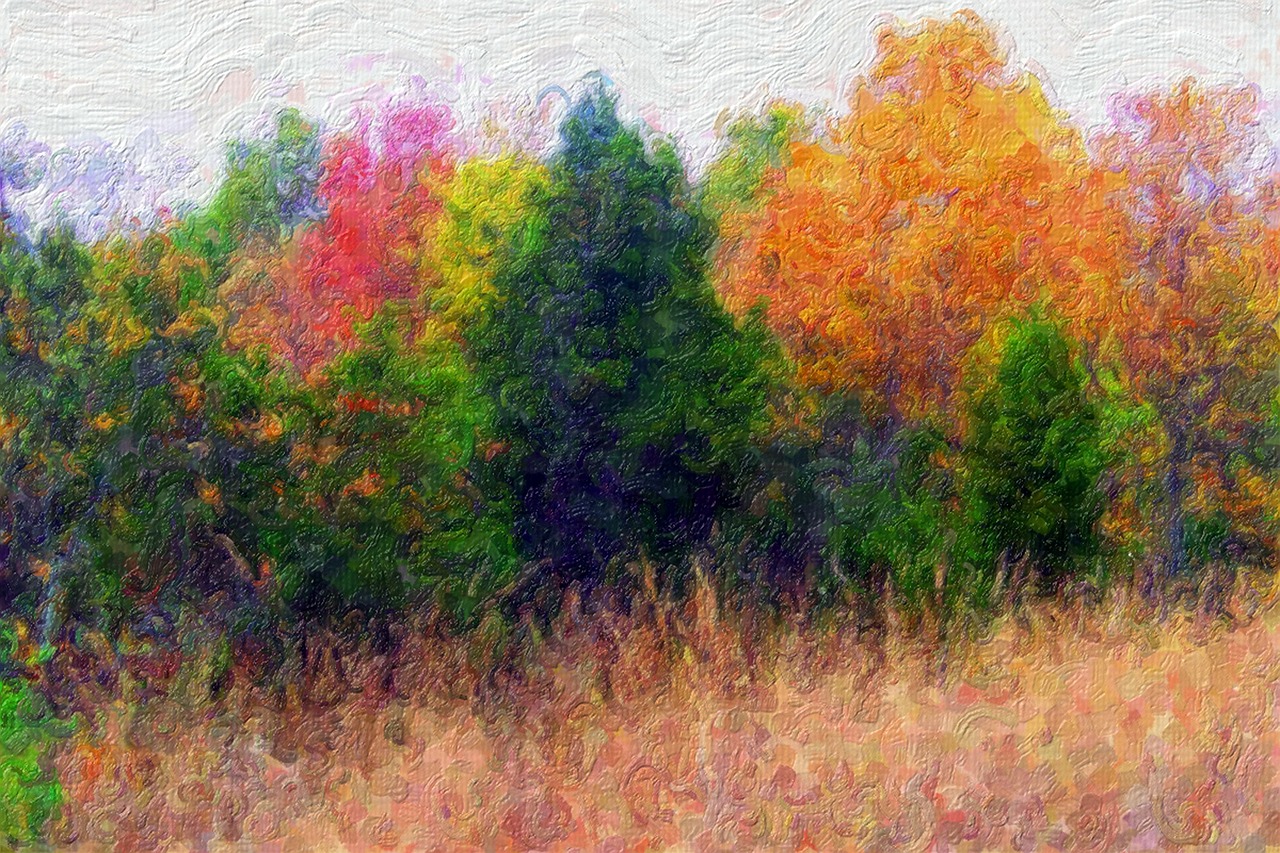
Understanding the difference between warm and cool colors is essential for any artist looking to evoke specific emotions or create a certain atmosphere in their artwork. Warm colors, such as reds, oranges, and yellows, are often associated with feelings of warmth, energy, and excitement. They can bring a sense of comfort and vibrancy to a painting, making the viewer feel more engaged and alive. Think of a sunset, where the warm hues blend beautifully to create a breathtaking view that instantly uplifts the spirit.
On the other hand, cool colors like blues, greens, and purples tend to evoke a sense of calmness, tranquility, and serenity. These colors can create a soothing effect, reminiscent of a peaceful forest or a tranquil ocean. When used effectively, cool colors can help balance out the intensity of warm colors, providing a harmonious composition that draws the viewer in without overwhelming them.
To illustrate the impact of warm and cool colors, consider the following table:
| Color Type | Examples | Emotions Evoked |
|---|---|---|
| Warm Colors | Red, Orange, Yellow | Energy, Passion, Warmth |
| Cool Colors | Blue, Green, Purple | Calm, Peace, Serenity |
When creating your paintings, think about the mood you want to convey. For instance, if you're painting a lively street scene, incorporating warm colors can enhance the feeling of excitement and activity. Conversely, if you're looking to depict a quiet evening by the lake, cool colors will help establish that tranquil atmosphere. The key is to use these colors intentionally, allowing their inherent qualities to guide your artistic choices.
It’s also worth noting that the context in which you use these colors can dramatically change their effect. A warm color in a small amount can pop against a cool background, drawing the viewer's eye to a focal point. Conversely, a large area of warm color can dominate the composition, making it feel more intense and energetic. As you experiment with these color dynamics, you'll discover how to manipulate emotions through your palette.
In conclusion, mastering the use of warm and cool colors is a powerful tool in your acrylic painting arsenal. By understanding their emotional impacts and how they interact with each other, you can create more compelling and dynamic artworks that resonate with your audience. Remember, the world of color is vast and full of possibilities—don't be afraid to explore and express your unique vision!
- What are warm colors? Warm colors include reds, oranges, and yellows, which evoke feelings of warmth and energy.
- What are cool colors? Cool colors consist of blues, greens, and purples, typically associated with calmness and serenity.
- How can I use warm and cool colors in my painting? Use warm colors to create focal points and excitement, while cool colors can provide balance and tranquility.
- Can I mix warm and cool colors? Absolutely! Mixing warm and cool colors can create depth and interest in your artwork.
Creating Color Palettes
Creating a cohesive color palette is like setting the stage for a grand performance; it can make or break the overall impact of your acrylic painting. When you think about it, a color palette is not just a random assortment of hues; it’s a carefully curated collection that tells a story, evokes emotions, and guides the viewer's eye through your artwork. So, how do you go about crafting a palette that not only looks good but also resonates with your artistic vision? Let's dive into some essential tips!
First and foremost, consider the mood you want to convey in your painting. Are you aiming for something bright and cheerful, or perhaps something more subdued and introspective? Your choice of colors will play a crucial role in setting that mood. For instance, vibrant yellows and oranges can evoke feelings of joy and energy, while deep blues and greens might inspire calmness and reflection. By understanding the emotional weight of colors, you can start to build a palette that aligns with your artistic intentions.
Next, let’s talk about the importance of balance in your palette. A well-balanced color palette typically includes a mix of:
- Dominant Colors: These are the main colors that will take center stage in your painting.
- Supporting Colors: These colors complement the dominant hues and help to create harmony.
- Accent Colors: Used sparingly, these colors add pops of interest and draw attention to focal points.
One effective method for creating your palette is to use the color wheel as a guide. Start by selecting a primary color, and then explore its complementary colors. For example, if you choose blue as your primary color, its complementary color would be orange. This contrast can create dynamic tension in your artwork, making it visually engaging. You can also look into analogous color schemes, which involve selecting colors that are next to each other on the color wheel, such as yellow, yellow-green, and green. This approach often results in a more harmonious and soothing palette.
Another useful technique is to experiment with color mixing. Sometimes, the most beautiful colors arise from unexpected combinations. Don't hesitate to mix your paints to create new shades and tones that are unique to your style. This not only enhances your palette but also allows for a more personalized touch in your work. Keep a small notebook handy to jot down your favorite combinations for future reference.
Lastly, remember to keep things simple. It’s tempting to include every color under the sun, but a limited palette can often lead to stronger compositions. Aim for a palette of around three to five colors, and let those colors shine. This will not only make your painting process smoother but also help in creating a unified look across your artwork.
In summary, creating a color palette is an art in itself. By considering the mood, balancing your colors, using the color wheel, experimenting with mixing, and keeping it simple, you can develop a palette that enhances your acrylic paintings and brings your creative vision to life. So grab those brushes and start mixing—your masterpiece awaits!
Q: How many colors should I include in my palette?
A: It's generally best to stick to three to five colors for a cohesive look, but feel free to experiment!
Q: What if I don't like my initial palette?
A: Don’t worry! Color mixing is part of the process. Keep adjusting until you find a combination that resonates with you.
Q: Can I use colors that are not on the color wheel?
A: Absolutely! Feel free to explore unconventional colors. Art is all about personal expression.

Techniques for Layering
Layering is one of the most exciting and essential techniques in acrylic painting. It allows artists to build depth, texture, and complexity in their artwork, transforming a flat canvas into a vibrant masterpiece. Imagine painting as if you are constructing a beautiful cake; each layer adds flavor, richness, and a unique character to the final product. In acrylic painting, this technique involves applying multiple layers of paint to create various effects and enhance the visual interest of your piece.
One of the fundamental aspects of layering is understanding the transparency of your acrylic paints. Some colors are more transparent than others, which means they can be layered to create depth without completely obscuring the colors underneath. For instance, using a transparent yellow over a darker base can create a glowing effect that draws the viewer's eye. To master this technique, experiment with different brands and types of acrylics to see how they behave when layered.
Another key technique in layering is the use of glazing. Glazing involves applying a thin, transparent layer of paint over a dried layer, allowing the colors beneath to show through. This technique is perfect for creating luminous effects and subtle color shifts. To achieve a successful glaze, mix your acrylic paint with a glazing medium, which will slow down the drying time and enhance the transparency of the color. The result is a radiant finish that can make your artwork come alive.
Additionally, dry brushing is a technique that can add texture and dimension to your layers. This method involves using a dry brush with minimal paint to lightly drag color across the surface. It’s perfect for creating highlights or adding a textured look to certain areas of your painting. By varying the pressure and angle of your brush, you can achieve different effects, from soft whispers of color to bold strokes that demand attention.
To effectively layer your acrylic paints, consider the following steps:
- Start with a solid base: Begin by applying a base layer that sets the tone for your painting. This could be a solid color or a gradient that you want to build upon.
- Let each layer dry: Patience is crucial in layering. Allow each layer to dry completely before applying the next one. This prevents colors from muddying and maintains the integrity of your design.
- Experiment with thickness: Vary the thickness of your layers. Thicker applications can create bold statements, while thinner layers can add subtlety and finesse.
- Use complementary colors: Layering complementary colors can create stunning visual effects. For example, layering a warm color over a cool one can produce a dynamic contrast that enhances the overall composition.
In conclusion, mastering layering techniques in acrylic painting is like learning to play a musical instrument; it requires practice, experimentation, and a bit of creativity. By understanding how to manipulate transparency, utilizing glazing and dry brushing, and following a structured layering process, you will elevate your artwork to new heights. So, grab your brushes, embrace the layers, and watch your paintings transform into captivating narratives that tell a story.
Q: What is the best way to start layering in acrylic painting?
A: Begin with a solid base layer and allow it to dry completely before adding additional layers. Experiment with different techniques such as glazing and dry brushing to see what works best for your style.
Q: How do I know when to stop layering?
A: Trust your instincts! If you feel that your painting has enough depth and interest, it may be time to stop. Take a step back and evaluate your work from a distance.
Q: Can I use any acrylic paint for layering?
A: While most acrylic paints can be layered, some brands offer specific formulations designed for glazing and layering. Experiment with different types to find what works best for you.
Brush Techniques and Strokes
When it comes to acrylic painting, mastering brush techniques and strokes can truly transform your artwork. Each stroke not only adds texture but also conveys emotion and depth. Imagine your brush as an extension of your thoughts; the way you wield it can evoke feelings and tell stories on the canvas. From the delicate whisper of a fine brush to the bold statements made with a wide flat brush, understanding these techniques is essential for any artist looking to elevate their work.
One of the most fundamental techniques is the flat stroke. This involves using a flat brush to create broad, sweeping lines that can fill large areas quickly. It's perfect for backgrounds or creating a base layer. Conversely, the round stroke allows for more precision and detail. By using a round brush, you can achieve fine lines and intricate details, making it ideal for focal points in your painting. Both techniques can be combined to create a dynamic composition that draws the viewer's eye.
Another exciting technique is stippling, where you use the tip of your brush to create a series of dots. This technique can add texture and depth, especially in landscapes where you want to depict foliage or other intricate details. Similarly, scumbling involves using a dry brush with a small amount of paint to create a soft, hazy effect. This can be particularly effective for skies or backgrounds, giving your painting a dreamy quality.
To illustrate the variety of brush techniques, consider the following table that outlines some common strokes and their applications:
| Brush Technique | Description | Best Used For |
|---|---|---|
| Flat Stroke | Broad, sweeping lines | Backgrounds, base layers |
| Round Stroke | Fine lines and intricate details | Focal points, small areas |
| Stippling | Creating texture with dots | Foliage, intricate details |
| Scumbling | Soft, hazy effect with a dry brush | Skies, backgrounds |
Moreover, don't underestimate the power of dry brushing. This technique involves using a brush that is barely loaded with paint, allowing you to create a textured finish that can bring life to your artwork. It’s especially useful in creating highlights or adding a rustic feel to your pieces. On the other hand, glazing involves applying a thin, transparent layer of paint over a dry layer, which can create stunning depth and luminosity. This is where your understanding of color theory comes into play, as glazing can alter the appearance of underlying colors and enrich your painting.
As you experiment with these techniques, keep in mind that practice is key. Each brush stroke is an opportunity to express yourself and refine your skills. So grab your brushes, unleash your creativity, and let your canvas come alive with your unique touch!
- What type of brushes should I use for acrylic painting? It's best to have a variety of brushes, including flat, round, and detail brushes, to achieve different effects.
- Can I use water with acrylic paint? Yes, water can be used to dilute acrylic paint for washes or to clean your brushes.
- How do I clean my brushes after using acrylic paint? Rinse your brushes with water immediately after use and use soap to remove any remaining paint.
- What is the best way to store my acrylic paints? Keep them in a cool, dry place, and ensure the lids are tightly sealed to prevent drying out.
Dry Brushing
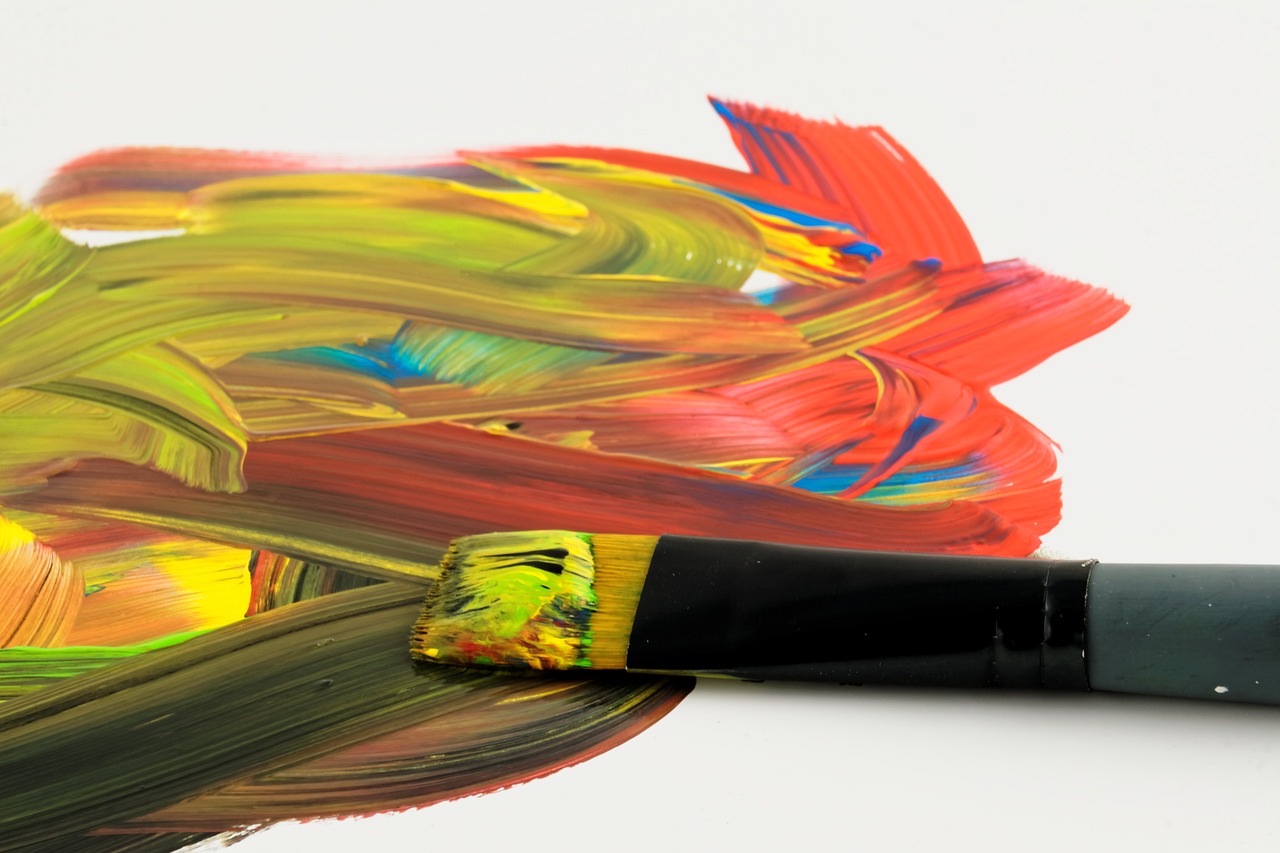
Dry brushing is one of those magical techniques in acrylic painting that can truly transform your artwork. Imagine being able to add texture and depth without the need for complicated methods or tools. It’s like sprinkling a little fairy dust on your canvas! The essence of dry brushing lies in the application of paint with a brush that has very little moisture. This technique allows you to create soft, subtle highlights and intricate textures that can bring your paintings to life.
To get started with dry brushing, you’ll want to choose a stiff-bristled brush. A flat or angular brush works wonders, but don’t shy away from experimenting with different shapes to see what suits your style best. The key here is to use minimal paint on your brush. Dip it into your acrylic paint, then wipe off the excess on a paper towel or a rag until you have just a hint of color left. This is where the magic happens! With your brush ready, gently drag it across the surface of your painting. You’ll notice how the paint catches on the texture of the canvas, creating those beautiful highlights and details.
One of the most exciting aspects of dry brushing is its versatility. You can use it to enhance landscapes, portraits, or abstract pieces. For instance, when painting a landscape, dry brushing can give the illusion of sunlight filtering through trees or the subtle shimmer of water. In portraits, it can add dimension to skin tones or highlight the texture of hair. The possibilities are endless!
Here are a few tips to help you master the dry brushing technique:
- Experiment with Pressure: The amount of pressure you apply while brushing can drastically change the effect. Light strokes create soft highlights, while firmer strokes can produce bolder textures.
- Layering is Key: Don’t be afraid to layer your dry brushing. Start with a light touch and gradually build up the intensity. This method can lead to stunning depth and complexity in your artwork.
- Color Mixing: Try mixing different colors for your dry brushing. Using a slightly lighter or darker shade than your base color can create a striking contrast that enhances the overall look of your painting.
In conclusion, mastering dry brushing can significantly elevate your acrylic painting skills. It’s a technique that encourages creativity and experimentation, allowing you to express your artistic vision in unique ways. So grab your brush, let your imagination run wild, and watch as your paintings come alive with texture and vibrancy!
Q: What type of brush is best for dry brushing?
A: A stiff-bristled brush, such as a flat or angular brush, is ideal for dry brushing. However, feel free to experiment with different shapes to find what works best for you.
Q: Can I use dry brushing on wet paint?
A: It’s best to use dry brushing on dry paint to achieve the desired texture. If you apply dry brushing over wet paint, it may mix and lose the texture effect.
Q: How do I clean my brush after dry brushing?
A: Clean your brush thoroughly with water and soap after dry brushing to remove any residual paint. Proper cleaning will help maintain the integrity of the bristles for future use.
Q: Can I use dry brushing on other surfaces besides canvas?
A: Yes! Dry brushing can be applied to various surfaces, including wood, paper, and even fabric. Just ensure the surface is appropriate for acrylic paint.
Glazing and Washes
When it comes to acrylic painting, are two powerful techniques that can transform your artwork from ordinary to extraordinary. If you've ever admired a painting that seemed to glow with an inner light, chances are the artist employed these methods to achieve that stunning effect. So, what exactly are glazing and washes, and how can you incorporate them into your own work?
Glazing involves applying a thin, transparent layer of paint over a dried layer, allowing the underlying colors to show through. This technique is fantastic for adding depth and richness to your paintings. Imagine glazing as putting a delicate veil over your artwork, enhancing the colors without completely masking them. To create a glaze, simply mix your acrylic paint with a glazing medium or water to achieve a more transparent consistency. The key here is to ensure that your base layer is completely dry before you start glazing; otherwise, you risk disturbing your previous work.
On the other hand, washes are a bit different. A wash is essentially a diluted layer of paint that is applied over a large area. Think of it as a watercolor effect but with the vibrancy of acrylics. This technique is perfect for creating soft backgrounds or atmospheric effects. To create a wash, mix your acrylic paint with a lot of water until you achieve a fluid consistency. The result should be a translucent layer that allows the canvas or previous colors to peek through, adding a sense of depth and dimension to your piece.
Both glazing and washes can be used in various ways, but here are some tips to keep in mind:
- Experiment with Transparency: Adjust the amount of medium or water you use to find the perfect level of transparency for your desired effect.
- Layering is Key: Start with lighter colors and gradually build up to darker shades. This approach allows you to control the depth of your painting.
- Use a Soft Brush: A soft brush will help you apply glazes and washes smoothly, preventing harsh lines and uneven textures.
One of the best aspects of glazing and washes is their versatility. You can use these techniques to create stunning landscapes, ethereal portraits, or even abstract compositions. The possibilities are endless! As you practice, don’t be afraid to experiment with different colors and mediums. You might discover unique combinations that resonate with your artistic style.
As you delve deeper into these techniques, consider keeping a glazing and wash journal. Document your experiments, noting the colors, mediums, and techniques you used. This can serve as a valuable reference for future projects and help you refine your skills over time.
In conclusion, glazing and washes are essential techniques that every acrylic painter should explore. They not only enhance the visual appeal of your artwork but also allow you to express your creativity in new and exciting ways. So grab your brushes, mix some mediums, and start experimenting with these techniques today!
Q: Can I use glazing and washes with any type of acrylic paint?
A: Yes, glazing and washes can be used with most acrylic paints. However, using high-quality paints will yield better results.
Q: How do I know when to use glazing versus washes?
A: Use glazing when you want to add depth and richness without losing the underlying colors. Opt for washes when you want to create a soft, transparent layer over larger areas.
Q: Will glazing and washes work on canvas and paper?
A: Absolutely! Both techniques can be applied to various surfaces, including canvas, paper, and wood. Just ensure the surface is primed appropriately for acrylics.
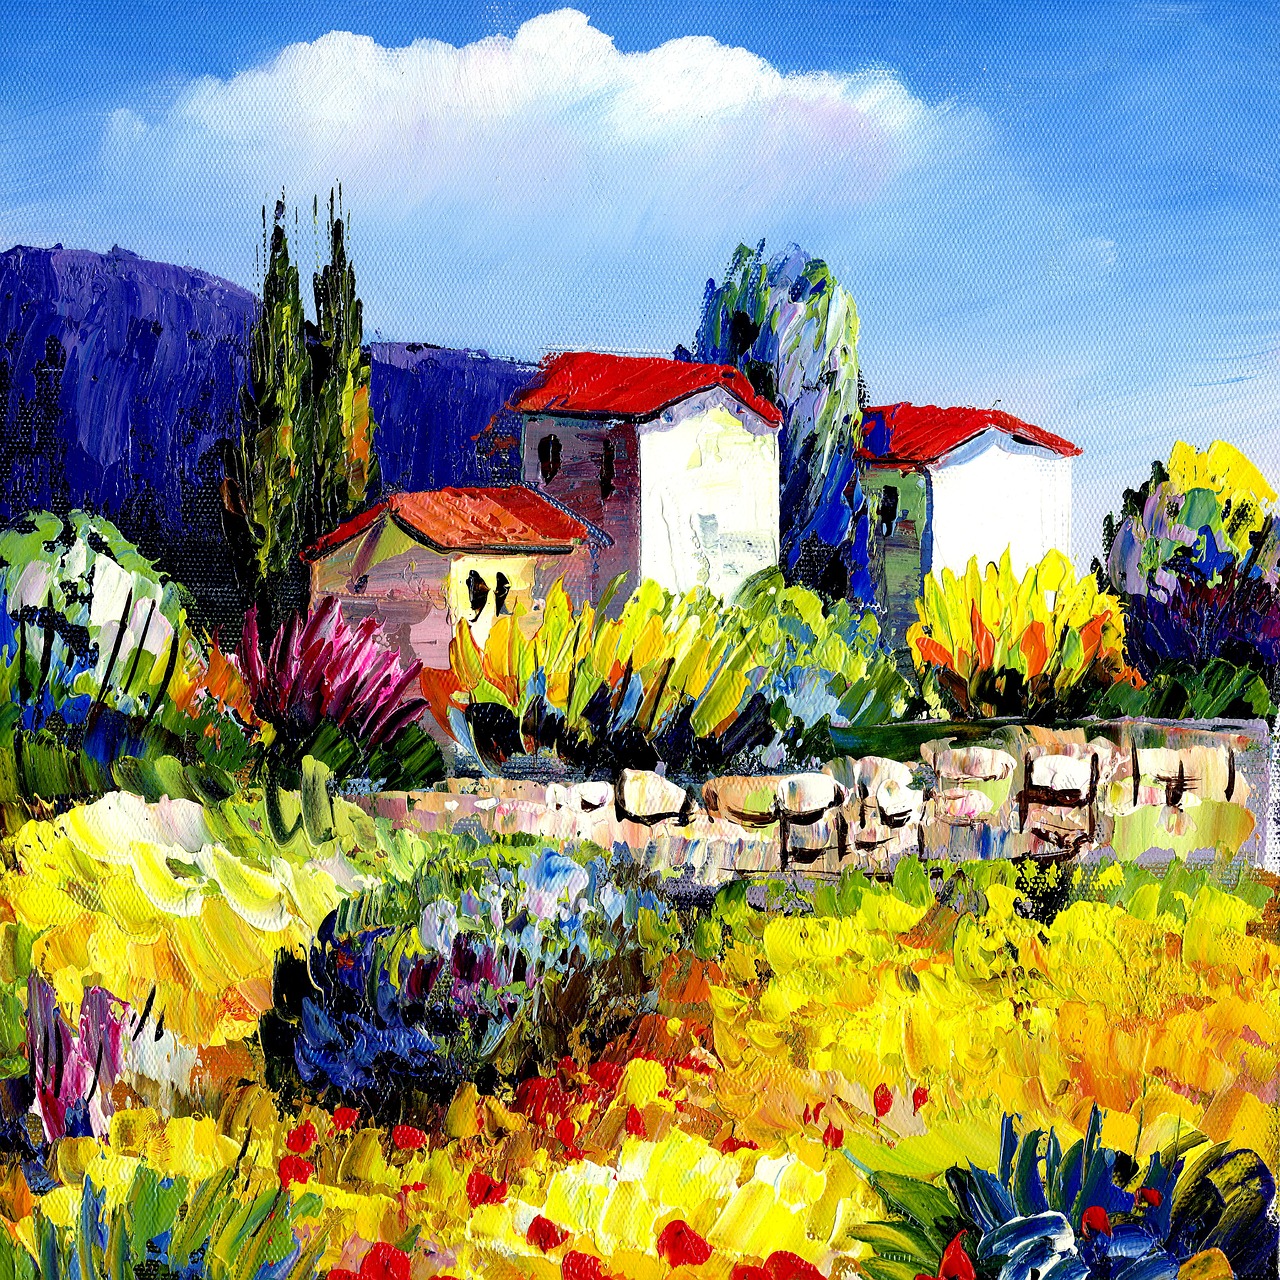
Setting Up Your Workspace
Creating a dedicated workspace for your acrylic painting can be a game changer. Imagine walking into a space that sparks your creativity, with everything you need at your fingertips. A well-organized studio not only boosts your productivity but also enhances your overall painting experience. So, how do you set up this magical space? Let’s dive into some essential tips!
First and foremost, choose a location that inspires you. Whether it’s a sunlit corner of your living room, a quiet nook in your basement, or even a spare room, the atmosphere matters. Natural light is your best friend when it comes to painting, as it allows you to see the true colors of your work. If natural light isn’t an option, consider investing in high-quality daylight bulbs that mimic sunlight.
Next, think about your workspace layout. An effective setup is all about accessibility. You want your paints, brushes, and canvases within easy reach. Consider using a sturdy table or easel that suits your height. A table with drawers or shelves can help keep your materials organized. You might even want to designate specific areas for different tasks, like mixing colors, cleaning brushes, and drying finished pieces.
Another crucial element is your storage solutions. Acrylic paint can be messy, so having a system in place for your supplies is essential. Here are a few ideas:
- Use clear bins or containers to store paints and brushes, making it easy to see what you have.
- Consider a rolling cart for easy mobility, allowing you to move your supplies as needed.
- Label everything! This simple step saves time and keeps your workspace tidy.
Don’t forget about ventilation. Acrylic paints are generally safe, but it’s always wise to work in a well-ventilated area. Open a window or use a fan to keep the air circulating. This will not only help you stay comfortable but also prevent any buildup of paint fumes.
Finally, make your workspace your own! Personal touches like artwork, inspirational quotes, or even your favorite music can transform an ordinary area into a sanctuary of creativity. Remember, this is your space to explore and express yourself, so let it reflect your personality.
Q: What are the essential materials I need to set up my acrylic painting workspace?
A: At the very least, you’ll need a sturdy table or easel, acrylic paints, a variety of brushes, a palette for mixing colors, and a canvas. Don’t forget about water containers and paper towels for cleaning up!
Q: How can I keep my workspace organized?
A: Utilize storage bins, carts, and shelving to keep your supplies organized. Labeling your materials can also save you time when you’re in the middle of a creative flow.
Q: Is natural light really that important for painting?
A: Yes! Natural light helps you see the true colors and details of your work. If that’s not possible, opt for daylight bulbs that mimic natural light to ensure your colors appear as intended.

Practicing Patience and Persistence
When it comes to acrylic painting, one of the most crucial lessons you can learn is the importance of patience and persistence. Imagine trying to bake a cake without allowing it to rise properly; the result would be a flat disappointment. Similarly, your artistic journey requires time and dedication to develop your skills and create masterpieces. Just like a fine wine, your abilities improve with age and practice. So, how do you cultivate this vital mindset?
First and foremost, embrace the fact that mistakes are part of the process. Every artist has encountered a canvas that didn't turn out as expected. Instead of viewing these moments as failures, consider them as stepping stones toward improvement. Each brushstroke, even the ones that go awry, teaches you something valuable. When you approach your painting with a mindset of learning, every session becomes an opportunity for growth.
Moreover, setting realistic goals can help you maintain your motivation. Instead of aiming to create a perfect painting every time, focus on mastering specific techniques or experimenting with new styles. For example, you might decide to spend one week practicing dry brushing or another week exploring glazing techniques. By breaking your journey into manageable chunks, you can celebrate small victories along the way, which fuels your passion and keeps you engaged.
Additionally, consider establishing a routine that encourages regular practice. Just as athletes train daily to hone their skills, artists should also dedicate time to their craft. This doesn’t mean you have to paint for hours on end—sometimes, even 30 minutes of focused practice can yield significant results. Create a cozy painting nook, gather your materials, and allow yourself to paint without the pressure of perfection. Over time, this consistent practice will build your confidence and ability.
Lastly, don’t forget the power of community. Surrounding yourself with fellow artists can provide you with support, inspiration, and constructive feedback. Join local art groups, participate in online forums, or attend workshops. Sharing your work and hearing others’ experiences can be incredibly motivating. Remember, even the most renowned artists faced challenges and setbacks. Their persistence in the face of adversity is what ultimately led to their success.
- How long does it take to become proficient in acrylic painting?
It varies for everyone. With regular practice and dedication, many artists see significant improvement within a few months. - What should I do if I feel stuck or uninspired?
Try changing your environment, experimenting with new techniques, or taking a break. Inspiration often strikes when you least expect it! - Is it necessary to take classes to improve my acrylic painting skills?
While classes can be beneficial, self-study and practice are equally effective. Utilize online resources, books, and tutorials to learn at your own pace.
Frequently Asked Questions
- What materials do I need to start acrylic painting?
To kick off your acrylic painting journey, you'll need a few essential materials: quality acrylic paints, a variety of brushes (flat, round, and detail brushes), a canvas or acrylic paper, a palette for mixing colors, and water for cleaning your brushes. Optional items include a palette knife, easel, and a spray bottle to keep your paints moist.
- How do I choose the right colors for my painting?
Choosing the right colors involves understanding color theory. Start with the primary colors (red, blue, yellow) and mix them to create secondary colors (green, orange, purple). Experiment with tertiary colors and consider using warm and cool colors to evoke different moods in your artwork. Creating a color palette before you start can help maintain harmony in your painting.
- What is the best technique for layering in acrylic painting?
Layering in acrylic painting is all about building depth. Start with a base layer and let it dry completely before adding subsequent layers. Use techniques like glazing (applying a thin, transparent layer) or dry brushing (using a dry brush with little paint) to create texture and interest. Remember, patience is key; allow each layer to dry for the best results!
- How can I create texture in my acrylic paintings?
Creating texture can be achieved through various methods. Try dry brushing for a subtle effect, or use palette knives to apply thick paint for a more pronounced texture. You can also incorporate materials like sand or fabric into your paint for unique results. Don't be afraid to experiment—texture can add incredible depth to your artwork!
- What should I consider when setting up my painting workspace?
Your workspace should be organized and well-lit to enhance your painting experience. Make sure you have a comfortable chair and an easel at a suitable height. Keep your materials within reach, and consider using a drop cloth to protect your surfaces. A clutter-free environment can help you focus and get into the creative zone!
- How can I improve my acrylic painting skills?
Improving your skills takes time and practice! Set aside regular time to paint, experiment with different techniques, and don’t shy away from making mistakes—they're part of the learning process. Join a local art group or take online classes for feedback and inspiration. Remember, persistence is key; each painting is a step toward becoming a better artist!


