The Art of Finger Painting and How to Master It
Finger painting is not just a childhood pastime; it’s a vibrant and expressive art form that invites creativity and spontaneity. Imagine the feel of paint gliding between your fingers, transforming a blank canvas into a colorful masterpiece. This article explores the creative world of finger painting, offering tips, techniques, and insights to help you master this expressive art form. Whether you're a seasoned artist or just starting out, finger painting can unleash your inner creativity and provide a therapeutic outlet for self-expression.
Finger painting has a rich history that dates back to ancient civilizations. Used by the Egyptians and Chinese, this art form was often a way to communicate stories and emotions. Fast forward to the 20th century, and finger painting found its place in modern art movements, influencing artists like Jackson Pollock and the Abstract Expressionists. Today, it’s not only a favored technique among professional artists but also a popular medium in educational settings, helping children explore their creativity and develop motor skills. The evolution of finger painting is a testament to its enduring appeal and versatility.
To embark on your finger painting journey, you’ll need a few essential materials. Choosing the right paint is crucial; non-toxic, washable paints are perfect for beginners and children. Additionally, having a variety of paper types, such as watercolor paper or canvas, can enhance your painting experience. Don’t forget to have some tools handy, like sponges and brushes, which can complement your fingers in creating unique textures. Here’s a quick rundown of what you’ll need:
- Paint: Non-toxic, washable options are best.
- Paper: Watercolor paper, canvas, or even cardboard.
- Tools: Sponges, brushes, and palette knives for added effects.
Now that you have your materials, let’s dive into some fundamental techniques. Color mixing is a vital skill in finger painting; it allows you to create a wide range of shades and tones. Start by placing primary colors on your palette and use your fingers to blend them. Layering is another technique that can add depth to your artwork. Imagine building a sandwich: each layer adds flavor and complexity to the final product. Lastly, creating textures can transform your painting from flat to dynamic. You can achieve this by using different finger strokes or by incorporating various tools.
Understanding color theory is essential for any artist, and finger painting is no exception. When mixing colors, consider the following:
- Primary Colors: Red, blue, and yellow are your building blocks.
- Secondary Colors: Mix primary colors to create green, orange, and purple.
- Tertiary Colors: Combine primary and secondary colors for even more variety.
Experimenting with these combinations will help you discover new hues and shades that can elevate your artwork.
Texture adds a tactile quality to your finger paintings, making them more engaging. You can create texture through various methods, such as:
- Finger Techniques: Use different finger strokes to create patterns.
- Tools: Incorporate sponges or brushes to add dimension.
- Layering: Build up layers of paint to create depth.
By experimenting with these methods, you can develop a unique style that reflects your artistic voice.
Once you’ve mastered the basics, it’s time to explore advanced techniques. Blending colors seamlessly is a skill that can take your artwork to the next level. This technique involves overlapping colors to create smooth transitions, much like a sunset fading into the horizon. Additionally, incorporating mixed media can add an exciting twist to your finger paintings. By combining finger painting with other artistic mediums, such as collage or watercolor, you can create dynamic and multifaceted artworks that truly stand out.
To achieve seamless color blending, start by applying two colors side by side. Use your fingers to gently rub the colors together, creating a gradient effect. This technique can add a professional touch to your artwork, making it look polished and refined.
Mixed media allows for endless creative possibilities. Consider adding elements like magazine cutouts, fabric, or even natural materials to your finger paintings. This combination can create a rich, textured surface that captures the viewer's attention and adds depth to your artistic expression.
Finger painting offers numerous benefits beyond just creating art. It’s a therapeutic activity that can reduce stress and anxiety, allowing you to immerse yourself in the creative process. Moreover, it enhances fine motor skills, making it an excellent activity for children and adults alike. Engaging in finger painting can also promote creativity, pushing you to think outside the box and explore new ideas.
To foster creativity while finger painting, consider setting up a conducive environment. Create a space where you feel free to express yourself without judgment. Embrace spontaneity; sometimes, the best art comes from unexpected choices. Don’t be afraid to experiment with colors and techniques. Remember, there are no mistakes in art, only opportunities for growth!
Once you’ve created your finger paintings, it’s time to share them with the world! Consider framing your artwork to give it a polished look. You can also share your creations on social media platforms or even create an online portfolio. This not only showcases your talent but also inspires others to explore the world of finger painting.
Q: What age is appropriate for finger painting?
A: Finger painting is suitable for all ages, from toddlers to adults. It’s a great way for anyone to express their creativity!
Q: Can I use regular paint for finger painting?
A: It’s best to use non-toxic, washable paints designed for finger painting to ensure safety and ease of cleanup.
Q: How do I clean up after finger painting?
A: Clean your hands and tools with soap and water. For surfaces, a damp cloth will usually do the trick!
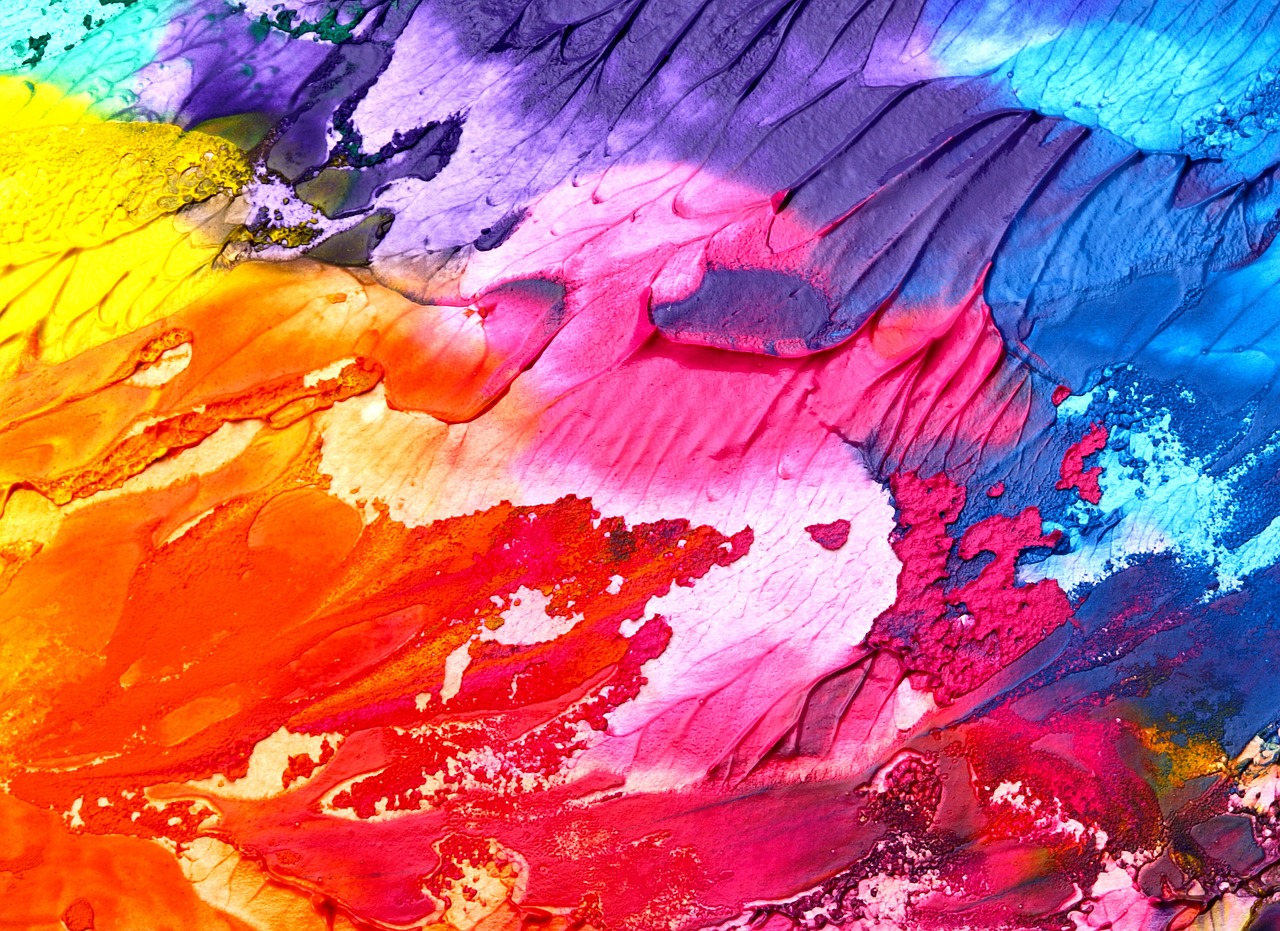
History of Finger Painting
Finger painting, an art form that invites both children and adults to unleash their creativity, has a rich and fascinating history that dates back thousands of years. The origins of finger painting can be traced to ancient civilizations, where the act of applying pigment directly with the fingers was not just a method of artistic expression but also a means of communication and storytelling. The ancient Egyptians, for instance, used their hands to create intricate murals on the walls of tombs, conveying beliefs and narratives that were essential to their culture.
As we move through history, finger painting evolved alongside various art movements. In the early 20th century, artists like Henri Matisse and Pablo Picasso began to embrace the idea of using the body as a tool for art creation, leading to a resurgence of interest in tactile methods of painting. This period marked a shift from traditional brush techniques to more spontaneous and instinctive forms of expression. Finger painting became a symbol of freedom and individuality, allowing artists to explore their emotions and thoughts without the constraints of conventional methods.
In the educational realm, finger painting has been embraced as a vital tool for childhood development. Educators recognized its potential to enhance fine motor skills and promote creativity in young learners. It encourages children to engage with colors and textures, fostering a sense of exploration and discovery. Today, finger painting is not only a cherished childhood activity but also a respected art form in its own right, practiced by artists of all ages who appreciate the unique qualities it brings to their work.
Throughout the years, finger painting has maintained its appeal due to its simplicity and accessibility. Unlike traditional painting, which often requires a plethora of materials and tools, finger painting can be done with just a few basic supplies. This democratization of art has allowed more people to participate in the creative process, breaking down barriers and inviting everyone to express themselves through color and form.
As we look at the timeline of finger painting's evolution, we can see its impact on contemporary art and education. From ancient murals to modern classrooms, finger painting continues to inspire and engage, reminding us all of the joy and freedom that comes from creating with our hands. Whether you're a seasoned artist or just starting your creative journey, understanding the history of finger painting can deepen your appreciation for this expressive art form.
- What materials do I need for finger painting? You will need non-toxic paints, thick paper or canvas, and perhaps some smocks to protect your clothes.
- Is finger painting suitable for adults? Absolutely! Finger painting can be a relaxing and therapeutic activity for people of all ages.
- Can finger painting improve artistic skills? Yes, it helps enhance creativity, fine motor skills, and understanding of color theory.
- How can I clean up after finger painting? Use soap and water to wash your hands, and ensure to cover your workspace to make cleanup easier.

Essential Materials for Finger Painting
When it comes to finger painting, having the right materials can make all the difference in your creative journey. Finger painting is not just about slapping paint onto a canvas; it’s about expressing yourself and letting your imagination run wild. To embark on this colorful adventure, you'll need a few essential supplies that will enhance your experience and help you create stunning artworks. So, what do you need? Let's dive into the must-have materials!
First and foremost, you'll want to choose the right type of paint. While traditional acrylics can work, they might dry too quickly for finger painting. Instead, consider using washable finger paints or tempera paints, which are specifically designed for this art form. These paints are not only easy to clean up but also allow for smooth application and vibrant colors. Plus, they come in various hues, letting you unleash your creativity without any limitations.
Next up is the paper. The choice of paper is crucial for a successful finger painting session. Opt for a heavier weight paper or canvas that can withstand the moisture from the paint. You might want to consider watercolor paper or mixed media paper, as these types are designed to handle wet techniques without warping. Additionally, if you're feeling adventurous, try out some textured paper to add an exciting dimension to your artwork.
Now, let’s talk about tools. While finger painting primarily involves using your hands, having a few additional tools can enhance your creative process. Here’s a quick rundown of optional tools you might find useful:
- Sponges: Great for creating soft textures and blending colors.
- Brushes: For those moments when you want to add finer details or edges.
- Palette knives: Perfect for mixing colors and applying paint in a unique way.
Another important aspect to consider is your workspace. Setting up a dedicated area for finger painting can help you focus and enjoy the process. Ensure you have a large, flat surface covered with a protective layer, like an old tablecloth or newspaper, to catch any splatters. Having a comfortable chair and good lighting can also enhance your experience, making it more enjoyable and productive.
Lastly, don't forget about clean-up supplies. Finger painting can get messy, and that’s part of the fun! However, having some paper towels, wet wipes, and a bucket of water handy will make the clean-up process much smoother. Trust me, you’ll be glad you prepared for this, especially if you’re working with kids!
To sum it up, the essential materials for finger painting include:
| Material | Description |
|---|---|
| Paint | Washable finger paints or tempera paints for vibrant colors. |
| Paper | Heavyweight or textured paper to withstand moisture. |
| Tools | Sponges, brushes, and palette knives for added effects. |
| Workspace | A clean, flat surface with good lighting. |
| Clean-up Supplies | Paper towels, wet wipes, and water for easy clean-up. |
With these materials in hand, you’re all set to explore the wonderful world of finger painting. Remember, the most important thing is to have fun and let your creativity flow!
Q: Can I use regular paint for finger painting?
A: While you can use regular paint, it's best to use washable finger paints or tempera paints for easier clean-up and better texture.
Q: What type of paper is best for finger painting?
A: Heavier weight paper or watercolor paper works best as they can handle the moisture without warping.
Q: How do I clean my hands after finger painting?
A: Most washable paints come off easily with soap and water. Just make sure to clean your hands right after you finish painting!
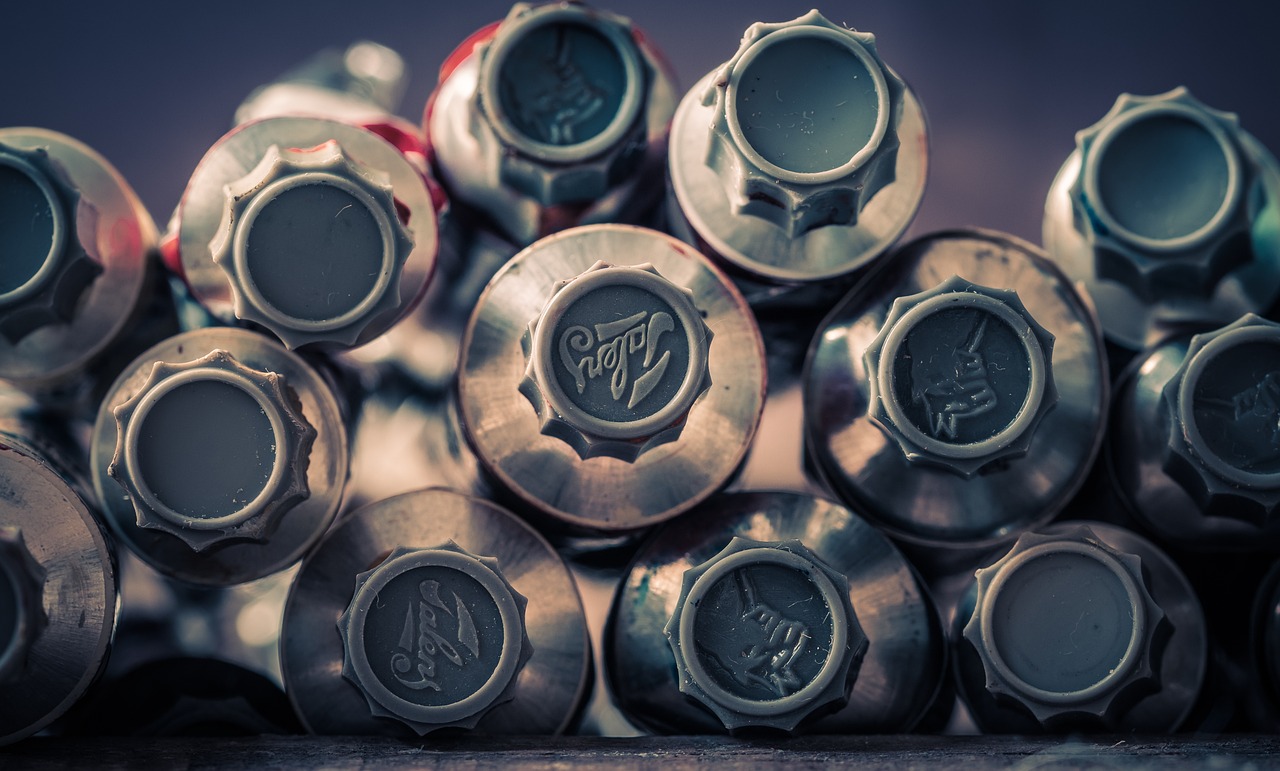
Basic Techniques for Beginners
Finger painting is an incredibly expressive and liberating art form that invites everyone, regardless of their skill level, to unleash their creativity. If you’re just starting out, it’s essential to grasp some basic techniques that will set you on the path to becoming a finger painting aficionado. First and foremost, don't be shy! The beauty of finger painting lies in its freedom and spontaneity. You’re not just applying paint; you’re creating a tactile experience that engages your senses. Remember, the canvas is your playground!
One of the fundamental techniques every beginner should master is color mixing. Understanding how to blend colors can transform your artwork from basic to breathtaking. Start with the primary colors: red, blue, and yellow. By mixing them, you can create a spectrum of shades. For instance, combine red and yellow to make orange, or blue and yellow for green. It’s like cooking; a pinch of this and a dash of that can yield delicious results! Don’t hesitate to experiment; sometimes, the best hues come from unexpected combinations.
Another essential technique is layering. This involves applying multiple layers of paint to create depth and dimension in your artwork. Begin with a base layer of color and allow it to dry before adding additional layers. This can be particularly effective for creating landscapes or abstract pieces. For example, you might start with a blue sky, let it dry, and then add fluffy white clouds on top. Layering not only enhances the visual appeal but also allows you to correct mistakes without starting over.
Creating textures is another exciting aspect of finger painting that can elevate your artwork. You can use various tools—like sponges, brushes, or even your fingers—to add different textures to your canvas. For instance, dabbing a sponge in paint and pressing it onto the canvas can create a soft, mottled effect, while swirling your fingers can produce a smooth, flowing texture. Don’t be afraid to get your hands messy; after all, that’s part of the fun!
To summarize, here are some key techniques to help you get started:
- Color Mixing: Experiment with primary colors to create new shades.
- Layering: Build depth by applying multiple paint layers.
- Creating Textures: Use various tools and techniques to add interest to your artwork.
As you practice these techniques, remember that finger painting is all about self-expression. There’s no right or wrong way to create art. Each stroke and color choice reflects your unique perspective. So, roll up your sleeves, dive into the paint, and let your imagination run wild. The canvas is waiting for your touch!
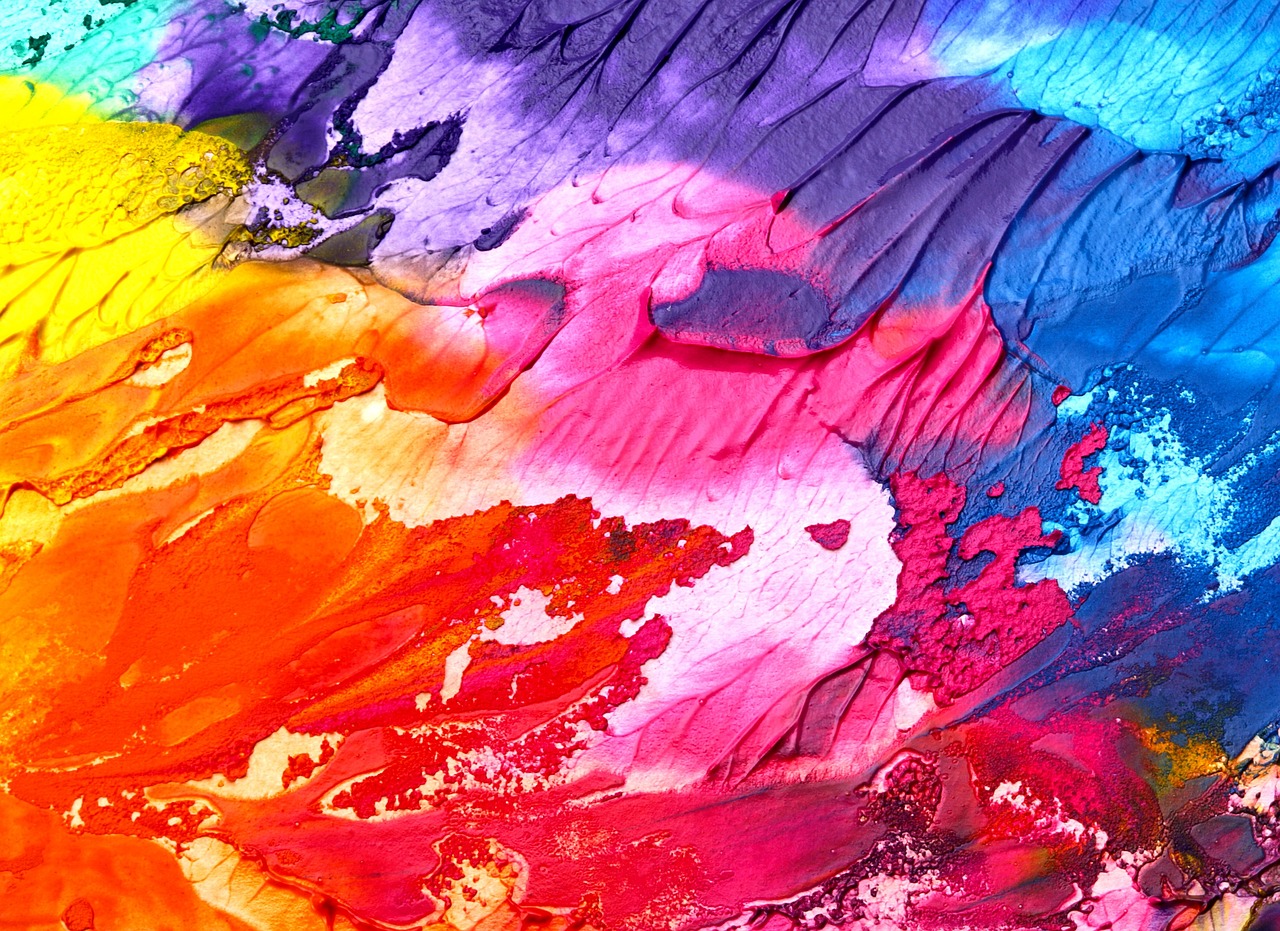
Color Mixing Techniques
When it comes to finger painting, mastering color mixing is akin to unlocking a treasure chest filled with vibrant possibilities. Imagine standing before a blank canvas, your fingers poised to create a masterpiece. The first step? Understanding how colors interact with one another. This isn’t just about slapping paint together; it’s about creating harmony and capturing the essence of your vision.
To get started, you need to familiarize yourself with the color wheel. This handy tool categorizes colors into primary, secondary, and tertiary hues. Primary colors—red, blue, and yellow—are the foundation. When you mix these colors, you get secondary colors: orange, green, and purple. Want to dive deeper? Tertiary colors emerge when you blend a primary with a secondary. This knowledge is crucial as it allows you to create a spectrum of shades and tones.
Here’s a simple breakdown of how you can mix colors effectively:
- Start with Primary Colors: Use equal parts of two primary colors to create a secondary color. For example, mix red and yellow to get orange.
- Experiment with Ratios: Adjust the amount of each color to create different shades. Adding more red to your orange will give you a deeper hue.
- Mixing Neutrals: Combine complementary colors (colors opposite each other on the color wheel) to create browns and grays. This can add depth to your artwork.
One of the most exciting aspects of finger painting is the ability to layer colors. This technique not only adds dimension but also allows for stunning visual effects. Start by applying a base layer of color. Once it dries, you can add another layer on top, either blending it slightly or allowing the base color to peek through. This method can create a beautiful, textured look that draws the viewer in.
Don’t forget about the power of transparency. By diluting your paint with water or a medium, you can achieve a watercolor effect. This is particularly effective when you want to create soft backgrounds or subtle gradients. Remember, the key to successful color mixing is to trust your instincts. Experimentation is where the magic happens, so don’t be afraid to get your fingers messy!
In conclusion, mastering color mixing techniques in finger painting opens up a world of creative expression. By understanding the color wheel, experimenting with ratios, and layering colors, you can elevate your art to new heights. So roll up your sleeves, dive into your palette, and let your imagination run wild!
Q: What are the best types of paint for finger painting?
A: The best types of paint for finger painting are non-toxic, washable paints. Look for options that are specifically designed for children, as they are safe and easy to clean up.
Q: Can I use my fingers with acrylic paint?
A: Yes, you can use your fingers with acrylic paint! Just be sure to use a non-toxic brand and prepare for a bit of cleanup afterward.
Q: How can I preserve my finger paintings?
A: To preserve your finger paintings, consider using a fixative spray or framing them under glass to protect them from dust and damage.
Q: Is finger painting suitable for adults?
A: Absolutely! Finger painting is a wonderful form of stress relief and creative expression for people of all ages.
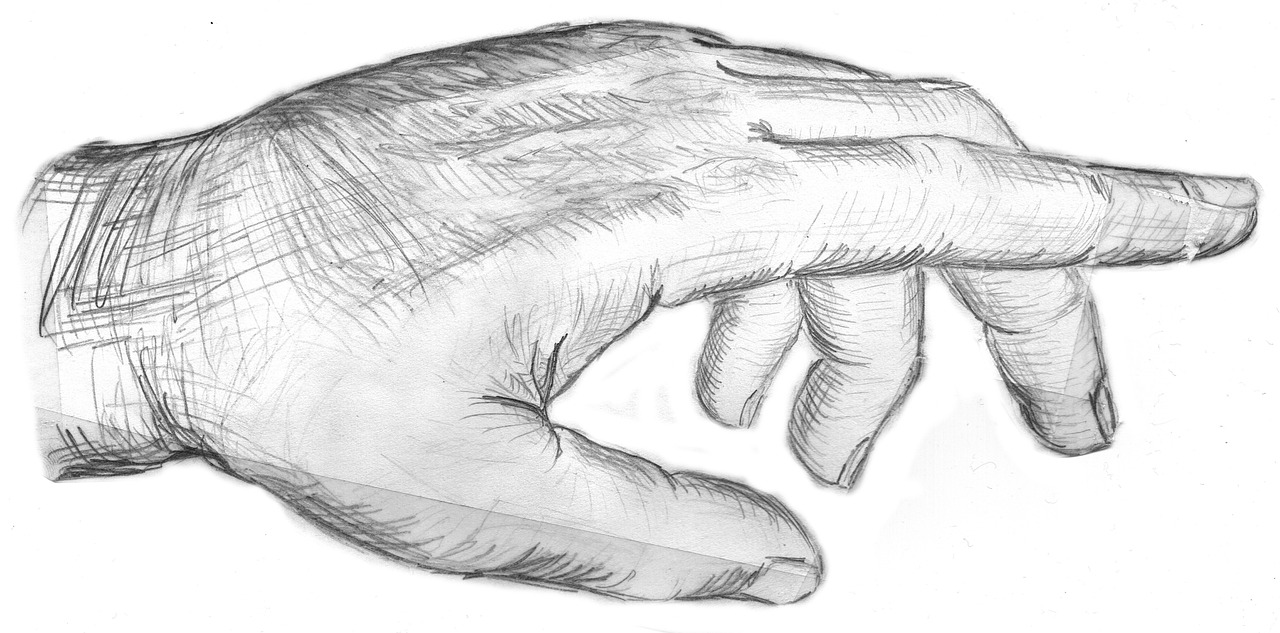
Creating Textures
When it comes to finger painting, is like adding the secret ingredient to a recipe—it can transform a simple dish into a gourmet experience. Textures can evoke feelings, add depth, and bring your artwork to life. Imagine running your fingers across a canvas and feeling the different surfaces beneath your touch; that's the magic of texture in art. So, how do you go about creating these mesmerizing textures in your finger paintings?
First, let’s talk about the importance of tools. While your fingers are the primary instruments for finger painting, incorporating additional tools can enhance your textural effects. For instance, sponges, brushes, and even household items like forks or combs can be used to create unique patterns and textures. Each tool brings its own character to the artwork, allowing for endless possibilities.
Next, consider the layering technique. This is where you apply multiple layers of paint to build up texture over time. Start with a base layer of color, then add additional colors on top, allowing some of the bottom layers to peek through. This not only adds depth but also creates a rich visual experience. You might find that a simple swirl of paint can turn into a mountainous landscape with the right application of layers.
Another technique involves using different mediums alongside your finger paints. For example, mixing in sand or salt can create an intriguing, gritty texture. You can also experiment with wet and dry techniques; applying wet paint over dry surfaces can yield fascinating results. The contrast between the smoothness of wet paint and the roughness of dried paint can lead to unexpected and delightful textures.
Don’t forget about finger strokes! The way you move your fingers across the canvas can drastically change the texture. Try using quick, short strokes for a rough texture or long, sweeping motions for a smooth finish. You can even use your fingertips to dot or stipple the paint, creating a pointillist effect that adds a unique dimension to your work.
Lastly, remember that spontaneity is key in finger painting. Allow yourself to experiment and explore. Sometimes, the best textures come from happy accidents. If you spill a bit of paint or accidentally smudge something, embrace it! These moments can lead to new techniques and styles that you may never have considered.
In summary, creating textures in finger painting is all about exploration and experimentation. By utilizing various tools, layering techniques, and being open to spontaneity, you can elevate your artwork to new heights. So, get your fingers messy, and let the textures speak through your creations!
- What types of materials are best for creating textures in finger painting?
Using a variety of tools like sponges, brushes, and even natural items like leaves or fabric can help achieve different textures. Experimenting with mediums like sand or salt can also add interesting effects.
- Can I use traditional paint for finger painting?
Absolutely! While finger painting is often associated with non-toxic paints designed for children, you can use acrylics or watercolors. Just ensure they are safe for skin contact.
- How can I preserve the textures in my artwork?
Once your painting is dry, consider applying a clear sealant to protect the textures and colors. This will help maintain the integrity of your work over time.
Advanced Finger Painting Techniques
When you’ve mastered the basics of finger painting, it’s time to elevate your skills and explore advanced techniques that can transform your artwork from simple expressions to stunning masterpieces. These methods not only enhance your creativity but also allow for a more sophisticated approach to this playful medium. Let's dive into some exciting techniques that can help you push the boundaries of your finger painting.
One of the most captivating aspects of advanced finger painting is blending colors. This technique involves seamlessly transitioning from one color to another, creating a gradient effect that adds depth and dimension to your artwork. Imagine a sunset where the vibrant oranges and reds melt into soft purples and blues. To achieve this, start with your base color and gradually add a second color at the edges. Use your fingers to gently swirl the colors together, allowing them to mix organically. The key is to work while the paint is still wet, as this will enable a smoother transition. Don't be afraid to experiment with various color combinations to discover unique blends that resonate with your artistic vision.
Incorporating mixed media into your finger painting can also elevate your work dramatically. This approach combines finger painting with other artistic mediums—like collage, watercolor, or even pastels—to create multifaceted pieces that intrigue the viewer. For instance, you might start with a base layer of finger paint and then add cut-out images from magazines to create a collage effect. Alternatively, you could apply watercolor washes over your finger-painted background to introduce new textures and colors. The beauty of mixed media lies in its versatility; you can layer different elements to tell a story or convey emotions in ways that pure finger painting cannot.
Another advanced technique to consider is stenciling. This method allows you to introduce intricate designs and patterns into your finger paintings without compromising the spontaneity of finger painting. You can create your own stencils using cardstock or plastic sheets, cutting out shapes that inspire you. Once you have your stencil ready, place it on your canvas and use your fingers to dab paint over it. Remove the stencil to reveal crisp, defined shapes that contrast beautifully with the fluidity of your finger-painted background. This technique not only adds interest but also allows for a structured approach to your otherwise free-form art.
As you explore these advanced techniques, remember that the most important aspect of finger painting is to enjoy the process. Embrace the chaos and spontaneity that comes with using your fingers as your primary tool. Each piece you create is a reflection of your unique style and voice, so let your creativity flow freely. With practice, patience, and a willingness to experiment, you’ll find that the possibilities are endless.
Q: What materials do I need for advanced finger painting techniques?
A: For advanced techniques, you'll want high-quality finger paints, a variety of paper types (like canvas or watercolor paper), stencils, and mixed media materials such as magazines or pastels. Having a palette for color mixing and brushes for detail work can also be beneficial.
Q: Can I use any type of paint for finger painting?
A: While you can use various types of paint, it’s best to choose paints specifically designed for finger painting, as they are non-toxic and easy to clean up. Acrylic paints are also popular, but they can be harder to wash off your hands.
Q: How do I clean up after finger painting?
A: Cleaning up after finger painting is relatively easy. Use soap and water to wash your hands, and wipe down surfaces with a damp cloth. If you’re working with acrylics, you may need to use a little rubbing alcohol to remove stubborn spots.
Blending Colors
Blending colors in finger painting is like mixing ingredients in a recipe; the right combination can create something truly magical. When you dip your fingers into vibrant paints, you’re not just applying color; you’re engaging in a dance of hues that can transform your artwork from ordinary to extraordinary. But how do you achieve that perfect blend? It’s all about technique and a bit of practice!
First and foremost, understanding the color wheel is essential. The color wheel is your best friend when it comes to blending. It shows how colors relate to one another and helps you visualize what happens when you mix them. For example, when you combine blue and yellow, you get a beautiful green. But blending isn’t just about mixing primary colors; it’s about creating depth and dimension in your artwork.
To start blending effectively, consider these techniques:
- Layering: Begin with a base color and allow it to dry slightly. Then, apply a second color on top, using your fingers to gently swirl and mix them together. This technique creates a rich, textured effect.
- Wet-on-Wet: For a more fluid blend, apply colors while the paint is still wet. This allows the colors to mingle on the canvas, creating soft transitions and gradients.
- Finger Techniques: Use different finger movements to manipulate the paint. For instance, swirling your fingers in a circular motion can create a marbled effect, while dabbing can produce a stippled texture.
One of the most exciting aspects of blending colors is the ability to create gradients. Gradients add depth and can evoke emotions, guiding the viewer’s eye through your piece. To achieve a gradient, start with a darker shade on one side of your canvas and gradually mix in lighter shades as you move across. This technique can make your paintings feel more dynamic and alive.
Another crucial element to consider is the amount of pressure you apply while blending. Light touches can create softer transitions, while firmer pressure can yield more intense colors. Experiment with different pressures to see how they affect your artwork. Remember, finger painting is all about exploration, so don’t be afraid to get messy!
Finally, don’t forget the importance of practice. Just like any other skill, blending colors takes time to master. Set aside some time to play with your paints, experiment with different techniques, and find what works best for you. The more you practice, the more intuitive blending will become, and soon you’ll be able to create stunning, harmonious artworks that captivate and inspire.
Q: What is the best type of paint for finger painting?
A: Acrylic paints are popular for finger painting due to their vibrant colors and quick drying time. However, non-toxic, washable finger paints are also great, especially for kids.
Q: Can I use my hands for blending colors with other mediums?
A: Absolutely! While finger painting is primarily about using your fingers, you can blend colors with other mediums like watercolors or pastels using your hands for a unique effect.
Q: How do I clean my hands after finger painting?
A: Most paints can be easily washed off with soap and water. For stubborn stains, a bit of baby oil can help lift the paint off your skin.
Q: Is finger painting suitable for all ages?
A: Yes! Finger painting is a versatile art form that can be enjoyed by children and adults alike. It’s a fantastic way to express creativity and relieve stress.
Incorporating Mixed Media
When it comes to finger painting, the possibilities are as vast as your imagination. One exciting way to elevate your artwork is by . This approach allows you to blend various materials and techniques, creating a rich tapestry of textures, colors, and emotions in your pieces. Imagine your finger painting as a blank canvas that invites different elements to join the party. Whether it’s using collage elements, watercolor washes, or even found objects, the integration of mixed media can transform your art from simple finger strokes to a vibrant expression of your creativity.
To get you started, consider some of the following mixed media techniques:
- Collage Elements: Cut out shapes or images from magazines, newspapers, or colored paper and adhere them to your finger painting. This can add an intriguing layer of narrative and visual interest.
- Watercolor Backgrounds: Before you dive into finger painting, try laying down a soft watercolor wash. Once dry, your finger painting can pop against the fluidity of the background.
- Textured Materials: Incorporate materials like sand, fabric, or even leaves into your paint to create unique textures. This not only adds depth but also invites a tactile experience for viewers.
- Ink and Markers: After your finger painting dries, you can outline certain areas or add details with ink pens or markers, giving your piece a polished finish.
One of the most exhilarating aspects of incorporating mixed media is the ability to experiment without fear. There are no strict rules—only the guidelines of your own creativity. This freedom can lead to unexpected surprises, much like a delightful explosion of colors and forms that dance together on your canvas. So, don’t hesitate to try out different combinations of materials. Embrace the chaos, and let your instincts guide you!
Moreover, mixed media can be particularly beneficial for those who might feel intimidated by traditional painting techniques. By allowing yourself to play with different elements, you are likely to discover new styles and methods that resonate with your artistic voice. It’s all about finding joy in the process and expressing yourself in ways that feel authentic and meaningful.
Remember, the key to mastering mixed media finger painting lies in practice and exploration. So gather your supplies, unleash your creativity, and watch as your finger paintings evolve into stunning mixed media masterpieces that tell your unique story.
Q: What is mixed media art?
A: Mixed media art involves combining various artistic mediums and materials to create a single artwork. This can include anything from paint and ink to paper and fabric.
Q: Can I use any type of paint for finger painting?
A: Yes! While acrylics are popular for finger painting due to their quick drying time and vibrant colors, you can also use tempera or even watercolors, depending on the effect you want to achieve.
Q: Is finger painting suitable for all ages?
A: Absolutely! Finger painting is a fantastic way for people of all ages to express themselves creatively. It’s especially beneficial for children as it helps develop fine motor skills, but adults can also enjoy the therapeutic benefits of this art form.
Q: How can I protect my mixed media finger painting?
A: Once your artwork is complete and dry, consider applying a clear acrylic sealer or varnish to protect it from dust and damage. This will help preserve your mixed media elements and keep your art looking fresh.

Benefits of Finger Painting
Finger painting is not just a fun activity; it is a powerful form of expression that offers a plethora of benefits for both children and adults. Engaging in this tactile art form can significantly enhance creativity and provide a therapeutic outlet for emotions. When you dip your fingers into vibrant colors and smear them across a canvas, it’s as if you’re unlocking a door to your imagination. But what exactly makes finger painting so beneficial? Let’s dive into some of the key advantages.
First and foremost, finger painting is an excellent way to boost creativity. The unrestricted nature of this art form encourages individuals to explore their artistic instincts without the confines of traditional tools like brushes. When you use your fingers, you’re more likely to experiment with colors, shapes, and textures, leading to unique creations that reflect your personal style. This liberating experience can ignite a passion for art that may have been dormant.
Moreover, finger painting serves as a fantastic therapeutic tool. It allows individuals to express their feelings in a non-verbal manner, making it especially beneficial for those who struggle with communication. The act of smearing paint can be incredibly cathartic, helping to alleviate stress and anxiety. Imagine the satisfaction of watching your worries dissolve into a swirl of colors on the paper. It’s a wonderful way to channel emotions and find inner peace.
Finger painting also plays a crucial role in developing fine motor skills. For children, the act of manipulating paint with their fingers helps strengthen hand-eye coordination and dexterity. As they dab, swirl, and smear, they are honing their motor skills in a playful and engaging way. Adults can benefit too, as finger painting can serve as a form of physical therapy, helping to improve hand strength and coordination.
In addition to these personal benefits, finger painting fosters social interaction when done in groups. Whether in a classroom setting or a community art event, finger painting encourages collaboration and communication. Participants can share ideas, techniques, and even collaborate on a piece of art, creating a sense of community and belonging. It’s a wonderful way to build connections through creativity.
Finally, let’s not forget the sheer joy of finger painting. The vibrant colors, the messiness, and the freedom to create without rules can bring a sense of childlike wonder. It’s a reminder that art doesn’t have to be perfect; it just needs to be an expression of who you are. So, whether you’re a seasoned artist or a curious beginner, picking up some paint and letting your fingers do the talking can lead to a fulfilling and enriching experience.
In summary, the benefits of finger painting extend far beyond just creating art. It enhances creativity, provides therapeutic relief, develops fine motor skills, fosters social connections, and, most importantly, brings joy. So why not grab some paint and let your fingers dance across the canvas? You might just discover a new passion and reap all these wonderful benefits along the way.
Here are some common questions about finger painting and its benefits:
- What age is appropriate for finger painting? Finger painting is suitable for all ages! It’s a fantastic activity for toddlers, but even adults can enjoy its creative benefits.
- Do I need special materials for finger painting? While you can use any non-toxic paint, it’s best to use paints specifically designed for finger painting to ensure safety and ease of use.
- Can finger painting be used as a therapeutic tool? Absolutely! Many therapists incorporate finger painting into their sessions as a way to help clients express emotions and relieve stress.
Tips for Encouraging Creativity
Encouraging creativity, especially in the vibrant world of finger painting, is all about creating the right environment and mindset. Think of it as setting the stage for a performance; the better the setup, the more spectacular the show! To kick things off, ensure that you have a dedicated space for painting. This doesn’t have to be a fancy studio; a simple table covered with newspaper or a plastic sheet will do just fine. The key is to make it a fun and inviting space where messes are not just accepted, but celebrated!
Another essential tip is to embrace spontaneity. Sometimes, the best ideas come when you least expect them. Encourage yourself or your little ones to dive into the process without overthinking. You might say, "Let’s just splash some paint and see what happens!" This approach can lead to unexpected and delightful results, transforming a blank canvas into a whirlwind of colors and emotions.
Additionally, consider incorporating music into your painting sessions. Music can be a powerful catalyst for creativity. As you paint, let the rhythm guide your strokes. Whether it’s calming classical tunes or upbeat pop songs, the right soundtrack can elevate the experience and help you lose yourself in the moment. You might just find that the music inspires new ideas or techniques you hadn’t thought of before!
Don’t forget the importance of inspiration. Surround yourself with art that speaks to you. Visit galleries, browse art books, or even explore social media platforms like Instagram and Pinterest. These resources can provide a wellspring of ideas, helping you to see what’s possible with finger painting. You can even create a mood board with colors, textures, and styles that resonate with you, serving as a visual guide during your painting sessions.
Lastly, remember to celebrate the process, not just the end result. Finger painting is about expression and exploration, so take the time to appreciate each stroke and color choice. Encourage others to do the same, perhaps by sharing their artwork in a casual showcase or a friendly critique session. This not only builds confidence but also fosters a sense of community and support among fellow artists.
Q: What age is appropriate for finger painting?
A: Finger painting is suitable for all ages! While it's often associated with young children, adults can also enjoy its therapeutic benefits. Just ensure that the materials used are safe and non-toxic.
Q: How do I clean up after finger painting?
A: Cleaning up can be as fun as painting! Use soap and water for your hands and any surfaces. For fabrics, try a stain remover, but act quickly for the best results.
Q: Can I use regular paint for finger painting?
A: While you can use regular paint, it's best to opt for washable, non-toxic paints designed specifically for finger painting, especially for kids. This ensures safety and easier cleanup!
Q: What if I feel stuck or uninspired?
A: It’s completely normal to hit a creative block. Try changing your surroundings, listening to new music, or even taking a short break. Sometimes, stepping away can help you return with fresh eyes and ideas.

Showcasing Your Finger Paintings
Once you've created your stunning finger paintings, the next exciting step is to showcase them! After all, what's the point of pouring your heart and soul into your artwork if no one gets to see it? Whether you're a budding artist or a seasoned pro, displaying your work can be a thrilling experience that allows you to share your creativity with the world. So, how do you go about showing off your masterpieces? Let’s dive into some effective methods!
First off, consider framing your artwork. A well-chosen frame can elevate your painting from a simple piece of art to a stunning focal point in any room. When selecting a frame, think about the colors and style of your painting. A simple black or white frame can provide a modern touch, while a more ornate frame can add a classic feel. Don't forget to use a mat to enhance the visual appeal; it can create a beautiful border that draws the eye in.
Next, you might want to explore online platforms for sharing your finger paintings. Websites like Instagram, Pinterest, and Facebook are fantastic for showcasing your art to a broader audience. You can create a dedicated art account or use your personal profile to share your creations. When posting, remember to include engaging captions and relevant hashtags to attract viewers. Here are some tips for posting online:
- High-Quality Photos: Ensure your images are well-lit and clear, capturing the vibrant colors of your paintings.
- Engage with Your Audience: Respond to comments and messages to build a community around your art.
- Use Hashtags: Research and use popular art-related hashtags to increase your visibility.
Additionally, consider organizing a local art show or participating in community events. This is a fantastic way to connect with fellow artists and art lovers. You can collaborate with local galleries or even set up a booth at a craft fair. Not only does this give you the chance to display your work, but it also opens up opportunities for networking and feedback. Plus, you might even sell a painting or two!
If you're feeling adventurous, why not create an art blog or website? This platform allows you to showcase your finger paintings in a more personalized manner. You can write about your creative process, share tutorials, and even sell your artwork directly. A blog can serve as a digital portfolio that showcases your growth as an artist over time, and it can be a great way to connect with others who share your passion.
Lastly, don't underestimate the power of social media challenges and art competitions. Participating in these events can give your work exposure and help you gain new followers. They often encourage creativity and can push you to explore new themes and techniques in your finger painting. Plus, it’s a fun way to engage with the art community!
In summary, showcasing your finger paintings is about finding the right avenues that resonate with you. Whether through framing, online platforms, local events, or even starting your own blog, there are endless possibilities to share your artistic journey. So, get out there and let your creativity shine!
1. How do I choose the right frame for my finger paintings?
When selecting a frame, consider the colors and overall style of your painting. A simple frame can provide a modern touch, while an ornate frame can add a classic feel. Don’t forget to include a mat for added visual appeal!
2. What are the best platforms to showcase my art online?
Popular platforms include Instagram, Pinterest, and Facebook. These sites allow you to share high-quality images of your work and engage with a larger audience.
3. Can I sell my finger paintings online?
Absolutely! You can set up an art blog, use platforms like Etsy, or even sell directly through social media. Just make sure to showcase your work professionally.
4. How can I get involved in local art shows?
Reach out to local galleries or community centers to inquire about upcoming events. You can also join local artist groups for networking opportunities.
Frequently Asked Questions
- What is finger painting?
Finger painting is an expressive art form where you use your fingers instead of brushes to apply paint to a surface. It's a fun and tactile way to create art, allowing for unique textures and spontaneous creativity.
- Is finger painting suitable for all ages?
Absolutely! Finger painting is perfect for everyone, from toddlers exploring colors to adults looking to unleash their creativity. It’s a fantastic way to bond with children while also providing therapeutic benefits for adults.
- What materials do I need to start finger painting?
You’ll need non-toxic finger paints, thick paper or canvas, and perhaps some tools like sponges or brushes for added effects. Just make sure the paints are safe for your skin, especially if kids are involved!
- How do I clean up after finger painting?
Cleaning up is pretty straightforward! Just wash your hands with soap and water. For surfaces, a damp cloth usually does the trick. If you’re using washable paints, they’ll come off easily from most surfaces.
- Can finger painting help improve fine motor skills?
Yes! Finger painting is a fantastic way to enhance fine motor skills, especially in children. It encourages hand-eye coordination and helps develop dexterity as they manipulate the paint with their fingers.
- What are some tips for beginners?
Start with basic colors and don’t worry about making a masterpiece right away! Experiment with mixing colors and different techniques. Remember, the process is just as important as the final product, so enjoy the mess!
- How can I showcase my finger paintings?
There are many creative ways to display your finger paintings! You can frame them, create a gallery wall, or even share them on social media. Online platforms like Instagram and Pinterest are great for reaching a wider audience!
- What are the benefits of finger painting?
Finger painting offers numerous benefits, including stress relief, enhanced creativity, and improved motor skills. It’s also a great way to express emotions and can be incredibly therapeutic, making it beneficial for both kids and adults.
- Can I combine finger painting with other art forms?
Definitely! Mixing finger painting with other mediums like collage, watercolor, or even digital art can create stunning results. Don't be afraid to experiment and find your unique style!


