How to Master the Art of Blending in Drawing
Have you ever gazed at a drawing and wondered how the artist achieved those smooth transitions and realistic textures? Blending is an essential skill that can elevate your artwork from basic sketches to stunning masterpieces. It's like the secret sauce that adds depth and life to your drawings, making them feel more three-dimensional and vibrant. In this article, we will explore various techniques and tips for mastering blending in drawing, helping you create artwork that captivates the eye and stirs the imagination.
Blending techniques are crucial for achieving depth and realism in drawings. They allow artists to merge colors and tones seamlessly, creating a visual experience that draws the viewer in. Think of blending as the art of creating a smooth gradient between colors, much like how the sky transitions from a bright blue to a soft orange at sunset. There are several methods artists use to blend effectively, including:
- Layering: This involves applying multiple layers of color and then blending them to create a smooth transition.
- Smudging: Using tools like fingers or blending stumps to smudge and soften edges.
- Feathering: Lightly applying color in a feather-like motion to create soft transitions.
Each of these techniques has its own unique advantages and can be used depending on the desired effect. The key is to practice and experiment to find what works best for your style.
Selecting the right tools can significantly impact your blending results. Just as a chef chooses the best ingredients for a dish, an artist must select the appropriate tools to achieve the desired effects. Here are some common tools you might consider:
- Blending Stumps: These are cylindrical tools made of tightly rolled paper, perfect for creating smooth transitions.
- Tortillons: Similar to blending stumps but pointed, allowing for more precision in blending small areas.
- Brushes: Soft brushes can be used for blending pastels or paint, providing a different texture.
Blending stumps are popular among artists for creating smooth transitions in pencil drawings. They're like the magic wands of the drawing world, allowing you to achieve a level of detail and softness that can be quite challenging to get with just a pencil. To use them effectively, start by applying your base layer of color, then gently rub the blending stump over the area you want to blend. This motion helps to push the graphite or colored pencil into the paper, creating a soft, smooth effect.
Blending stumps offer precision and control, making them ideal for detailed work. They allow you to blend without lifting the pencil marks, which is essential for maintaining the integrity of your drawing. Plus, they come in various sizes, so you can choose one based on the area you're working on. It's like having a set of brushes in different sizes for painting!
Keeping blending stumps in good condition is essential for optimal performance. To clean them, you can gently sand the tip to remove buildup from previous uses. This will refresh the surface and ensure that you get the best blending results every time. Think of it as sharpening a pencil; a clean, sharp edge will always perform better.
In addition to blending stumps, there are various other tools that can enhance your blending techniques. For instance, your fingers can be incredibly effective for blending charcoal or pastels. They provide a natural feel and can create unique textures that other tools might not achieve. Similarly, brushes can add a soft touch to your artwork, especially when working with paints or pastels. Each tool has its own personality, and experimenting with them can lead to exciting new effects in your work.
Understanding color theory is vital for effective blending. It’s not just about mixing colors; it’s about knowing how they interact with each other. For instance, did you know that warm colors (like reds and yellows) can create a sense of energy, while cool colors (like blues and greens) evoke calmness? Recognizing these differences can significantly influence your blending choices and overall composition.
Recognizing the differences between warm and cool colors can greatly affect your artwork. Warm colors tend to advance in a composition, making them ideal for focal points, while cool colors recede, creating a sense of depth. When blending, consider how these colors will interact. For example, blending a warm color into a cool one can create a stunning gradient that draws the viewer's eye through the piece.
Using complementary colors can create striking contrasts in your drawings. These are colors that are opposite each other on the color wheel, such as blue and orange or red and green. When blended, they can produce dynamic visual effects that can make your artwork pop. Experimenting with blending these colors can lead to exciting results, like creating shadows or highlights that add realism to your work.
Practicing blending techniques is essential for improvement. Just like a musician practices scales, artists must engage in exercises that enhance their blending skills and confidence. Here are some exercises to get you started:
Creating gradients is an excellent way to practice blending. Start with two colors and work on transitioning smoothly between them. This exercise will help you understand how to layer and blend colors effectively. You can use a blending stump or even your fingers to achieve the desired effect. Remember, the goal is to create a seamless transition that looks effortless.
Studying and replicating different textures can significantly improve your blending abilities. Choose a textured object, like a piece of fabric or a leaf, and try to replicate its texture in your drawing. Focus on how light interacts with the surface and use blending techniques to create realistic effects. This exercise not only hones your blending skills but also enhances your observation skills as an artist.
Q: What is the best tool for blending?
A: It depends on your medium! For pencil drawings, blending stumps are great. For pastels, soft brushes or fingers work well.
Q: Can I blend colors directly on the paper?
A: Absolutely! Layering colors and then blending them on the paper can create beautiful effects. Just remember to work lightly to avoid damaging the paper.
Q: How do I maintain my blending tools?
A: Keep your blending stumps clean by gently sanding them. For brushes, wash them regularly with soap and water to keep them in good condition.
In conclusion, mastering the art of blending in drawing is a journey that requires practice, patience, and the right tools. By understanding blending techniques, utilizing various tools, and applying color theory, you can significantly enhance the quality of your artwork. So grab your pencils, blending stumps, and some vibrant colors, and start creating those stunning, blended masterpieces!

Understanding Blending Techniques
Blending techniques are the secret sauce that can elevate your drawings from basic sketches to stunning works of art. When you think about it, blending is like the magic wand of drawing; it helps you create depth, dimension, and realism in your artwork. Imagine a world where colors smoothly transition into one another, where shadows and highlights dance together in perfect harmony. That’s the power of blending! But how do you master this art? Let's break it down.
At its core, blending involves mixing colors or tones to create a seamless transition. Think of it like making a delicious smoothie; you want all the ingredients to come together beautifully. In drawing, this could mean blending different shades of the same color to create a gradient or mixing complementary colors to produce a striking visual effect. Some common techniques include:
- Smudging: Using your fingers or a tool to smudge colors together.
- Layering: Applying multiple layers of color and blending them gradually.
- Cross-hatching: Overlapping lines in different directions to create texture and depth.
Each technique has its own unique flair and can be used to achieve different effects. For example, smudging is great for softening edges and creating a dreamy atmosphere, while layering can add richness and complexity to your colors. The key is to experiment and find out what works best for you. After all, every artist has their own style and preferences!
Moreover, understanding the properties of your materials is crucial. Different mediums—be it graphite, colored pencils, or pastels—have their own blending characteristics. For example, colored pencils can be layered and blended to achieve vibrant colors, while graphite allows for smoother transitions due to its softer texture. Knowing how your materials behave will help you make informed choices when blending.
In addition to the techniques and materials, consider the emotional aspect of blending. The way you blend can convey different feelings in your artwork. A soft, gentle blend may evoke calmness, while sharp, contrasting blends might generate excitement or tension. It’s all about the story you want to tell through your art.
So, as you embark on your blending journey, remember that practice is key. Don't be afraid to make mistakes; they are often the best teachers. Grab your tools, choose your colors, and start experimenting. Before you know it, you'll find yourself mastering the art of blending and creating artwork that truly captivates your audience!
Q: What is the best tool for blending?
A: It depends on your medium! Blending stumps are great for pencil, while brushes work well for pastels and paints.
Q: Can I blend colors directly on the paper?
A: Absolutely! Blending directly on the paper can create beautiful effects, especially with colored pencils and pastels.
Q: How do I clean my blending tools?
A: For blending stumps, a simple sandpaper can help maintain their shape. Brushes should be cleaned with water or appropriate solvent based on the medium used.

Tools for Blending
When it comes to blending in drawing, the tools you choose can make a world of difference. The right tools not only enhance your blending capabilities but also allow you to express your artistic vision more effectively. Whether you're a seasoned artist or just starting out, understanding the various tools available can elevate your work to new heights. Let's delve into some of the most popular blending tools and how they can be utilized to achieve stunning results.
One of the most commonly used tools for blending is the blending stump. These cylindrical tools, typically made from tightly rolled paper, are excellent for creating smooth transitions in pencil drawings. Their pointed tips allow for precision, enabling artists to blend colors seamlessly without disturbing the underlying layers of graphite or colored pencil. But blending stumps aren't the only option available. Tortillons are similar to blending stumps but are tapered at both ends, making them ideal for fine details and intricate work.
Another versatile tool is the brush. While brushes are often associated with painting, they can also be incredibly effective in drawing, especially when working with softer mediums like charcoal or pastels. The type of brush you choose can influence the blending effect. For instance, a soft, round brush can create gentle transitions, while a stiff, flat brush can produce more defined edges. Additionally, using your fingers can also yield unique results. Your skin can act as a natural blending tool, allowing for a more organic feel in your artwork.
When selecting your blending tools, consider the following factors:
- Medium: Different mediums require different tools. For instance, blending stumps work well with pencil, while brushes are better suited for pastels.
- Detail Level: If you're working on a detailed piece, you might prefer a tortillon or a fine brush for precision.
- Desired Effect: Think about the texture and look you want to achieve. A blending stump can provide a smooth finish, while your fingers can create a more textured appearance.
In conclusion, the tools you choose for blending can significantly impact the quality of your artwork. By experimenting with blending stumps, tortillons, brushes, and even your fingers, you can discover the best methods that work for your style. Remember, the key to mastering blending is not just about having the right tools but also about knowing how to use them effectively. So, gather your tools, practice regularly, and watch your blending skills flourish!
Q: What is the best tool for blending colored pencils?
A: Blending stumps and tortillons are great for colored pencils as they allow for smooth transitions without damaging the paper. You can also use a soft brush for larger areas.
Q: Can I use my fingers to blend?
A: Absolutely! Using your fingers can create a unique texture and warmth in your artwork. Just be mindful of the oils on your skin that can affect the medium.
Q: How do I maintain my blending tools?
A: Keep your blending stumps sharp by sanding them lightly, and clean brushes with soap and water after each use. This will ensure they perform optimally for your next project.
Using Blending Stumps
Blending stumps, often made from tightly rolled paper or felt, are essential tools for artists aiming to achieve smooth transitions in their pencil drawings. These tools are not just for blending; they can also be used for shading, creating soft edges, and even adding intricate details. When you first pick up a blending stump, you might be surprised at how much control you can exert over your artwork. It’s like having a magic wand that can effortlessly merge colors and tones, transforming a rough sketch into a polished piece of art.
To use a blending stump effectively, start by applying your base layer of graphite or colored pencil. Once you have your initial marks down, take your blending stump and gently rub it over the area you wish to blend. The key here is to use light pressure and small circular motions. This technique allows the material to spread evenly, creating a seamless transition. You might find it helpful to think of this process like smoothing out icing on a cake; the more care you take, the smoother the finish will be.
One of the fantastic aspects of blending stumps is their versatility. Depending on the shape and size of the stump, you can achieve different effects:
- Pointed Stumps: Great for detailed areas and tight corners.
- Flat Stumps: Ideal for larger areas where you want to cover more ground quickly.
- Used Tips: Remember to rotate your stump frequently to use different parts of it, which helps in maintaining a clean blending surface.
When blending, it's also crucial to consider the pressure applied. Too much pressure can result in a smudged appearance, while too little may not yield the desired effect. It's all about finding that sweet spot. Think of it as a dance; you need to find the rhythm between your hand and the paper to create a beautiful performance. Additionally, blending stumps can be used in conjunction with other tools, such as erasers, to create highlights or to lift graphite for a more dynamic range of tones.
In summary, blending stumps are a powerful ally in any artist's toolkit. They provide the precision and control necessary for detailed work while allowing for creative expression through blending techniques. So, whether you’re sketching a portrait or working on a detailed landscape, incorporating blending stumps into your drawing practice can elevate your artwork to new heights.
Q1: How do I clean my blending stumps?
A1: To clean your blending stumps, simply use a fine sandpaper or a craft knife to gently shave off the dirty surface. This will expose a fresh layer that’s ready for blending again.
Q2: Can I use blending stumps with colored pencils?
A2: Absolutely! Blending stumps work wonderfully with colored pencils. They help to merge colors smoothly, creating a more vibrant and cohesive look.
Q3: How do I know when to replace my blending stump?
A3: If you notice that your blending stump is frayed, dirty, or not blending as effectively as it used to, it’s time to replace it. Investing in a few new stumps can make a significant difference in your blending results.
Benefits of Blending Stumps
Blending stumps are often considered a secret weapon in the toolkit of many artists. Why, you ask? Well, they offer a range of benefits that can elevate your drawing game to new heights. First and foremost, blending stumps provide precision and control that is hard to achieve with fingers or brushes. When you're working on intricate details, these tools allow you to blend colors and tones seamlessly without disturbing the surrounding areas. Imagine trying to create a delicate shadow on a flower petal; a blending stump gives you the finesse to do just that.
Another significant advantage is their ability to create smooth transitions between colors. Whether you're working with graphite or colored pencils, blending stumps can help you achieve that coveted soft look that makes your artwork pop. They are particularly useful when you're trying to replicate the subtle gradations found in natural subjects, such as skin tones or the delicate hues of a sunset. The result? A more realistic and visually appealing piece.
Moreover, blending stumps are incredibly versatile. They come in different sizes and shapes, catering to various needs. For instance, a larger stump can cover more area quickly, while a smaller one allows for detailed work in tight spaces. This versatility means you can experiment with different techniques and find what works best for you, enhancing your artistic style.
Lastly, using blending stumps can actually improve your drawing skills over time. As you practice, you'll develop a better understanding of how different materials interact and how to manipulate them effectively. This learning curve not only boosts your confidence but also encourages you to push your creative boundaries.
In summary, the benefits of blending stumps include:
- Precision and Control: Ideal for detailed work.
- Smooth Transitions: Achieve seamless blending of colors.
- Versatility: Available in various sizes for different needs.
- Skill Improvement: Enhances understanding of materials and techniques.

Care and Maintenance
Taking proper care of your blending stumps is essential to ensure they remain effective and last for a long time. Just like any tool, these stumps require regular maintenance to perform at their best. One of the first things to consider is how often you use your blending stumps. If you're an avid artist, you might find that your stumps get dirty quickly, and this can affect the quality of your blending. So, how do you keep them in tip-top shape?
First, it's important to clean your blending stumps after each use. This might sound tedious, but it’s a small price to pay for quality results. To clean them, simply take a piece of sandpaper and gently rub the tip of the stump. This will remove any residual graphite or color that has built up during your drawing sessions. Make sure to use fine-grit sandpaper to avoid damaging the stump. You can also use a soft cloth to wipe away any excess particles. Remember, a clean blending stump will give you smoother transitions and more control over your artwork.
Additionally, storing your blending stumps properly can prolong their lifespan. Avoid tossing them into a drawer where they can get damaged or lose their shape. Instead, consider using a dedicated case or holder. This not only keeps them organized but also protects them from being crushed or bent. If you have multiple stumps, you might find it helpful to categorize them based on their size or the type of blending you prefer. Keeping your tools organized can save you time and frustration when you’re in the creative zone.
Lastly, be mindful of how you use your blending stumps. Applying too much pressure can wear them down faster than normal. Instead, use light strokes and allow the tool to do the work for you. This technique not only preserves the integrity of the stump but also enhances the quality of your blending. If you notice that a stump has become too worn down, it’s time to replace it. Investing in quality blending stumps can make a significant difference in your drawing experience.
In summary, proper care and maintenance of your blending stumps involve:
- Regular cleaning with fine-grit sandpaper.
- Storing them in a protective case to avoid damage.
- Using them with a light touch to prolong their lifespan.
By following these simple steps, you can ensure that your blending stumps remain effective tools in your artistic arsenal, helping you achieve those beautiful, smooth transitions in your drawings.
Q: How often should I clean my blending stumps?
A: It's best to clean your blending stumps after each use to maintain their effectiveness and ensure smooth blending.
Q: Can I use my fingers for blending instead of stumps?
A: Yes, using your fingers can create unique textures, but be cautious as oils from your skin can affect the blending medium.
Q: What should I do if my blending stump is too worn down?
A: If your blending stump is worn down, it’s time to replace it. Investing in quality tools will enhance your drawing experience.
Q: Is there a specific type of sandpaper I should use?
A: Use fine-grit sandpaper to clean your blending stumps without damaging them. This will help maintain their shape and effectiveness.

Exploring Other Blending Tools
When it comes to blending in drawing, the options extend far beyond just blending stumps. While these handy tools are fantastic for achieving smooth transitions, there are several other techniques and tools that can elevate your artwork to new heights. Think of blending tools as a painter's palette; each tool brings a unique flavor to the mix, allowing you to create stunning effects that can make your drawings pop with life.
One of the most versatile tools in an artist's arsenal is the brush. Brushes come in various shapes and sizes, each designed for different effects. For instance, a soft brush can create delicate, airy blends, while a firmer brush can help push colors into one another more aggressively. Using a brush allows for a more painterly approach, which can be particularly effective when working with mediums like watercolor or acrylics. However, even in pencil drawing, a clean, stiff brush can be used to gently blend and soften edges, giving your work a polished look.
Another surprising yet effective tool is your own fingers. Yes, you heard that right! Many artists use their fingers to blend colors directly on the paper. This method can create a unique texture and warmth that other tools might not achieve. Just remember to keep your fingers clean and dry, as oils or dirt can transfer onto your artwork, potentially ruining your hard work. Using your fingers can feel more personal and intuitive, allowing you to connect with your art on a deeper level.
Additionally, there are other tools like tortillons and chamois cloths that can be incredibly useful. Tortillons, which are tightly rolled paper, are excellent for blending pencil and charcoal. They allow for precise blending in tight spaces, making them perfect for detailed work. On the other hand, chamois cloths are soft and absorbent, ideal for smoothing out larger areas without overworking the paper. Each of these tools has its own set of advantages, and experimenting with them can lead to some surprising results.
Ultimately, the key to mastering blending is to explore and experiment with different tools and techniques. Don't be afraid to mix and match! You might find that a combination of tools can yield the best results for your style. Just like cooking, where the right mix of ingredients creates a delightful dish, blending in art requires a little experimentation to discover what works best for you. So grab your tools, get your hands dirty, and let your creativity flow!
- What is the best tool for blending pencil drawings?
While blending stumps are popular, brushes and fingers can also be effective depending on the desired effect. - Can I use my fingers to blend colored pencils?
Yes, using your fingers can create a unique texture, but ensure they are clean to avoid smudging. - How do I maintain my blending tools?
Regular cleaning and proper storage will prolong the life of your blending tools. For example, wipe blending stumps with a clean cloth and store them in a dry place.
Color Theory in Blending
Understanding color theory is like having a secret weapon in your artistic arsenal, especially when it comes to blending. It’s not just about slapping colors together; it’s about knowing how they interact, how they can complement each other, and how to create those stunning visual effects that make your artwork pop. Imagine walking into a room filled with colors, each one whispering secrets about how they can work together. That’s the magic of color theory!
At its core, color theory helps artists make informed decisions about their palette. It involves the study of color relationships and the way colors can influence each other. For instance, did you know that colors can evoke emotions? A warm red can ignite passion, while a cool blue can instill calm. This emotional response can guide your blending choices, allowing you to create pieces that resonate with your audience on a deeper level.
When blending, it’s essential to consider the color wheel, which is a visual representation of colors arranged according to their chromatic relationship. The wheel includes primary, secondary, and tertiary colors, and understanding this arrangement can significantly enhance your blending techniques. For example, when you blend adjacent colors on the wheel, you create a smooth transition that feels harmonious and natural. Conversely, blending complementary colors—those opposite each other on the wheel—can produce striking contrasts that grab attention.
To illustrate this concept, let’s take a look at a simple table that highlights some primary and complementary color pairs:
| Primary Color | Complementary Color |
|---|---|
| Red | Green |
| Blue | Orange |
| Yellow | Purple |
Using these color pairs effectively in your blending can lead to dynamic results. For instance, if you blend red and green, you might end up with a muted brown, which can be used to create shadows or earthy tones. On the other hand, blending blue and orange can produce a vibrant contrast that can make your artwork come alive.
Another critical aspect of color theory in blending is understanding warm and cool colors. Warm colors, such as reds, oranges, and yellows, tend to advance in a composition, drawing the viewer's eye forward. Cool colors, like blues, greens, and purples, recede, creating depth. By strategically blending warm and cool colors, you can guide the viewer's gaze and create a sense of three-dimensionality in your work.
So, how do you apply this knowledge practically? Start by experimenting with color blends in your sketches. Try creating a gradient that transitions from a warm color to a cool color, and observe how the colors interact. You might be surprised at the depth and dimension you can achieve by simply understanding how colors work together!
In conclusion, mastering color theory is essential for any artist looking to enhance their blending techniques. By understanding the relationships between colors and how they can evoke emotions, you can create artwork that not only looks good but feels good too. So grab your palette, dive into the world of colors, and let your creativity flow!

Warm vs. Cool Colors
Understanding the distinction between warm and cool colors is a fundamental aspect of blending in drawing. These two categories of colors evoke different emotions and can significantly influence the overall composition of your artwork. Warm colors, such as reds, oranges, and yellows, tend to create a sense of energy and warmth. They can make a drawing feel inviting and vibrant, almost like a cozy fire on a chilly evening. On the other hand, cool colors like blues, greens, and purples often evoke feelings of calmness and tranquility, reminiscent of a serene lake or a clear sky.
When blending these colors, artists can create stunning contrasts and harmonious compositions. For instance, imagine blending a warm sunset with cool ocean waves. The juxtaposition of the fiery oranges and reds against the soothing blues can create a dynamic visual experience that draws the viewer in. It's essential to remember that the way you blend these colors can affect the mood of your artwork. By skillfully transitioning between warm and cool tones, you can guide the viewer's emotional response and enhance the overall impact of your piece.
To effectively utilize warm and cool colors in your blending practice, consider the following tips:
- Experiment with Transitions: Try blending warm and cool colors to see how they interact. You might be surprised by the unique effects you can achieve.
- Use Color Temperature to Create Depth: Warm colors can bring elements forward, while cool colors can recede, adding depth to your drawing.
- Balance is Key: Strive for a balance between warm and cool colors to create a cohesive look. Too much of one can overwhelm the other.
In conclusion, mastering the blending of warm and cool colors is essential for any artist looking to add depth and emotion to their work. By understanding how these colors interact, you can create stunning visual effects that captivate your audience and elevate your artistic expression.
Q1: What are warm colors?
Warm colors include shades like red, orange, and yellow. They are often associated with energy, warmth, and vibrancy.
Q2: What are cool colors?
Cool colors encompass shades such as blue, green, and purple. These colors typically evoke feelings of calmness and serenity.
Q3: How can I practice blending warm and cool colors?
You can practice by creating gradients that transition between warm and cool colors, or by painting scenes that naturally include both color temperatures.
Q4: Why is color temperature important in drawing?
Understanding color temperature helps artists create depth and dimension in their work, guiding the viewer’s emotional response to the artwork.
Complementary Colors
When it comes to creating stunning and dynamic artwork, understanding is essential. These colors are located directly across from each other on the color wheel, and when used together, they can create striking contrasts that make your drawings pop. Think of it like a dance; when two colors are in harmony, they can elevate each other, emphasizing their unique characteristics. For example, pairing a vibrant red with a deep green can bring a sense of vibrancy and energy to your piece, while also grounding it with balance.
To effectively utilize complementary colors in your blending techniques, you need to grasp how they interact. When mixed, complementary colors can neutralize each other, leading to a more muted tone. This can be incredibly useful for creating shadows or subtle transitions in your artwork. Imagine blending a bright blue with a hint of orange; instead of a flat gray, you might achieve a rich, earthy tone that adds depth and nuance to your drawing.
Here are a few key points to consider when working with complementary colors:
- Contrast: Using complementary colors side by side can create a visual tension that draws the viewer's eye.
- Depth: By blending complements, you can achieve shadows and highlights that enhance the three-dimensionality of your subject.
- Balance: Complementary colors can help balance out a composition, ensuring that no single area overwhelms the rest of the artwork.
Moreover, experimenting with complementary colors can lead to unexpected and exciting results. For instance, you might start with a warm color palette and introduce a cool complement to see how the dynamics shift. This exploration can be akin to mixing various ingredients in cooking; sometimes, a dash of something unexpected can elevate the entire dish!
In conclusion, incorporating complementary colors into your blending techniques not only adds visual interest but also enhances the overall quality of your drawings. So next time you pick up your pencils or brushes, remember to consider how these colors can work together to create a masterpiece that captivates and engages your audience.
Q: What are complementary colors?
A: Complementary colors are pairs of colors that are located opposite each other on the color wheel. Examples include red and green, blue and orange, and yellow and purple.
Q: How do I use complementary colors in my artwork?
A: You can use complementary colors to create contrast, depth, and balance in your artwork. Experiment by placing them side by side or blending them to see how they interact.
Q: Can complementary colors enhance my blending techniques?
A: Yes! By incorporating complementary colors into your blending, you can create more dynamic shadows and highlights, adding richness and complexity to your work.
Q: Should I always use complementary colors?
A: While complementary colors can be powerful, it's essential to use them judiciously. Sometimes, a more monochromatic palette can yield beautiful results as well.
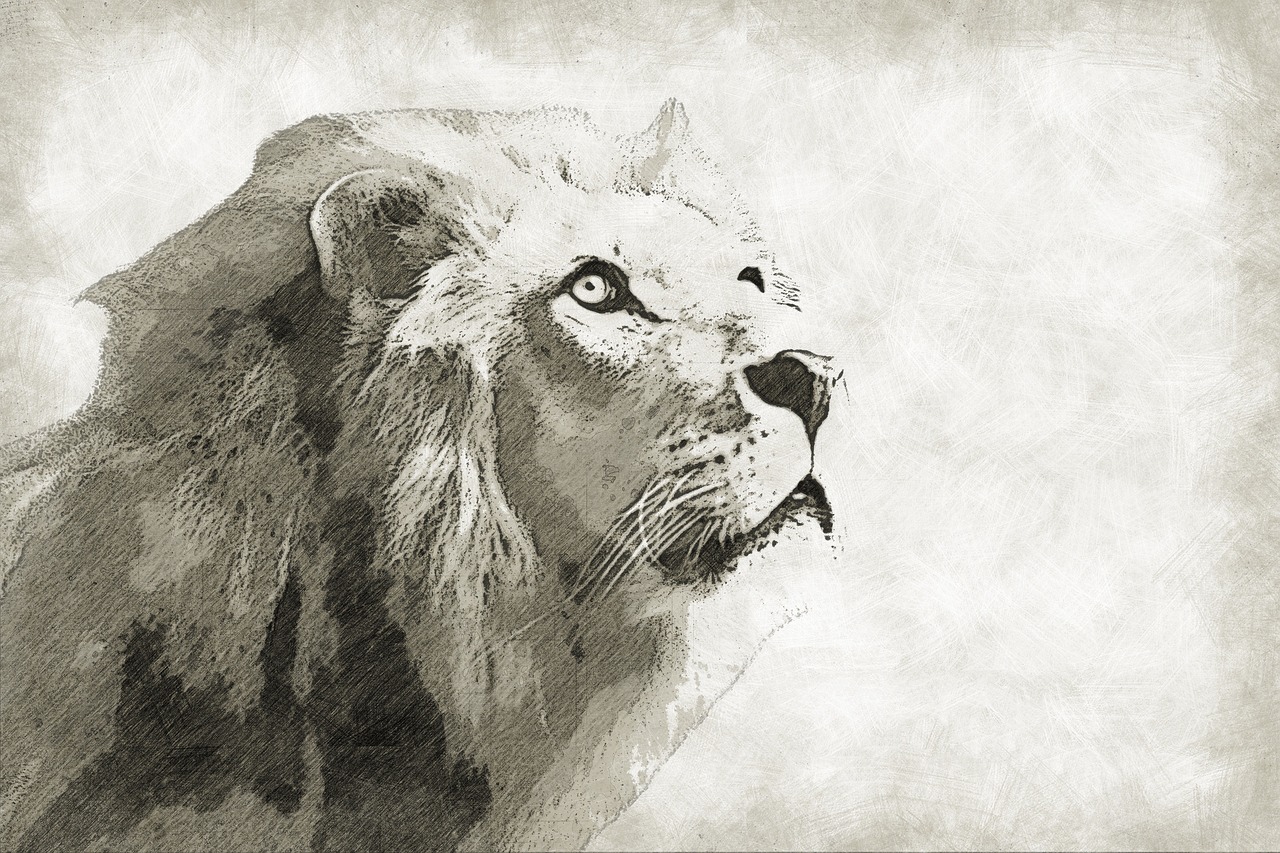
Practical Blending Exercises
Practicing blending techniques is essential for improvement in your drawing skills. Just like a musician practices scales or a chef perfects their knife skills, artists need to engage in exercises that specifically target the art of blending. These exercises not only enhance your blending capabilities but also boost your overall confidence as an artist. So, grab your materials and let's dive into some effective blending exercises that will transform your artwork!
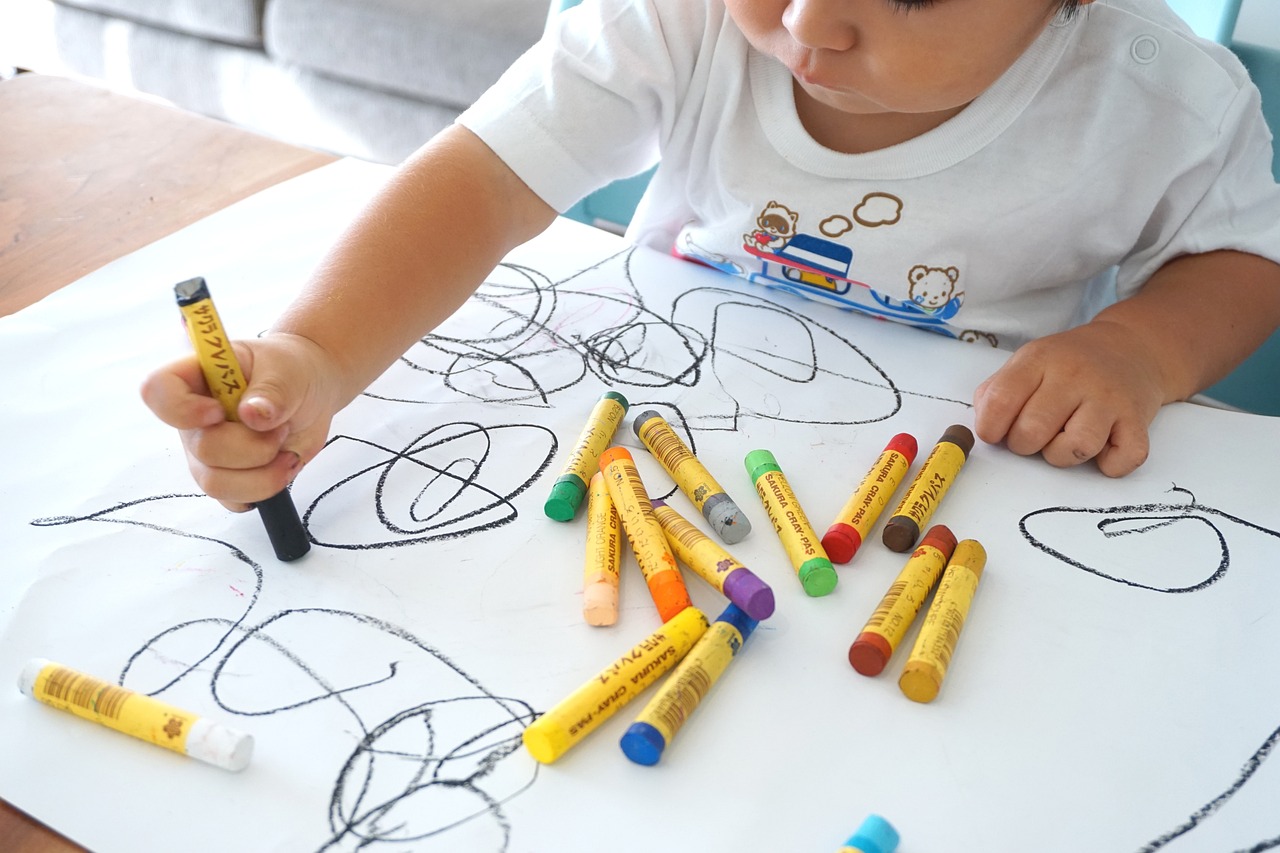
One of the most fundamental exercises you can start with is creating gradients. Gradients are the smooth transitions between colors, and mastering them is crucial for achieving depth in your drawings. To practice, select two colors that you wish to blend. Start by applying one color on one side of your paper and the second color on the other side. Now, using your blending stump or finger, gently work the colors together where they meet. This exercise will help you understand how colors interact and how to create that seamless transition that makes your artwork pop.
Another fantastic way to practice is through texture studies. Textures add a whole new dimension to your drawings and can make them feel more lifelike. Choose a few different textures to replicate, such as the roughness of tree bark, the softness of a feather, or the smoothness of a glass surface. Use a combination of your blending tools to experiment with how you can create these textures. For instance, you might use a blending stump for the bark and your finger for the feather. This exercise will not only improve your blending skills but will also enhance your observational skills as you learn to see the subtle differences in texture.
To further refine your blending techniques, consider engaging in color mixing exercises. Grab a color wheel and practice blending primary colors to create secondary colors. This exercise is not just about mixing paints; it's about understanding how colors interact and how to achieve the desired hues in your drawings. As you mix, take notes on how different ratios of colors affect the final outcome. This knowledge will be invaluable when you begin to blend colors in your artwork.
Lastly, don’t forget to challenge yourself with blending with different mediums. If you usually work with pencils, try your hand at pastels or charcoal. Each medium has its unique properties and blending techniques. For example, pastels can create a softer, more vibrant blend, while charcoal allows for deep, rich tones. Experimenting with different mediums will not only diversify your skills but also help you discover which tools you prefer for blending.
- What are the best tools for blending? Blending stumps, tortillons, brushes, and even your fingers are great tools for blending.
- How can I improve my blending skills? Regular practice through exercises like gradients and texture studies will significantly enhance your blending abilities.
- Is blending only for colored drawings? No, blending techniques can be applied to pencil drawings, charcoal, pastels, and more.
- Can I blend digital artwork? Absolutely! Many digital art programs offer blending tools that mimic traditional blending techniques.
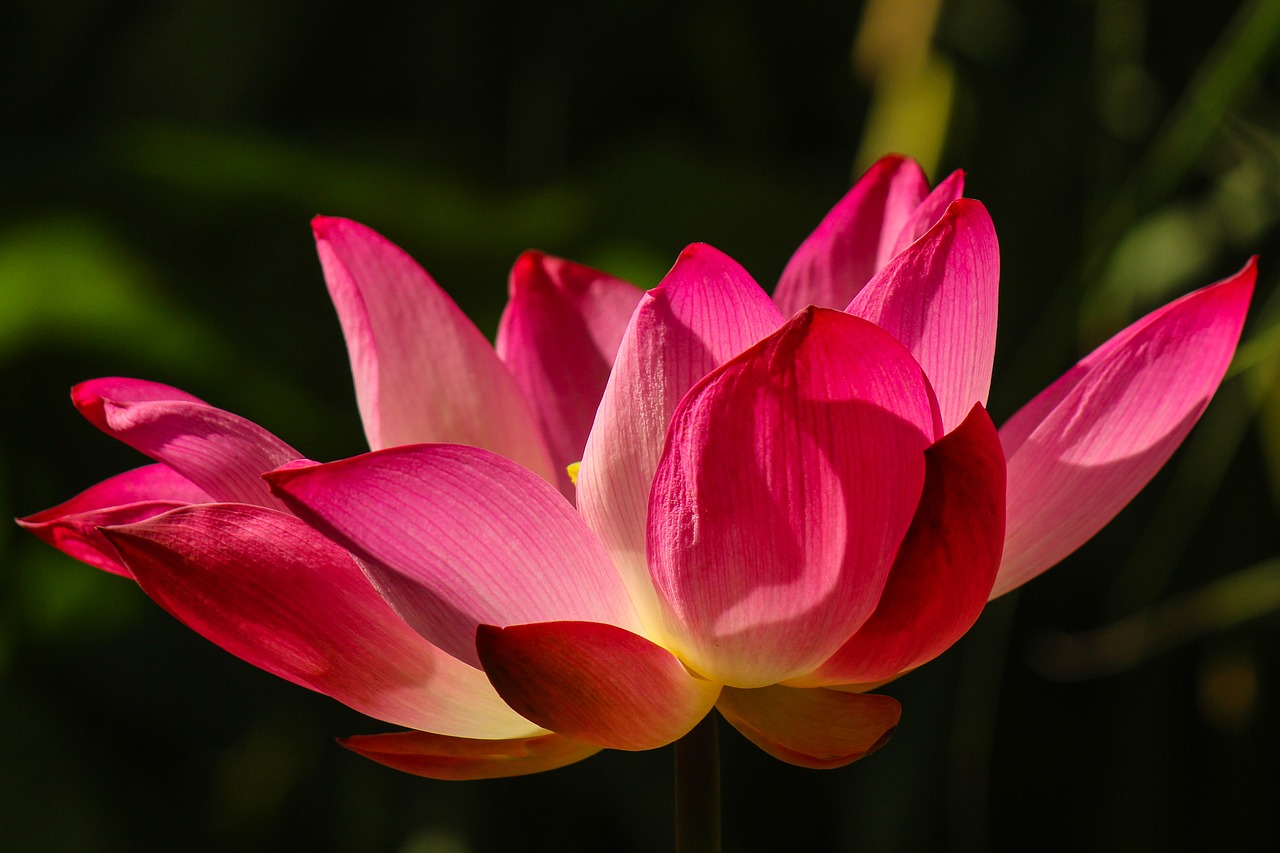
Gradient Exercises
Creating gradients is not just a fundamental skill in drawing; it’s a gateway to achieving depth and dimension in your artwork. Think of gradients as the smooth transitions between colors, much like a beautiful sunset where the sky shifts from vibrant oranges to soft purples. To master this technique, you need to practice regularly and experiment with different methods. Here are some engaging exercises that will help you refine your blending skills and create stunning gradients.
One effective exercise is to start with a simple two-color gradient. Choose two colors that you love or that complement each other well. Lay down the first color on one side of your paper, applying it with even pressure. Then, gradually introduce the second color from the opposite side, overlapping slightly in the middle. The goal here is to create a seamless transition where the two colors merge without harsh lines. This exercise teaches you control and helps you understand how colors interact with one another.
Another excellent exercise is the three-color gradient. In this exercise, select three colors that are adjacent on the color wheel, such as red, orange, and yellow. Start with red on the left, then blend orange into the middle, and finally finish with yellow on the right. As you apply each color, focus on how they blend together at the transition points. This practice not only enhances your blending technique but also deepens your understanding of color relationships.
For a more advanced challenge, try creating a multi-layer gradient. This involves layering multiple colors in a single gradient. Begin with a base layer of a light color, then add a darker shade on top, blending them together to create depth. You can use a variety of tools, such as blending stumps or brushes, to achieve different effects. This exercise helps you learn how to build layers and maintain a smooth transition, which is crucial for creating realistic textures in your artwork.
Finally, don’t forget to experiment with textures in your gradients. Try using different materials like charcoal, pastels, or colored pencils to see how they affect the blending process. Each medium has its unique characteristics, and understanding these can greatly enhance your artistic versatility. Remember, the key to mastering gradients is practice, so don’t be afraid to make mistakes and learn from them!
- What tools are best for practicing gradients? Blending stumps, brushes, and even your fingers can be effective tools for creating gradients. Experiment with different tools to find what works best for you!
- How long should I practice gradient techniques? Consistency is key! Try to dedicate at least 15-30 minutes a day to practicing your blending techniques.
- Can I use digital tools for gradient exercises? Absolutely! Digital art programs often have blending tools that can help you practice gradients in a different medium.
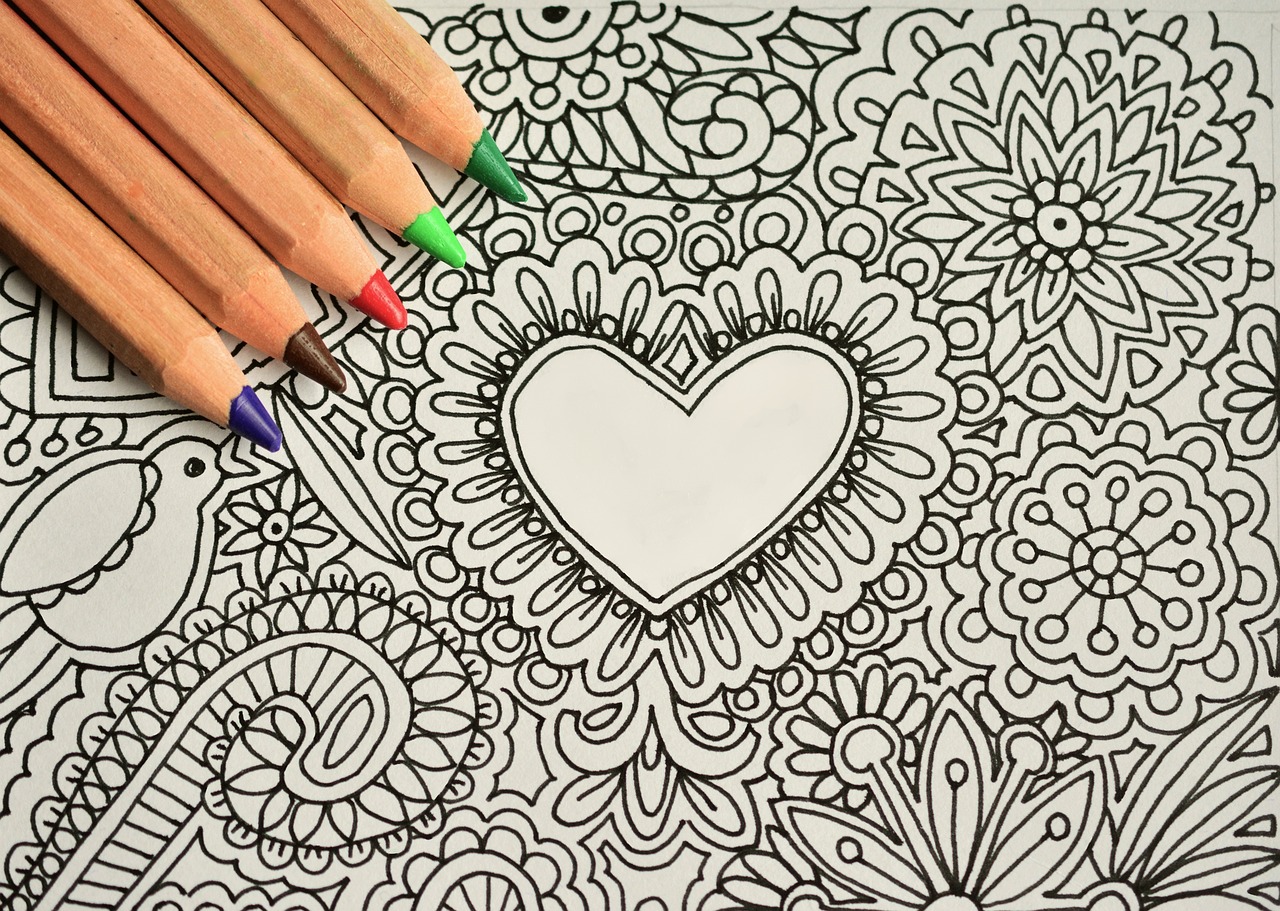
Texture Studies
When it comes to mastering blending in drawing, play an incredibly important role. Think of textures as the skin of your artwork; they add depth, interest, and realism. By practicing how to blend different textures, you not only enhance your artistic skills but also bring your drawings to life. Imagine trying to create a fluffy cloud or a rough tree bark—each requires a unique approach to blending that can make or break the final piece.
One of the best ways to develop your blending skills is through observational practice. This involves studying real-life objects and trying to replicate their textures on paper. For instance, you might choose to focus on natural elements like leaves, rocks, or skin. Each of these has distinct qualities that challenge your blending techniques. To start, consider setting up a small still life of various objects with different textures. As you draw, pay close attention to how light interacts with each surface. This will help you understand how to blend colors and tones to achieve a realistic effect.
Another effective method is to create a texture library. This is essentially a collection of samples where you practice blending techniques on different surfaces. You can categorize these samples based on texture types, such as:
- Smooth - like glass or satin
- Rough - like sandpaper or bark
- Soft - like fur or feathers
- Hard - like stone or metal
Each category will require different blending methods. For example, to achieve a smooth texture, you'll want to use gentle strokes and layering techniques, while a rough texture might benefit from more aggressive blending with a stippling technique. As you experiment, take notes on what works best for each texture, creating a personal reference guide that you can return to whenever you need inspiration.
Additionally, consider using reference images to guide your studies. There are plenty of resources available online where you can find high-quality images of different textures. Try to replicate these textures in your drawings, focusing on how to blend colors to match the real-life appearance. This not only hones your blending skills but also improves your overall observation skills.
Lastly, don't forget to incorporate feedback into your learning process. Share your texture studies with fellow artists or online communities. Constructive criticism can provide valuable insights that help you refine your techniques even further. Remember, blending is an art form in itself, and with practice, you will find your unique style that resonates with your artistic voice.
Q: How can I improve my blending skills quickly?
A: The best way to improve quickly is through consistent practice. Focus on different textures and use various tools to see what works best for you.
Q: What tools are best for texture studies?
A: Blending stumps, brushes, and even your fingers can be effective. Experiment with each to see which gives you the best results for different textures.
Q: Should I always use reference images?
A: While reference images are incredibly helpful, try to also draw from life. Observing real textures can give you insights that photos may not capture.
Q: How do I know when to stop blending?
A: It’s often a matter of personal judgment. If your drawing starts to lose its vibrancy or looks overworked, it might be time to step back and assess.
Frequently Asked Questions
- What is blending in drawing?
Blending in drawing refers to the technique of merging colors or tones to create smooth transitions and realistic textures. It’s like mixing paint on a palette but using pencils or pastels to achieve a similar effect on paper.
- What tools do I need for blending?
To get started with blending, you’ll need some essential tools like blending stumps, tortillons, and soft brushes. Each of these tools has its unique purpose and can help you achieve different blending effects in your artwork.
- How do I use blending stumps effectively?
Blending stumps are fantastic for creating smooth transitions. Simply use a clean section of the stump to gently rub over the area you want to blend, applying light pressure to avoid smudging. It’s all about control!
- Can I blend with my fingers?
Absolutely! Your fingers can be a great tool for blending, especially when working with charcoal or pastels. Just remember to keep them clean to avoid unwanted colors mixing into your artwork.
- What is the importance of color theory in blending?
Color theory plays a crucial role in blending because it helps you understand how colors interact. Knowing which colors complement each other or which are warm versus cool can significantly enhance your blending techniques.
- What are some practical exercises to improve my blending skills?
Gradient exercises are a great way to practice blending. Try creating a gradient from one color to another, focusing on achieving a smooth transition. Additionally, texture studies can help you replicate realistic surfaces in your drawings.
- How do I maintain my blending tools?
Keeping your blending tools in good shape is essential. For blending stumps, regularly sharpen them to maintain a fine point. For brushes, clean them with soap and water after each use to keep them free from residue.
- Can I use colored pencils for blending?
Yes, colored pencils can be blended beautifully! Layering different colors and using a blending stump or your fingers can help create rich, smooth transitions between hues.
- What are the benefits of using complementary colors in blending?
Using complementary colors can create striking contrasts that add depth and interest to your artwork. When blended, they can produce dynamic effects that make your drawings pop!


