How to Draw Animals in Action: A Complete Guide
Drawing animals in action can feel like capturing a fleeting moment in time, where every muscle and sinew tells a story of movement and energy. Whether it’s a dog leaping for a frisbee or a bird soaring through the sky, the challenge lies in translating that dynamism onto paper. But fear not! This guide provides techniques and tips for capturing the dynamic movements of animals in your drawings, ensuring you can portray their energy and grace with confidence.
A solid grasp of animal anatomy is essential for realistic drawings. Before you can depict an animal in motion, you need to understand how its body is structured. This section covers key skeletal and muscular structures that influence movement and posture in various species. For instance, consider the way a cheetah’s long legs and flexible spine allow it to sprint at incredible speeds. By studying these anatomical features, you can create more believable and accurate representations of animals in action.
To draw animals in action, observing their behavior is crucial. This part discusses methods to study animals in their natural habitats, enabling you to capture their movements authentically. Watching animals interact with their environment can reveal patterns and nuances that are vital for your drawings. Imagine sitting quietly in a park, watching a squirrel darting up a tree. By paying attention to its movements, you’ll notice how it balances on its hind legs, uses its tail for stability, and quickly adapts to its surroundings. These observations will enrich your drawings significantly.
Learn effective field observation techniques to enhance your drawing skills. This subsection explores how to take notes and make quick sketches while observing animals in real-time. Carry a small sketchbook with you, and don’t hesitate to jot down your thoughts or make quick doodles of what you see. This practice not only sharpens your observational skills but also helps you capture the essence of the animal’s movement. Remember, it’s not about perfection; it’s about capturing the moment.
Photography can serve as a valuable tool for reference. This section explains how to take dynamic photos of animals that can aid your drawing process later. Use a fast shutter speed to freeze the action, or experiment with different angles to find the most dynamic perspective. A well-captured photo can provide you with details that are hard to observe in real-time, such as the way light reflects off an animal’s fur or the subtle shifts in posture as it moves.
Recognizing common movement patterns in animals helps in portraying them accurately. This part highlights typical actions across various species, from running to jumping. For example, a horse galloping has a distinct rhythm and body posture that differs from a cat pouncing. By understanding these patterns, you can anticipate how an animal will move, making your drawings more lifelike. Keep in mind that animals often have unique styles of movement based on their anatomy and environment.
This section focuses on sketching dynamic poses, emphasizing the importance of gesture drawing to capture the essence of movement in animals. Gesture drawing is all about capturing the flow and energy of a pose rather than focusing on details. Set a timer and challenge yourself to draw quick sketches of animals in motion. This practice will enhance your ability to convey action and emotion in your artwork.
Different techniques can enhance your ability to depict motion. This section delves into methods such as blurring and foreshortening to create a sense of action in your drawings. Blurring can be achieved by using softer lines or shading to suggest speed, while foreshortening gives the illusion of depth and perspective, making the animal appear closer or more dynamic. Experiment with these techniques to find what works best for your style.
Lines can effectively convey speed and motion in your artwork. This subsection discusses how to use line quality and direction to enhance the feeling of movement. For instance, using long, sweeping lines can suggest a fast-moving animal, while short, jagged lines can indicate quick, erratic movements. By varying the thickness and texture of your lines, you can create a sense of energy and urgency in your drawings.
Color and texture play a significant role in depicting action. This part examines how to use these elements to bring life and energy to your animal drawings. Bright, vibrant colors can evoke excitement, while muted tones may suggest calmness. Texture can add depth and realism, making your animals feel more tangible. Consider how light interacts with fur or feathers and use this knowledge to enhance your artwork.
- What materials do I need to start drawing animals? You can start with basic materials like pencils, paper, and erasers. As you progress, consider investing in colored pencils or watercolors for added depth.
- How can I improve my observation skills? Spend time in nature, visit zoos, or watch documentaries. The more you observe, the better you'll understand animal movements.
- Is it necessary to understand anatomy? While it's not mandatory, a basic understanding of anatomy can significantly improve the accuracy and realism of your drawings.
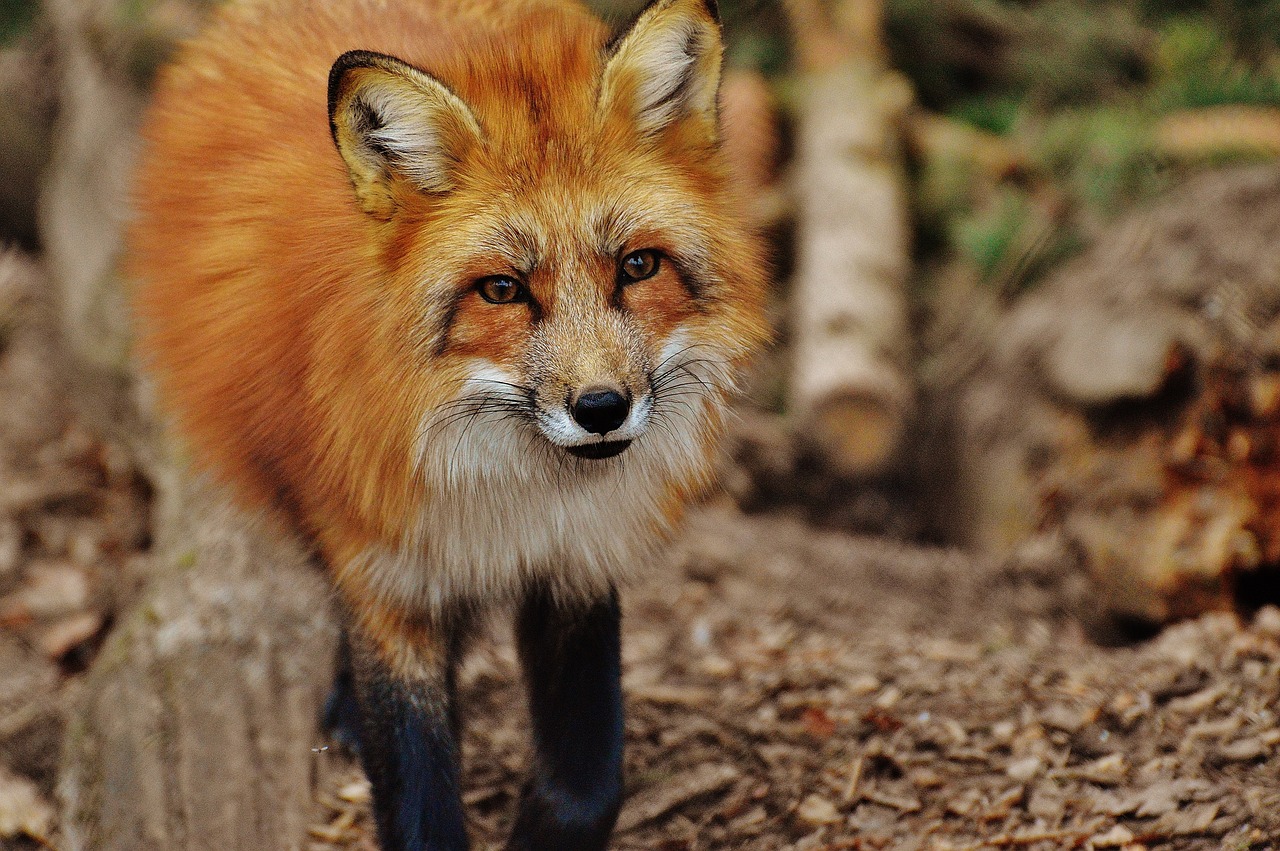
Understanding Animal Anatomy
When it comes to drawing animals, having a solid grasp of animal anatomy is crucial. Think of it as the foundation of a house; without a strong base, everything else risks collapsing. Understanding the skeletal and muscular structures of various species not only enhances your ability to create realistic drawings but also gives you insight into how animals move and interact with their environment. For instance, the way a horse's muscles are built allows it to run at incredible speeds, while the flexible spine of a cat enables it to leap gracefully from one surface to another.
To truly capture the essence of an animal in action, you need to familiarize yourself with key anatomical features. Here are some aspects to consider:
- Skeletal Structure: The skeleton provides the framework for an animal's body. Understanding the arrangement of bones helps you depict accurate proportions and postures.
- Muscular System: Muscles are responsible for movement. Knowing where major muscle groups are located can help you illustrate how an animal moves, whether it’s running, jumping, or climbing.
- Joint Flexibility: Different species have varying degrees of joint flexibility, which influences their range of motion. Observing how joints work can greatly enhance the realism of your drawings.
For example, consider the differences between a bird and a mammal. Birds have a lightweight skeletal structure that allows for flight, while mammals like elephants have robust bones that support their weight. By studying these differences, you can better represent the unique characteristics of each animal.
Moreover, understanding anatomy goes beyond just bones and muscles. It also involves recognizing how an animal's anatomy affects its posture and movement. For instance, a dog in a playful stance will appear very different from one that is crouched and ready to pounce. By observing these nuances, you can add depth and realism to your drawings.
To help you visualize this information, here’s a simple table summarizing the key anatomical features of different animals:
| Animal | Skeletal Structure | Muscular System | Movement Type |
|---|---|---|---|
| Horse | Strong, elongated bones | Powerful hindquarters | Running, jumping |
| Cat | Flexible spine | Agile muscles | Leaping, climbing |
| Bird | Lightweight, hollow bones | Strong breast muscles | Flying, perching |
| Elephant | Massive, thick bones | Large, powerful muscles | Walking, lifting |
In conclusion, understanding animal anatomy is not just a technical exercise; it’s a gateway to capturing the dynamic movements and grace of animals in your artwork. By investing time in studying how animals are built and how they move, you’ll find that your drawings become more lifelike and expressive. So, grab your sketchbook, head to the local zoo, or even watch videos of animals in action, and start observing!
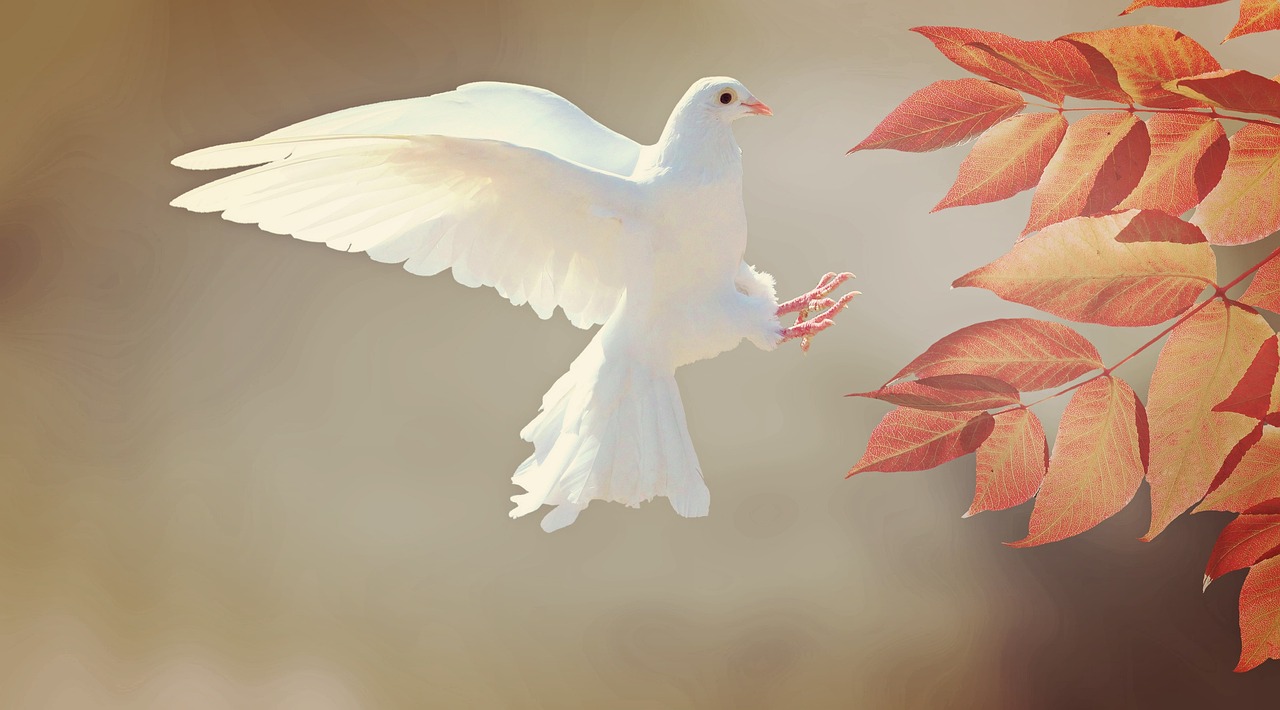
Observing Animal Behavior
To truly capture the essence of animals in action, observing their behavior is paramount. Think of it as the foundation of your artistic skills; without understanding how animals move and interact with their environment, your drawings may lack the authenticity and dynamism that make them come alive. So, how do you effectively observe animal behavior? It’s all about patience and keen attention to detail. You might find yourself spending hours in a park or a wildlife reserve, but the insights you gain will be invaluable.
When you’re out observing, try to immerse yourself in the surroundings. Becoming one with nature helps you notice subtle movements and interactions that you might otherwise overlook. For example, watch how a dog plays with a ball or how a bird takes flight. Each action tells a story, and by capturing these moments, you’ll be able to translate that energy onto paper.
One effective method for enhancing your observational skills is to keep a sketchbook. Jot down your thoughts and impressions while sketching quick outlines of the animals you see. This practice not only improves your drawing skills but also sharpens your ability to notice the nuances of movement. As you observe, consider the following:
- What are the animal's primary movements? Are they running, jumping, or gliding?
- How does their body language change in different situations? For instance, do they appear relaxed or tense?
- What environmental factors influence their behavior, such as weather or habitat?
In addition to direct observation, you can also utilize technology. Many wildlife documentaries and online videos showcase animals in their natural habitats. Watching these can provide insights into their behavior that you can later apply to your drawings. However, nothing beats the experience of being there in person. The sounds, smells, and sights of nature can create a rich tapestry that enhances your understanding of animal dynamics.
To further enrich your observational skills, consider creating a behavioral chart. This can be a simple table where you record different species and their common behaviors. Here’s a quick example:
| Animal | Common Behaviors | Typical Movements |
|---|---|---|
| Dog | Playing, Running, Barking | Leaping, Sprinting |
| Cat | Stalking, Pouncing, Grooming | Crouching, Jumping |
| Eagle | Soaring, Hunting, Nesting | Diving, Gliding |
By compiling this information, you not only create a reference for your drawings but also deepen your understanding of each animal's unique movements and behaviors. Remember, the goal is to capture the spirit of the animal through your art. Each observation can lead to a new technique or style in your drawings, making your artwork not just a representation, but a celebration of the animal kingdom.
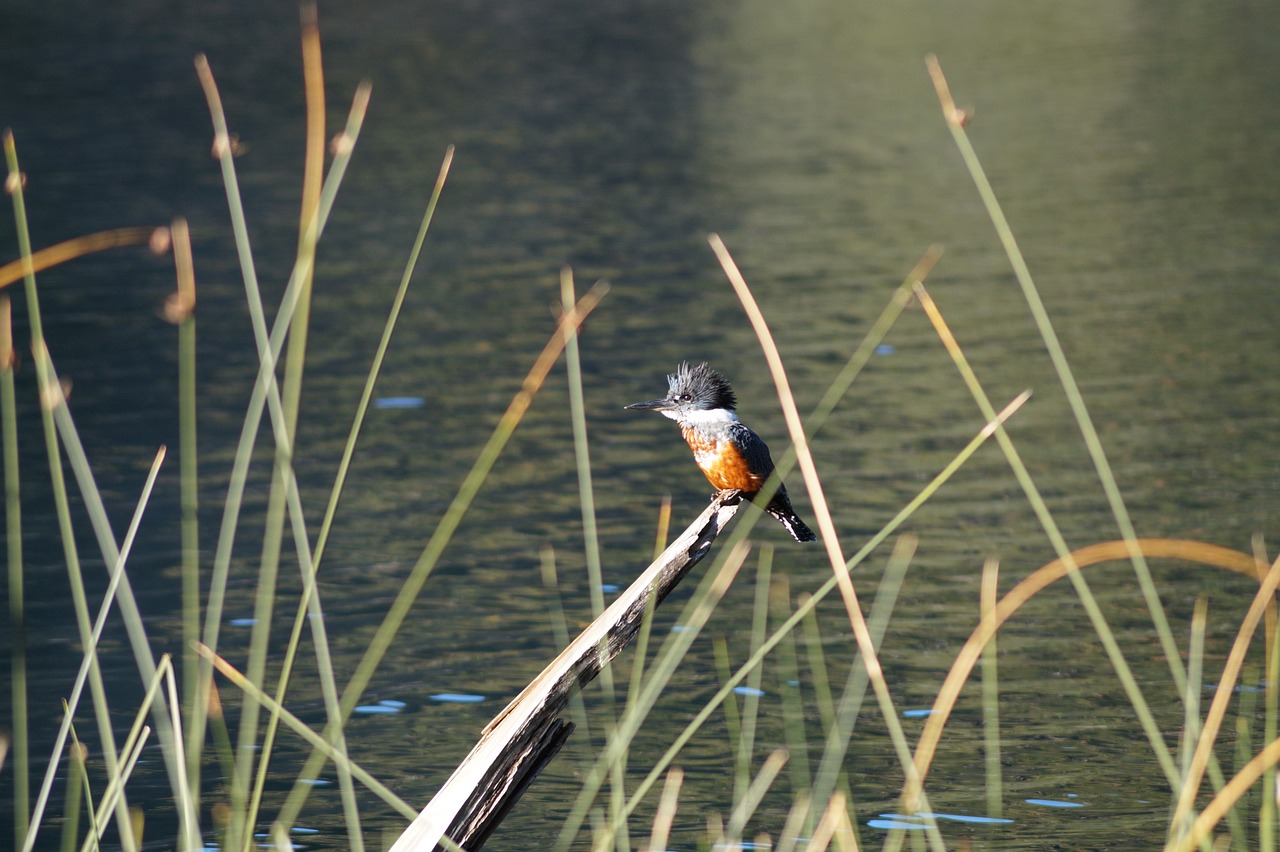
Field Observation Techniques
When it comes to drawing animals in action, field observation is an invaluable skill that can transform your artwork. Imagine standing in a serene forest, the rustling leaves whispering secrets of the wild, and suddenly, a deer leaps gracefully across your path. Capturing that moment on paper requires more than just talent; it demands keen observation and a strategic approach. So, how do you hone your observation skills to make your drawings leap off the page? Let's dive into some effective techniques.
First and foremost, patience is key. Animals are unpredictable, and waiting for the perfect moment often yields the best results. To enhance your observation, it's helpful to choose a specific location where animals are known to frequent. This could be a local park, a nature reserve, or even your backyard. Bring along a sketchbook and some basic drawing tools, and settle in for a while. The longer you observe, the more you’ll notice the subtle details of their movements and behaviors.
Another technique involves taking notes. While you sketch, jot down quick notes about the animal's behavior, posture, and interaction with its environment. For instance, if you're watching a bird, note how it flaps its wings or how it perches on a branch. These observations will not only enrich your drawings but also help you remember specific movements when you're back at your drawing table. Consider creating a simple table to organize your notes, like the one below:
| Animal | Behavior Observed | Notes |
|---|---|---|
| Deer | Leaping | Graceful, elongated body posture |
| Bird | Flapping Wings | Quick, rhythmic movements |
| Dog | Running | Low to the ground, tail wagging |
Additionally, quick sketches can be a game-changer. Instead of focusing on detailed drawings, try making rapid sketches that capture the essence of the animal's movement. Use light strokes to outline the general shape and position, allowing you to focus on the flow and energy rather than perfection. This practice not only warms up your hand but also trains your eye to see the key elements of action and posture.
Lastly, consider using binoculars or a camera to observe animals from a distance without disturbing them. Binoculars allow you to see details that might be missed from afar, while photography can capture fleeting moments that you can study later. Just remember, if you’re using a camera, try to take photos that emphasize movement—like a bird taking off or a dog in mid-run. These reference images can be invaluable when you sit down to draw later.
In conclusion, the art of field observation is not just about watching; it's about engaging with the environment and the animals within it. By employing patience, taking notes, sketching quickly, and utilizing tools like binoculars and cameras, you can significantly enhance your ability to draw animals in action. So grab your sketchbook, head outside, and immerse yourself in the dynamic world of wildlife. You'll be amazed at what you can capture!
- What materials do I need for field observation? A sketchbook, pencils, binoculars, and a camera are great essentials.
- How can I improve my observation skills? Practice regularly in different environments and focus on various animals to broaden your experience.
- What if I can't find any animals to observe? Try visiting local parks, wildlife reserves, or even observing pets at home.
- How important is it to take notes while observing? Very important! Notes help you remember details that can enhance your drawings later.
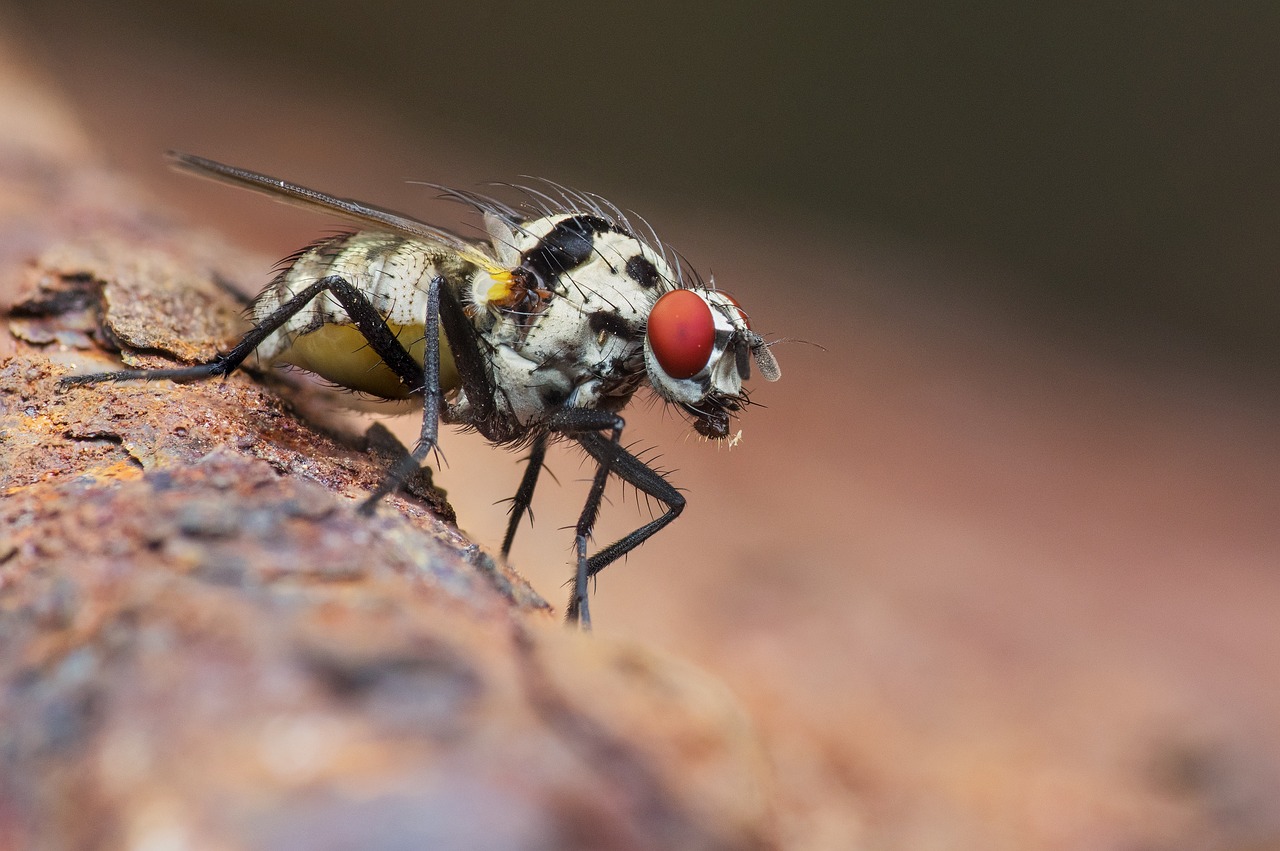
Using Photography for Reference
Photography serves as an invaluable resource for artists aiming to capture the essence of animals in motion. When you’re out in the field or at a zoo, having a camera handy can make all the difference. Why? Because animals are often unpredictable; they can change their position or expression in the blink of an eye. By snapping a photo, you can freeze that moment, allowing you to study the intricate details later on. It's like having a cheat sheet for your artwork!
When taking photographs of animals, consider the following tips to maximize their usefulness as reference material:
- Lighting: Natural light is your best friend. Early mornings or late afternoons provide soft, golden light that enhances textures and colors.
- Angles: Experiment with different angles. A low angle can create a sense of grandeur, while a high angle can make the animal appear smaller and more vulnerable.
- Focus on Action: Try to capture animals in motion, whether they’re running, jumping, or even just stretching. Action shots can reveal muscle definition and posture that are crucial for your drawings.
After capturing your photos, the next step is to organize them for easy access. Consider creating a digital folder system where you categorize images based on species, actions, or specific features. This way, when you sit down to draw, you can quickly find the reference you need without wasting time sifting through hundreds of images.
Additionally, editing your photos can help you focus on the details that matter most. Use software to adjust contrast, brightness, and cropping. This not only enhances the quality of the image but also allows you to concentrate on specific elements that inspire your artwork. Remember, the goal is to create a reference that truly reflects the dynamic nature of the animal you’re drawing.
In summary, utilizing photography as a reference tool can significantly elevate your drawing skills. It allows you to capture fleeting moments, understand anatomy and movement, and ultimately, create more lifelike representations of animals in action. So, grab your camera, head out into the wild, and start snapping away!
Q: Why should I use photography when drawing animals?
A: Photography allows you to capture moments that are often too quick to sketch in real-time. It provides a reference that can help you understand anatomy, movement, and expression in detail.
Q: What type of camera is best for capturing animal movements?
A: A DSLR or mirrorless camera with a fast shutter speed is ideal for capturing quick movements. However, modern smartphones can also do a great job if you know how to use them effectively.
Q: How do I ensure my photos are useful for drawing?
A: Focus on good lighting, experiment with angles, and capture animals in action. Organize your photos and edit them to highlight the details you want to emphasize in your drawings.
Understanding Movement Patterns
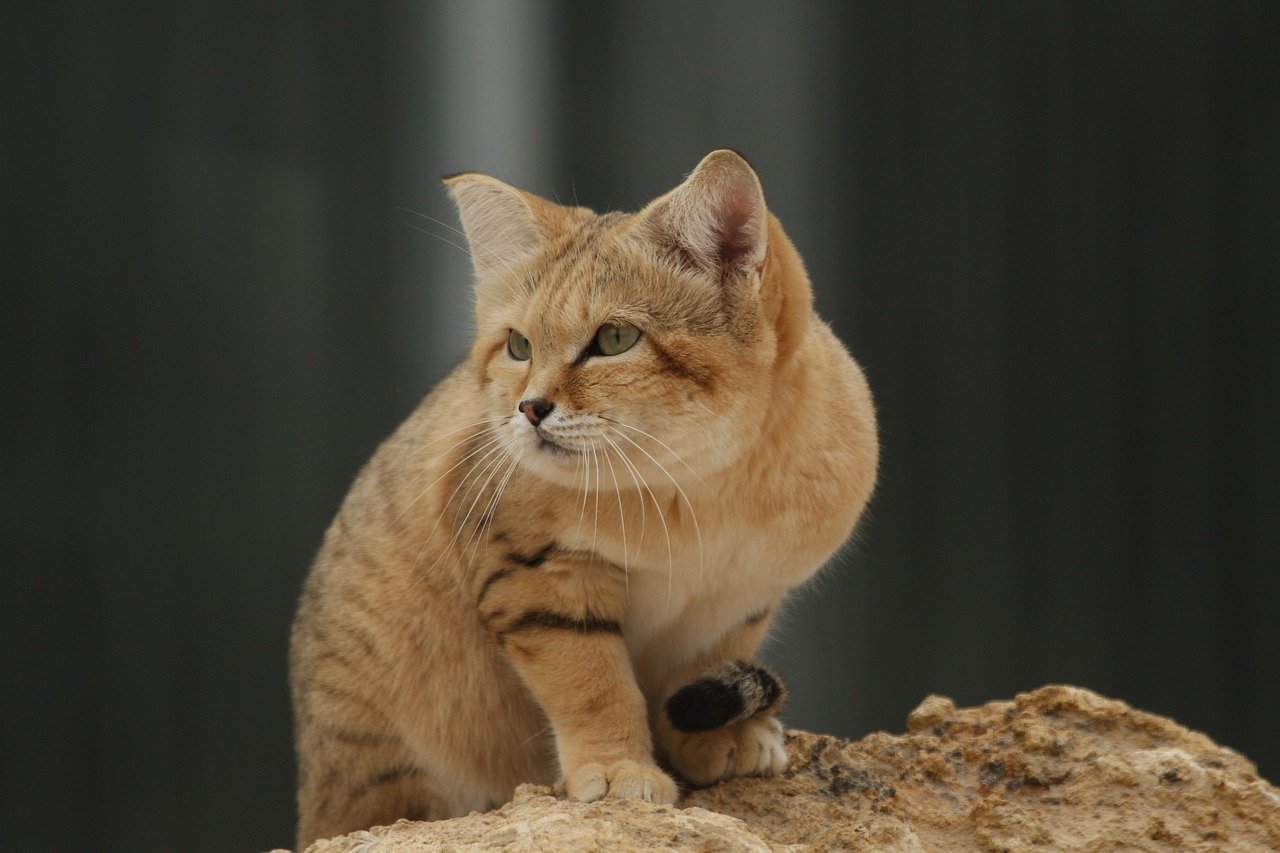
When it comes to drawing animals in action, understanding their movement patterns is crucial. Every species has its own unique way of moving, influenced by factors like anatomy, environment, and behavior. By grasping these patterns, you can create drawings that not only look realistic but also convey the energy and grace of the animal. Think of it as learning a dance; each animal has its own rhythm and style, and capturing that essence is what makes your artwork come alive.
For instance, consider the difference between a cheetah and a tortoise. The cheetah's movement is characterized by sudden bursts of speed and a graceful, fluid motion, while the tortoise moves slowly and deliberately. Understanding these distinct patterns allows you to portray their actions accurately. Here are some common movement patterns to keep in mind:
- Running: Fast-paced, often involving long strides and a powerful push-off from the ground.
- Jumping: Characterized by a quick compression of the body followed by an explosive extension.
- Swimming: Fluid and rhythmic, often involving a back-and-forth motion in the limbs.
- Flying: Includes flapping, gliding, and hovering, each with its own set of movements.
To illustrate these patterns further, let’s break down the movements of a few animals in a simple table:
| Animal | Movement Pattern | Key Features |
|---|---|---|
| Cheetah | Running | Long strides, powerful leg push-off, quick acceleration |
| Frog | Jumping | Strong hind legs, crouching before leap, landing in a squat |
| Fish | Swimming | Side-to-side motion, undulating body, fin movements |
| Bird | Flying | Flapping wings, gliding, changes in wing position |
By observing these movement patterns, you can enhance your ability to depict animals in action. Pay attention to how they shift their weight, the angles of their limbs, and the overall posture they adopt during different activities. This knowledge will not only improve your drawings but also deepen your appreciation for the incredible diversity of animal locomotion.
Remember, capturing motion is not just about the physical act of drawing; it's about understanding the story behind each movement. Each pose tells a tale—whether it's a lion pouncing on its prey or a bird soaring through the sky. By immersing yourself in the study of these movements, you’ll find that your sketches become more vibrant and full of life.
Q: How can I practice observing animal movement?
A: Start by visiting local parks or zoos, where you can watch animals in their natural behaviors. Take notes on their movements and try to sketch them in action.
Q: What tools can help me capture movement in my drawings?
A: Use a sketchbook for quick sketches, a camera for reference photos, and even video footage to analyze the nuances of movement.
Q: Is it important to understand anatomy for drawing animals in motion?
A: Absolutely! A solid understanding of animal anatomy will help you portray movements accurately and realistically, making your drawings more convincing.
Sketching Dynamic Poses
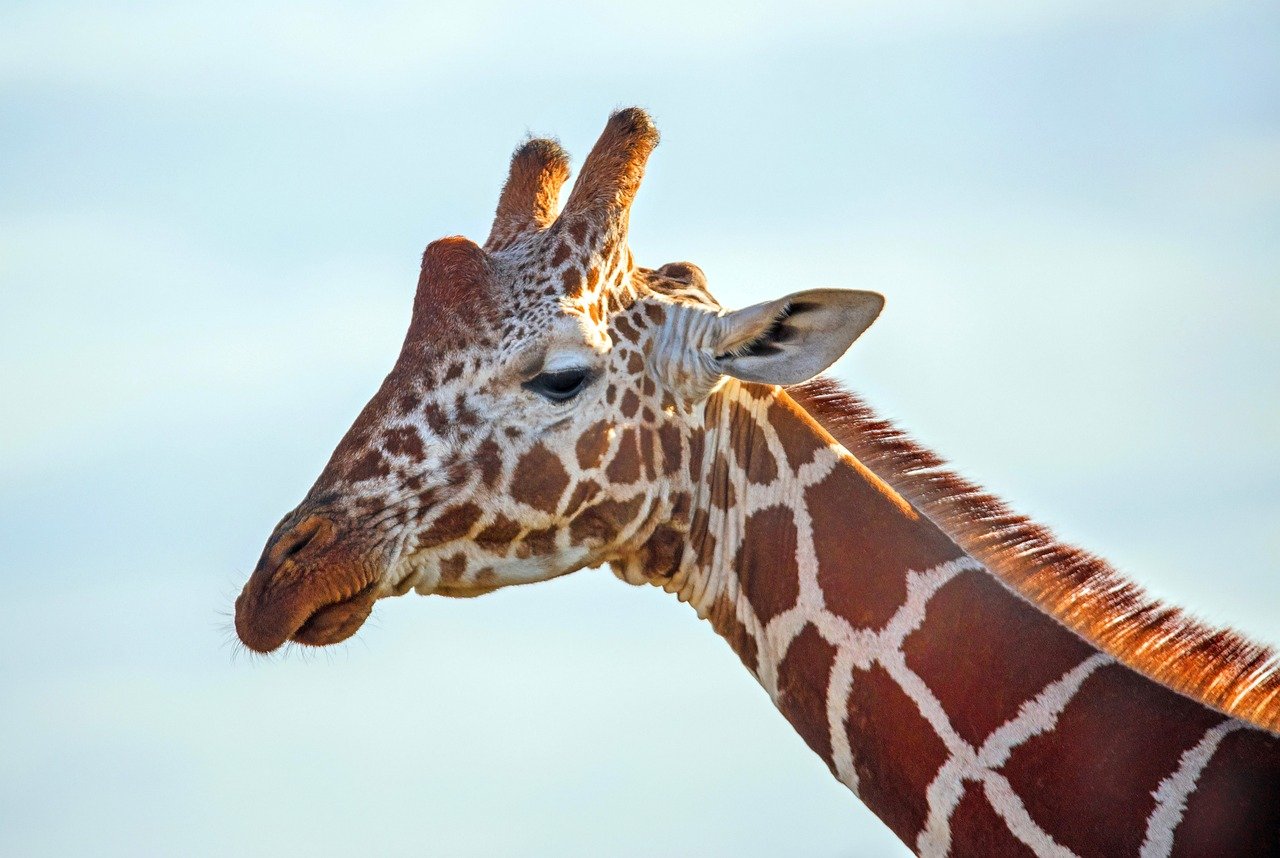
Sketching dynamic poses is an exhilarating challenge that can transform your animal drawings from static images into vibrant representations of life. When you think about animals in motion, it’s essential to capture not just their physical form but also the energy and emotion that they exude. Imagine a cheetah sprinting across the savannah or a dolphin leaping gracefully out of the ocean; these moments are filled with energy and require a keen eye and skilled hand to portray accurately.
To begin sketching dynamic poses, you should focus on the concept of gesture drawing. This technique involves capturing the essence of a pose in a short amount of time, allowing you to emphasize the movement and flow of the animal's body. Instead of getting bogged down in details, concentrate on the overall shape and direction of the animal's limbs and body. Think of it as capturing the energy of a dance rather than a photograph. By doing this, you will create a more lively and engaging representation of your subject.
One effective method to enhance your gesture drawing skills is to practice with timed sessions. Set a timer for one to five minutes and sketch as many poses as you can within that timeframe. This exercise encourages quick thinking and helps you to prioritize the most important elements of the pose. You might find that the pressure of time brings out your creativity, leading to more spontaneous and energetic sketches. Remember, the goal is to capture the movement rather than perfection.
Another vital aspect to consider is the line of action. This imaginary line runs through the center of the animal's body and indicates the direction of movement. By establishing a strong line of action, you can guide the viewer's eye and create a sense of flow in your drawing. For example, when sketching a horse galloping, the line of action would follow the curve of its back and legs, illustrating the powerful thrust of its strides. This technique not only enhances the dynamism of your drawing but also helps maintain proper proportions and balance.
When sketching, don’t forget to incorporate the animal’s weight and balance. Different animals distribute their weight differently based on their physiology. A bird in flight will have a different balance compared to a lion crouching before a leap. Understanding these nuances will allow you to create more realistic and believable poses. You might find it helpful to study reference images or even observe animals in motion to grasp how they shift their weight and maintain stability.
To further enrich your sketches, consider adding contextual elements. For instance, if you are drawing a rabbit mid-leap, include elements like grass or bushes to suggest the environment. This not only grounds your drawing but also enhances the sense of action. The background can act as a frame that emphasizes the movement, making your artwork even more captivating.
Lastly, don’t shy away from experimenting with different mediums. Whether it’s charcoal, ink, or digital tools, each medium has its unique way of conveying movement. For example, using soft pastels can create a sense of fluidity, while ink can provide sharp lines that emphasize speed. Play around with various techniques and find what works best for your style.
- What is gesture drawing? Gesture drawing is a technique used to capture the essence of a pose quickly, focusing on the movement and flow rather than details.
- How can I improve my sketching speed? Practice timed sketching sessions to enhance your ability to capture poses quickly and efficiently.
- Why is the line of action important? The line of action helps establish the direction of movement, guiding the viewer's eye and creating a sense of flow in your artwork.
- What mediums are best for sketching dynamic poses? Experiment with various mediums like charcoal, ink, or digital tools to find what best conveys the movement and energy you want to capture.
Techniques for Capturing Motion
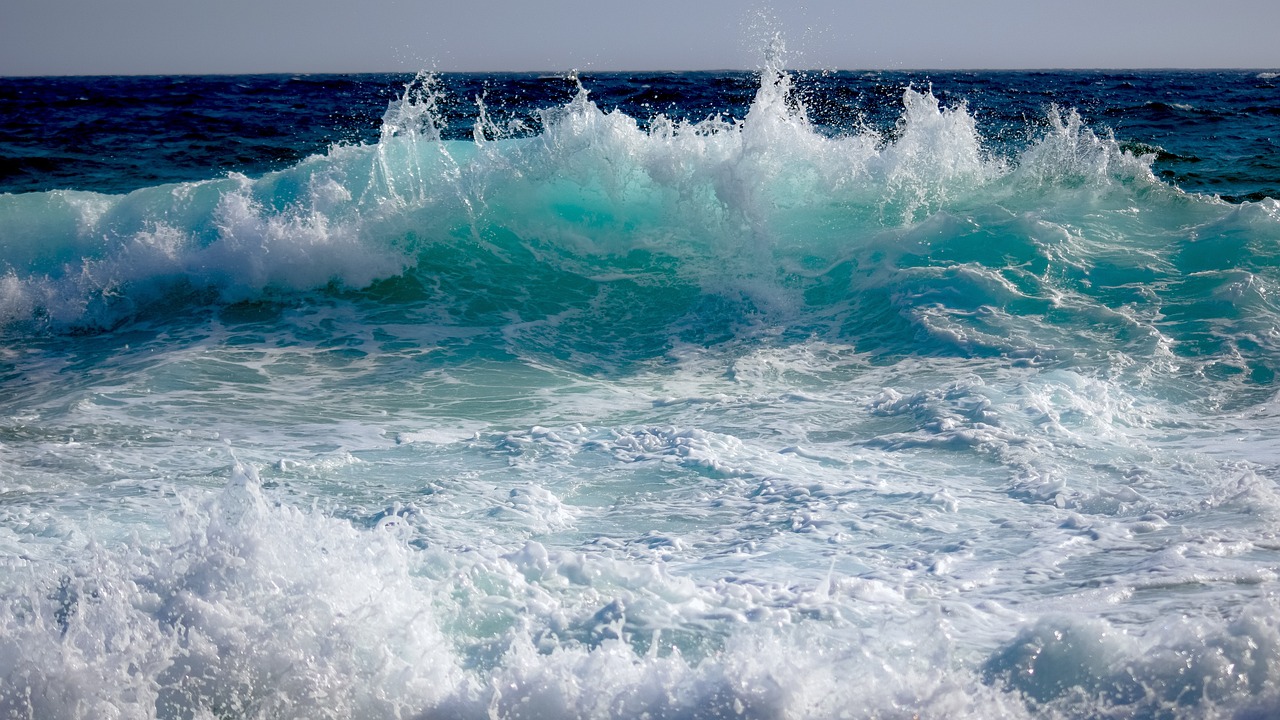
When it comes to drawing animals in action, mastering the is essential. Animals are not static; they are dynamic beings full of life, and your drawings should reflect that vibrancy. You might wonder, how can you bring that energy to life on paper? Well, let’s dive deep into some effective methods that can help you achieve this.
One of the most powerful techniques is the use of blurring. Just like in photography, where a moving subject can create a sense of speed through motion blur, you can mimic this in your drawings. By slightly smudging or using softer lines at the edges of your subject, you can suggest movement. For example, when drawing a galloping horse, the legs can be depicted with swift, blurred strokes to convey the rapidity of its motion. This technique not only adds a sense of realism but also captures the essence of speed.
Another effective method is foreshortening. This technique involves altering the proportions of your subject to create an illusion of depth and distance. Imagine a dog leaping towards you; its front legs will appear larger than its back legs due to the angle of view. By exaggerating the size of the limbs that are closest to the viewer, you can create a dramatic effect that pulls the audience into the action. This approach can be challenging but incredibly rewarding when executed well.
Next, let’s talk about lines. The quality and direction of your lines can significantly influence how motion is perceived in your artwork. For instance, using long, sweeping lines can evoke a sense of grace and fluidity, while short, jagged lines can suggest abrupt movements or quick actions. Think of a bird taking flight; the lines leading away from its wings can create an impression of powerful thrust and speed. Experimenting with different line weights can also enhance the feeling of motion. Thicker lines can suggest strength, while thinner lines can imply delicacy.
To further enhance the vitality of your drawings, the application of color and texture is key. Bright, bold colors can evoke excitement and energy, while softer hues can create a more tranquil scene. When illustrating a cheetah sprinting across the savanna, vibrant yellows and oranges can amplify the sense of speed and urgency. Additionally, incorporating texture can add depth to your work; for example, rough textures can convey the ruggedness of a lion’s mane, while smooth textures can highlight the sleekness of a dolphin’s body.
Finally, don’t underestimate the importance of practice. The more you draw, the better you’ll become at capturing motion. Consider setting aside time each week to sketch animals in various poses and activities. You might find it helpful to create a motion study series where you focus on one animal and explore its different movements over time. This not only sharpens your skills but also deepens your understanding of how different species move.
In conclusion, capturing motion in your drawings is an art that combines various techniques and a keen eye for detail. By utilizing blurring, foreshortening, strategic line work, and thoughtful color application, you can bring your animal drawings to life. Remember, every artist has their unique style, so don’t be afraid to experiment and find what works best for you!
- What is the best way to practice drawing animals in motion?
Regular sketching sessions, observing animals in real life or through videos, and participating in motion study exercises can significantly improve your skills.
- How can I make my drawings look more dynamic?
Incorporate techniques like foreshortening, dynamic lines, and contrasting colors to create a sense of action and energy in your artwork.
- Is it necessary to understand animal anatomy to draw them in motion?
Having a good grasp of animal anatomy helps in accurately depicting movement and posture, making your drawings more realistic and believable.
Using Lines to Convey Speed
This guide provides techniques and tips for capturing the dynamic movements of animals in your drawings, ensuring you can portray their energy and grace with confidence.
A solid grasp of animal anatomy is essential for realistic drawings. This section will cover key skeletal and muscular structures that influence movement and posture in various species.
To draw animals in action, observing their behavior is crucial. This part discusses methods to study animals in their natural habitats, enabling you to capture their movements authentically.
Learn effective field observation techniques to enhance your drawing skills. This subsection explores how to take notes and make quick sketches while observing animals in real-time.
Photography can serve as a valuable tool for reference. This section explains how to take dynamic photos of animals that can aid your drawing process later.
Recognizing common movement patterns in animals helps in portraying them accurately. This part highlights typical actions across various species, from running to jumping.
This section focuses on sketching dynamic poses, emphasizing the importance of gesture drawing to capture the essence of movement in animals.
Different techniques can enhance your ability to depict motion. This section delves into methods such as blurring and foreshortening to create a sense of action in your drawings.
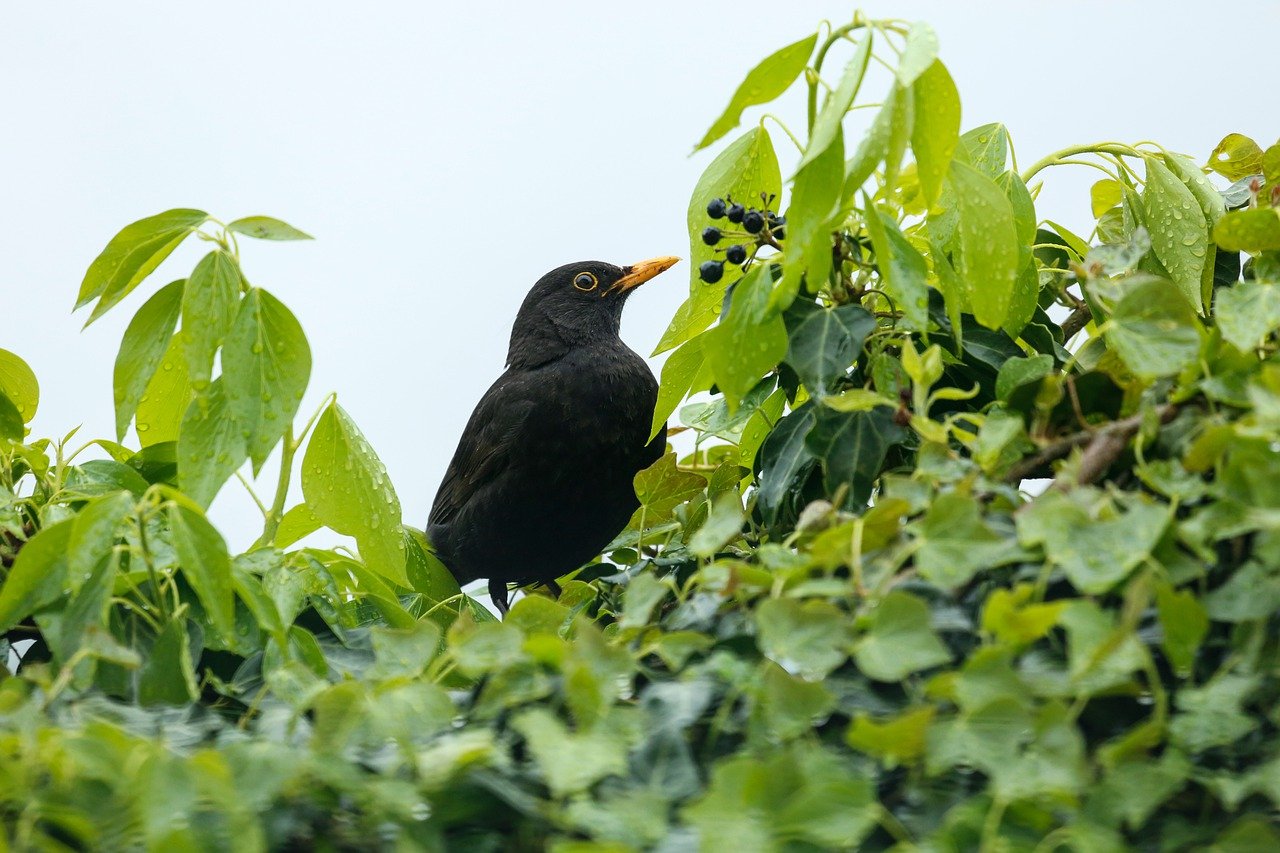
When it comes to illustrating motion, the power of lines cannot be overstated. Lines are not just boundaries; they can be the very essence of speed and energy in your artwork. Think of a cheetah sprinting across the savannah—its body is a blur, and the lines you choose can mimic that sensation of rapid movement. By varying the quality, direction, and thickness of your lines, you can create a dynamic representation that feels alive.
For instance, using long, sweeping lines can suggest acceleration, while sharp, jagged lines might convey sudden stops or quick changes in direction. Consider the following approaches:
- Curved Lines: These can suggest fluid motion, like a dolphin leaping gracefully out of the water.
- Diagonal Lines: These often imply speed and urgency, perfect for illustrating a horse galloping.
- Short Staccato Lines: Use these to indicate rapid, jerky movements, such as a bird flapping its wings.
Additionally, the direction of your lines plays a crucial role. Lines that follow the movement of the animal will enhance the sense of speed. For example, if a dog is running to the right, the lines should lead in that direction, almost guiding the viewer's eye along with the action. It's like a visual arrow pointing to where the animal is headed, creating an immersive experience for the audience.
Another technique to consider is the use of motion lines. These are lines that trail behind a moving subject, giving the illusion of speed. Think of them as the wake left behind by a speeding boat on water. You can use a combination of straight and curved motion lines to depict the unique characteristics of different animals' movements. For example, a rabbit might have quick, short motion lines, while an elephant would have more substantial, slower lines due to its size and weight.
In summary, the way you utilize lines can significantly alter the perception of speed in your drawings. By experimenting with different styles and techniques, you can find the best way to convey the dynamic energy of animals in action. So grab your pencils, and let those lines fly!
Q: How can I practice drawing animals in motion?
A: Start by observing animals in your local area or watch videos of them. Sketch quickly to capture their movements, focusing on the essence rather than details.
Q: What tools are best for capturing motion in drawings?
A: Use a variety of pencils, pens, or digital tools that allow for different line qualities. Experiment with brush strokes and textures to find what best conveys motion for you.
Q: Can I use references from photos?
A: Absolutely! Photos can be great references. Look for images that capture animals in mid-action to help you understand their anatomy and movement.
Applying Color and Texture
When it comes to bringing your animal drawings to life, the application of color and texture is absolutely vital. Imagine a lion prowling through the savannah; the rich golden hues of its mane contrasted with the deep shadows cast by its powerful body create a vivid image that draws the viewer in. This is the magic of color! By selecting the right palette, you can evoke emotions and set the mood of your artwork. For instance, a vibrant blue can convey a sense of calm, while fiery reds and oranges can ignite excitement and energy.
Texture, on the other hand, adds depth and realism to your drawings. Think about how the roughness of a rhinoceros's skin contrasts with the sleekness of a dolphin's body. By using various techniques—such as cross-hatching, stippling, or even digital brushes—you can replicate these textures effectively. The goal is to make your audience feel as if they could reach out and touch the surface of your artwork.
To effectively apply color and texture, consider the following techniques:
- Layering Colors: Start with a base color and gradually layer additional shades to create depth.
- Using Contrast: Employ contrasting colors to highlight specific features, like the bright eyes of a bird against its muted feathers.
- Texture Techniques: Experiment with different tools—brushes, sponges, or even your fingers—to create unique textures that mimic the real thing.
Another important aspect is understanding how light interacts with your subject. The way light reflects off an animal's coat can dramatically alter its appearance. For example, a shiny coat can suggest health and vitality, while a matte finish can indicate a more subdued or tired animal. Make sure to observe how light plays on your subject and replicate that in your drawing.
Finally, don’t shy away from experimenting! Art is about exploration, and trying new techniques can lead to surprising results. Whether you’re using traditional mediums like watercolor and pastels or digital tools, the key is to keep practicing and refining your approach. Remember, the more you practice applying color and texture, the more confident you will become in your ability to capture the essence of animals in action.
Q: What materials are best for applying color to animal drawings?
A: The best materials often depend on your personal preference and style. Watercolors, colored pencils, and markers are all great options. Experiment with different mediums to see which one you enjoy the most!
Q: How can I create realistic textures in my drawings?
A: To create realistic textures, observe the surfaces of real animals closely. Use a variety of techniques like cross-hatching, stippling, or even using different brushes to replicate textures. Practice is key!
Q: Is it necessary to use color in animal drawings?
A: While color can enhance your artwork, it’s not strictly necessary. Many artists create stunning black and white drawings that effectively convey motion and emotion. It all depends on your artistic vision!
Frequently Asked Questions
- What are the essential components of animal anatomy to understand for drawing?
To accurately draw animals, it's crucial to understand their skeletal and muscular structures. Key components include the spine, limbs, and joints, as these elements influence movement and posture. Familiarizing yourself with these anatomical features will help you create more realistic and dynamic representations of animals in action.
- How can I effectively observe animal behavior for my drawings?
Observing animals in their natural habitat is a fantastic way to capture their behavior. Spend time in places where animals are active, like parks or wildlife reserves. Take notes on their movements and interactions, and don’t hesitate to sketch quick poses as you observe them. This practice will enhance your ability to depict their actions authentically.
- What are some techniques for sketching dynamic poses?
Gesture drawing is one of the best techniques for capturing the essence of movement. Focus on the flow of the animal's body and the overall posture rather than getting bogged down in details. Quick sketches that emphasize the action can help you understand the movement better and make your final drawings more lively and engaging.
- How can photography assist in my drawing process?
Photography is a powerful tool for reference. By taking dynamic photos of animals in motion, you can study their poses and movements later at your own pace. Look for moments that showcase the animal's energy, and use these images to inform your sketches, helping you capture the nuances of motion and posture.
- What techniques can I use to convey motion in my drawings?
There are several techniques to depict motion effectively. Using blurring effects can suggest speed, while foreshortening can create a sense of depth and movement. Additionally, varying line quality and direction can help illustrate the flow of motion, making your artwork feel more dynamic and alive.
- How important are color and texture when depicting animals in action?
Color and texture are vital in bringing your animal drawings to life. They can enhance the feeling of movement and energy. Use vibrant colors to reflect the animal's vitality and apply textures that mimic the surface of their fur or feathers, which can add depth and realism to your artwork.


