
Drawing Buildings: A Simple Step-By-Step Guide
Welcome to the fascinating world of architectural drawing! Whether you're a budding artist or someone with a bit more experience under your belt, this guide is designed to transform your skills and inspire your creativity. Drawing buildings can seem daunting at first, but with the right techniques and a sprinkle of enthusiasm, you’ll be sketching stunning structures in no time. Think of this guide as your roadmap—each section will lead you through the intricate journey of mastering architectural sketches, from understanding styles to perfecting details.
Why should you dive into drawing buildings? Well, imagine capturing the essence of a majestic skyscraper or the charm of a quaint cottage on paper. It’s not just about replicating what you see; it’s about interpreting it, infusing your unique perspective, and creating a visual story. This guide will equip you with essential tools, techniques, and tips that will not only enhance your skills but also ignite your passion for architectural art.
Throughout this guide, we will cover various aspects of building drawing, starting with the different architectural styles that have shaped our cities and landscapes. From the grandeur of classical designs to the sleek lines of modern architecture, understanding these styles will allow you to incorporate authenticity into your sketches. Next, we’ll delve into the essential tools you’ll need, like the right pencils and paper, ensuring you have everything at your fingertips for your artistic journey.
As we progress, you’ll learn about the fundamental shapes and perspectives that form the backbone of any architectural drawing. We’ll explore techniques like one-point and two-point perspective, which are crucial for creating depth and dimension in your work. Additionally, we will discuss how to add intricate details and textures that can turn your simple outlines into lifelike representations.
But it doesn’t stop there! Shading techniques will be introduced to help you add that final touch of realism to your buildings, making them pop off the page. Finally, we’ll guide you through the process of finalizing your drawing, refining your lines, and presenting your masterpiece effectively.
So grab your sketchbook and pencils, and let’s embark on this exciting adventure of drawing buildings together! With each stroke, you’ll not only improve your skills but also develop a deeper appreciation for the architectural wonders that surround us.
- What materials do I need to start drawing buildings? You’ll need basic drawing tools like pencils, erasers, and various types of paper. We’ll cover this in detail later on!
- Can I draw buildings if I have no experience? Absolutely! This guide is designed for beginners, so you’ll find step-by-step instructions that are easy to follow.
- How long will it take to improve my drawing skills? Improvement varies by individual, but with regular practice and dedication, you’ll see progress in no time!

Understanding Architectural Styles
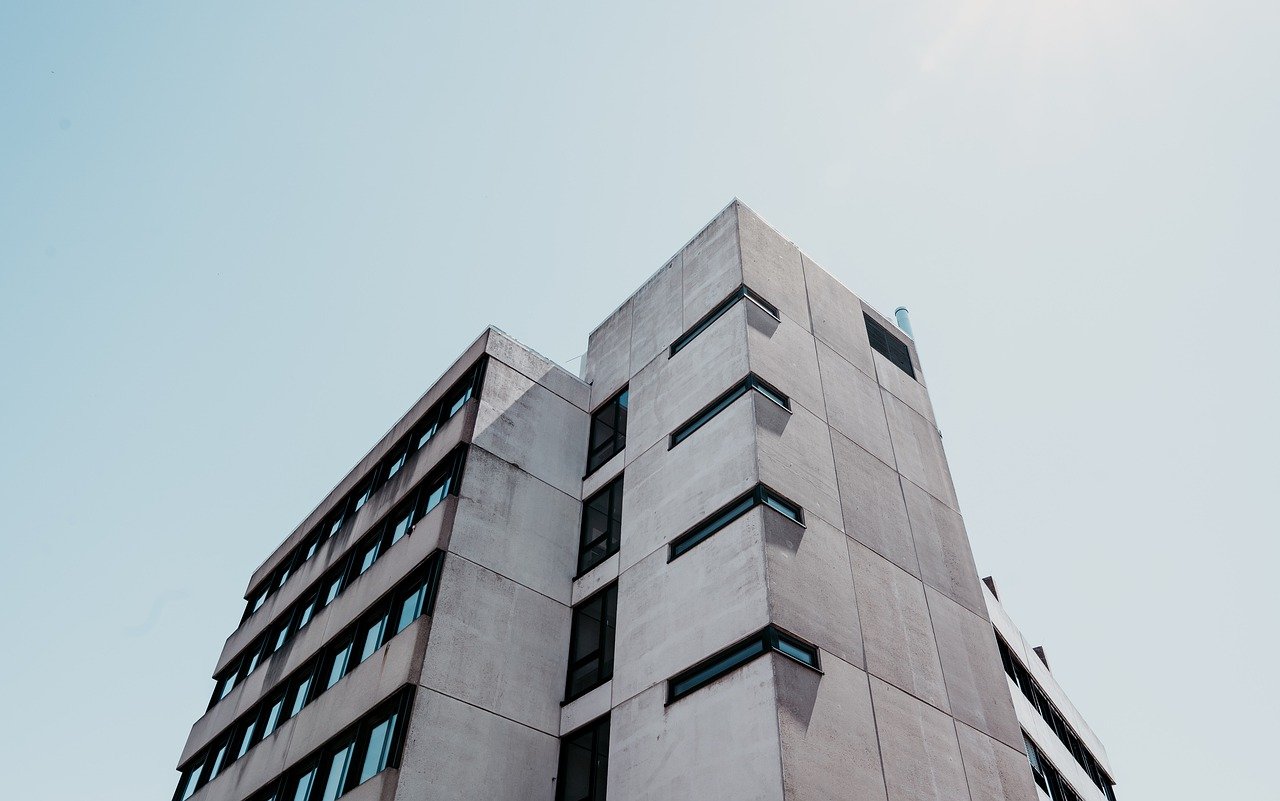
When it comes to drawing buildings, understanding various architectural styles is like having a treasure map. Each style tells a story, reflecting the culture, history, and technology of its time. Imagine walking through a city and noticing how each building has its own personality. From the grandeur of Classical architecture to the sleek lines of Modernism, every architectural style offers unique elements that can enhance your sketches.
Let’s take a closer look at some of the prominent architectural styles that you might want to incorporate into your drawings:
- Classical: Characterized by columns, symmetry, and proportion, this style often features grandiose structures like temples and government buildings.
- Gothic: Known for its pointed arches, ribbed vaults, and flying buttresses, Gothic architecture brings a sense of drama and intricacy to your sketches.
- Baroque: This style is all about extravagance and boldness, featuring elaborate details and a sense of movement in the design.
- Modernism: With a focus on minimalism and functionality, modern buildings often utilize new materials and technologies, resulting in clean lines and open spaces.
- Postmodernism: A playful take on modernism, this style combines elements from various historical styles, often with a sense of irony or whimsy.
Incorporating these styles into your drawings not only adds authenticity but also allows you to express your creativity. Think of it like dressing up a character in a story; the architectural style you choose can set the tone and mood of your drawing. For instance, a Gothic cathedral evokes a sense of mystery, while a sleek modern office building might suggest innovation and progress.
As you explore these styles, pay attention to the details that make each one unique. Observe the materials used, the shapes of windows, and the overall form of the buildings. This attention to detail will not only improve your drawing skills but also deepen your appreciation for architecture as an art form.
Remember, the key to mastering architectural drawing is to practice consistently. Try sketching buildings from different styles and see how they influence your approach. Over time, you’ll develop your own style while paying homage to the architectural giants that came before you.
Q: What is the best way to start learning about architectural styles?
A: Start by researching different styles online, visiting local buildings, or exploring architecture books. Sketching from real-life examples can also help solidify your understanding.
Q: Do I need to focus on one architectural style?
A: Not at all! Exploring various styles can enhance your versatility as an artist. Feel free to mix elements from different styles in your drawings.
Q: How can I incorporate architectural styles into my drawings effectively?
A: Pay attention to the unique features of each style, such as shapes, materials, and details. Practice sketching these elements separately before combining them into a complete building drawing.
Essential Drawing Tools
When it comes to drawing buildings, having the right tools at your disposal can make all the difference in the world. Just like a chef needs the best knives to create a culinary masterpiece, an artist requires quality materials to bring their architectural visions to life. So, let’s dive into the essential drawing tools that will help you sketch those stunning structures with confidence and precision.
First and foremost, you'll want to consider your pencils. Pencils come in various grades, ranging from hard (H) to soft (B). The softer the pencil, the darker and richer the line it produces. For architectural drawing, a combination of both hard and soft pencils can be beneficial. Use hard pencils for fine lines and details, while soft pencils are perfect for shading and adding depth. Here’s a quick breakdown of pencil grades:
| Grade | Type | Use |
|---|---|---|
| H | Hard | Fine lines, details |
| B | Soft | Shading, depth |
| HB | Medium | General use |
Next up, let’s talk about pens. While pencils are great for initial sketches and shading, pens can add a crisp, defined quality to your drawings. Consider using fine-tipped pens for outlining and inking your sketches. This not only helps to enhance the details but also gives your work a professional finish. Remember, the permanence of ink can be both a blessing and a curse; it’s crucial to be confident in your lines before committing!
Now, let’s not forget about paper. The type of paper you choose can significantly impact your drawing experience and the final result. Look for smooth, heavyweight paper that can withstand erasing and layering. Some artists prefer textured paper for a more tactile experience, while others opt for smooth surfaces for cleaner lines. It’s all about personal preference and the effect you want to achieve. Here are a couple of paper types to consider:
- Sketch Paper: Ideal for practice and rough drafts.
- Watercolor Paper: Great for mixed media and adding washes.
- Bristol Board: Perfect for detailed ink work and smooth finishes.
In addition to these primary tools, having a good eraser is essential. A quality eraser will help you correct mistakes without damaging your paper. Kneaded erasers are particularly useful as they can be shaped to erase small areas without leaving residue. Furthermore, consider investing in a ruler and a set square to ensure your lines are straight and angles are accurate. These tools are fundamental in architectural drawing, where precision is key.
Finally, don’t underestimate the power of color. Colored pencils, markers, or watercolors can add vibrancy and life to your sketches. They can help convey the mood of the building or highlight specific architectural features. Experimenting with color can be a fun way to express your artistic style while enhancing your architectural drawings.
In summary, equipping yourself with the right tools will set the foundation for your architectural drawing journey. Whether you’re a beginner or an experienced artist, having quality pencils, pens, paper, and additional tools will elevate your work and allow your creativity to flow. So gather your supplies, and let’s get sketching!
Q: What is the best type of pencil for architectural drawing?
A: A combination of hard (H) and soft (B) pencils is recommended for architectural drawing. Hard pencils are great for fine details, while soft pencils are perfect for shading.
Q: Can I use regular printer paper for sketching buildings?
A: While you can use printer paper for practice, it’s best to use heavier, smoother paper designed for drawing to achieve better results.
Q: What are the advantages of using pens in architectural sketches?
A: Pens provide a crisp, defined line that enhances the detail and professionalism of your sketches. They are great for inking over pencil sketches.
Q: How important is shading in architectural drawing?
A: Shading adds depth and dimension to your drawings, making them more visually appealing and realistic. It’s an essential technique to master.

Choosing the Right Paper
When it comes to drawing buildings, the choice of paper can significantly impact the quality of your work. Just like a chef needs the right ingredients to create a masterpiece, an artist requires the right paper to ensure their architectural sketches come to life. Different types of paper can affect the texture, weight, and overall feel of your drawings, making it essential to choose wisely.
First, consider the weight of the paper. Heavier papers, typically ranging from 200 to 300 gsm (grams per square meter), are ideal for detailed sketches and shading. They can handle multiple layers of pencil or ink without warping or tearing. On the other hand, lighter papers may be suitable for quick sketches or preliminary drafts but might not hold up well under heavy application of materials.
Next, think about the texture of the paper. Smooth papers are excellent for fine details and ink work, allowing for clean lines and precise shading. Conversely, textured papers can add an interesting dimension to your sketches, providing a more organic feel. For example, cold-pressed watercolor paper has a distinct texture that can create unique effects when combined with pencil or ink.
Another important factor is the finish of the paper. Some artists prefer a matte finish for its ability to absorb graphite and ink, while others might lean towards a glossy finish that enhances color vibrancy. Each finish can produce different results, so it's worth experimenting to see what suits your style best.
To help you make an informed decision, here’s a quick comparison of common paper types used in architectural drawing:
| Paper Type | Weight (gsm) | Texture | Best For |
|---|---|---|---|
| Sketch Paper | 90-120 | Smooth | Quick sketches and rough drafts |
| Drawing Paper | 150-200 | Slightly textured | Detailed drawings and shading |
| Watercolor Paper | 200-800 | Rough/Cold-pressed | Mixed media and textured effects |
| Illustration Board | 300+ | Very smooth | Final presentations and professional work |
Ultimately, the right paper for your architectural drawings depends on your personal style and the techniques you wish to employ. Don't hesitate to experiment with different types until you find the perfect match for your artistic vision. Remember, the journey of creating art is as important as the final product, so enjoy the exploration!
- What is the best paper for pencil drawing? A heavier drawing paper (150-200 gsm) with a slightly textured surface is often recommended for pencil drawing.
- Can I use regular printer paper for sketches? While you can use printer paper for quick sketches, it may not hold up well under heavy shading or ink.
- Is watercolor paper good for pencil sketches? Yes, watercolor paper can add unique textures to your sketches, but it may require a different drawing technique.
Pencil Types and Uses
When it comes to drawing buildings, the choice of pencil can make a significant difference in your overall outcome. Just like a chef selects the right knife for each ingredient, an artist must choose the right pencil to achieve the desired effect in their sketches. There are several types of pencils available, each with unique properties that cater to different drawing styles and techniques.
First off, let’s talk about graphite pencils, which are the most common type used in architectural drawing. They come in a range of hardness levels, typically graded from H (hard) to B (black). The H pencils produce lighter lines and are perfect for initial sketches where you want to maintain a clean look, while the B pencils create darker lines, ideal for shading and adding depth to your drawings. A well-rounded set would include:
| Pencil Type | Hardness | Best For |
|---|---|---|
| H | Hard | Initial sketches, fine lines |
| HB | Medium | General purpose, outlines |
| B | Soft | Shading, darker lines |
In addition to graphite pencils, colored pencils can be a fantastic tool for adding vibrancy to your architectural sketches. They allow you to incorporate color into your designs, making them more visually appealing. When selecting colored pencils, look for high-quality brands that offer a wide range of hues and good pigmentation. This will enable you to blend colors smoothly and create realistic textures.
Another option worth considering is mechanical pencils. These pencils provide a consistent line width, which can be particularly useful for detailed work. They come in various lead sizes, so you can choose one that fits your drawing style. The convenience of not needing to sharpen them often makes them a favorite among many artists.
Lastly, let’s not forget about charcoal pencils. While not as common for architectural sketches, they can add a unique touch to your drawings. Charcoal pencils produce rich, dark lines and can be smudged to create a variety of textures and shading effects. They are particularly beneficial when you want to convey a sense of depth or atmosphere in your work.
In conclusion, the right pencil can elevate your building drawings from simple outlines to stunning representations. Whether you prefer graphite for precision, colored pencils for vibrancy, or charcoal for depth, understanding the types and uses of these tools is essential for any aspiring architect or artist. So, the next time you sit down to sketch, take a moment to consider which pencil will best serve your artistic vision!
- What pencil hardness is best for beginners? Generally, an HB pencil is a good starting point as it provides a balance between hard and soft.
- Can I use colored pencils for architectural sketches? Absolutely! Colored pencils can enhance your drawings and bring them to life.
- What is the advantage of using mechanical pencils? Mechanical pencils offer consistent line width and do not require sharpening, making them convenient for detailed work.
Basic Shapes and Perspectives
When it comes to drawing buildings, mastering basic shapes and perspectives is essential. Think of your building as a puzzle made up of simple forms. By breaking down complex structures into basic shapes like rectangles, squares, and triangles, you can create a solid foundation for your drawing. This technique not only simplifies the process but also enhances your understanding of proportions and spatial relationships. Imagine trying to build a house without a blueprint; it would be chaotic! Similarly, having a clear grasp of shapes will guide your artistic journey.
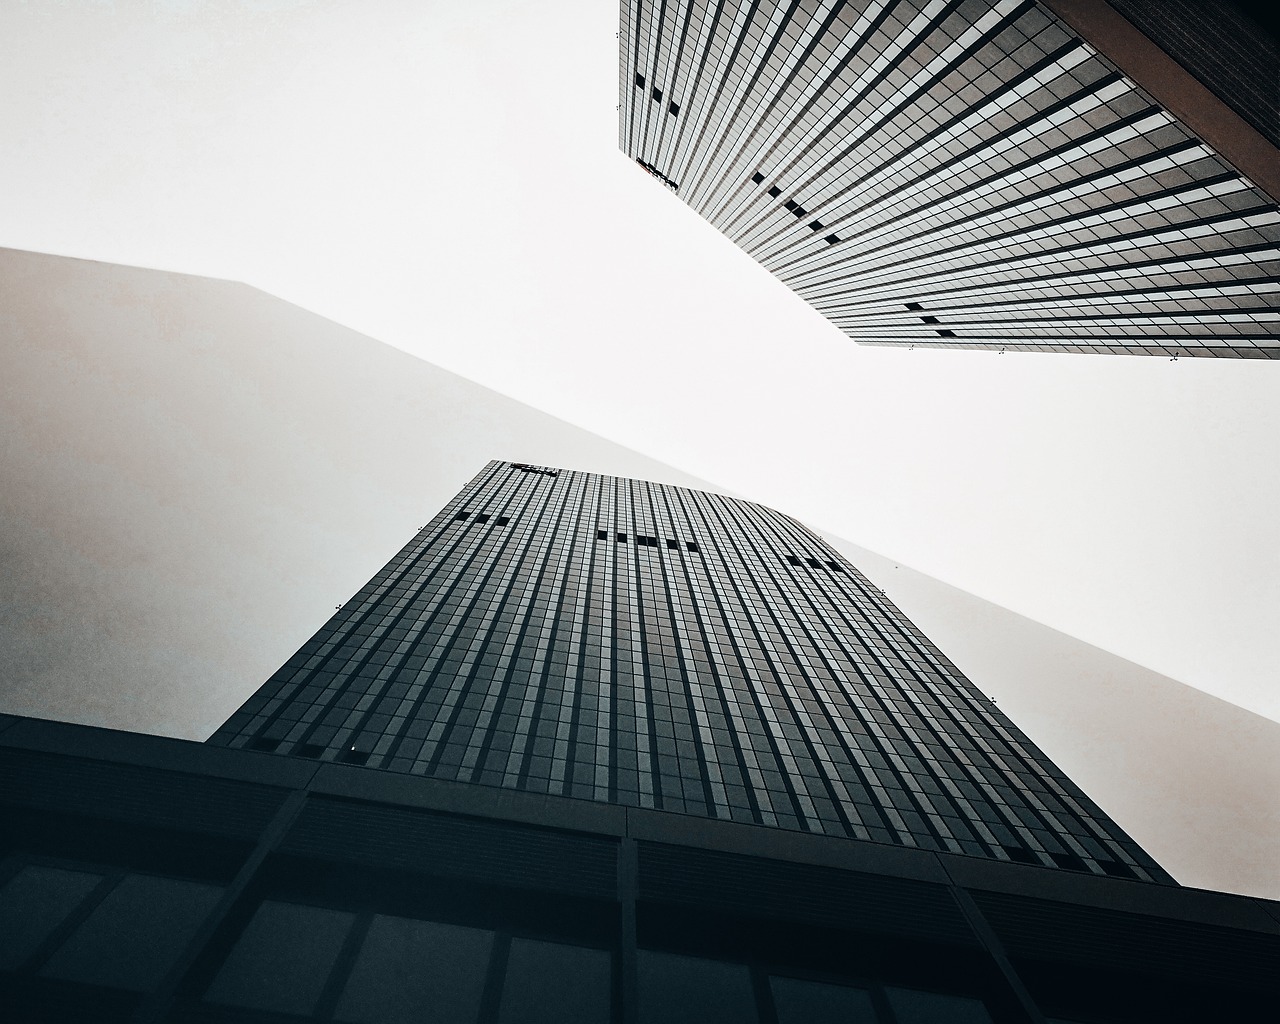
Now, let’s dive into the world of perspectives. Perspective is the magic trick that gives your drawings depth and dimension, transforming flat sketches into three-dimensional representations. The two primary types of perspective that every aspiring architect should know are one-point and two-point perspective. Each serves a unique purpose and can dramatically alter the way your buildings appear on paper.
One-point perspective is like looking down a long hallway; all lines converge at a single point on the horizon. This technique is perfect for drawing scenes where the viewer is facing the front of a structure. For instance, when sketching a building's facade, you can use one-point perspective to create a sense of depth by drawing the sides of the building receding toward the vanishing point. It’s a simple yet powerful way to make your drawings pop!
On the other hand, two-point perspective introduces a bit more complexity. Picture standing at the corner of a street, where two sides of a building are visible. Here, you’ll have two vanishing points on the horizon line. This method not only adds realism but also allows you to capture more intricate angles and details of the structure. It’s like stepping into a three-dimensional world where your drawings can come alive. Mastering these perspectives will make your architectural sketches not just accurate but also visually stunning.
To help you visualize how these perspectives work, here’s a simple comparison:
| Perspective Type | Description | Best Used For |
|---|---|---|
| One-Point Perspective | All lines converge at a single vanishing point. | Front views of buildings, hallways, and roads. |
| Two-Point Perspective | Lines converge at two vanishing points on the horizon. | Corner views of buildings and more complex structures. |
By understanding and practicing these basic shapes and perspectives, you’ll find that drawing buildings becomes less daunting and much more enjoyable. It’s all about building your skills step by step, just like constructing a solid foundation for a house. So grab your pencil, sketch out those shapes, and let your creativity flow!
- What is the easiest perspective to start with? One-point perspective is generally easier for beginners as it involves fewer vanishing points.
- How can I practice perspective drawing? Start with simple shapes and gradually incorporate more complex structures while focusing on the vanishing points.
- Do I need special tools for perspective drawing? While you can use any drawing tools, a ruler can help in creating straight lines and maintaining accurate perspectives.

One-Point Perspective
One-point perspective is a magical tool in the world of architectural drawing, allowing artists to create stunning depth and realism in their sketches. Imagine standing at the end of a long hallway; notice how the walls seem to converge at a single point in the distance? That’s the essence of one-point perspective! It simplifies the drawing process by focusing on a single vanishing point, making it easier for beginners to grasp the concepts of depth and space.
To get started with one-point perspective, first, you need to establish your horizon line. This line represents the viewer's eye level and acts as a guide for where you will place your vanishing point. Typically, this point is located somewhere along the horizon line, and it is where all parallel lines converge. For instance, if you’re drawing a straight road or a railway track, the sides of the road will lead towards this vanishing point, creating an illusion of depth.
Next, let’s break down the steps to effectively use one-point perspective in your architectural sketches:
- Step 1: Draw your horizon line across the page.
- Step 2: Mark your vanishing point on the horizon line.
- Step 3: Begin by sketching basic shapes, like rectangles or squares, that represent the fronts of buildings. All lines that represent depth should angle towards the vanishing point.
- Step 4: Add details such as windows and doors, making sure they remain consistent with the perspective you’ve established.
- Step 5: Finally, refine your lines and add shading to enhance the three-dimensional effect.
Using one-point perspective not only simplifies the drawing process but also adds a sense of realism that can captivate your audience. By practicing this technique, you’ll find that your ability to render buildings with depth improves significantly. It’s like transforming a flat image into a window that invites viewers to step inside your artistic world.
As you gain confidence with one-point perspective, don’t hesitate to experiment with different compositions. Try incorporating elements like roads, sidewalks, or even other buildings that lead the eye towards your vanishing point. This can create a dynamic and engaging scene that draws the viewer in, making them feel as if they are part of the environment you’ve created.
In summary, mastering one-point perspective is an essential skill for any aspiring architectural artist. It provides a foundation for understanding how to portray depth and space effectively. So grab your pencils, find a comfortable spot, and start sketching! You'll be amazed at how quickly your drawings come to life.
- What is one-point perspective? One-point perspective is a drawing technique that uses a single vanishing point on the horizon line to create depth and dimension in a two-dimensional artwork.
- Why is one-point perspective important in architectural drawing? It helps artists accurately depict how structures appear in real life, making drawings more realistic and engaging.
- Can I use one-point perspective for complex structures? Yes, while one-point perspective is best for simpler compositions, it can be combined with other techniques for more intricate designs.
- What are some common mistakes to avoid when using one-point perspective? Common mistakes include misplacing the vanishing point, inconsistent line angles, and neglecting to consider the horizon line.

Two-Point Perspective
When it comes to drawing buildings, mastering is like unlocking a secret door to a world of depth and realism. Imagine standing at the corner of a street, where two walls of a building converge into the horizon. This technique allows you to capture the way structures appear in real life, giving your sketches a three-dimensional quality that flat drawings simply can't achieve. So, how do you dive into this fascinating technique? Let’s break it down step-by-step.
First, you need to establish your horizon line, which represents the viewer's eye level. This line is crucial as it sets the stage for your drawing. Next, mark your two vanishing points on this line. These points are where all parallel lines will converge, creating the illusion of depth. It’s like laying the foundation of a house; without it, the structure lacks stability. The distance between these vanishing points will determine how dramatic the perspective appears. The closer they are, the more exaggerated the perspective, while a wider distance creates a subtler effect.
Once you have your horizon line and vanishing points, it’s time to start sketching the basic shapes of your building. Begin with a simple rectangle to represent the front face of the structure. From the top corners of this rectangle, draw lines that extend to both vanishing points. This will give you the sides of the building. It’s essential to keep your lines light and loose at this stage; think of it as a rough draft of a novel before you edit it into a masterpiece.
Now, you might be wondering about the details. As you refine your shapes, consider adding elements like windows and doors. For these, you'll need to draw additional lines that follow the same vanishing points. This means that the tops and bottoms of your windows will align with the vanishing points, giving them a realistic appearance. It's like fitting pieces into a puzzle; each element must align perfectly to create a coherent image.
To further enhance your drawing, pay attention to the proportions of the building. Ensure that the elements you add are in scale with each other. For example, if you place a door on one side, it should be proportionate to the overall height of the building. This attention to detail not only makes your drawing more believable but also showcases your skill as an artist.
After you’ve fleshed out the building, it’s time to add some character. Consider the textures of the materials you want to depict, whether it’s the smoothness of glass windows or the roughness of brick walls. You can achieve this through varying line weights and shading techniques, which will breathe life into your drawing. Remember, the goal is to make your audience feel as if they could step right into your sketch.
Finally, don’t forget to step back and evaluate your work. Sometimes, it helps to look at your drawing from a distance or even upside down. This can give you a fresh perspective on any areas that might need adjustment. With practice and patience, you’ll find that two-point perspective becomes a powerful tool in your artistic arsenal, enabling you to create stunning architectural sketches that captivate your audience.
In conclusion, mastering two-point perspective is not just about following steps; it’s about understanding how to visualize space and depth. With each drawing, you’ll become more adept at translating the three-dimensional world onto a two-dimensional page. So grab your pencils, find your vanishing points, and let your creativity flow!
- What is the difference between one-point and two-point perspective?
One-point perspective uses a single vanishing point, making it ideal for drawings where the viewer looks directly at the front of an object, while two-point perspective uses two vanishing points, allowing for a more dynamic view of objects at an angle.
- Can I use two-point perspective for any type of building?
Absolutely! Two-point perspective is versatile and can be applied to various architectural styles, enhancing the realism of your sketches.
- Do I need special tools for drawing in two-point perspective?
No special tools are required, but a ruler can help you maintain straight lines and ensure accuracy in your perspective.
Adding Details and Textures
When it comes to drawing buildings, the magic often lies in the details and textures that breathe life into your sketches. Think of your drawing as a blank canvas, waiting for the brush strokes of detail to transform it into a vibrant masterpiece. Adding these elements not only enhances the visual appeal of your artwork but also conveys a sense of realism that captivates the viewer's eye. So, how do you go about it? Let’s dive in!
First, consider the architectural features that define the style of the building you are drawing. For instance, if you are sketching a Gothic cathedral, intricate elements like pointed arches, ribbed vaults, and flying buttresses should be on your radar. On the other hand, a modern skyscraper might require a focus on sleek lines and glass façades. To effectively incorporate these features, take a moment to study reference images. Observe how light interacts with different materials and the way shadows play across surfaces, as this will inform how you add depth to your drawings.
Next, let’s talk about textures. The texture of a surface can dramatically alter the perception of your drawing. For example, the roughness of brick, the smoothness of glass, or the softness of wood can all be represented through various techniques. To achieve this, you might consider using different pencil strokes—short, choppy lines for brick, smooth, sweeping motions for glass, and a mix of both for wood. Experimenting with these techniques will not only make your drawings more dynamic but also help you find your unique style.
You can also use cross-hatching and stippling techniques to add depth and interest. Cross-hatching involves drawing intersecting lines to create shading, while stippling uses dots to achieve a similar effect. Both methods can be incredibly effective for rendering shadows and textures. If you're unsure where to start, practice on separate sheets of paper until you feel comfortable applying these techniques to your actual building sketches.
Moreover, don’t forget about the importance of scale and proportion. Adding details should enhance the overall composition without overwhelming it. It's essential to maintain a balance between detailed areas and more simplified sections of your drawing. For instance, if the foreground features intricate window designs, consider simplifying the background elements to allow your focal point to shine. This technique will guide the viewer’s eye and create a more cohesive piece.
Lastly, remember that adding details and textures is not just about what you see but also about what you feel. Try to evoke emotions through your drawings—whether it’s the warmth of a cozy cottage or the imposing presence of a towering skyscraper. Think about the story behind the building and how you can translate that narrative into your artwork.
- What tools are best for adding details to my building sketches?
Using fine-tipped pens or mechanical pencils can help you achieve the precision needed for intricate details. Additionally, blending tools like tortillons can assist in creating smooth textures. - How do I know when to stop adding details?
It’s often a matter of personal judgment. If you find that additional details are not enhancing the drawing or are making it feel cluttered, it might be time to step back and evaluate. - Can I use colors to add texture?
Absolutely! Watercolors, colored pencils, or markers can add dimension and vibrancy to your textures, making them pop off the page.
Shading Techniques
Shading is the secret sauce that adds depth and dimension to your architectural sketches, transforming flat drawings into lifelike representations. Think of shading as the magic wand that brings your buildings to life, allowing them to pop off the page. By understanding and mastering various shading techniques, you can create a sense of realism that captivates your audience and enhances the overall aesthetic of your work. So, let’s dive into the world of shading!
One of the most fundamental techniques is the hatching method, where you use parallel lines to create shadows and textures. The closer the lines are to each other, the darker the area appears. This technique is particularly effective for creating the illusion of light and shadow in your drawings. For instance, if you’re sketching a brick wall, you might use hatching to indicate the shadow cast by the bricks, giving it a three-dimensional feel.
Another popular technique is cross-hatching, which involves layering lines in different directions to achieve a richer texture. This method allows for greater control over the shading intensity and can be used to depict complex surfaces, such as ornate facades or intricate roof designs. By varying the pressure on your pencil or pen, you can create subtle gradients, making your buildings look more dynamic.
Don’t forget about blending! This technique is often used in combination with hatching and cross-hatching. By using a blending stump or your finger, you can smooth out the lines, creating softer transitions between light and shadow. This is especially useful for areas where you want to depict smooth surfaces, like glass windows or polished stone. The key here is to practice control; too much blending can lead to muddy results, so it’s all about finding that sweet spot.
To further enhance your shading skills, consider incorporating stippling into your repertoire. This technique involves using small dots to create texture and depth. It can be particularly effective for rendering materials like concrete or foliage. The density of the dots will dictate the darkness of the shaded area, allowing you to achieve a range of tones without relying solely on lines.
As you experiment with these techniques, remember to consider the light source in your drawing. Understanding where the light is coming from will help you determine where shadows should fall and how to shade accordingly. For example, if the sun is shining from the left, the right side of your building will be darker, and you can use your shading techniques to reflect this accurately.
Ultimately, the beauty of shading lies in its versatility. You can mix and match these techniques to create your unique style. Whether you prefer the precision of hatching or the organic feel of stippling, the goal is to practice consistently. As you hone your skills, you’ll find that your ability to convey depth and realism in your architectural sketches will improve dramatically.
- What is the best pencil for shading? A softer pencil, like a 2B or 4B, is ideal for shading as it allows for smoother application and richer tones.
- How can I practice shading techniques effectively? Start with simple shapes and gradually incorporate more complex structures. Use reference images to understand how light interacts with different surfaces.
- Can I use colored pencils for shading? Absolutely! Colored pencils can add an extra layer of depth and vibrancy to your sketches, especially when blending colors.
Finalizing Your Drawing
Finalizing your drawing is like putting the cherry on top of a delicious sundae; it's the moment where all your hard work comes together to create something truly special. After spending hours sketching, shading, and refining your architectural masterpiece, it’s essential to take the final steps that will elevate your work from good to breathtaking. So, what exactly does finalizing entail? Let’s dive in!
First and foremost, refining your lines is crucial. Take a moment to step back and assess your drawing. Are there any lines that appear too harsh or too light? You might want to go over them with a finer pen or pencil to create a more cohesive look. This is the time to erase any stray marks or guidelines that no longer serve a purpose. A clean drawing is a happy drawing!
Next up is the exciting part: adding color. Color can breathe life into your sketches and transform them into vibrant representations of your vision. Whether you choose to use colored pencils, watercolors, or markers, make sure to select a palette that complements the architectural style you’ve drawn. For instance, if you’ve sketched a classical building, soft earth tones might do the trick, while a modern structure could benefit from bold, striking colors. Remember, the goal is to enhance your drawing without overwhelming it.
Once you’ve added color, consider the presentation of your work. A well-presented drawing can make a huge difference in how it’s perceived. Think about framing it or using a high-quality scanner to digitize your work. If you’re sharing it online, make sure to adjust the lighting and contrast in a photo editing program to make your drawing pop. This is your moment to shine, so don’t shy away from showcasing your masterpiece!
Finally, you might want to add your signature. This not only marks your work as your own but also gives it a personal touch. Place it in a corner where it won’t distract from the main focus of your drawing, but is still visible enough for viewers to recognize your artistry. Remember, every artist has a unique style; your signature is a part of that identity.
In summary, finalizing your drawing involves a series of thoughtful steps: refining lines, adding color, presenting your work effectively, and signing your masterpiece. Each step is essential in transforming your architectural sketch into a polished piece of art that reflects your skills and creativity. So, grab your tools, take a deep breath, and get ready to give your drawing the finish it deserves!
- What is the best way to add color to my architectural drawings?
Using colored pencils or watercolors is often recommended, as they allow for great control and blending. Choose a color palette that complements your drawing's style.
- How can I present my drawing professionally?
Consider framing your artwork or scanning it for digital presentation. Adjust lighting and contrast for online sharing to enhance visibility.
- Should I sign my drawing?
Absolutely! Signing your work adds a personal touch and marks it as your own. Place your signature in a discreet yet visible area.
Frequently Asked Questions
- What are the best architectural styles to start with?
When diving into architectural drawing, it's great to start with styles that are visually distinct and widely recognized. Consider exploring classical styles like Greek and Roman architecture, as well as modern styles such as minimalism or Bauhaus. These styles provide a solid foundation and help you understand the evolution of architecture.
- What drawing tools do I need for architectural sketches?
To create stunning architectural sketches, you'll need a few essential tools. Start with a range of pencils (HB to 6B for shading), a good quality eraser, and technical pens for fine lines. Don't forget to choose the right paper—smooth paper for detailed work and textured paper for a more artistic touch!
- How do I choose the right paper for my drawings?
The choice of paper can dramatically affect your drawing's outcome. For architectural sketches, consider heavyweight paper (at least 200gsm) that can handle various mediums. If you plan to use ink or watercolor, opt for watercolor paper or mixed media paper for best results.
- What are the differences between one-point and two-point perspective?
One-point perspective is fantastic for drawing straight-on views of buildings, where all lines converge at a single point on the horizon. On the other hand, two-point perspective adds complexity by using two vanishing points, perfect for capturing corners of buildings and creating a more dynamic view!
- How can I add texture to my building drawings?
Adding texture can bring your drawings to life! Use cross-hatching for shadows, stippling for rough surfaces, and line work to suggest materials like brick or wood. Experiment with different techniques to see what works best for your style!
- What shading techniques should I use?
Shading can add depth and realism to your sketches. Try using blending for smooth transitions, hatching for structured shading, or layering different pencil grades to create rich textures. The key is to practice and find what feels right for your artistic voice!
- How do I finalize my drawing effectively?
Finalizing your drawing is all about refinement. Start by cleaning up any stray lines, then add color if desired. Consider using a fixative to protect your work, and think about how you'll present it—whether in a frame, a portfolio, or online. A polished finish can make all the difference!


