Techniques to Master Ink in Your Drawings
Welcome to the exciting world of ink drawing! Whether you're a seasoned artist or just starting out, mastering ink techniques can truly elevate your artwork. Imagine transforming a simple sketch into a stunning masterpiece that captivates your audience. This article explores various techniques to enhance your ink drawing skills, covering everything from basic tools to advanced methods that can elevate your artwork to a professional level. Are you ready to dive into the inky depths of creativity? Let's get started!
When it comes to ink drawing, the tools you choose can make all the difference. Think of your tools as the instruments of an orchestra; each one contributes to the overall harmony of your artwork. Selecting the appropriate pens, brushes, and paper is crucial for achieving the desired effects in your ink drawings. For instance, fine-liners are great for detailed work, while brush pens can create beautiful, expressive strokes.
Here’s a quick breakdown of some essential tools you might consider:
| Tool | Description | Best For |
|---|---|---|
| Fine-liner Pens | Thin, precise tips for detailed work. | Outlining and intricate designs. |
| Brush Pens | Flexible brush tips for varied line thickness. | Expressive lines and calligraphy. |
| Dip Pens | Traditional pens that allow for different nibs. | Custom line quality and styles. |
| Watercolor Paper | Thick, textured paper that holds ink well. | Ink washes and blending techniques. |
Choosing the right paper is just as important as selecting the right pen. High-quality paper can absorb ink beautifully, allowing for smoother applications and vibrant results. So, invest in good materials, and your art will thank you!
Line quality is like the heartbeat of your drawings; it adds life and emotion to your work. By manipulating line weight and style, you can convey depth, movement, and even mood in your artwork. Imagine a line as a character in a story; it can be bold and assertive or soft and delicate, depending on how you wield it. The key is to experiment and find your unique voice through line quality.
One effective technique to enhance your ink drawings is varying line thickness. This approach can add dimension and interest, making your artwork pop off the page. Think of it as adding spices to a dish; a little variation can take your creation from bland to flavorful! Start by practicing with different pressures on your pen or brush. You’ll be amazed at how a simple change in thickness can transform the entire feel of your piece.
Using contrasting lines is another powerful technique to highlight certain areas of your artwork. By juxtaposing thick and thin lines, you can guide the viewer's eye and create focal points. This is akin to using light and shadow in photography; it draws attention to what you want to emphasize. Experiment with different contrasts to see how they affect the overall composition of your drawing.
Expressive lines can evoke feelings and movement, making your drawings come alive. Think of these lines as the emotions of your artwork; they can be wild and energetic or calm and serene. Techniques like swirling, zig-zagging, or even scribbling can add a dynamic quality to your drawings. Don’t be afraid to let loose and explore the emotional side of your lines!
Ink wash techniques can create beautiful gradients and textures that add depth to your work. This method involves diluting your ink with water to produce varying shades, much like watercolor painting. Imagine painting with shadows instead of colors; it opens up a whole new world of possibilities! To achieve soft washes, practice applying ink with a brush or sponge, gradually building up layers for dramatic effects.
Mastering shading and texturing techniques can significantly enhance your ink drawings. These methods create depth and interest, making your artwork more engaging. Think of shading as the music behind a great film; it sets the mood and enhances the overall experience.
Cross-hatching is a popular method for adding texture and shading. By layering lines in different directions, you can create intricate patterns that suggest light and shadow. This technique is like weaving a tapestry; the more layers you add, the richer the texture becomes. Practice different angles and densities to find what works best for your style.
Stippling involves using dots to create texture and shading. This technique can produce stunning effects, adding a unique quality to your ink drawings. Think of stippling as creating a starry night sky; each dot contributes to the overall beauty of the scene. Start with simple shapes and gradually build complexity as you become more comfortable with this method.
- What type of ink is best for drawing? Waterproof, archival ink is ideal for longevity and durability.
- Can I use regular paper for ink drawings? While you can, using high-quality paper designed for ink will yield better results.
- How do I clean my tools after use? Clean your pens and brushes with water or appropriate cleaning solutions immediately after use to maintain their quality.
Choosing the Right Tools
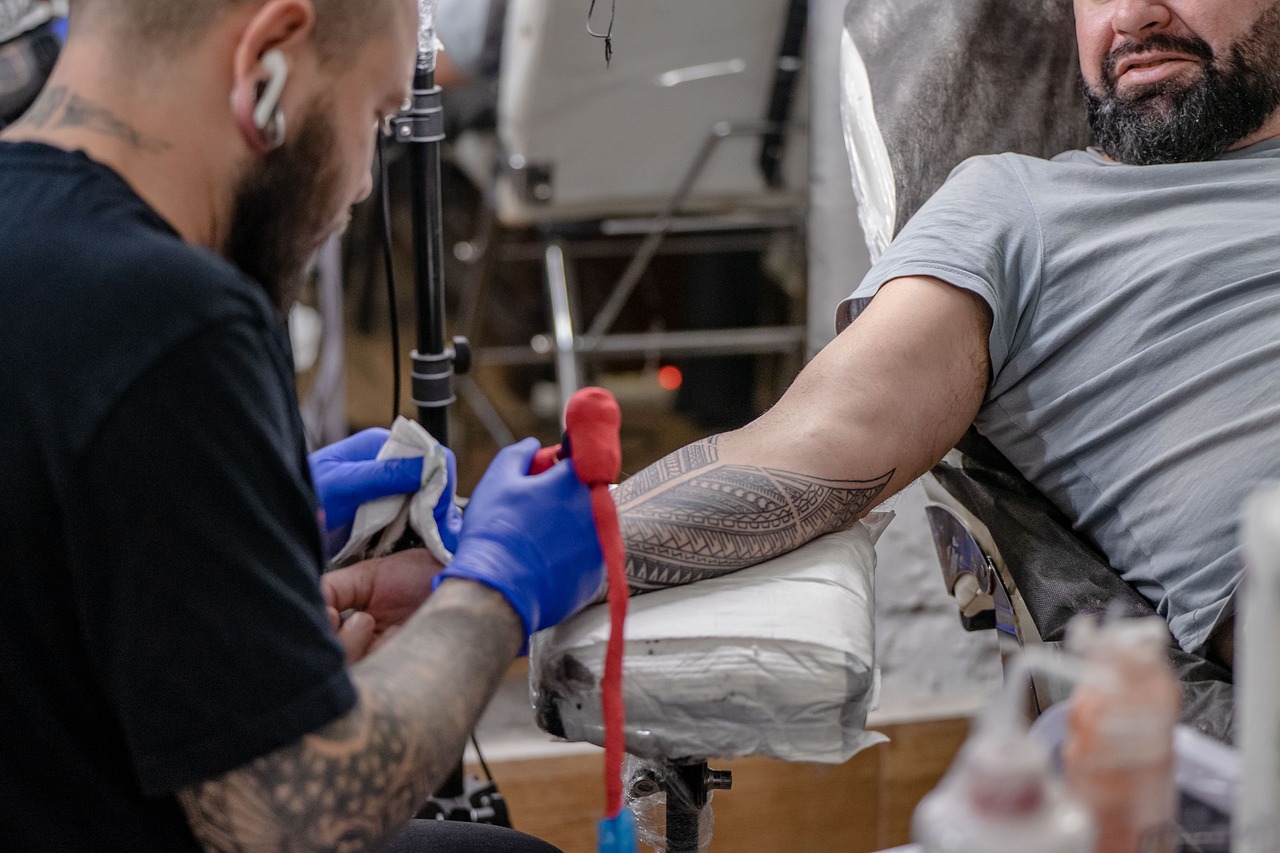
When it comes to mastering ink drawing, the **tools** you choose can make all the difference. Imagine trying to paint a masterpiece with a brush that's too stiff or a canvas that's too rough; it just wouldn't work, right? The same principle applies to ink drawing. Selecting the right pens, brushes, and paper is crucial for achieving the effects you desire. It's like choosing the right ingredients for a delicious recipe—without the right tools, you might end up with a dish that's less than appetizing.
First off, let's talk about pens. There are various types of pens available, each serving a unique purpose:
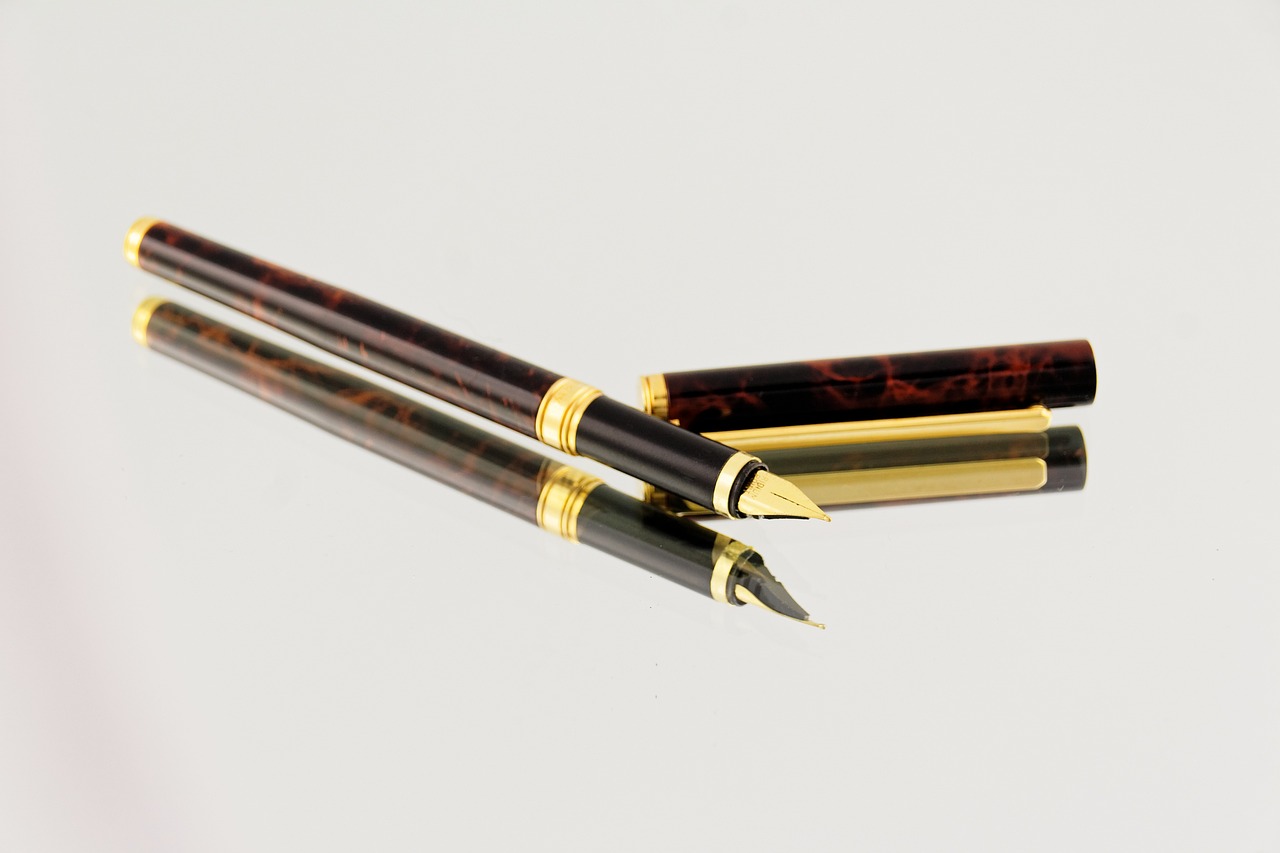
- Fountain Pens: These pens offer a smooth flow of ink and can create beautiful line variations. They are great for expressive work and can be filled with different ink colors.
- Technical Pens: If precision is your game, technical pens are your best friend. They come in various nib sizes and are perfect for detailed work and clean lines.
- Brush Pens: These pens mimic the feel of a paintbrush and are excellent for creating dynamic lines and washes. They can add a level of fluidity to your work that other pens can't match.
Next, let’s consider brushes. While many artists think of brushes as tools for painting, they can also be incredibly useful in ink drawing. A good brush can help you achieve soft washes and dramatic contrasts. Look for brushes that have a good spring and can hold a decent amount of ink. A round brush is versatile and great for both broad strokes and fine details, while a flat brush can create sharp edges and bold lines.
Now, let's not forget about paper. The type of paper you use can significantly impact your final piece. Here are a few options to consider:
- Hot Pressed Paper: This smooth paper is perfect for detailed work, allowing your pen to glide effortlessly.
- Cold Pressed Paper: With a bit of texture, this paper is great for ink washes and adds character to your work.
- Bristol Board: A favorite among illustrators, this thick paper can handle heavy ink applications without warping.
In addition to these essentials, don’t overlook the importance of having a solid workspace. A well-lit area with a comfortable drawing surface can inspire creativity and make the drawing process more enjoyable. Think of it as setting the stage for a performance; the right environment can enhance your artistic expression.
Ultimately, the best tools are the ones that resonate with your personal style and technique. Experiment with different pens and papers to find what works best for you. Just like a musician finds their favorite instrument, you too will discover the tools that help you create your best work. So, don’t hesitate to explore and invest in quality tools that will elevate your ink drawings to new heights!

Understanding Line Quality
When it comes to ink drawing, line quality is like the heartbeat of your artwork. It's what gives your pieces life, emotion, and depth. Imagine a drawing without variation in its lines—just a flat, lifeless sketch. Boring, right? That's why mastering line quality is essential for any artist looking to elevate their work. So, how do you go about enhancing this crucial aspect? Let’s dive into the world of lines!
First off, let’s talk about line weight. This refers to the thickness or thinness of the lines you use in your drawings. By varying line weight, you can create a sense of depth and focus. For instance, thicker lines can draw attention to the main subject, while thinner lines can add delicate details or background elements. Think of it as a musical score; just as different instruments create harmony, varying line weights can create a visual symphony on your canvas.
Now, you might be wondering, “How do I actually manipulate line weight?” Well, it’s simpler than you think! Here are a few techniques:
- Pressure Control: Apply more pressure on your pen or brush for thicker lines and less pressure for thinner ones.
- Different Tools: Experiment with various pens or brushes. Some tools naturally produce thicker lines, while others are designed for finer details.
- Layering: Build up layers of lines to create depth. Start with light strokes and gradually add darker, thicker lines where needed.
Next, let’s explore line style. This encompasses the overall appearance of your lines—whether they’re smooth, jagged, dashed, or dotted. Each style conveys different emotions and can dramatically change the feel of your artwork. For example, jagged lines might evoke tension or chaos, while smooth, flowing lines can create a sense of calm and serenity. Think of it as the difference between a roaring river and a still pond; both are beautiful but tell very different stories.
To create contrast with your lines, consider using varying line styles alongside line thickness. For instance, a thick, solid line can outline a character, while a series of thin, dashed lines can suggest motion or movement. This contrast not only enhances visual interest but also guides the viewer's eye to the focal points of your drawing. It’s like a dance; the lines twirl and sway, leading the audience through your artistic narrative.
Finally, let’s not forget about expressive line techniques. These are the secret ingredients that can transform a mundane drawing into something extraordinary. By incorporating techniques such as gestural drawing or contour lines, you can infuse your work with emotion and movement. Gestural lines, for example, capture the essence of a subject in a spontaneous and lively manner. They’re like the brushstrokes of a painter, full of energy and life. On the other hand, contour lines can define shapes and forms, creating a sense of structure and solidity.
In conclusion, understanding and mastering line quality is essential for any artist looking to make their ink drawings stand out. By varying line weight, style, and employing expressive techniques, you can convey depth, emotion, and movement in your work. So grab your pens and brushes, and start experimenting with these techniques—your drawings will thank you!
Q: What is line quality in ink drawing?
A: Line quality refers to the characteristics of the lines you use in your artwork, including their thickness, style, and the emotional impact they convey.
Q: How can I improve my line quality?
A: You can improve your line quality by practicing varying line weights, experimenting with different tools, and incorporating expressive line techniques.
Q: What tools are best for achieving good line quality?
A: The best tools include a variety of pens (like fine liners, brush pens, or fountain pens) and brushes that allow for flexibility in line thickness.
Varying Line Thickness
When it comes to ink drawing, can be a game-changer. Imagine your artwork as a symphony, where each line plays its own unique note. Just as a musician uses different instruments to create a rich sound, you can manipulate line weight to add depth and interest to your drawings. By altering the thickness of your lines, you can guide the viewer’s eye, create focal points, and evoke emotions. It’s all about understanding how to use this technique effectively to enhance your overall composition.
One of the simplest yet most effective ways to vary line thickness is by adjusting the pressure on your pen or brush. When you press harder, the line becomes thicker; when you lighten your grip, the line becomes finer. This technique can be likened to a painter using a wide brush for bold strokes and a fine brush for delicate details. The contrast between thick and thin lines can create a dynamic visual experience, making your artwork more engaging.
Here are a few techniques you can employ to master varying line thickness:
- Pressure Control: Practice applying different levels of pressure while drawing. This will help you understand how to create a range of line weights effortlessly.
- Layering: Use multiple layers of lines to build up thickness in certain areas. This technique can create shadows or emphasize specific parts of your drawing.
- Ink Flow: Experiment with different types of pens that have varying ink flow. Brush pens, for instance, allow for dramatic changes in thickness with a simple flick of the wrist.
Another effective method is to incorporate contour lines. By using thicker lines to outline the main subjects and thinner lines for details, you can create a sense of hierarchy within your artwork. This technique not only enhances the overall composition but also adds a three-dimensional feel to your drawings. Think of it as framing a picture; the frame (thicker lines) draws attention to the artwork (thinner lines) inside.
Incorporating varying line thickness into your ink drawings can also help convey movement and energy. For example, when drawing a flowing river or a gust of wind, using thicker lines to represent the main flow and thinner lines to indicate ripples or gusts can create a sense of dynamism. This approach not only makes your drawings more visually appealing but also tells a story through the lines you choose to emphasize.
Moreover, understanding how to create contrast with line thickness can elevate your artwork to new heights. When you juxtapose thick lines against thin ones, you create a striking visual contrast that draws the viewer's attention. This technique can be especially effective in illustrations where you want to highlight certain elements while keeping others subdued.
In conclusion, mastering the art of varying line thickness is essential for any aspiring ink artist. By playing with pressure, layering, and contouring, you can breathe life into your drawings, making them not just images, but experiences. So grab your pens, practice these techniques, and watch as your artwork transforms into captivating pieces that resonate with your audience.
Q: What tools are best for varying line thickness?
A: Brush pens and fountain pens are excellent choices as they allow for a range of line thickness depending on pressure applied.
Q: How can I practice varying line thickness?
A: Start with simple shapes like circles and lines, experimenting with pressure and layering to see how it affects the thickness.
Q: Can varying line thickness be used in digital art?
A: Absolutely! Most digital art programs have brushes that mimic the effects of varying line thickness, allowing for similar techniques as traditional ink drawing.

Creating Contrast with Lines
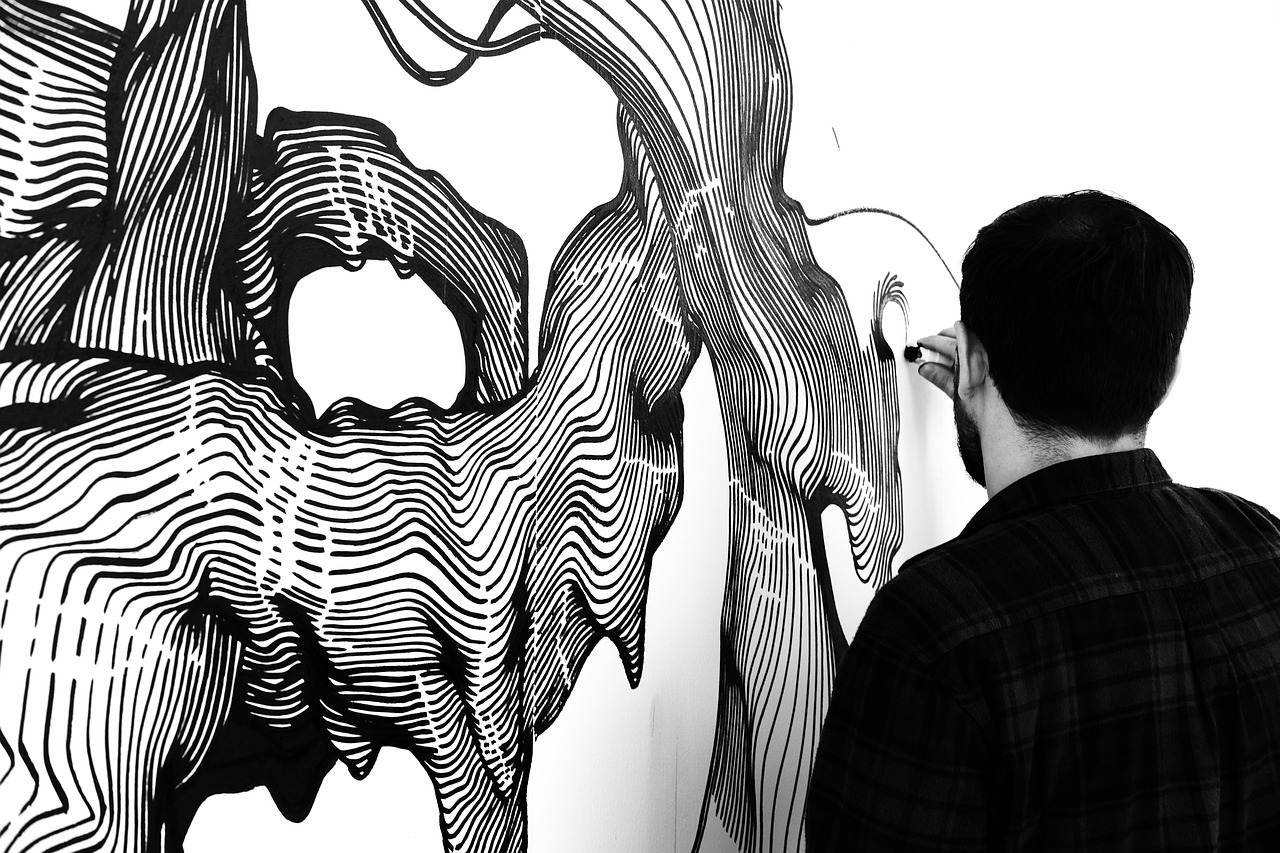
When it comes to ink drawings, creating contrast with lines is an essential skill that can dramatically elevate your artwork. Think of lines as the backbone of your drawings; they define shapes, create depth, and guide the viewer's eye through your composition. By manipulating the thickness, style, and density of your lines, you can introduce a sense of drama and focus that captures attention and evokes emotion.
One effective way to create contrast is by using thicker lines for elements that you want to stand out. For instance, if you are drawing a character, you might use bold lines to outline the figure, making it pop against a more delicate background. This technique not only enhances the focal point but also adds a sense of weight and presence to your subject. Conversely, using thinner lines for background elements can create a sense of distance and depth, drawing the viewer's focus back to the main subject.
Another technique involves varying the density of lines. Areas with heavy line work can create a sense of shadow and texture, while sparse lines can suggest lightness and airiness. For example, in a landscape drawing, you might apply dense lines to the foreground trees and lighter lines for the distant hills, creating an illusion of depth. This contrast not only guides the viewer's eye but also adds a dynamic quality to your work.
Additionally, consider the style of your lines. Mixing different line styles—such as dashed, dotted, or wavy—can introduce visual interest and contrast. For instance, using a jagged line to depict rough textures like rocks or foliage can contrast beautifully with smooth, flowing lines used for water or sky. This juxtaposition not only enhances the realism of your drawing but also engages the viewer, inviting them to explore the details.
To summarize, here are some key points to remember when creating contrast with lines in your ink drawings:
- Thicker lines for emphasis and boldness.
- Thinner lines for subtlety and background elements.
- Vary line density to create depth and texture.
- Mix line styles to enhance visual interest.
In conclusion, mastering the art of contrast with lines can transform your ink drawings from basic sketches into captivating pieces of art. By being mindful of line thickness, density, and style, you can create a visual hierarchy that guides the viewer's eye and enhances the emotional impact of your work. So grab your pens and start experimenting—your artwork will thank you!
Q: What is the best way to practice creating contrast with lines?
A: The best way to practice is to create a series of sketches focusing solely on line work. Experiment with different thicknesses, styles, and densities to see how they affect the overall composition.
Q: Can I use colored ink to create contrast?
A: Absolutely! Colored ink can add another layer of contrast. You can use darker colors for emphasis and lighter shades for background elements, enhancing the overall depth of your drawing.
Q: Is it necessary to use different tools for varying line quality?
A: While it's not strictly necessary, using different tools—like brush pens, fine liners, or markers—can help you achieve a wider range of line qualities, making your artwork more dynamic and interesting.
Expressive Line Techniques
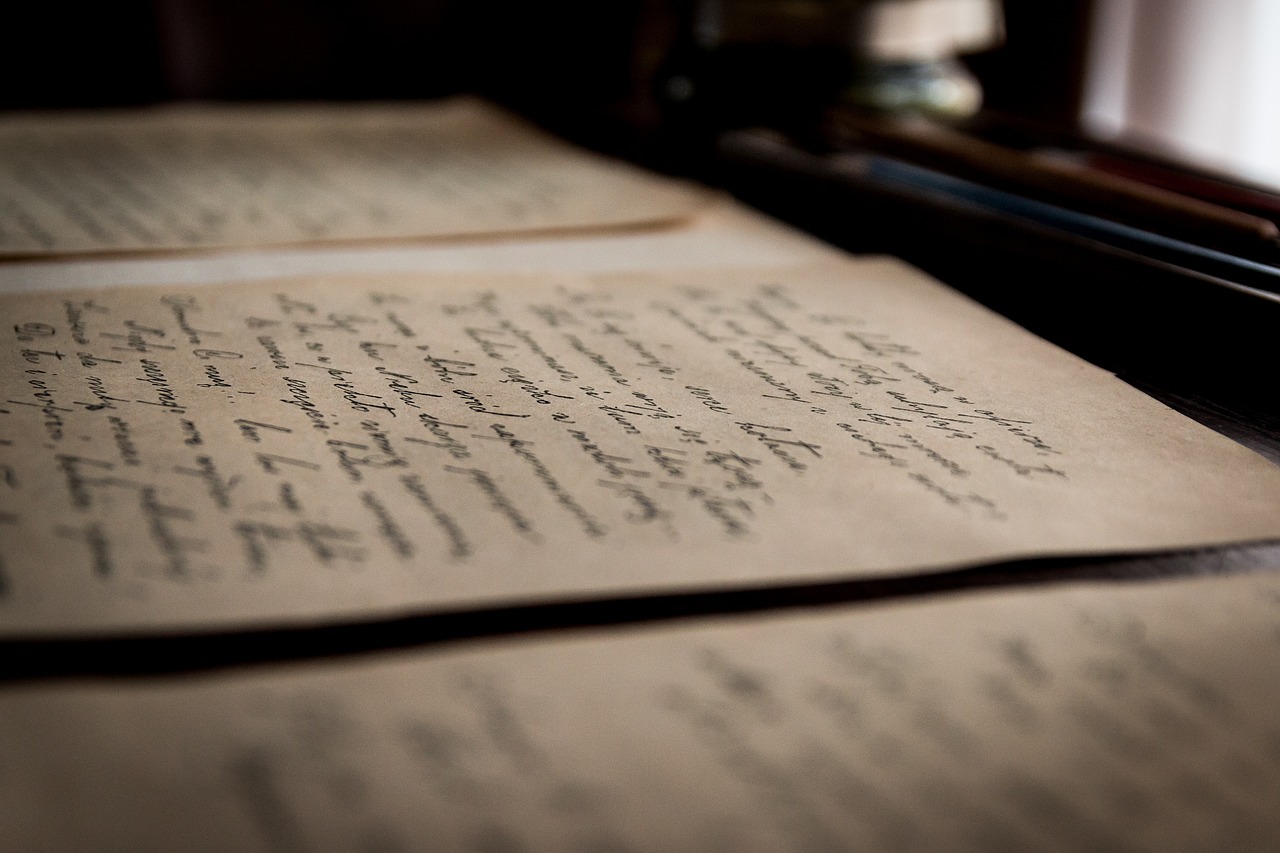
When it comes to ink drawing, can truly transform your artwork from ordinary to extraordinary. Think of lines as the voice of your drawing; they can whisper, shout, or even sing, depending on how you wield them. By mastering various line techniques, you can convey emotions, movement, and even the very essence of your subject matter. So, how do you create lines that resonate with your audience?
One effective method to enhance expressiveness is to vary your pressure while drawing. Applying different amounts of pressure can result in a range of line qualities, from delicate whispers to bold statements. For instance, when you press lightly, the line becomes thin and airy, evoking a sense of fragility. Conversely, pressing harder produces a thick, assertive line that can convey strength or urgency. This dynamic interplay of pressure not only adds depth but also breathes life into your artwork.
Another technique involves using line direction to guide the viewer’s eye. Lines that curve and swirl can create a sense of movement, while straight, angular lines might suggest stability or tension. Imagine drawing a flowing river; the gentle curves of the water can be represented with soft, flowing lines, while the jagged rocks might be depicted with sharp, angular strokes. By consciously choosing the direction of your lines, you can lead your audience's gaze through the narrative of your drawing.
Moreover, incorporating gestural lines can add an element of spontaneity and energy to your work. These lines are often quick and expressive, capturing the essence of a moment rather than focusing on precise details. Think of them as the rough sketches of your imagination, allowing you to express feelings and movements that might otherwise be lost in meticulous detail. For example, when drawing a dancer, a few swift, gestural lines can convey the grace and fluidity of their movements far better than a perfectly rendered figure.
Additionally, don’t shy away from experimenting with line overlap. Layering lines can create depth and complexity in your drawings. Imagine a dense forest; overlapping lines can mimic the intricate patterns of branches and foliage, giving your work a rich texture. This technique can also evoke a sense of chaos or harmony, depending on how you choose to apply it. Play around with different colors and opacities to see how they interact; you might be surprised by the results!
Incorporating these expressive line techniques into your ink drawings can significantly elevate your work. Remember, every line you draw tells a story, so make sure it’s one worth telling. As you practice these methods, you’ll find your unique style emerging, allowing your personality to shine through in every piece.
- What are the best tools for creating expressive lines?
While any ink tool can work, brush pens and flexible nib pens are often favored for their ability to create varied line thicknesses. Experiment with different tools to find what feels best for you.
- How can I improve my line quality?
Practice is key! Focus on controlling your hand movements and pressure. Try drawing lines in different directions and with varying speeds to see how it affects the outcome.
- Can I combine different techniques?
Absolutely! Combining techniques like gestural lines with cross-hatching can create a unique and dynamic effect in your drawings.
Ink Wash Techniques
Ink wash techniques are a fantastic way to add depth and richness to your artwork, transforming simple ink drawings into captivating pieces that can evoke emotion and intrigue. If you're new to ink washes, think of it as painting with ink, where the consistency of the ink and the amount of water you use can dramatically change the outcome. It’s like creating a symphony of shades and textures on paper, allowing you to express your artistic vision in ways that solid lines alone cannot.
To get started with ink wash techniques, you’ll need a few essential tools. First, a good quality ink is crucial; consider using India ink for its deep black color and excellent flow. Next, you'll need brushes—soft brushes work best for washes, as they hold more water and allow for smoother application. Finally, the choice of paper matters significantly. Watercolor paper is ideal because it can handle the moisture without warping, while regular drawing paper may buckle under the weight of the wash.
Once you have your materials ready, you can explore various methods to achieve stunning ink washes. One popular technique is the wet-on-dry method, where you apply wet ink to dry paper. This technique allows for sharper edges and more defined shapes, making it perfect for creating dramatic contrasts. On the other hand, the wet-on-wet approach involves applying wet ink to wet paper, which creates softer edges and beautiful gradients. This method is excellent for backgrounds or when you want to create a more fluid, dreamy effect.
Another technique worth exploring is the layering method. Start with a light wash and gradually build up to darker tones. This approach not only adds depth but also allows you to correct mistakes as you go. You can create a sense of atmosphere or mood by varying the intensity of your washes. For instance, a light wash can evoke a feeling of calm, while a dark, intense wash can convey drama and tension.
Don't forget about the use of texture in your ink washes! By sprinkling salt onto wet ink, you can create fascinating textures that add interest to your artwork. The salt absorbs the moisture and leaves behind unique patterns—think of it as nature’s way of adding a sprinkle of magic to your piece. You can also experiment with sponges or cloth to dab or blot areas of your wash, creating a variety of effects that can make your artwork stand out.
In summary, mastering ink wash techniques can significantly elevate your ink drawings. By understanding the impact of materials, exploring different methods, and incorporating texture, you can create artwork that is not only visually stunning but also rich with emotion and depth. So grab your ink, brushes, and paper, and let your creativity flow like never before!
- What type of ink is best for washes? India ink is highly recommended for its rich color and smooth application.
- Can I use regular paper for ink washes? While you can, watercolor paper is preferred as it can handle more moisture without warping.
- How do I achieve different shades with ink wash? By varying the amount of water mixed with your ink, you can create a range of shades from light to dark.
- What is the difference between wet-on-wet and wet-on-dry techniques? Wet-on-wet involves applying ink to wet paper for softer edges, while wet-on-dry is applied to dry paper for sharper lines.
Shading and Texturing
Mastering shading and texturing techniques can significantly enhance your ink drawings, transforming them from simple sketches into captivating works of art. When you think about it, shading is like adding a sprinkle of magic to your artwork; it brings your drawings to life, creating depth and dimension that can mesmerize the viewer. Whether you're aiming for a soft, delicate look or a bold, dramatic effect, understanding how to manipulate ink can make all the difference.
One of the most fundamental aspects of shading is the ability to create a sense of volume. Imagine drawing a simple sphere. Without shading, it appears flat and lifeless. However, with the right techniques, you can make that sphere look as if it’s glowing with light and casting shadows. This is where the magic of shading comes in. By varying the pressure on your pen or brush, you can create gradients that mimic how light interacts with surfaces.
There are several techniques to explore when it comes to shading and texturing in ink drawings. For instance, cross-hatching is a classic method that involves layering lines in different directions to build up tone and texture. This technique allows for a wide range of effects, from soft shadows to intricate patterns. On the other hand, stippling—the process of creating texture through dots—offers a unique way to achieve depth and detail. Each dot you place can contribute to the overall feel of the piece, making it both visually interesting and rich in texture.
To give you a clearer idea of how these techniques can be applied, let’s take a look at a simple comparison of shading methods:
| Technique | Description | Effect |
|---|---|---|
| Cross-Hatching | Layering intersecting lines to create depth. | Varied textures and tones, suitable for dramatic effects. |
| Stippling | Using dots to create shading and texture. | Soft gradients and intricate details, ideal for delicate works. |
| Ink Wash | Diluting ink with water for soft gradients. | Fluid transitions and atmospheric effects. |
When you incorporate these techniques into your work, don’t shy away from experimenting. Each artist has a unique style, and finding what works best for you can be a thrilling journey of discovery. You might start with a simple object and apply different shading techniques to see how each one changes the perception of your drawing. This experimentation is not just beneficial; it’s essential for growth as an artist.
As you practice, remember that shading isn't just about darkness and light; it's also about emotion. The way you choose to shade an area can convey feelings—soft, gentle strokes can evoke calmness, while sharp, jagged lines can create tension. Think of your ink drawings as a conversation with your audience; the lines and shades you use are your words.
In conclusion, mastering shading and texturing techniques is a powerful way to elevate your ink drawings. By understanding and applying these methods, you can add richness and depth to your artwork, inviting viewers into the world you’ve created. So grab your pens, experiment with different techniques, and let your creativity flow!
- What is the best paper for ink drawing? - Use smooth, heavyweight paper designed for ink to prevent bleeding and ensure clean lines.
- Can I use colored ink for shading? - Absolutely! Colored inks can add vibrancy and mood to your shading techniques.
- How do I avoid smudging my ink drawings? - Allow your ink to dry completely before handling your artwork, and consider using fixatives for added protection.
Cross-Hatching Techniques
When it comes to ink drawing, mastering cross-hatching techniques can truly transform your artwork. This method involves creating a series of parallel lines that intersect to build up texture and shading. Think of it as weaving a tapestry with ink; each stroke adds depth and richness, turning a flat image into a vibrant piece of art. The beauty of cross-hatching lies in its versatility; you can use it to create anything from soft shadows to bold contrasts, all depending on how you apply it.
To get started, you'll want to experiment with different angles and spacing of your lines. For instance, by varying the distance between your lines, you can control the intensity of the shadow. Closer lines create darker areas, while wider spacing results in lighter tones. It's like adjusting the volume on your favorite song—tighten the lines for a heavier beat, or loosen them for a softer melody. Don't be afraid to play around with different pen types as well; a fine pen can yield delicate lines, while a thicker one can produce bolder strokes.
One of the most effective techniques is to use layering. Start with a light base layer of lines, then gradually add more layers, crossing over existing lines at different angles. This creates a rich texture that can add incredible depth to your drawings. Imagine building a house; you wouldn’t just slap on one layer of paint and call it a day. You’d want to add multiple coats to achieve the perfect finish, and cross-hatching works the same way!
Here’s a quick overview of some popular cross-hatching styles:
| Technique | Description |
|---|---|
| Basic Cross-Hatching | Simple parallel lines crossing at an angle to create shading. |
| Curved Cross-Hatching | Lines that follow the contours of the subject, adding a sense of volume. |
| Random Cross-Hatching | Lines placed in an unpredictable manner for a more abstract effect. |
As you practice, remember that the key to effective cross-hatching is control and consistency. Your hand should be steady, and your lines should have a purpose. Don't just scribble aimlessly; each stroke should contribute to the overall composition. Consider the light source in your artwork as well. Shadows will naturally fall in certain areas, so use cross-hatching to emphasize these regions and make your drawings pop.
Lastly, embrace the imperfections. Sometimes, the most striking artworks come from the unexpected. If a line goes awry, rather than erasing it, see how it can add character to your piece. After all, art is not about perfection; it's about expression. So grab your pen, start hatching, and let your creativity flow!
- What is the best pen for cross-hatching? Many artists prefer fine-liner pens for precision, while brush pens can offer a more expressive line.
- How do I create smooth gradients with cross-hatching? Layer your lines gradually, starting with lighter strokes and building up to darker ones.
- Can I use cross-hatching in digital art? Absolutely! Many digital drawing programs offer tools that mimic traditional cross-hatching techniques.
Stippling for Texture
Stippling is one of those magical techniques that can transform a simple ink drawing into a mesmerizing piece of art. Imagine creating depth and dimension using nothing but tiny dots! This method relies on the density and arrangement of dots to create varying shades and textures, allowing artists to convey a rich tapestry of detail in their work. Whether you're depicting a soft shadow or the intricate surface of an object, stippling can be your best friend.
To get started with stippling, you’ll need a few essential tools. A fine-tipped pen or a brush with a pointed nib is ideal for creating those delicate dots. The key here is patience; stippling requires a steady hand and a keen eye for detail. As you begin, think about the areas in your drawing where you want to create texture. For instance, if you’re illustrating a furry animal, you might use more densely packed dots in the shadowed areas to suggest depth and softness, while leaving the highlights lighter with sparser dots.
One of the fascinating aspects of stippling is how you can manipulate the spacing and size of your dots to achieve different effects. For instance, closely spaced dots will create darker areas, while dots that are further apart will yield lighter tones. This technique can also be combined with other methods like cross-hatching to add even more complexity to your work. Imagine a landscape where the sky is stippled to create a soft gradient, transitioning smoothly to a cross-hatched foreground. The interplay of techniques can lead to stunning visual results.
Here’s a quick summary of the key considerations when using stippling:
- Dot Density: The closer the dots, the darker the area will appear.
- Dot Size: Varying the size of your dots can create interesting textures.
- Layering: Build layers of stippling to gradually develop depth in your drawing.
As you practice, don’t be afraid to experiment! Try different pen types, paper textures, and even color inks to see how they affect your stippling. The beauty of this technique lies in its versatility; you can create anything from soft gradients to bold, graphic textures. So, grab your pen, put on some music, and let your creativity flow. Remember, every dot counts, and with each one, you're building a unique piece of art that reflects your personal style.
Q: What type of pen is best for stippling?
A: A fine-tipped pen or a brush with a pointed nib works best for stippling, as it allows for precision in creating dots.
Q: How do I know when to use stippling versus other shading techniques?
A: Use stippling when you want to create texture and depth, especially in areas that require a softer touch. It pairs well with other techniques like cross-hatching for added complexity.
Q: Can I combine stippling with color?
A: Absolutely! Stippling can be done with colored inks, which can add a whole new dimension to your artwork. Experiment with different colors to see how they interact with your stippling.
Frequently Asked Questions
- What are the best tools for ink drawing?
Choosing the right tools is essential for achieving the effects you desire in your ink drawings. Popular choices include fine-liners, brush pens, and traditional dip pens. Each tool offers unique qualities, so experimenting with different types can help you find what suits your style best.
- How can I improve my line quality?
Improving line quality involves practicing control over your strokes. Consider varying your line thickness by applying different pressures on your pen or brush. This technique adds depth and emotion to your artwork, making it more engaging.
- What is the difference between cross-hatching and stippling?
Cross-hatching involves creating layers of parallel lines to build texture and shading, while stippling uses dots to achieve similar effects. Both techniques can add depth to your drawings, but they each have their own unique visual impact.
- Can I use ink wash techniques with any type of ink?
Not all inks are suitable for wash techniques. Water-based inks are generally preferred because they can be diluted with water to create soft gradients. Experimenting with different inks can help you discover which ones work best for your desired effects.
- How do I create contrast in my ink drawings?
Creating contrast can be achieved by varying line weight, using different shading techniques, or incorporating negative space. It helps to draw the viewer's eye to specific areas of your artwork, enhancing overall composition.
- Is it necessary to use expensive materials for ink drawing?
While high-quality materials can enhance your work, it's not necessary to spend a fortune. Many affordable tools can produce excellent results. Focus on mastering techniques first; you can always upgrade your materials later as you progress.
- How can I make my lines more expressive?
To create more expressive lines, vary your pressure and speed while drawing. Quick, light strokes can evoke movement, while slower, heavier strokes can convey strength. Practice these techniques to find your unique voice in ink drawing.


