How to Master the Art of Cloud Painting
Have you ever gazed up at the sky and been mesmerized by the fluffy, ever-changing formations of clouds? The beauty of cloud painting lies in its ability to capture these fleeting moments, turning them into stunning works of art. Whether you're a seasoned artist or just starting out, mastering the art of cloud painting can be a rewarding journey. In this article, we’ll explore various techniques, tools, and tips that will help you bring the essence of the sky onto your canvas. By understanding the intricacies of cloud types, essential materials, and advanced techniques, you'll be well on your way to creating breathtaking cloudscapes that evoke emotion and wonder.
Before you even dip your brush into paint, it's crucial to understand the different types of clouds and their unique characteristics. Clouds are categorized into various formations, each with distinct shapes and textures that can influence the colors and moods of your paintings. For instance, Cumulus clouds are those fluffy, white puffs that often resemble cotton candy, while Stratus clouds present a more uniform and gray appearance, often signaling overcast weather. Knowing these differences can help you choose the right colors and techniques to accurately depict them in your artwork.
Here’s a quick overview of some common cloud types:
| Cloud Type | Characteristics | Typical Colors |
|---|---|---|
| Cumulus | Fluffy, white, and often isolated | White, light blue |
| Stratus | Gray, uniform layer covering the sky | Gray, muted blues |
| Cumulonimbus | Towering clouds, often associated with thunderstorms | Dark gray, white highlights |
| Cirrus | Thin, wispy clouds high in the atmosphere | White, pale blue |
Now that you have a grasp on cloud types, let’s talk about the essential tools and materials you'll need to create your masterpieces. Choosing the right supplies is crucial for achieving stunning results. You’ll want to invest in high-quality paints, brushes, and canvases. Here’s a quick breakdown of what you should consider:
- Brushes: A variety of brushes, including flat, round, and fan brushes, will allow you to create different textures.
- Paints: Acrylics or oils are popular choices for cloud painting due to their blendability and vibrant colors.
- Canvas: A good quality canvas or watercolor paper will provide the right surface for your artwork.
Brush techniques play a vital role in cloud painting. The way you hold your brush and the strokes you use can dramatically affect the outcome of your clouds. For example, using a soft, circular motion can help create the illusion of fluffy clouds, while a stippling technique can add texture. Experimenting with different brush strokes will allow you to discover your own unique style.
One technique that can add a wonderful texture to your clouds is dry brushing. This method involves using a dry brush with minimal paint to lightly graze the surface of the canvas. The result is a soft, feathery effect that mimics the delicate nature of clouds. To effectively use this technique, try to keep your brush strokes light and airy, allowing the canvas to show through in some areas.
Blending is key to achieving realistic clouds. The smooth transitions between colors can make your clouds look more lifelike. You can use a clean, damp brush to gently blend the edges of your colors, creating a seamless look. Remember, the goal is to avoid harsh lines; instead, aim for soft gradients that evoke the natural beauty of the sky.
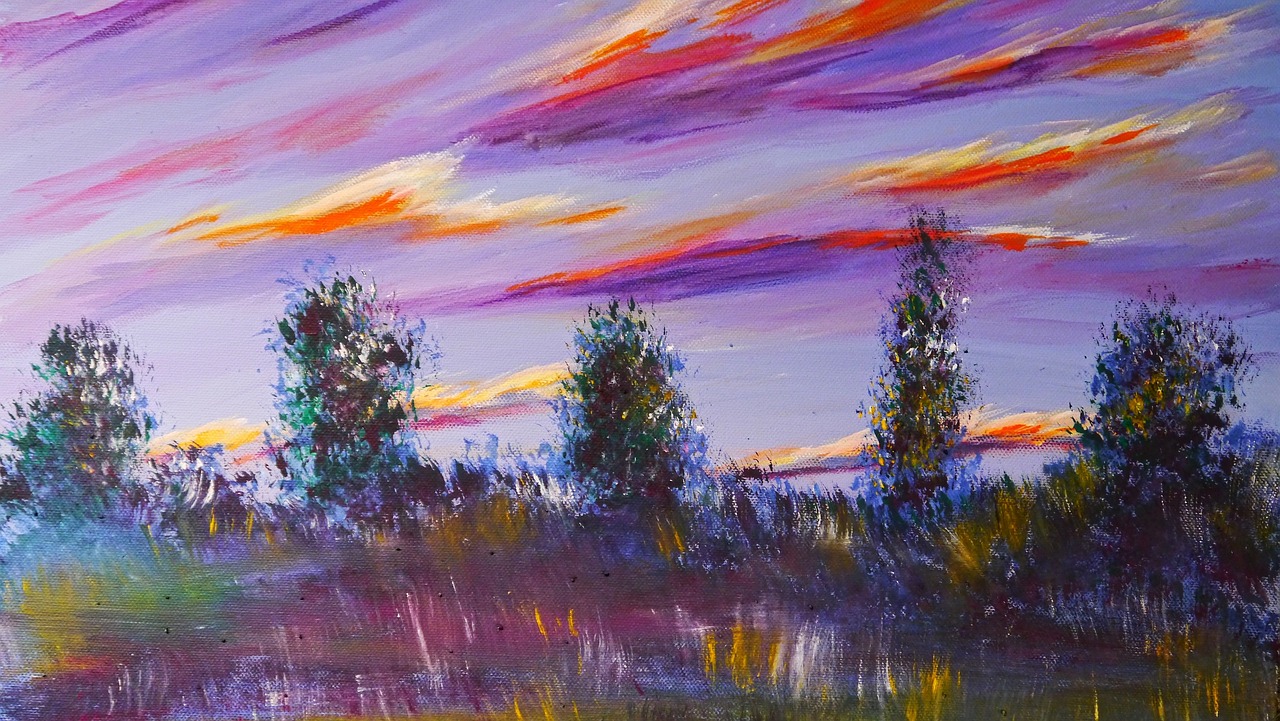
Understanding color theory is essential for capturing the right hues in cloud painting. The colors you choose can convey different times of day and weather conditions. For instance, warm oranges and pinks can represent a stunning sunset, while cool blues and grays can evoke a stormy sky. Mixing colors effectively will allow you to create a more dynamic and engaging cloud scene.
Adding depth and dimension to your clouds can elevate your painting from ordinary to extraordinary. By layering and shading, you can create a three-dimensional effect that draws the viewer in. Think of your clouds as a landscape; they have peaks and valleys that can be accentuated with careful layering techniques.
Layering is fundamental in cloud painting. Start with a base layer of color, then gradually build up additional layers to create depth. This method not only adds interest but also allows for the play of light and shadow, making your clouds appear more realistic. Don’t be afraid to experiment with different opacity levels to achieve the desired effect.
Shading is critical for adding realism to your clouds. By using light and shadow effectively, you can enhance the overall appearance of your cloud paintings. Consider where the light source is coming from and apply darker shades to the areas that would naturally be in shadow. This contrast will give your clouds a more sculptural quality, making them pop off the canvas.
Q: What type of paint is best for cloud painting?
A: Acrylics and oils are both excellent choices, as they offer great blendability and vibrant colors.
Q: Can I use watercolor for cloud painting?
A: Absolutely! Watercolors can create soft, ethereal effects that are perfect for capturing the delicacy of clouds.
Q: How do I create realistic cloud colors?
A: Study the colors of clouds in nature and practice mixing your paints to replicate those hues.
Understanding Cloud Types
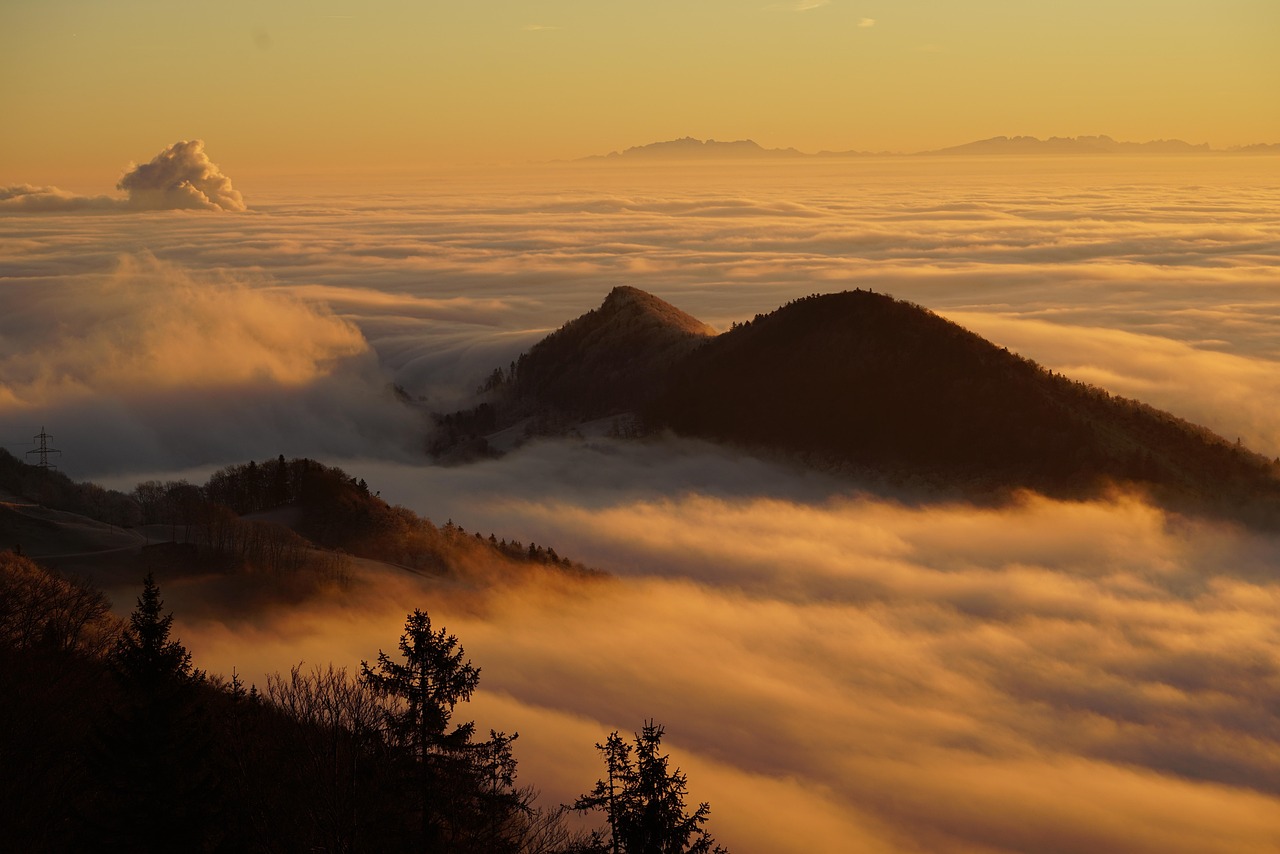
When it comes to cloud painting, understanding the different types of clouds is essential. Each cloud formation tells a unique story and has its own characteristics that can dramatically influence the colors and textures in your artwork. For instance, the fluffy, white cumulus clouds often evoke feelings of a sunny day, while the dark and ominous nimbus clouds can bring a sense of drama and foreboding. Knowing these distinctions can help you capture the essence of the sky in your paintings.
Let’s dive into the major types of clouds you might encounter:
- Cumulus: These are the classic "fluffy" clouds that resemble cotton balls. They are usually white with a flat base and can indicate fair weather.
- Stratus: These clouds form in uniform layers, often covering the entire sky like a blanket. They can create a muted color palette, perfect for soft, overcast scenes.
- Nimbus: Characterized by their dark, thick appearance, nimbus clouds are associated with rain and storms. Their depth can add dramatic contrast to your paintings.
- Cirrus: Thin and wispy, cirrus clouds often appear high in the sky. They can add a delicate touch to your artwork, especially during sunset when they catch the light.
Understanding these cloud types not only enhances your painting skills but also allows you to convey different emotions and atmospheres in your artwork. For example, if you want to depict a serene summer day, focusing on cumulus clouds with bright blues and whites can create that peaceful feeling. On the other hand, if you're aiming for a moody, dramatic scene, incorporating dark nimbus clouds with deep grays and blues can set the perfect tone.
Moreover, the way clouds interact with light is crucial. The colors you choose can change dramatically based on the time of day or weather conditions. For instance, clouds at sunrise or sunset can exhibit vibrant hues of orange, pink, and purple, while midday clouds might appear more washed out. Understanding this interplay can elevate your cloud paintings from simple representations to captivating, emotional landscapes.
In summary, the key to mastering cloud painting lies in recognizing the various types of clouds and their characteristics. By incorporating this knowledge into your work, you can create stunning skies that not only enhance your paintings but also resonate with your audience on a deeper level.
Essential Tools and Materials
When it comes to cloud painting, having the right tools and materials can make a world of difference. Just like a chef needs quality ingredients to whip up a delicious dish, an artist requires specific supplies to bring their vision to life. So, what exactly do you need to get started on your cloud painting journey? Let’s dive into the essentials!
First and foremost, your choice of paints is crucial. Acrylics are a popular choice among many artists due to their versatility and quick drying time, allowing for easy layering. However, if you prefer a more traditional approach, oil paints offer a rich texture and vibrant colors that can truly capture the essence of clouds. Watercolors can also be used for a softer, more ethereal look, perfect for capturing those delicate wisps of cloud. No matter what medium you choose, make sure to invest in high-quality paints that will give you the best results.
Next up, let’s talk about brushes. The right brushes can help you achieve a variety of effects in your cloud paintings. You’ll want to have a selection that includes:
- Fan brushes for creating soft edges and textures.
- Round brushes for detailed work and blending.
- Flat brushes for broader strokes and backgrounds.
Having a variety of brush shapes and sizes will allow you to experiment and find what works best for your style. Don’t forget to keep your brushes clean to maintain their effectiveness!
Another essential is your canvas. Whether you choose a stretched canvas, canvas board, or even watercolor paper, the surface you paint on can impact the final outcome. For acrylics and oils, a primed canvas will provide a smooth surface for your clouds to shine. Watercolor paper, on the other hand, is ideal for those who wish to create a more fluid, dreamy effect. Choose the size that suits your artistic vision, but remember that larger canvases can provide a more dramatic backdrop for your cloud creations.
Additionally, consider having a palette for mixing your colors. A simple plastic or wooden palette will work, but you might also want to explore disposable palettes for easy cleanup. Mixing colors is a vital part of cloud painting, as the hues can change dramatically depending on the time of day and weather conditions. Having a dedicated space to blend your colors will make the process smoother and more enjoyable.
Lastly, don’t overlook the importance of mediums. These can enhance your painting experience, especially when working with oil paints. A medium like linseed oil can help you achieve a smoother application and longer drying times, allowing for better blending. For acrylics, a glazing medium can add transparency and depth to your clouds. Experimenting with different mediums can open up a whole new world of possibilities in your cloud painting endeavors.
To sum it all up, here’s a quick reference table of essential tools and materials you’ll need for cloud painting:
| Tool/Material | Description |
|---|---|
| Paints | Acrylic, oil, or watercolor paints for different effects. |
| Brushes | Fan, round, and flat brushes for various techniques. |
| Canvas | Primed canvas or watercolor paper for your painting surface. |
| Palette | For mixing colors and preparing your paints. |
| Mediums | Enhancers like linseed oil or glazing medium for better results. |
With these essential tools and materials at your disposal, you're well on your way to mastering the art of cloud painting. Remember, practice makes perfect, so don’t be afraid to experiment and find what works best for you!
Brush Techniques
When it comes to cloud painting, mastering the right can make all the difference in achieving that dreamy, ethereal look that captivates viewers. Think of your brush as a magic wand; with it, you can conjure up the soft, fluffy clouds that float across the sky. The key is to understand the different brush strokes and methods that can help you create the illusion of depth and texture in your artwork.
One of the most effective techniques for painting clouds is the stippling technique. This method involves using the tip of your brush to create small dots or dabs of color. By layering these dots, you can build up the texture of the clouds, making them appear more three-dimensional. Imagine how a painter uses tiny brush strokes to create the illusion of light filtering through the clouds—this technique can be your secret weapon!
Another essential technique is the feathering technique. This is where you gently drag your brush across the canvas to create soft edges. By using a clean, dry brush, you can blend the colors seamlessly, giving your clouds a soft, airy feel. It’s like using a whisper to communicate the delicate nature of the sky—subtle yet powerful.
Additionally, don't underestimate the power of dry brushing. This technique involves using a brush that has very little paint on it to create a textured, wispy effect. By lightly dragging the brush over the surface, you can mimic the look of cirrus clouds, which are thin and wispy. It’s similar to how a gentle breeze can shift the clouds in the sky, creating a dynamic and ever-changing scene.
To effectively utilize these techniques, consider the following tips:
- Experiment with different brush sizes: Larger brushes can cover more area quickly, while smaller brushes allow for intricate details.
- Practice your strokes: Before diving into your painting, practice the various strokes on a scrap piece of canvas or paper.
- Layer your colors: Start with a base layer and gradually build up lighter colors for highlights to achieve depth.
Ultimately, the magic of cloud painting lies in the interaction of light and color. By mastering these brush techniques, you’ll be well on your way to capturing the essence of the sky and creating breathtaking cloudscapes that evoke emotion and wonder. So grab your brushes, and let your imagination take flight as you paint the skies!
Q: What type of brushes should I use for cloud painting?
A: It's best to use a variety of brushes, including flat, round, and fan brushes. Each will give you different effects for creating clouds.
Q: How do I choose the right colors for clouds?
A: Observe the sky at different times of day and note the colors. Mixing whites, grays, and subtle blues will help you achieve realistic cloud tones.
Q: Can I use acrylics for cloud painting?
A: Absolutely! Acrylics are versatile and dry quickly, making them a great choice for cloud painting.
Dry Brushing
Dry brushing is an incredibly effective technique that can add a unique texture to your cloud paintings, transforming them from ordinary to extraordinary. Imagine the soft, wispy clouds drifting across a summer sky; that’s the kind of effect dry brushing can help you achieve. The technique involves using a brush that is relatively dry, meaning it has very little paint on it. This approach allows you to create soft, feathery edges that mimic the natural appearance of clouds.
To get started with dry brushing, you'll want to choose the right brush. A flat or filbert brush works best for this technique because it allows for more control and precision. Begin by loading your brush with a small amount of paint—less is more here! You want to lightly drag the brush across the canvas, using quick, gentle strokes. This will help you build a soft, airy texture that resembles the delicate nature of clouds.
As you practice, you'll discover the beauty of layering with dry brushing. By applying multiple thin layers of paint, you can gradually build up the cloud's form and depth. Start with a base layer of a lighter color, and then add darker shades to create shadows and highlights. This layering technique not only adds dimension but also brings your clouds to life. Remember, the key is to keep your brush dry and your strokes light.
Another important aspect of dry brushing is the choice of colors. When painting clouds, consider the time of day and the weather conditions you want to depict. For example, a bright blue sky with white fluffy clouds might require a different color palette compared to a dramatic sunset filled with oranges and purples. Experimenting with color combinations will help you find the perfect mix to capture the essence of the sky.
In summary, dry brushing is a valuable technique for any artist looking to enhance their cloud paintings. With practice, you’ll be able to create stunning cloudscapes that evoke emotion and capture the viewer's attention. So grab your brushes, and let your imagination take flight as you explore the endless possibilities of dry brushing!
- What type of paint should I use for dry brushing? Acrylic paints are often recommended for dry brushing due to their quick drying time and vibrant colors.
- Can I use dry brushing on other subjects besides clouds? Absolutely! Dry brushing can enhance textures in landscapes, portraits, and even abstract art.
- How do I clean my brush after dry brushing? Clean your brush thoroughly with water and soap, and make sure to reshape the bristles before storing it.

Blending Techniques
Blending is a crucial aspect of cloud painting that can transform a simple canvas into a breathtaking sky filled with life and movement. It's all about creating those seamless transitions between colors that mimic the soft, airy nature of clouds. Imagine standing outside on a warm day, looking up at the sky, and noticing how the colors shift and swirl together. That's the effect you want to achieve with your brushwork!
One of the most effective blending techniques is the wet-on-wet method. This involves applying wet paint onto wet paint, allowing the colors to mix directly on the canvas. It’s like a dance between colors, where they glide and merge effortlessly. To master this technique, start with a base layer of paint, then add your secondary colors while everything is still wet. This will create beautiful gradients and soft edges, reminiscent of real clouds.
Another method to consider is the dry brush technique. While it may sound counterintuitive, using a dry brush can actually help you achieve a fluffy, textured look. By lightly dragging a brush with minimal paint across the surface, you can create a soft haze that mimics the wispy nature of cirrus clouds. This technique is particularly effective for adding highlights and texture to your cloud formations.
For those looking to add a bit more control to their blending, using a blending stump can be a game-changer. These tools, often used in drawing, can help you smudge and soften edges on your canvas. Just remember to use them gently; too much pressure can lead to muddy colors. Think of it as a gentle caress to your painting, smoothing out transitions without losing the vibrancy of your hues.
As you experiment with these techniques, keep in mind the importance of color harmony. Blending isn’t just about mixing colors; it’s about creating a cohesive atmosphere. Consider the time of day or weather conditions you want to portray. For example, a sunset will require warm oranges and pinks, while a stormy sky might lean towards grays and blues. Here’s a quick reference table to help you choose your color palette:
| Time of Day | Typical Colors | Cloud Types |
|---|---|---|
| Morning | Soft pinks, light blues, pale yellows | Cumulus, Cirrus |
| Noon | Bright whites, deep blues | Cumulonimbus |
| Evening | Rich oranges, purples, deep reds | Stratus, Cirrostratus |
| Stormy | Dark grays, blues, blacks | Nimbostratus, Cumulonimbus |
Finally, don’t forget to step back and evaluate your work from a distance. Sometimes, blending can look different up close than it does from afar. Take a moment to appreciate the overall effect and make adjustments as necessary. Remember, blending is an art form in itself, and with practice, you’ll find your own unique style that captures the essence of the skies.
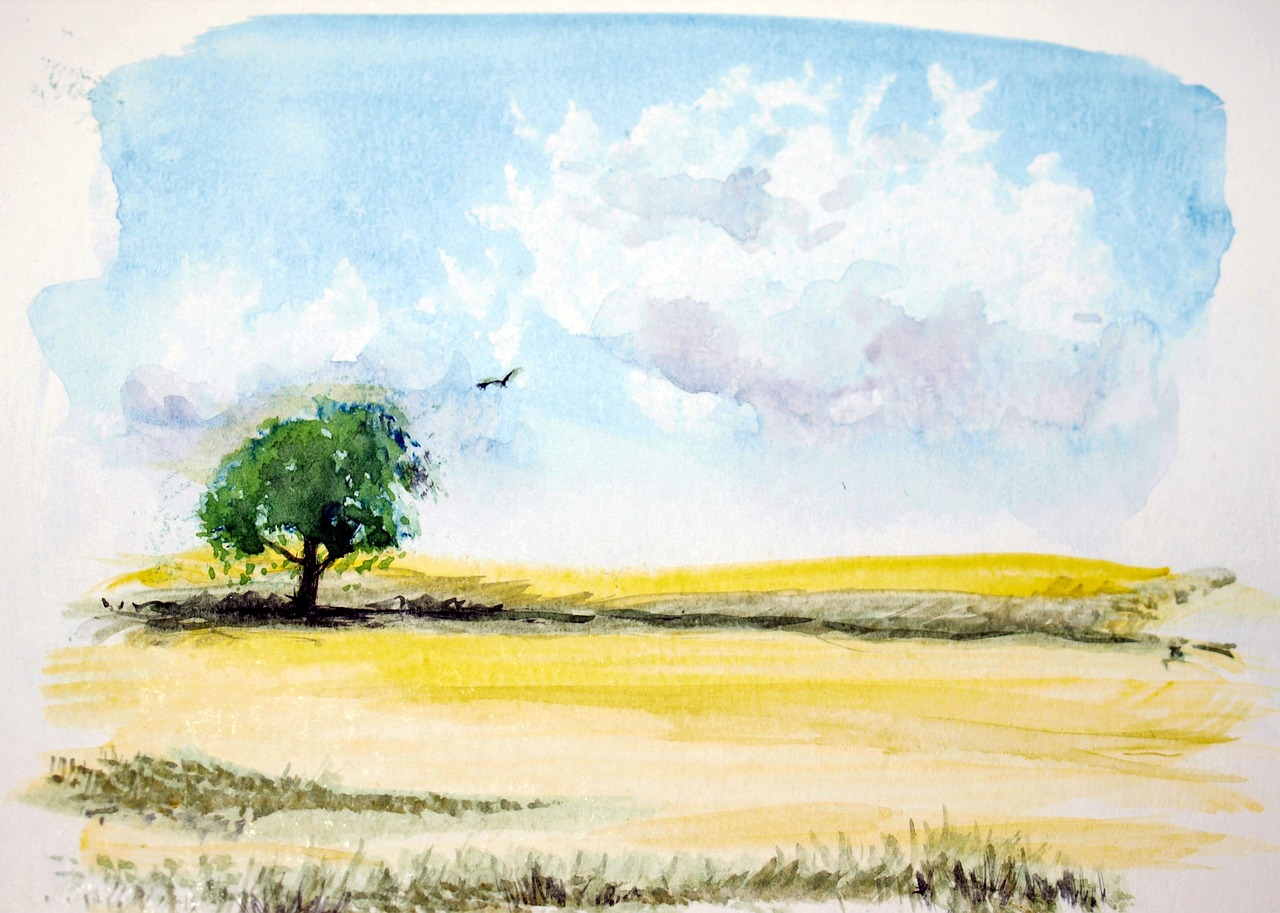
Color Theory in Cloud Painting
When it comes to cloud painting, understanding color theory is absolutely essential. Why, you ask? Well, the colors you choose can dramatically influence the mood and atmosphere of your artwork. Think of the sky at dawn, with its soft pinks and oranges, versus a stormy afternoon filled with dark grays and blues. Each hue tells a story, and as an artist, it's your job to convey that narrative through your brushstrokes.
To get started, it's important to recognize the color wheel and how colors interact with one another. Complementary colors, for instance, can create a vibrant contrast that makes your clouds pop, while analogous colors will provide a more harmonious and soothing effect. Imagine painting a sunset; using warm colors like yellows, oranges, and reds adjacent to cooler shades like purples and blues can create a stunning visual experience.
Here’s a quick breakdown of how different times of day can influence your color palette:
| Time of Day | Typical Colors | Mood |
|---|---|---|
| Dawn | Soft pinks, light oranges, pale blues | Peaceful, hopeful |
| Noon | Bright whites, clear blues, vibrant yellows | Energetic, lively |
| Dusk | Deep oranges, purples, soft blues | Calm, reflective |
| Stormy | Dark grays, blacks, muted blues | Intense, dramatic |
Now, let's talk about mixing colors. A common mistake many artists make is overmixing their paints, which can lead to muddy colors. Instead, try to keep your mixes simple and vibrant. For instance, when creating a soft white cloud, consider mixing a touch of blue or gray into your white to give it depth without losing that fluffy appearance. This technique can add realism to your clouds, making them feel alive and dynamic.
As you experiment with different color combinations, don't forget to consider the lighting conditions. The way light interacts with clouds can dramatically change their appearance. For example, clouds illuminated by the sun may appear warm and golden, while those in shadow could take on cooler, darker tones. By observing real clouds and the colors they exhibit at various times of day, you can develop a more intuitive understanding of how to mix and apply colors in your own paintings.
Lastly, don't shy away from using your imagination! While it's crucial to study and understand the natural world, sometimes the most striking paintings come from the heart. Feel free to exaggerate colors or play with unusual combinations to evoke specific emotions or themes in your work. After all, art is about expression, and your unique perspective is what will set your cloud paintings apart.
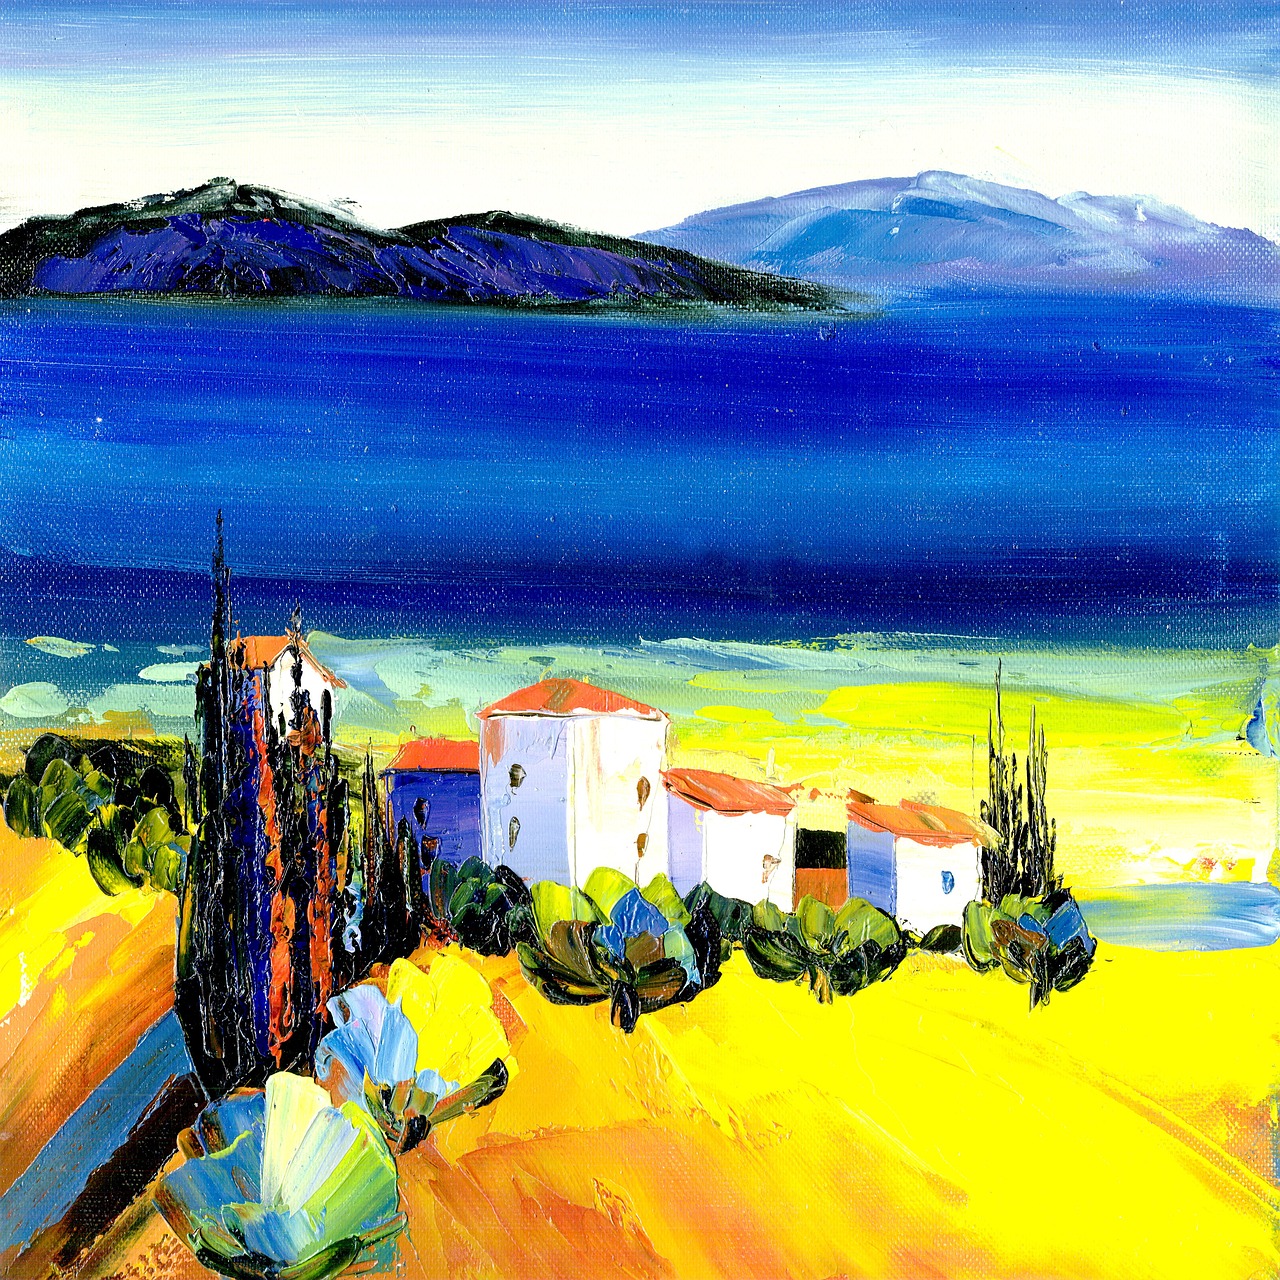
Creating Depth and Dimension
Adding depth and dimension to your cloud paintings can truly elevate your artwork, transforming flat images into breathtaking vistas that seem to leap off the canvas. Imagine standing before a vast sky, feeling the weight of the clouds above you; that’s the kind of experience you want to evoke in your viewers. To achieve this, you’ll need to master techniques that allow you to layer colors, manipulate light and shadow, and create a sense of volume in your clouds. It’s all about tricking the eye into perceiving depth where there is none.
One of the fundamental techniques in creating depth is layering. By applying multiple layers of paint, you can create a rich texture that mimics the natural complexity of clouds. Start with a base layer that captures the overall tone of the sky—this could be a soft blue or a warm sunset hue. Once that layer is dry, you can begin adding subsequent layers, each time using lighter or darker shades to build up the cloud formations. Think of it like sculpting; you’re adding mass and shape to your clouds with each stroke.
In addition to layering, shading plays a critical role in achieving realism. It’s not enough to just slap on some white paint and call it a cloud. You need to understand how light interacts with the atmosphere. For instance, when the sun sets, clouds can take on a fiery glow, while those in shadow may appear more muted and gray. By using a variety of colors—from whites and creams to deep blues and grays—you can create shadows that give your clouds a three-dimensional feel. Remember, the key is to observe how clouds behave in real life; they are rarely uniform in color and shape.
To help you visualize these techniques, consider the following table that outlines the basic steps for creating depth and dimension in your cloud paintings:
| Technique | Description |
|---|---|
| Layering | Apply multiple layers of paint to build texture and complexity. |
| Shading | Use varying colors to create light and shadow, enhancing the three-dimensional effect. |
| Blending | Seamlessly mix colors to create smooth transitions between light and shadow areas. |
Another essential aspect to consider is blending. This technique allows you to create smooth transitions between colors, which is vital for achieving that soft, fluffy look of clouds. You can use a variety of tools for blending, including brushes, sponges, or even your fingers. The key is to work quickly while the paint is still wet, allowing the colors to merge naturally. Don’t be afraid to experiment with different tools to see what works best for you; sometimes, the most unexpected methods yield the most stunning results.
Lastly, always remember to step back and assess your work from a distance. This perspective can help you see whether your clouds have the desired depth and dimension. Sometimes, what looks perfect up close can appear flat from afar. So, give your eyes a break, and take a few steps back to ensure that your clouds are not just pretty, but also possess the depth that makes them come alive.
- What colors should I use for cloud painting? Start with a basic palette of blues, whites, and grays, and add warmer tones like pinks and oranges for sunsets.
- How do I create realistic shadows in clouds? Use darker shades of your base color, and layer them strategically where the light hits least.
- Can I use acrylics for cloud painting? Absolutely! Acrylics are great for layering and drying quickly, making them ideal for cloud painting.
Layering Techniques
When it comes to cloud painting, mastering layering techniques can truly transform your artwork from flat to fantastic. Think of layering as building a cake; each layer adds depth, flavor, and richness to the final product. In cloud painting, each layer contributes to the overall texture and realism of the clouds, allowing you to create a dynamic sky that captivates the viewer's eye.
The first step in effective layering is to start with a solid base. Begin by applying a light wash of your base color, which often reflects the overall tone of the sky. For instance, if you're painting a sunny day, a pale blue wash will set the perfect foundation. Once this layer is dry, you can start adding the next layers with slightly darker or more vibrant colors to create contrast.
To achieve that fluffy, billowy effect of clouds, utilize a technique called glazing. This involves applying thin, transparent layers of paint over your base. Each glaze adds a new dimension to your clouds, allowing the colors beneath to subtly show through. Here’s a quick breakdown of how to effectively layer your clouds:
- Start Light: Always begin with lighter colors and gradually work your way to darker shades.
- Dry Between Layers: Allow each layer to dry completely before adding the next to avoid muddying your colors.
- Build Gradually: Layer your colors gradually, adding more depth and dimension as you go.
Another essential aspect of layering is the application technique. Use a variety of brushes to create different effects. A fan brush can help you create soft, wispy edges, while a round brush can be used for more defined shapes. Experimenting with different brushes will allow you to discover unique textures and styles that enhance your cloud formations.
Don't forget to consider the lighting when layering your clouds. The direction of light can dramatically change the appearance of your clouds. For example, clouds illuminated by sunlight will have bright highlights and softer shadows, while clouds in shadow will appear more muted and darker. By layering your colors to reflect these changes, you can create a more realistic and captivating sky.
Finally, always step back and assess your work from a distance. This will help you see how the layers interact and whether any adjustments are needed. Sometimes, a simple addition of a lighter layer on top can bring your clouds to life, giving them that ethereal quality that makes them truly stand out.
In conclusion, mastering layering techniques in cloud painting is all about patience and practice. By building your clouds layer by layer, you can create stunning, realistic skies that draw viewers into your artwork. So grab your brushes, choose your colors, and start layering your way to cloud painting perfection!
Q: What is the best type of paint for cloud painting?
A: Acrylics and oils are both excellent choices for cloud painting. Acrylics dry quickly, allowing for fast layering, while oils provide a longer working time for blending.
Q: How do I know when to stop layering?
A: It's best to stop when your clouds look fluffy and realistic. If you find that your colors are becoming muddy or losing vibrancy, it may be time to step back and assess your work.
Q: Can I use a palette knife for cloud painting?
A: Absolutely! A palette knife can add interesting textures to your clouds, especially for creating sharp highlights or adding dimension.
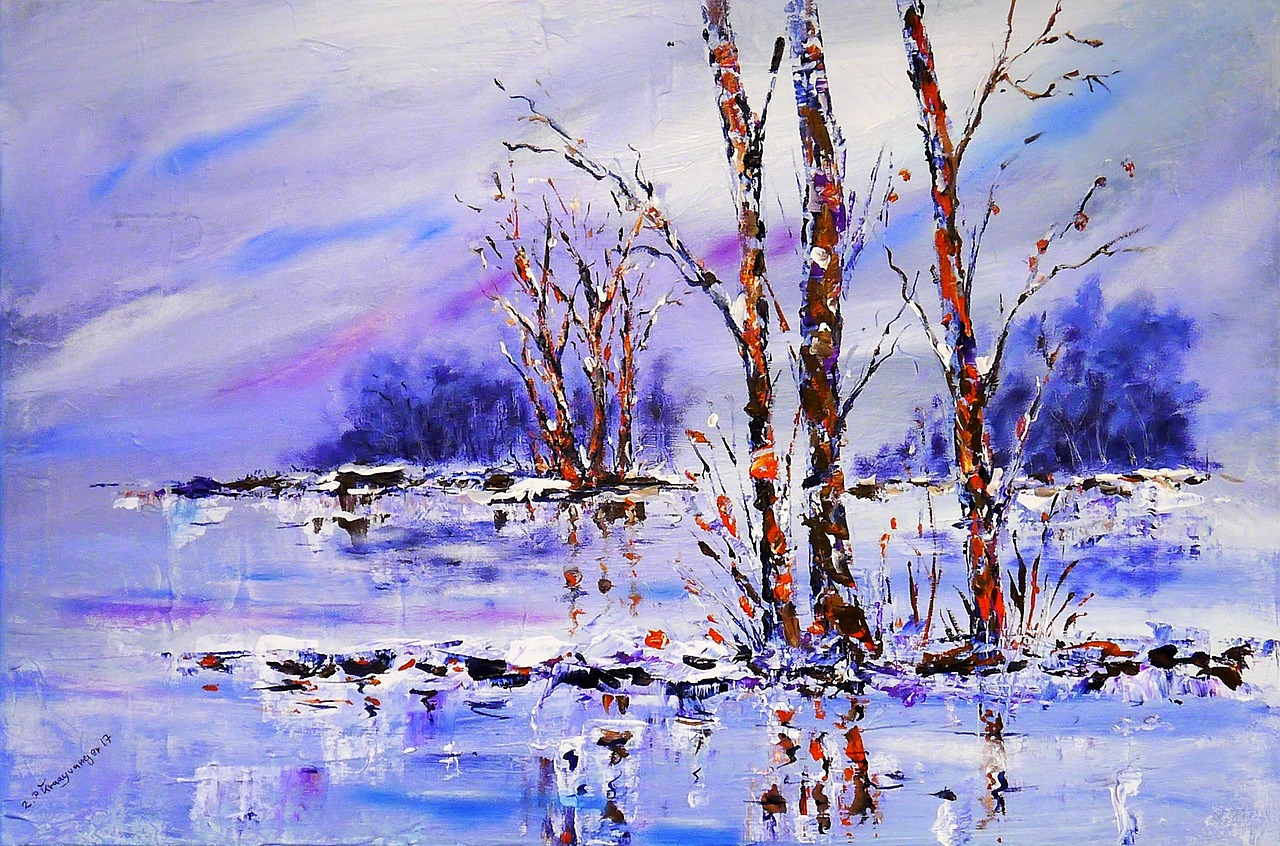
Shading for Realism
Shading is one of the most critical aspects of cloud painting that can truly bring your artwork to life. Imagine walking outside on a bright sunny day, looking up at the sky, and noticing how the clouds are not just white puffs but are filled with varying shades and depths. To capture this realism in your paintings, you must understand how to manipulate light and shadow effectively. The key to achieving this lies in observing the natural world around you and translating those observations onto your canvas.
When you think about clouds, they are not just flat shapes; they possess a three-dimensional quality that can be enhanced through careful shading. Start by identifying the light source in your painting. Is the sun shining brightly, casting shadows on the clouds? Or is it a moody, overcast day with soft, diffused light? The way you apply your shades will vary greatly depending on these conditions.
To create a realistic illusion of depth, consider the following techniques:
- Value Scale: Use a value scale to determine how light or dark each part of your cloud should be. This will help you create a more dynamic range in your painting.
- Color Variation: Incorporate subtle color changes in your shadows. For example, a sunset sky might feature clouds with hints of pink or orange in their shadows, while a stormy sky could showcase darker blues and grays.
- Layering Shadows: Build up your shadows gradually. Start with lighter shades and progressively add darker tones to create a sense of volume and depth.
One effective method for achieving realistic shading is to use a technique called glazing. This involves applying thin layers of transparent color over your base layer. By doing this, you can create rich, luminous shadows that mimic the natural variations found in clouds. Additionally, it allows for more control over the final appearance of your painting, enabling you to adjust the depth of shadows without losing the underlying colors.
Another important aspect of shading is paying attention to the edges of your clouds. Soft, fluffy clouds often have softer edges, while more defined clouds, like cumulonimbus, have sharper, well-defined edges. You can achieve this effect by using a variety of brush techniques:
| Brush Technique | Description |
|---|---|
| Soft Blending | Use a round brush to gently blend the edges of your clouds for a soft look. |
| Hard Edge | Employ a flat brush to create sharper lines for more defined cloud shapes. |
Ultimately, the key to mastering shading in cloud painting is practice and observation. Spend time outside, watch the clouds change shape and color, and try to replicate those effects in your artwork. Remember, shading is not just about making things darker; it's about creating a sense of atmosphere and depth. So grab your brushes, and let the skies inspire you!
Q: What colors should I use for shading clouds?
A: The colors will depend on the time of day and weather conditions. For sunny days, use light blues and whites; for sunsets, integrate pinks and oranges; and for stormy skies, opt for darker grays and blues.
Q: How can I make my clouds look more three-dimensional?
A: Use layering and shading techniques. Start with a base color and gradually add darker shades to create depth, paying attention to light sources and how they affect the clouds.
Q: Is it necessary to use expensive materials for cloud painting?
A: While high-quality materials can enhance your results, it's more important to focus on technique and practice. You can achieve beautiful results with budget-friendly supplies.
Frequently Asked Questions
- What are the different types of clouds that I should know for painting?
Understanding cloud types is essential for capturing their essence in your artwork. Some common types include cumulus, stratus, and cirrus clouds. Each type has unique characteristics, such as shape and texture, which influence the colors and styles you can use in your paintings.
- What essential tools do I need for cloud painting?
To create stunning cloud paintings, you’ll need a few key tools. These include a variety of brushes (like fan and round brushes), high-quality paints (acrylics or oils), and a suitable canvas. Having the right materials can make a huge difference in your results.
- How do I achieve soft, fluffy clouds in my paintings?
Creating soft, fluffy clouds involves mastering specific brush techniques. Using a dry brushing method can help add texture, while blending colors smoothly will give your clouds a realistic look. Experimenting with different strokes will enhance your skills over time.
- What is the importance of color theory in cloud painting?
Color theory is crucial when it comes to cloud painting. It helps you understand how to mix and choose colors that reflect different times of day and weather conditions. For instance, warm hues can evoke a sunset, while cooler tones may depict a stormy sky.
- How can I create depth and dimension in my cloud artwork?
To add depth and dimension, layering and shading are key techniques. Layering allows you to build complexity, while effective shading can create the illusion of light and shadow, making your clouds appear more three-dimensional and lifelike.
- Are there specific blending techniques I should use?
Absolutely! Blending techniques such as wet-on-wet and dry-on-dry can help you achieve smooth transitions between colors. Practicing these methods will allow you to create realistic cloud formations that capture the beauty of the sky.


