How to Draw a Hummingbird: Step-By-Step Guide
Drawing a hummingbird can be an incredibly rewarding experience, allowing you to capture the essence of one of nature's most fascinating creatures. These tiny birds, with their iridescent feathers and rapid wing beats, are not only beautiful but also symbolize joy and love. Whether you're a beginner or an experienced artist, this step-by-step guide will help you create a stunning illustration of a hummingbird that you can be proud of. So, grab your materials and let's dive into the world of hummingbird art!
Before you even pick up a pencil, it's essential to understand the anatomy of a hummingbird. These little wonders have unique features that set them apart from other birds. Start by observing their body proportions, which typically include a small, rounded body, a long, slender beak, and an impressive wingspan. Pay close attention to their head shape, which is often slightly larger in relation to their body. The wings are particularly fascinating, as they can beat at an astonishing rate—up to 80 times per second! By understanding these key features, you’ll be able to create a more accurate and lifelike representation of this enchanting bird.
To embark on your drawing journey, you need to gather the right materials. Here’s a list of essentials that will make your experience smoother:
- Pencils: A range of pencils (HB, 2B, 4B) for sketching and shading.
- Paper: High-quality drawing paper or sketch pads.
- Erasers: A kneaded eraser for gentle corrections.
- Coloring tools: Colored pencils, markers, or watercolors.
Having these materials on hand will ensure that you’re well-prepared to create your masterpiece.
Starting with a basic sketch is vital for any drawing. Begin by lightly outlining the general shape of the hummingbird. Use simple shapes like ovals and circles to define the head, body, and wings. Don’t worry about the details just yet; focus on getting the proportions right. This is like laying the foundation of a house—if the foundation is solid, the rest will follow smoothly. As you sketch, keep your lines light and fluid to allow for adjustments. Remember, it’s all about building up to the final image!
Once you have your basic outline, it’s time to add the details that will bring your hummingbird to life. Start with the feathers; they can be drawn using short, curved lines that mimic the texture and layering of real feathers. Pay special attention to the eyes, as they are often the focal point of your drawing. A well-drawn eye can convey emotion and personality. Don’t forget to add the wings—these are crucial to capturing the hummingbird's grace. Use varying line thickness to create depth and dimension, and your bird will begin to look more realistic!
Color selection can dramatically affect the final look of your drawing. Hummingbirds come in a stunning array of colors, so choose a palette that reflects the species you want to depict. For instance, if you’re drawing a ruby-throated hummingbird, consider vibrant greens and shimmering reds. When applying color, think about layering; start with a base color and gradually build up layers to create richness and depth. Remember, the beauty of a hummingbird lies in its iridescence, so don’t shy away from using bold, bright hues!
Shading is what will give your drawing a three-dimensional appearance. To achieve this, you can use various techniques such as hatching, cross-hatching, and blending. Hatching involves drawing parallel lines to create shadows, while cross-hatching uses intersecting lines for a more textured look. Blending, on the other hand, can soften the transitions between light and dark areas. As you shade, consider your light source; this will guide where the shadows and highlights should fall, adding realism to your artwork.
Every artist makes mistakes, but knowing what to avoid can save you time and frustration. One common pitfall is neglecting proportions—always double-check your measurements. Another mistake is using too much pressure when sketching; this can make erasing difficult later on. Lastly, avoid overcomplicating your colors; sometimes, less is more. By being aware of these common errors, you can focus on enhancing your skills and enjoying the drawing process!
The finishing touches can elevate your artwork from good to spectacular. Once you’re satisfied with your drawing, consider adding a background that complements your hummingbird, such as flowers or foliage. This will create context and enhance the overall composition. Finally, when it comes to presenting your work, think about framing it or giving it a protective cover if you plan to gift it. A well-presented piece can make a lasting impression!
Q: Do I need to be an experienced artist to draw a hummingbird?
A: Not at all! Everyone starts somewhere, and with practice, you'll improve your skills.
Q: What if I make a mistake while drawing?
A: Mistakes are part of the learning process. Use an eraser, or incorporate the mistake into your artwork!
Q: Can I use digital tools to draw a hummingbird?
A: Absolutely! Digital drawing tools can offer unique features and flexibility for your artwork.
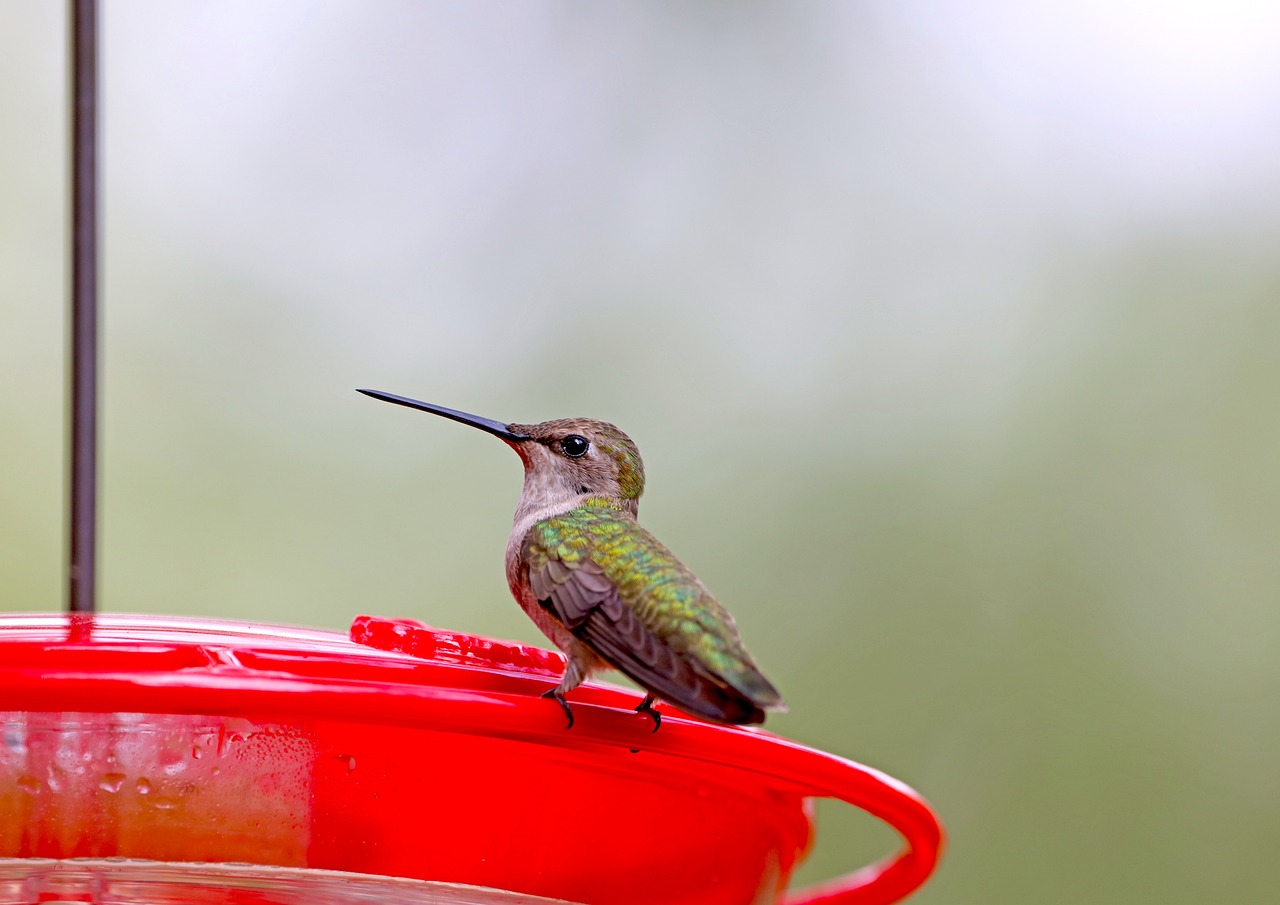
Understanding Hummingbird Anatomy
Before you dive into the exciting world of drawing a hummingbird, it’s essential to grasp the intricacies of its anatomy. Understanding the structure of this remarkable bird will not only enhance your drawing skills but also ensure that your representation is as accurate as possible. Hummingbirds are unique creatures, known for their incredible agility and vibrant colors. They possess a range of distinctive features that set them apart from other birds.
Let’s break down the key components of a hummingbird’s anatomy that you should focus on:
- Head: The head is relatively large compared to the body. Pay attention to the shape and size of the beak, which is long and slender, adapted for feeding on nectar from flowers.
- Wings: Hummingbirds have long, narrow wings that are crucial for their hovering ability. They can flap their wings at an astonishing rate of up to 80 times per second!
- Body: The body is small and compact, usually covered in iridescent feathers that reflect light beautifully, creating a dazzling effect.
- Tail: The tail feathers are fan-shaped and help with steering during flight. They can be quite colorful and are essential for balance.
- Feet: Interestingly, hummingbirds have very small feet that are not used for walking but are primarily for perching and maneuvering while feeding.
When drawing, consider the proportions of these features. For instance, the head should be larger in proportion to the body to capture the essence of the hummingbird's appearance. The wings should extend outwards and be positioned accurately to reflect the bird's dynamic movement. Additionally, the tail should be drawn with attention to its fanned-out shape, which is vital for the bird's flight stability.
To make your drawing even more lifelike, observe how these features interact. The way the wings move in relation to the body and how the tail feathers spread during flight can add realism to your artwork. Remember, capturing the essence of a hummingbird is about understanding how these anatomical features work together in harmony.
In summary, taking the time to study and understand the anatomy of a hummingbird will greatly enhance your ability to draw this magnificent bird. By focusing on its unique features and their proportions, you'll be well on your way to creating a stunning illustration that truly reflects the beauty of these incredible creatures.
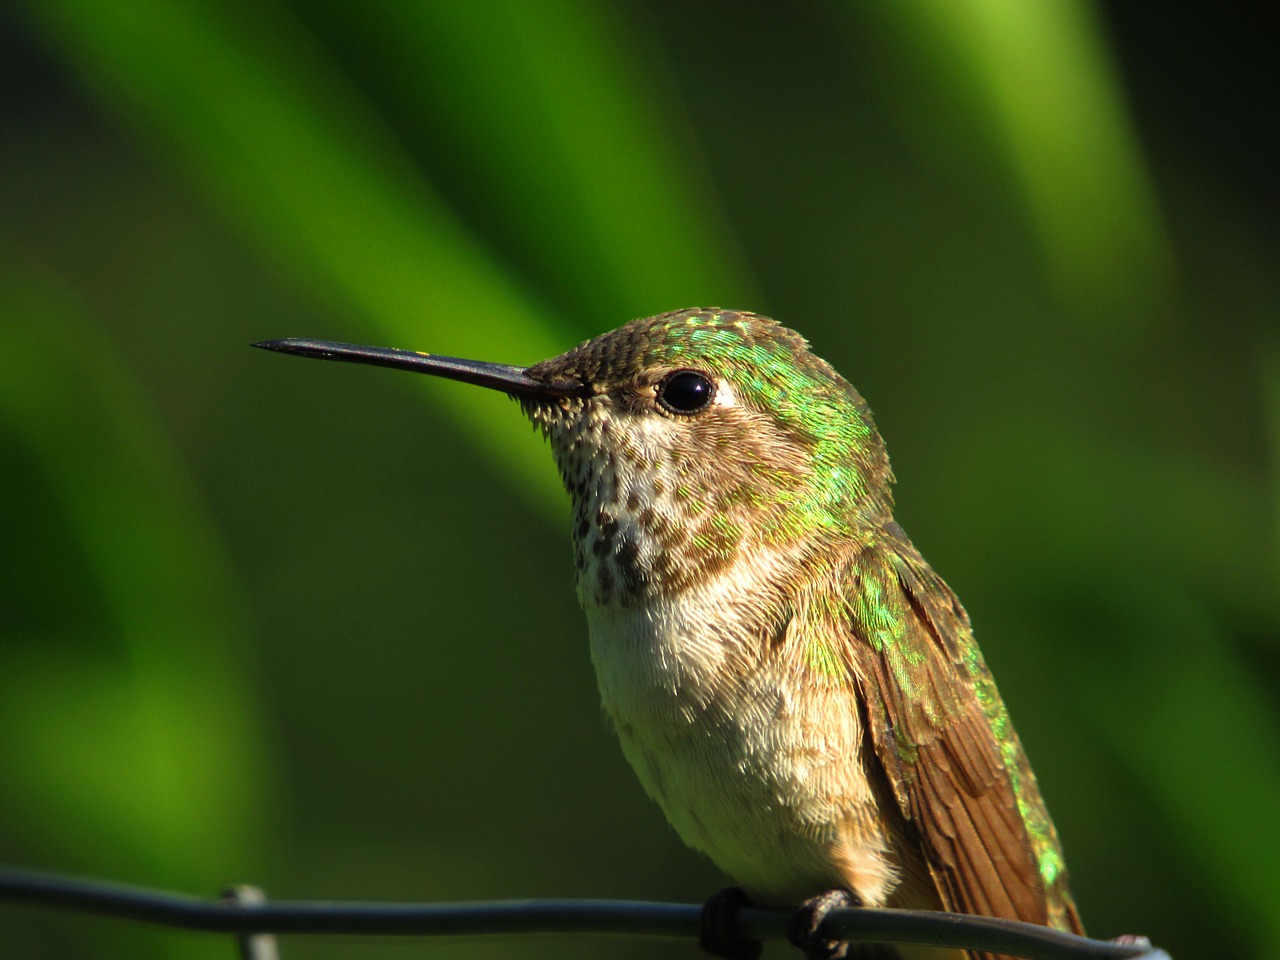
Gathering Your Materials
Before you dive into the exciting world of drawing a hummingbird, it’s essential to gather the right materials. Think of your tools as the magic wands that will help you bring your artistic vision to life. Just like a chef needs the right ingredients to whip up a delicious meal, you need the right supplies to create a stunning illustration. So, let’s break down what you’ll need to get started!
First and foremost, a good set of pencils is crucial. You’ll want a range of pencils, from hard (H) to soft (B). The harder pencils are great for light sketches, while the softer ones will help you achieve those deep, rich lines and shading. A good starter set might include:
- HB pencil for general sketching
- 2B for darker lines
- 4B or 6B for shading
Next up, don’t forget about paper. The type of paper you choose can make a world of difference. A smooth, heavyweight paper is ideal for pencil drawings as it allows for clean lines and detailed work. If you plan to add color later, consider using watercolor paper or mixed media paper, which can handle different mediums without warping.
Another essential tool is a blending stump. This handy little tool will help you smooth out your pencil strokes and create beautiful gradients, giving your hummingbird that lifelike appearance. Plus, an eraser is a must-have! A kneaded eraser is fantastic for lifting off graphite without damaging the paper, while a standard eraser can help with larger mistakes.
Now, if you’re planning to add color to your drawing, gather your colored pencils or watercolors. When choosing colored pencils, look for a set that offers a wide range of vibrant colors. For watercolors, a basic set with a variety of hues will work wonders. You might be surprised at how much color can enhance your drawing!
Lastly, consider having some reference images handy. These can be photographs or illustrations of hummingbirds that inspire you. They’ll help you understand the bird’s unique features, colors, and proportions. Remember, even the most skilled artists rely on references to capture the essence of their subjects accurately.
In summary, gathering your materials is like setting the stage for a grand performance. With the right tools at your fingertips, you’ll be ready to embark on your artistic journey. So, grab your pencils, paper, and colors, and let’s get ready to create something beautiful!
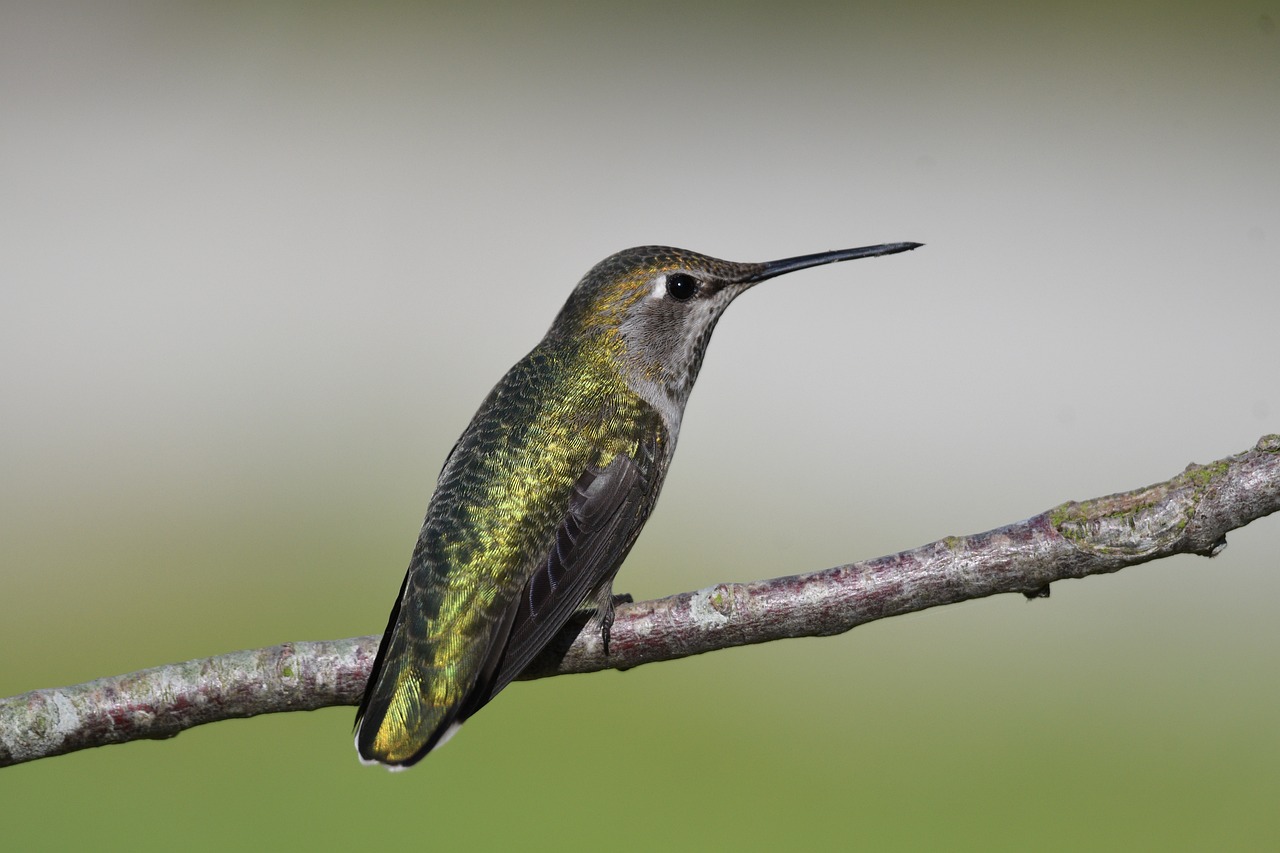
Basic Sketching Techniques
When it comes to drawing a hummingbird, the first step is to get your basic sketch right. Think of this stage as laying the foundation for a beautiful home; without a solid base, everything else will crumble. Start by using a light hand with your pencil, as the initial lines will serve as a guide rather than the final product. Begin with simple shapes that represent the body, head, wings, and tail. For instance, you might use an oval for the body and a circle for the head. This approach simplifies the complex forms of the hummingbird.
Next, think about proportions. Hummingbirds are known for their unique body structure, with a long beak and iridescent feathers. To capture this, you can sketch the following basic shapes:
- Body: An elongated oval
- Head: A smaller circle placed at one end of the body
- Wings: Triangular shapes extending from the body
- Tail: A fan-like shape at the opposite end of the body
Once you have these basic shapes in place, it’s time to refine them. Start connecting the shapes, smoothing out the lines to create a more natural form. Pay attention to the curves of the body and the angles of the wings. Hummingbirds are incredibly agile, so capturing their grace is essential. Use light strokes to adjust the shapes until you’re satisfied with the outline.
After refining the basic outline, you can start adding details. Focus on the beak first; it should be long and slender, tapering to a point. Then, move on to the eyes, which are typically large and expressive. Adding these details early on will help you visualize the hummingbird’s personality. Remember, the goal here is not perfection but rather capturing the essence of the bird.
As you sketch, don’t hesitate to reference images of real hummingbirds. Observing their posture, wing positions, and even how they hover can provide valuable insights. This practice can be likened to a musician listening to a symphony; the more you immerse yourself in the subject, the better your rendition will be.
Finally, once you have the basic sketch and details in place, step back and assess your work. Look for areas that may need adjustment. Perhaps the wings are too large or the body too small. This is your chance to make those necessary tweaks before moving on to the more intricate details. Remember, sketching is an iterative process, and it’s perfectly fine to erase and redraw until you achieve the desired look.
In summary, mastering basic sketching techniques is essential for drawing a stunning hummingbird. By starting with simple shapes, paying attention to proportions, and refining your outline, you set yourself up for success. So grab your pencil and let your creativity take flight!
Q: What type of pencil should I use for sketching?
A: A good choice is a soft pencil like 2B or 4B, which allows for smooth lines and easy erasing.
Q: How can I improve my sketching skills?
A: Practice regularly, study real-life references, and don’t be afraid to make mistakes. Each sketch is a step toward improvement!
Q: Should I use an eraser while sketching?
A: Yes, a kneaded eraser is great for lightening lines without damaging the paper, allowing for adjustments as you go.
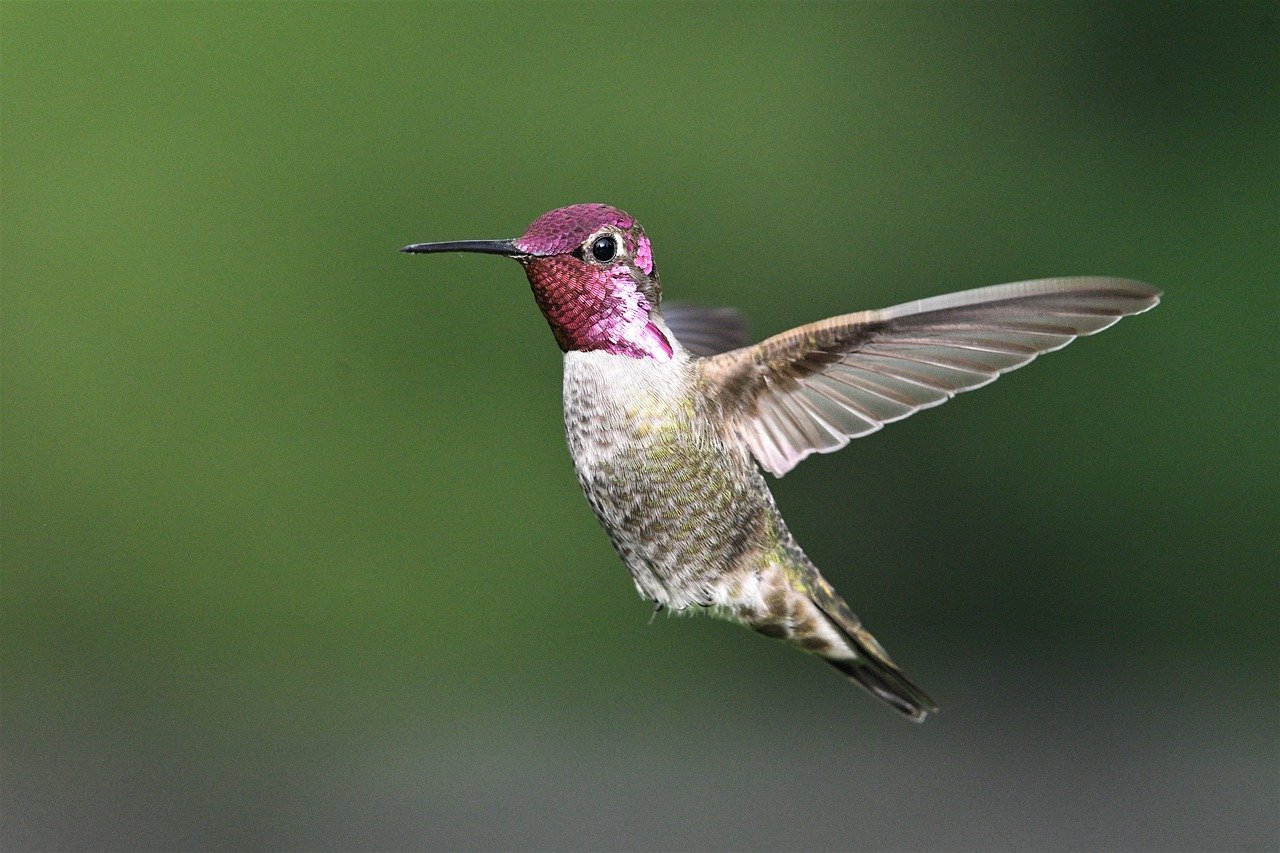
Adding Details to Your Drawing
Once you have your basic outline of the hummingbird sketched out, it’s time to dive into the exciting phase of adding details. This is where your drawing will truly begin to take shape and come to life! Think of this stage as the moment when a plain canvas transforms into a vibrant masterpiece. You want to capture the essence of this beautiful bird, and that means paying close attention to its unique features.
Start with the feathers. Hummingbirds are known for their iridescent plumage, so it’s important to reflect that in your drawing. Begin by drawing the contour of the feathers, layering them to create a natural look. Use short, quick strokes with your pencil to mimic the texture of the feathers. Remember, each feather has a slight curve, and they overlap each other, which adds depth to your illustration. Pay particular attention to the way light hits the feathers; this will help you understand where to add highlights and shadows later on.
Next, focus on the eyes. The eyes of a hummingbird are one of its most captivating features. They are often bright and expressive, so take your time to get them right. Start by sketching the general shape of the eye, and then fill in the details. Don’t forget to include the pupil and the reflective highlights that give life to the eye. A well-drawn eye can convey emotion and personality, so make it pop!
Now, let’s talk about the wings. Hummingbird wings are incredibly intricate and are a key characteristic of the bird. When you draw the wings, consider their movement. Hummingbirds can flap their wings at an astonishing rate, and this motion should be reflected in your drawing. Use flowing lines to depict the wings in motion, and don’t shy away from adding details like the wing joints and the individual feathers. This will give your drawing a sense of realism and dynamism.
As you layer in these details, you might want to refer to some reference images of hummingbirds. Observing real-life examples can provide insight into the subtleties of their anatomy and coloration. You can find a variety of resources online, or even better, consider visiting a local park where these birds might be fluttering about. Watching them in action can be incredibly inspiring!
To wrap things up, adding details is about patience and precision. Take your time to refine each aspect of your drawing. Use a variety of pencil pressures to create different effects; lighter strokes can indicate softer areas, while firmer pressure can help define more prominent features. Don't rush this process—it's where your artistic voice truly shines!
And remember, practice makes perfect! The more you draw, the more comfortable you will become with the intricacies of the hummingbird’s anatomy. So, grab your pencils and let your creativity flow!
- What materials do I need to add details to my drawing?
You'll need quality pencils, erasers, and possibly colored pencils or markers for the final touches. A good quality sketchbook can also make a difference! - How can I make my hummingbird drawing more realistic?
Focus on the details—pay attention to feather textures, eye reflections, and natural colors. Using reference images can also help improve realism. - Is it necessary to use color when adding details?
No, it’s not necessary! You can create a stunning black and white drawing by focusing on shading and texture.
Choosing Colors for Your Hummingbird
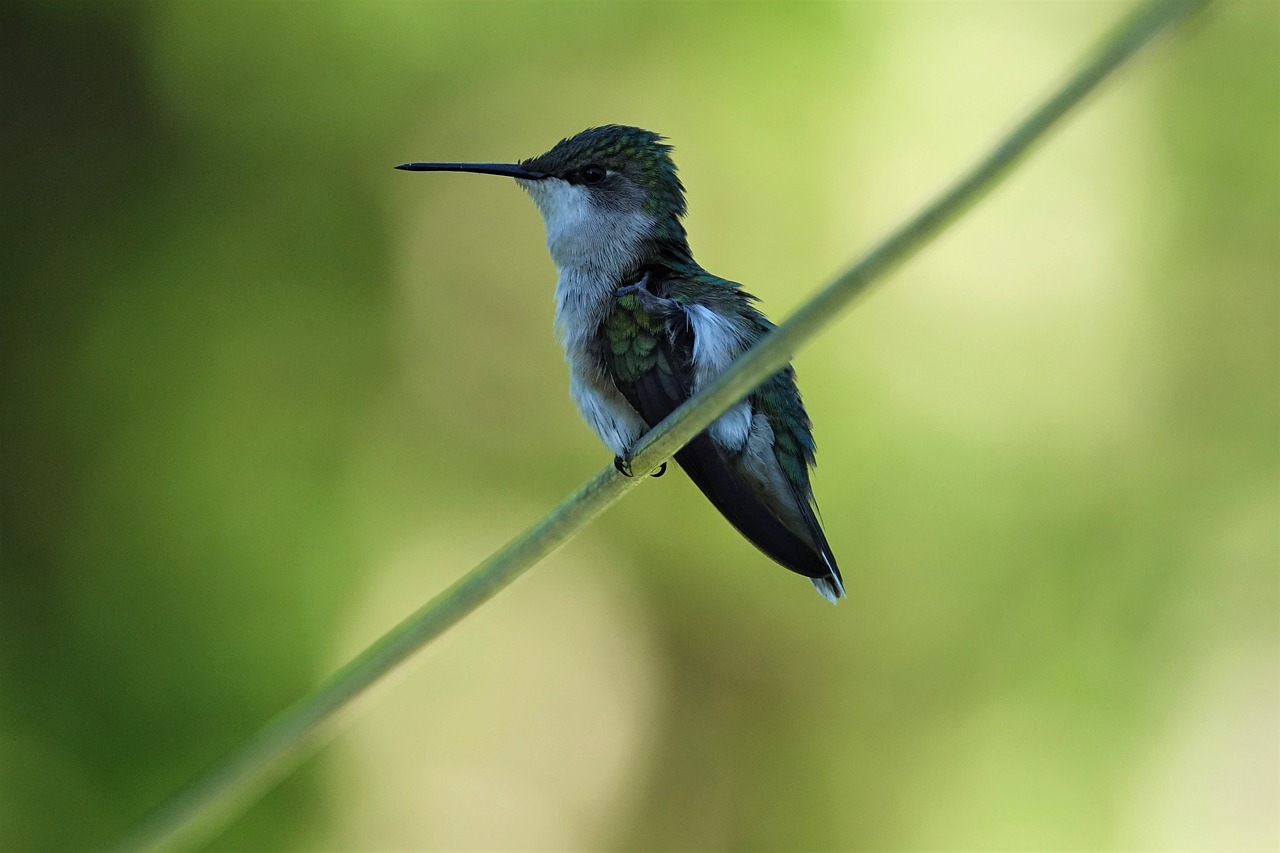
When it comes to drawing a hummingbird, one of the most exciting aspects is selecting the right colors. These tiny birds are renowned for their vibrant plumage, which can range from brilliant greens to deep blues, fiery reds, and even soft pastels. The key to capturing the essence of a hummingbird lies not just in the colors you choose, but also in how you apply them. Think of your drawing as a blank canvas waiting to burst into life with the hues of nature!
Before you dive into coloring, it's essential to consider the species of hummingbird you're depicting. Each species has its unique color palette. For instance, the Ruby-throated Hummingbird showcases a striking emerald green back and a fiery red throat, while the Anna's Hummingbird is known for its iridescent pink crown and greenish body. Researching your specific bird can help you make informed choices about colors. You might even want to create a color swatch to experiment with different shades before committing them to your drawing.
Here are some tips to keep in mind while choosing colors:
- Layering: Start with lighter shades and gradually build up to darker ones. This technique allows you to create depth and dimension in your drawing.
- Iridescence: Hummingbirds have feathers that can appear to change color depending on the angle of light. To mimic this effect, consider using a blend of colors and soft transitions.
- Contrast: Use contrasting colors to make certain features pop. For example, a bright throat can stand out against a darker body.
Coloring mediums also play a crucial role in achieving the desired effect. Watercolors can produce soft, blended edges, while colored pencils allow for precise detailing and layering. If you’re using markers, consider blending them for a more natural look. Each medium has its unique qualities, so choose one that complements your style and the effect you want to achieve.
As you apply color, remember that less can be more. Sometimes, a subtle wash of color can convey the delicate beauty of a hummingbird better than a heavy application. It’s all about finding that perfect balance. Additionally, don’t hesitate to step back from your drawing periodically. This will give you a fresh perspective and help you assess whether the colors are harmonizing well.
To wrap it up, choosing colors for your hummingbird drawing is a delightful journey of exploration and creativity. With careful consideration of the species, effective layering techniques, and the right medium, you can create a stunning representation that captures the enchanting beauty of these remarkable birds. So grab your colors, and let your imagination take flight!
Q: What colors should I use for a realistic hummingbird drawing?
A: It's best to research the specific species you're drawing, as different hummingbirds have distinct color patterns. Generally, vibrant greens, blues, and reds are common, but don't hesitate to experiment!
Q: Can I use markers to color my hummingbird?
A: Absolutely! Markers can be a great choice, especially if you blend them for softer transitions. Just be mindful of the paper type, as some markers can bleed through.
Q: How do I achieve an iridescent effect in my drawing?
A: To create an iridescent look, use a combination of colors and soft blending techniques. Layering lighter colors and adding darker tones can help mimic the natural shimmer of hummingbird feathers.
Shading Techniques for Depth
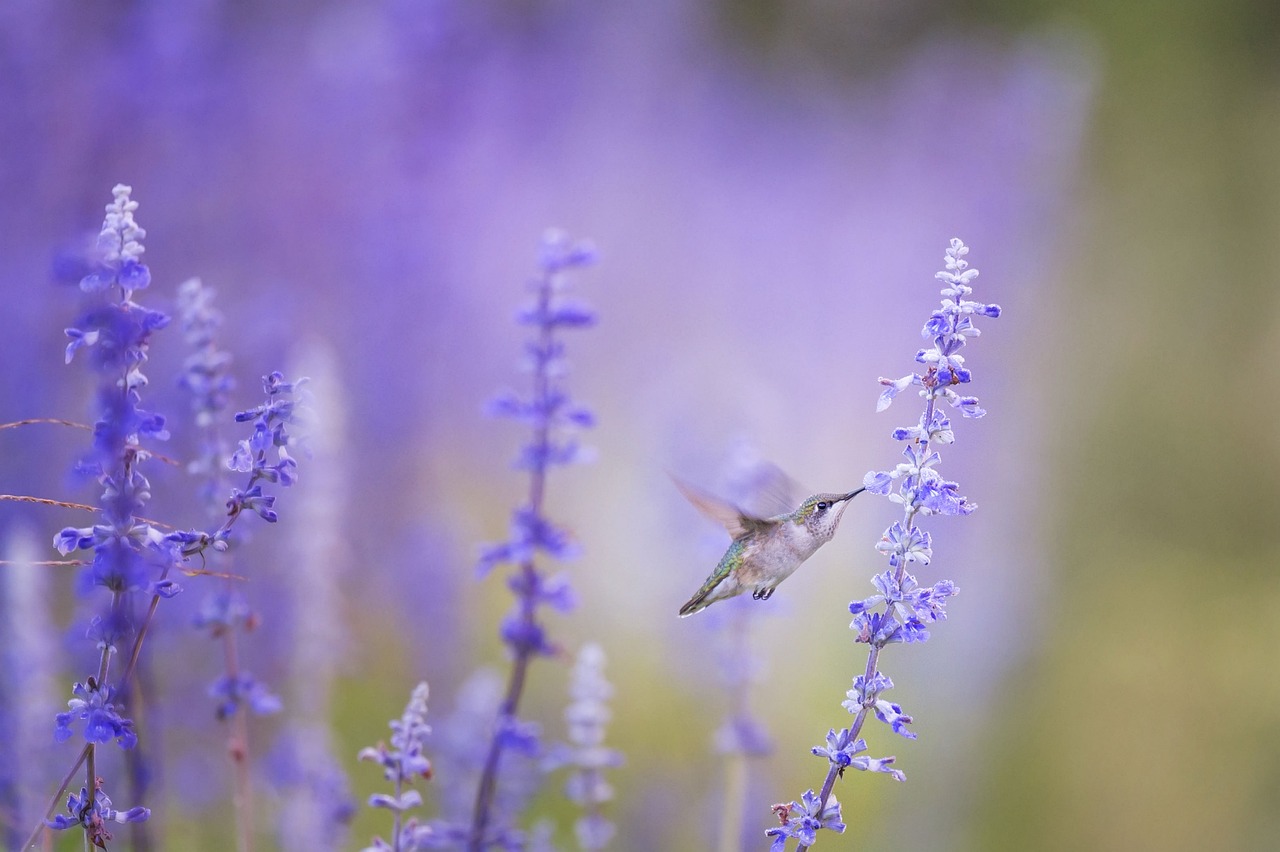
Shading is the secret ingredient that transforms a flat drawing into a captivating piece of art. It’s like adding a sprinkle of magic that gives your hummingbird a sense of life and dimension. By mastering a few essential shading techniques, you can create depth that makes your hummingbird illustration pop off the page. So, let’s dive into some effective methods!
One of the most fundamental techniques is hatching. This involves drawing closely spaced parallel lines to create shadowed areas. The closer the lines are to each other, the darker the shade will appear. This method is fantastic for depicting the delicate feathers of a hummingbird. Imagine the way light hits the bird’s body; by varying the density of your lines, you can mimic the way feathers overlap and catch the light.
Another technique to consider is cross-hatching, which takes hatching a step further. By layering lines in different directions, you can create a richer texture and more profound shadows. This is particularly useful for areas like the wings and tail, where the feathers may overlap, creating intricate patterns. Think of it like weaving a tapestry; the more layers you add, the more complex and beautiful the design becomes.
Blending is another technique that can elevate your drawing. You can use a blending stump or even your fingers to smooth out pencil strokes, creating soft transitions between light and shadow. This technique is perfect for adding a soft glow to your hummingbird’s plumage, making it appear almost ethereal. Just remember, blending requires a light touch; too much pressure can erase your hard work!
Don’t forget about the use of color in your shading. If you’re working with colored pencils or watercolors, you can add depth by layering different colors. For instance, a light green base with a deeper forest green on the shaded areas can give your hummingbird a vibrant, lifelike quality. Think of it as painting with light and shadows; the interplay of colors can create an enchanting effect that draws the viewer in.
To wrap things up, here’s a quick summary of shading techniques you might find useful:
| Technique | Description | Best For |
|---|---|---|
| Hatching | Parallel lines to create shadows | Feathers and body contours |
| Cross-Hatching | Layering lines in different directions | Wings and tail details |
| Blending | Smoothing pencil strokes for soft transitions | Overall plumage and soft features |
| Color Layering | Using multiple colors to add depth | Vibrant and lifelike effects |
Experiment with these techniques, and don’t be afraid to combine them! The beauty of art lies in its flexibility and the personal touch you bring to your work. Remember, shading is not just about making things darker; it’s about creating a visual story that captures the essence of your hummingbird. So grab your pencils, and let the shadows dance!
Q: What type of pencil is best for shading?
A: A range of pencils, from hard (H) for light lines to soft (B) for darker shades, can be used. Experiment with different types to find what works best for your style.
Q: How can I practice my shading techniques?
A: Start with simple shapes and gradually move to more complex forms like your hummingbird. Practice hatching and blending on each shape to build your confidence.
Q: Is it necessary to use color when shading?
A: While color can enhance your shading, it’s not mandatory. You can achieve stunning depth with just pencil shading. Feel free to explore both methods!
Common Mistakes to Avoid
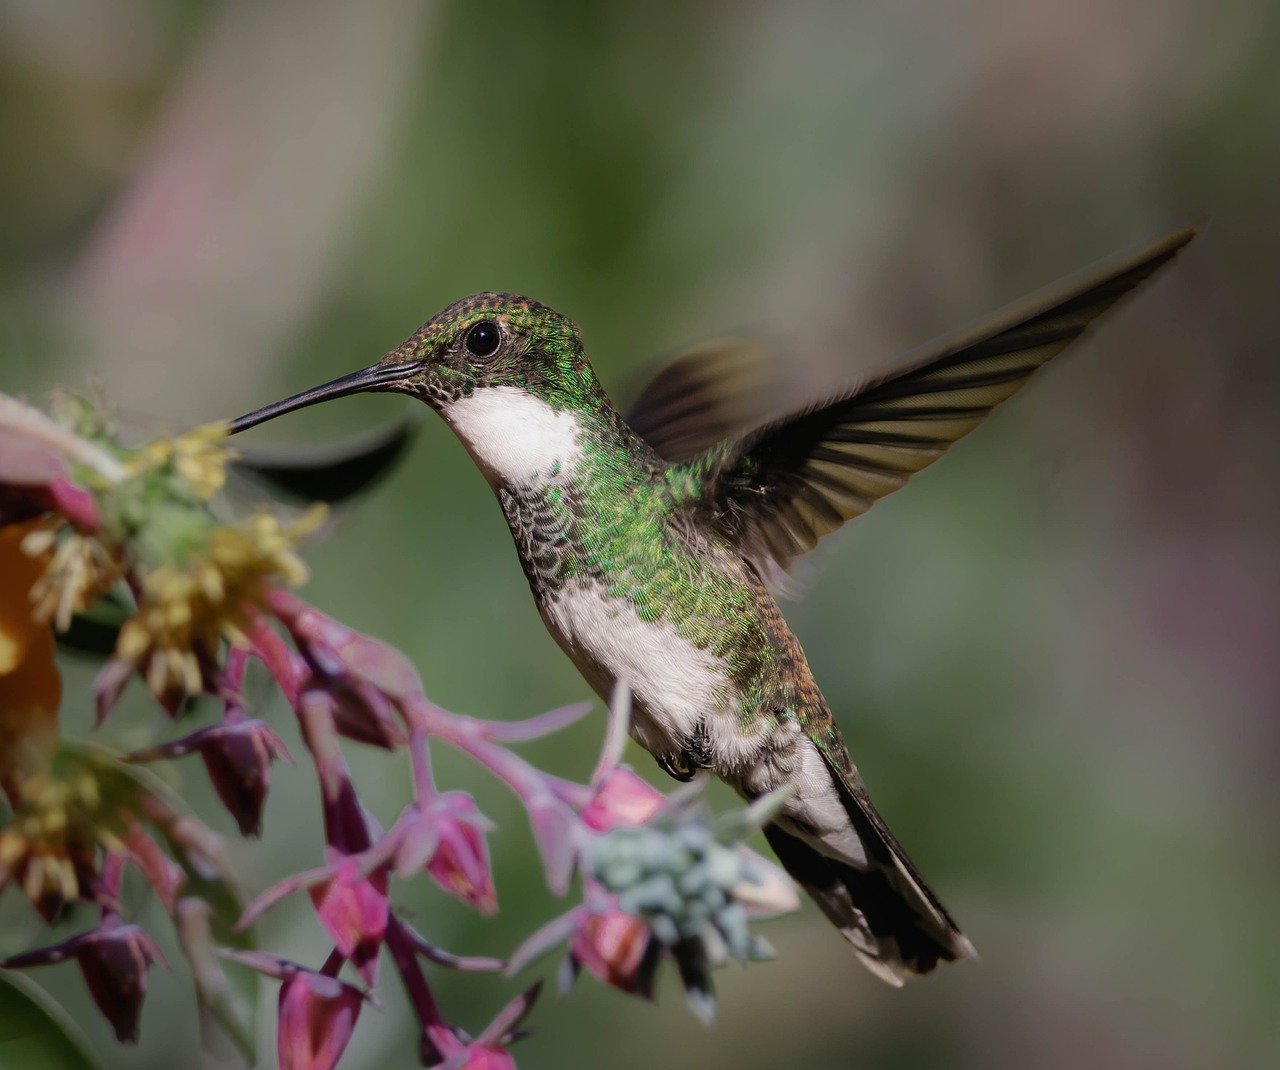
When it comes to drawing a stunning hummingbird, even the most seasoned artists can stumble into common pitfalls that can derail their artistic vision. One of the biggest mistakes is neglecting to study the anatomy of the bird before putting pencil to paper. Understanding the unique proportions and features of a hummingbird—like its elongated beak and iridescent feathers—can make all the difference in achieving a realistic representation. So, take a moment to observe these beautiful creatures in nature or through photographs; this will not only enhance your drawing skills but also deepen your appreciation for their beauty.
Another frequent error is rushing through the sketching phase. Many artists are eager to dive into the details, but starting with a hasty outline can lead to major structural issues later on. Instead, take your time to create a solid foundation. Use light strokes to establish the basic shapes and proportions, allowing for adjustments as you go. Remember, even the best artists started with a simple sketch before refining their work into something breathtaking.
Color selection can also be a tricky area. A common mistake is choosing colors that are too vibrant or unrealistic. While hummingbirds are known for their brilliant hues, it’s crucial to observe how light interacts with their feathers. Instead of jumping straight into bold colors, consider creating a color palette based on real-life observations. This approach will help you achieve a more authentic look. Additionally, be mindful of how colors blend together; using complementary shades can enhance the overall depth of your drawing.
Shading is another technique where artists often falter. Many tend to apply shading too harshly or inconsistently, which can flatten the image instead of adding dimension. To avoid this, practice different shading techniques such as cross-hatching, stippling, or using a blending stump. These methods can help create a more natural transition between light and shadow, giving your hummingbird a three-dimensional appearance that will truly captivate viewers.
Lastly, don’t overlook the importance of final touches. Many artists believe their work is complete once the main elements are drawn and colored. However, adding subtle details like highlights in the eyes or softening the edges of the feathers can elevate your artwork to a new level. Take a step back and evaluate your drawing; sometimes, a fresh perspective can reveal areas that need a little extra love.
In summary, avoiding these common mistakes can significantly enhance your drawing skills. By paying attention to anatomy, taking your time with sketches, selecting appropriate colors, mastering shading techniques, and applying final touches, you’ll be well on your way to creating a stunning illustration of a hummingbird that you can be proud of.
Q: What materials do I need to draw a hummingbird?
A: You'll need quality pencils, erasers, paper, and colored pencils or watercolors for adding color. A good sharpener and blending tools can also enhance your drawing experience.
Q: How long does it take to draw a hummingbird?
A: The time it takes can vary widely based on your skill level and the level of detail you want to achieve. Generally, you can expect to spend anywhere from a couple of hours to several days perfecting your artwork.
Q: Can I use a reference photo?
A: Absolutely! Using reference photos is a great way to understand the bird's anatomy and colors better. Just make sure to use your creativity to add your unique touch to the drawing.
Q: What if I make a mistake while drawing?
A: Mistakes are a natural part of the artistic process. Use an eraser to correct pencil lines, or embrace the imperfections as part of your unique style. Remember, even professional artists make mistakes!
Final Touches and Presentation
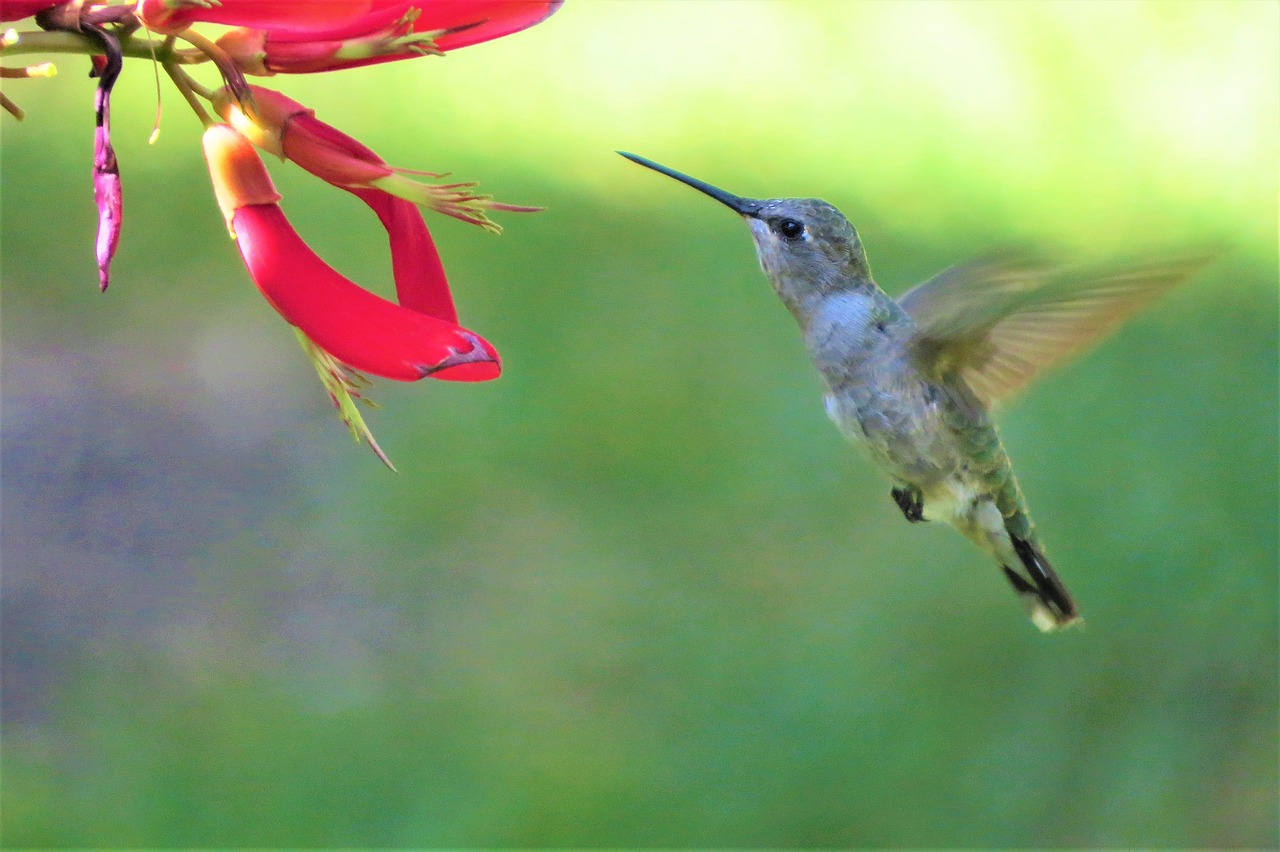
You've poured your heart and soul into drawing your hummingbird, and now it’s time to add those final touches that will make your artwork truly shine. Think of this stage as the icing on the cake; it’s what elevates your creation from a simple sketch to a breathtaking masterpiece. First, take a step back and assess your drawing. Are there areas that need more definition or color? Sometimes, a little extra detail or a splash of color can make all the difference.
One effective way to enhance your artwork is by using highlights. For instance, adding a touch of white or a lighter shade on the feathers can create a beautiful glossy effect, mimicking the way light interacts with real feathers. This technique not only makes your hummingbird more lifelike but also adds an element of depth and interest to your piece.
Next, consider the background. A well-thought-out background can complement your hummingbird and draw the viewer's eye right to it. Whether you choose a simple gradient or a more detailed floral background, ensure that it doesn’t overpower your main subject. You want your hummingbird to be the star of the show! If you’re unsure about how to approach the background, a soft wash of color can often do the trick, allowing your bird to stand out while still providing context.
Once you’re satisfied with the details and background, it’s time to think about presentation. A beautifully framed piece can transform your artwork into a stunning display. Choose a frame that matches the tone of your drawing; for instance, a sleek modern frame might suit a vibrant, contemporary hummingbird illustration, while a rustic wooden frame could enhance a more traditional piece. Don’t forget to use a mat board to create a visual buffer between your artwork and the frame; this can really add a touch of class.
Finally, consider how you will showcase your hummingbird drawing. If you’re planning to gift it, a personalized note or an explanation of your inspiration can add a heartfelt touch. If displaying it at home, think about the lighting. Natural light can enhance the colors and details, making your artwork pop. Just be cautious of direct sunlight, as it can fade your colors over time.
In conclusion, the final touches and presentation of your hummingbird drawing are just as important as the drawing itself. They can elevate your artwork from good to extraordinary, making it a piece that you’ll be proud to show off or gift to someone special. So take your time, enjoy the process, and let your creativity shine!
- What materials do I need for the final touches? Ideally, you should have high-quality colored pencils, markers, or paints for adding details, as well as a suitable frame for presentation.
- How can I avoid smudging my drawing? Allow each layer of color or detail to dry completely before touching it, and consider using fixative sprays for protection.
- What type of background works best for a hummingbird drawing? A soft, subtle background that complements the colors of the bird works best, allowing it to stand out without overwhelming the viewer.
- How do I choose the right frame? Select a frame that enhances the style of your artwork and fits the decor of the space where it will be displayed.
Frequently Asked Questions
- What materials do I need to draw a hummingbird?
To create a stunning hummingbird illustration, you’ll need a few essential materials. Start with a good quality sketching pencil, preferably HB or 2B, a fine-tip pen for outlining, and high-quality paper. Additionally, colored pencils, markers, or watercolors can be used for adding color. Don’t forget an eraser and a sharpener to keep your tools in top shape!
- How do I understand hummingbird anatomy for drawing?
Understanding the anatomy of a hummingbird is crucial for an accurate representation. Focus on key features such as the elongated beak, the unique shape of the body, and the distinctive wings. Studying reference images can greatly help you grasp the proportions and details that make these birds so special.
- What are some basic sketching techniques for beginners?
When starting your hummingbird sketch, begin with simple shapes to outline the body, head, and wings. Use light strokes to create a rough outline, which allows for easy adjustments. Gradually refine your sketch by adding more details and correcting proportions as needed. Remember, practice makes perfect!
- How can I add realistic details to my drawing?
Adding details is where your hummingbird really comes to life! Pay close attention to the feathers, eyes, and wings. Use reference images to capture the intricate patterns and textures. Layering your pencil strokes can create depth, making the feathers appear more lifelike.
- What colors should I use for my hummingbird?
Choosing the right colors is key to achieving a vibrant hummingbird illustration. Look for color palettes that reflect the natural hues found in these birds, such as iridescent greens, blues, and reds. Experiment with blending techniques to create a smooth transition between colors for a more realistic effect.
- What shading techniques can enhance my drawing?
Shading adds dimension and depth to your artwork. Techniques like cross-hatching, stippling, or blending can be effective. Start with lighter shades and gradually build up darker tones to create shadows. This will help your hummingbird look three-dimensional and more visually striking.
- What common mistakes should I avoid when drawing?
One common mistake is not paying attention to proportions, which can lead to an unrealistic representation. Additionally, overworking details can make your drawing look cluttered. Remember to step back and assess your work periodically. Embrace mistakes as learning opportunities—they're part of the creative process!
- How can I present my finished hummingbird drawing?
Final touches can elevate your artwork. Consider framing your drawing or using a mat to enhance its presentation. If you’re gifting it, a personalized note can add a special touch. Make sure to showcase your work in good lighting to highlight all the vibrant colors and details you've put into it!


