How to Draw a Running Horse: Step-By-Step Guide
Drawing a running horse can be an exhilarating challenge for artists of all skill levels. Whether you're a seasoned artist or just starting, the beauty and grace of a horse in motion can inspire you to create a masterpiece. In this comprehensive guide, we will break down the process into manageable steps, ensuring that you not only learn how to draw a horse but also enjoy the journey. From understanding horse anatomy to adding the final touches, we’ll cover everything you need to know to bring your vision to life.
Before you even pick up a pencil, it’s essential to familiarize yourself with horse anatomy. Understanding the key features and proportions of a horse will enhance the realism of your drawing. Horses have distinct body structures, including their long legs, muscular build, and elegant necks. Take a moment to observe horses in real life or study reference images. This knowledge will be invaluable as you begin your drawing.
Choosing the right materials can significantly impact your artwork. The tools you select will help you capture the dynamic movement of a running horse effectively. Here’s a quick rundown of what you’ll need:
From pencils to erasers, each tool plays a unique role in the drawing process. Here are some essential tools you should have on hand:
- Pencils: A range of pencils from hard (H) to soft (B) for different shading effects.
- Erasers: A kneaded eraser for gentle corrections and a regular eraser for more substantial changes.
- Blending Stumps: For smooth transitions between shades.
- Papers: Quality drawing paper that can handle various techniques.
Different pencil grades offer varying levels of hardness and darkness. For instance, using an H pencil can help you create fine lines and details, while a B pencil is perfect for deeper shading. Understanding which pencils to use will help you achieve the desired shading and detail in your drawing.
The type of paper you use can affect the outcome of your drawing. Smooth paper is excellent for detailed work, while textured paper can add depth and character. Experimenting with different surfaces will help you find what works best for your style.
A well-organized workspace can enhance your creativity and focus. Ensure you have good lighting, a comfortable chair, and all your materials within reach. A clutter-free space allows your mind to wander and your creativity to flow, making the drawing process enjoyable.
Now that you have your materials ready, it’s time to start sketching! Starting with basic shapes simplifies the drawing process. Horses can be broken down into simple forms like circles and ovals. Begin by sketching these shapes lightly to establish the horse's body and limbs.
Establishing a solid outline is essential for proportion and perspective. Use light strokes to create the outline of the horse. Don’t worry about making it perfect on your first try; this is just the foundation. As you refine your outline, pay attention to the horse's anatomy to ensure accuracy.
Fine-tuning proportions and angles can bring your drawing to life. Horses are dynamic creatures, and capturing their movement requires careful observation. Adjust your initial sketch to reflect a more dynamic pose, perhaps by elongating the legs or tilting the head slightly. This adjustment will create a sense of action in your drawing.
Once the basic shapes are in place, it’s time to add details that enhance realism. Focus on the horse's facial features, mane, and muscles. These details are what will transform your sketch into a lifelike representation.
The horse's expression conveys emotion and character. Pay close attention to the eyes and mouth; these features can express a range of feelings from calmness to excitement. Techniques for drawing expressive eyes include focusing on the shape and adding highlights to reflect light.
The mane and tail are crucial for depicting movement. Use flowing lines to illustrate the hair, ensuring it complements the horse's running pose. Remember, the way the mane and tail flow can suggest speed and grace, so let your pencil dance across the page!
Effective shading and texturing techniques add depth to your drawing. Understanding how light interacts with the horse's body will help you create realistic shadows and highlights. This aspect of drawing is where your artwork truly begins to come alive.
Recognizing how light interacts with the horse's body helps achieve realistic shading. Identify the light source in your drawing and apply shadows accordingly. This technique will give your horse a three-dimensional appearance, making it pop off the page.
Adding texture can make your drawing more lifelike. Use varied pencil strokes to represent the horse's coat, ensuring you capture the subtle shifts in color and texture. This attention to detail is what separates a good drawing from a great one.
The final touches can elevate your drawing from good to great. Take a step back and review your work. Look for areas that may need refinement or additional detail. This is your chance to make your artwork shine!
Taking a moment to assess your drawing is essential. Ask yourself questions like, “Does the horse look dynamic?” or “Are the proportions accurate?” This self-critique will help you identify areas for improvement.
Once completed, preserving your drawing is crucial for longevity. Consider framing your artwork or using fixative sprays to protect it from dust and fading. Remember, your creation deserves to be showcased!
Here are some common questions artists have when drawing a running horse:
- What are the best references for drawing horses? Look for high-quality images or videos of horses in motion, or consider observing them in person.
- How can I improve my horse drawing skills? Practice regularly, study horse anatomy, and don’t hesitate to seek feedback from other artists.
- What should I do if I'm not satisfied with my drawing? Don’t be discouraged! Every artist has off days. Take a break, revisit your work later, and try again.
Understanding Horse Anatomy
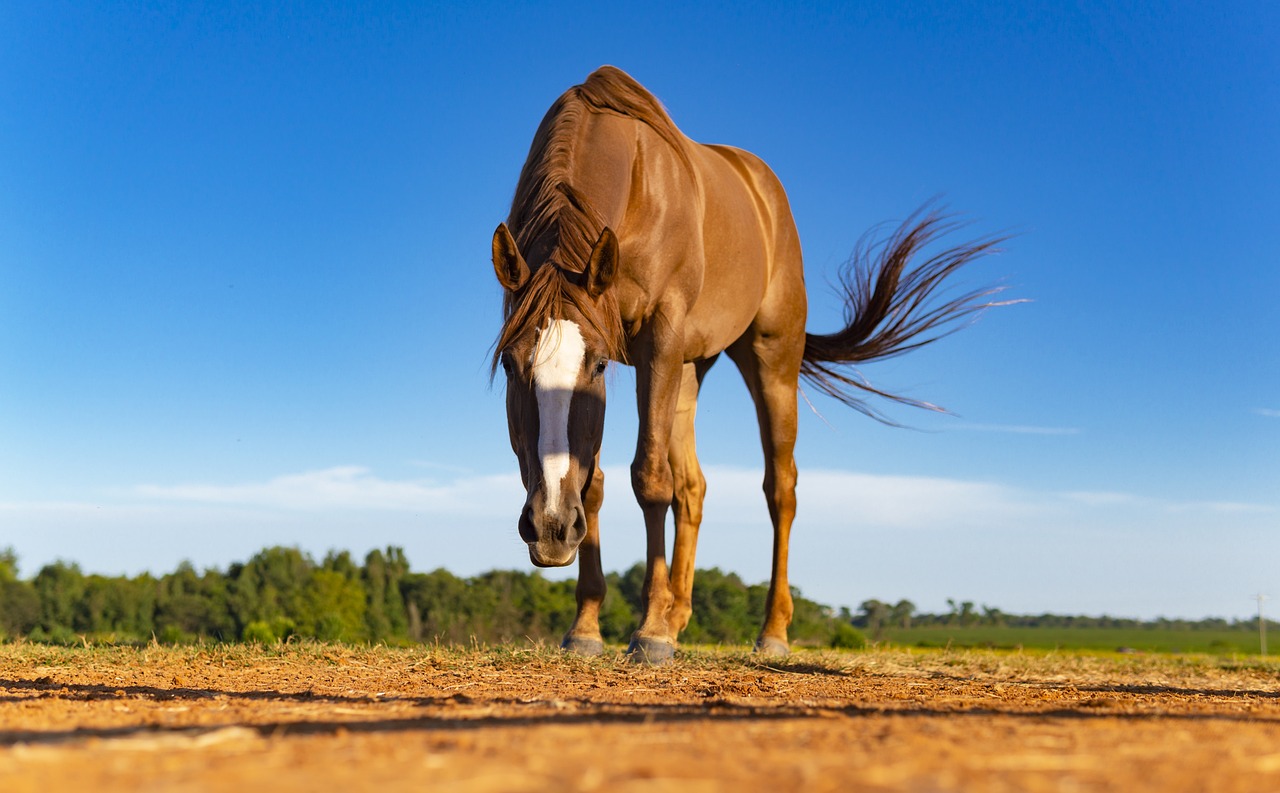
When it comes to drawing a running horse, is absolutely vital. A horse is a magnificent creature, and its structure is not only complex but also beautiful. To effectively capture the essence of a horse in motion, you need to familiarize yourself with its key features and proportions. Think of it as building a house; if you don’t understand the framework, the entire structure might collapse!
Let’s break down the horse's anatomy into its fundamental components. The horse's body can be divided into several sections, each with its own unique characteristics:
- Head: The head is where the horse's personality shines through. Pay attention to the shape of the jaw, the length of the muzzle, and the placement of the eyes.
- Neck: A strong neck supports the horse's head and is crucial for balance, especially when running.
- Body: The torso is muscular and powerful, providing the strength needed for speed and agility.
- Legs: Horses have long, strong legs that are essential for running. Each leg consists of various segments, including the upper leg (the femur), the lower leg (the tibia), and the hoof.
- Tail: The tail is not just for swatting away flies; it plays a role in balance and communication.
Understanding these parts will help you create a more realistic representation of a horse in motion. For instance, when a horse runs, its legs extend and contract in a rhythmic pattern. The front legs move forward while the back legs push off the ground, creating a powerful propulsion. By grasping this movement, you can depict your horse with a sense of dynamism and energy.
To delve deeper into the anatomy, consider the following proportions that define a horse:
| Body Part | Proportion |
|---|---|
| Head to Neck | 1:2 |
| Neck to Body | 1:3 |
| Body Length | Should be approximately 2.5 times the height at the withers |
| Leg Length | About 50% of the total height |
By keeping these proportions in mind, you will be better equipped to sketch a horse that not only looks authentic but also captures the spirit of this incredible animal. Remember, every artist has their own style, but the foundation of understanding anatomy will elevate your work to new heights.
So, as you prepare to put pencil to paper, think about the anatomy of the horse. Visualize how each part works in harmony to create that stunning image of a running horse. This knowledge will not only enhance your artistic skills but also deepen your appreciation for these majestic creatures.
Q: Do I need to know horse anatomy to draw a horse?
A: While it’s not mandatory, understanding horse anatomy will significantly improve your ability to draw realistic horses. It helps you capture their movement and proportions accurately.
Q: What if I can’t find references for horse anatomy?
A: There are many resources available online, including videos, diagrams, and books specifically focused on horse anatomy. You can also observe horses in real life or visit a local stable.
Q: How can I practice drawing horses effectively?
A: Start with basic shapes and gradually add details. Use references, practice regularly, and don’t hesitate to sketch from different angles to improve your understanding of the horse’s form.
Gathering Your Materials
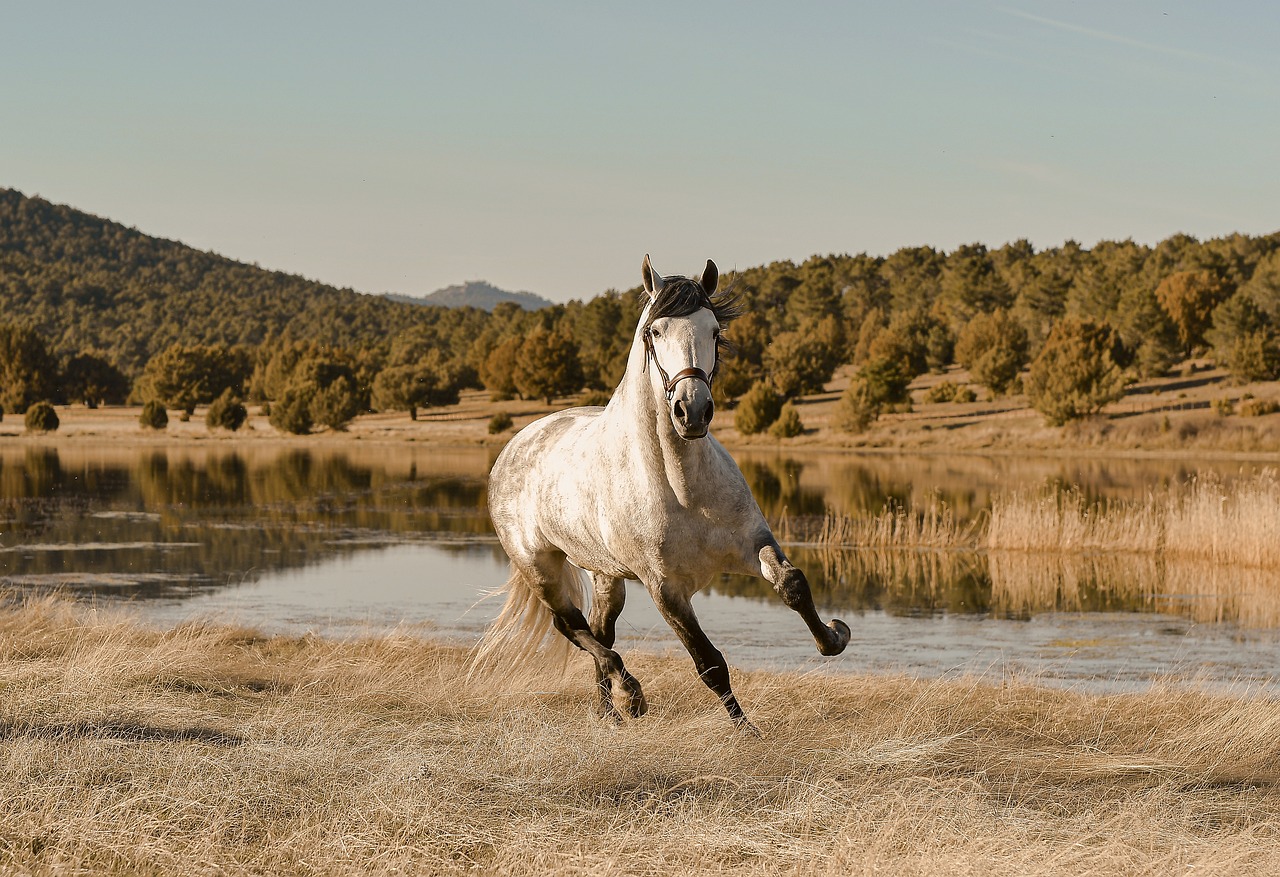
When it comes to drawing a running horse, gathering the right materials is a crucial first step. Just like a chef needs the right ingredients to whip up a delicious meal, an artist requires quality tools to create a stunning piece of art. The materials you choose can significantly impact the final outcome of your drawing, so let’s dive into what you’ll need to bring your vision to life.
First and foremost, you’ll want to select a variety of drawing tools. Here’s a quick rundown of essential items that should be in your arsenal:
- Pencils: A range of pencils from hard (H) to soft (B) will allow you to create different shades and textures. For instance, use a 2B pencil for darker lines and a 4H for lighter, finer details.
- Erasers: Both kneaded and regular erasers are important. Kneaded erasers are fantastic for lifting graphite without damaging the paper, while regular erasers can help you clean up larger areas.
- Blending Stumps: These tools are perfect for smoothing out your pencil strokes and creating soft shadows.
Next up, let’s talk about paper types. The paper you choose can make a world of difference in how your drawing turns out. For drawing a running horse, you might want to opt for:
| Paper Type | Description | Best For |
|---|---|---|
| Sketch Paper | Lightweight and inexpensive, great for practice. | Initial sketches and rough drafts. |
| Drawing Paper | Medium-weight with a slight texture, ideal for detailed work. | Final drawings and detailed illustrations. |
| Watercolor Paper | Heavyweight and textured, perfect for mixed media. | Adding watercolor effects to your drawings. |
Additionally, consider the texture of the paper. A smooth surface is excellent for fine details, while a textured surface can add depth and interest to your work. It’s like choosing between a smooth canvas and a rough one; each will yield a different style of art.
Lastly, don’t forget about your workspace. A clean, organized area can enhance your creativity and keep you focused. Make sure to have good lighting, a comfortable chair, and enough space to spread out your materials. Think of it as setting the stage for your artistic performance—everything should be in its place to help you shine!
In summary, gathering your materials is the first step in your artistic journey. With the right tools and a well-prepared workspace, you’re setting yourself up for success as you embark on the exciting challenge of drawing a running horse.
Q: What type of pencil is best for beginners?
A: A good starting point is to use a 2B pencil, as it provides a nice balance between hardness and darkness, making it easier to create both light and dark lines.
Q: Can I use regular printer paper for drawing?
A: While you can use printer paper, it’s not ideal for detailed work. Drawing paper is recommended as it can handle shading and erasing better.
Q: How do I choose the right workspace?
A: Look for a quiet, well-lit area where you can sit comfortably and have enough room to spread out your materials. Keeping your workspace organized will also help you stay focused.
Essential Drawing Tools
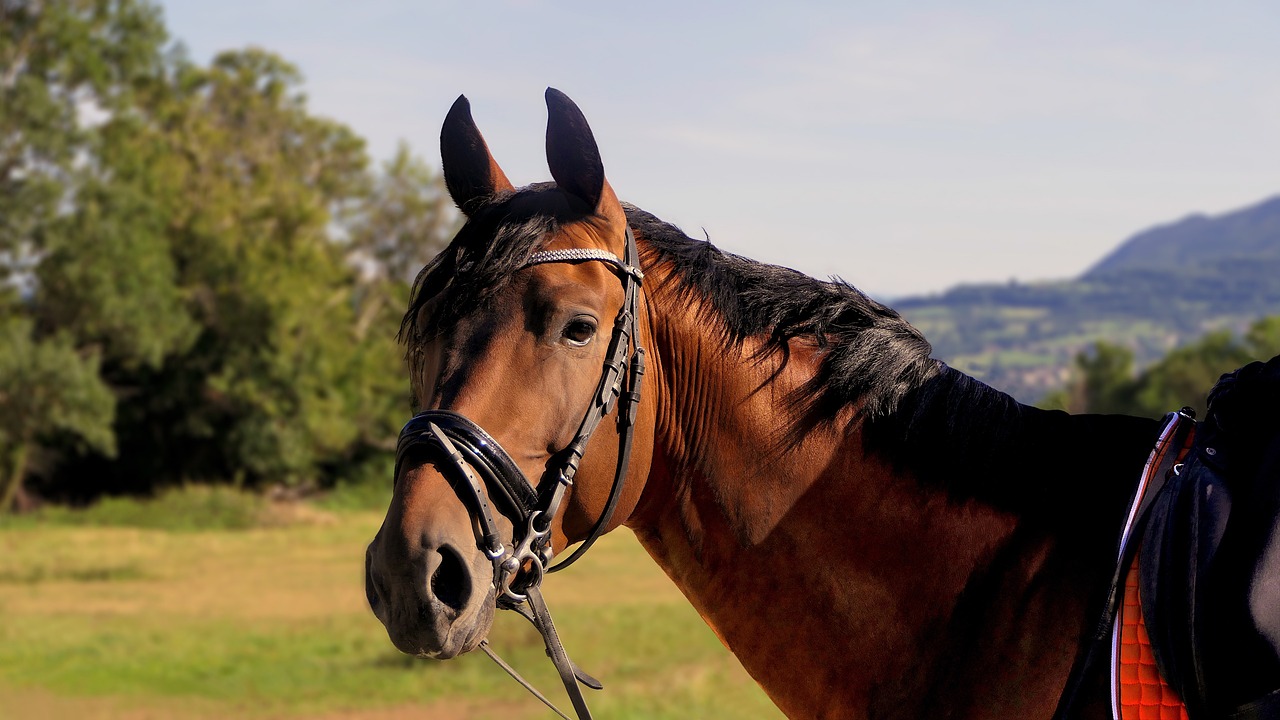
When it comes to drawing a running horse, having the right tools can make all the difference. Think of your drawing tools as the foundation of your artwork; without them, you're building on shaky ground. You don't need a fancy studio filled with expensive equipment, but a few essential tools can help you bring your vision to life. Let's dive into the must-have items that every artist should consider when embarking on this creative journey.
First and foremost, you'll need a good set of pencils. Different pencil grades can offer varying levels of hardness and darkness, allowing you to achieve the depth and detail necessary for a realistic portrayal of a horse in motion. For instance, softer pencils like 2B or 4B are excellent for shading, while harder pencils like H or 2H are perfect for fine lines and details. It's a bit like cooking; the right ingredients can elevate a dish, and in drawing, the right pencils can elevate your artwork.
Next on the list is a reliable eraser. You might think that an eraser is just a backup plan, but in reality, it’s your best friend. It allows you to correct mistakes and refine your drawing as you go. A kneaded eraser can be particularly useful because it can be molded into different shapes, providing precision when you need to lighten specific areas without damaging the paper.
Speaking of paper, the type you choose can significantly affect your artwork. Not all paper is created equal! For drawing a running horse, consider using smooth drawing paper or bristol board. These types of paper allow for clean lines and smooth shading. If you're feeling adventurous, you might even explore textured paper, which can add an interesting dimension to your work. Just remember, the paper you choose should complement the tools you’re using; it's all about finding that perfect match.
In addition to pencils and paper, having a blending tool can help you achieve smoother transitions in your shading. Blending stumps or tortillons are fantastic for this purpose. They allow you to blend graphite seamlessly, creating a more realistic look that mimics the natural muscle definition of a horse. Imagine the way light reflects off a horse's coat; using a blending tool can help you capture that essence beautifully.
Lastly, don’t underestimate the power of reference images. Studying photographs or observing real horses can provide invaluable insights into their anatomy and movement. It’s like having a personal coach guiding you through the process. By analyzing these images, you can better understand the subtleties of a horse's form, which will enhance the accuracy and dynamism of your drawing.
In summary, while the artistic process can be daunting, having the right tools at your disposal can make it a lot easier and more enjoyable. So, gather your pencils, erasers, paper, blending tools, and reference images, and get ready to unleash your creativity! Remember, every great artist started with simple tools and a vision. Now, it’s your turn to bring your vision of a running horse to life!
- What type of pencils are best for drawing a horse? Generally, a combination of soft and hard pencils, such as 2B for shading and H for fine details, works well.
- Can I use regular printer paper for drawing? While you can, it’s better to use smooth drawing paper or bristol board for better results.
- How important is it to have reference images? Reference images are crucial as they provide insights into anatomy and movement, helping you achieve a more realistic drawing.
- What is the best way to blend pencil shading? Using blending stumps or tortillons can create smooth transitions in your shading.
Choosing the Right Pencils
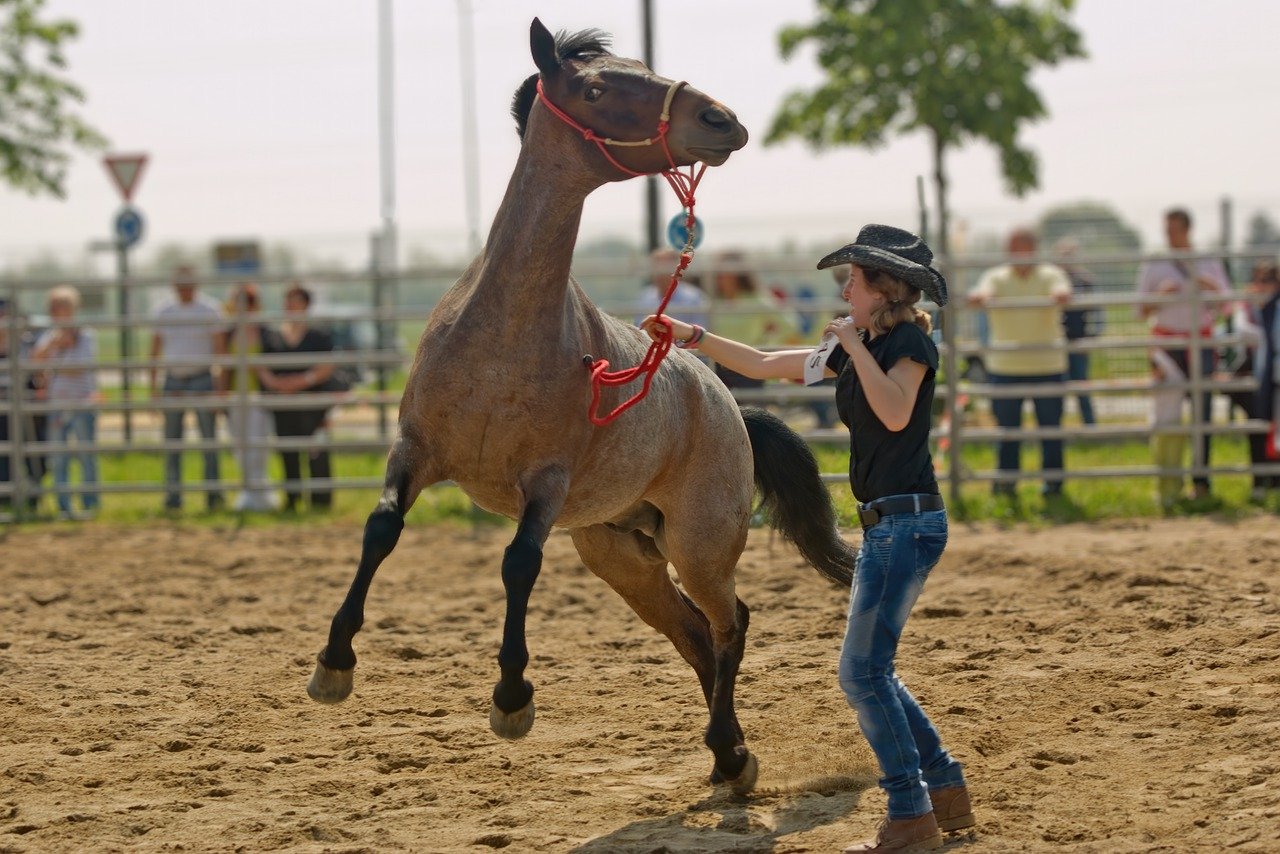
When it comes to drawing, the choice of pencil can make a world of difference in the outcome of your artwork. Think of your pencils as the brushes of a painter; each one has its own unique purpose and effect. In the world of drawing, pencils come in various grades, each indicating the hardness or softness of the lead. This grading system ranges from H (hard) to B (black), with HB being the middle ground. Understanding this hierarchy is essential for achieving the desired shading and detail in your drawing.
For a dynamic subject like a running horse, you'll want to have a selection of pencils on hand. Here’s a quick breakdown of the types you might consider:
- H Pencils: These are great for fine lines and details, perfect for sketching the initial outline of your horse.
- HB Pencils: The all-purpose pencil, ideal for general sketching and shading.
- B Pencils: These softer pencils allow for darker lines and richer shading, which can help to convey the depth and texture of the horse's coat.
Moreover, the pencil's tip plays a significant role in your drawing experience. A sharpened tip is essential for creating precise lines, while a blunt tip is better for shading. As you draw, you may find yourself switching between different pencils to achieve the desired effect. For instance, you might start with a 2H pencil for the initial outline, then transition to a 4B for shading the muscles and creating depth.
It's also worth considering the pencil's grip. A comfortable grip can make all the difference during long drawing sessions. Look for pencils that feel good in your hand, as this will help you maintain control and precision. Some artists even prefer mechanical pencils for their consistent line width and the ability to keep a sharp point without frequent sharpening.
Lastly, don’t forget about quality. Investing in high-quality pencils can elevate your artwork significantly. Brands like Faber-Castell and Derwent are renowned for their reliable and smooth application, making them favorites among artists. Remember, the right pencil can help you capture the essence of a running horse with all its grace and dynamism!
Q: What is the best pencil for beginners?
A: For beginners, an HB pencil is a great starting point as it offers a balance of hardness and softness, making it versatile for various techniques.
Q: How do I choose the right pencil for shading?
A: Softer pencils, like 2B or 4B, are excellent for shading as they produce darker marks and allow for smoother gradients.
Q: Is it necessary to use different grades of pencils?
A: While it's not strictly necessary, using a variety of pencil grades can enhance your drawing by providing more depth and detail.
Paper Types and Textures
When it comes to drawing a running horse, the choice of paper is just as crucial as the drawing tools you select. The right paper type can significantly influence the outcome of your artwork, affecting everything from the texture of the lines to the overall vibrancy of your drawing. Here are some common types of paper you might consider:
- Sketch Paper: This is often lightweight and has a smooth texture, making it ideal for quick sketches and practice. However, it may not hold up well under heavy shading or erasing.
- Drawing Paper: Heavier than sketch paper, drawing paper comes in various textures, from smooth to rough. It’s perfect for detailed work and can handle multiple layers of shading.
- Watercolor Paper: If you’re planning to use wet media like ink or watercolor, this paper is your best bet. It is thick and textured, allowing for beautiful washes and blending.
- Canvas Paper: For a more painterly approach, canvas paper mimics the texture of a canvas and is great for mixed media. It can add a unique depth to your horse drawing.
Each type of paper has its own unique qualities, so understanding these differences will help you choose the best option for your artistic vision. For example, if you’re looking to capture the dynamism of a running horse, a textured drawing paper can enhance the sense of movement with its ability to hold pencil and charcoal marks effectively. On the other hand, if you prefer a cleaner look with less texture, smooth paper might be your go-to choice.
Additionally, the texture of your paper can influence how your materials interact with it. A rough texture can create interesting effects with shading and highlights, while a smooth surface allows for finer details. It’s essential to experiment with different papers to find what works best for your style. Remember, the goal is to create an artwork that not only looks good but also feels good to create!
Ultimately, the paper you choose should resonate with your artistic intent and the techniques you plan to use. Don’t hesitate to try out a few different types and see how they affect your drawing process. You might just discover a new favorite!
Q: What type of paper is best for beginners?
A: For beginners, a medium-weight drawing paper is often the best choice. It offers enough texture to hold pencil marks while still being forgiving for erasing.
Q: Can I use regular printer paper for drawing?
A: While you can use printer paper, it is not ideal for detailed work or shading, as it is thin and may tear easily. It's better suited for practice sketches.
Q: How do I know what texture is right for my drawing?
A: The right texture depends on your drawing style and medium. Experiment with different textures to see which one enhances your artwork the most.
Setting Up Your Workspace
Creating the perfect workspace is like setting the stage for a fantastic performance; it can greatly enhance your drawing experience and creativity. Imagine sitting down to draw, surrounded by chaos and clutter. It can be distracting, right? Thus, a well-organized workspace is essential for focusing on your art. Start by selecting a quiet corner of your home or studio where you can work uninterrupted. Natural light is a huge plus, as it not only illuminates your workspace but also helps you see the true colors and details of your drawing materials.
Next, consider your drawing surface. A sturdy table or desk is crucial. You want to ensure that your drawing surface is at a comfortable height to prevent strain on your back and neck. If you can, invest in an adjustable drawing table that allows you to change angles, which can be particularly helpful when sketching dynamic poses like a running horse.
Now, let’s talk about organization. Keeping your materials within arm's reach can save you a lot of time and frustration. Use drawers, containers, or even a rolling cart to store your tools. Here’s a quick list of essential items to have on hand:
- Pencils of varying grades
- Erasers (both kneaded and regular)
- Pens or fine liners for outlining
- Blending stumps for shading
- Reference images or books
Additionally, consider adding a comfortable chair that supports good posture. After all, you might be spending hours immersed in your artwork, so comfort is key. To further enhance your workspace, think about incorporating some personal touches. Maybe a plant for a splash of life, or your favorite art prints on the wall for inspiration. These elements not only beautify your space but also create an environment that sparks creativity.
Lastly, ensure that your workspace is free from distractions. This might mean putting your phone on silent or using noise-canceling headphones to drown out background noise. The goal is to create a sanctuary where your imagination can run wild, much like the horse you’re about to draw. So, take the time to set up your workspace thoughtfully, and you'll find that your drawing sessions become much more enjoyable and productive.
Sketching the Basic Shapes
When it comes to drawing a running horse, starting with basic shapes is a game changer. Think of it like building a house; you need a solid foundation before you can add the beautiful details. By breaking down the horse's form into simple geometric shapes, you can create a more accurate and proportionate representation. This approach not only simplifies the drawing process but also allows you to focus on the horse's dynamic pose without getting overwhelmed by intricate details right from the start.
To begin, visualize the horse's body as a combination of basic shapes:
- Oval for the body
- Circles for the joints (shoulders, knees, etc.)
- Cylinders for the legs
- Triangles for the head and ears
By combining these shapes, you can create a rough outline of the horse. Start with an oval for the body, placing it horizontally to represent the horse's length. Then, add a smaller oval or circle at one end for the chest area and another for the hindquarters. Next, sketch in the legs using elongated cylinders, ensuring they are proportionate to the body. The joints can be marked with circles to help visualize their placement.
As you establish these shapes, keep an eye on the horse's posture. Is it galloping, trotting, or standing still? Each movement will alter the angles and positions of the basic shapes. For instance, if the horse is running, the front legs will be extended forward while the back legs push off the ground, creating a sense of motion that you can capture in your sketch.
Once you have the basic shapes in place, it’s time to refine them. Begin by adjusting the proportions and angles to better reflect the horse's natural stance. Remember, horses are not just a collection of shapes; they are living creatures with unique forms and expressions. Pay close attention to the muscle structure and how it affects the overall shape. This is where your understanding of horse anatomy comes into play, helping you to modify the basic shapes into a more realistic representation.
In summary, sketching the basic shapes is an essential step in drawing a running horse. It sets the groundwork for your artwork and allows you to focus on proportions and movement without getting bogged down in details. Once you have your foundational shapes, you can move on to adding the finer details that will truly bring your horse to life.
Creating the Horse's Outline
When it comes to drawing a running horse, establishing a solid outline is akin to laying the foundation of a house; without it, everything else might crumble. Start by visualizing the horse's dynamic pose. The **first step** is to sketch a few simple shapes that represent the horse's body. Think of the horse as a series of interconnected forms: a large oval for the body, smaller ovals for the head and hindquarters, and elongated shapes for the legs. This method not only simplifies the process but also helps maintain proportion and perspective.
Next, focus on the **head and neck**. The horse's neck is long and muscular, so it should be drawn with a gentle curve leading up to the head. Pay attention to the angles; horses often have a slight downward tilt in their neck when running. As you sketch, keep in mind the **horse's anatomy**—the neck connects to the body at the withers, which is the highest point of the horse's back. Use light strokes to create these outlines, as they can be adjusted later.
Once the basic shapes are in place, it’s time to refine your outline. Start by defining the **legs**. Horses have strong, long legs that are essential for their speed. Draw the forelegs slightly bent at the knee, which adds a sense of motion, while the hind legs should be positioned in a way that suggests propulsion. Remember, horses have a distinct **gait**; their legs move in a coordinated rhythm that you should try to capture in your drawing. To ensure accuracy, refer to photographs or observe real horses if possible.
As you develop the outline further, don’t forget to include the **tail and mane**. These elements are crucial for conveying movement. The tail should be flowing behind the horse, reflecting the speed of its run, while the mane may be tossed by the wind, adding to the overall dynamism of your drawing. When you sketch these features, think of them as extensions of the horse's body; they should enhance the sense of motion rather than detract from it.
Finally, take a step back and assess your outline. Look for any areas that may need adjustments in proportion or angle. This is the time to make necessary corrections before moving on to the next stage of your drawing. Remember, the outline serves as your guide, so it should be as accurate as possible to ensure a successful final piece. By following these steps, you’ll create a strong foundation for your running horse drawing, setting the stage for adding details and depth in the subsequent phases.
- What is the best way to start drawing a horse? Begin with basic shapes to outline the horse's body, then refine the proportions and details.
- How can I improve my horse drawing skills? Practice regularly, study horse anatomy, and observe real horses or reference images for better accuracy.
- What materials do I need for drawing a horse? Essential materials include quality pencils, erasers, and textured paper that suits your drawing style.
- How important is shading in horse drawings? Shading adds depth and realism, making your drawing more lifelike and three-dimensional.
Adjusting Proportions and Angles
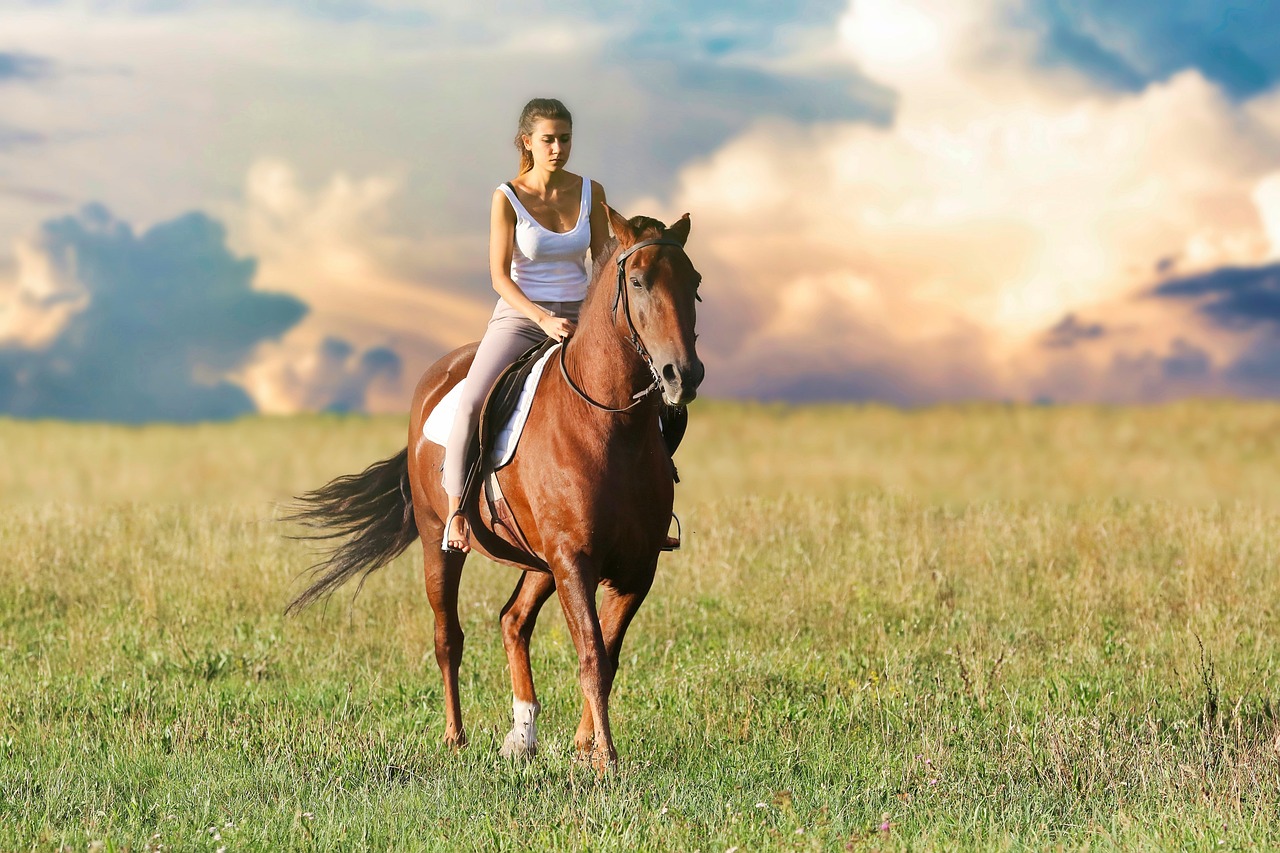
When it comes to drawing a running horse, adjusting the proportions and angles is like tuning a musical instrument; it can make all the difference in achieving a harmonious and dynamic piece of art. Horses are not just simple shapes; they are complex beings with intricate movements and structures. To capture that essence, start by analyzing your initial sketch. Are the legs too long or too short? Is the neck positioned correctly in relation to the body? These are crucial questions that can guide your adjustments.
One effective technique is to use reference images. Look at photographs or videos of horses in motion to understand how their bodies shift and change angles while running. Pay attention to how the front legs extend forward while the hind legs push off the ground. This dynamic movement can be captured by adjusting the angles of the legs in your drawing. For instance, the front leg that is in motion will appear straighter, while the hind leg that is pushing off will have a more bent angle. This contrast creates a sense of action and realism.
Another important aspect to consider is the torso's angle. The horse's body should lean slightly forward to convey speed and momentum. Imagine the horse as a coiled spring ready to unleash its energy. To achieve this effect, tilt the torso and head slightly downward while keeping the legs aligned with this new angle. This adjustment not only enhances the sense of movement but also adds a layer of excitement to your artwork.
To visualize these adjustments, consider creating a comparison table that outlines the differences between your initial sketch and the adjusted version. This can help you see the changes more clearly and understand how small tweaks can significantly impact the overall composition:
| Aspect | Initial Sketch | Adjusted Sketch |
|---|---|---|
| Front Leg Angle | Too straight | More extended forward |
| Hind Leg Position | Too straight | Bent at the knee |
| Torso Angle | Neutral | Slightly tilted forward |
| Head Position | Level | Slightly lowered |
As you make these adjustments, don’t hesitate to erase and redraw as needed. The beauty of drawing is that it is a process, and refinement is part of that journey. Remember, the goal is to create a sense of movement and life in your drawing, so embrace the changes and let your creativity flow. Each adjustment you make brings you one step closer to capturing the majestic essence of a running horse.
- How do I know if my proportions are correct? The best way to check proportions is to compare them with reference images and use guidelines to ensure everything is in harmony.
- What should I focus on when adjusting angles? Focus on the natural movement of the horse. Pay attention to how the legs and body interact during running.
- Can I use digital tools to adjust my drawing? Absolutely! Digital drawing tools allow for easy adjustments and can help you visualize changes quickly.
Adding Details and Features
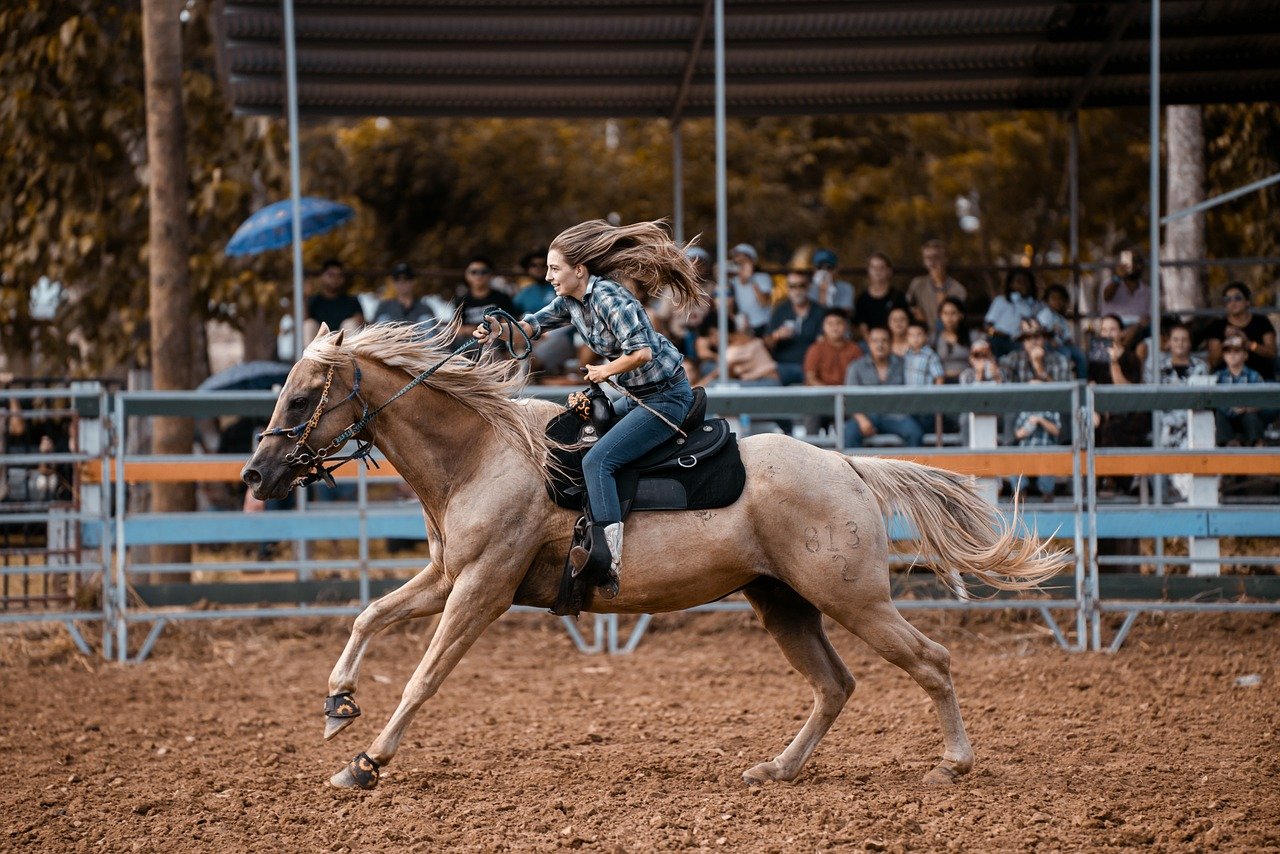
Once you've laid down the basic shapes of your running horse, it's time to dive into the exciting part—adding details and features that breathe life into your drawing. This stage is where your horse transforms from a simple outline into a dynamic, expressive being. Every detail counts, and each stroke contributes to the overall realism of your artwork. So, let’s break down how to enhance your drawing with intricate features that capture the essence of a horse in motion.
First and foremost, focus on the horse's facial features. The eyes are often considered the windows to the soul, and in the case of a horse, they can convey a range of emotions from calmness to excitement. To draw the eyes effectively, pay attention to their shape and position. Horses have large, expressive eyes that can be quite captivating. Start with a basic oval shape, then add the eyelids and pupil, ensuring they reflect light appropriately. Remember, a well-drawn eye can make your horse appear more lifelike and engaging.
Next, let’s talk about the mane and tail. These elements are crucial for depicting the horse's movement and grace. The mane should flow naturally, suggesting speed and energy. Use long, sweeping strokes to create the illusion of flowing hair. Vary the pressure on your pencil to achieve different shades and textures, which will add depth to your drawing. The tail should mimic the motion of the mane, appearing as if it’s being swept back by the wind as the horse gallops. By capturing the movement of these features, you enhance the dynamism of your artwork.
Additionally, don't overlook the horse's muscular structure. Understanding where the muscles are located and how they flex during movement can significantly improve your drawing. Study images of horses in motion to see how their muscles engage. For example, the hindquarters should appear powerful and defined, while the front legs should exhibit strength and grace. By emphasizing these muscles, you can convey a sense of power and speed, making your horse look like it’s truly running. Use light and shadow to accentuate these features, creating a three-dimensional effect.
When adding details, also consider the texture of the horse's coat. Horses have distinct coats that vary in color and texture, from sleek and shiny to rough and shaggy. To replicate this, use short, quick strokes to mimic the hair's direction. Vary your pencil pressure to create highlights and shadows, giving the coat a realistic sheen. This attention to detail will make your drawing stand out and feel more authentic.
Lastly, don’t forget about the hooves! They are often overlooked but play a significant role in grounding your horse in the drawing. Pay attention to their shape and how they connect to the legs. Adding details like the texture of the hoof and the way it interacts with the ground can provide a sense of realism and stability to your artwork. Remember, every detail matters, and by focusing on these features, you'll elevate your drawing from ordinary to extraordinary.
- What materials do I need to add details to my horse drawing?
You will need quality pencils, erasers, and possibly blending tools to achieve smooth transitions and textures. - How can I make the horse's expression more lifelike?
Focus on the eyes and mouth; slight adjustments can dramatically change the horse's expression. Study reference images for inspiration. - Should I add color to my drawing?
Adding color can enhance your artwork, but it’s essential to master shading and details first. Consider using colored pencils or watercolors for a vibrant finish.
Capturing the Horse's Expression
When it comes to drawing a horse, capturing its expression is paramount. The eyes, ears, and mouth of a horse can convey a myriad of emotions, from excitement to calmness, and understanding these cues is essential for creating a lifelike representation. Just like humans, horses have unique personalities, and their expressions can tell a story. So, how do you go about illustrating this? Let’s dive into the details!
First, focus on the horse's eyes. The eyes are often considered the windows to the soul, and in horses, they can reflect their mood and energy level. A horse that is alert and excited will have wide, bright eyes, while a relaxed horse may have softer, more closed eyes. Pay attention to the shape and size of the eyes; a slight tilt can suggest enthusiasm or curiosity. To emphasize the emotion, you can use darker shading around the eyes to create depth and contrast.
Next, consider the position of the horse's ears. Ears that are pointed forward indicate interest or alertness, while ears that are pinned back can signal irritation or discomfort. This subtle detail can dramatically change the overall expression of your drawing. When sketching, make sure to capture the ears in a natural position, as they often move independently based on what the horse is focusing on.
Another important aspect is the horse's mouth. A relaxed mouth with slightly parted lips can suggest calmness, while a tense mouth with drawn-back lips may indicate stress or excitement. You can enhance the expression by incorporating slight variations in the mouth's position. Adding detail to the nostrils can also contribute to the overall feel—flared nostrils can suggest excitement or exertion, especially in a running pose.
To help you visualize the different expressions, here’s a quick table summarizing how various features contribute to a horse's emotional state:
| Feature | Expression | Suggested Drawing Techniques |
|---|---|---|
| Eyes | Alert/Excited | Wider shape, bright highlights |
| Ears | Curious | Pointed forward, relaxed positioning |
| Mouth | Calm | Slightly parted lips, soft lines |
| Nostrils | Excited | Flared, detailed shading |
Incorporating these elements will not only make your drawing more expressive but also breathe life into the horse you are depicting. Remember, practice is key! Spend time observing real horses or reference photos to understand how they express themselves in different situations. The more you practice, the more natural it will become to capture these subtle yet powerful expressions in your artwork.
Lastly, don’t forget that adding a personal touch to your drawing can enhance its uniqueness. Consider the horse's background or story; perhaps it’s a racehorse on the verge of a big win or a beloved pet enjoying a sunny day. Allow your imagination to flow and let that influence the expression you choose to depict.
- How can I improve my horse drawing skills? Practice regularly by sketching real horses or using reference images. Focus on different aspects like anatomy, movement, and expression.
- What materials do I need for drawing horses? Basic materials include pencils, erasers, quality paper, and possibly charcoal or pastels for shading.
- How do I make my horse drawings look more realistic? Pay attention to details such as light and shadow, texture, and the horse's anatomy. Use shading techniques to create depth.
Drawing the Mane and Tail
When it comes to capturing the essence of a running horse, the mane and tail play a pivotal role. They are not just mere accessories; they are extensions of the horse's personality and the movement it embodies. A flowing mane and tail can convey speed, grace, and power, making them essential elements in your drawing. To achieve this, you need to focus on the direction of the hair, the flow, and the overall volume.
Start by observing how the mane and tail react to the horse's movement. When a horse runs, the mane often flows backward, while the tail may be held high or sways side to side. This dynamic motion can be illustrated by using long, sweeping strokes in your drawing. Don't hesitate to experiment with different styles, as horse manes can vary significantly between breeds. For instance, a Thoroughbred may have a sleek, short mane, while a Arabian typically boasts a long, flowing mane that cascades beautifully.
As you sketch, consider breaking down the mane and tail into basic shapes. This approach simplifies the drawing process. For example, you can start with a few curved lines to represent the flow of the mane. Then, gradually add layers to create depth and texture. Here’s a simple technique to remember:
- Layering: Start with the base layer of hair, then add additional layers on top for volume.
- Direction: Follow the natural direction of the hair as it flows with the horse's movement.
- Texture: Vary your pencil pressure to create different textures, from soft and wispy to thick and coarse.
Additionally, don’t forget to incorporate highlights and shadows in the mane and tail. This will give your drawing a sense of realism and dimension. Use a softer pencil for highlights, and apply gentle strokes to create the illusion of light reflecting off the hair. Conversely, for shadows, you can use a harder pencil and apply more pressure to give depth to the strands.
Lastly, take a moment to step back and assess your work. Look for areas that may need more definition or adjustments in flow. Remember, the goal is to create a harmonious balance between the horse's body and its mane and tail, allowing them to enhance the overall composition of your artwork.
Q1: What are the best tools to use for drawing a horse's mane and tail?
A1: Using a combination of pencils with varying hardness, blending stumps, and erasers can help achieve the desired texture and depth in the mane and tail.
Q2: How can I make the mane and tail look more realistic?
A2: Focus on the direction of the hair, use layering techniques, and incorporate highlights and shadows to add realism.
Q3: Should I draw the mane and tail before or after the horse's body?
A3: It's often easier to sketch the horse's body first to establish proportions and then add the mane and tail to complement the pose.
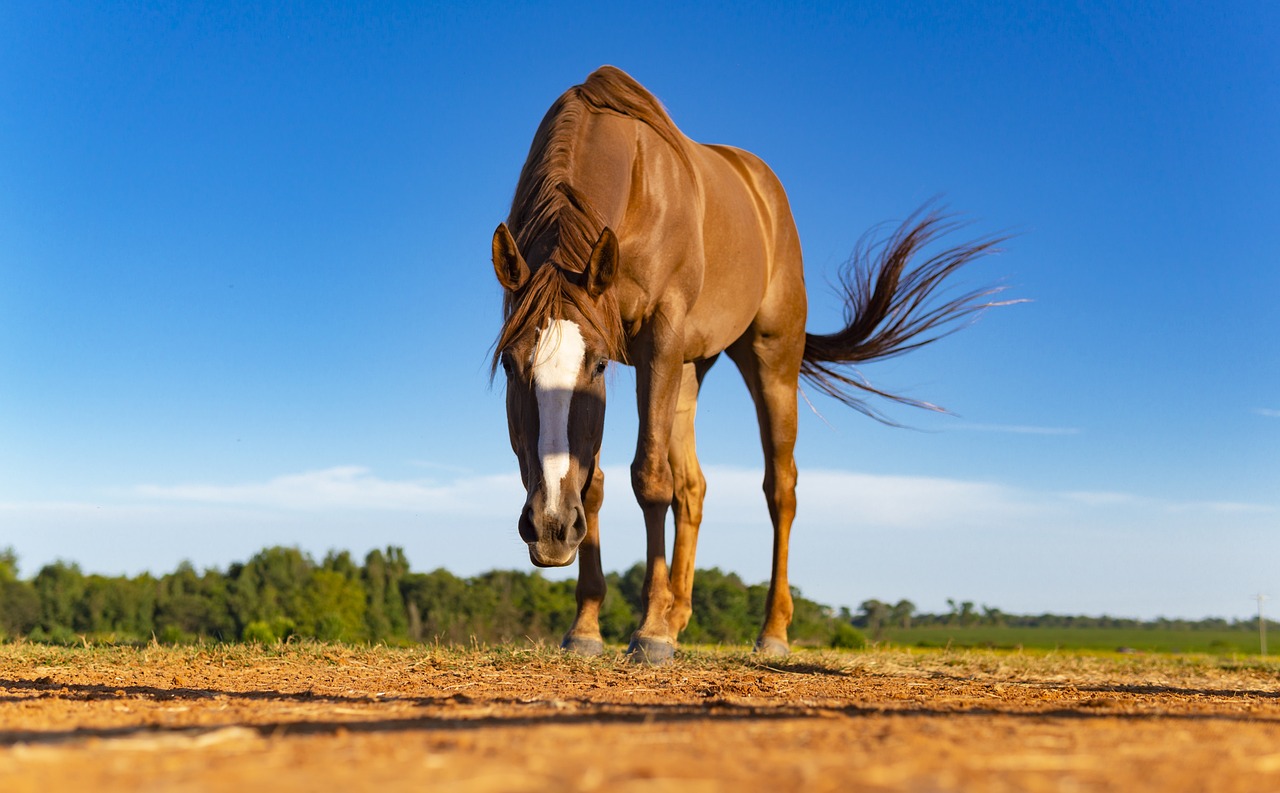
Shading and Texturing Techniques
When it comes to drawing a running horse, shading and texturing are the magic ingredients that transform your artwork from flat to phenomenal. Without these essential techniques, your horse may appear lifeless, lacking the depth and dynamism that a running pose demands. So, let’s dive into the world of shadows and textures, where you'll learn how to breathe life into your drawing!
First, understanding light and shadow is crucial. Think about how sunlight interacts with the horse’s body as it gallops. The muscles and curves will catch the light differently, creating highlights and shadows that define its form. To illustrate this, consider the following: when the light hits the horse's shoulder, it creates a bright spot, while the opposite side may be shrouded in shadow. This contrast is what gives your drawing dimension.
To effectively shade your horse, start by identifying your light source. Is it coming from the left, right, above, or below? Once you have this in mind, you can begin to map out where the highlights and shadows will fall. Using a range of pencil grades will allow you to create a gradient of tones, making your horse appear more three-dimensional. For example, use a harder pencil (like H or 2H) for light areas and a softer pencil (like B or 2B) for darker shadows. This technique will help you achieve a realistic effect.
Next, let’s talk about texture. The horse's coat is not just a solid color; it has depth and variation. To create this texture, you can employ several techniques:
- Cross-hatching: This involves drawing intersecting lines to build up shadow and texture.
- Stippling: Use dots to create shading and texture, which can be very effective for a more detailed look.
- Smoothing: Blend your pencil strokes using a blending stump or your finger to give the coat a softer appearance.
Combining these techniques will allow you to render a horse's coat that looks rich and lifelike. Remember, the goal is to mimic the natural flow of the hair, which can vary in length and direction, especially when the horse is in motion. Pay attention to how the mane and tail flow with the wind, and use your pencil to capture that movement.
Finally, don’t forget to add the finishing touches. Once you’ve laid down your shadows and textures, take a step back and assess your work. Sometimes, a little extra highlight on the horse's muscles or a few more shadows on the legs can make a world of difference. You want your horse to pop off the page, and a few well-placed details can achieve this effect.
Q: How do I know where to place shadows on my horse drawing?
A: The placement of shadows depends largely on your light source. Visualize where the light hits and where it is blocked by the horse's body, and shade accordingly.
Q: What tools are best for shading and texturing?
A: A variety of pencils (hard and soft), blending stumps, and erasers are essential. Additionally, consider using colored pencils or charcoal for added depth.
Q: Can I use digital tools for shading and texturing?
A: Absolutely! Digital art programs offer a plethora of tools for shading and texturing, such as brushes that mimic traditional techniques.
By mastering these shading and texturing techniques, you’ll not only enhance your drawing skills but also develop a deeper appreciation for the beauty of horses in motion. So grab your pencils, find your light source, and let your creativity gallop free!
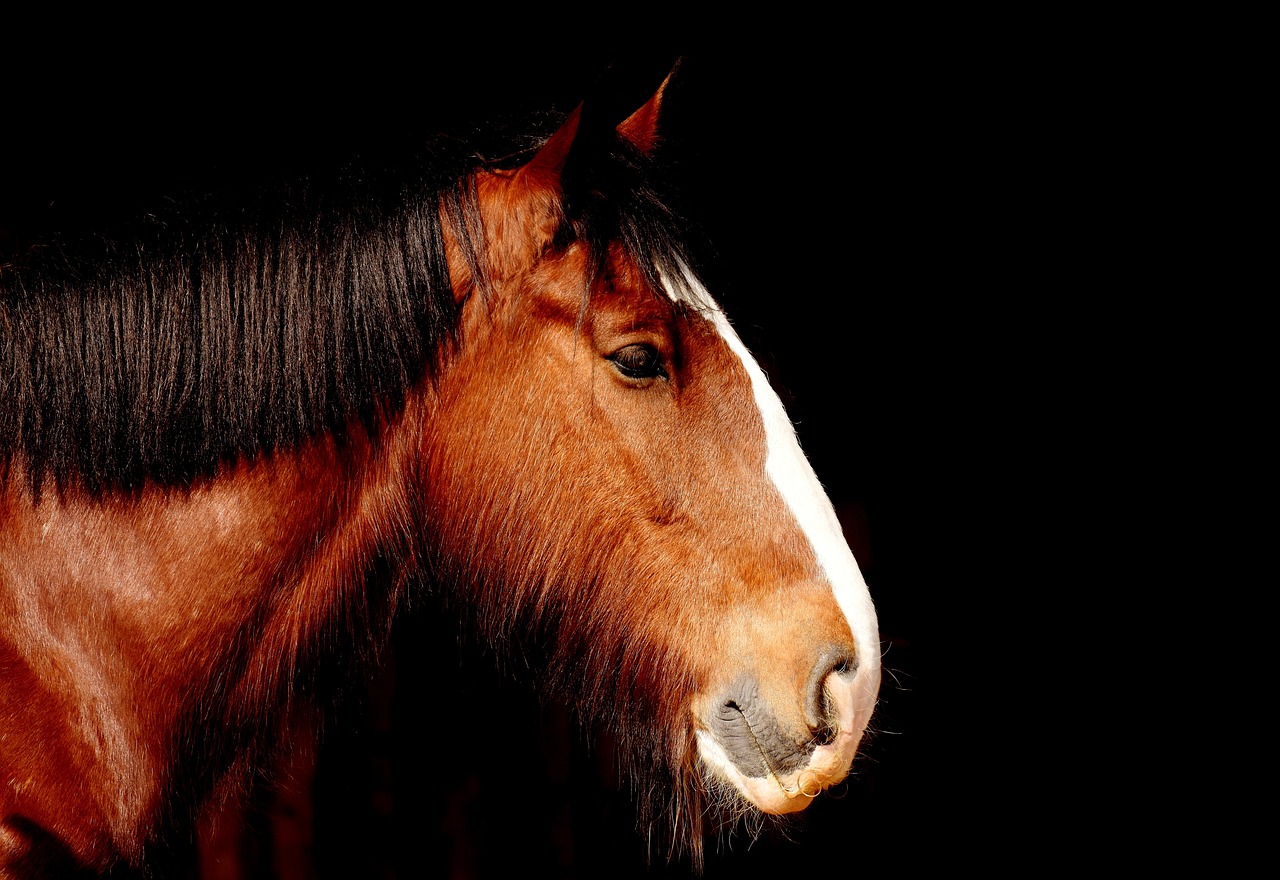
Understanding Light and Shadow
When it comes to drawing, light and shadow play a pivotal role in creating depth and realism. Imagine standing outside on a sunny day; the way shadows stretch and shift adds dimension to everything around you. Similarly, in your drawing, understanding how light interacts with the horse's body can transform a flat image into a vibrant representation. Light sources can be natural, like the sun, or artificial, such as lamps, and each affects your drawing differently.
To begin with, it's essential to identify your light source. Is it coming from the left, right, above, or below? This will dictate where the highlights and shadows fall on the horse's body. For instance, if the light is coming from above, the top of the horse's mane and back will be illuminated, while the underside of its belly and legs will be darker. Shadows are not just about darkness; they also have color and texture, depending on the surface they fall on. A shadow on grass will look different than one on a smooth pavement.
Consider using a simple technique called chiaroscuro, which means the use of strong contrasts between light and dark. This technique can add drama to your artwork, making it more captivating. You can practice this by taking a reference photo of a horse in sunlight and observing how the light creates shapes and forms. Notice the highlights on the horse's muscles and the deep shadows that define its structure. Pay attention to the transitions between light and shadow; these gradients can be subtle yet impactful.
Here are some tips to effectively incorporate light and shadow into your drawing:
- Observe Real Life: Spend time watching how light interacts with horses in various environments. Take notes or sketch quickly to capture the essence.
- Use Reference Images: Find photographs that exhibit clear light and shadow. Analyze them to see how the artist achieved depth.
- Practice Gradients: Use your pencils to practice creating smooth transitions between light and dark. This skill will be invaluable in your drawings.
To summarize, mastering light and shadow is about observation and practice. The more you understand how light behaves, the more effectively you can replicate it in your drawings. This knowledge will not only enhance the realism of your horse illustrations but also elevate your overall artistic skills. So, grab your pencils, choose a light source, and let the magic of light and shadow transform your artwork!
Q: How do I choose the right light source for my drawing?
A: Choose a light source that enhances the features you want to emphasize. Natural light often works best, but experimenting with different angles can yield interesting results.
Q: Can I use colored pencils to depict shadows?
A: Absolutely! Colored pencils can add a unique touch to your shadows, allowing you to create more vibrant and dynamic illustrations.
Q: What should I do if my shadows look too harsh?
A: If your shadows appear too harsh, try blending them with a blending stump or your finger. Softening the edges can create a more natural look.
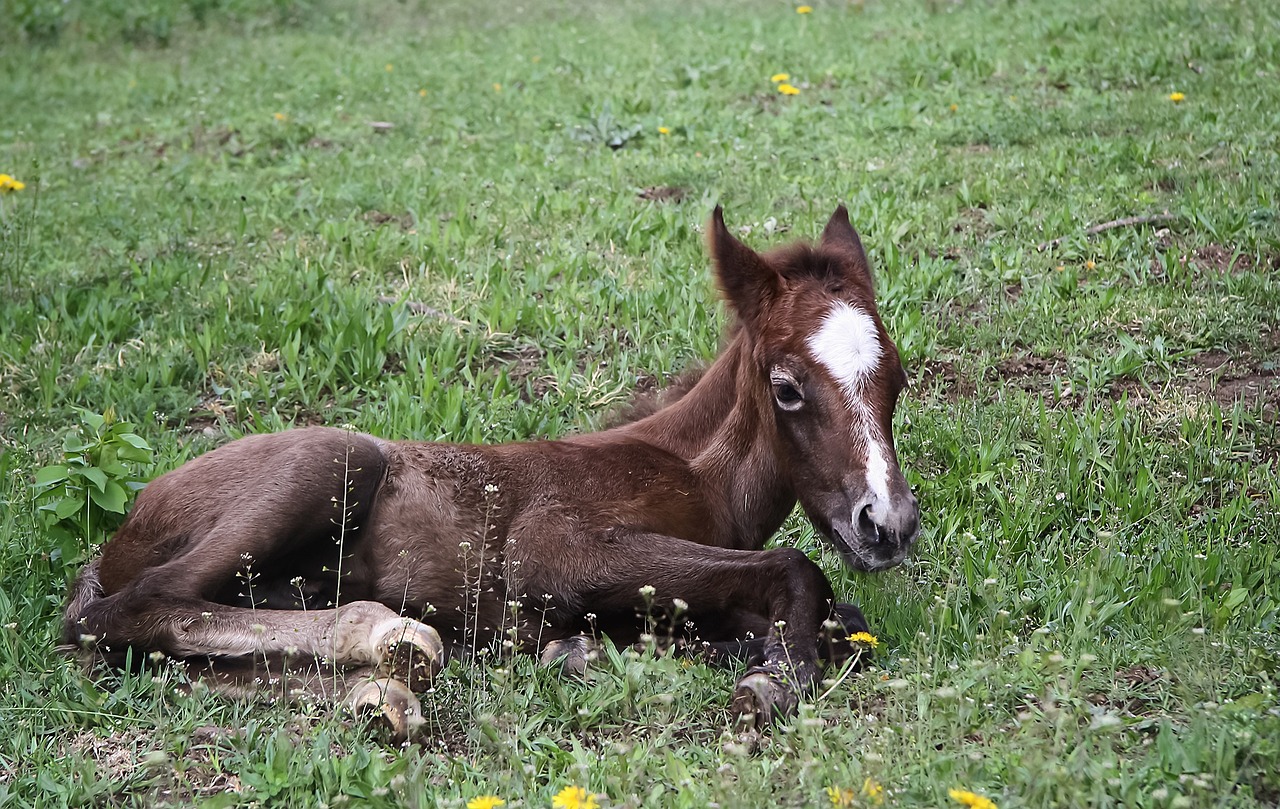
Creating Texture for Realism
When it comes to drawing a running horse, texture plays a pivotal role in bringing your artwork to life. It’s not just about getting the proportions right; it’s about capturing the essence of the horse’s coat, the flow of its mane, and the underlying muscle structure that defines its movement. To create a realistic texture, you need to understand how to represent the different surfaces that make up the horse's body. Think of it as building a cake—each layer adds depth and flavor to the final product.
One effective way to achieve this realism is by using various shading techniques that mimic the natural patterns of a horse’s coat. For instance, the coat often has a smooth, shiny appearance, especially in well-groomed horses. You can achieve this by employing a technique known as blending, which involves gently smudging your pencil strokes to create a soft transition between light and shadow. This method can help simulate the reflective quality of the horse's fur.
Additionally, consider the direction of your strokes. Horses have a natural grain to their coat, and replicating this grain can add an authentic touch to your drawing. For example, when drawing the body, use long, smooth strokes that follow the contour of the horse. Conversely, for the mane and tail, you’ll want to utilize dynamic, flowing strokes that convey movement. This contrast not only enhances realism but also adds a sense of energy to your artwork.
Another critical aspect of creating texture is understanding the light source in your drawing. Light will hit the horse's body at different angles, creating highlights and shadows that define its shape. To effectively portray this, you can create a
| Body Part | Light Area | Shadow Area |
|---|---|---|
| Back | Top of the back where light hits | Underneath the belly |
| Legs | Front of the legs exposed to light | Back of the legs |
| Face | Forehead and cheekbones | Under the jaw and around the eyes |
Paying attention to these details will help you create a more lifelike representation of the horse. Remember, it's all about layering. Start with a base layer of light shading, then gradually build up darker areas to create depth. Don’t be afraid to experiment with different tools, such as blending stumps or even your fingers, to achieve the desired texture.
Finally, don’t forget to step back and assess your work periodically. Sometimes, a fresh perspective can reveal areas where texture might be lacking or where additional detail could enhance the overall appearance. As you refine your drawing, keep in mind that practice makes perfect. The more you draw, the more intuitive your understanding of texture will become.
- What materials are best for creating texture in drawings? Pencils, blending stumps, and different types of paper can significantly affect texture.
- How can I improve my shading techniques? Practice different shading techniques, such as cross-hatching and stippling, to find what works best for you.
- Is it necessary to use color to create texture? While color can enhance texture, it’s possible to create realistic textures using just pencil shading.
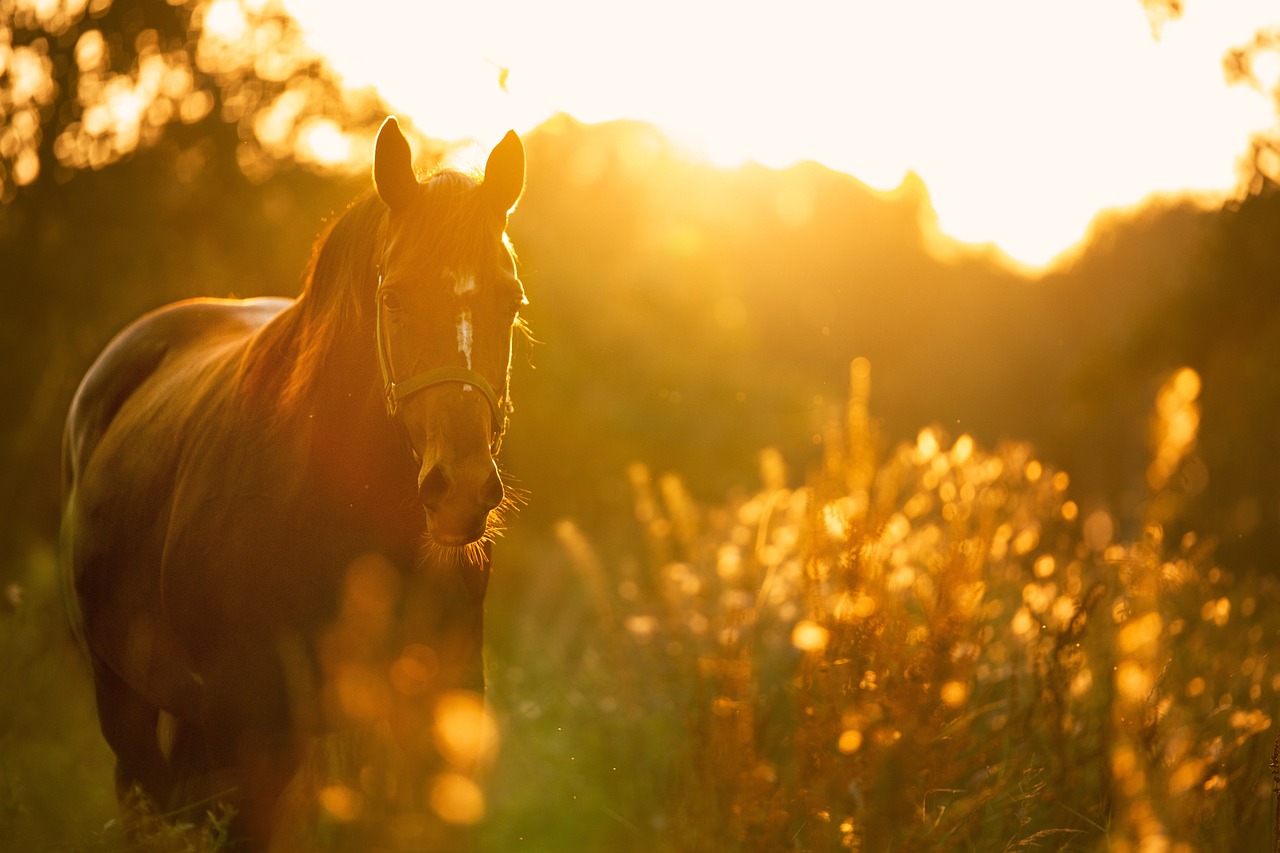
Final Touches and Corrections
Once you’ve completed the initial stages of your drawing, it’s time to focus on the . This crucial phase can truly elevate your artwork from merely good to absolutely stunning. Think of it like a chef adding the final seasoning to a dish—these finishing touches can make all the difference in flavor and presentation. So, what should you be looking for as you review your work?
First, take a step back and look at your drawing from a distance. This will help you see the overall composition and identify any areas that might need adjustment. Are the proportions correct? Does the horse appear dynamic and lifelike? Sometimes, the smallest changes can have a huge impact. For instance, if the horse's legs seem too short or the angle of the neck feels off, now is the time to make those adjustments.
Next, focus on the details that can enhance the realism of your drawing. Pay attention to the shadows and highlights. Are they consistent with the light source you’ve established? Adding or softening shadows can create depth, making your horse appear more three-dimensional. Similarly, highlights can bring out the sheen of the coat, giving it that realistic touch. Don't hesitate to use your eraser to lift off some graphite for highlights or to deepen shadows with a softer pencil.
Another essential aspect is the horse's expression. The eyes, in particular, should reflect the spirit and energy of the animal. Are they lively and expressive? If not, consider refining them further. Sometimes, just a little tweak in the shape or shading of the eyes can breathe life into your drawing.
Finally, once you feel satisfied with your adjustments, it’s important to preserve your artwork. This ensures that all your hard work won’t fade away over time. Consider using a fixative spray to protect your drawing from smudging or dust. If you plan to display it, framing it under glass can also help maintain its vibrancy and protect it from environmental factors.
- How do I know when my drawing is finished? Trust your instincts! If you feel that the drawing captures the essence of a running horse and you’re satisfied with the details, it’s likely finished.
- What should I do if I make a mistake? Mistakes are part of the process! You can either erase and correct them or creatively incorporate them into your drawing.
- Can I use digital tools for final touches? Absolutely! Digital tools can offer great flexibility for making adjustments and enhancements to your artwork.
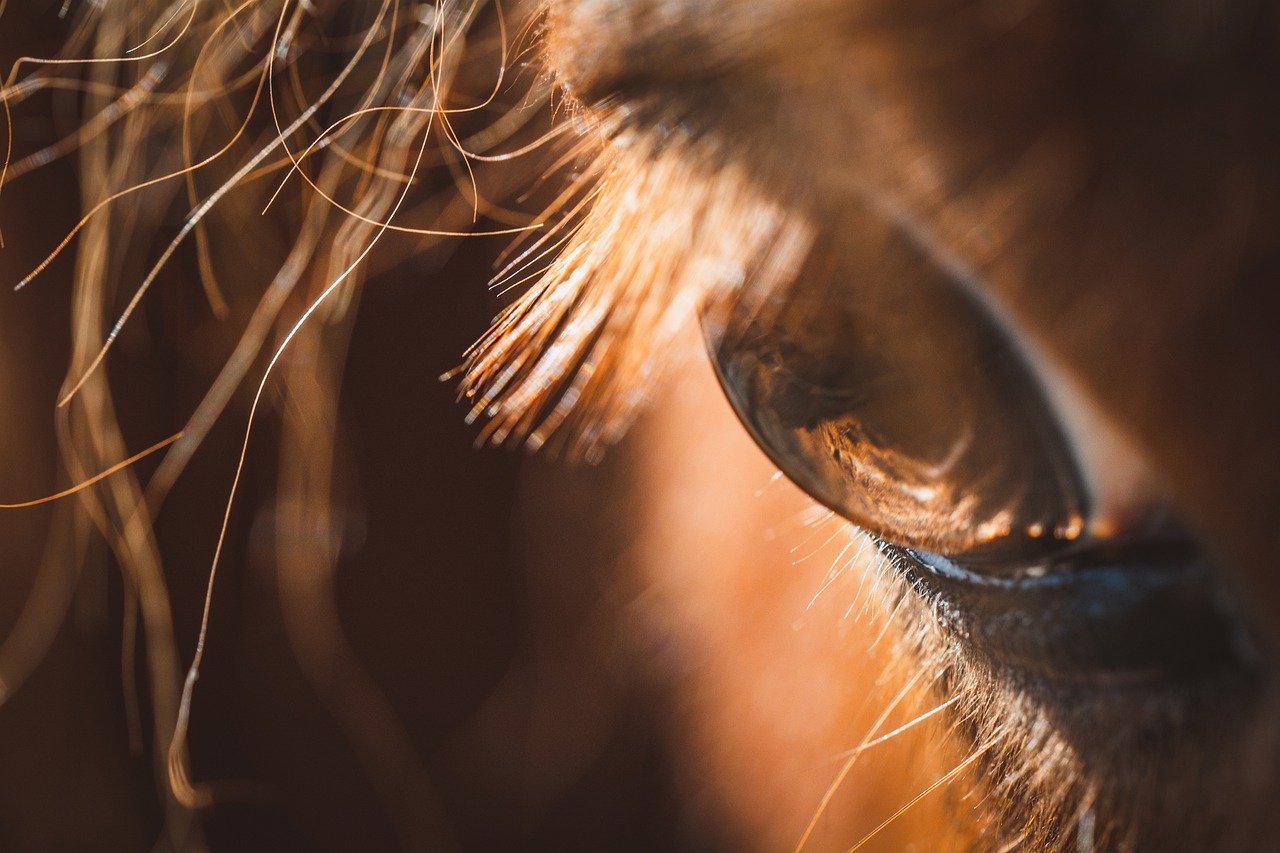
Reviewing Your Work
After pouring your heart and soul into drawing a running horse, it's time to take a step back and review your work. This process is crucial for identifying areas that shine and those that might need a little more love. Just like a chef tastes their dish before serving, you should evaluate your artwork with a critical eye. Start by looking at the overall composition. Does the horse feel dynamic and alive? Are the proportions correct? Take a moment to compare your drawing with reference images or even sketches you’ve done in the past. This comparison can highlight improvements or recurring issues.
When reviewing, consider breaking your evaluation into specific aspects:
- Proportions: Are the legs, body, and head in proper relation to one another?
- Expression: Does the horse convey the emotion you intended? Are the eyes and mouth expressive?
- Movement: Does the pose suggest a sense of speed and grace? Are the limbs positioned naturally?
- Details: Are the mane and tail flowing realistically? Have you captured the texture of the coat effectively?
Once you’ve assessed these aspects, take a moment to appreciate the parts that you feel are successful. Acknowledging your strengths can boost your confidence and motivate you to tackle any adjustments needed. Sometimes, stepping away from your work for a short period allows you to return with fresh eyes, making it easier to spot inconsistencies or areas for enhancement.
Remember, reviewing your work isn’t just about finding flaws; it’s also about celebrating your progress as an artist. Each piece you create contributes to your growth and skill development. So, don’t be too hard on yourself! Instead, view this as an opportunity to learn and improve. After all, even the greatest artists had to start somewhere, and every stroke of your pencil is a step closer to mastery.
Finally, once you’ve made your revisions, consider showing your work to a friend or fellow artist. Getting feedback from others can provide new perspectives and insights that you might not have considered. Constructive criticism can be incredibly valuable, so be open to suggestions while also trusting your artistic instinct.
Q: How do I know if my proportions are correct?
A: A good way to check proportions is to use reference images or to measure with your pencil. Compare the lengths and sizes of different parts of the horse to ensure they are in balance.
Q: Is it necessary to use reference images?
A: While it’s not mandatory, using reference images can significantly enhance your understanding of horse anatomy and movement, leading to a more realistic drawing.
Q: What should I do if I’m not satisfied with my drawing?
A: It’s completely normal to feel dissatisfied with your work at times. Take a break, return with fresh eyes, and focus on specific areas for improvement. Practice is key!
Q: How can I preserve my finished drawing?
A: To preserve your artwork, consider using fixative spray or framing it behind glass. Keeping it out of direct sunlight and humidity can also help maintain its quality.
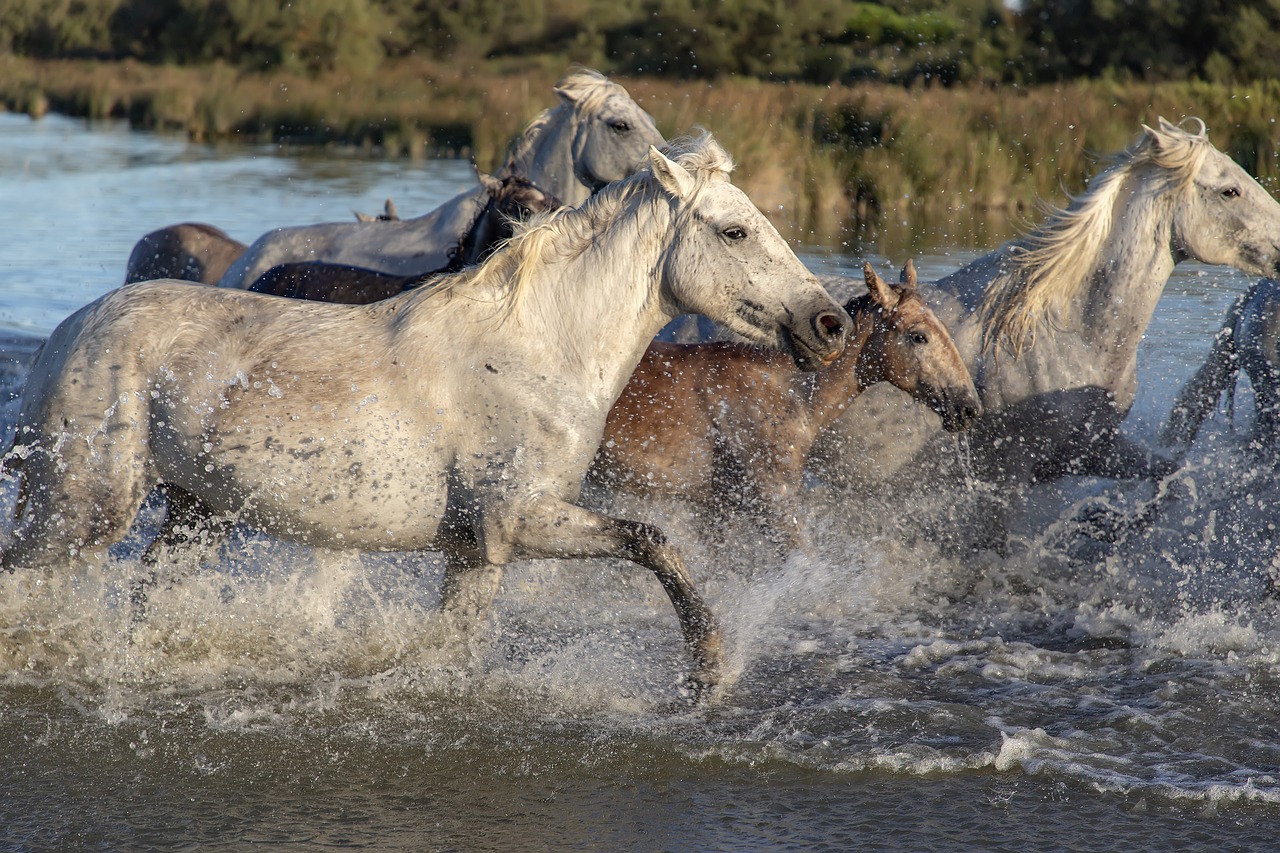
Preserving Your Artwork
Once you've poured your heart and soul into drawing a magnificent running horse, the last thing you want is for your masterpiece to fade or deteriorate over time. is not just about keeping it safe; it's about ensuring that the essence of your creativity remains intact for years to come. Here are some essential tips to help you protect your drawing.
First and foremost, consider using a fixative spray. This clear coating helps to seal your drawing, preventing smudging and fading caused by environmental factors. When applying fixative, make sure to do it in a well-ventilated area and follow the manufacturer's instructions for the best results. A light, even coat is all you need to protect your work without compromising its beauty.
Another important aspect of preservation is proper storage. You want to keep your artwork away from direct sunlight, as UV rays can cause colors to fade over time. Instead, store your drawing in a cool, dry place, ideally in an acid-free portfolio or a protective sleeve. This not only keeps it safe from dust and moisture but also prevents any potential creasing or bending.
If your artwork is framed, ensure that you use archival materials. This means choosing acid-free mats and backing boards, as well as UV-protective glass or acrylic. This combination will help shield your artwork from harmful light and environmental damage, allowing you to display your work proudly without worry.
Lastly, if you plan to display your artwork, consider rotating it regularly. This practice not only keeps your space fresh but also minimizes prolonged exposure to light, further protecting your drawing. Remember, the goal is to maintain the vibrancy and integrity of your work as long as possible!
- How long does fixative last? Fixative can last for years, but it's essential to reapply it periodically, especially if the artwork is handled often.
- Can I use regular glass for framing? While regular glass can be used, it does not provide UV protection. It's better to invest in UV-protective glass or acrylic for long-term preservation.
- What is the best way to clean my artwork? Avoid using water or cleaning solutions directly on your drawing. Instead, use a soft brush or cloth to gently remove dust.
Frequently Asked Questions
- What materials do I need to draw a running horse?
To create a stunning drawing of a running horse, you'll need essential materials like high-quality pencils, an eraser, and suitable paper. Graphite pencils ranging from H to B grades will help you achieve both fine details and rich shading. Additionally, textured paper can enhance the overall appearance of your artwork.
- How can I improve my understanding of horse anatomy?
Improving your understanding of horse anatomy is crucial for realistic drawings. You can study anatomy books, watch instructional videos, or even observe horses in real life. Focus on key features such as the structure of the legs, the shape of the head, and the proportions of the body to enhance your skills.
- What are the best techniques for sketching the basic shapes of a horse?
Start by breaking down the horse into basic shapes like circles and ovals for the body and limbs. This simplifies the drawing process. Once you have the basic forms, refine them into the horse's outline, adjusting proportions as needed to capture the dynamic pose of a running horse.
- How do I add details to my horse drawing?
After establishing the basic shapes, focus on adding details like the horse's facial features, mane, and muscles. Pay close attention to the horse's expression, as it conveys emotion. Use reference images to guide you in capturing the unique characteristics of the horse.
- What shading techniques should I use for realism?
To achieve realistic shading, understand how light interacts with the horse's body. Use techniques like hatching and cross-hatching to create depth. Blend with a blending stump or your finger to soften harsh lines. Remember to consider the light source to create accurate shadows and highlights.
- How can I preserve my finished horse drawing?
Preservation is key to maintaining your artwork's quality. Once completed, consider using a fixative spray to protect against smudging. Store your drawing in a portfolio or frame it under glass to shield it from dust and damage. This way, your masterpiece can be enjoyed for years to come!


