Beginners Guide to Applique: A Basic Introduction
Are you ready to dive into the world of applique? This beautiful textile art form has been captivating hearts and minds for centuries, and it's time for you to discover its magic! Whether you're a complete novice or someone with a little sewing experience, this comprehensive guide is designed just for you. We will explore the history, techniques, materials, and even some handy tips to get you started on your applique journey. So, grab your fabric and let’s stitch our way into creativity!
At its core, applique is a decorative sewing technique where one piece of fabric is sewn onto another to create intricate designs. Imagine the beautiful patterns you can create by layering different fabrics! This art form has its roots in various cultures around the globe, from the vibrant quilts of the American South to the exquisite garments of Asian traditions. Over the years, applique has evolved, gaining popularity as a versatile and expressive medium for artists and crafters alike. Isn't it fascinating how a simple stitch can connect us to different cultures and histories?
Before you jump into your first project, it’s essential to gather the right tools and materials. Think of this as your treasure hunt! You’ll need a selection of fabrics, threads, and sewing tools to ensure that your project goes off without a hitch. The right materials can make all the difference, turning your ideas into stunning works of art. So, let’s break it down into what you’ll need:
Choosing the right fabric is crucial for achieving beautiful results in applique. The fabric you select can dramatically affect the final look of your project. Consider the following types:
- Cotton: This is the most popular choice due to its versatility and ease of use.
- Silk: Adds a touch of elegance but can be tricky to work with.
- Felt: Great for beginners, as it doesn’t fray.
Understanding the differences between natural and synthetic fabrics will help you make informed choices. Natural fabrics, like cotton and linen, are breathable and often more comfortable, while synthetic fabrics, such as polyester, can be more durable and resistant to wrinkles. Each type has its pros and cons, so consider your project’s needs when choosing.
Should you pre-wash your fabrics? This is a common question among beginners. Pre-washing can help prevent shrinkage and color bleeding later on. If you want your applique to stand the test of time, it's wise to pre-wash your fabrics. However, if you’re using felt or certain synthetic fabrics, pre-washing may not be necessary.
Now that you have your fabrics, let’s talk about the sewing tools that will make your life easier. Having the right tools can significantly enhance your applique experience. Here are some essentials:
- Scissors: A good pair of sharp scissors is a must for clean cuts.
- Needles: Choose needles that are appropriate for your fabric type.
- Sewing Machine: While hand sewing is an option, a machine can speed up the process.
Once you have your materials ready, it’s time to explore some basic applique techniques. Each method has its unique charm, allowing you to express your creativity in different ways. You might find yourself drawn to one technique over another!
Raw edge applique is a popular technique that creates a casual, textured look. It involves sewing fabric pieces onto a base fabric without finishing the edges. To achieve clean edges and secure stitches, consider using a zigzag stitch or a straight stitch. The beauty of this technique lies in its simplicity and the ability to showcase the raw edges as part of the design.
On the other hand, reverse applique offers a unique twist. This method involves cutting away layers of fabric to reveal the design underneath. It’s like peeling back the layers of an onion to discover the treasure hidden inside! Mastering this technique can lead to stunning results that will surely impress. Just remember, practice makes perfect!
Starting a new craft can feel overwhelming, but it doesn't have to be! Here are some practical tips to help you build confidence in your applique skills:
Applique is an art that requires time and practice. Don’t rush the process! Start with simple projects to gradually build your skills. Think of it as planting a seed; with time and care, it will grow into something beautiful.
Connecting with other applique enthusiasts can provide invaluable support and inspiration. Consider joining online forums, local crafting groups, or classes. Sharing your journey with others can make the learning process more enjoyable and fulfilling.
Q: What is the best fabric for beginners?
A: Cotton is generally the best choice for beginners due to its ease of use and availability.
Q: Can I use a regular sewing machine for applique?
A: Yes, a regular sewing machine works perfectly for applique. Just ensure you have the right needle and foot for your project.
Q: How do I prevent my edges from fraying?
A: Using a zigzag stitch or a straight stitch close to the edge can help secure the fabric and prevent fraying.
What is Applique?
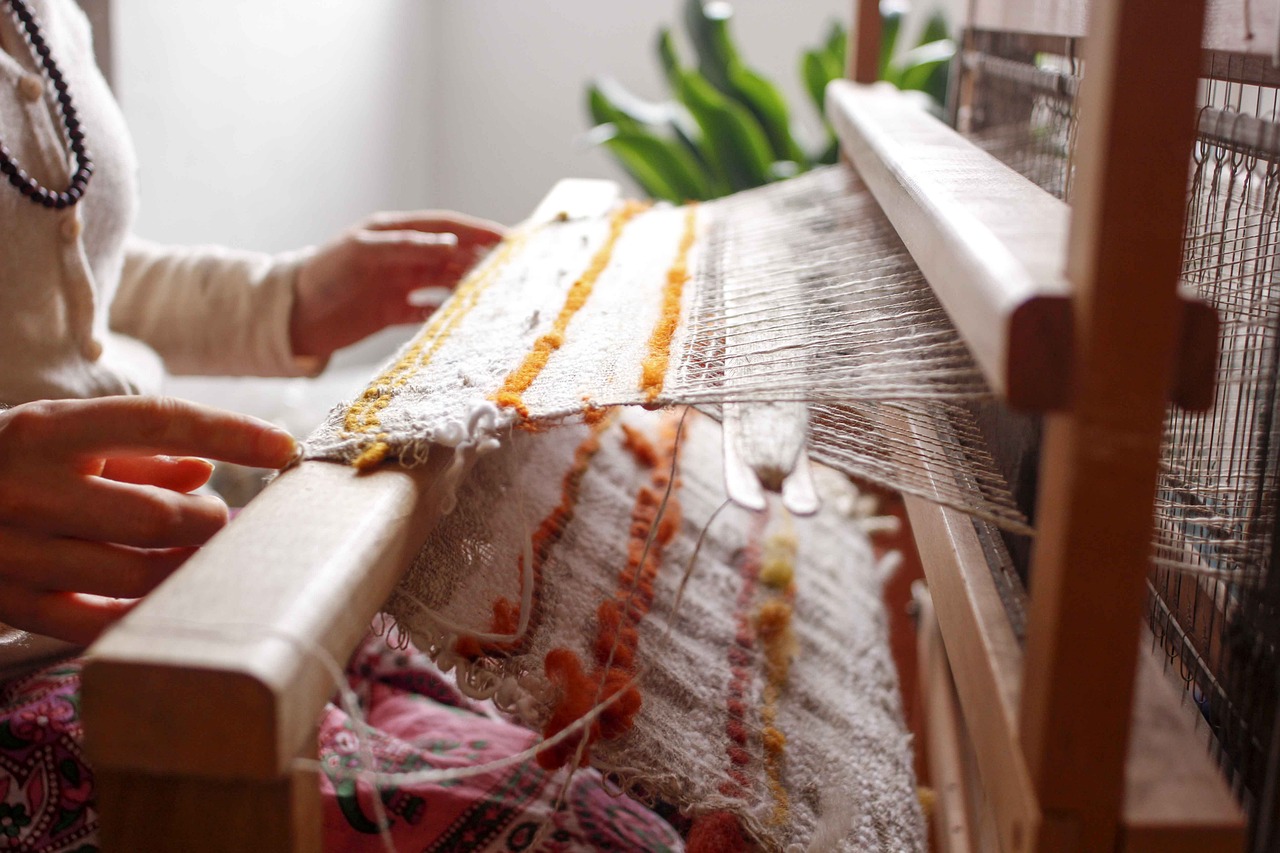
Applique is a captivating decorative technique that involves sewing one piece of fabric onto another, creating intricate and eye-catching designs that can transform ordinary textiles into extraordinary works of art. Imagine a canvas where your imagination can run wild, allowing you to express your creativity through fabric. This art form has roots that stretch back centuries, with its origins found in various cultures around the globe. From the vibrant textiles of Africa to the delicate quilts of America, applique has evolved into a beloved craft that resonates with many.
The word "applique" comes from the French term meaning "to apply," which perfectly encapsulates the essence of this technique. It's not just about adding fabric; it’s about creating depth, texture, and a story within your piece. The beauty of applique lies in its versatility; you can use it to embellish clothing, create stunning wall hangings, or even design unique home decor items. The possibilities are endless, and each piece tells a different story, reflecting the artist's personality and style.
Throughout history, applique has been significant in various cultures. For instance, in India, traditional quilts known as "kantha" showcase intricate applique designs that tell tales of heritage and craftsmanship. Similarly, in Mexico, vibrant embroidered fabrics often incorporate applique techniques, celebrating the rich cultural tapestry of the region. As you delve deeper into the world of applique, you'll discover that it's not merely a craft; it's a form of storytelling that connects us to our roots and traditions.
As you embark on your applique journey, you'll find that this technique not only allows for artistic expression but also serves as a form of relaxation and mindfulness. The rhythmic motion of sewing can be therapeutic, providing a sense of accomplishment as you watch your designs come to life. So, whether you're a seasoned seamstress or a curious beginner, applique invites you to explore, experiment, and enjoy the process of creation.
Essential Tools and Materials
Before diving headfirst into the world of applique, it's essential to arm yourself with the right tools and materials. Think of it like preparing for an adventure; you wouldn't set off without the proper gear, right? In the realm of applique, having the correct supplies can make your crafting experience not only smoother but also more enjoyable. So, what exactly do you need to get started? Let's break it down!
First and foremost, fabrics are the heart of any applique project. You'll want to gather a variety of fabrics to experiment with different textures and colors. Consider using cotton, felt, or even silk, depending on the look you’re going for. Each fabric type has its unique properties that can enhance your design. For instance, cotton is versatile and easy to work with, while felt can add a fun, dimensional quality to your projects.
Next up are threads. Choosing the right thread is just as crucial as selecting your fabrics. You want to ensure that the thread complements your fabric both in color and texture. Polyester threads are a popular choice for their strength and durability, while cotton threads are great for a more natural look. Don’t forget to keep a variety of colors on hand; they can make all the difference when it comes to detailing your designs!
Now, let’s talk about sewing tools. Here’s a quick rundown of some essentials:
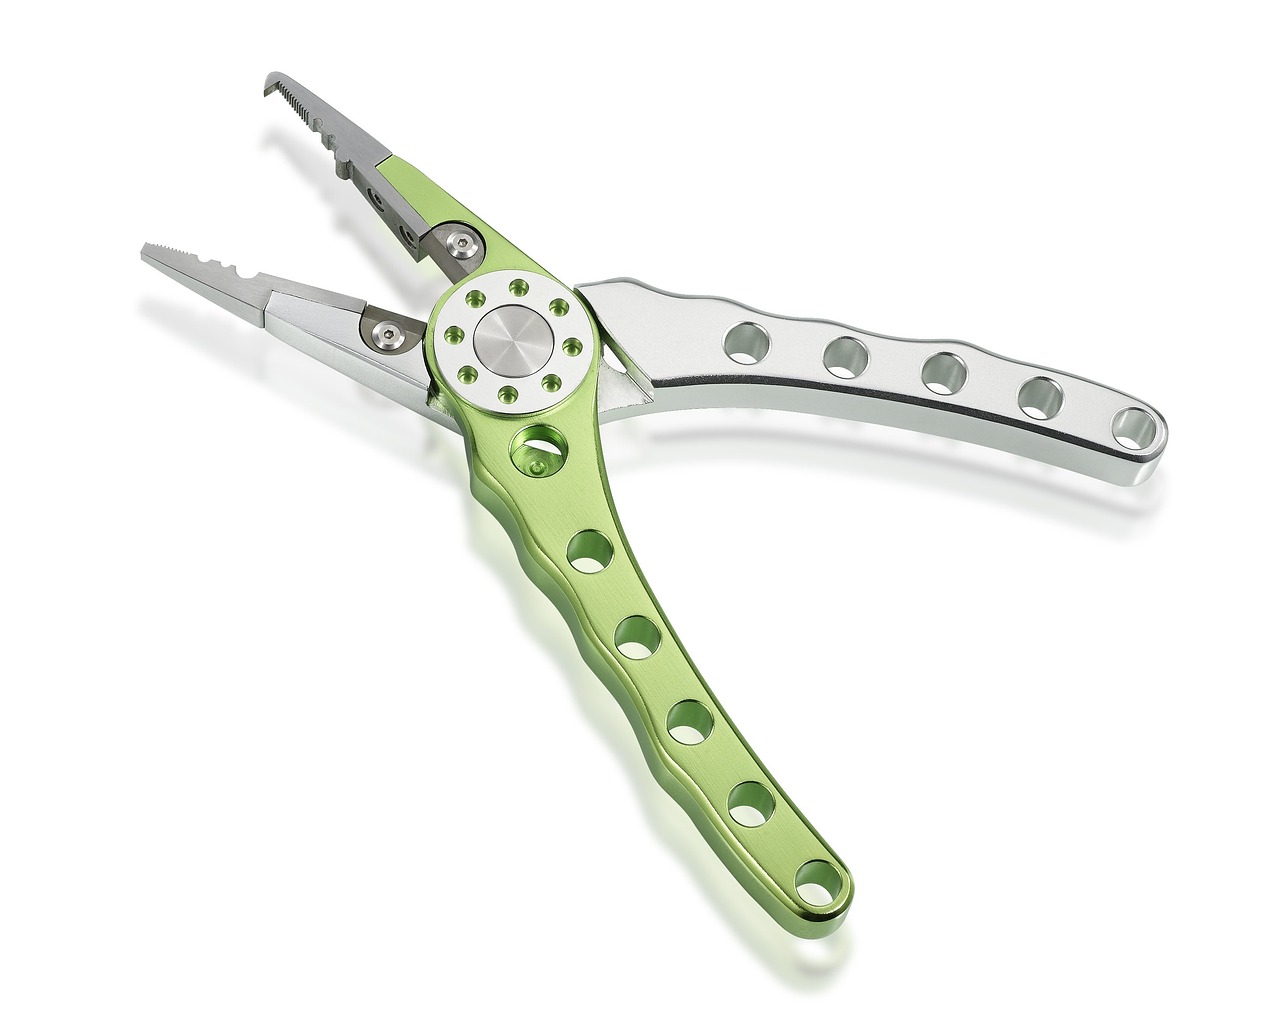
- Scissors: A good pair of fabric scissors is a must. They should be sharp and specifically meant for cutting fabric to ensure clean edges.
- Needles: Depending on your fabric choice, you may need different types of needles. Universal needles work for most projects, but you might want to stock up on ballpoint needles for knits or sharp needles for woven fabrics.
- Sewing machine: While hand sewing is an option, a sewing machine can speed up the process and provide more consistent results.
Additionally, having some stabilizers can help support your fabric during the sewing process, preventing stretching or distortion. There are various types, like tear-away or wash-away stabilizers, each serving different purposes depending on your project.
As you gather your materials, remember that quality matters. Investing in good tools and fabrics will not only enhance your results but also make the process more enjoyable. Once you have everything lined up, you'll be ready to embark on your applique journey with confidence!
Q: What is the best fabric for beginners?
A: Cotton is often recommended for beginners due to its ease of use and availability. It’s forgiving and can handle various sewing techniques well.
Q: Do I need a sewing machine for applique?
A: While a sewing machine can make the process faster and more efficient, you can certainly start with hand sewing if that’s more comfortable for you.
Q: How do I choose the right thread?
A: Match the thread type to your fabric choice. For example, use polyester thread for durability or cotton thread for a more natural finish.
Fabric Choices
When embarking on your applique journey, one of the most crucial decisions you'll make is selecting the right fabrics. The fabric you choose can significantly influence the overall look and feel of your project. It's akin to choosing the right ingredients for a dish; the quality and type of fabric can make or break your design. So, what should you consider when picking your fabrics? Let's dive into the details!
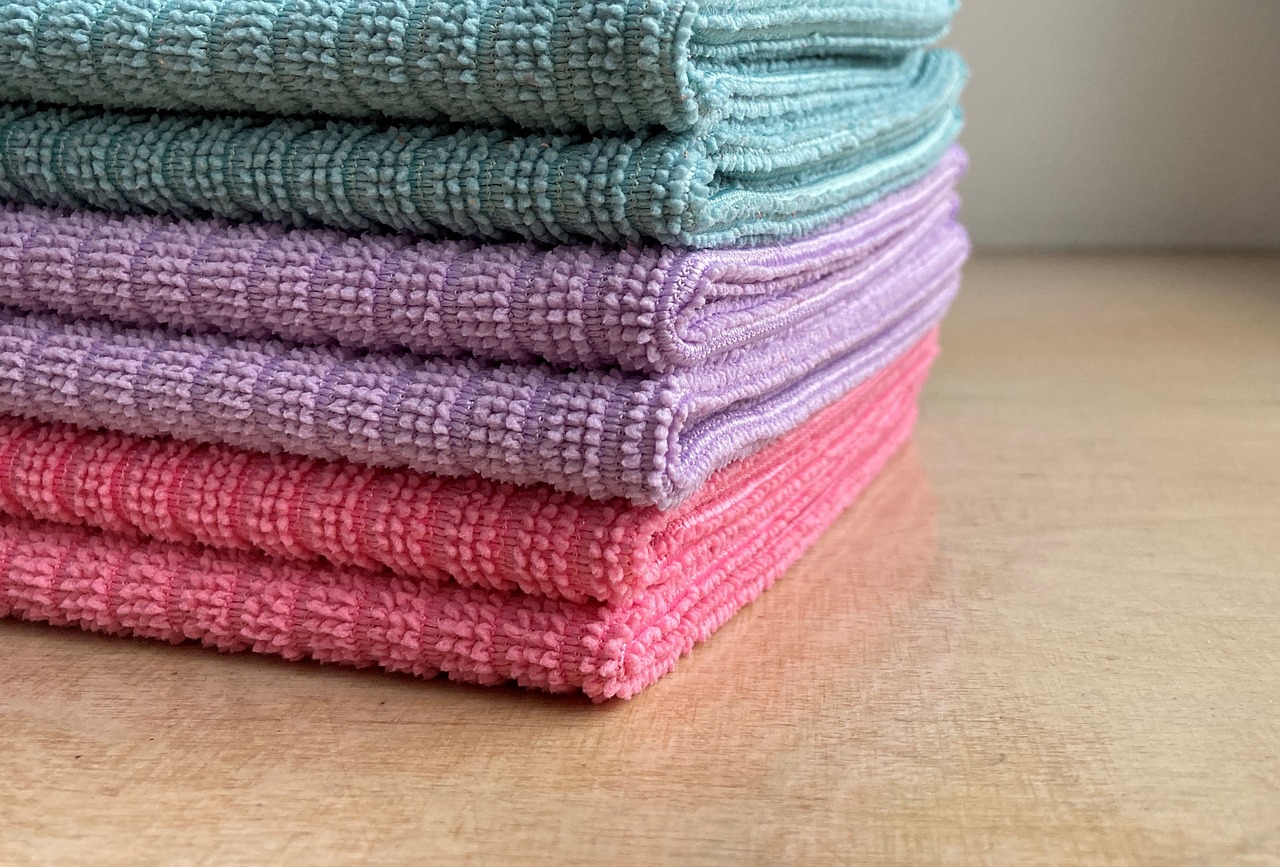
First off, it's essential to understand the different types of fabrics available. Generally, fabrics can be categorized into two main groups: natural fabrics and synthetic fabrics. Natural fabrics, such as cotton, linen, and silk, are derived from plants or animals. They often have a soft texture and are breathable, making them ideal for intricate applique work. On the other hand, synthetic fabrics like polyester and nylon are man-made and can offer durability and resistance to wrinkles and fading.
Here's a quick comparison of the two:
| Fabric Type | Pros | Cons |
|---|---|---|
| Natural Fabrics |
|
|
| Synthetic Fabrics |
|
|
Next, let's talk about the importance of pre-washing your fabrics. Pre-washing can help eliminate any shrinkage issues that may arise after you've completed your project. Imagine spending hours perfecting your applique design only to have it warp or shrink after the first wash! To avoid this disaster, it's wise to wash and dry your fabrics before starting. This simple step can save you a lot of heartache later on.
When selecting fabrics, consider the weight and texture as well. Heavier fabrics can add structure to your applique, while lighter fabrics can create a more delicate appearance. Additionally, think about the color and pattern of your fabrics. Contrasting colors can make your designs pop, while complementary colors can create a more harmonious look. Don't be afraid to mix and match patterns, but be mindful of how they interact with one another.
In conclusion, choosing the right fabric for your applique projects is a vital step that can significantly affect the outcome of your work. By understanding the differences between natural and synthetic fabrics, considering the importance of pre-washing, and being mindful of weight, texture, color, and pattern, you'll be well on your way to creating stunning applique designs that reflect your unique style. Remember, the fabric is the canvas for your creativity—choose wisely!

Natural vs. Synthetic Fabrics
When diving into the world of applique, one of the first decisions you'll face is choosing between natural and synthetic fabrics. Each type has its own unique characteristics, benefits, and drawbacks that can significantly influence your final project. Understanding these differences will empower you to make informed choices that suit your style and needs.
Natural fabrics, such as cotton, linen, and silk, are derived from plants or animals. These materials are often praised for their breathability and comfort. For example, cotton is soft and easy to work with, making it a popular choice among beginners. Additionally, natural fabrics tend to have better moisture absorption, which can be beneficial for certain projects where comfort is key. However, they may also be prone to shrinking and fading over time, especially if not cared for properly.
On the other hand, synthetic fabrics like polyester, nylon, and acrylic are man-made and designed to offer specific advantages. These fabrics are generally more durable and resistant to wrinkles and stains, making them ideal for projects that require longevity. For instance, polyester is often used in home decor items because it maintains its shape and color well. However, synthetic fabrics can sometimes lack the warmth and softness of natural fibers, which might be less appealing for certain applications.
To help you visualize the differences, here's a quick comparison:
| Feature | Natural Fabrics | Synthetic Fabrics |
|---|---|---|
| Breathability | High | Moderate |
| Durability | Moderate | High |
| Comfort | Soft and Comfortable | Less Soft |
| Care | Requires more care | Easy to care for |
Ultimately, the choice between natural and synthetic fabrics comes down to your specific project requirements and personal preferences. If you’re aiming for a traditional look or working on a project that will be worn against the skin, natural fabrics might be the way to go. Conversely, if you’re looking for something that withstands wear and tear while being easy to maintain, synthetic fabrics could be your best bet. Experimenting with both types in your applique projects can also lead to exciting combinations and results!
As you embark on your applique journey, consider these fabric types carefully. Each fabric choice can help tell a story, adding depth and character to your designs. So, which fabric will you choose for your next applique masterpiece?
- What is the best fabric for beginners in applique?
Cotton is often recommended for beginners due to its ease of use and availability.
- Can I mix natural and synthetic fabrics in one project?
Absolutely! Mixing different fabrics can create unique textures and visual interest in your applique designs.
- How do I prevent my fabrics from fraying?
Using a zigzag stitch or a serger can help prevent fraying edges on your applique pieces.
Pre-washed vs. Non-pre-washed Fabrics
When diving into the world of applique, one of the most crucial decisions you'll face is whether to use pre-washed or non-pre-washed fabrics. This choice can significantly influence the outcome of your project, and understanding the differences will equip you with the knowledge to make an informed decision. Pre-washing your fabrics means washing and drying them before you start cutting and sewing. This process helps to remove any sizing, dirt, or chemicals that may be present on the fabric. Moreover, it allows the fabric to shrink, which is vital because it can prevent future distortions in your finished piece. Imagine spending hours on a beautiful applique only to have it warp or pucker after the first wash!
On the other hand, non-pre-washed fabrics come straight from the store, often with a crisp, untouched feel. While they may look appealing, they can pose challenges down the line. If these fabrics haven’t been pre-washed, there's a risk that they will shrink after your project is complete, leading to an uneven appearance. This is particularly true for cotton fabrics, which are notorious for shrinking. To illustrate the differences, let’s take a look at the pros and cons of each option:
| Type | Pros | Cons |
|---|---|---|
| Pre-washed Fabrics |
|
|
| Non-pre-washed Fabrics |
|
|
Ultimately, the choice between pre-washed and non-pre-washed fabrics boils down to your personal preferences and the specific requirements of your project. If you're looking for longevity and quality in your applique designs, pre-washing is often the way to go. However, if you’re in a rush or working on a less intricate piece, non-pre-washed fabrics might suit your needs just fine. Just remember, whatever you choose, being aware of the implications can save you from frustration down the line!
Q: Do I have to pre-wash all fabrics for applique?
A: While it's not mandatory, pre-washing is highly recommended, especially for cotton and other natural fibers that may shrink.
Q: What happens if I forget to pre-wash my fabric?
A: If you forget, your finished project may shrink or distort after washing, which can affect the overall look.
Q: Can I use fabric softener when pre-washing?
A: It's best to avoid fabric softeners during pre-washing as they can leave a residue that may affect how well the fabric adheres during applique.
Sewing Tools
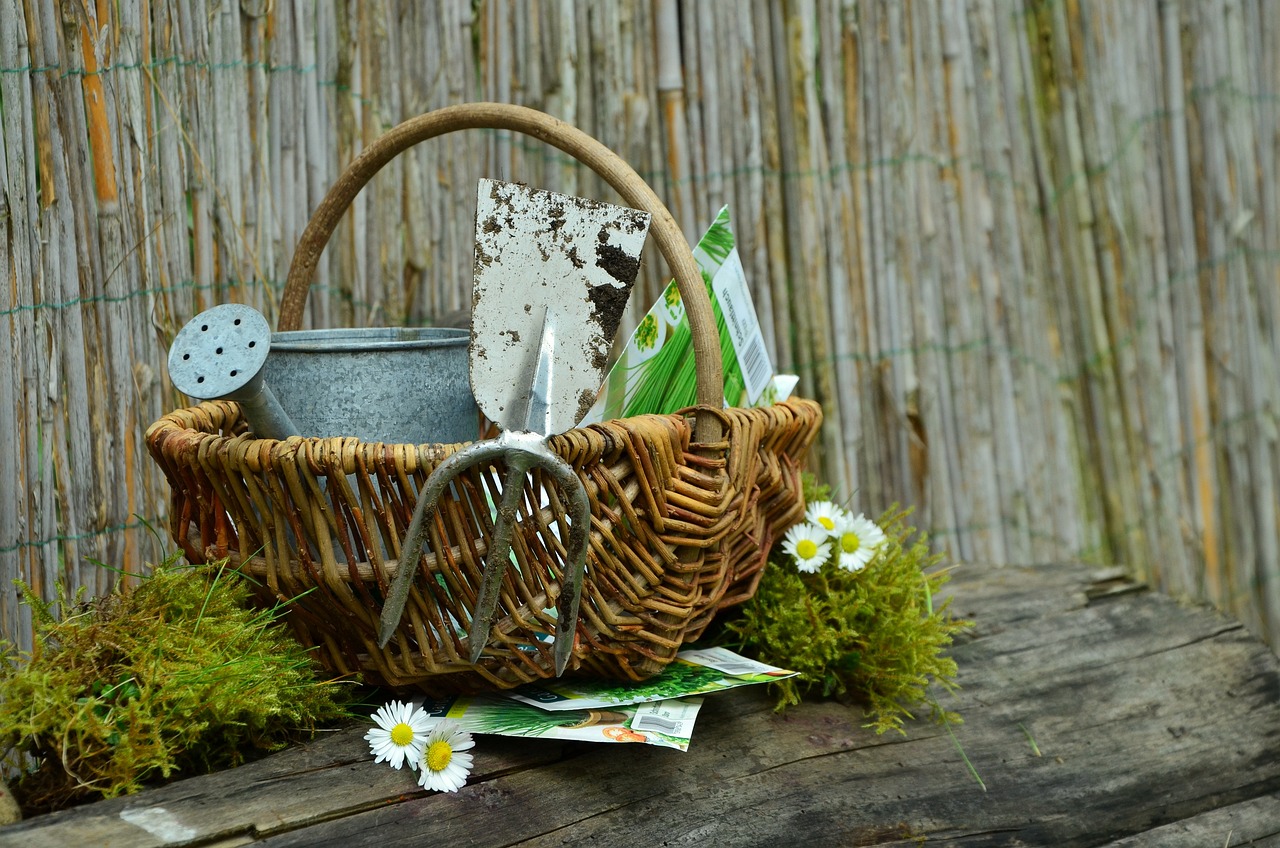
When it comes to diving into the world of applique, having the right sewing tools can make all the difference. Imagine trying to paint a masterpiece without the right brushes; it would be frustrating, right? Similarly, using the appropriate tools for applique not only enhances your experience but also elevates the quality of your work. So, let’s explore some essential sewing tools that every beginner should consider.
First and foremost, a good pair of scissors is indispensable. You may be tempted to grab any old pair lying around, but investing in a quality pair of fabric scissors will save you time and effort. These scissors are designed specifically to cut fabric cleanly, which is crucial for achieving those sharp edges in your applique projects. Additionally, consider having a pair of embroidery scissors on hand for those delicate snips; their small size allows for precision cutting in intricate designs.
Next up are needles. Not all needles are created equal, and choosing the right type can drastically affect your sewing experience. For most applique projects, a universal needle will do the trick. However, if you’re working with thicker fabrics or multiple layers, you might want to opt for a denim or heavy-duty needle. It’s like choosing the right tool for the job—using a hammer when you need a screwdriver can lead to disaster!
Now, let’s talk about sewing machines. While some people enjoy hand-sewing their appliques, a sewing machine can significantly speed up the process and provide more consistent results. If you're new to sewing machines, look for one that offers a variety of stitch options, especially zigzag and straight stitches, as these are commonly used in applique. Don't forget to familiarize yourself with your machine's manual; it’s like having a roadmap when you’re on a journey!
Additionally, you might find it helpful to have some other handy tools in your sewing kit:
- Fabric glue or spray adhesive: This can help hold your pieces in place before you sew them down, making the process easier.
- Applique pressing sheet: A non-stick surface that allows you to press your fabric without leaving residue.
- Marking tools: Fabric markers or chalk can help you outline your designs before cutting.
Lastly, don’t underestimate the power of a good iron. Pressing your fabric before and after sewing is essential for achieving a professional finish. A well-pressed piece not only looks better but also helps in ensuring that your stitches lay flat, which is particularly important for intricate designs.
In summary, gathering the right sewing tools is an essential step in your applique journey. Think of it as assembling your toolkit before embarking on a grand adventure. With the right scissors, needles, sewing machine, and a few additional items, you’ll be well-equipped to create stunning applique projects that showcase your creativity and skills!
Q: Do I need an expensive sewing machine to start applique?
A: Not at all! While a high-end machine can offer more features, a basic sewing machine with zigzag and straight stitch capabilities is sufficient for beginners.
Q: Can I use any type of fabric for applique?
A: While you can technically use any fabric, it's best to choose fabrics that work well together. Cotton is a popular choice for beginners due to its ease of handling.
Q: How do I prevent my fabric from fraying?
A: Using a zigzag stitch around the edges of your fabric pieces can help prevent fraying. Alternatively, you can use fabric glue or fray check solutions.
Q: What if I make a mistake while sewing?
A: Mistakes are part of the learning process! Don’t be afraid to unpick stitches and try again. Practice makes perfect!

Basic Applique Techniques
When diving into the world of applique, understanding the basic techniques is essential for any aspiring textile artist. Applique isn't just about sewing fabric onto fabric; it's about bringing your creative vision to life. Each technique offers a unique way to express your artistic flair, and choosing the right one can make all the difference in your project. Let's explore some fundamental methods that will set you on the path to becoming an applique pro!
First up is Raw Edge Applique. This technique is popular among beginners due to its simplicity and the casual, textured look it creates. In raw edge applique, the edges of the fabric are left unfinished, which can give your work a charmingly rustic appearance. To get started, you'll need to cut out your desired shapes from the fabric, place them on your background fabric, and secure them with either pins or a temporary adhesive. Once positioned, you can use a straight stitch or a zigzag stitch to sew around the edges, ensuring that the fabric pieces stay in place. One tip: using a smaller stitch length can help prevent fraying, resulting in a cleaner finish.
Next, let's talk about Reverse Applique. This technique is a bit more intricate but yields stunning results. With reverse applique, you start with a base layer of fabric and then layer additional fabric on top. Instead of sewing around the edges, you cut away parts of the top layer to reveal the fabric underneath, creating a design that appears to be “popping” out. This method allows for intricate designs and can add depth to your work. To master reverse applique, it's crucial to use sharp scissors or a rotary cutter, and take your time when cutting away the layers to ensure precision.
Another popular method is Machine Applique. If you have access to a sewing machine, this technique can save you time while providing a professional finish. Machine applique involves using your sewing machine to stitch around the edges of the fabric pieces, similar to raw edge applique, but with the added benefit of speed and consistency. Many machines come with special feet designed specifically for applique work, which can help you achieve smooth curves and sharp points. Don't forget to practice on scrap fabric first to get the hang of your machine's settings!
Here’s a quick overview of these techniques in a table format for easy reference:
| Technique | Description | Best For |
|---|---|---|
| Raw Edge Applique | Leaves edges unfinished for a textured look. | Beginners, casual projects. |
| Reverse Applique | Involves cutting away top layers to reveal the base fabric. | Intricate designs, advanced projects. |
| Machine Applique | Uses a sewing machine for quick and consistent stitching. | Time-saving, professional finish. |
As you experiment with these techniques, remember that practice is key. Each method has its own charm and can be suited to different projects, whether you’re making a quilt, a decorative wall hanging, or even clothing. Don't hesitate to mix and match techniques to create something truly unique! With time and patience, you’ll find your own style and may even develop your own signature techniques.
Feeling overwhelmed? That's perfectly normal! As you embark on your applique journey, keep in mind that every expert was once a beginner. Embrace the learning process, and don't shy away from making mistakes—each one is an opportunity to improve your skills.
1. What is the best fabric for applique?
The best fabrics for applique are typically cotton, felt, and fusible webbing. Cotton is versatile and easy to work with, while felt adds a unique texture. Fusible webbing can help secure the fabric pieces in place before sewing.
2. Do I need special tools for applique?
While you can start with basic sewing tools like scissors and needles, having a rotary cutter, a cutting mat, and a sewing machine can make the process much easier and more enjoyable.
3. Can I wash my applique projects?
Yes, but it's important to pre-wash your fabrics before starting your project to prevent shrinking and color bleeding. Always follow care instructions for the fabrics used.
4. How can I improve my applique skills?
Practice is essential! Start with simple projects and gradually challenge yourself with more complex designs. Joining a community or taking classes can also provide valuable tips and support.

Raw Edge Applique
Raw edge applique is a captivating technique that allows you to create stunning textile art with a more casual and relaxed feel. Imagine the delightful texture and visual interest that this method can add to your projects! In raw edge applique, pieces of fabric are layered on top of one another, and instead of hiding the edges, they are left exposed. This creates a charming, frayed look that can add character to your designs. It's like giving your fabric a little bit of personality, don't you think?
To embark on your raw edge applique journey, you'll need to follow a few simple steps. First, choose your fabric pieces. The beauty of this technique is that you can mix and match different colors and textures to create unique designs. Lay out your fabric pieces on a base fabric, arranging them until you are satisfied with the composition. Once you have your design in place, it’s time to secure the pieces. You can use fabric glue or pins to hold the layers together temporarily. This step is crucial, as it prevents any shifting during the sewing process.
Next, you’ll want to choose your thread. A contrasting thread can make your stitches pop, adding an extra layer of visual interest to your work. When you're ready to sew, you have a couple of options. You can use a straight stitch, zigzag stitch, or even decorative stitches, depending on the look you want to achieve. Just remember to keep your stitches close to the edge of the fabric pieces to ensure they stay secure while allowing that raw edge to shine through!
Here’s a quick overview of the essential steps in raw edge applique:
- Select your fabrics: Choose a variety of colors and textures.
- Arrange your design: Lay out your fabric pieces on a base fabric.
- Secure the pieces: Use fabric glue or pins to hold everything in place.
- Choose your thread: Opt for a contrasting or complementary color.
- Sew your design: Use your preferred stitch close to the edge.
One of the most exciting aspects of raw edge applique is the opportunity for experimentation. You can play with different stitch types, colors, and even embellishments like beads or sequins to make your project truly one-of-a-kind. Just like an artist with a blank canvas, you have the freedom to express your creativity in countless ways!
However, as you dive into this technique, keep in mind that raw edges may fray over time, especially with frequent washing. To mitigate this, consider using a stabilizer on the back of your fabric, which can provide extra support and help maintain the integrity of your design. In addition, if you want to create a more polished look, you might want to explore other techniques like fusible webbing or even a light zigzag stitch around the edges.
In conclusion, raw edge applique is not only a fun and engaging technique but also a fantastic way to personalize your sewing projects. Whether you're embellishing a quilt, creating a wall hanging, or adding flair to clothing, raw edge applique offers endless possibilities. So grab your fabrics, unleash your creativity, and let the frayed edges tell your unique story!
Q: What fabrics work best for raw edge applique?
A: Lightweight cottons, flannels, and even some synthetics work well. Just ensure they are easy to cut and won't fray excessively.
Q: How do I prevent fraying?
A: While some fraying is part of the charm, using a stabilizer or applying a light zigzag stitch can help secure the edges.
Q: Can I use this technique on clothing?
A: Absolutely! Raw edge applique can add a unique touch to t-shirts, jackets, and other garments.
Q: Do I need a special sewing machine for this technique?
A: No special machine is required, but having a machine with a variety of stitch options can enhance your designs.
Reverse Applique
Reverse applique is a fascinating technique that adds depth and dimension to your fabric projects. Unlike traditional applique, where one fabric is sewn on top of another, reverse applique allows you to cut away the top layer of fabric to reveal a contrasting fabric underneath. This creates stunning designs that can be both intricate and eye-catching. Imagine peeling back the layers of an onion to reveal the vibrant colors inside; that’s the essence of reverse applique!
To get started with reverse applique, you’ll need to follow a few straightforward steps. First, choose your fabrics wisely. You'll want a top fabric that is durable enough to withstand the cutting process and a bottom fabric that will be visible through the cutouts. Consider using contrasting colors to make your design pop. For instance, if your top fabric is a rich navy blue, a bright yellow or white underneath can create a striking visual effect.
Once you have your fabrics ready, it’s time to create your design. You can either draw your design directly onto the top fabric or use a fabric marker to outline it. Make sure your design is simple enough for your first attempt; complex shapes can be challenging for beginners. After outlining, carefully cut away the top layer of fabric within your design, leaving a small margin around the edges to prevent fraying. This step requires a steady hand and a sharp pair of scissors, so take your time!
After you’ve cut your design, it’s essential to secure the edges to prevent them from fraying. You can do this by using a zigzag stitch or a straight stitch around the cut edges. This will not only secure the fabric but also add an extra decorative touch to your piece. If you’re feeling adventurous, consider using contrasting thread colors to make your stitching stand out even more.
One of the most rewarding aspects of reverse applique is the ability to experiment with different shapes and designs. You can create anything from simple geometric patterns to intricate floral motifs. As you gain confidence, try layering multiple fabrics to create even more complex designs. Remember, practice makes perfect, so don’t be discouraged if your first few attempts aren’t exactly what you envisioned. Each project is a step towards mastery!
In summary, reverse applique is a unique and creative technique that can elevate your sewing projects. By cutting away layers of fabric, you reveal beautiful contrasts that can transform a simple piece into a work of art. So grab your fabrics, scissors, and sewing machine, and let your imagination run wild!
- What fabrics work best for reverse applique? Generally, cotton fabrics are a great choice due to their durability and ease of handling. However, you can also experiment with blends and other materials as you become more comfortable with the technique.
- Can I use a sewing machine for reverse applique? Absolutely! In fact, using a sewing machine can make the process faster and more efficient. Just be sure to adjust your stitch settings for the best results.
- Do I need special tools for reverse applique? While basic sewing tools will suffice, having sharp scissors and quality thread can make a significant difference in your results.
- How can I prevent my fabric from fraying? Using a zigzag stitch around the cut edges is a great way to secure them. You can also consider using a fabric stabilizer before cutting your design.
Tips for Beginners
Starting your journey into the world of applique can feel a bit like diving into a vast ocean of creativity, and trust me, it can be overwhelming at first. But don’t worry; with a sprinkle of patience and a dash of practice, you’ll find yourself swimming like a pro in no time! The key is to approach this beautiful textile art with an open mind and a willingness to learn. Here are some essential tips to help you navigate your way through the early stages of your applique adventure.
First off, let’s talk about the importance of practice. Just like learning to ride a bike or bake the perfect cake, mastering applique takes time. Start with small projects that allow you to experiment without feeling pressured. Think of simple shapes like hearts, stars, or flowers. These designs not only look lovely but also help you hone your skills. As you become more comfortable, you can gradually tackle more intricate patterns. Remember, every expert was once a beginner, so embrace the learning curve!
Another fantastic way to enhance your skills is by joining a community of fellow applique enthusiasts. Whether you choose to connect online through forums and social media groups or find local classes and workshops, being part of a community can provide a wealth of support and inspiration. You’ll find that sharing your experiences and challenges with others can lead to valuable tips and tricks that you might not discover on your own. Plus, it’s always fun to show off your progress and cheer each other on!
Don’t forget to invest in the right tools. A good pair of scissors, quality needles, and a reliable sewing machine can make a world of difference in your applique experience. You might even consider creating a toolbox specifically for your applique projects, so everything you need is within arm's reach. Here’s a quick overview of essential tools:
| Tool | Purpose |
|---|---|
| Fabric Scissors | For cutting fabric smoothly and accurately. |
| Applique Needles | Designed for precision stitching, especially in tight spaces. |
| Rotary Cutter | For clean, straight edges on larger pieces. |
| Cutting Mat | Protects your surfaces and helps with accurate cutting. |
| Fabric Glue | Helps to temporarily hold pieces in place before stitching. |
Lastly, and perhaps most importantly, always remember to have fun! Applique is a form of self-expression, and it should bring you joy. Don’t stress too much about making everything perfect—embrace the little quirks and imperfections that make your work unique. After all, it’s these personal touches that will make your projects truly special.
Q: What is the best fabric for beginners to use?
A: Cotton fabric is often recommended for beginners due to its ease of handling and wide availability. It’s versatile and comes in many colors and patterns, making it perfect for a variety of projects.
Q: Do I need a sewing machine to do applique?
A: While a sewing machine can make the process faster and more efficient, you can certainly start with hand sewing if you prefer. Many beginners enjoy the tactile nature of hand stitching.
Q: How do I prevent my edges from fraying?
A: Using a zigzag stitch or a satin stitch around the edges of your applique pieces can help secure them and prevent fraying. Additionally, consider using fabric stabilizers or fusible webbing for extra support.
Q: Can I use any type of thread for applique?
A: It’s best to use a thread that matches the fabric you’re working with. Cotton thread is a popular choice as it blends well and is strong enough for most applique projects.
Practice and Patience
When it comes to mastering the art of applique, the key ingredients are practice and patience. Just like any other craft, becoming proficient at applique doesn't happen overnight. It's a journey that requires dedication and a willingness to learn from mistakes. Think of it as planting a garden; you won't see the fruits of your labor immediately, but with consistent care and attention, your skills will blossom over time.
One of the best ways to build your confidence is to start with simple projects. For instance, consider making small items like coasters or decorative patches. These projects allow you to practice different techniques without feeling overwhelmed. As you become more comfortable, you can gradually tackle more complex designs. Remember, each stitch you make is a step towards improvement!
Here are a few tips to help you on your journey:
- Set realistic goals: Don't expect to create a masterpiece on your first try. Focus on small, achievable projects to build your skills.
- Embrace mistakes: Every crafter makes errors. Instead of getting discouraged, view mistakes as learning opportunities that will ultimately enhance your abilities.
- Keep a practice journal: Document your projects, noting what worked and what didn’t. This reflection can be invaluable for future projects.
Additionally, consider scheduling regular practice times. Just like any skill, the more you practice, the better you will become. Even dedicating just a few minutes each day can lead to significant progress over time. And don't forget to celebrate your achievements, no matter how small. Each completed project is a testament to your growing skills and creativity!
Lastly, remember that patience is just as important as practice. There will be days when things don't go as planned, and that's perfectly normal. Allow yourself the grace to take breaks when needed and return to your work with fresh eyes. With time, you'll find that your patience pays off, leading to beautiful, intricate designs that reflect your unique style.
Q: How long does it take to learn applique?
A: The time it takes to learn applique varies for each individual. With consistent practice, beginners can start feeling comfortable with basic techniques within a few weeks.
Q: What is the best fabric for beginners?
A: Cotton fabric is often recommended for beginners due to its ease of handling and availability. It holds shapes well and is easy to sew.
Q: Can I use a regular sewing machine for applique?
A: Yes, a regular sewing machine works perfectly for applique. Just make sure to use the appropriate needle and thread for your chosen fabric.
Q: Is it necessary to pre-wash fabrics?
A: While it's not strictly necessary, pre-washing fabrics can help avoid shrinkage and color bleeding in your final project, making it a good practice.
Q: What if I get stuck on a project?
A: If you find yourself stuck, take a break and revisit your work later. You can also seek advice from online forums or local sewing groups for support.
Joining a Community
Embarking on your applique journey can feel like navigating through a maze, especially when you're just starting out. However, one of the most rewarding ways to enhance your skills and confidence is by joining a community of fellow enthusiasts. Think of it as having a supportive cheerleading squad that not only celebrates your successes but also provides guidance through the challenges. Whether it's online forums, local sewing groups, or classes, connecting with others who share your passion can transform your experience.
Communities offer a wealth of resources and inspiration. For instance, you can share your projects, seek advice on tricky techniques, and even swap materials or patterns. Imagine the thrill of attending a local meetup where you can showcase your latest work and receive constructive feedback from seasoned crafters. It’s like having a mini art gallery where your creations come to life, and you can bask in the admiration of your peers.
Moreover, being part of a community can open doors to numerous opportunities. Many groups organize workshops and events, allowing you to learn new techniques directly from experts. These gatherings are not just about learning; they’re also about building friendships. You might find a mentor who can guide you through complex projects or a buddy to collaborate with on a fun applique challenge. In the digital age, online platforms like Facebook groups, Instagram, and Pinterest are treasure troves of inspiration and connection. You can share your progress, ask questions, and even participate in virtual challenges that keep the creative juices flowing.
To make the most of your community experience, consider the following:
- Engage Actively: Don't just be a passive observer. Share your work, ask questions, and offer feedback to others.
- Attend Events: Look for local workshops or online webinars that can help you expand your skills.
- Be Open to Learning: Every member has something unique to offer. Embrace different perspectives and techniques.
In conclusion, joining a community is not just about learning; it's about building relationships, finding inspiration, and enhancing your creativity. So, take that leap, connect with fellow applique lovers, and watch your skills flourish in an environment that encourages growth and collaboration.
Here are some common questions beginners often have about joining an applique community:
- What are the benefits of joining an applique community? Joining a community provides support, inspiration, and resources for improving your skills.
- How can I find a local applique group? Check local craft stores, community centers, or social media platforms for groups in your area.
- Are online communities just as effective as local ones? Yes! Online communities can offer a vast network of resources and diverse perspectives.
Frequently Asked Questions
- What is the best fabric for beginners to use in applique?
For beginners, cotton fabric is often recommended due to its ease of handling and wide availability. It's versatile, comes in various colors and patterns, and holds up well during the sewing process. If you're looking for something a bit different, consider using felt or fleece, which can add texture to your projects.
- Do I need a special sewing machine for applique?
No, you don't necessarily need a special sewing machine for applique. A basic sewing machine will work just fine, especially if it has a zigzag stitch option. However, a machine with a free-motion foot can make the process easier and more enjoyable, allowing for more creative freedom.
- How can I prevent my fabric edges from fraying?
To prevent fraying, you can use a few techniques. First, consider applying a fabric stabilizer or fusible webbing to the back of your fabric before cutting. Additionally, using a zigzag stitch or a straight stitch close to the edge can help secure the fabric and minimize fraying.
- Is it necessary to pre-wash fabrics before using them for applique?
While it's not strictly necessary, pre-washing your fabrics is highly recommended. This helps to remove any sizing or chemicals from the fabric, and it also pre-shrinks the material, preventing any distortion or puckering after your project is complete.
- What are some easy projects for beginners to start with?
Some great beginner projects include simple appliqued pillows, tote bags, or even small wall hangings. These projects allow you to practice your skills without feeling overwhelmed. Plus, they can be completed relatively quickly, giving you a sense of accomplishment!
- Can I use a glue stick instead of sewing for applique?
Yes, using a fabric glue stick can be a quick and effective method for holding your pieces in place before sewing. Just ensure that the glue is washable and safe for fabric. However, for durability, it's best to sew the edges after gluing.
- How do I join an applique community for support and inspiration?
Joining an applique community can be as simple as searching for local quilting groups or online forums dedicated to sewing and applique. Websites like Facebook or Instagram also have numerous groups where you can share your work, ask questions, and connect with fellow enthusiasts.


