
Tips for Painting a Stunning Night Sky
Have you ever gazed up at the night sky and felt a sense of wonder? The stars twinkling like diamonds, the moon casting a silvery glow, and the deep blues and purples of the universe seem to whisper secrets of the cosmos. Capturing this beauty on canvas can be both a challenge and a joy. In this article, we will explore various techniques and tips for creating breathtaking night sky paintings. Whether you're a seasoned artist or just starting out, these insights will help you enhance your skills and bring your night sky visions to life.
When it comes to painting a night sky, selecting the appropriate colors is crucial for capturing its essence. The right color palette can evoke the beauty and mystery of nighttime scenes. Imagine a palette filled with deep indigos, soft lavenders, and vibrant blues. These colors not only mimic the natural hues of the night but also create an emotional connection with the viewer. Here are some popular color combinations to consider:
| Color Combination | Effect |
|---|---|
| Deep Blue & Black | Creates a dramatic, expansive sky. |
| Purple & Pink | Adds a dreamy, whimsical quality. |
| Turquoise & Silver | Gives a fresh, modern twist to traditional night skies. |
Mixing these colors can yield stunning gradients that reflect the natural transitions of light in the evening sky. Don't be afraid to experiment with your palette; sometimes, the most unexpected combinations can lead to the most breathtaking results!
Different brush techniques can create unique textures in your night sky painting. Think of your brush as a magic wand, capable of transforming a flat canvas into a vibrant, dynamic scene. By mastering a few techniques, you can achieve depth and movement that will captivate your audience. One of the most effective tools for creating texture is a fan brush.
A fan brush can create soft, wispy clouds and shimmering stars. This versatile tool allows you to experiment with various effects. For instance, when painting clouds, use the edge of the fan brush to gently dab and swirl the paint, mimicking the light, airy feel of clouds drifting through the night sky.
To create shimmering stars that twinkle, dip your fan brush into a bright white or yellow paint and lightly flick it across the canvas. This technique adds a magical touch to your night sky painting, making it feel alive. Imagine each flick as a sprinkle of fairy dust, bringing your artwork to life!
Mastering the art of blending colors with a fan brush can enhance the overall look of your night sky. Start with a base color and gradually layer lighter shades on top. Use gentle strokes to blend the edges, creating seamless transitions between hues. This technique will help your painting feel cohesive and polished.
Layering is essential for depth in a night sky. Think of it as building a delicious cake; each layer adds complexity and richness. Begin with a dark base layer to establish the night sky, then add lighter colors to create clouds, stars, and other celestial elements. This approach not only adds dimension but also helps create an immersive atmosphere that draws viewers in.
A well-planned composition can elevate your night sky painting from good to stunning. Consider the arrangement of elements in your artwork. Are you featuring a prominent moon, or perhaps a constellation? Strategically positioning these focal points can guide the viewer’s eye and create a sense of balance. Think of your canvas as a stage, where every element plays a role in telling a story.
Identifying focal points, such as the moon or constellations, is vital for creating a captivating night sky painting. These elements should draw the viewer's attention, serving as anchors in your composition. Position them thoughtfully; for example, placing the moon slightly off-center can create a dynamic balance that feels more natural and engaging.
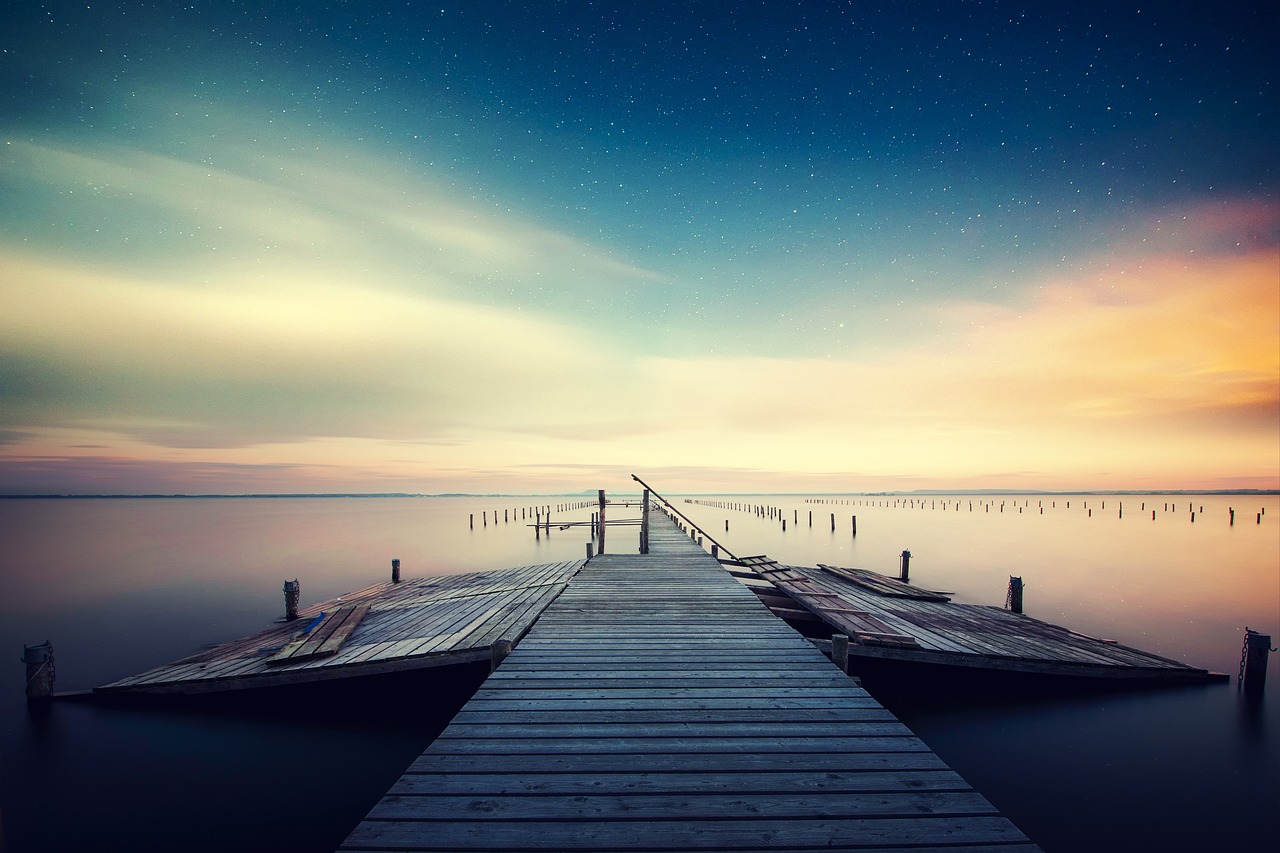
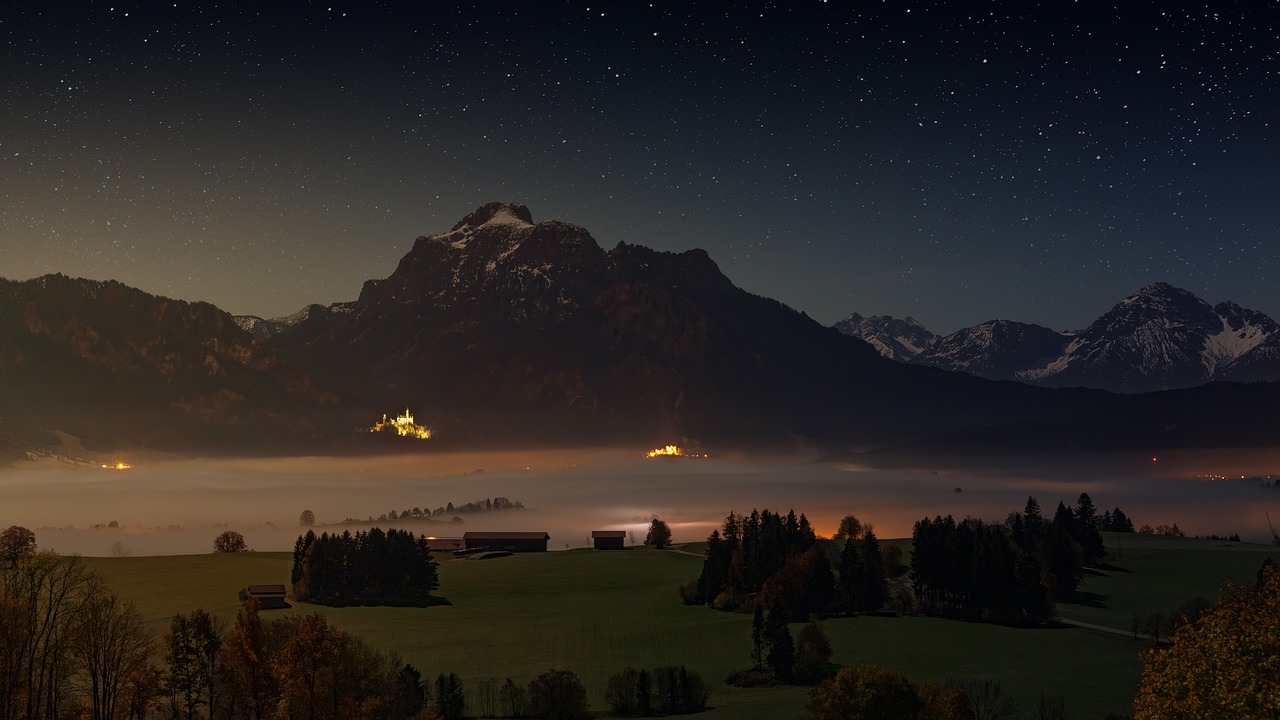
Incorporating foreground and background elements can add context to your night sky. Think of trees silhouetted against a starry backdrop or a distant mountain range under a glowing moon. Blending these elements seamlessly can help create a cohesive composition, allowing your night sky to feel grounded and complete.
- What colors should I use for a night sky painting? Deep blues, purples, and blacks are excellent choices, often complemented by whites or yellows for stars.
- How can I create realistic stars? Use a fan brush to flick white or yellow paint onto the canvas for a shimmering star effect.
- What is the best way to layer paint? Start with darker colors as a base and gradually add lighter shades, blending as you go for depth.
Choosing the Right Colors
When it comes to painting a stunning night sky, is absolutely essential. The colors you select can evoke emotions, create a sense of depth, and ultimately bring your artwork to life. Imagine standing under a vast expanse of stars, with hues of deep blue, purple, and shimmering silver dancing above you. To capture this essence, you need to consider a few key color palettes that resonate with the beauty and mystery of a nighttime scene.
One popular approach is to use a gradient of colors that transition smoothly from dark to light. Deep indigos, rich purples, and soft blacks can serve as the foundation of your night sky. Think of the way the sky shifts as the sun sets; it’s a breathtaking transformation. You might start with a deep navy at the top of your canvas, gradually blending it into lighter shades of blue and hints of lavender as you move downwards.
For those looking to add a touch of magic, consider incorporating metallic colors or iridescent paints. These can mimic the sparkle of stars and the ethereal glow of the moon. Imagine the twinkling stars reflecting off a calm lake; the use of silver or gold can help replicate that shimmering effect on your canvas. Here’s a simple breakdown of a color palette that can work wonders for your night sky:
| Color | Purpose |
|---|---|
| Deep Blue | Base color for the sky |
| Purple | Adds depth and richness |
| Black | Enhances shadows and contrast |
| White/Silver | Highlights stars and moon |
| Gold | Creates a magical glow |
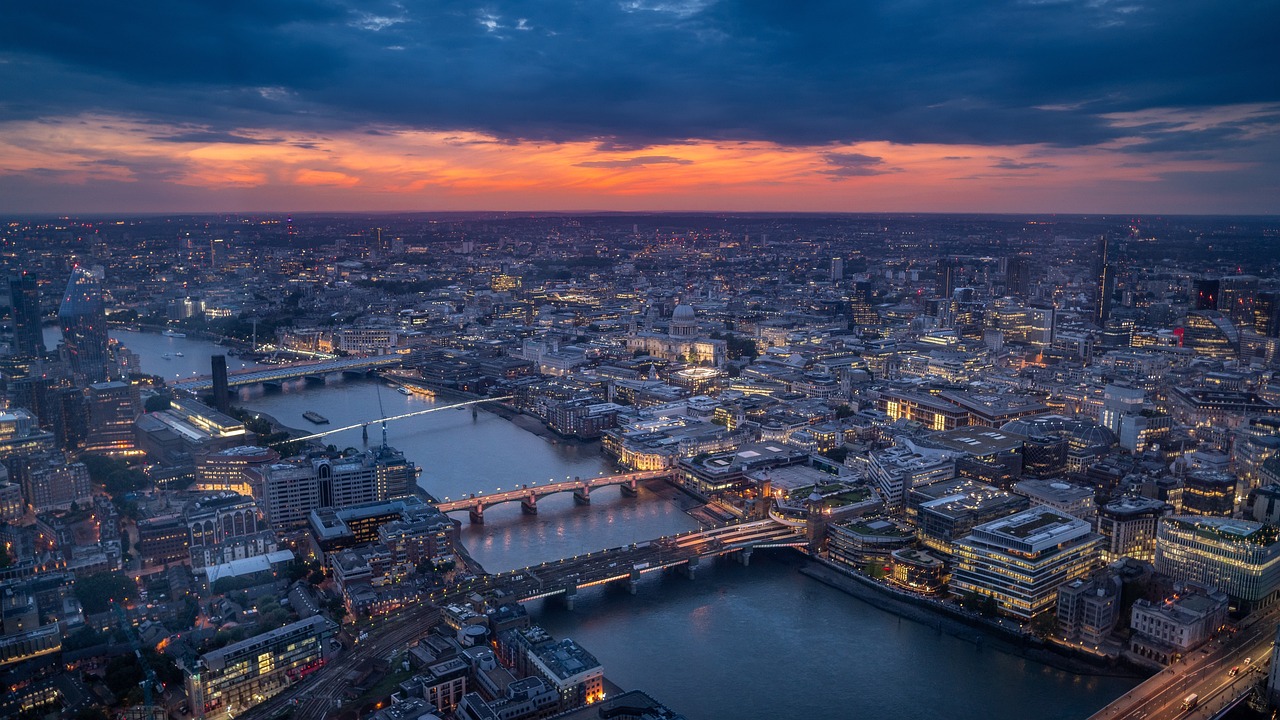
As you experiment with these colors, don’t hesitate to go beyond the conventional. The night sky is not just one color; it’s a mesmerizing tapestry of shades that can vary depending on your surroundings and the time of night. Take inspiration from photographs or even the skies above you. If you notice a hint of green or orange during twilight, incorporate those into your palette! The more personal and unique your color choices, the more your night sky painting will resonate with viewers.
Lastly, always remember to test your colors on a scrap piece of canvas before applying them to your masterpiece. This practice not only helps you see how the colors interact but also allows you to make adjustments on the fly. After all, a night sky painting should feel as enchanting and dynamic as the real thing!
Brush Techniques for Texture
When it comes to painting a stunning night sky, brush techniques play a pivotal role in creating the desired texture and depth. The way you apply paint can significantly impact the overall feel of your artwork. By using a variety of brushes and techniques, you can evoke the enchanting qualities of the night sky, from soft, billowing clouds to shimmering stars. In this section, we will explore different brush techniques that can help you achieve these effects, ensuring your night sky painting is nothing short of breathtaking.
One of the most versatile tools in your arsenal is the fan brush. This brush is perfect for creating soft, wispy clouds that drift across your canvas. To use a fan brush effectively, dip it in your chosen paint color and lightly drag it across the canvas in a sweeping motion. This technique allows you to create layers of clouds that appear both ethereal and dynamic. Remember, the key to mastering the fan brush is to maintain a light touch; pressing too hard can lead to harsh lines that detract from the softness of your night sky.
When utilizing a fan brush, think of it as your magic wand for creating starry effects. By gently tapping the brush on the canvas, you can mimic the appearance of twinkling stars scattered throughout the sky. This technique involves using a lighter color, such as white or pale yellow, to represent the stars against the darker hues of your night sky. The randomness of the star placement adds a touch of realism, making your painting feel alive. To enhance this effect, consider varying the pressure on the brush to create stars of different sizes, from tiny pinpricks of light to larger, more prominent stars.
To add a magical touch to your night sky painting, focus on creating shimmering stars that seem to twinkle. One effective method is to use a dry brush technique. With a clean fan brush, lightly dip the tips in a small amount of white paint and then gently brush it over your canvas. This technique allows for a delicate application of paint, creating a soft glow that mimics the natural shimmer of stars. You can also experiment with using a toothbrush to flick paint onto the canvas, producing a splatter effect that can resemble distant stars.
Another essential technique for achieving a stunning night sky is blending colors smoothly. This can be accomplished with a fan brush by using a technique known as wet-on-wet blending. Start by applying a base layer of paint to your canvas, and while it’s still wet, use your fan brush to introduce additional colors. Gently sweep the brush back and forth to create seamless transitions between hues. This method not only adds depth to your painting but also captures the fluidity of the night sky, where colors blend and shift in subtle ways.
Layering is also crucial in creating a rich, immersive atmosphere in your night sky painting. By building up layers of color, you can achieve a sense of depth that draws the viewer in. Start with darker shades at the bottom of the canvas and gradually work your way up to lighter colors. This gradient effect can simulate the natural transition of colors seen in the sky at night.
In conclusion, mastering brush techniques for texture is vital for any artist looking to create a stunning night sky painting. From the soft, wispy clouds to the twinkling stars, the right brush and technique can transform your canvas into a mesmerizing night scene. So grab your brushes, experiment with these techniques, and let your creativity flow as you paint your very own night sky masterpiece.
- What type of paint is best for night sky paintings? Acrylic paints are often recommended for beginners due to their quick drying time and vibrant colors, while oil paints offer a richer depth and longer blending time for more experienced artists.
- Can I use a sponge for texture in my night sky painting? Absolutely! Sponges can create unique textures, especially when applying clouds or soft backgrounds.
- How do I fix mistakes in my night sky painting? If you make a mistake, don’t panic! You can often paint over areas with darker colors or use a wet cloth to gently wipe away fresh paint before it dries.
Using a Fan Brush
The fan brush is one of the most versatile tools in an artist's arsenal, especially when it comes to painting a breathtaking night sky. Its unique shape, with bristles that spread out like a fan, allows for a variety of techniques that can enhance the beauty and depth of your artwork. So, how can you harness the power of this tool to create stunning effects? Let’s dive into some practical applications!
First off, the fan brush is perfect for creating soft, wispy clouds that drift across your night sky. To achieve this effect, dip the fan brush lightly in your chosen color—perhaps a soft gray or muted lavender—and gently drag it across the canvas. The key here is to use a light touch; you want to create the illusion of clouds without overpowering the other elements in your painting. Remember, less is often more when it comes to portraying the delicate nature of clouds.
But wait, there’s more! The fan brush is also fantastic for adding shimmering stars to your night sky. Imagine the twinkling lights scattered across a deep blue canvas, each one beckoning the viewer to look closer. To create these stars, simply dip the tip of the fan brush into a bright white or yellow paint and gently tap it onto the canvas. This technique mimics the natural sparkle of stars, giving your painting a magical touch. You might even want to experiment with different sizes of stars; some can be tiny pinpricks of light, while others can be larger and more pronounced.
Another essential technique to master with a fan brush is blending colors smoothly. The night sky is rarely a single hue; instead, it’s a beautiful gradient of colors. To achieve this, load your fan brush with two or three colors that complement each other, such as deep navy, soft violet, and a hint of teal. Then, using a gentle back-and-forth motion, blend these colors where they meet. This technique creates a seamless transition, making your night sky feel more dynamic and alive.
Incorporating the fan brush into your painting routine can truly elevate your artwork. The combination of soft clouds, twinkling stars, and smooth color transitions creates a rich tapestry that captures the viewer’s imagination. So, grab your fan brush, and let your creativity flow as you paint your own stunning night sky!
- What type of paint is best for using a fan brush? Acrylic paints work wonderfully with fan brushes due to their quick drying time and vibrant colors. However, oil paints can also yield beautiful results if you're looking for a longer blending time.
- Can I use a fan brush for other types of paintings? Absolutely! Fan brushes are great for landscapes, floral paintings, and even abstract art. Their versatility makes them a must-have in any artist's toolkit.
- How do I clean my fan brush after use? Cleaning your fan brush is simple. Just rinse it under warm water and use mild soap to remove any paint residue. Reshape the bristles gently to maintain their fan shape.
Creating Starry Effects
When it comes to painting a night sky, the stars are undoubtedly the jewels that bring your artwork to life. Creating realistic and shimmering stars can transform a simple canvas into a breathtaking celestial scene. But how do you achieve that magical twinkle? The secret lies in the technique and the tools you use. One of the best tools for this effect is the fan brush, which allows for a delicate touch that can mimic the soft glow of stars in the night sky.
To start, make sure you have your fan brush ready along with a palette of colors that includes whites, yellows, and even some light blues. These colors will help you achieve a variety of star effects. You can create a starry night by following these simple steps:
- Load the Brush: Dip your fan brush into a mix of white and a touch of yellow. This combination will give your stars a warm, inviting glow.
- Lightly Tap: Gently tap your brush against the canvas. This technique allows the paint to splatter and create small dots, resembling stars scattered across the sky.
- Vary the Pressure: Adjust the pressure of your brush as you tap to create stars of different sizes. Larger stars can be made by pressing down a bit harder, while smaller stars require a lighter touch.
Another fantastic technique to enhance your starry effects is to layer your stars. Start with a base layer of small dots, then come back with a clean fan brush and add larger stars on top. This layering creates depth and makes your night sky feel more dynamic. You can even add a little bit of sparkle by using a metallic paint for some stars, giving them a shimmering appearance that catches the viewer's eye.
Don’t forget the importance of placement! Think about the constellations or the Milky Way as you scatter your stars across the canvas. A well-placed cluster of stars can draw the viewer's attention and create a focal point in your painting. You might want to consider using a reference image to guide you on where to place these star clusters effectively. Remember, the beauty of a night sky lies in its randomness; no two skies are the same, so feel free to experiment!
Finally, to truly make your stars pop, consider the background. A deep, rich blue or a gradient of purples and blacks can provide the perfect contrast to your bright stars. By blending these colors smoothly behind your stars, you’ll create an illusion of depth, making your night sky painting feel more immersive. The right background can elevate your starry effects from ordinary to extraordinary.
In conclusion, creating starry effects in your night sky painting is all about technique, color choice, and placement. With practice and experimentation, you’ll find the methods that work best for you, allowing you to create stunning night skies that captivate and inspire. So grab your brushes and let your imagination take flight among the stars!
Q: What type of paint is best for night sky paintings?
A: Acrylic paints are great for beginners due to their quick drying time and versatility. However, oil paints can also be used for richer textures and blending.
Q: Can I use a sponge instead of a fan brush for stars?
A: Absolutely! A sponge can create a different texture and effect for stars. Just make sure to use a light touch for smaller stars.
Q: How do I create a gradient effect in my night sky?
A: To create a gradient, start with your darkest color at the top of the canvas and gradually blend in lighter colors as you move downward. A clean, dry brush can help with this blending.
Q: Is it necessary to use a reference image?
A: While it's not necessary, using a reference image can help you understand the arrangement and colors in a real night sky, making your painting more realistic.
Blending Colors Smoothly
When it comes to painting a stunning night sky, is an essential skill that can make or break your artwork. Imagine the sky transitioning from a deep navy blue at the top to a lighter blue or even a hint of purple near the horizon. Achieving this seamless gradient can evoke feelings of tranquility and wonder, drawing viewers into your masterpiece. To start, you’ll want to gather your colors and tools. A palette with a range of blues, purples, and blacks will be your best friend, along with a fan brush or a soft flat brush for that smooth application.
One effective technique is to work with wet-on-wet blending. This method involves applying wet paint onto wet paint, allowing the colors to mix directly on your canvas. Start by laying down your darker shades first, then gradually add lighter colors. As you do this, use gentle strokes to blend the edges where the colors meet. The key here is to avoid harsh lines; instead, aim for a soft transition that mimics the natural gradient of the night sky. You can achieve this by lightly dragging your brush back and forth, using a flicking motion to encourage the colors to merge.
Another important aspect of blending is to consider the amount of paint on your brush. Too much paint can lead to a thick, muddy appearance, while too little can result in a patchy look. It’s all about finding that perfect balance. A good rule of thumb is to start with less paint and gradually build up until you achieve the desired effect. Don’t be afraid to experiment! If a blend doesn’t look right, simply wipe your brush clean and try again.
Additionally, you may want to incorporate a blending medium into your painting process. Products like glazing medium or linseed oil can help create a smoother finish and allow for more extended working times, giving you the freedom to adjust your colors as needed. Just remember to use these sparingly, as too much can alter the vibrancy of your paints.
Lastly, don’t underestimate the power of layering. Once you’ve established your initial blend, let it dry completely before adding additional layers. This technique not only enhances the depth of your night sky but also allows for more intricate details, such as stars or clouds, to be added on top without disturbing the base layer. With practice and patience, your ability to blend colors smoothly will elevate your night sky paintings to new heights.
- What colors should I use for a night sky painting? It’s best to use a mix of deep blues, purples, and blacks, along with lighter shades for highlights.
- Can I use acrylics for night sky paintings? Absolutely! Acrylics are versatile and dry quickly, making them ideal for layering techniques.
- How do I avoid harsh lines when blending? Use gentle strokes and work with wet paint to encourage smooth transitions.
- What tools are best for blending colors? A fan brush or a soft flat brush works well for achieving a smooth blend.

Layering Techniques
When it comes to painting a stunning night sky, are not just a suggestion; they are a necessity. Think of layering as building a delicious cake. Each layer adds flavor and complexity, making the final product more enticing. In the realm of night sky painting, layering allows you to create depth, movement, and a sense of realism that can transport viewers into your artwork. So, how do you achieve this magical effect? Let's dive into some key methods!
First off, it's essential to start with a solid foundation. Begin by applying a base color, typically a deep blue or black, to set the stage for your night sky. This initial layer serves as the canvas for everything else you will add. Once the base is dry, you can begin to build up layers of color. Use a slightly lighter shade of blue or even hints of purple and teal to create the illusion of depth. By applying these colors in thin, translucent layers, you allow the underlying colors to shine through, creating a more dynamic and visually appealing sky.
As you progress, consider the importance of drying time. Allow each layer to dry before adding the next. This not only prevents colors from muddying together but also helps maintain the vibrancy of each hue. You can speed up this process with a hairdryer on a low setting, but be cautious—too much heat can warp your canvas!
Another technique to consider is the use of a glazing medium. A glazing medium is a transparent paint that can be mixed with your colors to create a luminous effect. By applying a glaze over dried layers, you can enhance the depth and richness of your night sky. Imagine the way the moonlight reflects off the clouds; a good glaze can mimic that stunning effect beautifully.
Incorporating textural layers can also enrich your painting. For example, you can use a palette knife to apply thick strokes of paint, creating a three-dimensional effect that can mimic the textured appearance of clouds or distant mountains. This technique adds interest and can help guide the viewer’s eye throughout the composition.
Finally, don't forget to play with the contrast between your layers. Darker colors can recede into the background, while lighter shades can pop forward, creating a sense of space. This contrast is crucial for drawing attention to specific elements, such as a glowing moon or a cluster of stars. By strategically layering your colors and adjusting their intensity, you can create a night sky that feels alive and full of wonder.
In summary, layering techniques are vital for achieving a breathtaking night sky painting. By starting with a solid base, allowing for drying time, using glazing mediums, incorporating texture, and playing with contrast, you can create a rich, immersive atmosphere that captivates your audience. So grab your brushes and let your creativity flow!
- What is the best base color for a night sky painting?
The best base colors are typically deep blues or blacks, as they set a dramatic foundation for the night sky.
- How long should I wait between layers?
It's best to wait until each layer is fully dry before adding the next, which can take anywhere from 30 minutes to a few hours, depending on the paint and thickness.
- Can I use acrylic paint for layering techniques?
Yes, acrylic paint is excellent for layering! Just ensure that each layer is dry before applying the next to avoid muddy colors.
- What is a glazing medium, and how do I use it?
A glazing medium is a transparent paint that you can mix with your colors to create a luminous effect. Apply it over dried layers to enhance color depth.

Composition and Layout
When it comes to painting a stunning night sky, composition and layout play a pivotal role in capturing the viewer's attention. Think of your painting as a stage where each element has its part to play. A well-planned composition can transform a simple canvas into a breathtaking masterpiece that draws the audience in and keeps their eyes wandering across the scene. So, how do you achieve this magical balance? Let’s dive into some strategic approaches that can elevate your artwork to new heights.
First and foremost, consider the focal points of your painting. These are the elements that will grab the viewer's attention immediately. Whether it's a bright, glowing moon or a cluster of twinkling stars, these focal points should be strategically placed within your composition. For instance, placing the moon off-center can create a sense of movement and intrigue, leading the viewer's eye around the canvas. Think of it like a spotlight in a theater; it directs the audience where to look. Here’s a simple rule of thumb:
| Focal Point Position | Effect |
|---|---|
| Center | Creates a sense of stability |
| Off-center (Rule of Thirds) | Adds dynamism and interest |
| Near the edges | Can evoke a feeling of vastness |
Next, let’s talk about the foreground and background elements. These components are essential for adding context and depth to your night sky painting. Imagine you’re looking at a breathtaking view: the foreground might include silhouetted trees or mountains, while the background showcases a vast expanse of stars and a shimmering galaxy. By incorporating these layers, you not only create depth but also invite the viewer to explore the painting more thoroughly. For instance, you can paint dark silhouettes in the foreground to contrast against the vibrant colors of the night sky. This technique enhances the overall composition, making it feel more immersive and alive.
When integrating these elements, consider the color harmony within your composition. Using a cohesive color palette that blends well together can unify the foreground and background. For example, if your night sky features deep blues and purples, you might want to use darker shades of those colors for the foreground elements. This creates a sense of continuity that ties the entire painting together.
Lastly, don’t forget about the negative space. This is the area around and between the subjects of your painting. It’s often overlooked but can be a powerful tool in composition. Negative space can help to isolate your focal points, allowing them to stand out even more. Think of it as the breathing room in your artwork; it gives the viewer's eyes a place to rest, enhancing their overall experience. Balancing positive and negative space can create a harmonious composition that feels both complete and engaging.
In summary, mastering composition and layout in your night sky paintings involves careful consideration of focal points, the relationship between foreground and background elements, color harmony, and the use of negative space. By weaving these components together, you can create a stunning visual narrative that captivates and enchants your audience. So grab your brushes, let your creativity flow, and transform your canvas into a beautiful night sky that tells a story!
- What are the best colors to use for a night sky painting?
Deep blues, purples, and blacks are excellent choices, often accented with whites or yellows for stars. - How can I create depth in my painting?
Use layering techniques and incorporate foreground elements to create a sense of distance. - What tools are best for painting stars?
A fan brush works wonders for creating starry effects, giving your painting a magical touch. - Is it important to plan my composition before starting?
Yes! A well-thought-out composition can significantly enhance the visual impact of your artwork.
Focal Points in the Night Sky
When it comes to painting a stunning night sky, focal points play a crucial role in guiding the viewer’s eye and creating a sense of wonder. Imagine standing under a vast expanse of stars, where your gaze is naturally drawn to the brightest celestial bodies. In your artwork, these focal points serve a similar purpose, anchoring the composition and adding depth to your scene. The most common focal points in night sky paintings include the moon, prominent stars, and constellations. By strategically positioning these elements, you can create a dynamic and engaging visual narrative that captures the essence of a nighttime spectacle.
To effectively incorporate focal points into your night sky painting, consider the following tips:
- Placement: Position your focal points according to the rule of thirds. This technique involves dividing your canvas into a 3x3 grid and placing the focal points along the intersecting lines. This creates a more balanced and visually appealing composition.
- Contrast: Use contrasting colors to make your focal points stand out. For instance, a bright yellow moon against a deep blue sky will draw immediate attention. Consider using complementary colors to enhance the visual impact.
- Size and Scale: Larger focal points, like a full moon, naturally attract attention. Ensure that the size of your focal point is proportionate to the surrounding elements to maintain a sense of realism.
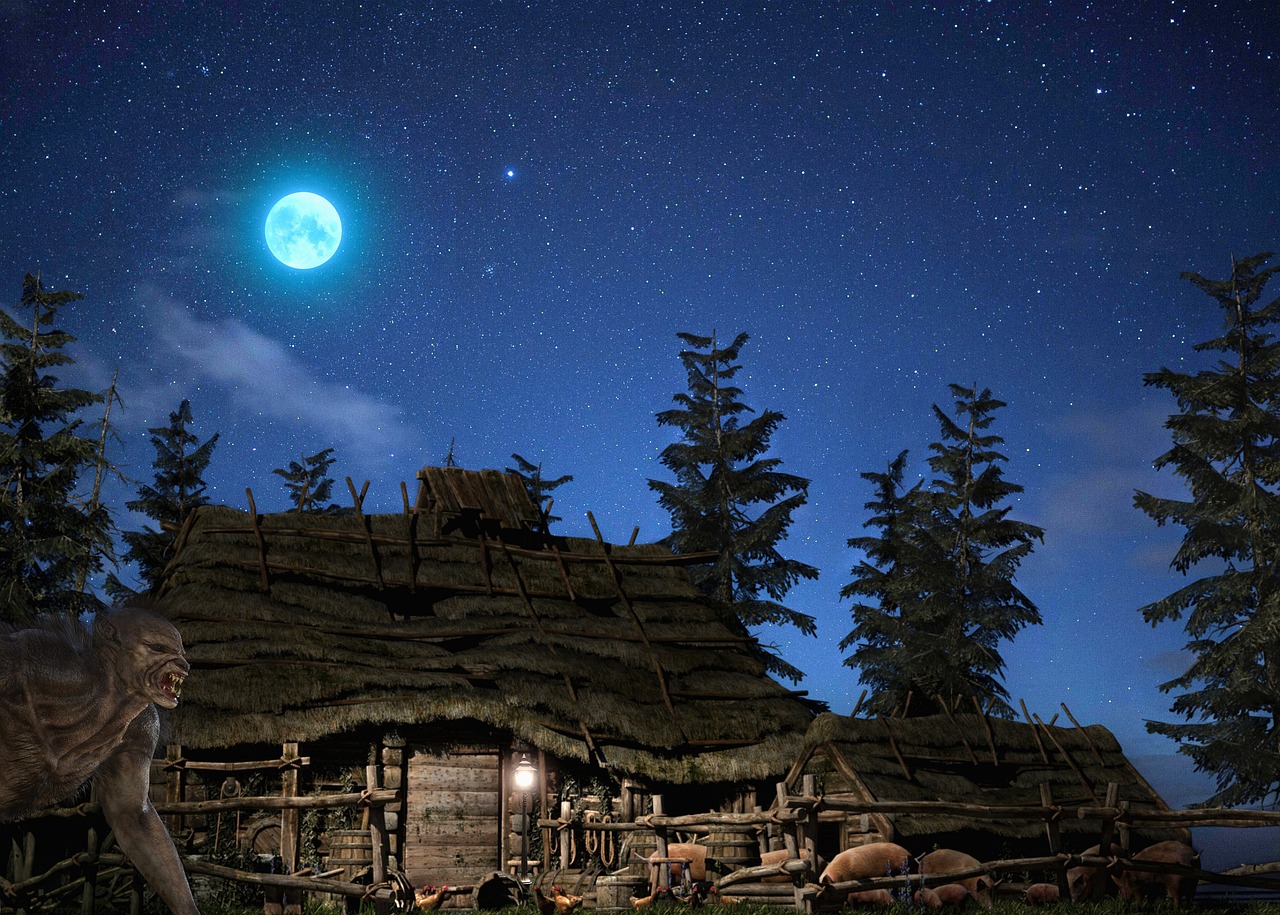
Additionally, think about the emotional impact of your focal points. For example, a crescent moon can evoke feelings of tranquility and mystery, while a bright, full moon might suggest illumination and clarity. By understanding the emotions associated with different celestial bodies, you can select focal points that resonate with the mood you wish to convey in your painting.
As you paint, don’t forget to consider the background elements that can complement your focal points. Stars, clouds, and even distant mountains can create layers of interest that enhance the overall composition. For instance, a cluster of stars surrounding a bright moon can create a sense of depth, making the scene feel more immersive. Similarly, wispy clouds can frame your focal point, guiding the viewer’s eye toward the heart of your painting.
Lastly, remember that less is often more. Too many focal points can overwhelm the viewer, diluting the impact of each element. Aim for a harmonious balance, where your focal points stand out without competing for attention. By following these guidelines, you can create a night sky painting that not only captures the beauty of the cosmos but also invites viewers to explore the depths of your artistic vision.
Q: What are the best colors to use for painting a night sky?
A: Dark blues, purples, and blacks are excellent base colors. You can add highlights with whites, yellows, or light blues for stars and the moon.
Q: How can I create depth in my night sky painting?
A: Layering different shades and using techniques like glazing can create a sense of depth. Incorporating foreground elements also helps add dimension.
Q: What tools do I need to paint a night sky?
A: A variety of brushes, including fan brushes for stars and clouds, as well as sponges for soft blending, can be very effective. Don't forget to have a palette knife for mixing colors!
Q: Is it necessary to sketch before painting?
A: While it’s not mandatory, sketching can help you plan your composition and focal points effectively, making the painting process smoother.
Foreground and Background Elements
When it comes to painting a stunning night sky, the foreground and background elements play a vital role in creating depth and context. Imagine standing under a vast, starry sky; what do you see in front of you? Perhaps it's a silhouette of tall trees, a distant mountain range, or even a calm lake reflecting the moonlight. Incorporating these elements into your artwork not only adds interest but also helps to transport the viewer into the scene.
To effectively blend foreground and background elements, it’s essential to consider the relationship between them. The background, often painted in darker hues, creates the illusion of depth and distance, while the foreground elements can be depicted in brighter colors to draw attention. This contrast helps to establish a sense of scale and perspective. For instance, if you’re painting a serene night sky over a lake, the water can serve as a mirror, reflecting the colors and shapes above, while the shoreline might feature rocks or grasses silhouetted against the sky.
One technique to enhance this relationship is to use layering. Start with the background, applying your night sky colors first. Once that’s dry, you can begin adding your foreground elements. This method allows you to adjust the opacity and color intensity of the foreground, ensuring it complements rather than overwhelms the night sky. Additionally, consider the lighting in your composition. Elements in the foreground can be highlighted by moonlight or starlight, creating a magical effect. Use lighter tones or even a hint of white to simulate this glow.
Another important aspect is to create a sense of movement and flow between the foreground and background. For example, if you’re painting clouds drifting across the sky, you might want to have some of them extend into the foreground, creating a seamless transition. This technique not only adds realism but also engages the viewer's eye, guiding them through the painting.
To summarize, when painting a night sky, don’t overlook the significance of foreground and background elements. They are like the frame of a picture, enhancing the beauty of the artwork. Remember to:
- Use contrasting colors to create depth.
- Layer your elements for a more immersive experience.
- Consider the lighting effects to enhance realism.
- Create movement to engage the viewer's eye.
By thoughtfully integrating these components, you can elevate your night sky paintings from simple depictions to breathtaking scenes that captivate and inspire.
Q: How can I choose the right colors for my night sky painting?
A: Start by observing real night skies and consider using a palette that includes deep blues, purples, and hints of white or yellow for stars and moonlight.
Q: What are some common mistakes to avoid when painting a night sky?
A: Avoid using too many bright colors that can disrupt the serene mood of a night sky. Also, be cautious with the placement of stars; they should be randomly distributed rather than in uniform patterns.
Q: Can I use acrylics for painting a night sky?
A: Absolutely! Acrylics are versatile and dry quickly, making them a great choice for layering and blending in night sky paintings.
Frequently Asked Questions
- What colors should I use for a night sky painting?
Choosing the right colors is essential for capturing the beauty of a night sky. Consider using deep blues, purples, and blacks as your base, then add hints of lighter colors like white, silver, or soft yellows for stars and moonlight. Experimenting with different shades can help evoke the mystery and allure of nighttime.
- How can I create texture in my night sky painting?
Texture can be achieved through various brush techniques. Using a fan brush is particularly effective for creating soft clouds and shimmering stars. You can also layer different colors to add depth and movement, making your night sky feel more dynamic and alive.
- What is the best way to blend colors smoothly?
Mastering the art of blending is key to a seamless night sky. When using a fan brush, gently overlap colors while they are still wet to create smooth transitions. This technique helps to achieve a more natural look, as if the colors are flowing into one another like a gentle night breeze.
- How do I identify focal points in my painting?
Focal points are crucial for guiding the viewer’s eye. Identify elements like the moon or specific constellations and position them strategically within your composition. This not only draws attention but also creates a narrative within your artwork, making it more engaging.
- Can I incorporate foreground elements in my night sky painting?
Absolutely! Adding foreground elements, such as silhouettes of trees or buildings, can provide context and depth to your night sky. This technique helps to create a more immersive experience for the viewer, making them feel as though they are part of the scene.


