Simple Steps to a Perfect Flower Garden Painting
Creating a stunning flower garden painting is like capturing a moment of nature's beauty on canvas. Whether you're a seasoned artist or a curious beginner, the journey to crafting your masterpiece can be both exciting and fulfilling. Imagine standing in front of a vibrant garden, surrounded by blooming flowers, their colors dancing in the sunlight. This article outlines easy and effective techniques for creating a beautiful flower garden painting, perfect for both beginners and experienced artists looking to enhance their skills. So, grab your brushes and let’s dive into the world of color, texture, and creativity!
Selecting the right canvas and materials is crucial for achieving the desired effect in your flower garden painting. You wouldn’t want to build a house on a shaky foundation, right? The same goes for your artwork! Here’s what you should consider:
- Canvas Type: Choose between stretched canvas, canvas boards, or watercolor paper based on your preferred painting medium.
- Paint Selection: Acrylics, oils, or watercolors each have their unique qualities. Think about the finish and texture you want to achieve.
- Brushes: Different brush shapes and sizes will help you create various effects. A flat brush for broad strokes or a fine-tipped brush for details can make a significant difference.
By choosing the right materials, you'll set yourself up for success and ensure that your artistic vision comes to life beautifully.
A solid grasp of color theory will elevate your painting from ordinary to extraordinary. Color is not just about aesthetics; it’s about conveying emotions and creating an atmosphere. Learning how to mix colors effectively and choose the right palette for your flower garden masterpiece is essential. Think of color as the music of your painting—each hue plays a note that contributes to the overall harmony.
Mastering color mixing techniques can help you create vibrant and harmonious hues. Imagine blending colors like a chef mixes ingredients to create a delicious dish. Here are some tips for blending colors seamlessly:
- Start with primary colors and gradually mix in secondaries to create a rich palette.
- Use a palette knife to mix colors for a smoother blend.
- Experiment with different ratios to find the perfect shade for your flowers.
With practice, you’ll be able to create stunning shades that breathe life into your artwork.
Understanding the difference between warm and cool colors can significantly impact your painting's mood. Warm colors like reds and yellows evoke feelings of energy and passion, while cool colors such as blues and greens create a sense of calm and tranquility. Think of your painting as a conversation; the colors you choose will dictate the tone of that dialogue.
Complementary colors enhance each other when paired together. For instance, placing a vibrant orange flower against a backdrop of deep blue can make both elements pop dramatically. This contrast draws the viewer's eye and creates a dynamic composition. Consider using complementary colors to make your flower garden painting truly stand out!
Adding depth and dimension to your painting can make it more realistic. Think of your flower garden as a three-dimensional world; layering and shading will help bring it to life. Techniques such as glazing and scumbling can create a sense of depth that invites viewers to explore your artwork further. Shadows and highlights can transform flat images into vibrant representations of nature’s beauty.
Different brush techniques can produce unique effects in your flower painting. Experimenting with various strokes is like trying out different recipes until you find the one that satisfies your taste buds. Each technique can capture the delicate beauty of flowers in a unique way.
Dry brushing is a technique that creates a textured look, perfect for adding subtle details and highlights to your flower petals. This method involves using a dry brush with minimal paint to gently sweep over the surface, allowing the texture of the canvas to show through. It’s like whispering secrets to your canvas—soft and delicate.
Stippling and dabbing techniques can create interesting textures and patterns. By using the tip of your brush or a sponge, you can add a lively, impressionistic quality to your flowers. Think of it as creating tiny dots of joy that come together to form a beautiful bouquet on your canvas.
The final touches can make or break your painting. Essential finishing techniques, such as adding a protective varnish or making minor adjustments to contrast and brightness, can enhance your flower garden artwork and ensure it stands out. Remember, it’s the little details that often leave the biggest impression!
Q: What type of paint is best for beginners?
A: Acrylic paint is often recommended for beginners due to its quick drying time and ease of use.
Q: How do I choose the right colors for my painting?
A: Start by selecting a color palette that reflects the mood you want to convey. Use color theory principles to guide your choices.
Q: Can I use a photograph as a reference for my painting?
A: Absolutely! Using a photograph can help you capture details and colors accurately.
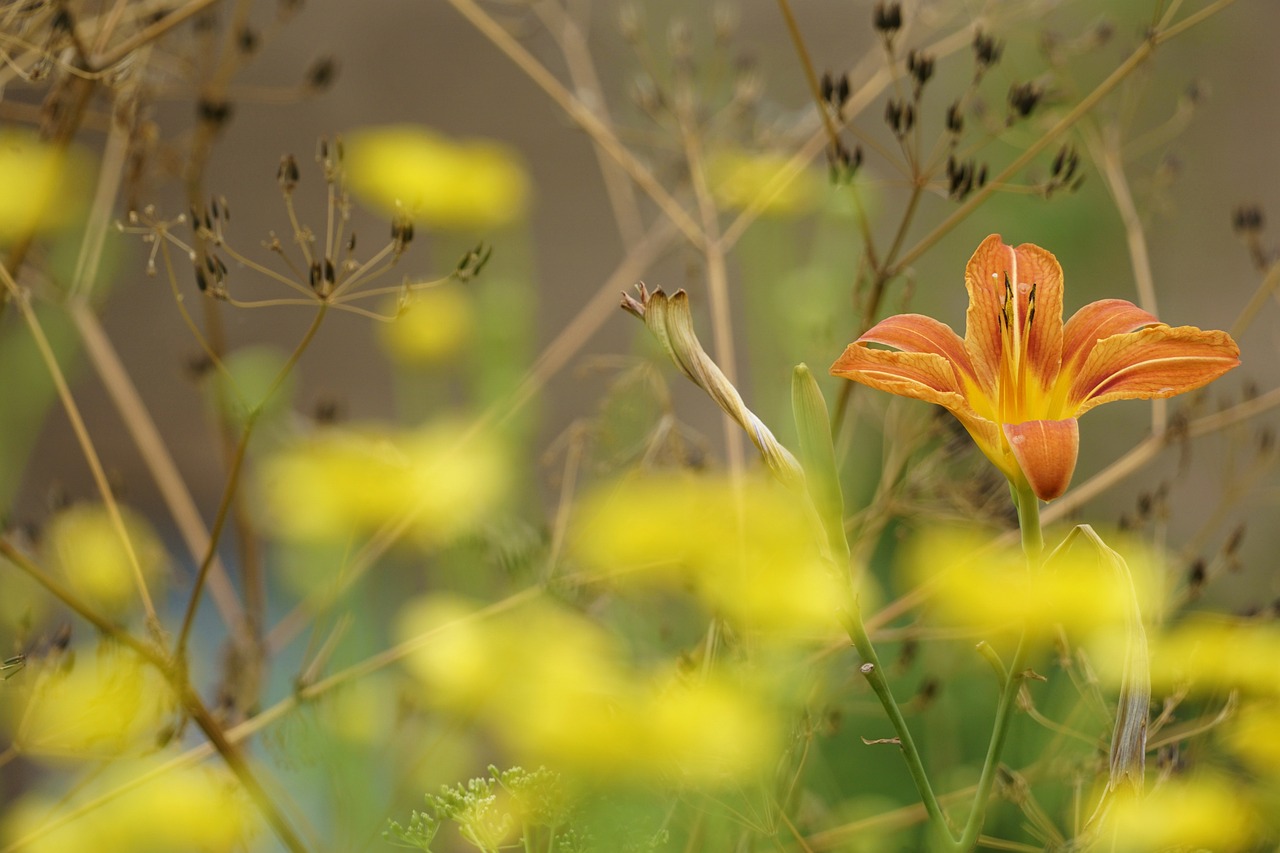
Choosing Your Canvas and Materials
When embarking on your journey to create a stunning flower garden painting, the first and perhaps most important step is choosing the right canvas and materials. Think of your canvas as the foundation of a house; if it's not sturdy and well-suited for your needs, everything built upon it may crumble. Start by considering the type of canvas you want to work with. There are several options available, including stretched canvases, canvas boards, and watercolor paper. Each has its unique characteristics and can yield different results in your artwork.
Stretched canvases are perfect for acrylic and oil paints, offering a smooth surface that can handle heavy applications of paint. On the other hand, canvas boards are more portable and can be an excellent choice for practice or plein air painting. If you're leaning towards watercolor techniques, then high-quality watercolor paper is essential, as it absorbs water without warping.
Next, let's dive into the materials. The quality of your paints can make a significant difference in the vibrancy and longevity of your artwork. Invest in professional-grade paints if your budget allows; they often have better pigmentation and blendability. For beginners, student-grade paints can still yield beautiful results, so don’t feel pressured to splurge right away.
In addition to paints, the choice of brushes is vital. A variety of brush shapes and sizes will allow you to experiment with different techniques. For flower painting, you might want to include
- Round brushes for detail work
- Flat brushes for broad strokes
- Fan brushes for texture and foliage
Finally, don't forget about your palette and other accessories. A good palette will help you mix colors effectively, while a palette knife can be invaluable for creating texture. Additionally, consider using a water container for cleaning brushes and a rag or paper towels for quick clean-ups. These little tools might seem insignificant, but they can facilitate a smoother painting process.
In summary, the right canvas and materials are crucial to creating a beautiful flower garden painting. Take the time to explore your options and invest in quality supplies that resonate with your artistic vision. Remember, the journey of painting is just as important as the final product, so enjoy the process!
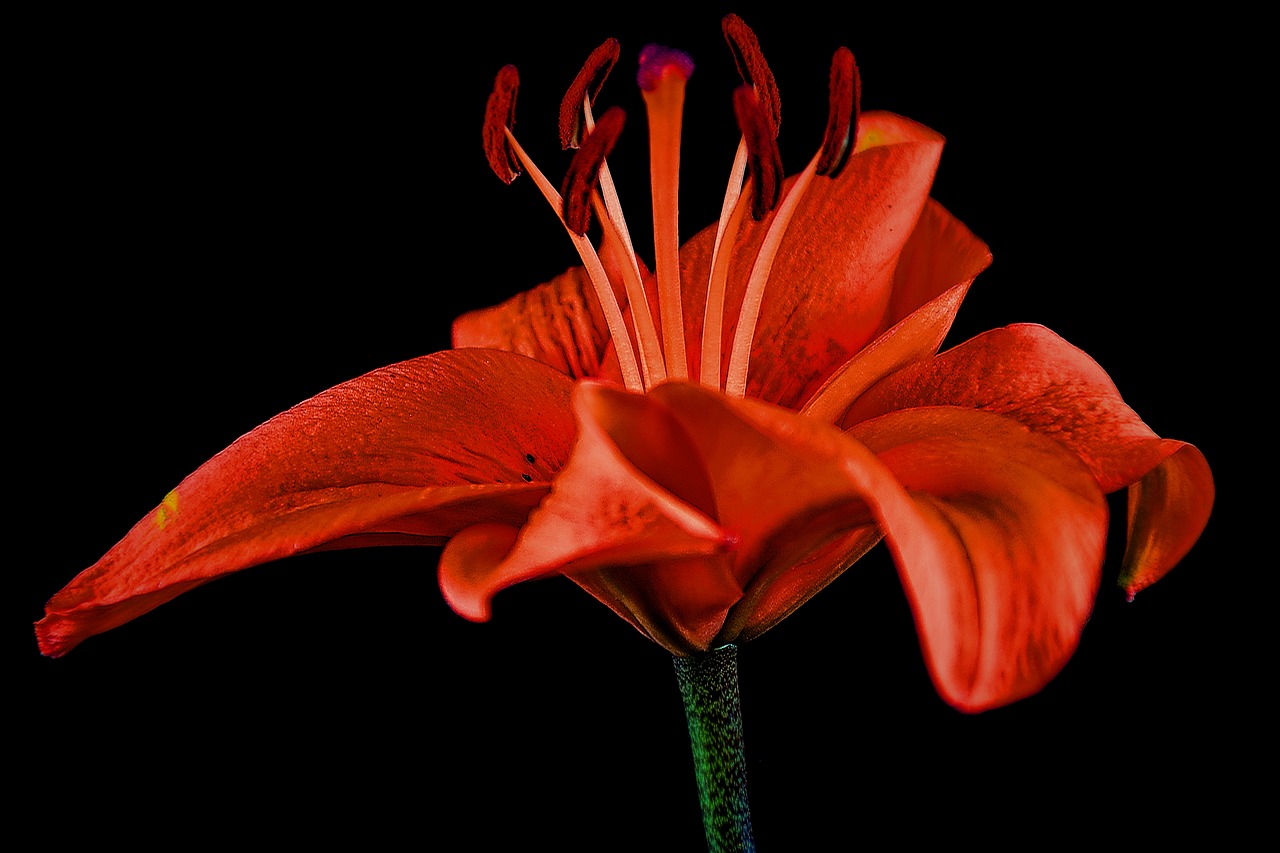
Understanding Color Theory
When it comes to painting a stunning flower garden, color theory is your best friend. Imagine walking through a vibrant garden, where every hue sings in harmony, each petal telling a story through its color. Understanding how colors interact can elevate your painting from ordinary to extraordinary. So, let's dive into the world of colors and see how they can transform your artwork.
At its core, color theory is all about the relationships between colors. It’s like a secret language that artists use to communicate emotions and ideas. By mastering this language, you can create paintings that not only look good but also evoke feelings in the viewer. Here are some foundational concepts that every artist should grasp:
- Primary Colors: These are the building blocks of all other colors. Red, blue, and yellow cannot be created by mixing other colors.
- Secondary Colors: These are formed by mixing primary colors. For example, mixing red and blue gives you purple.
- Tertiary Colors: These are created by mixing a primary color with a secondary color, like red-orange or yellow-green.
Now that you have a basic understanding of color relationships, let’s discuss how to mix colors effectively. Mixing colors isn't just about slapping paint together; it’s an art in itself. Here are some tips to keep in mind:
| Mixing Technique | Description |
|---|---|
| Wet-on-Wet | Applying wet paint onto wet paint allows for soft blending and beautiful transitions. |
| Glazing | Applying a thin, transparent layer of color over a dry layer creates depth and richness. |
| Layering | Building up colors in layers can create a more complex and vibrant palette. |
Choosing the right palette is equally important. Think about the mood you want to convey in your flower garden painting. Are you aiming for a cheerful vibe with bright yellows and pinks, or a more serene atmosphere with blues and purples? Your color choices will set the tone for the entire piece.
As you experiment with different color combinations, remember that contrast can be your ally. Using contrasting colors can make certain elements of your painting pop, drawing the viewer's eye to the focal points. For instance, placing a bright yellow flower against a deep blue background can create a striking visual impact.
In conclusion, understanding color theory is a game changer for any artist looking to paint a captivating flower garden. By mastering the relationships between colors, experimenting with mixing techniques, and choosing the right palette, you can create a masterpiece that not only looks beautiful but also resonates with those who view it. So grab your brushes, and let the colors speak!
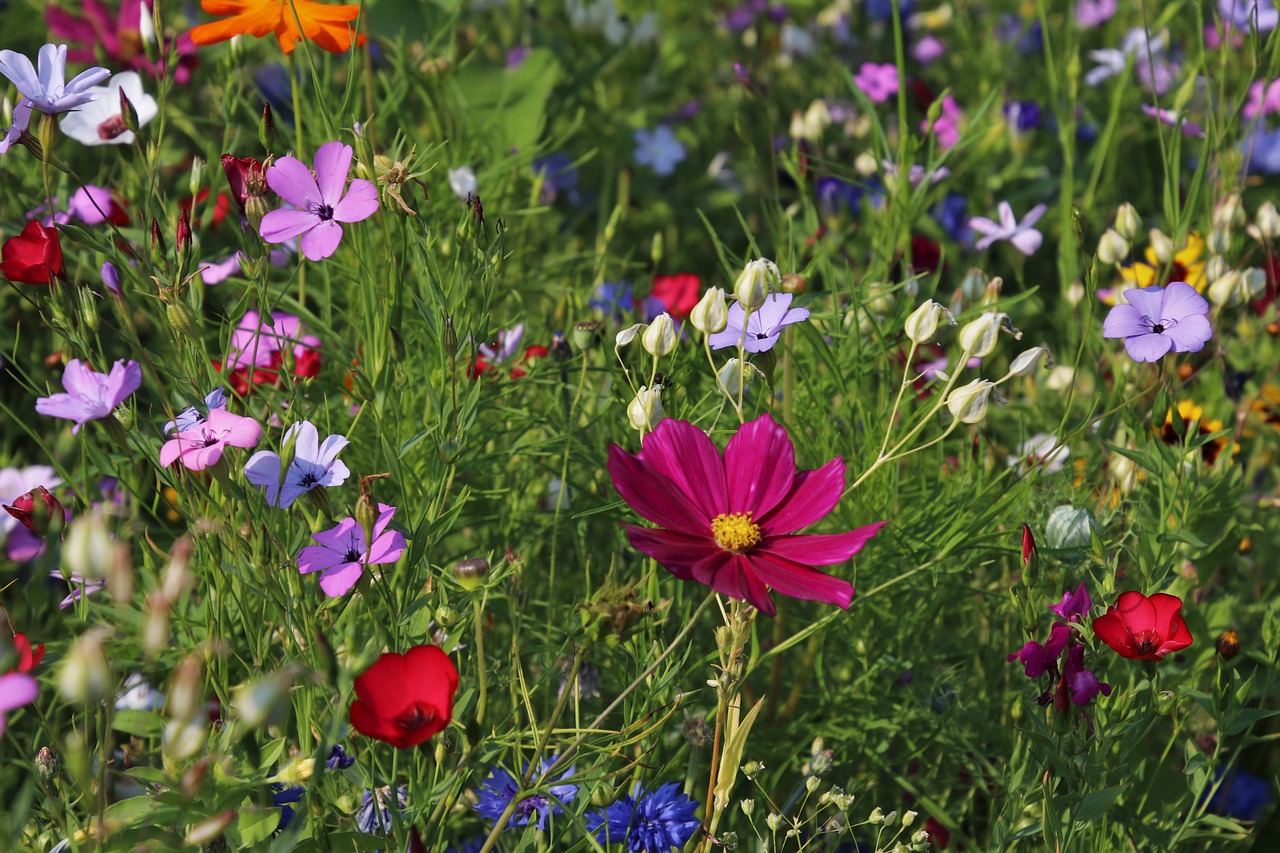
Color Mixing Techniques
When it comes to painting a stunning flower garden, understanding is essential. Imagine standing in a vibrant garden, surrounded by a symphony of colors—each petal, leaf, and stem contributing to the overall beauty. To replicate that in your artwork, you need to master the art of mixing colors. It's not just about slapping paint on a canvas; it's about creating a harmonious blend that brings your flowers to life.
One effective way to start is by familiarizing yourself with the color wheel. This simple tool can guide you in understanding how colors interact with each other. For instance, mixing primary colors (red, blue, yellow) can yield secondary colors (green, orange, purple). But why stop there? Mixing these secondary colors can lead to a wealth of tertiary colors, expanding your palette significantly.
Here are some key techniques to help you blend colors seamlessly:
- Wet on Wet: This technique involves applying wet paint onto a wet surface. It allows colors to merge beautifully, creating soft edges and stunning gradients. Think of it as planting flowers in a garden where they naturally intermingle.
- Glazing: By applying a thin, transparent layer of color over a dried layer, you can achieve depth and luminosity. This technique is akin to adding a filter to a photograph, enhancing the overall effect without losing the original image.
- Layering: Building up colors in layers can create rich, complex hues. Start with a base color and gradually add more layers, allowing each layer to dry before applying the next. It’s like constructing a garden bed—each layer adds structure and beauty.
Don’t forget the importance of testing your mixes! Use a scrap piece of paper or canvas to experiment with different combinations. Sometimes, the most unexpected mixes yield the most breathtaking results. Think of it as a trial run before planting your garden; you wouldn’t want to discover a weed among your flowers after it’s too late!
Ultimately, the key to successful color mixing lies in practice and experimentation. Just as a gardener learns the nuances of their plants over time, you too will develop an instinct for which colors work well together. So grab your brushes, unleash your creativity, and watch as your flower garden painting blossoms into a masterpiece!
Q: How do I know which colors to mix for my flower garden painting?
A: Start by using a color wheel to identify complementary and analogous colors. Experiment with mixing primary colors to create the shades you desire.
Q: Can I use any type of paint for mixing colors?
A: Yes, but it's best to use the same type of paint for consistency. Acrylics, oils, and watercolors all have different properties that affect how colors mix.
Q: What if I mix a color that I don't like?
A: Don't worry! You can always adjust your mix by adding more of another color or using a glazing technique to modify the hue.
Q: How can I create depth in my flower garden painting?
A: Use layering and glazing techniques to build up colors and create shadows. Experimenting with warm and cool colors can also help achieve depth.
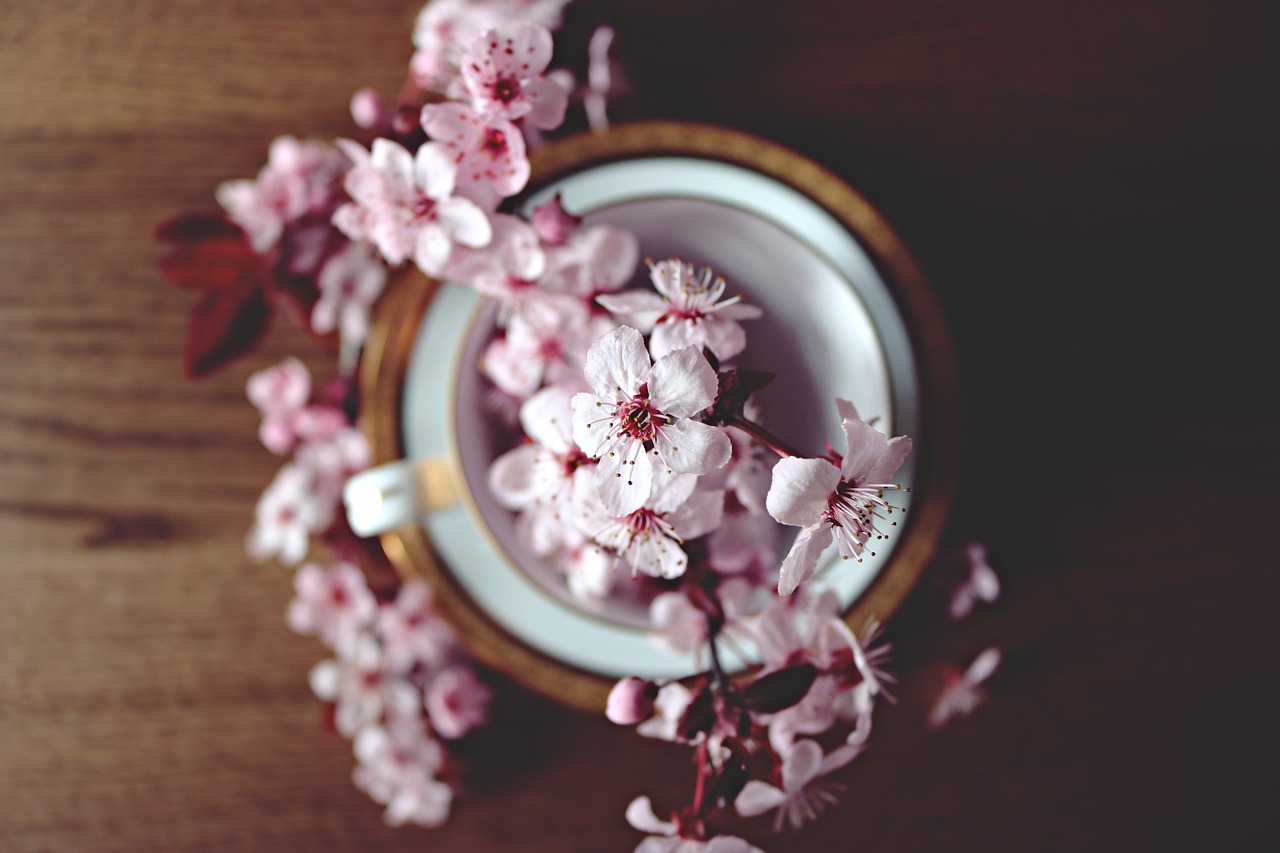
Warm vs. Cool Colors
When it comes to painting, the choice between warm and cool colors can significantly influence the mood and emotion of your artwork. Imagine walking into a vibrant flower garden; the way the colors interact can evoke feelings of joy, tranquility, or even nostalgia. Warm colors, like reds, oranges, and yellows, are often associated with energy, passion, and warmth, creating a lively atmosphere. On the other hand, cool colors such as blues, greens, and purples tend to promote calmness and serenity, much like a peaceful afternoon in a shady garden.
Understanding how to use these colors effectively can transform your flower garden painting from ordinary to extraordinary. For instance, if you’re aiming to create a sense of warmth and vibrancy, incorporating more warm colors will help achieve that lively effect. Think about the sunlit petals of marigolds or the fiery hues of tulips. Conversely, if your goal is to depict a tranquil scene, consider using cool colors to represent the soothing greens of foliage or the gentle blues of a clear sky. This contrast can make your artwork feel more inviting and layered.
One effective way to utilize warm and cool colors is through color harmony. By balancing these colors, you can create a dynamic composition that draws the viewer's eye. For example, placing warm flowers against a cool background can create a striking focal point, making the blooms pop. Conversely, a predominantly warm palette can be softened with cool shadows to add depth and dimension. This interplay not only enhances the visual appeal but also guides the viewer's emotional response.
To give you a clearer understanding, here’s a simple table that outlines the characteristics of warm and cool colors:
| Color Type | Characteristics | Examples |
|---|---|---|
| Warm Colors | Energetic, Inviting, Passionate | Red, Orange, Yellow |
| Cool Colors | Calm, Soothing, Refreshing | Blue, Green, Purple |
In conclusion, the choice between warm and cool colors is not just about aesthetics; it’s about storytelling through your artwork. By thoughtfully selecting your color palette, you can convey emotions and create a captivating atmosphere in your flower garden painting. So, next time you pick up your brush, consider how the warmth of a sunset or the coolness of a morning dew can inspire your masterpiece. Remember, the colors you choose are the voice of your painting, speaking to the viewer in a language of emotion and beauty.
Q: How do I know which colors to use for my flower garden painting?
A: Start by considering the mood you want to convey. Warm colors are great for vibrant and energetic scenes, while cool colors can create a more serene atmosphere. Experiment with both to see what resonates with you!
Q: Can I mix warm and cool colors in the same painting?
A: Absolutely! Mixing warm and cool colors can create depth and contrast, making your painting more dynamic. Just be mindful of the balance to ensure a harmonious composition.
Using Complementary Colors
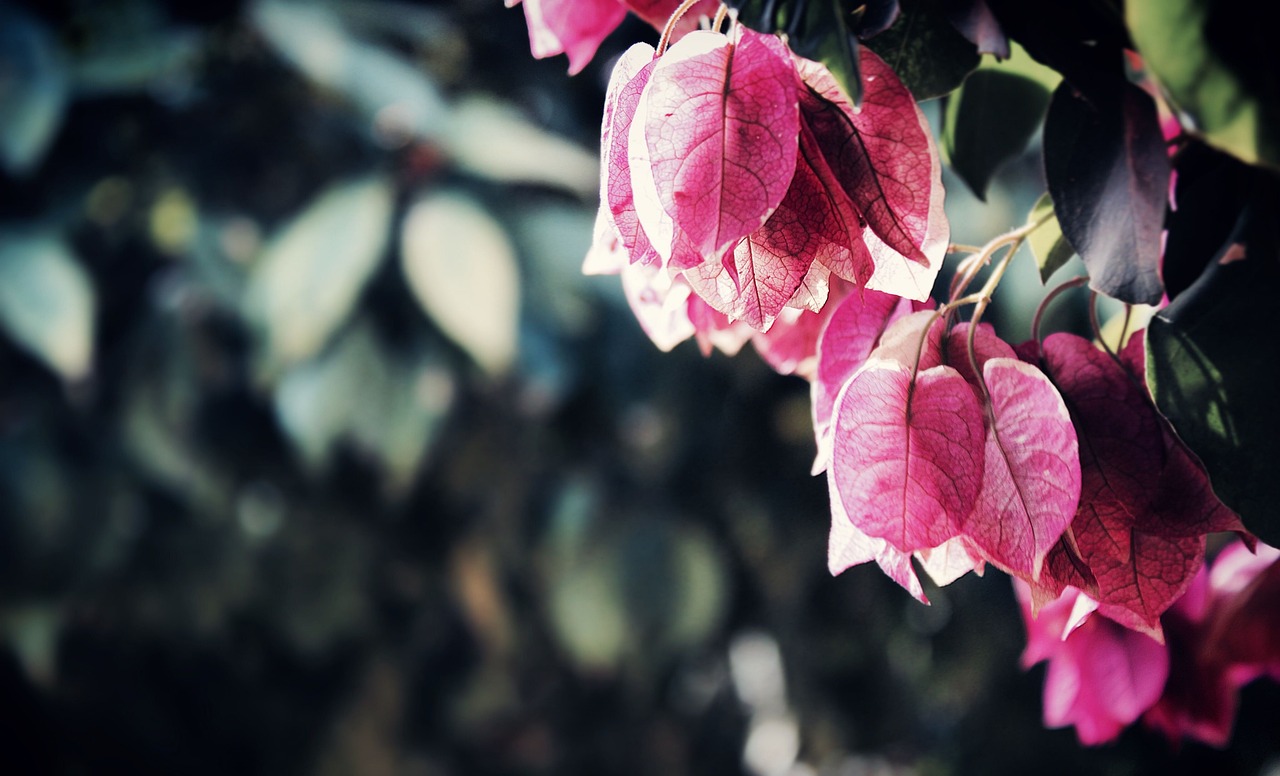
When it comes to painting a stunning flower garden, complementary colors can be your secret weapon. These are pairs of colors that sit opposite each other on the color wheel, and when used together, they create a striking visual effect that can make your artwork truly pop. Imagine a vibrant orange flower set against a deep blue background; the contrast is not only eye-catching but also enhances the overall composition of your painting.
To effectively use complementary colors in your flower garden painting, you first need to understand the basics. For instance, if you choose to paint a red flower, consider using a green background. This pairing not only makes the red bloom stand out but also creates a sense of harmony in your artwork. The beauty of complementary colors lies in their ability to balance each other out, making the colors appear more vivid and alive.
Here’s a quick reference table to help you identify some common complementary color pairs:
| Color | Complementary Color |
|---|---|
| Red | Green |
| Blue | Orange |
| Yellow | Purple |
| Turquoise | Coral |
When applying these complementary colors, consider using them in various ways. You might want to paint the flowers in one color while using its complement in the background, or vice versa. This technique not only draws the viewer's eye to your focal point but also creates a dynamic tension in your painting that can evoke emotion and interest.
Another effective strategy is to use complementary colors in your shading and highlighting. For example, if you're painting yellow flowers, you can use a hint of purple in the shadows to add depth. This subtle use of complementary colors will create a more realistic and three-dimensional effect in your artwork, elevating it from a simple representation to a captivating piece of art.
In summary, the use of complementary colors is essential for creating a vibrant and engaging flower garden painting. By understanding how to pair these colors effectively, you can enhance the visual impact of your artwork, making it not just a painting, but a visual experience that resonates with viewers. So grab your brushes and get ready to experiment with these color combinations—your flower garden masterpiece awaits!
Creating Depth and Dimension
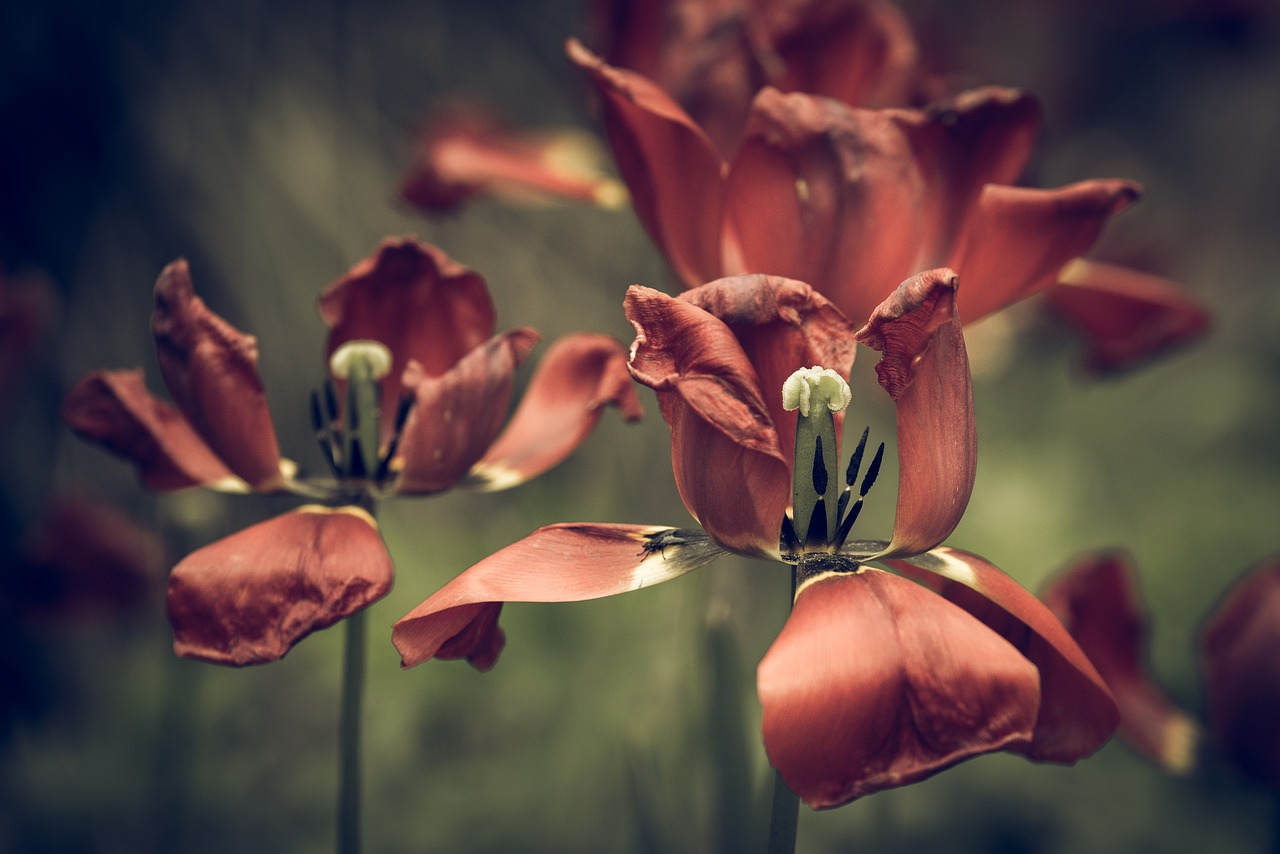
When it comes to painting a flower garden, depth and dimension are key elements that can transform a flat canvas into a vibrant, lifelike scene. Imagine standing in a lush garden, where each flower seems to bloom out of the canvas, inviting you to reach out and touch them. To achieve this effect, you'll want to master a few essential techniques that can breathe life into your artwork.
One of the most effective methods to create depth is through layering. This involves applying multiple layers of paint to build up the richness and complexity of your flowers. Start with a base layer, using lighter shades to outline your flowers and leaves. Once this layer dries, you can add darker shades to create shadows and depth. This contrast is what gives your painting that three-dimensional feel.
Another technique is shading. By strategically placing darker tones on one side of your flowers, you can simulate the effects of light and shadow. Think of how sunlight filters through leaves, casting dappled shadows on the petals below. Using a soft brush, gently feather the edges of your shadow colors into the lighter shades. This blending effect will create a seamless transition that adds to the realism of your painting.
Don't forget about the background! A well-thought-out background can enhance the perception of depth in your flower garden painting. Consider using cool colors for the background, which can recede visually and make your flowers pop out more. For instance, a soft blue or green can create an illusion of distance, making your vibrant flowers appear even more striking.
To help you visualize these techniques, here’s a quick table summarizing the key methods for creating depth and dimension:
| Technique | Description |
|---|---|
| Layering | Building up multiple layers of paint for richness. |
| Shading | Using darker tones to simulate light and shadow. |
| Background Color | Utilizing cool colors to enhance flower vibrancy. |
As you practice these techniques, remember that patience is key. Depth and dimension don’t happen overnight; they require time and a willingness to experiment. Don’t be afraid to make mistakes! Each brush stroke is a step towards mastering your craft. Embrace the process, and soon enough, your flower garden painting will not just be a visual delight but a true representation of nature's beauty.
- What materials do I need for creating depth in my painting? You will need quality paints, brushes of various sizes, and a suitable canvas. A palette for mixing colors is also essential.
- Can I use acrylic paints to create depth? Absolutely! Acrylic paints are versatile and can be layered to create stunning depth and dimension.
- How do I know when to stop adding layers? Trust your instincts. If the painting feels balanced and the colors are vibrant, it’s likely time to stop.
Brush Techniques for Floral Effects
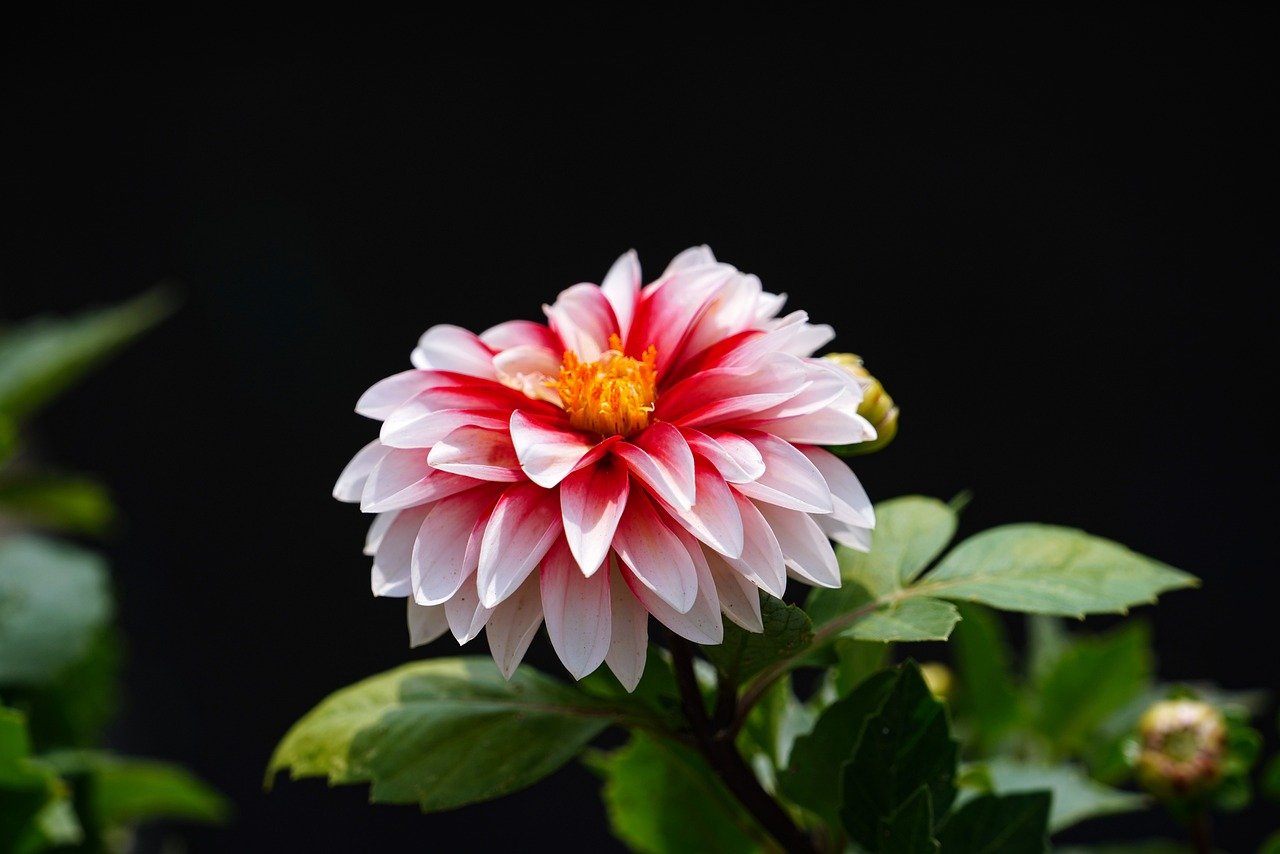
When it comes to painting flowers, the brush techniques you employ can truly transform your artwork from ordinary to extraordinary. Each stroke has the potential to evoke feelings and capture the delicate beauty of nature. Whether you are a novice or a seasoned artist, experimenting with various brush techniques can open up a world of creative possibilities. Let's dive into some of the most effective techniques that can help you achieve stunning floral effects.
One of the most popular techniques is dry brushing. This method involves using a dry brush with minimal paint on it, allowing for a textured and almost ethereal look. By lightly dragging the brush across the canvas, you can create soft highlights and subtle details that mimic the delicate petals of flowers. Imagine a gentle breeze causing the petals to flutter; that’s the kind of effect you can achieve with dry brushing. It’s perfect for adding dimension and interest to your floral compositions.
Next up is stippling and dabbing. These techniques involve using the tip of the brush to create small dots or dabs of paint, which can simulate the intricate textures found in flower gardens. For instance, when you stipple, you can represent the speckled patterns on a daisy or the soft fuzziness of a flower’s stem. This technique is not only fun but also allows for a level of detail that can make your painting feel alive. The beauty of stippling lies in its versatility; you can control the density and size of the dots to create a range of effects, from soft and subtle to bold and striking.
To illustrate these techniques further, consider the following table that summarizes the key characteristics of each technique:
| Technique | Description | Best For |
|---|---|---|
| Dry Brushing | Using a dry brush to create soft highlights and textures. | Petals, soft edges |
| Stippling | Creating small dots of paint to simulate texture. | Details, patterns |
| Dabbing | Applying paint in a dabbing motion for more defined textures. | Foliage, flower centers |
Another technique worth exploring is layering. This involves applying multiple layers of paint to build depth and richness in your floral artwork. Start with a base layer of color and gradually add layers, allowing each one to dry before adding the next. This method not only enhances the vibrancy of your flowers but also gives them a three-dimensional quality. Think of it like building a cake; each layer adds to the overall structure and flavor of the final product!
Lastly, don’t forget the importance of brush selection. Different brushes will yield different results. For instance, a fan brush can create feathery leaves, while a round brush is perfect for the rounded shapes of flower petals. It’s all about choosing the right tool for the job. So, gather a variety of brushes and see how each one interacts with your paint and canvas. You might just stumble upon a technique that becomes your signature style!
In conclusion, mastering brush techniques for floral effects is an exciting journey that can greatly enhance your painting skills. By incorporating methods like dry brushing, stippling, dabbing, and layering, you can create stunning floral masterpieces that capture the essence of nature. So, grab your brushes, unleash your creativity, and watch as your flower garden paintings come to life!
Q: What type of paint is best for flower paintings?
A: Acrylics and oils are both excellent choices for flower paintings, as they allow for vibrant colors and easy blending.
Q: How can I make my flower paintings more realistic?
A: Focus on understanding light and shadow, use layering techniques, and pay attention to the details in your flower references.
Q: Do I need to use expensive brushes for good results?
A: While quality brushes can make a difference, it's more important to practice and understand the techniques than to invest heavily in materials.
Dry Brushing
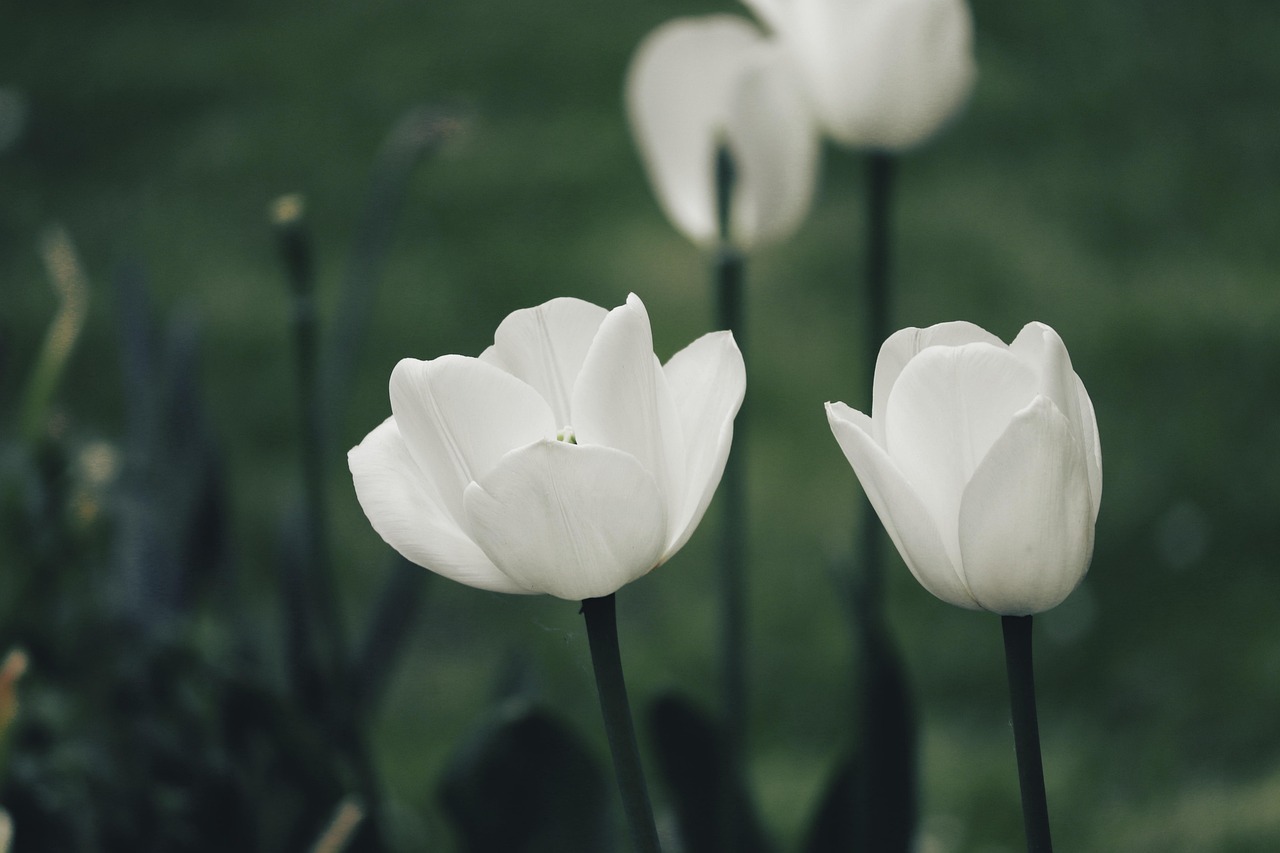
Dry brushing is a fascinating technique that can add a whole new dimension to your flower garden painting. Imagine the texture of flower petals, the soft glow of sunlight hitting a leaf, or the delicate layers of a bloom—dry brushing can help you achieve all of this and more! This method involves using a brush that is relatively dry, meaning it has little paint on it, to create soft, feathery strokes that can mimic the intricate details found in nature.
To get started with dry brushing, you'll want to choose a brush that has stiff bristles. A flat or angular brush works wonderfully for this technique. The key is to load the brush with a small amount of paint—just enough to coat the bristles lightly. Then, gently dab the brush on a paper towel to remove any excess paint. This will ensure that you’re working with a dry brush, which is crucial for achieving that soft, textured effect.
When applying the dry brush to your canvas, think of it as a dance. Lightly glide the brush over the surface, allowing the bristles to catch on the texture of the canvas. This technique works exceptionally well for adding highlights to flower petals. For instance, when painting a sunflower, you can use a dry brush with a lighter yellow or white to highlight the edges of the petals, creating a luminous effect that makes the flower pop.
Moreover, dry brushing is also fantastic for creating subtle shadows and depth. By layering different shades of the same color using a dry brush, you can add dimension to your flowers. For example, when painting roses, you might start with a base of a medium pink and then use a dry brush technique with a darker pink to add depth to the inner petals, followed by a lighter pink for highlights. The result? A stunning, lifelike representation of a flower garden that draws the viewer in!
Here’s a quick tip: Experiment with different colors and pressures while dry brushing. The beauty of this technique lies in its versatility. You can use it to add fine details or broader strokes depending on your style and the effect you want to achieve. And don’t forget to clean your brush thoroughly after each session to maintain its shape and effectiveness for your next painting adventure!
In summary, dry brushing is an essential technique that every artist should have in their toolkit. It allows for creativity and experimentation, leading to beautiful and textured flower paintings that can truly capture the essence of a blooming garden. So grab your brush, choose your colors, and let your imagination run wild!
- What type of paint is best for dry brushing? Acrylic paints work well for dry brushing due to their quick drying time and versatility. However, oil paints can also be used if you prefer a slower drying process.
- Can I use dry brushing on other surfaces? Absolutely! While it's popular in painting, dry brushing can also be applied to textured surfaces like wood or fabric for added dimension.
- How do I clean my brushes after dry brushing? Use warm, soapy water for acrylic paints and a solvent like turpentine or mineral spirits for oil paints. Always reshape your brushes after cleaning to maintain their form.
Stippling and Dabbing
Stippling and dabbing are two fascinating techniques that can elevate your flower garden painting to another level. Imagine creating a lush garden scene where every petal seems to dance in the sunlight! These methods allow you to add unique textures and patterns, making your artwork more dynamic and visually appealing. By using a stippling brush or even a simple sponge, you can achieve effects that mimic the delicate intricacies of flowers and foliage.
Stippling involves applying small dots of paint to the canvas, which can create a sense of depth and dimension. This technique is particularly effective for depicting the soft, velvety textures of flower petals or the intricate details of leaves. To get started, choose a brush with stiff bristles or a sponge. Dip it lightly into your chosen color and begin placing dots in a random pattern. The key is to vary the pressure and spacing of the dots, which will help create a more natural look. As you layer different colors, you’ll find that the stippling technique can produce a stunning gradient effect that draws the eye.
Dabbing, on the other hand, is a technique that involves pressing the brush or sponge against the canvas to create a more solid texture. This can be particularly useful for creating the illusion of fullness in your flower petals. When dabbing, you can use a flat brush or a round sponge, and you can even mix colors on your palette before applying them to the canvas. The beauty of dabbing lies in its versatility; it can be used for both bold, vibrant areas and softer, more subdued sections of your painting.
Here’s a quick comparison of stippling and dabbing to help you understand when to use each technique:
| Technique | Effect | Best For |
|---|---|---|
| Stippling | Creates texture with tiny dots | Soft petals, intricate details |
| Dabbing | Produces a solid, textured look | Full blooms, vibrant areas |
Combining these techniques can yield stunning results. For instance, you might use stippling to create the soft background of your garden, while dabbing can bring your focal flowers to life with vivid color and texture. The interplay between these methods can create a beautiful contrast that captivates anyone who gazes upon your artwork.
As with any painting technique, practice makes perfect! Don’t be afraid to experiment with both stippling and dabbing. Try different tools, colors, and pressures to see what effects you can create. Over time, you’ll develop a unique style that reflects your artistic voice. So grab your brushes, and let your creativity flow as you transform your canvas into a vibrant flower garden!
- What materials do I need for stippling and dabbing? You can use various tools such as stiff-bristled brushes, sponges, or even cotton swabs. Experiment to find what works best for you!
- Can I use these techniques on other subjects besides flowers? Absolutely! Stippling and dabbing can be applied to landscapes, abstract art, and even portraits to create unique textures and effects.
- How do I clean my brushes after using these techniques? It’s essential to clean your brushes immediately after use to prevent paint from drying. Rinse them in water and use soap if necessary, then reshape the bristles.
Final Touches and Finishing Techniques
As you near the completion of your flower garden painting, it's time to consider those final touches that can elevate your artwork from good to stunning. These finishing techniques are often what separates a novice painter from a seasoned artist. They bring a sense of polish and completeness to your piece, ensuring that every detail shines as brightly as the flowers you’ve captured on canvas.
First and foremost, take a step back and evaluate your painting as a whole. This distance allows you to see areas that may need more attention or adjustments. Are there any spots that feel too flat or lack vibrancy? You might want to enhance certain areas with brighter highlights or deeper shadows to create a more dynamic composition. Remember, the goal is to achieve a sense of balance throughout your work.
One essential technique to consider is the use of a glaze. A glaze is a thin, transparent layer of paint that can be applied over dried paint to modify the color or add depth. By mixing a small amount of medium with your paint, you can create a glaze that will allow the colors underneath to show through while adding a new hue. This technique is particularly effective for flowers, as it can mimic the delicate layers of petals and leaves, enhancing their realism.
Additionally, don't underestimate the power of detail work. Fine brushes can be your best friends at this stage. Use them to add intricate details like the veins of leaves or the subtle texture of petals. This is where your painting can truly come alive. Consider adding small dots or lines to suggest light reflecting off the petals, or tiny specks of color to represent pollen. These details might seem minor, but they can significantly contribute to the overall realism of your piece.
Another important aspect of finishing your painting is to consider the background. A well-thought-out background can enhance the subject of your painting. If your flowers are vibrant and colorful, a softer, muted background can help them stand out. Conversely, if your flowers are more subdued, a brighter background can add energy to the composition. Experiment with different colors and textures to find what best complements your floral arrangement.
Finally, once you feel satisfied with your painting, it’s time to protect your hard work. Applying a varnish can seal your painting and give it a professional finish. Varnishes come in various finishes, from matte to glossy, so choose one that aligns with your vision for the artwork. This protective layer will not only enhance the colors but also shield your painting from dust and UV damage, ensuring it remains vibrant for years to come.
- What type of varnish should I use for my painting? It depends on your desired finish. Glossy varnishes enhance colors, while matte varnishes offer a more subdued look.
- How do I know when my painting is finished? Step back and assess your work. If it feels balanced and complete, it’s likely ready for final touches.
- Can I use watercolors for glazing? Yes, watercolors can be glazed as long as they are dry. Just remember to use a light touch to avoid disturbing the underlying layers.
Frequently Asked Questions
- What materials do I need to start my flower garden painting?
To kick off your flower garden painting, you'll need a canvas, a variety of brushes, acrylic or oil paints, a palette for mixing colors, and some water or solvent for cleaning. Don’t forget paper towels or rags to clean your brushes! If you want to add some flair, consider using textured mediums or sponges for unique effects.
- How do I choose the right colors for my painting?
Choosing the right colors is all about understanding color theory! Start by picking a color palette that resonates with you. You can use warm colors like reds and yellows to create a vibrant feel, or cool colors like blues and greens for a calming effect. Experiment with mixing colors to find the perfect shades that reflect the flowers you want to paint!
- What are some effective brush techniques for painting flowers?
There are several brush techniques that can bring your flowers to life! Dry brushing gives a textured look, while stippling can create delicate details. Dabbing with a sponge can add depth and dimension. Don't hesitate to experiment with different strokes and techniques to find what captures the beauty of your flowers best!
- How can I create depth and dimension in my painting?
Creating depth involves layering and shading! Start with a base layer and gradually add darker shades to the areas that need depth. Use lighter colors for highlights to make certain parts pop. This contrast will give your painting a more realistic and three-dimensional feel, making your flowers look like they’re blooming right off the canvas!
- What are the final touches I should consider for my painting?
The final touches are crucial! Consider adding a glossy varnish to protect your work and enhance the colors. You might also want to refine any details or add highlights to make your flowers shine. Lastly, step back and assess your painting as a whole—sometimes a small adjustment can make a big difference!


