5 Pastel Painting Techniques To Master
Welcome to the vibrant world of pastel painting! If you’ve ever been mesmerized by the soft hues and rich textures that pastels can produce, you’re in the right place. This article explores five essential pastel painting techniques that artists should master. Each technique offers unique approaches to creating vibrant and expressive artwork, enhancing your skills and broadening your creative horizons. Whether you're a beginner or a seasoned artist, these techniques can elevate your work and help you discover new possibilities within your artistic journey.
Before diving into the techniques, it's crucial to understand the medium itself. Pastels come in various forms, including soft pastels, hard pastels, and oil pastels. Each type has its unique characteristics, making them suitable for different styles and effects. Soft pastels are known for their vibrant colors and blendability, while hard pastels offer precision and control. Oil pastels, on the other hand, provide a creamy texture that can be layered and manipulated in exciting ways. Understanding these differences is crucial for choosing the right medium for your artistic style and desired outcome.
Blending is a vital technique in pastel painting that creates smooth transitions between colors. It’s like mixing colors on a palette, but with the added benefit of directly engaging with the medium on your paper. There are various methods to achieve stunning effects in your artwork:
- Finger Blending: Using your fingers to blend pastels allows for a more personal touch. This technique provides control and can create soft, organic transitions, making it a favorite among many artists.
- Using Blending Tools: Tools such as tortillons or stumps offer precision and control that fingers may not provide, helping achieve finer details.
Finger blending is a technique that many artists gravitate towards due to its intuitive nature. By using your fingers, you can create unique textures and subtle gradations that are hard to replicate with tools. It’s like having a direct conversation with your artwork, allowing your emotions to flow through your fingertips.
One of the most significant advantages of finger blending is the direct interaction with the medium. This technique excels at rendering soft transitions, making it particularly effective for skin tones and natural landscapes. Imagine painting a sunset; the way you can gently blend the colors with your fingers mimics the natural flow of light in the sky.
However, finger blending isn’t without its challenges. While it’s intuitive, it can also lead to smudging or unwanted marks. Artists must practice to find the right balance and technique for their desired outcomes. It’s a bit like learning to ride a bike; at first, you might wobble, but with practice, you’ll find your rhythm.
For those who prefer more precision, blending tools like tortillons and stumps can be game-changers. These tools allow for sharper edges and finer details that finger blending might miss. It’s like switching from a paintbrush to a fine-tipped pen; both have their place in your artistic toolbox.
Layering is another essential technique in pastel painting, allowing artists to build depth and richness in their work. Think of it as constructing a cake; each layer adds flavor and complexity to the final product. This technique involves applying multiple layers of color to create dimension and vibrancy.
To start, lay down a base layer and gradually add more colors. This process enhances the overall composition and allows for corrections or adjustments as the painting evolves. Just like an artist builds a story with words, layering colors builds a narrative within your artwork.
Understanding the difference between transparent and opaque layers can significantly affect your artwork. Transparent layers allow light to pass through, creating luminosity, while opaque layers provide solid coverage. Each type offers unique effects, influencing the final appearance of your painting. It’s essential to experiment with both to see how they can work together to create stunning visual effects.
Texture adds interest and depth to pastel paintings. By exploring various techniques, such as scratching, stippling, and layering different pastel types, you can create unique surface qualities in your artwork. Texture is like the spice in a dish; it enhances the overall experience and keeps the viewer engaged.
A solid grasp of color theory is essential for pastel artists. Understanding how colors interact can enhance your compositions and help you achieve the desired mood and atmosphere. It’s like being a conductor of an orchestra; knowing how to blend colors can create a symphony on your canvas.
Using complementary colors can create striking contrasts and draw attention to focal points in your artwork. This technique is effective for adding vibrancy and dynamism to your paintings, making them pop off the canvas like a firework display.
Mixing colors effectively can expand your palette and enhance your work. Explore methods such as layering, blending, and using underpainting to achieve a broader range of tones and shades. It’s like having a secret recipe; mastering color mixing can unlock endless creative possibilities.
Q: What are the best pastels for beginners?
A: Soft pastels are often recommended for beginners due to their vibrant colors and ease of blending.
Q: Can I use watercolor with pastels?
A: Yes! Watercolor can serve as a great underpainting for pastels, adding depth and richness to your artwork.
Q: How do I preserve my pastel artwork?
A: Use a fixative spray to help preserve your pastel paintings and prevent smudging.
Understanding Pastels
When it comes to pastel painting, the first step is to truly understand the medium. Pastels are not just sticks of color; they come in various forms, each offering its own unique characteristics and possibilities. The three main types of pastels are soft pastels, hard pastels, and oil pastels. Each type has its strengths and weaknesses, and knowing these can significantly influence your artistic journey.
Soft pastels are the most popular among artists due to their vibrant colors and smooth application. They contain a higher ratio of pigment to binder, which allows for rich, intense hues. However, because they are softer, they tend to crumble easily, making them less suitable for detailed work. This type of pastel is perfect for creating bold, expressive strokes and is often used for landscapes and portraits.
On the other hand, hard pastels are firmer and more durable, making them ideal for fine lines and detailed work. They are often used for sketching or when precision is required. While they may not offer the same vibrancy as soft pastels, they can be layered effectively to create depth and texture in your artwork.
Then we have oil pastels, which are a completely different beast. They have an oily consistency, allowing for a creamy application that can produce a beautiful sheen. Oil pastels can be blended easily, but they dry quickly, making it challenging to work with them over extended periods. Artists often use oil pastels when they want to achieve a more painterly effect.
Choosing the right type of pastel is crucial for achieving your desired outcome. Here’s a quick comparison to help you understand the differences:
| Type of Pastel | Characteristics | Best For |
|---|---|---|
| Soft Pastels | Vibrant colors, smooth application, crumbles easily | Bold strokes, landscapes, portraits |
| Hard Pastels | Firm, durable, suitable for fine lines | Detailed work, sketching |
| Oil Pastels | Oily consistency, creamy application, dries quickly | Painterly effects, blending |
In addition to understanding the different types of pastels, consider the various surfaces you can use them on. Pastels work best on textured paper that can hold the pigment, such as pastel paper or watercolor paper. The texture of the surface can greatly affect the final outcome of your artwork. Experimenting with different surfaces can lead to exciting discoveries and enhance your artistic expression.
Finally, it’s essential to remember that mastering pastel painting is a journey. Each type of pastel has its own unique properties that can help you express your artistic vision. As you explore these different mediums, you'll find your style and preferences evolving. So grab some pastels, find a surface that inspires you, and let your creativity flow!
Blending Techniques
Blending is a vital technique in pastel painting that creates smooth transitions between colors, allowing artists to breathe life into their work. The beauty of pastels lies in their versatility, and mastering blending techniques can elevate your artwork to new heights. Whether you’re aiming for soft, dreamy landscapes or bold, vibrant portraits, understanding how to blend effectively is essential. There are several methods to achieve stunning effects in your artwork, each offering unique benefits and challenges.
One of the most popular methods is finger blending. This technique involves using your fingers to smudge and mix colors directly on the paper, resulting in soft, organic transitions. It provides a personal touch and allows for greater control over the blending process. Imagine painting with your fingertips, feeling the texture of the pastel as you create a beautiful gradient. However, while this method can produce exquisite results, it also has its drawbacks. Artists must be cautious of smudging or creating unwanted marks, which can detract from the overall composition. With practice, you can find the right balance and develop a technique that works best for your desired outcomes.
Another effective method is using blending tools, such as tortillons or stumps. These tools offer precision and control that fingers may not provide, making them ideal for achieving finer details and sharper edges in your pastel work. For instance, if you're working on a portrait and want to create delicate features, a blending stump can help you achieve that level of detail without the risk of smudging. The choice between finger blending and using tools often comes down to personal preference and the specific requirements of your artwork.
In addition to these methods, you can also explore the use of cloths for blending. A soft cloth can be an excellent alternative for achieving a smooth finish, especially for larger areas. You simply rub the cloth over the pastel to blend colors seamlessly. This method is particularly useful when you want to avoid the oils from your fingers mixing with the pastels, which can sometimes alter the color intensity. Each technique offers unique possibilities, and experimenting with them can help you discover your signature style.
Ultimately, blending is not just about mixing colors; it’s about creating a mood and atmosphere in your artwork. As you practice these techniques, consider the emotional impact you want your painting to convey. Whether you’re aiming for a serene sunset or a vibrant cityscape, blending will play a crucial role in achieving your artistic vision. So, grab your pastels and start experimenting with these blending techniques—you might just surprise yourself with the stunning effects you can create!
- What is the best blending technique for beginners? Finger blending is often recommended for beginners as it allows for direct interaction with the medium and provides a more intuitive feel for color mixing.
- Can I use water with pastels for blending? While traditional pastels are not meant to be used with water, some artists experiment with wet blending techniques using water-soluble pastels or by lightly misting the paper.
- How do I clean my blending tools? Blending tools can be cleaned by gently rubbing them on a piece of scrap paper or using a soft cloth to remove any pastel residue.
Finger Blending
When it comes to pastel painting, is like the secret handshake among artists. It's that intimate connection between the artist and their medium that allows for a personal touch, creating artwork that feels alive and dynamic. By using your fingers to blend pastels, you can achieve soft, organic transitions that simply can't be replicated with tools. This technique is particularly favored for rendering delicate subjects like skin tones or the gentle hues of a sunset. Imagine the way your fingers glide over the paper, smoothing out colors and giving life to your vision!
One of the biggest benefits of finger blending is the direct interaction it offers with the pastels. It allows for unique textures and subtle gradations that can elevate your artwork. For instance, when painting a portrait, using your fingers can help you create those soft shadows and highlights that bring a face to life. Similarly, in landscapes, finger blending can mimic the natural flow of light and color in a way that feels both effortless and authentic.
However, like any technique, finger blending comes with its own set of challenges. While it might seem intuitive, it can lead to unwanted smudging or marks if not done carefully. Artists often find themselves wrestling with the balance between achieving that perfect blend and maintaining the integrity of their original strokes. To master this technique, practice is essential. Consider setting aside some time to experiment on scrap paper, trying different pressures and motions to see how they affect the outcome.
As with any art form, the key to effective finger blending lies in understanding when and how to use it. For instance, while it can be fantastic for creating backgrounds or soft edges, you might want to reserve other methods for sharper details. Remember, your fingers are just one tool in your artistic arsenal. Embrace the blend, but don't hesitate to explore other techniques to find what works best for your unique style.
- Can I use any type of pastel for finger blending? Yes, both soft and hard pastels can be blended with your fingers, but soft pastels may yield smoother results.
- How do I clean my fingers after blending? A simple wipe with a cloth or tissue can help remove excess pigment. Just be careful not to smear it onto your artwork!
- Is finger blending suitable for beginners? Absolutely! It’s a great way to get a feel for the medium and understand how colors interact.
Benefits of Finger Blending
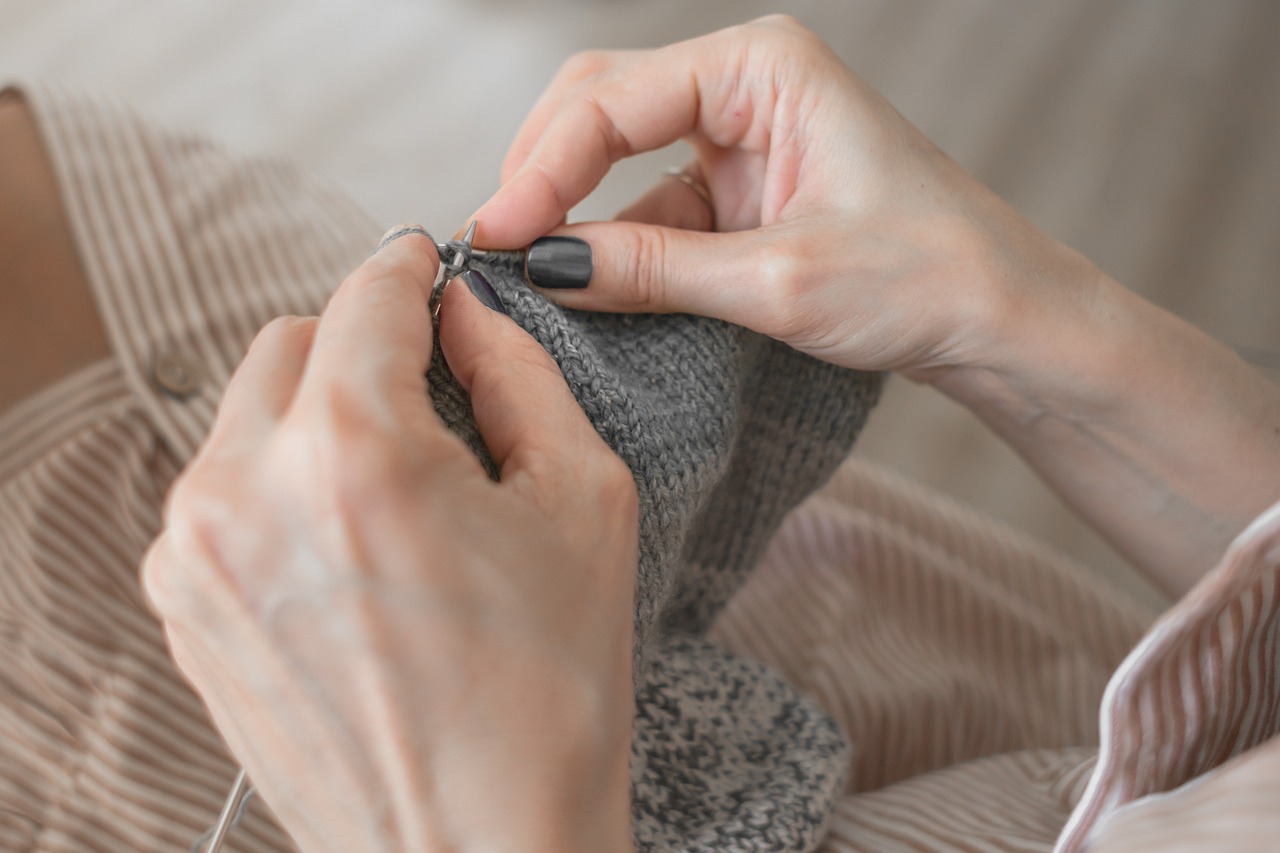
Finger blending is more than just a technique; it's an intimate dance between the artist and the medium. When you use your fingers to blend pastels, you gain a level of control and personalization that other tools simply can't replicate. This method allows for soft, organic transitions, which can be particularly effective in creating lifelike skin tones or the subtle gradations found in natural landscapes. Imagine the way your fingers can seamlessly merge colors, much like a painter mixing hues on their palette, but with the added benefit of direct contact with the canvas.
One of the most significant advantages of finger blending is the unique textures it can produce. Each artist's touch is different, leading to a variety of effects that are difficult to achieve with blending tools. The warmth of your fingers can also help to slightly soften the pastels, allowing them to spread more easily across the surface. This technique is especially beneficial for creating depth and richness in your artwork, as it allows you to layer colors in a way that feels both natural and spontaneous.
However, it's essential to acknowledge that finger blending comes with its own set of challenges. While it offers a personal touch, it can also lead to unintended smudging or marks if not done carefully. Therefore, practice is key. As you become more comfortable with this technique, you'll learn how to navigate these challenges effectively, finding the right balance between control and spontaneity. In essence, finger blending not only enhances your artistic expression but also deepens your connection to the medium, making every stroke feel intentional and alive.
In summary, the benefits of finger blending include:
- Direct interaction: Engaging with the pastels directly allows for a more personal experience.
- Unique textures: Each artist's touch creates distinct effects.
- Enhanced control: Provides the ability to create soft transitions and organic shapes.
- Depth and richness: Ideal for layering colors and achieving a more vibrant work.
Challenges of Finger Blending
While finger blending is a popular technique among many pastel artists, it does come with its own set of challenges. One of the most significant hurdles is the risk of smudging or creating unwanted marks on the canvas. Since your fingers can easily transfer oils and dirt, it’s crucial to maintain clean hands to avoid compromising your artwork. Furthermore, achieving the desired smoothness can be tricky; too much pressure can result in overly blended areas that lose their vibrancy and texture.
Another challenge is the control aspect. While blending with fingers allows for a personal touch, it can also lead to inconsistencies in application. Artists may find that their blending varies significantly from one area of the painting to another, which can disrupt the overall harmony of the piece. To mitigate this, practicing different pressures and motions can help in gaining better control over the blending process.
Additionally, finger blending may not be suitable for all types of pastel works. For instance, when working on fine details or intricate patterns, using fingers can be less effective compared to blending tools. This limitation can lead artists to feel restricted in their creative expression, as they may have to switch techniques mid-project. Thus, it’s essential to recognize when to embrace finger blending and when to opt for tools that provide greater precision.
To summarize, here are the key challenges associated with finger blending:
- Smudging: Risk of unwanted marks and loss of clarity.
- Control: Inconsistencies in blending can disrupt harmony.
- Suitability: May not be ideal for fine details or intricate designs.
Despite these challenges, finger blending remains a valuable technique that can yield stunning results when executed with care and practice. As with any artistic skill, the key is to experiment, learn from mistakes, and find a balance that works for your individual style.
Q: Can I use baby wipes to clean my fingers while finger blending?
A: Yes, baby wipes are a great option as they are gentle and won't leave residue on your fingers, helping to maintain the integrity of your pastels.
Q: How do I know when to switch from finger blending to tools?
A: If you find yourself working on detailed areas or need sharper edges, it's time to switch to blending tools for better precision.Q: Is finger blending suitable for all pastel types?
A: While it works well with soft pastels, you may find it less effective with hard pastels where more pressure is required for blending.
Using Blending Tools
This article explores five essential pastel painting techniques that artists should master. Each technique offers unique approaches to creating vibrant and expressive artwork, enhancing your skills and broadening your creative horizons.
Pastels come in various forms, including soft, hard, and oil pastels. Understanding their differences is crucial for choosing the right medium for your artistic style and desired outcome.
Blending is a vital technique in pastel painting that creates smooth transitions between colors. Learn various methods, such as using fingers, blending tools, or cloths, to achieve stunning effects in your artwork.
Using your fingers to blend pastels allows for a more personal touch. This technique provides control and can create soft, organic transitions, making it a favorite among many artists.
Finger blending offers direct interaction with the medium, allowing for unique textures and subtle gradations. It can be particularly effective for skin tones and natural landscapes.
While finger blending is intuitive, it can also lead to smudging or unwanted marks. Artists must practice to find the right balance and technique for their desired outcomes.
Blending tools, such as tortillons and stumps, are essential companions for any pastel artist looking to elevate their work to the next level. These tools provide a level of precision and control that fingers simply cannot match. Imagine trying to paint a delicate flower with your hands; it’s like trying to write a letter with a paint roller! Blending tools allow you to finesse details and achieve sharper edges, which can be particularly important in more intricate pieces.
When using blending tools, you can achieve various effects depending on the pressure and angle you apply. For instance, a light touch can create soft transitions, while a firmer grip can yield bold, defined lines. Here’s a quick overview of some popular blending tools:
| Tool | Description | Best Used For |
|---|---|---|
| Tortillon | A tightly rolled paper tool, great for fine blending. | Detail work, smooth transitions. |
| Blending Stump | A thicker version of the tortillon, ideal for larger areas. | Creating depth and larger blends. |
| Soft Cloth | A piece of soft fabric can also be used for blending. | Softening edges and creating texture. |
In addition to enhancing blending capabilities, these tools can also help in layering colors effectively. By using a blending tool, you can gently mix colors on the paper, creating a harmonious blend that feels organic and alive. So, don’t shy away from experimenting with different tools to discover what works best for your style and the specific effects you want to achieve.
Layering is essential in pastel painting, allowing artists to build depth and richness in their work. This technique involves applying multiple layers of color to create dimension and vibrancy.
Start with a base layer and gradually add more colors. This process enhances the overall composition and allows for corrections or adjustments as the painting evolves.
Understanding the difference between transparent and opaque layers can significantly affect your artwork. Each type offers unique effects, influencing the final appearance of your painting.
Texture adds interest and depth to pastel paintings. Explore various techniques, including scratching, stippling, and layering different pastel types, to create unique surface qualities in your artwork.
A solid grasp of color theory is essential for pastel artists. Understanding how colors interact can enhance your compositions and help you achieve the desired mood and atmosphere.
Using complementary colors can create striking contrasts and draw attention to focal points in your artwork. This technique is effective for adding vibrancy and dynamism to your paintings.
Mixing colors effectively can expand your palette and enhance your work. Explore methods such as layering, blending, and using underpainting to achieve a broader range of tones and shades.
- What are the best pastels for beginners? Soft pastels are often recommended for beginners due to their ease of use and vibrant colors.
- Can I use water with pastels? Generally, pastels are a dry medium, but some artists experiment with water to create unique effects.
- How do I preserve my pastel artwork? Use a fixative spray to help preserve your work and prevent smudging.
Layering Techniques
Layering is a fundamental technique in pastel painting that allows artists to create depth, richness, and a sense of luminosity in their work. Imagine building a sandwich; each layer adds flavor and texture, making the final product more satisfying. In pastel painting, this concept translates to applying multiple layers of color to create a vibrant and dynamic composition. The process of layering involves starting with a base layer and gradually adding more colors on top. This not only enhances the overall visual impact but also provides opportunities for corrections or adjustments as the artwork evolves.
To master layering techniques effectively, it's essential to understand the differences between transparent and opaque layers. Transparent layers allow the colors beneath to show through, creating a sense of depth and a soft blending effect. On the other hand, opaque layers cover the underlying colors completely, resulting in bold, striking contrasts. Artists can play with both types of layers to achieve various effects, influencing the final appearance of their paintings. For instance, using a transparent layer over an opaque one can create a stunning glaze effect that enhances the overall luminosity.
When layering, it's also crucial to consider the order in which colors are applied. Typically, lighter colors are used as highlights, while darker shades can be added for shadows and depth. This layering strategy can be likened to the way sunlight plays on surfaces; lighter colors catch the light, while darker shades recede into the background, creating a three-dimensional feel. Additionally, artists can use various techniques to blend and smooth out layers, ensuring that transitions between colors remain seamless and visually appealing.
Here’s a quick reference table summarizing the key aspects of layering techniques:
| Layer Type | Description | Effect |
|---|---|---|
| Transparent | Colors that allow underlying layers to show through. | Creates depth and soft transitions. |
| Opaque | Colors that completely cover underlying layers. | Produces bold contrasts and vibrant areas. |
Ultimately, mastering layering techniques in pastel painting is about experimentation and practice. Don’t be afraid to try different combinations of colors and layering methods. The beauty of pastels lies in their versatility; you can always adjust and refine your work as you go. So, grab your pastels, and let your creativity flow as you build layers that bring your artwork to life!
- What is the best way to start layering in pastel painting? Begin with a light base layer, then gradually add darker colors, ensuring to blend as you go for a smooth transition.
- Can I use different types of pastels for layering? Absolutely! Combining soft, hard, and oil pastels can create unique textures and effects in your artwork.
- How do I prevent my layers from smudging? Use fixatives between layers to help set your work and prevent smudging, but be cautious not to over-spray.
Building Layers
When it comes to pastel painting, mastering the art of is like constructing a beautiful, intricate cake. Each layer adds depth, richness, and complexity to your artwork, enhancing its overall appeal. To start this process, it’s essential to lay down a solid base layer. Think of this as the foundation of your cake; without it, everything else might crumble. Begin with a light touch, applying your first color gently across the canvas. This initial layer sets the tone for the rest of your painting.
As you progress, gradually add more colors, allowing each layer to dry slightly before applying the next. This technique not only enhances the composition but also gives you the freedom to make corrections or adjustments as your artwork evolves. Just like a chef tasting their cake batter, you should step back and assess your work at each stage. Are the colors blending well? Is the composition balanced? These questions will guide your layering process.
One of the best parts about layering is the ability to create depth. By layering different colors on top of each other, you can achieve a sense of three-dimensionality that draws viewers into your work. For example, if you’re painting a landscape, you might start with a base of soft greens for the grass, then layer darker greens and browns to create shadows and depth. This technique can make your painting feel alive, as though the viewer could step right into the scene.
However, it’s important to remember that not all layers are created equal. You need to consider the opacity of the pastels you’re using. Some colors will be more transparent, allowing the base layer to show through, while others may be more opaque, completely covering the previous layers. Understanding this difference can significantly affect your artwork’s final appearance. Here’s a quick breakdown:
| Type of Layer | Description | Effect |
|---|---|---|
| Transparent | Allows underlying layers to show through | Creates depth and luminosity |
| Opaque | Completely covers previous layers | Provides bold colors and strong contrasts |
Ultimately, the key to successful layering is patience and practice. Each artist will develop their own unique approach to layering colors, much like a musician perfecting their craft. So, don’t rush the process! Take your time, experiment with different techniques, and enjoy the journey of creating your masterpiece.
- What are the best pastels for layering? Soft pastels are ideal for layering due to their rich pigmentation and blendability.
- How do I prevent my layers from smudging? Allow each layer to set before adding more; using a fixative can also help.
- Can I use water with pastels for layering? While water can be used to create unique effects, it’s generally not recommended for traditional layering techniques.
Transparent vs. Opaque Layers
When it comes to pastel painting, understanding the difference between transparent and opaque layers can significantly impact your artistic expression. Each layer type serves a distinct purpose and can dramatically alter the final appearance of your artwork. Transparent layers allow the colors beneath them to show through, creating a sense of depth and luminosity. This technique is particularly effective when you want to build a subtle gradient or achieve a soft, glowing effect. For instance, applying a light wash of color over a darker base can create a beautiful, ethereal quality that enhances the overall composition.
On the other hand, opaque layers provide solid coverage, allowing artists to create bold, vibrant colors that stand out on the canvas. This technique is useful for adding striking details or emphasizing focal points in your painting. Imagine painting a bright sunflower against a deep blue sky; using opaque pastels can help the flower pop, drawing the viewer's eye immediately. The choice between transparent and opaque layers often depends on the desired mood and atmosphere of your piece.
To help clarify the differences, let’s consider a brief comparison:
| Feature | Transparent Layers | Opaque Layers |
|---|---|---|
| Visibility of Underlying Colors | Allows underlying colors to show through | Completely covers underlying colors |
| Effect on Depth | Creates depth and luminosity | Adds vibrancy and boldness |
| Best For | Soft gradients, ethereal effects | Striking details, focal points |
When working with these layers, experimenting is key. Try layering a transparent color over an opaque one to see how they interact. You might discover new techniques that enhance your unique style. Remember, the beauty of pastel painting lies in its versatility; you can mix and match these techniques to suit your creative vision. So, whether you prefer the soft whispers of transparent layers or the bold declarations of opaque ones, mastering both will undoubtedly elevate your artistry.
- What is the best way to blend transparent layers? Using soft tools like blending stumps or your fingers can help achieve smooth transitions.
- Can I use transparent layers on top of opaque layers? Yes! This technique can create stunning effects and add depth to your artwork.
- How do I know when to use opaque layers? Use opaque layers when you want to create strong contrasts or highlight specific areas of your painting.
Creating Texture
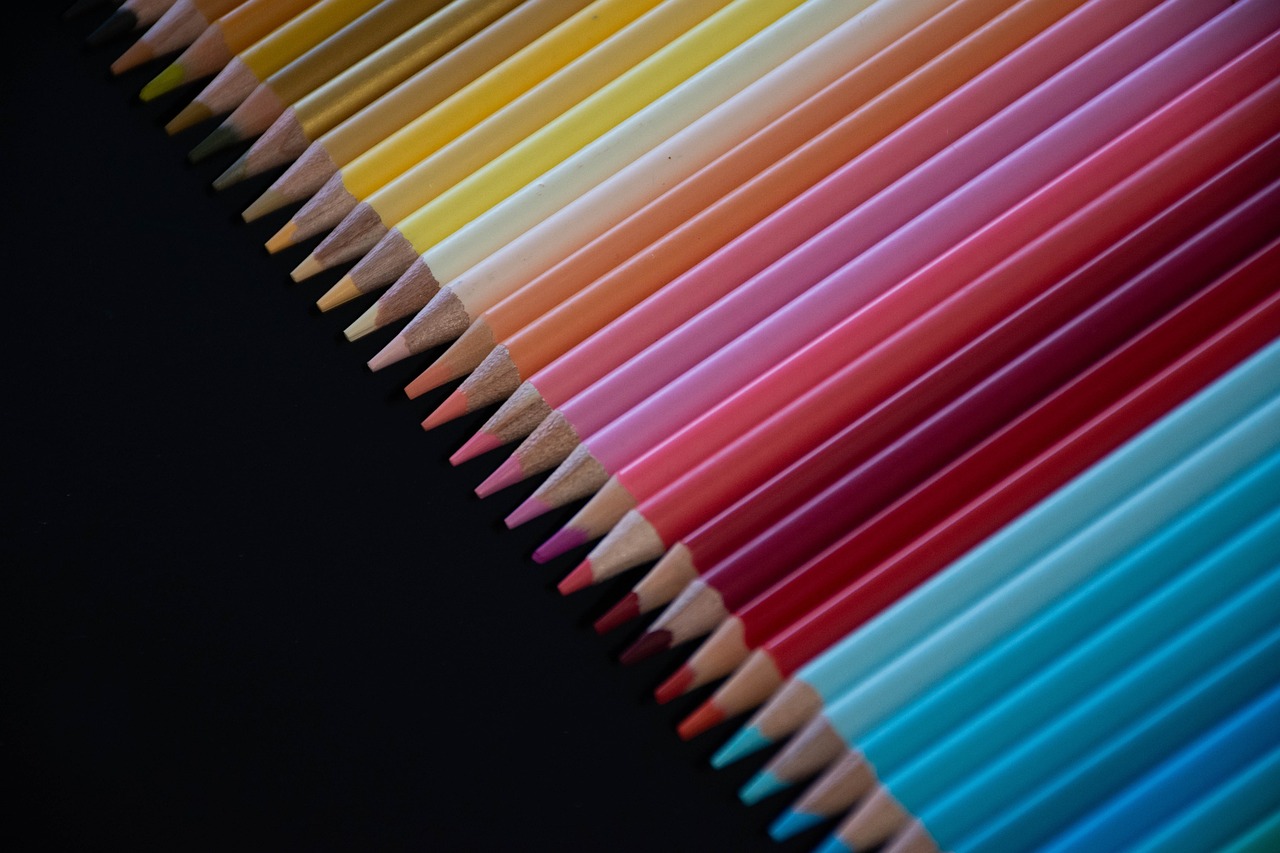
Texture is one of the most captivating aspects of pastel painting, adding layers of interest and depth that can transform a simple piece into a stunning work of art. By experimenting with various techniques, artists can create unique surface qualities that draw the viewer's eye and evoke emotion. Think of texture as the fabric of your artwork; it tells a story and invites the audience to explore every nook and cranny of your creation.
One effective technique for creating texture is scratching. This involves using a sharp tool, like a craft knife or even a palette knife, to gently scrape away the pastel layer, revealing the paper underneath. This technique can create fine lines and intricate details, reminiscent of the delicate veins in a leaf or the rough bark of a tree. It’s an excellent way to add contrast and highlight specific areas of your painting.
Another method to consider is stippling, where you apply small dots or dabs of pastel to build up an image. This technique can be particularly effective for creating a sense of depth and dimension, as the varying densities of dots can suggest light and shadow. Imagine painting a field of flowers; by using stippling, you can create a vibrant, lively scene that feels almost three-dimensional.
Layering different types of pastels can also enhance texture. For instance, using a combination of soft pastels and hard pastels allows for a range of effects. Soft pastels can provide a velvety finish, while hard pastels can add sharpness and definition. The interplay between these two can lead to a rich tapestry of textures that keep the viewer engaged. Below is a table that summarizes these techniques:
| Technique | Description | Effect |
|---|---|---|
| Scratching | Using a sharp tool to remove layers of pastel | Creates fine lines and intricate details |
| Stippling | Applying small dots of pastel | Builds depth and dimension |
| Layering | Using different types of pastels | Creates a rich tapestry of textures |
Don’t forget about the importance of experimenting! The beauty of pastel painting lies in its versatility. Try combining these techniques in unexpected ways. For example, you might scratch into a stippled background to create a unique contrast that can make your artwork pop. Remember, every artist has their unique style, so don’t be afraid to push the boundaries and discover what works best for you.
As you explore these texture techniques, always keep in mind the overall composition of your artwork. Texture should enhance, not overwhelm. It’s about finding that perfect balance where the viewer can appreciate both the intricate details and the larger picture. So grab your pastels, let your creativity flow, and watch as your artworks come to life with texture!
- What type of paper is best for pastel painting?
Textured paper, such as sanded or pastel paper, is ideal as it holds the pastel better and allows for layering.
- Can I use water with pastels?
While some artists experiment with water to blend pastels, it can alter the texture and vibrancy. It's best to practice first to see how it affects your work.
- How do I preserve my pastel paintings?
Using a fixative spray can help protect your artwork. However, it’s essential to test it on a small area first, as it may change the colors.
Color Theory in Pastel Painting
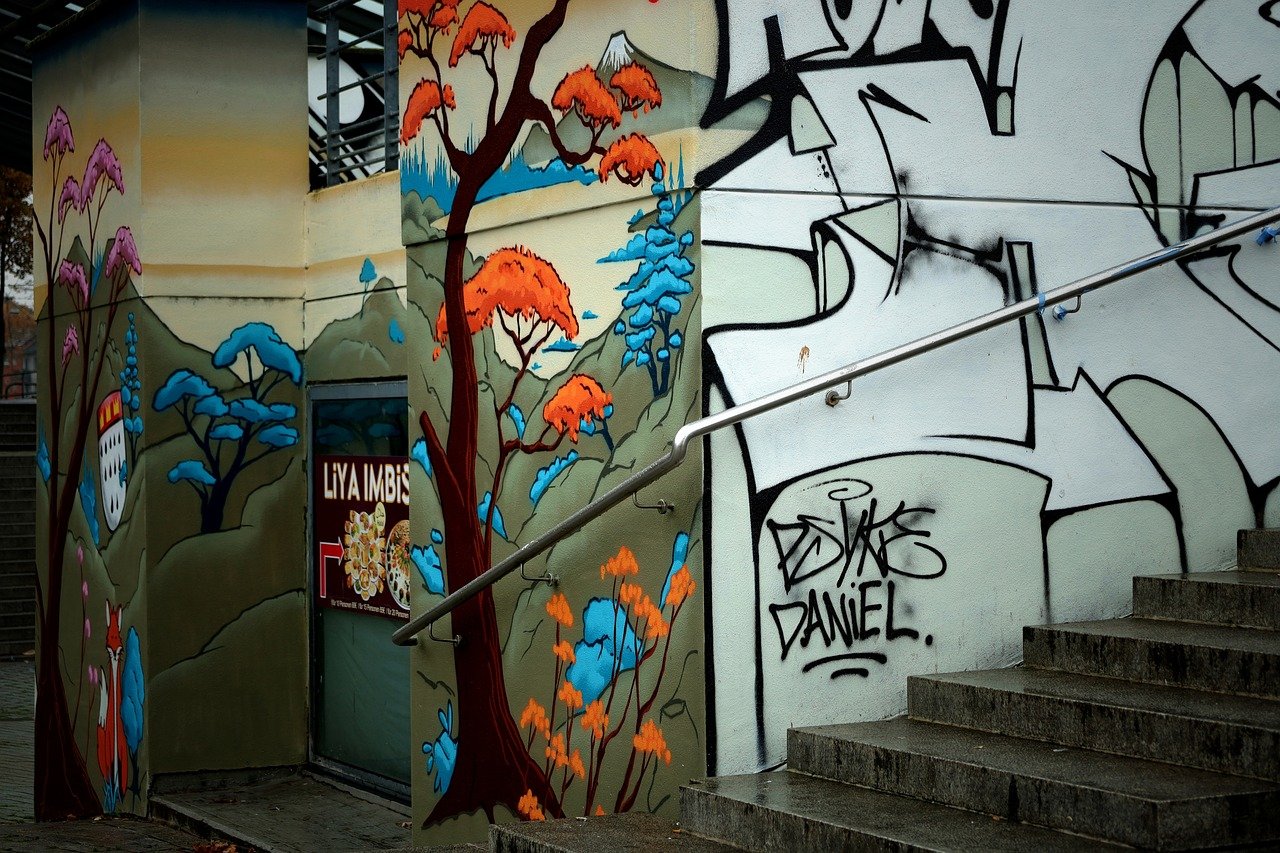
When it comes to pastel painting, color theory is your best friend. It’s like the secret sauce that can take your artwork from good to absolutely stunning. Understanding how colors interact with one another can significantly enhance your compositions, helping you achieve that perfect mood and atmosphere you’re aiming for. Imagine walking into a gallery and being drawn to a piece not just because of the subject matter, but because of the vibrant colors dancing together in harmony. That’s the magic of color theory!
One of the foundational concepts in color theory is the color wheel. This tool illustrates the relationships between different colors and can help you identify which colors work well together. For instance, colors that sit opposite one another on the wheel, known as complementary colors, create striking contrasts. Think of the vibrant combination of blue and orange or red and green. When used correctly, these colors can draw attention to focal points in your artwork, making them pop off the canvas.
Moreover, understanding the difference between warm and cool colors can also influence the emotional impact of your painting. Warm colors like reds, oranges, and yellows evoke feelings of warmth and energy, while cool colors like blues and greens tend to create a sense of calmness and serenity. For example, if you want to portray a lively sunset, a palette rich in warm colors will convey that vibrant energy effectively. On the flip side, if you're painting a tranquil lake scene, cool colors will help you achieve that peaceful vibe.
Another essential aspect of color theory is color mixing. This is where the real fun begins! By mixing different pastels, you can expand your palette and create a wider range of tones and shades. Here are a few techniques you might find useful:
- Layering: Start with a base color and layer additional colors on top to create depth.
- Blending: Use tools or your fingers to blend colors together for a smooth transition.
- Underpainting: Apply a base layer of color to set the tone before adding details.
Let’s not forget the importance of value in color theory. Value refers to how light or dark a color is, and it plays a crucial role in creating depth and dimension in your paintings. A well-balanced composition will utilize a range of values to guide the viewer's eye throughout the piece. For instance, placing a light color next to a dark one can create a dramatic effect, making certain elements stand out more than others.
In summary, mastering color theory in pastel painting is about understanding the relationships between colors, how to mix them effectively, and how to use values to create depth. With practice and experimentation, you’ll find that these principles can transform your artwork, allowing you to express yourself in ways you never thought possible. So grab your pastels, and let the colors guide your creative journey!
- What are complementary colors? Complementary colors are pairs of colors that are opposite each other on the color wheel, such as blue and orange, which create a striking contrast when used together.
- How can I create depth in my pastel paintings? You can create depth by using a range of values, layering colors, and incorporating both warm and cool tones to guide the viewer's eye.
- What is the best way to mix pastels? The best ways to mix pastels include layering, blending, and using underpainting techniques to achieve a broader range of tones.
Complementary Colors
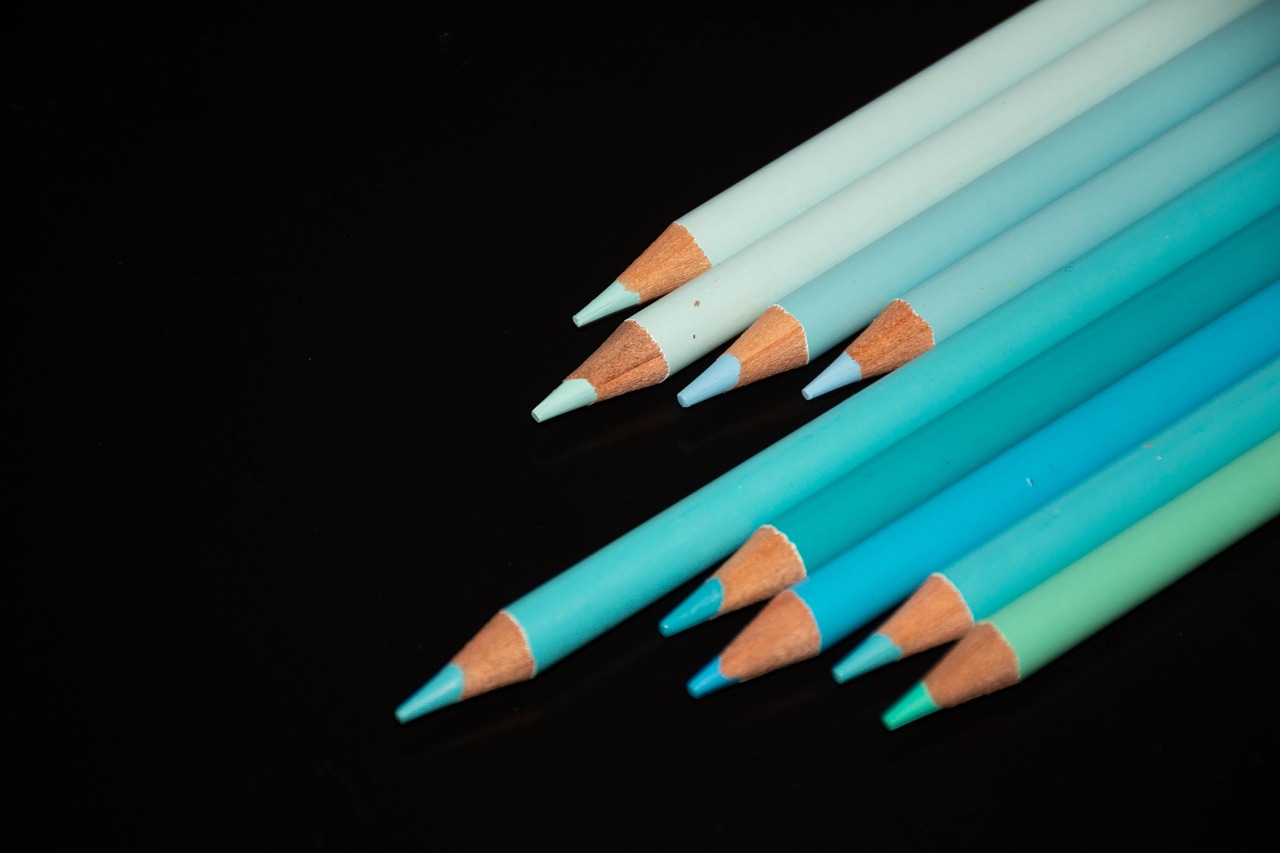
Using in your pastel paintings can create striking contrasts that not only draw the viewer's eye but also enhance the overall vibrancy of your artwork. Complementary colors are pairs of colors that, when combined, cancel each other out. This means that they produce a grayscale color (like black or white) when mixed together. For instance, if you were to mix blue and orange, or red and green, you would achieve this neutral tone. But, when used side by side, these colors can create a visual pop that makes your artwork come alive.
One of the most exciting aspects of working with complementary colors is how they can influence the mood of your painting. For example, a bright blue paired with a vibrant orange can evoke feelings of energy and excitement, while softer complementary pairs like lavender and yellow can create a more tranquil atmosphere. The choice of complementary colors can significantly affect the emotional response of the viewer, making it an essential tool in your pastel painting arsenal.
When applying complementary colors, consider the following techniques to maximize their impact:
- Contrast: Use complementary colors to create strong contrasts that highlight focal points in your artwork. This can be particularly effective in portraiture or landscapes.
- Shadows and Highlights: Employ complementary colors to add depth to your work. For instance, using a darker complementary color to create shadows can enhance the three-dimensionality of your subjects.
- Color Balance: Be mindful of the balance between complementary colors. Too much of one can overpower the other, so aim for a harmonious distribution that allows both colors to shine.
Additionally, understanding the color wheel can greatly aid in selecting the right complementary colors. The color wheel illustrates the relationships between colors and can serve as a guide when you're unsure which colors to pair. For example, if you want to use a warm color, you can easily find its complementary cool color on the opposite side of the wheel.
To further illustrate the concept, here’s a simple table showcasing some common complementary color pairs:
| Color | Complementary Color |
|---|---|
| Red | Green |
| Blue | Orange |
| Yellow | Purple |
| Turquoise | Coral |
In conclusion, mastering the use of complementary colors in pastel painting is not just about contrasting hues; it's about understanding how these colors work together to create mood, depth, and interest in your artwork. So next time you pick up your pastels, consider how you can use complementary colors to transform your piece from ordinary to extraordinary!
Q: What are complementary colors?
A: Complementary colors are pairs of colors that, when combined, cancel each other out, resulting in a grayscale color. They are located directly opposite each other on the color wheel.
Q: How can I use complementary colors effectively?
A: You can use complementary colors to create strong contrasts, add depth through shadows, and achieve a balanced composition in your artwork.
Q: Can I mix complementary colors?
A: Yes, mixing complementary colors will produce a neutral tone, but using them side by side can create vibrant contrasts that enhance your artwork.
Color Mixing Techniques
When it comes to pastel painting, mastering is akin to learning the secret language of art. Just like a chef blends spices to create a mouthwatering dish, an artist combines colors to evoke emotions, set moods, and bring their vision to life. The beauty of pastels lies in their versatility, allowing you to explore various methods to mix and create stunning hues.
One of the most fundamental techniques is layering. This involves applying different colors on top of each other to create depth and complexity. Start with a base color and gradually build up layers. Each new layer can modify the appearance of the underneath colors, resulting in a rich tapestry of tones. For instance, if you begin with a soft blue and layer a warm yellow on top, you might achieve a beautiful green that radiates warmth.
Another effective method is blending. This technique allows you to smooth out transitions between colors, creating a more cohesive look. You can use your fingers, blending tools, or even a piece of cloth to achieve the desired effect. However, it’s essential to be cautious with blending, as over-blending can lead to muddy colors. Think of it like mixing paint; a little goes a long way!
Moreover, underpainting is a technique that can significantly expand your color palette. By laying down a base of color before applying pastels, you can influence the final outcome. For example, painting a warm underlayer can enhance the vibrancy of cooler pastels applied on top. This method invites a sense of surprise, as the colors interact in unexpected ways.
To help you visualize these techniques, consider the following
| Technique | Description | Benefits |
|---|---|---|
| Layering | Applying multiple colors on top of each other. | Creates depth and richness. |
| Blending | Smoothing transitions between colors. | Achieves a cohesive look. |
| Underpainting | Applying a base layer of color before pastels. | Enhances vibrancy and depth. |
In addition to these methods, it’s vital to understand the concept of complementary colors. Using colors that are opposite each other on the color wheel can create striking contrasts and make your focal points pop. Imagine a vibrant orange sunset against a deep blue sky — the interplay of these colors can evoke powerful emotions and draw the viewer’s eye.
Lastly, don’t forget about the magic of experimenting. Don’t be afraid to mix different pastels and see what unique shades you can create. Keep a sketchbook handy to document your findings. This way, you can refer back to your successful mixes and use them in your future works. Remember, art is about exploration, and the journey of discovering new colors can be just as rewarding as the final piece.
- What is the best way to start mixing colors with pastels? Begin with simple layers and practice blending. Experiment with different combinations to see what works for you.
- Can I mix different types of pastels? Yes, mixing soft and hard pastels can create unique textures and effects, but be mindful of the differences in application.
- How do I avoid muddy colors when mixing? Limit the amount of blending you do and be cautious with the number of colors mixed together. Stick to a palette that complements your theme.
Frequently Asked Questions
- What types of pastels are there?
Pastels come in several varieties, including soft pastels, hard pastels, and oil pastels. Each type has its unique characteristics, making them suitable for different styles and techniques in your artwork. Soft pastels are known for their vibrant colors and smooth application, while hard pastels are great for fine details and precision.
- How do I blend pastels effectively?
Blending pastels can be done in various ways, such as using your fingers, blending tools like tortillons, or even cloths. Each method offers different results; for instance, finger blending provides a soft, organic feel, while tools can help achieve more precise edges. Experimenting with these techniques will help you find the best approach for your artwork.
- What is the importance of layering in pastel painting?
Layering is crucial in pastel painting as it allows you to build depth and richness in your artwork. By applying multiple layers of color, you can create dimension and vibrancy, enhancing your overall composition. Start with a base layer and gradually add more colors to develop your piece.
- Can I create texture in my pastel paintings?
Absolutely! Texture can add interest and depth to your pastel paintings. Techniques like scratching, stippling, and layering different types of pastels can help you create unique surface qualities. Don't be afraid to experiment and find the textures that best express your artistic vision.
- How does color theory apply to pastel painting?
A solid understanding of color theory is essential for pastel artists. Knowing how colors interact can significantly enhance your compositions and help you achieve the desired mood and atmosphere. Using complementary colors, for instance, can create striking contrasts and draw attention to focal points in your artwork.
- What are some effective color mixing techniques?
Mixing colors effectively can expand your palette and elevate your work. Techniques like layering, blending, and using underpainting can help you achieve a broader range of tones and shades. Experimenting with these methods will allow you to discover new color possibilities for your pastel paintings.


