Understanding the Basics of Anatomical Drawing
Welcome to the fascinating world of anatomical drawing! If you've ever marveled at a stunning piece of art that captures the human form with breathtaking realism, you might have wondered, "How do artists achieve such accuracy?" Well, it all begins with understanding the basics of anatomy. This article will guide you through the fundamental principles that every aspiring artist needs to grasp in order to represent the human body effectively.
At its core, anatomical drawing is not just about putting pencil to paper; it's about developing a deep understanding of the structure and function of the human body. Think of it as learning the language of the body—every muscle, bone, and contour tells a story. By mastering these elements, you will not only improve your drawing skills but also enhance your overall artistic expression. Just like a musician learns scales before composing a symphony, artists must first understand anatomy before they can create lifelike figures.
One of the most exciting aspects of anatomical drawing is its blend of science and art. It requires a keen eye for detail and a willingness to observe and analyze the body in various poses and movements. Whether you're sketching a figure in motion or a static pose, understanding how the body works will allow you to capture its essence on paper. Imagine trying to draw a dancer mid-leap without knowing how the muscles engage and the joints move—it's a challenge that can lead to frustration. But, fear not! With practice and the right techniques, you can overcome these hurdles.
As we dive deeper into this topic, we'll explore essential techniques, tools, and concepts that will elevate your anatomical drawing skills. You'll learn about the importance of proportion and scale, how to use reference images effectively, and the benefits of sketching from life. We'll also touch on common mistakes that many artists make and how to avoid them, ensuring that your journey into the realm of anatomical drawing is both enlightening and enjoyable. So, grab your sketchbook, and let's get started on this artistic adventure!
Understanding human anatomy is crucial for artists as it enhances their ability to create realistic figures. This section discusses why a solid grasp of anatomy is essential for effective drawing.
The right tools can significantly impact the quality of anatomical drawings. Here, we explore various materials and instruments that artists should consider using for their anatomical studies.
Pencils and charcoal are foundational tools for sketching. In this section, we discuss the different types and grades of pencils and how charcoal can add depth to anatomical illustrations.
Selecting the appropriate paper is vital for achieving desired effects in anatomical drawings. This part explains the characteristics of various papers and their suitability for different drawing mediums.
Beyond pencils and paper, other tools can enhance the drawing experience. This section covers items like erasers, blending stumps, and reference materials that can aid in anatomical drawing.
Mastering basic techniques is essential for effective anatomical drawing. This section introduces fundamental methods such as gesture drawing, contour drawing, and shading techniques.
Proportions and scale are critical in anatomical drawing. In this section, we examine how to accurately measure and maintain proportions to create realistic representations of the human form.
Reference images are invaluable for studying anatomy. Here, we discuss how to effectively use photographs and anatomical charts to improve accuracy in your drawings.
Drawing from live models enhances observational skills. This part emphasizes the benefits of life drawing sessions and offers tips for capturing the human form in real-time.
Every artist faces challenges in their journey. This section outlines common pitfalls in anatomical drawing and provides advice on how to avoid these mistakes for better results.
Here are some common questions about anatomical drawing:
- What is anatomical drawing? Anatomical drawing is the representation of the human body and its structures through artistic techniques.
- Do I need to study anatomy to draw? While it's not strictly necessary, having a solid understanding of anatomy can greatly enhance the realism and accuracy of your drawings.
- What tools do I need for anatomical drawing? Basic tools include pencils, charcoal, quality paper, and erasers. Additional tools like blending stumps can also be helpful.
- How can I improve my anatomical drawing skills? Practice regularly, study anatomy through books or courses, and draw from life to sharpen your observational skills.

The Importance of Anatomical Knowledge
Understanding human anatomy is not just a bonus for artists; it’s a fundamental necessity that can dramatically enhance the realism and expressiveness of their work. Think of it this way: if you were a chef, wouldn’t you want to know the best ingredients to create a masterpiece? Similarly, an artist must grasp the intricate details of the human body to depict it accurately. This knowledge allows artists to capture the essence of movement, emotion, and form, making their drawings come alive.
When you delve into the study of anatomy, you unlock a treasure trove of information. You learn about the skeletal structure, muscle groups, and how these elements interact during motion. This understanding enables you to create drawings that are not only visually appealing but also anatomically correct. For instance, knowing how the muscles flex and contract during a pose can add a layer of realism that mere observation cannot achieve.
Moreover, anatomical knowledge goes beyond just knowing the names of bones or muscles. It’s about understanding the functionality and dynamics of the human body. This includes:
- Movement: How different parts of the body work together to create various poses.
- Proportions: How to maintain accurate ratios between different body parts.
- Expression: How muscle movement affects facial expressions and emotional portrayal.
By mastering these aspects, artists can elevate their work from simple sketches to lifelike representations. Think of the difference between a stick figure and a dynamic human form; the latter tells a story, evokes feelings, and connects with the viewer on a deeper level.
Furthermore, a solid grasp of anatomy can significantly boost an artist's confidence. When you know what you’re doing, you’re less likely to second-guess your choices. You’ll find yourself making bold moves with your pencil or brush, and that’s where the magic happens. Confidence in your anatomical knowledge allows for greater creativity and experimentation in your art.
In summary, anatomical knowledge is the backbone of effective drawing. It’s not just about replicating what you see; it’s about understanding the underlying structure that makes the human body unique. So, whether you’re a budding artist or someone looking to refine your skills, investing time in studying anatomy will undoubtedly pay off in your artistic journey.
- Why is anatomical knowledge important for artists? It enhances the ability to create realistic figures and understand the dynamics of human movement.
- What are the key areas to focus on when studying anatomy? Focus on skeletal structure, muscle groups, proportions, and the functionality of body parts.
- Can I improve my drawing skills without studying anatomy? While it’s possible, a solid understanding of anatomy greatly enhances the quality and realism of your work.
Essential Tools for Anatomical Drawing
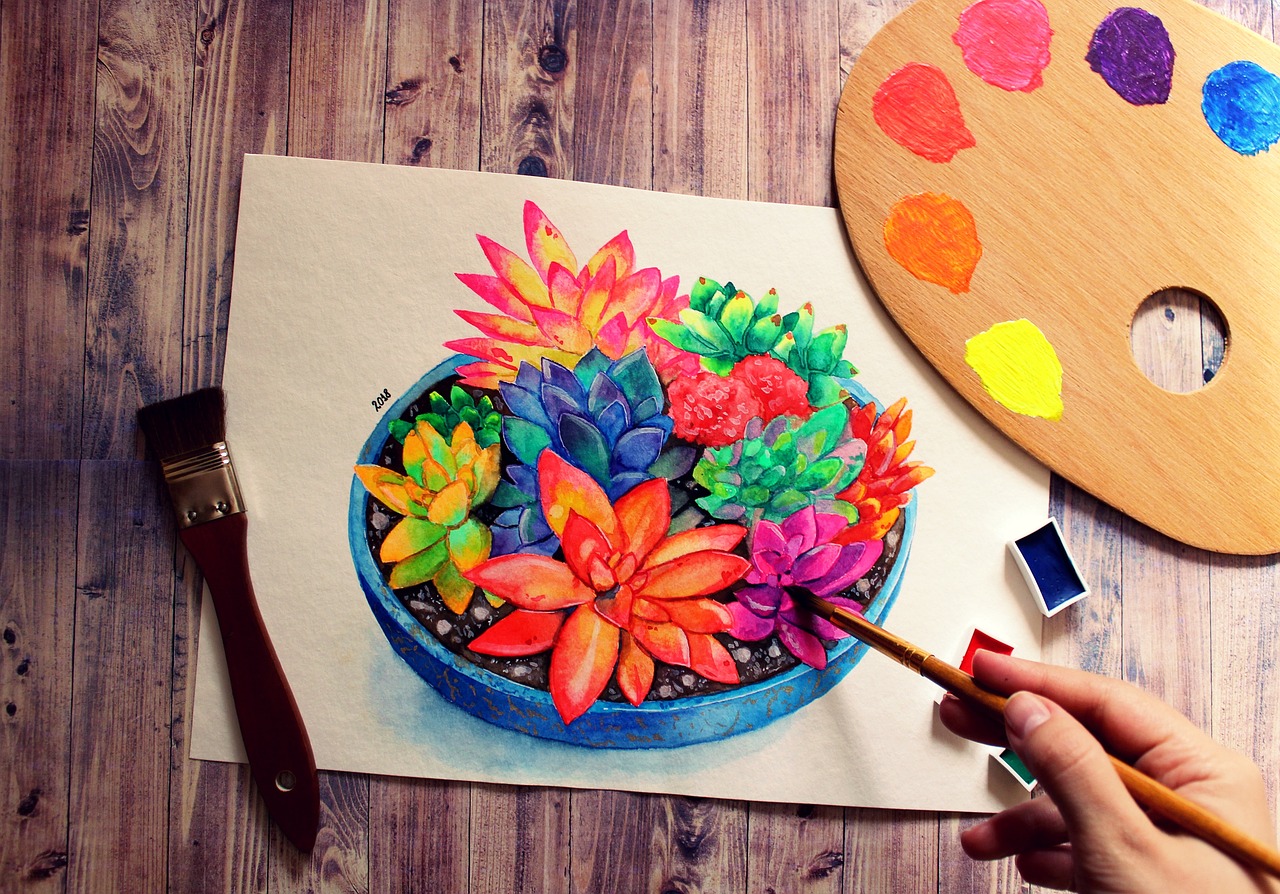
When diving into the world of anatomical drawing, having the right tools can make all the difference between a mediocre sketch and a stunning representation of the human form. Think of it like cooking; you wouldn't try to whip up a gourmet dish without the proper utensils, right? Similarly, artists need specific tools to accurately capture the intricacies of anatomy. Let's explore some of the essential materials and instruments that every aspiring anatomical artist should consider.
First and foremost, pencils are your best friends. They come in various grades, each serving a unique purpose. For instance, a softer pencil (like a 4B) is perfect for creating deep, rich shadows, while a harder pencil (like an H) is ideal for fine lines and details. It's like having a toolbox where each tool has its own specialty. Additionally, charcoal can be a game-changer. Its rich texture allows for expressive strokes and can add a level of depth that pencils alone might struggle to achieve. The beauty of charcoal lies in its versatility; you can create everything from soft, subtle gradients to bold, dramatic contrasts.
When it comes to sketching, the choice of medium can significantly influence the final outcome. Pencils and charcoal provide a range of possibilities. For those just starting, a basic set of graphite pencils will suffice, but as you progress, experimenting with charcoal can elevate your work. Charcoal sticks, for example, can be used for broad strokes, while charcoal pencils allow for more precision. Remember, the goal is to find what feels comfortable in your hands and what helps you express your artistic vision most effectively.
Now, let’s talk about paper. The type of paper you choose can greatly affect the texture and finish of your drawings. For instance, if you're using pencils, a smooth paper can help you achieve clean lines, while a textured paper is fantastic for charcoal, as it grips the medium better. Imagine trying to paint on a slippery surface; it just wouldn’t work! Here’s a quick breakdown of some popular paper types:
| Paper Type | Best For |
|---|---|
| Smooth Bristol | Pencil drawings |
| Textured Drawing Paper | Charcoal and pastels |
| Watercolor Paper | Mixed media |
Choosing the right paper is like picking the right canvas for a painting; it can enhance your work or hinder it. Always consider the medium you plan to use and select accordingly.
Beyond the basics, there are additional tools and accessories that can enhance your drawing experience. For example, a good eraser is essential—not just for mistakes, but also for creating highlights and refining shapes. A blending stump can help smooth out transitions between light and shadow, giving your drawings a more polished look. And let’s not forget about reference materials. Whether it’s anatomical charts, online resources, or even photography, having accurate references can significantly improve your understanding of human anatomy and aid in creating lifelike representations.
In summary, the tools you choose for anatomical drawing can greatly influence your artistic journey. By investing in high-quality pencils, charcoal, and paper, and incorporating helpful accessories, you’ll set yourself up for success as you explore the fascinating world of human anatomy through art. Remember, every artist has their unique toolkit, so don't hesitate to experiment and find what works best for you!
Q: What is the best pencil for beginners in anatomical drawing?
A: A good starting point is a set of graphite pencils ranging from H to 6B. This range allows you to experiment with both light and dark shading.
Q: Do I need to use charcoal for anatomical drawing?
A: While charcoal is not mandatory, it can add depth and texture to your work. It's worth trying out to see if it fits your style.
Q: How important is it to use reference images?
A: Reference images are crucial for understanding proportions and details in anatomy. They serve as guides to improve your accuracy and confidence in drawing.
Q: Can I use regular printer paper for anatomical drawing?
A: While you can use printer paper, it’s not ideal for detailed work. It may not hold up well to erasing or blending techniques. Investing in quality drawing paper is recommended.

Pencils and Charcoal
When it comes to anatomical drawing, the choice of tools can make a world of difference. Among the most essential instruments in an artist's toolkit are pencils and charcoal. These materials not only help in sketching but also play a pivotal role in bringing depth and realism to anatomical illustrations. So, how do you choose the right ones? Let's dive into the depths of these foundational tools.
Pencils come in various types and grades, each offering unique qualities that can enhance your drawing experience. For instance, graphite pencils are graded on a scale from H (hard) to B (black), with F sitting in the middle. The harder the pencil, the lighter the mark it makes, while softer pencils produce darker, richer lines. Artists often find themselves reaching for a range of pencils during their drawing sessions:
- H Pencils: Ideal for fine lines and detailed work.
- B Pencils: Great for shading and creating depth.
- F Pencil: A versatile option that balances hardness and darkness.
On the other hand, charcoal brings a different flavor to anatomical drawing. It allows for expressive strokes and rich textures that can enhance the three-dimensionality of your drawings. Charcoal comes in two main forms: compressed charcoal and vine charcoal. Compressed charcoal is dense and produces dark, bold lines, while vine charcoal is softer and easier to erase, making it perfect for initial sketches and light shading.
One of the best aspects of using charcoal is its ability to blend. With a simple blending stump or even your fingers, you can create smooth transitions between light and shadow, which is crucial in rendering the human form accurately. This blending capability allows you to emphasize the curves and contours of muscles, making your anatomical studies come alive.
To maximize the potential of these tools, it's essential to consider the paper you are using. Different papers interact uniquely with pencils and charcoal, influencing the final outcome of your artwork. For example, a textured paper can hold more charcoal, allowing for richer shading, while smoother paper may be better suited for detailed pencil work. Experimenting with various surfaces will help you discover what works best for your style.
In summary, both pencils and charcoal are indispensable for anyone serious about anatomical drawing. They offer a range of possibilities for expression and detail, enabling artists to capture the human body in all its complexity. By understanding the characteristics of these materials and how to use them effectively, you can elevate your anatomical drawings to new heights.
Choosing the Right Paper
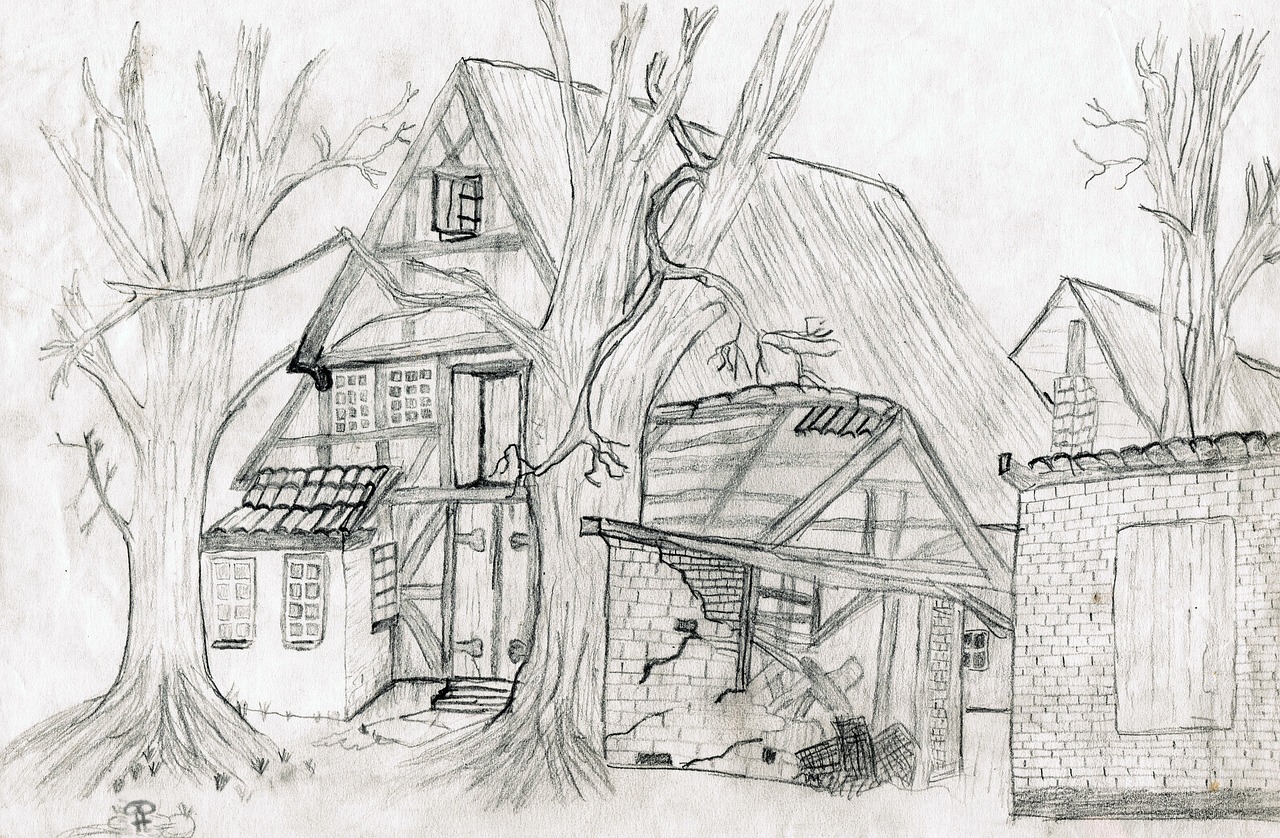
When it comes to anatomical drawing, the choice of paper can make a world of difference. Think of paper as the canvas for your artistic expression; it can either enhance your work or hinder it. Different types of paper come with unique characteristics that can affect how your materials interact with the surface, influencing everything from texture to shading. So, how do you choose the right paper for your anatomical studies? Let's dive in!
First off, consider the weight of the paper. Heavier papers, typically those weighing over 200 gsm (grams per square meter), are ideal for techniques like charcoal and ink, as they can handle more pressure without warping or tearing. On the other hand, lighter papers are better suited for pencil sketches, allowing for easier erasing and layering. But remember, heavier isn't always better; it depends on your technique and the medium you prefer.
Next, the texture of the paper plays a crucial role in your drawing experience. There are three main types of textures: smooth, medium, and rough. Smooth papers are fantastic for fine details and precise lines, making them perfect for pencil work. Medium textured papers offer a balance, allowing for both detail and some shading, while rough papers are great for adding depth and texture, especially with charcoal or pastels. Think about what you want to achieve with your anatomical drawing and choose accordingly.
It’s also important to consider the color of the paper. While white is the most common choice, colored papers can add an interesting dimension to your work. For instance, a toned paper can help create a more dynamic contrast when using white chalk or pastels. Additionally, darker papers can be effective for highlighting lighter areas, creating a striking visual effect. Experimenting with different colors can lead to surprising and delightful results!
To help you make an informed choice, here’s a quick comparison table:
| Paper Type | Weight (gsm) | Texture | Best For |
|---|---|---|---|
| Smooth | 180-220 | Smooth | Fine details, pencil sketches |
| Medium | 200-250 | Medium | General drawing, shading |
| Rough | 250+ | Rough | Charcoal, pastels, texture work |
Lastly, don’t underestimate the importance of experimenting. The best way to find the right paper for your anatomical drawings is to try out different types. Visit your local art supply store, grab a few samples, and see how each one reacts with your materials. You might discover a favorite that you never expected!
In conclusion, choosing the right paper is not just about picking something off the shelf; it's about understanding how different characteristics will affect your artistic process. By considering weight, texture, and color, you can elevate your anatomical drawings to new heights, making them not only accurate but also visually stunning.

Additional Tools and Accessories
When it comes to anatomical drawing, having the right tools can make all the difference in your artistic journey. While pencils and paper are fundamental, there are that can elevate your work and enhance your skills. Think of these tools as the secret ingredients in a recipe; they might not be the main dish, but they certainly add flavor and depth to your creations.
One of the most important accessories is the eraser. Not just any eraser will do; a kneaded eraser is ideal for artists. It allows for precise corrections without damaging the paper, and it can be shaped to fit into small areas. This is especially useful when you want to refine details in your anatomical sketches. Pairing your eraser with a good blending stump can also help you achieve smoother transitions and shading, giving your drawings a more polished look.
Another essential tool is a quality sharpener. A dull pencil can hinder your ability to create fine lines and details. Investing in a good sharpener will ensure that your pencils are always ready to produce the sharpest lines. Additionally, consider using a ruler or a protractor for measuring proportions accurately. These tools are not just for technical drawings; they can help you maintain the correct scale in your anatomical studies.
In addition to these practical tools, having access to reference materials is invaluable. Books, anatomical charts, and even online resources can provide you with the visual guidance needed to understand complex structures. Whether you're studying muscle groups or bone structures, having a reliable reference can enhance your understanding and improve your drawing accuracy.
Lastly, let’s not forget about the importance of a comfortable workspace. A well-lit area with an adjustable chair can make a world of difference in your drawing sessions. Consider adding a drawing board or a table easel to provide a stable surface for your work. Creating an environment that fosters creativity will help you focus on the intricate details of anatomical drawing without distractions.
- What is the best type of paper for anatomical drawing? The best type of paper depends on your medium. For pencil and charcoal, a smooth or slightly textured paper is ideal.
- How often should I practice anatomical drawing? Consistency is key! Aim to practice a few times a week to build your skills and understanding.
- Can I use digital tools for anatomical drawing? Absolutely! Digital tools can offer flexibility and unique features that traditional methods may not provide.
Basic Techniques for Drawing Anatomy
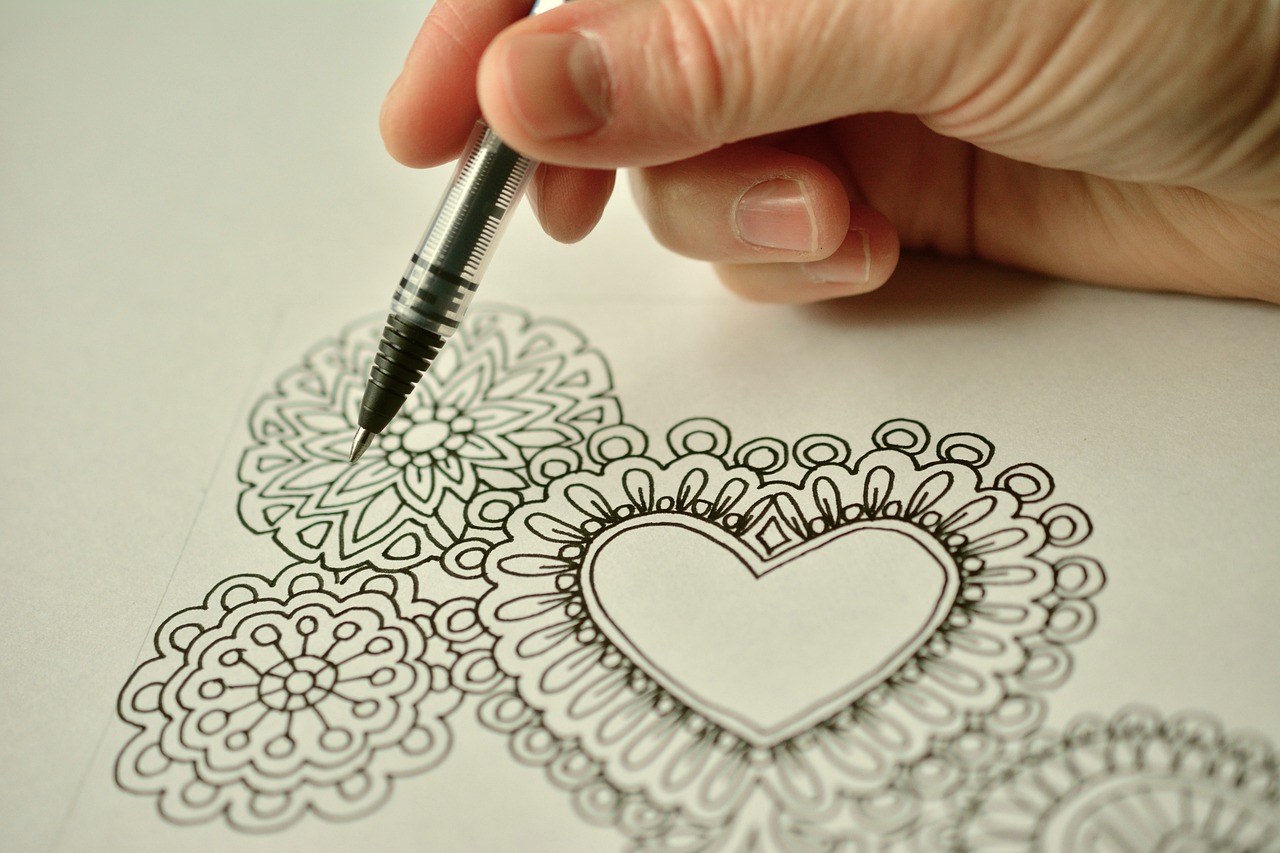
When it comes to anatomical drawing, mastering the basic techniques is like laying a strong foundation for a house—without it, everything else may crumble. One of the most essential techniques is gesture drawing, which captures the essence and movement of the human form. Think of it as a warm-up exercise for your artistic muscles, allowing you to loosen up and get a feel for the figure. Gesture drawing involves quick sketches that focus on the flow and dynamics of the body rather than on details. This technique helps you develop a keen sense of proportion and movement, which is crucial for creating lifelike representations.
Another fundamental method is contour drawing. Imagine tracing the outline of a figure with your eyes while your hand follows along on the paper. This technique emphasizes the edges and shapes of the body, helping artists understand the structure of muscles and bones. Contour drawing can be both challenging and rewarding, as it forces you to observe closely and translate what you see into lines on a page. It’s a fantastic way to improve your observational skills and develop a more intimate understanding of human anatomy.
Then, we have shading techniques, which are vital for adding depth and dimension to your drawings. Shading can transform a flat image into a three-dimensional form, giving it life and realism. There are various methods to achieve shading, including hatching, cross-hatching, and stippling. Each technique has its own unique effect, and experimenting with them can be quite fun! For instance, hatching involves drawing parallel lines, while cross-hatching adds another layer of lines crossing over the first set. Stippling, on the other hand, uses dots to create texture and shading. By mastering these techniques, you can create shadows that enhance the contours of the body, making your drawings pop off the page.
Additionally, understanding the anatomical landmarks is crucial for any artist. These are the bony protrusions and muscle groups that can be seen and felt on the human body. Familiarizing yourself with these landmarks can help you in accurately depicting the human form. For example, knowing where the collarbone, shoulder blade, and hip bones are located will enhance your ability to draw the torso realistically. You might find it helpful to create a reference sheet that highlights these landmarks, allowing you to refer back to them as you practice.
Lastly, don’t underestimate the power of practice. Just like learning a new language or mastering a musical instrument, the more you draw, the better you become. Set aside time each day to practice these techniques, whether it’s through quick sketches or longer, more detailed studies. Consider joining a local drawing group or taking online classes where you can share your work and receive constructive feedback. Remember, every artist was once a beginner, and persistence is key to improvement!
- What is gesture drawing? Gesture drawing is a quick sketching technique that captures the movement and essence of a subject, focusing on flow rather than detail.
- How can I improve my shading skills? Practice different shading techniques like hatching, cross-hatching, and stippling on various surfaces to see how light interacts with forms.
- Why are anatomical landmarks important? Knowing anatomical landmarks helps artists accurately depict the human form, improving the realism of their drawings.
- How often should I practice drawing? Consistent practice is essential; aim for daily sessions, even if they’re short, to build your skills over time.
Understanding Proportions and Scale
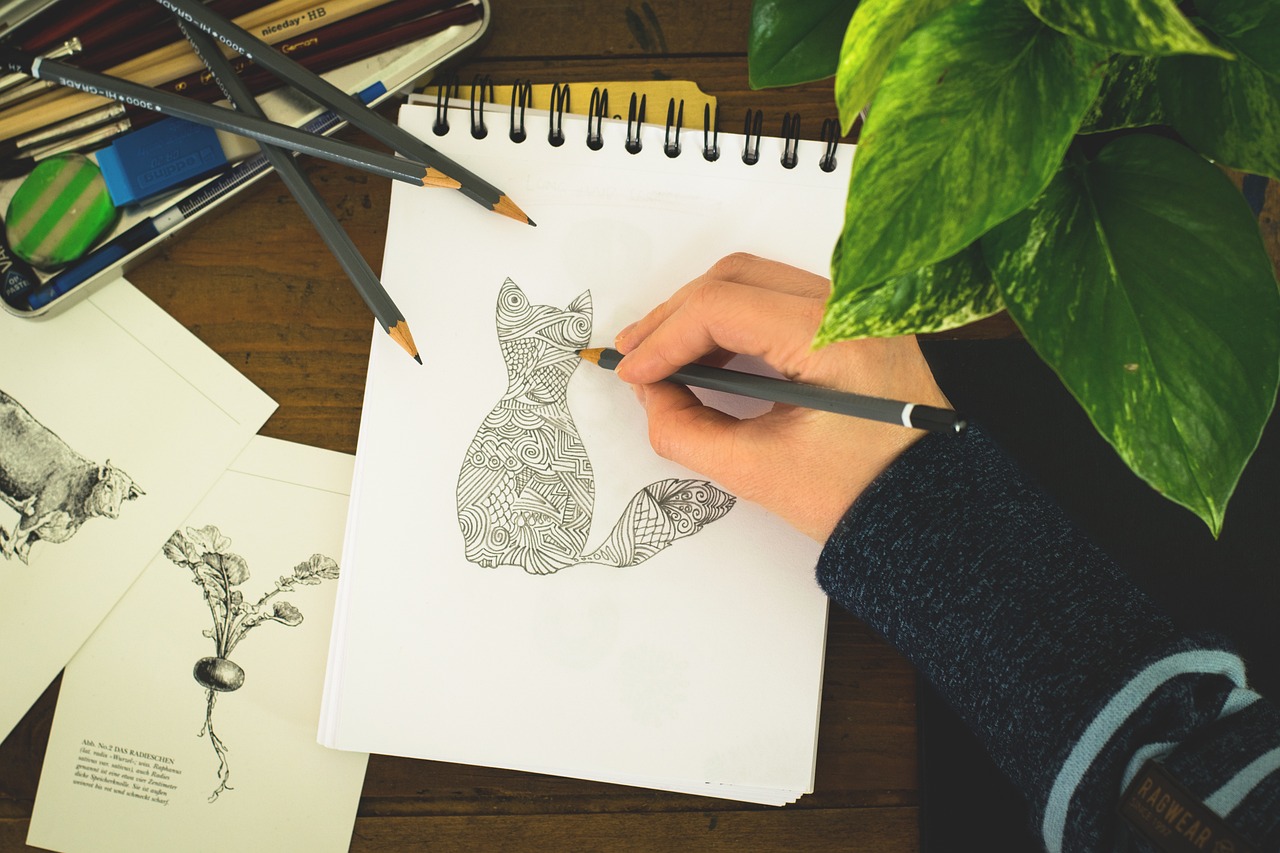
When it comes to anatomical drawing, proportions and scale are the backbone of any realistic representation of the human body. Think of proportions as the framework of your drawing; they determine how each part relates to the whole. If you've ever looked at a drawing and thought something seemed "off," chances are it was a proportion issue. Just like a house needs a solid foundation, your drawings need accurate proportions to stand tall and true.
To master proportions, you must first understand the basic structure of the human body. The average adult human figure is typically about seven to eight heads tall. This means that if you measure the height of the head, you can use that measurement as a unit to gauge the height of the entire figure. For instance, if your character is standing upright, their height will be approximately seven to eight times the size of their head. This simple rule can dramatically improve the accuracy of your drawings.
Another important aspect of proportions is how they can vary between different body types. For example, children have different proportions compared to adults; their heads are larger in relation to their bodies. Understanding these variations is crucial for artists, especially when drawing diverse characters. Here's a quick comparison:
| Body Type | Head to Body Ratio |
|---|---|
| Infant | 1:4 |
| Child | 1:5 |
| Adult | 1:7 to 1:8 |
| Stylized Character | Varies |
In addition to proportions, scale plays a vital role in anatomical drawing. Scale refers to the size of the object in relation to other objects or the context in which they are placed. When drawing, it’s essential to maintain a consistent scale throughout your work. This can be particularly challenging when drawing multiple figures in a single scene. To achieve this, you might consider using a grid system or measuring tools to help keep your figures in proportion to one another.
One effective technique for maintaining scale is the use of line of sight. This means that as you draw, you should constantly refer back to your reference images or models and check whether the sizes of different body parts are consistent with what you see. It’s like being a detective, always on the lookout for clues that can help you piece together the puzzle of human anatomy.
Lastly, it’s important to remember that while these rules and guidelines are helpful, they are not set in stone. Artistic expression often requires bending the rules to create unique and compelling characters. So, don’t be afraid to experiment and find your own style while keeping the fundamental principles of proportions and scale in mind.
- What is the best way to practice proportions in anatomical drawing?
Practicing with a variety of reference images and life drawing sessions is essential. Start by sketching simple shapes and gradually move on to more complex forms. - How can I improve my understanding of human anatomy?
Studying anatomy books, attending workshops, and practicing regularly will help you build a solid foundation. Additionally, using anatomical models can provide valuable insights. - Are there specific tools that can help with maintaining scale?
Yes! Tools like rulers, grids, and proportional dividers can assist in keeping your drawings in scale and proportion.
Using Reference Images
When it comes to mastering anatomical drawing, can be a game-changer. Imagine trying to sculpt a masterpiece without a model to guide you; it would be nearly impossible! Reference images serve as your roadmap, helping you navigate the intricate details of the human body. They provide a visual foundation that enhances your understanding of proportions, muscle structure, and the overall anatomy of the figure.
There are various sources for reference images, each offering unique advantages. You can find high-quality photographs, anatomical charts, and even 3D models online. Websites dedicated to art resources often have extensive libraries of images that can be invaluable for artists. Additionally, books on anatomy can provide detailed illustrations that highlight specific areas of the body, making them excellent tools for study.
When selecting reference images, consider the following:
- Quality: Look for high-resolution images that clearly depict the anatomy you wish to study. Blurry or pixelated images can lead to misunderstandings and inaccuracies in your drawings.
- Variety: Utilize a diverse range of images, including different poses, angles, and lighting conditions. This variety will deepen your understanding and help you capture the human form in a more dynamic way.
- Context: Choose images that show the figure in various contexts, such as movement or stillness. Understanding how the body behaves in different situations will enhance your ability to represent it accurately.
It’s also essential to not just replicate what you see but to analyze it. Take the time to study the muscle groups, the way light interacts with the body, and the subtleties of skin texture. This analytical approach will enrich your drawing process, allowing you to create more lifelike and expressive figures.
Moreover, consider using a combination of reference images. For instance, you might use a photograph for general proportions and then refer to an anatomical chart for muscle details. This multi-source strategy can provide a comprehensive understanding of the anatomy you are depicting.
Lastly, don’t forget to practice drawing from these references regularly. The more you engage with your reference materials, the more intuitive your understanding of anatomy will become. Over time, you’ll find that your drawings not only improve in accuracy but also in creativity and expression. So grab your sketchbook, find some great reference images, and start drawing!
Q: How do I find good reference images for anatomical drawing?
A: You can find quality reference images on art resource websites, anatomy books, and even through online image searches. Look for high-resolution images that clearly show the anatomy you want to study.
Q: Should I only use photographs as references?
A: While photographs are excellent, consider using a mix of photographs, anatomical charts, and 3D models for a more comprehensive understanding of human anatomy.
Q: How can I improve my skills using reference images?
A: Regular practice is key! Analyze the images you use, focusing on proportions, muscle structure, and lighting. The more you draw from references, the more intuitive your understanding will become.
Q: Is it okay to trace reference images?
A: Tracing can be a helpful tool for learning, but it’s important to move beyond tracing as you develop your skills. Use tracing to understand shapes and proportions, but strive to create your own interpretations in time.

Sketching from Life
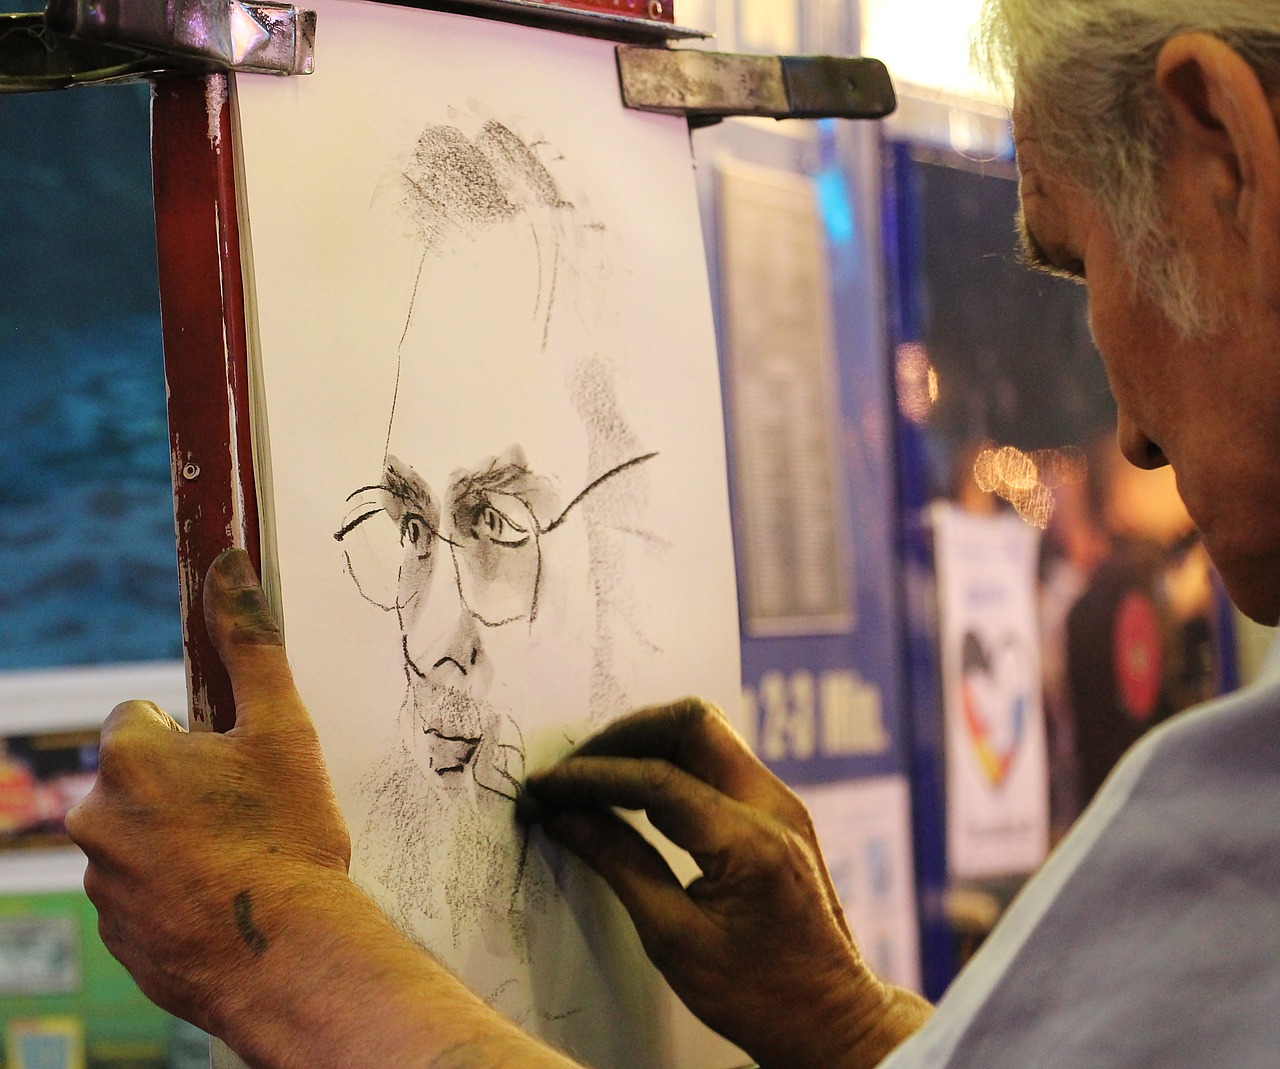
Sketching from life is one of the most rewarding experiences an artist can have. It’s like diving into a pool of creativity where every splash of your pencil brings the human form to life. The beauty of drawing from a live model lies in the dynamic nature of the subject. Unlike photographs, which can sometimes feel static, a live model breathes, moves, and changes. This constant motion challenges artists to capture not just the physical attributes but also the essence and personality of the figure.
When you sit down to sketch from life, you immerse yourself in a world of observation. The first thing you might notice is the play of light and shadow across the model's body. This interplay creates a three-dimensional effect that can transform a simple line drawing into a captivating piece of art. It’s essential to train your eyes to see these subtleties. As you practice, you’ll begin to notice how light interacts with different surfaces, creating highlights and shadows that define the form.
One of the key benefits of life drawing is the improvement of your observational skills. You learn to break down the complex shapes of the human body into simpler forms. For instance, you might start by sketching the basic shapes—ovals for the head and torso, cylinders for the limbs—before refining those shapes into more accurate representations. This method not only enhances your drawing skills but also deepens your understanding of anatomy. You begin to see how muscles and bones work together to create movement, and this knowledge translates into more realistic drawings.
Additionally, drawing from life encourages spontaneity. You might find yourself capturing a fleeting expression or a dynamic pose that would be impossible to replicate from a static image. This immediacy can lead to unexpected results, which often turn out to be some of the most exciting aspects of your work. Embrace the surprises that come with life drawing; they are the moments that can elevate your art from ordinary to extraordinary.
However, life drawing can also be intimidating, especially for beginners. It’s common to feel pressure to produce a perfect sketch, but remember that the goal is to learn and grow. Here are some tips to make the most out of your life drawing sessions:
- Start with quick gestures: Begin with short poses (1-5 minutes) to warm up. This practice helps you capture the essence of the pose without getting bogged down in details.
- Focus on proportion: Use your pencil to measure proportions and angles. This technique can help you maintain accuracy as you draw.
- Experiment with different materials: Try using charcoal, ink, or colored pencils to see how different mediums affect your style and approach.
- Don’t be afraid to make mistakes: Each sketch is a learning opportunity. Embrace your errors as part of the process.
In conclusion, sketching from life is an invaluable practice for any artist seeking to improve their anatomical drawing skills. It hones your observational abilities, enhances your understanding of the human body, and fosters a sense of spontaneity that can lead to remarkable artistic discoveries. So grab your sketchbook, find a model, and let the magic of life drawing inspire your creativity!
Q: How often should I practice life drawing?
A: Consistency is key! Aim for at least one session per week to see significant improvement over time.
Q: Do I need special materials for life drawing?
A: While you can use any drawing materials, many artists prefer charcoal or graphite for their versatility and ease of blending.
Q: What if I feel nervous drawing from a live model?
A: It’s completely normal to feel nervous. Start with shorter sessions and focus on capturing the essence of the pose rather than perfection.
Q: Can I use photographs for practice instead of live models?
A: Yes, photographs can be helpful, but they lack the dynamic qualities of a live model. Try to incorporate both methods into your practice.
Common Mistakes to Avoid
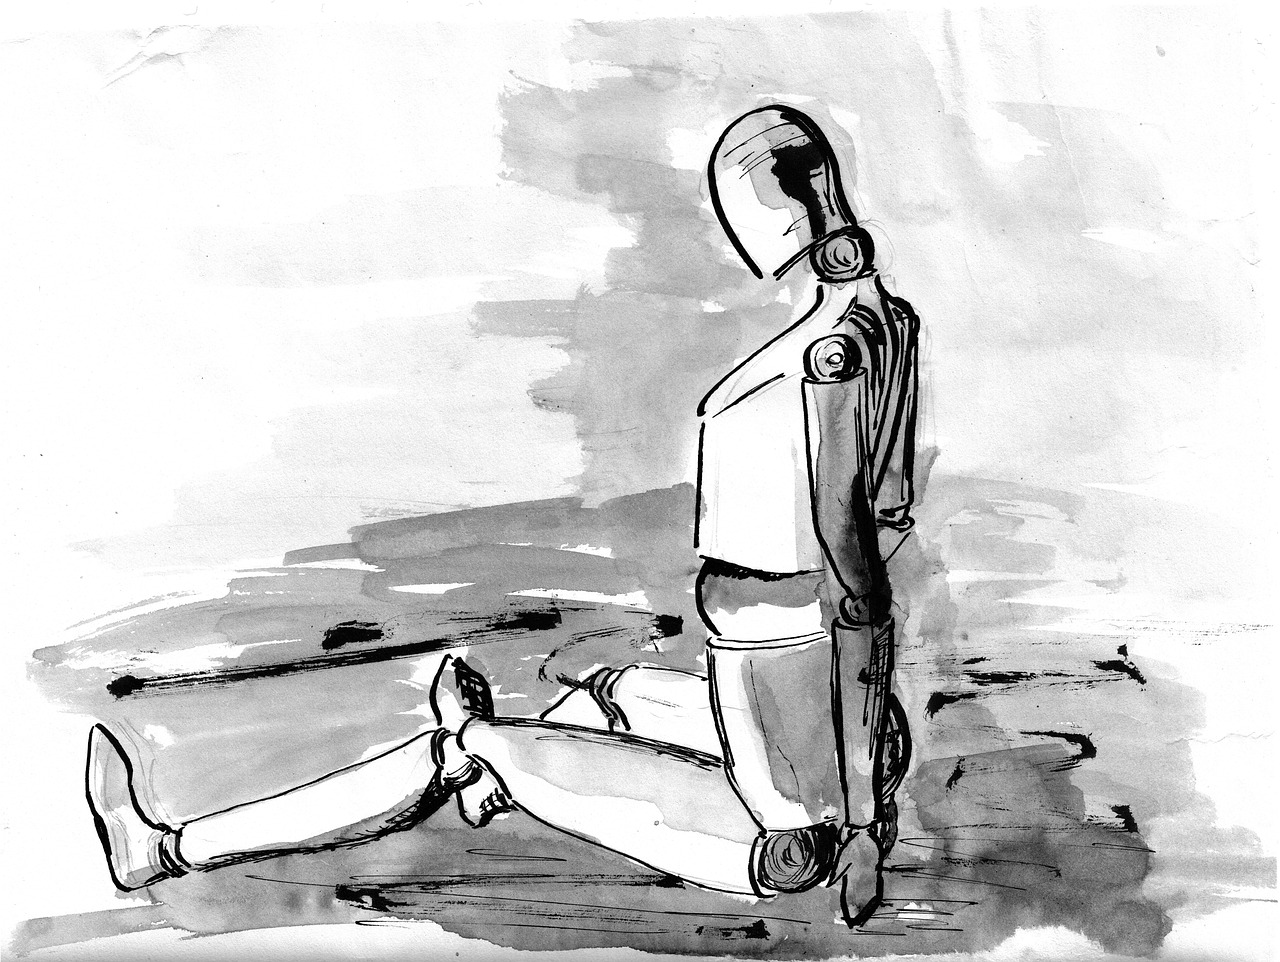
When embarking on the journey of anatomical drawing, even the most seasoned artists can stumble over common pitfalls. It's like trying to navigate a maze blindfolded; without awareness of these traps, you may find yourself lost and frustrated. One of the biggest errors is neglecting the study of anatomy itself. While it might be tempting to jump straight into drawing, a solid understanding of the human body’s structure is crucial. Think of it as building a house without a blueprint—your final piece may lack the stability and realism that comes from a strong foundation.
Another frequent mistake is the over-reliance on reference images without truly understanding them. Yes, photographs and anatomical charts are invaluable resources, but merely copying them without grasping the underlying anatomy can lead to stiff and lifeless drawings. Instead, strive to internalize the forms and proportions. It's similar to learning a musical piece; you need to understand the notes and the rhythm before you can truly express the music in your own way.
Many artists also fall into the trap of focusing too much on details too early in the process. Imagine trying to paint a masterpiece but getting bogged down in the minutiae of a single leaf. This can lead to frustration and a lack of cohesion in your work. Start with broad strokes, capturing the overall form and movement before diving into the details. This approach not only saves time but also allows for a more dynamic and engaging representation of the human body.
Additionally, failing to practice regularly can hinder your progress. Just like any skill, anatomical drawing requires consistent practice. Set aside dedicated time each week to sketch, whether from life or reference. Think of it as training for a marathon; the more you run, the stronger and more skilled you become. To help you stay on track, consider creating a practice schedule or joining a drawing group for accountability.
Lastly, don't overlook the importance of feedback. Many artists shy away from sharing their work due to fear of criticism. However, constructive feedback is essential for growth. Seek out fellow artists or mentors who can offer insights into your work. This can be as simple as joining an online forum or attending a local art class. Remember, every great artist was once a beginner, and learning from others can dramatically accelerate your improvement.
- What is the most common mistake beginners make in anatomical drawing? Many beginners overlook the importance of understanding basic anatomy, which leads to unrealistic representations.
- How can I improve my observational skills? Regular life drawing sessions can significantly enhance your ability to capture the human form accurately.
- Is it necessary to use reference images? Yes, reference images are crucial for studying proportions and details, but they should be used as a learning tool rather than a crutch.
- How often should I practice anatomical drawing? Consistent practice is key; aim for several sessions a week to see improvement.
Frequently Asked Questions
- Why is understanding anatomy important for artists?
Understanding anatomy is crucial for artists because it allows them to create more realistic and believable figures. Just like a sculptor needs to know the properties of clay, an artist must grasp the structure of the human body to depict it accurately. This knowledge enhances not only the accuracy of the drawings but also the artist's confidence when capturing the human form.
- What tools do I need to start anatomical drawing?
To kickstart your journey in anatomical drawing, you'll need a few essential tools. A good set of pencils, ranging from hard to soft grades, and charcoal for depth are fundamental. Additionally, selecting the right paper can significantly affect your results. Don’t forget about accessories like erasers and blending stumps to refine your work!
- How do I choose the right paper for anatomical drawing?
Selecting the right paper is all about the medium you plan to use. For pencil sketches, smooth paper works well, while textured paper is great for charcoal. Consider the weight and finish of the paper to achieve the desired effects in your drawings. It’s like choosing the right canvas for a painting; the results can vary dramatically!
- What are some basic techniques for drawing anatomy?
Mastering basic techniques is key to effective anatomical drawing. Start with gesture drawing to capture movement, then move on to contour drawing for outlines. Shading techniques will help you add depth and dimension. Think of these techniques as building blocks; each one adds to your overall skill set!
- How can I ensure proper proportions in my drawings?
Maintaining proper proportions is fundamental in anatomical drawing. Use reference points and measuring techniques to check your work. A common method is to use a grid or to compare the size of one body part to another. This practice is like using a ruler to measure ingredients in cooking; it ensures that everything comes together perfectly!
- What is the benefit of sketching from life?
Sketching from life is invaluable because it enhances your observational skills and helps you understand the human form in real-time. Life drawing sessions allow you to see how muscles and skin move and interact. It’s akin to learning to ride a bike; you can read all the manuals, but nothing beats the experience of actually doing it!
- What common mistakes should I avoid in anatomical drawing?
Many artists face similar challenges in anatomical drawing, such as neglecting proportions or relying too heavily on reference images. To avoid these pitfalls, practice regularly and be mindful of your technique. Remember, every mistake is a stepping stone to improvement; it’s all part of the learning process!


