How to Paint a Nature Scene: Step-By-Step Guide
Are you ready to unleash your inner artist and create a stunning nature scene on canvas? Whether you’re a budding beginner or an experienced painter looking to refine your skills, this comprehensive guide will walk you through each step of the process. Painting nature scenes can be an incredibly rewarding experience, allowing you to express your creativity while capturing the beauty of the world around you. In this guide, we’ll cover everything from choosing the right materials to applying techniques that will bring your landscapes to life. So, grab your brushes and let’s dive in!
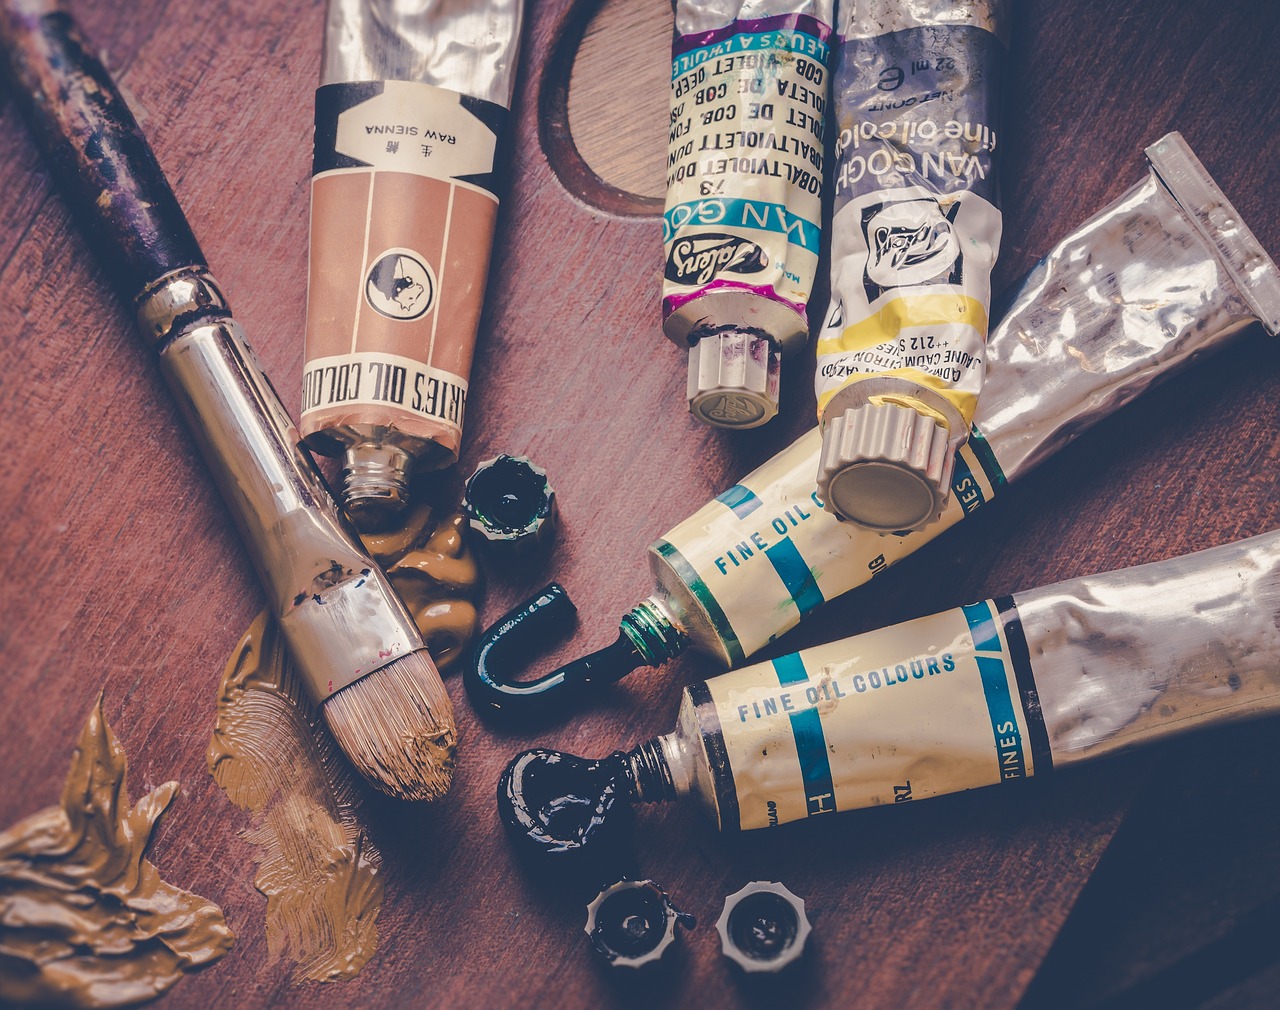
Before you even think about picking up a brush, it’s essential to select the right materials. The quality of your supplies can significantly impact the final result of your artwork. You’ll want to consider the following:
- Paints: Acrylics, oils, and watercolors each have unique properties. Acrylics dry quickly and are versatile, while oils offer rich colors and longer drying times, allowing for more blending. Watercolors are perfect for delicate washes and transparency.
- Brushes: Invest in a variety of brushes, including flat, round, and fan shapes. Each brush type serves a different purpose, from broad strokes to fine details.
- Canvases: Choose between stretched canvases, canvas boards, or watercolor paper, depending on your chosen medium.
- Additional Supplies: Don’t forget about palettes, easels, and cleaning supplies like water and rags.
Having the right tools at your disposal will make the painting process smoother and more enjoyable.
Color theory is like the secret sauce of painting. It helps you understand how colors interact, allowing you to create visually appealing compositions. By mastering color mixing and palettes, you can convey different moods and depths in your nature scenes. Let’s break this down:
Mixing colors accurately is crucial for achieving realistic shades found in nature. Think of it as cooking—you wouldn’t want to make a dish without knowing how to blend the right ingredients! Start with primary colors and gradually mix them to create secondary and tertiary colors. For example, combining yellow and blue gives you green, the quintessential color of nature.
A well-structured color palette is essential for any painting. It’s like setting the mood for a party; the right colors will create a harmonious atmosphere. Select a base color that represents your scene and choose complementary colors to enhance it. Organize your palette so that similar colors are grouped together, making it easier to find the shades you need while painting.
Understanding the difference between warm and cool colors can add dimension to your work. Warm colors (reds, oranges, yellows) evoke feelings of warmth and energy, while cool colors (blues, greens, purples) create a sense of calm and tranquility. Use warm colors to bring elements forward and cool colors to push them back, creating depth and perspective in your landscape.
Creating depth in a landscape is crucial for realism. Techniques like layering, shading, and perspective can transform a flat canvas into a vibrant scene bursting with life. Think of layering as adding the building blocks of your painting; each layer adds more detail and dimension. Shading can give your objects form, while perspective helps guide the viewer's eye through the scene.
A solid composition is the foundation of a successful painting. Before you dive into painting, take the time to sketch your scene. Consider elements like focal points, balance, and the rule of thirds to create a visually appealing layout. A well-planned sketch will save you time and frustration later on.
Grid techniques can help maintain proportions in your sketch. By creating a grid on your reference photo and canvas, you can accurately place elements, ensuring that everything looks just right. This method is especially useful for beginners who may struggle with proportions.
Detailing your sketch is crucial for a successful painting. Incorporate elements like trees, water, and wildlife into your initial sketch to enhance the overall composition. Think of your sketch as a roadmap; the more detailed it is, the easier your painting journey will be!
Different painting techniques can dramatically affect the outcome of your artwork. Let’s explore some methods that can add texture and interest to your nature scenes:
The wet-on-wet technique allows for smooth blending of colors, perfect for creating soft edges and atmospheric effects. Imagine painting a serene sunset; you want the colors to flow into one another seamlessly. This technique is ideal for capturing the essence of nature’s beauty.
Dry brushing can add texture and detail to your painting. It’s like giving your canvas a gentle scrub with a brush that barely holds paint. This technique is fantastic for highlighting areas such as grass and tree bark, enhancing the realism of your nature scene.
Q: What type of paint is best for beginners?
A: Acrylic paint is often recommended for beginners due to its quick drying time and versatility.
Q: How can I improve my color mixing skills?
A: Practice mixing colors regularly and keep a color journal to track your combinations and results.
Q: Is it necessary to sketch before painting?
A: While it’s not mandatory, sketching helps establish a solid composition and can make the painting process smoother.

Choosing the Right Materials
When it comes to painting nature scenes, is not just important; it’s absolutely essential for achieving stunning results. Imagine trying to create a masterpiece with subpar tools—it’s like trying to cook a gourmet meal with a dull knife! So, let’s dive into the world of paints, brushes, canvases, and other supplies that will elevate your artwork from ordinary to extraordinary.
First and foremost, let’s talk about paints. The type of paint you choose can dramatically influence the vibrancy and texture of your nature scene. Acrylic paints are a popular choice for beginners due to their quick drying time and versatility. They can be used on various surfaces, and their colors remain bright even after drying. On the other hand, oil paints offer a rich texture and depth, allowing for longer blending times, which is perfect for those soft, atmospheric effects often found in landscapes. Watercolors, while less forgiving, can produce stunningly delicate washes that capture the essence of nature beautifully.
Next up are brushes. The right brush can make all the difference in how you apply your paint. A variety of brush shapes and sizes will help you achieve different effects. For instance, flat brushes are great for broad strokes, while round brushes are perfect for detail work. Don’t forget to invest in a few fan brushes as well; they are fantastic for adding texture to foliage or clouds. As a rule of thumb, having a good mix of synthetic and natural bristle brushes will give you the flexibility you need for different techniques.
Now, let's consider canvases. The surface you paint on can greatly affect the outcome of your work. Stretched canvases are a popular choice for acrylic and oil paints, providing a sturdy base and a professional finish. If you’re working with watercolors, opt for a watercolor paper that can absorb moisture without warping. For those who enjoy experimenting, you might even explore painting on wood panels or canvas boards, which can add unique textures to your art.
In addition to paints and brushes, there are other supplies that can enhance your painting experience. A good palette for mixing colors is crucial; consider using a large, flat palette that gives you plenty of space to blend. Don’t forget about palette knives, which are excellent for mixing paint and creating texture. Lastly, a reliable set of easels can make your painting sessions more comfortable and enjoyable, allowing you to work at the perfect angle.
To sum it up, here’s a quick overview of essential materials you should consider when painting nature scenes:
| Material | Description |
|---|---|
| Paints | Acrylic, oil, and watercolor options for vibrant results. |
| Brushes | A variety of shapes and sizes for different effects. |
| Canvases | Stretched canvases, watercolor paper, or wood panels. |
| Palettes | For mixing colors effectively. |
| Palette Knives | For mixing and adding texture. |
| Easels | To support your canvas at the right angle. |
By carefully selecting your materials, you’re setting yourself up for success in your painting journey. Remember, the right tools can inspire creativity and help you express your vision of the natural world in all its breathtaking glory!
Understanding Color Theory
Color theory is the backbone of any painting, especially when it comes to capturing the beauty of nature. It’s not just about picking pretty colors; it’s about understanding how they interact and how they can evoke emotions. Imagine walking through a lush forest, the vibrant greens of the leaves contrasting beautifully with the deep browns of the tree trunks. This interplay of colors is what makes a painting come alive, and grasping the fundamentals of color theory can help you replicate that experience on canvas.
At its core, color theory revolves around the color wheel, which consists of primary, secondary, and tertiary colors. Primary colors—red, blue, and yellow—are the building blocks of all other colors. By mixing these, you can create secondary colors like green, orange, and purple. Tertiary colors are made by mixing a primary color with a secondary color, resulting in hues such as red-orange or blue-green. Understanding this wheel can help you make informed choices about which colors to use in your nature scenes.
One of the most exciting aspects of color theory is the concept of harmonious color palettes. When painting landscapes, you want your colors to work together seamlessly. For instance, using analogous colors—those that are next to each other on the color wheel—can create a serene and cohesive look. Think of a sunset: the soft oranges, pinks, and purples blend beautifully because they are closely related. On the other hand, complementary colors—colors that are opposite each other on the wheel—can create striking contrasts, adding vibrancy and energy to your work. Imagine the electric blue of a lake against the fiery orange of a sunset; this juxtaposition can make your painting pop.
Learning to mix colors accurately is essential for achieving realistic shades found in nature. For example, creating the perfect shade of green for foliage requires a bit of practice. You might start with a base of yellow and gradually add blue until you reach the desired hue. Don't be afraid to experiment! Nature is full of surprises, and sometimes the most beautiful shades come from unexpected combinations. Keep a palette handy and try mixing different ratios until you find what works best for your scene.
A well-structured color palette can make or break your painting. Start by selecting a few key colors that reflect the mood you want to convey. For instance, if you're painting a tranquil forest scene, you might choose soft greens, browns, and a hint of blue for the sky. Organize these colors in a way that allows you to see how they interact. You can use a simple table to help visualize your palette:
| Color | Hex Code | Use |
|---|---|---|
| Forest Green | #228B22 | Foliage |
| Sky Blue | #87CEEB | Background |
| Earth Brown | #8B4513 | Tree Trunks |
Understanding the difference between warm and cool colors can add depth and dimension to your artwork. Warm colors like reds, oranges, and yellows can evoke feelings of warmth and excitement, while cool colors such as blues and greens tend to create a sense of calm and tranquility. When painting a sunset, for instance, you might use warm colors to capture the fiery sky, while cool colors can be used for the shadows in the landscape below. This contrast not only enhances the visual appeal but also helps convey the mood of the scene.
By mastering color theory, you will be better equipped to create stunning nature scenes that resonate with viewers. Remember, it’s all about experimenting, observing, and most importantly, having fun with your palette!
Q: What is the best way to start mixing colors?
A: Begin with primary colors and experiment by adding small amounts of one color to another until you achieve the desired shade. Keep a record of your mixtures for future reference!
Q: How do I know which colors to use for my nature scene?
A: Observe nature closely! Take note of the colors around you and try to replicate them. You can also use a color wheel to help you choose harmonious or contrasting colors.
Q: Should I use warm or cool colors in my landscape painting?
A: It depends on the mood you want to convey. Warm colors can create a lively atmosphere, while cool colors can evoke calmness. A combination of both often works best!

Mixing Colors
Mixing colors is one of the most fundamental skills you can develop as an artist, especially when painting nature scenes. The beauty of nature lies in its diversity of colors, from the vibrant greens of lush forests to the soft blues of a serene sky. Understanding how to blend these colors accurately not only enhances your artwork but also brings it closer to the realism you strive for. So, how do you achieve those stunning shades that nature provides?
First, it’s essential to start with a solid foundation of primary colors: red, blue, and yellow. These colors can be mixed in various combinations to create a wide array of secondary colors—green, orange, and purple. But don’t stop there! By mixing these secondary colors with the primary ones, you can produce a spectrum of tertiary colors that closely resemble the hues found in the natural world.
When mixing colors, the goal is to achieve a balance that reflects the nuances of nature. For instance, when creating greens, consider the following:
- Yellow-Green: Mix yellow with a touch of blue for a bright, fresh green.
- Blue-Green: Add more blue to your green mix for a cooler, more subdued shade.
- Earthy Greens: Incorporate a bit of red or brown to create depth and richness, mimicking the colors of foliage in different seasons.
Additionally, it’s crucial to pay attention to the temperature of your colors. Warm colors (like reds and yellows) can create a sense of energy and vibrancy, while cool colors (like blues and greens) tend to evoke calmness and tranquility. By mixing warm and cool colors, you can create a sense of balance in your artwork, drawing the viewer's eye and adding a layer of complexity to your nature scenes.
Another important aspect of mixing colors is understanding the concept of value. Value refers to how light or dark a color is. To create depth in your painting, you can mix white or black into your colors. For example, adding white to a color will lighten it, resulting in a pastel shade, while adding black will darken the color, creating a more intense hue. This technique is particularly useful for painting skies, where you might want to depict the gradient of a sunset or the soft light of dawn.
Finally, don’t forget about the importance of practice. Mixing colors is an art in itself, and the more you experiment, the better you’ll become at identifying the right combinations. Set aside time to play with your paints, and don’t be afraid to make mistakes. Sometimes, those unexpected mixtures can lead to the most beautiful discoveries!
- What are the primary colors? The primary colors are red, blue, and yellow. These colors cannot be created by mixing other colors.
- How can I create a realistic green for my landscape? Mix yellow and blue in varying proportions, and consider adding a touch of red or brown for depth.
- What is the difference between warm and cool colors? Warm colors include red, orange, and yellow, while cool colors include blue, green, and purple. Each can evoke different emotions in your artwork.
- How do I lighten or darken a color? To lighten a color, mix in white; to darken it, add black.
Creating a Color Palette
Creating a well-structured color palette is essential for any artist looking to paint a captivating nature scene. Think of your color palette as the foundation of a beautiful house; without a solid base, everything else can crumble. A thoughtfully curated palette not only enhances the visual appeal of your artwork but also ensures that the colors work harmoniously together. So, how do you go about building this essential tool for your painting journey?
First, start by selecting a limited number of colors. While it might be tempting to grab every tube of paint in your collection, focusing on a few key colors can lead to a more cohesive and balanced piece. A typical palette for nature scenes might include:
- Primary Colors: Red, blue, and yellow.
- Secondary Colors: Green, orange, and purple.
- Earth Tones: Burnt sienna, ochre, and umber.
- Cool Colors: Blues and greens for water and foliage.
- Warm Colors: Reds and yellows for sunsets and highlights.
Next, consider the mood you want to convey. Different colors evoke different emotions. For instance, soft blues and greens can create a sense of tranquility, while vibrant reds and yellows can infuse energy and warmth into your artwork. To help you visualize this, create a mood board or a small collection of images that inspire you. This can serve as a guide when selecting your colors, ensuring that you stay aligned with your vision.
Once you have your colors selected, it's time to organize them on your palette. A practical approach is to arrange your colors in a way that reflects their temperature and tone. For example, place warm colors on one side and cool colors on the other. This not only makes it easier to find the colors you need but also helps you see how they interact with each other. You might even want to create a small swatch of each color to reference as you paint, allowing you to remember how each shade looks when mixed with others.
Don't forget to experiment! Mixing colors is where the magic happens. Try blending different shades to discover new hues that resonate with your vision. For instance, mixing a touch of blue with yellow can yield a stunning array of greens, perfect for painting lush landscapes. The key is to remain open-minded and playful with your palette; the best discoveries often come from unexpected combinations.
Lastly, keep your palette clean and organized as you work. A cluttered palette can lead to muddy colors and confusion. Regularly wipe your palette and remove any dried paint to maintain clarity in your color choices. Remember, your palette is a reflection of your artistic intent, so treat it with care!
In summary, creating a color palette is about more than just picking colors; it's about understanding how they work together to tell a story. By selecting a limited range of colors, considering the mood you want to convey, and keeping your palette organized, you'll set yourself up for success in painting stunning nature scenes. So grab your brushes and let your creativity flow!
Q: How many colors should I include in my palette?
A: It's best to start with a limited selection of about 5-10 colors. This helps maintain harmony and balance in your artwork.
Q: Can I use colors straight from the tube?
A: Absolutely! However, mixing colors can create more depth and variety, making your painting more interesting.
Q: How do I know which colors work well together?
A: Use a color wheel as a guide. Complementary colors (opposite each other on the wheel) can create contrast, while analogous colors (next to each other) can create harmony.
Q: Should I keep my palette consistent for different paintings?
A: While it's good to have a signature palette, don't be afraid to experiment with new colors for different scenes. Each painting can have its unique flavor!
Using Warm and Cool Colors
Understanding the difference between warm and cool colors is essential for any artist looking to create a captivating nature scene. Warm colors, such as reds, oranges, and yellows, evoke feelings of warmth and energy, often reminding us of sunshine and vibrant autumn leaves. On the other hand, cool colors like blues, greens, and purples bring a sense of calm and tranquility, reminiscent of serene waters and lush forests. By skillfully balancing these two color families, you can create a more dynamic and engaging landscape.
Picture this: you’re standing on a sunlit hillside, the sky painted in a brilliant blue, while the golden sun casts a warm glow on the fields below. This scene is a perfect example of how the interplay of warm and cool colors can evoke emotion and depth. When painting, consider how the light interacts with your subject. For instance, the warm rays of the sun will illuminate certain areas, creating highlights, while the shadows will often fall into cool tones, giving contrast and depth.
To effectively utilize warm and cool colors in your artwork, try the following techniques:
- Layering: Start with a base layer of cool colors to establish the background. Gradually add warm colors on top to create a sense of light and focus.
- Contrast: Use warm colors to draw attention to focal points in your painting, such as a sunset or a blooming flower, while surrounding them with cooler shades to enhance their prominence.
- Atmosphere: Consider the time of day you’re depicting. Early mornings and late afternoons often feature warm tones, while midday scenes may lean more towards cool colors.
As you mix your paints, remember that the balance between warm and cool colors can significantly impact the mood of your piece. A landscape dominated by warm colors can feel inviting and energetic, while one filled with cool hues can evoke a sense of peace and reflection. Experiment with different ratios and placements of these colors to find what resonates with your vision. The beauty of painting lies in its ability to express feelings, and mastering the use of warm and cool colors is a powerful tool in your artistic arsenal.
Q: How do I know when to use warm or cool colors in my painting?
A: The choice between warm and cool colors often depends on the mood you want to convey. If you aim for a vibrant and energetic scene, lean towards warm colors. For a calm and serene atmosphere, opt for cool colors. Observing real-life landscapes can also provide guidance on how light and shadow affect color temperature.
Q: Can I mix warm and cool colors together?
A: Absolutely! Mixing warm and cool colors can create interesting shades and add depth to your painting. Just be mindful of the proportions you use, as too much mixing can lead to muddy colors. Experimenting with small amounts can yield beautiful results.
Q: What are some common mistakes to avoid when using warm and cool colors?
A: One common mistake is relying too heavily on one color temperature without considering balance. Another is not paying attention to how colors interact with each other. Always test your colors on a palette before applying them to your canvas to see how they work together.
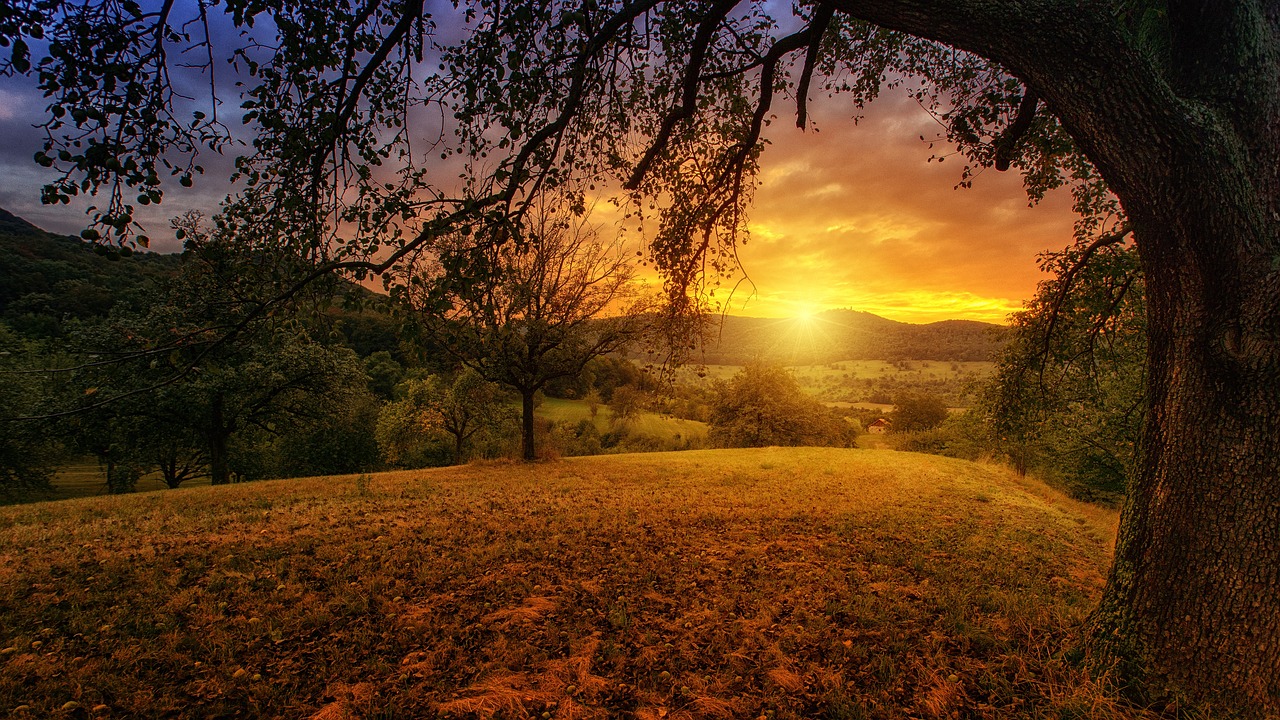
Applying Techniques for Depth
Creating depth in your landscape painting is essential for achieving a sense of realism and immersion. Think of depth as the magic that transforms a flat canvas into a three-dimensional world that invites the viewer in. Without depth, your artwork can feel lifeless and unengaging. So, how do you add that dimension? By employing a few key techniques, you can breathe life into your nature scenes and captivate your audience.
One of the most effective methods for adding depth is through layering. This technique involves applying multiple layers of paint to create a sense of distance and perspective. For instance, when painting a forest, the trees in the foreground should be more detailed and vibrant, while the trees in the background should be lighter and less defined. This contrast not only enhances the sense of depth but also guides the viewer's eye through the painting.
Another important technique is shading. By understanding how light interacts with objects, you can create shadows that give your painting a three-dimensional appearance. Imagine the way sunlight filters through tree branches, casting dappled shadows on the ground. By strategically placing shadows in your artwork, you can create a more dynamic and realistic scene. Remember, shadows aren't just dark spots; they can also be used to define shapes and forms, adding to the overall depth of your painting.
Don't overlook the power of perspective as well. Utilizing techniques like linear perspective can dramatically change how your landscape is perceived. For example, when painting a road that recedes into the distance, use converging lines to draw the viewer’s eye towards a vanishing point. This not only creates a sense of depth but also adds a layer of realism that makes your painting come alive.
In addition to these techniques, consider the use of atmospheric perspective. This involves altering the color and clarity of objects based on their distance from the viewer. As objects recede into the background, they tend to appear lighter and less saturated. This is especially true in nature scenes where distant mountains or hills may take on a bluish hue due to atmospheric conditions. Incorporating this technique can enhance the depth in your painting, making it feel more expansive and open.
To summarize, here are some key techniques to apply for adding depth to your nature scenes:
- Layering: Build up paint in layers to create distance.
- Shading: Use shadows to define shapes and add realism.
- Perspective: Employ linear perspective to guide the viewer’s eye.
- Atmospheric Perspective: Adjust color and clarity for distant objects.
By mastering these techniques, you can transform your nature paintings into captivating scenes that draw viewers in and evoke emotion. Remember, practice makes perfect, so don’t be afraid to experiment with these methods as you develop your unique style. Happy painting!
Q1: What materials do I need to start painting nature scenes?
A1: To start, you'll need quality paints (acrylics, watercolors, or oils), brushes of various sizes, a canvas or watercolor paper, and a palette for mixing colors. Don't forget a cup of water or medium for cleaning brushes and a rag for any spills!
Q2: How can I improve my color mixing skills?
A2: Practice is key! Start by experimenting with primary colors to see how they combine to create secondary and tertiary colors. Keep a color wheel handy to guide you as you mix, and don’t be afraid to test out different ratios until you achieve the desired shade.
Q3: What is the best way to sketch my composition before painting?
A3: Begin with light pencil strokes to outline your main elements. Use the rule of thirds to position your focal points effectively. You can also use grid techniques to maintain proportions. The goal is to create a solid foundation for your painting.
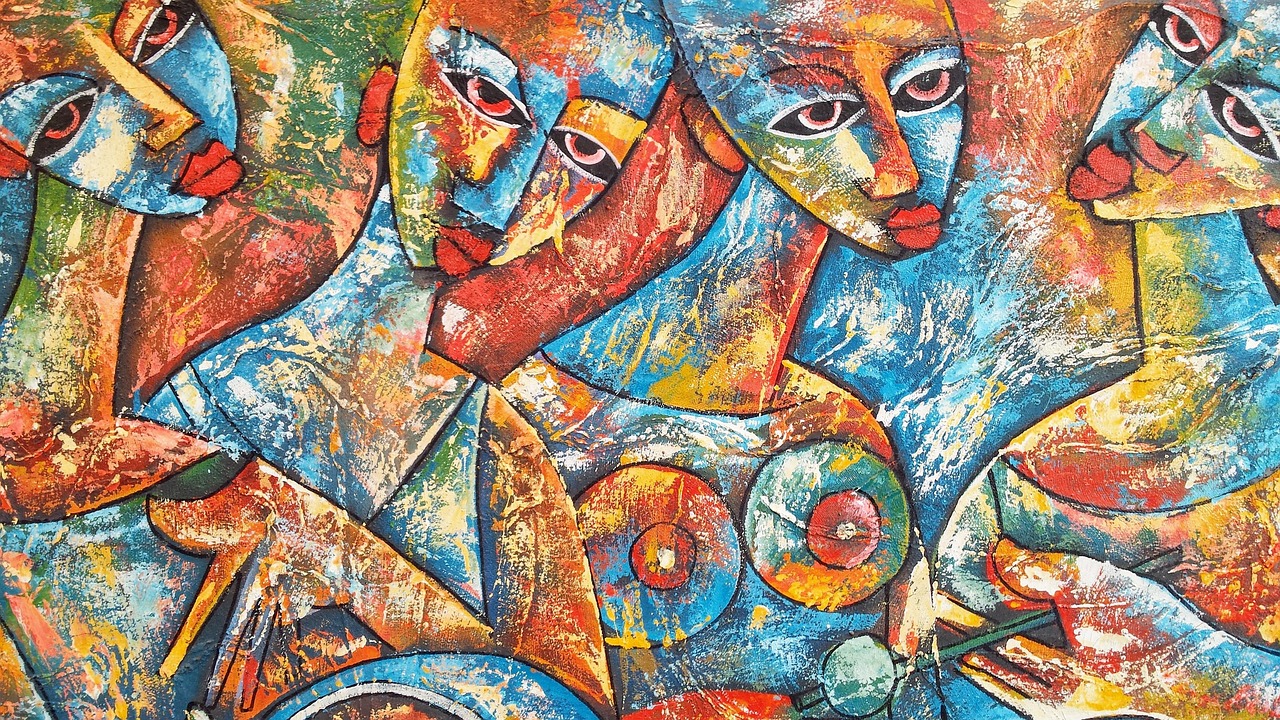
Sketching Your Composition
When it comes to painting a nature scene, is like laying the groundwork for a beautiful house. Without a solid foundation, your masterpiece might crumble! So, grab your pencil and let’s dive into the essentials of sketching. A well-thought-out sketch can guide your brush strokes and help you visualize the final piece. It’s not just about doodling; it’s about planning your artwork meticulously.
First off, consider the elements you want to include in your scene. Are you envisioning a tranquil lake surrounded by majestic mountains? Or perhaps a vibrant forest teeming with wildlife? Whatever it may be, identifying the focal point is crucial. The focal point is where you want the viewer's eye to be drawn first, and it can be anything from a stunning sunset to a solitary tree. Once you have that in mind, you can start sketching the basic shapes and outlines of your composition.
One of the most effective ways to enhance your sketch is by applying the rule of thirds. This technique divides your canvas into a 3x3 grid, creating nine equal sections. By placing your focal point along these lines or at their intersections, you can create a more balanced and engaging composition. Think of it as arranging a dinner plate; you wouldn’t just plop everything in the center, right? You’d want to create an appealing layout that draws people in!
Next, let’s talk about balance. Balance in art refers to the distribution of visual weight in your composition. You can achieve this by arranging elements in a way that feels harmonious. For instance, if you have a large tree on one side, consider adding a smaller element, like a rock or a bush, on the opposite side to create equilibrium. Remember, contrast is your friend! Mixing different sizes and shapes can add interest and keep the viewer's eyes dancing across the canvas.
Now, let’s not forget about details! Adding finer details to your sketch can elevate your composition. Think about incorporating elements like rippling water, fluttering leaves, or even wildlife. These details not only enhance the overall scene but also help in setting the mood. For example, a sketch with birds soaring in the sky can evoke a sense of freedom and tranquility. So, don’t shy away from getting a bit intricate!
Finally, if you’re feeling a bit unsure about proportions, consider using grid techniques. This method involves creating a grid on your reference photo and a corresponding grid on your canvas. By breaking down your scene into smaller sections, you can ensure that everything is in the right place, much like putting together a puzzle. This technique can be particularly helpful for beginners who are still mastering the art of proportion.
In summary, sketching your composition is a vital step in the painting process. It allows you to plan out your scene, establish balance, and incorporate details that will make your artwork shine. So, take your time with this step, and remember that great art starts with a great sketch!
- How detailed should my sketch be? Your sketch should capture the essential elements of your composition but doesn't need to be overly detailed. Focus on shapes, proportions, and basic outlines.
- Can I change my composition later? Absolutely! Sketching is a flexible process. Feel free to adjust elements as you see fit while painting.
- What if I make a mistake in my sketch? Mistakes are part of the learning process! You can always erase or adjust your sketch as needed.
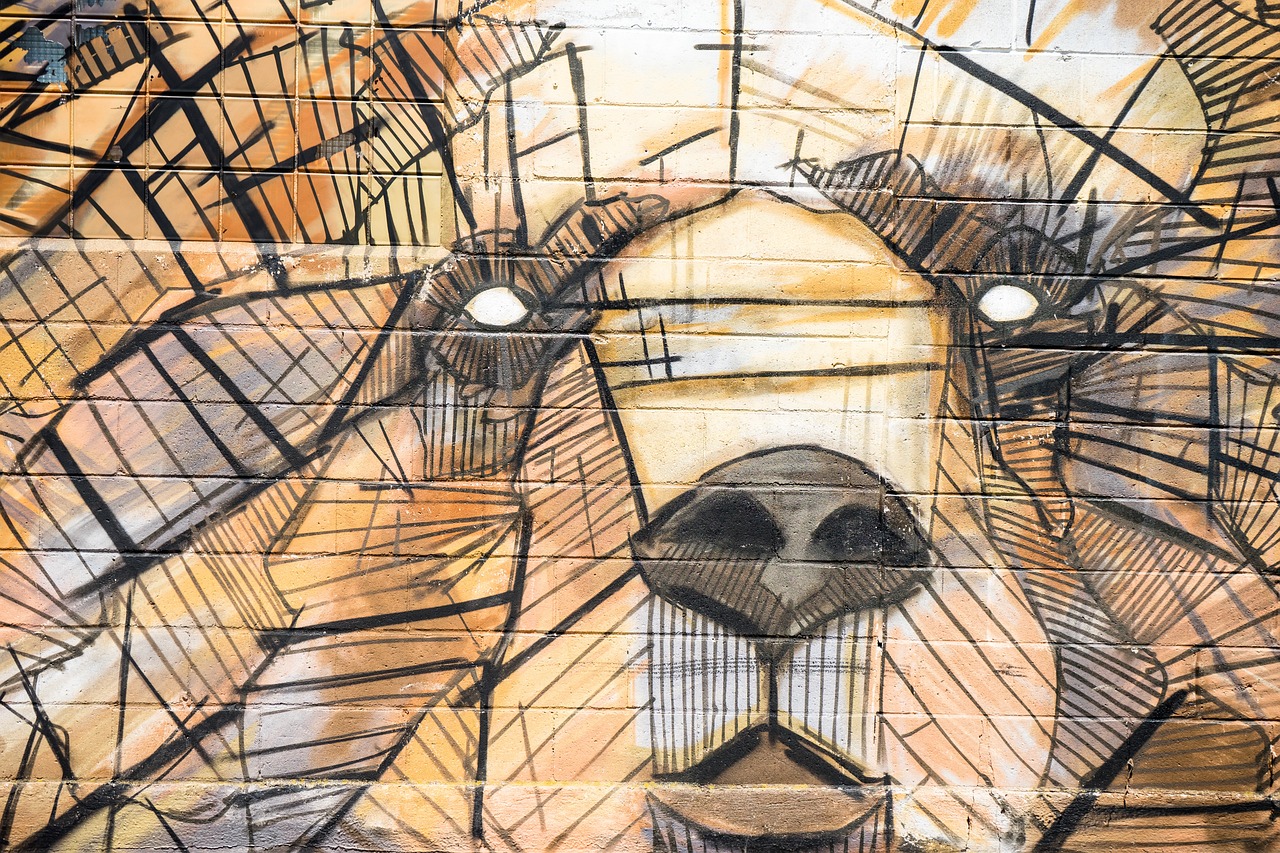
Using Grid Techniques
When it comes to painting a nature scene, precision is key, and this is where grid techniques come into play. Imagine trying to replicate a stunning landscape photo on a canvas without any guidance—it's like trying to navigate through a dense forest without a map. The grid method provides a structured approach that helps maintain proportions and placements, ensuring that your artwork reflects the beauty of nature accurately.
To start, you’ll need to create a grid on both your reference photo and your canvas. This process involves dividing your reference image into equal squares, which can be done using a ruler and a pencil. For instance, if your photo is 12 inches by 12 inches, you might divide it into a grid of 3-inch squares. This will yield a 4x4 grid, making it easier to focus on one square at a time. Once your reference is gridded, replicate the same grid on your canvas, ensuring that each square corresponds to the same area of the image.
As you work, you can concentrate on drawing or painting one square at a time. This method not only enhances your accuracy but also helps you avoid feeling overwhelmed by the entire scene. You can think of it like piecing together a puzzle; by focusing on one piece at a time, you gradually build the complete picture. Moreover, if you notice any disproportionate elements, the grid will allow you to make adjustments before committing to paint.
Here are a few tips to keep in mind while using grid techniques:
- Choose the Right Size: The size of your grid squares should be proportional to the size of your reference image. Larger squares are easier to work with but may sacrifice some detail.
- Use Light Pencil Marks: When creating your grid on the canvas, use a light pencil to ensure that the lines can be easily erased later without affecting your painting.
- Stay Flexible: While the grid is a helpful tool, don’t hesitate to deviate from it if you feel that certain elements need adjustment for artistic effect.
By incorporating grid techniques into your painting process, you’ll find that your ability to capture the essence of nature scenes improves significantly. This method not only aids in accuracy but also instills a sense of confidence as you watch your composition come together square by square. So, grab your ruler and pencil, and let the grid guide you to create breathtaking landscapes!
Q: What if I don't want to use a grid?
A: While the grid technique is helpful, it’s not mandatory. Many artists prefer freehand sketching. However, if you struggle with proportions, giving the grid method a try could enhance your accuracy.
Q: Can I use grid techniques for other subjects besides nature scenes?
A: Absolutely! Grid techniques can be applied to any subject matter, including portraits, still life, and abstract art, making it a versatile tool in your artistic toolkit.
Q: How do I erase the grid lines after painting?
A: Once your painting is complete and dry, you can gently erase the grid lines with a soft eraser. Be careful not to damage the canvas or disturb the paint.
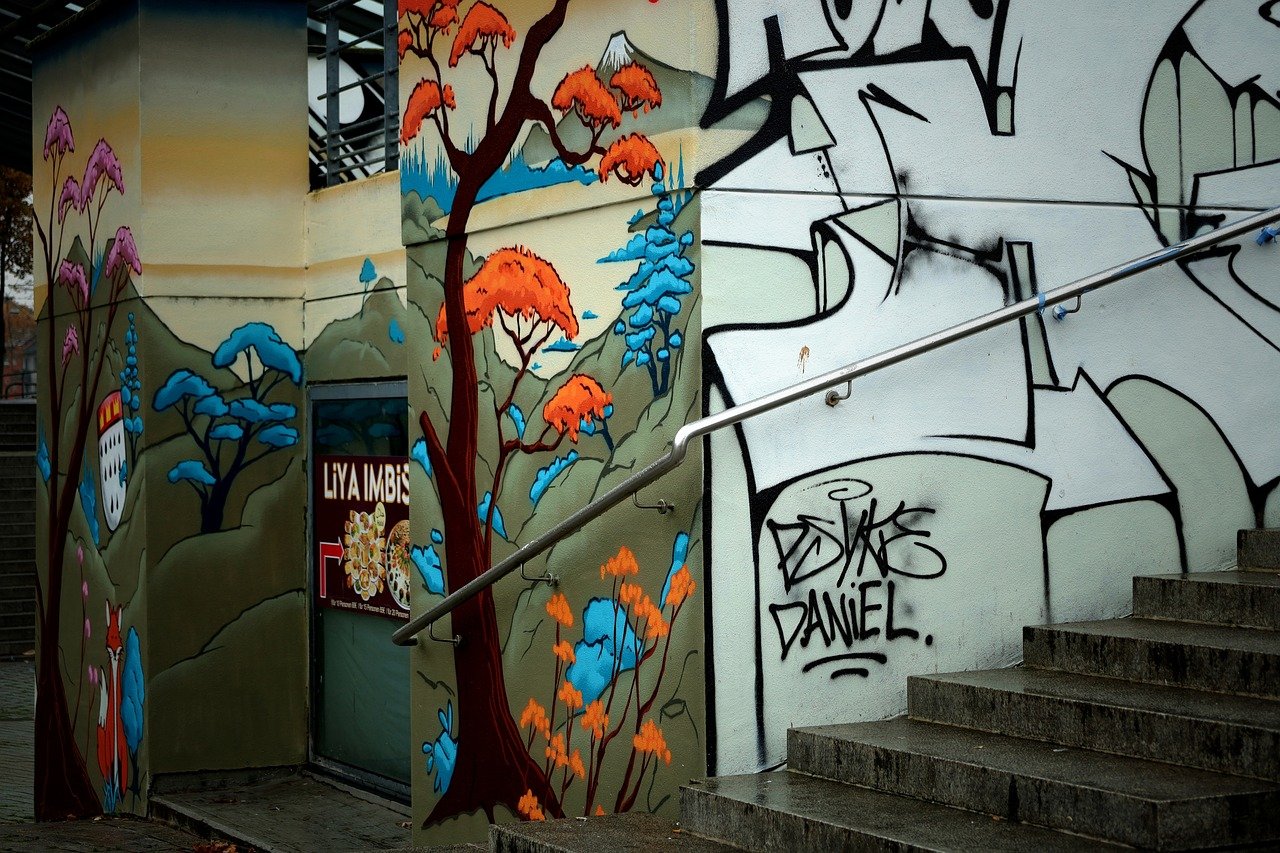
Adding Details to Your Sketch
When it comes to painting nature scenes, the magic often lies in the details. Think of your sketch as the skeleton of your artwork—it's essential, but it needs flesh to come alive. Adding details to your sketch is not just about filling in spaces; it's about creating a captivating narrative that draws the viewer in. How do you make your sketch resonate with life? It’s all about observation and intentionality.
Start by taking a moment to observe your reference photo or the scene in front of you. Look closely at the elements that make it unique. Are there specific textures on the bark of a tree? How does the light interact with the leaves? Are there subtle variations in the color of the water? These are the details that will elevate your painting from a simple landscape to a breathtaking representation of nature.
As you begin to add details, consider the following elements that can enhance your composition:
- Trees: Pay attention to the shapes and sizes of different trees. Some may have thick trunks while others are slender. The branches can be gnarled or smooth, which adds character. Sketching the foliage can also create depth; remember that leaves are not just green blobs—they have varying shades and shapes.
- Water: If your scene includes a body of water, think about how reflections play a role. Water can be still or rippled, each having a different effect on the surrounding landscape. Sketching gentle waves or reflections of nearby trees can add realism.
- Wildlife: Incorporating animals can bring life to your scene. Whether it’s a bird perched on a branch or a deer grazing in the distance, these details can create a story within your painting. Just a few simple lines can suggest movement and add interest.
Once you've identified the key details to include, it's time to translate those observations onto your canvas. Use light pencil strokes to outline these elements, ensuring that they are proportionate and correctly placed. Remember, it’s better to start lightly—this way, you can easily make adjustments as your painting evolves. If you're using the grid technique, refer back to your grid lines to maintain accuracy.
Moreover, don’t forget about the background and foreground elements. Adding details in these areas can create a sense of depth. For instance, lighter and less detailed objects in the background can help achieve a sense of distance, while more intricate details in the foreground draw the viewer’s eye and create a focal point.
In conclusion, adding details to your sketch is about more than just aesthetics; it’s about storytelling. Each line, shade, and texture contributes to the overall narrative of your painting. So take your time, observe closely, and let your creativity flow as you breathe life into your nature scene.
Q: Do I need to add every detail I see in the reference photo?
A: Not at all! Focus on the details that contribute to the story you want to tell. Sometimes, less is more.
Q: How can I make sure my details are accurate?
A: Use techniques like the grid method to maintain proportions and check your work against the reference regularly.
Q: What if I make a mistake while adding details?
A: Mistakes are part of the process! Light pencil strokes allow for easy corrections, and remember, sometimes happy accidents can lead to unexpected creativity.
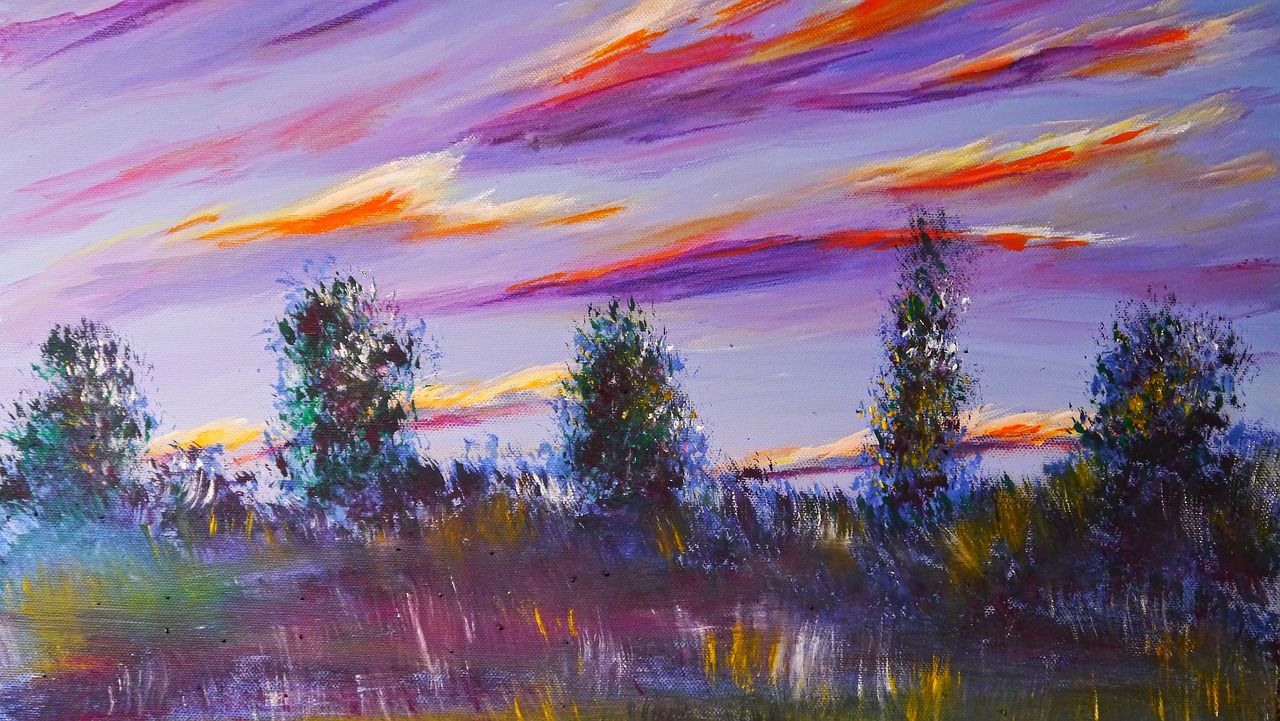
Painting Techniques for Nature Scenes
When it comes to painting nature scenes, the techniques you employ can make a significant difference in the overall impact of your artwork. Each method has its unique charm and can be utilized to express various elements of the landscape, from the softness of a sunset to the ruggedness of a mountain. Understanding and mastering these techniques will not only enhance your skills but also allow you to convey the beauty of nature in a more captivating way.
One of the most popular techniques among artists is the wet-on-wet method. This technique involves applying wet paint onto a wet surface, which allows for seamless blending and soft edges. Imagine painting a serene lake at dusk; using wet-on-wet will help you create gentle transitions between the colors of the sky and the water, evoking a sense of tranquility. To achieve this, start by wetting your canvas with a clean brush or spray bottle before applying your paint. Once the surface is prepared, you can layer colors directly onto it, watching them merge beautifully.
On the other hand, the dry brushing technique is excellent for adding texture and detail to your work. This method involves using a brush with very little paint, allowing for a scratchy, textured effect. Think of painting the rough bark of a tree or the delicate blades of grass swaying in the breeze. The dry brush technique can bring these elements to life, creating a tactile quality that draws the viewer in. To use this technique, simply dip your brush into the paint, then wipe off most of it on a paper towel before gently dragging it across the surface of your canvas.
Another technique worth exploring is glazing. This involves applying a thin, transparent layer of paint over an already dried layer. Glazing can add depth and richness to your colors, making them appear more vibrant and luminous. For instance, if you want to enhance the warmth of a sunset, a glaze of transparent orange or yellow can transform your painting, giving it that stunning glow. To create a glaze, mix your paint with a glazing medium to achieve a transparent consistency, then apply it over your dried layers, allowing the underlying colors to shine through.
As you experiment with these techniques, it's essential to keep in mind the overall composition of your nature scene. Each brushstroke should contribute to the narrative you wish to tell. Whether you’re capturing the stillness of a forest or the dynamic movement of ocean waves, your choice of technique can significantly influence the mood and feel of your painting.
To summarize, here’s a quick overview of the techniques discussed:
| Technique | Description | Best For |
|---|---|---|
| Wet-on-Wet | Blending colors smoothly on a wet surface. | Soft transitions in skies and water. |
| Dry Brushing | Creating texture with minimal paint on a dry brush. | Adding detail to grass, bark, and other textures. |
| Glazing | Applying a thin, transparent layer over dried paint. | Enhancing depth and vibrancy of colors. |
By mastering these painting techniques, you will not only improve your skills but also gain the ability to evoke emotions through your art. Remember, practice makes perfect, and the more you experiment, the more you'll discover your unique style. So grab your brushes, choose your colors, and let your creativity flow!
- What is the best paint type for beginners? Acrylic paints are often recommended for beginners due to their versatility, quick drying time, and ease of use.
- How do I choose the right canvas size? The canvas size depends on your comfort level and the detail you want to include; larger canvases allow for more detail but can be more challenging to manage.
- Can I use watercolor techniques for acrylic painting? Yes, many watercolor techniques can be adapted for acrylics, especially when it comes to blending and glazing.
- How do I clean my brushes after painting? Clean your brushes with soap and water immediately after use to prevent paint from drying and damaging the bristles.
Wet-on-Wet Technique
The is a fantastic approach for artists looking to create stunning, atmospheric effects in their nature scenes. Imagine a gentle breeze rustling through the trees or a soft mist hovering over a lake; this technique allows you to capture those ethereal moments beautifully. The essence of wet-on-wet lies in applying wet paint onto a wet surface, which enables colors to blend seamlessly, creating soft edges and gradients that mimic the fluidity of nature.
To get started with the wet-on-wet technique, you'll need to prepare your workspace and materials properly. Here’s a quick rundown of what you’ll need:
- Watercolor or acrylic paints: These mediums are ideal for this technique, as they allow for smooth blending.
- Brushes: Use soft, flat brushes for larger areas and round brushes for finer details.
- Water: Keep a container of clean water handy to keep your brushes moist and your paints workable.
- Canvas or watercolor paper: Choose a surface that can handle the amount of water you'll be using.
Once you have your materials ready, the next step is to wet your canvas or paper. This can be done with a clean brush dipped in water, or by spraying a fine mist over the surface. The key is to ensure that the surface is evenly damp, not soaking wet. Too much water can lead to puddling, while too little can make blending difficult.
With your surface prepared, it’s time to dive into the painting process. Start by loading your brush with paint, and then apply it directly onto the wet surface. You’ll notice how the colors spread and mix, creating beautiful gradients. This is where the magic happens! For instance, if you're painting a sunset, you might blend hues of orange, pink, and purple to create a glowing sky. Don't be afraid to experiment; the beauty of wet-on-wet is in its unpredictability.
As you work, keep in mind that the wet-on-wet technique is all about layering. You can build up colors gradually, allowing each layer to dry slightly before adding more. This method not only adds depth to your painting but also helps in achieving that soft, dreamy effect that is characteristic of many nature scenes.
However, it’s important to know when to stop. Overworking the wet paint can lead to a muddy appearance, so trust your instincts and step back periodically to assess your work. If you find that a particular area isn’t blending as you’d like, you can use a clean, damp brush to lift some paint away, allowing you to refine your composition.
In conclusion, the wet-on-wet technique is a powerful tool for any artist looking to enhance their nature paintings. With practice, you’ll find that this method not only helps you achieve stunning visual effects but also allows you to express your creative vision in a more fluid and organic way. So grab your brushes, let your imagination flow, and watch as your landscapes come to life!
Q: Can I use oil paints with the wet-on-wet technique?
A: While the wet-on-wet technique is commonly associated with watercolors and acrylics, it can also be adapted for oil paints. However, oil paints take longer to dry, so you may need to work in smaller sections.
Q: How do I clean my brushes after using the wet-on-wet technique?
A: It's crucial to clean your brushes immediately after use to prevent paint from drying in the bristles. Rinse them thoroughly in water and reshape the bristles before storing.
Q: What should I do if my colors become muddy?
A: If your colors start to look muddy, try lifting some paint with a clean, damp brush to lighten the area. You can also allow the layer to dry completely before adding new colors to avoid further mixing.
Dry Brushing Technique
Dry brushing is a fascinating painting technique that can breathe life into your nature scenes by adding texture and detail. Imagine standing in a sunlit forest, where the light dances on the leaves and the rough bark of trees tells a story of age and resilience. That’s the kind of realism you can achieve with dry brushing. This method involves using a brush with very little paint on it, allowing the bristles to lightly graze the canvas, which creates a soft, textured effect that mimics the natural world.
To master the dry brushing technique, it’s essential to choose the right brush. A stiff-bristled brush is ideal for this technique, as it can create more pronounced textures. You can opt for a flat brush or a round one, depending on the detail you want to achieve. Start by dipping the brush into your paint, then remove most of it by wiping it on a paper towel. This step is crucial; too much paint will defeat the purpose and create a muddy effect. The goal is to have just enough paint to highlight the surface without overwhelming it.
When applying the dry brushing technique, think about the elements in your scene. For instance, if you’re painting a grassy field, use a flicking motion with your brush to mimic the blades of grass. This technique can also be used to add highlights to tree bark, giving it a sense of depth and realism. Imagine how the light hits the rough surface of a tree; by dry brushing lighter shades over darker base colors, you can achieve that beautiful contrast that draws the eye.
Another fantastic aspect of dry brushing is its versatility. You can use it to create various textures, from the delicate softness of flower petals to the ruggedness of rocky terrains. However, it’s important to practice control. Too much pressure can lead to heavy strokes, which might not blend well with the rest of your painting. Instead, aim for a gentle touch, allowing the brush to do the work.
As you become more comfortable with dry brushing, consider incorporating it into your overall painting process. For example, you might start with a traditional wet technique to lay down your base colors and then follow up with dry brushing to add those finishing touches. This combination can give your artwork a professional look that showcases your skills and understanding of texture.
In summary, the dry brushing technique is a powerful tool in any artist's arsenal. With practice, you can transform your nature scenes into stunning visual experiences that resonate with viewers. Remember, the key is to keep your brush dry and your strokes light. So grab your brush, choose your colors wisely, and let your creativity flow!
- What type of paint is best for dry brushing? Acrylic paints are highly recommended for dry brushing due to their quick drying time and versatility. However, oil paints can also work if you're patient with drying times.
- Can I use this technique on all surfaces? Yes! Dry brushing can be applied to canvas, wood, and even paper. Just ensure the surface is prepared for painting.
- How do I clean my brushes after dry brushing? Clean your brushes immediately after use with water for acrylics or solvent for oils. This will prevent the paint from hardening in the bristles.
- Can I mix colors when dry brushing? Absolutely! Mixing colors can create beautiful effects. Just remember to keep your brush dry to maintain the texture.
Frequently Asked Questions
- What materials do I need to start painting a nature scene?
To get started, you'll need quality paints (like acrylics or oils), a variety of brushes, a canvas or watercolor paper, and a palette for mixing colors. Don't forget a cup of water for cleaning brushes and some paper towels for quick fixes!
- How do I choose the right colors for my painting?
Understanding color theory is key! Start by mixing primary colors to create secondary ones. Create a harmonious palette by selecting colors that complement each other. Use warm colors for a sunny feel and cool colors to evoke calmness.
- Can I use photographs as references for my painting?
Absolutely! Using photographs can help you capture details and lighting. Just remember to add your personal touch and creativity to make the scene your own.
- What techniques can I use to create depth in my painting?
Layering is a great technique for adding depth. Start with a background wash and build up layers of color. Shading and perspective can also help create a three-dimensional feel in your landscape.
- What is the wet-on-wet technique?
The wet-on-wet technique involves applying wet paint onto wet paint, allowing for smooth blending. This method is perfect for creating soft edges and atmospheric effects in your nature scenes.
- How do I sketch my composition before painting?
Start with a light pencil sketch to outline your main elements. Consider using the rule of thirds to place your focal points effectively. You can also use grid techniques to maintain proportions.
- What are some tips for adding details to my painting?
Details can really bring your painting to life! Focus on areas like tree bark, grass textures, and water reflections. Using a dry brushing technique can help you add realism and texture in these areas.


