
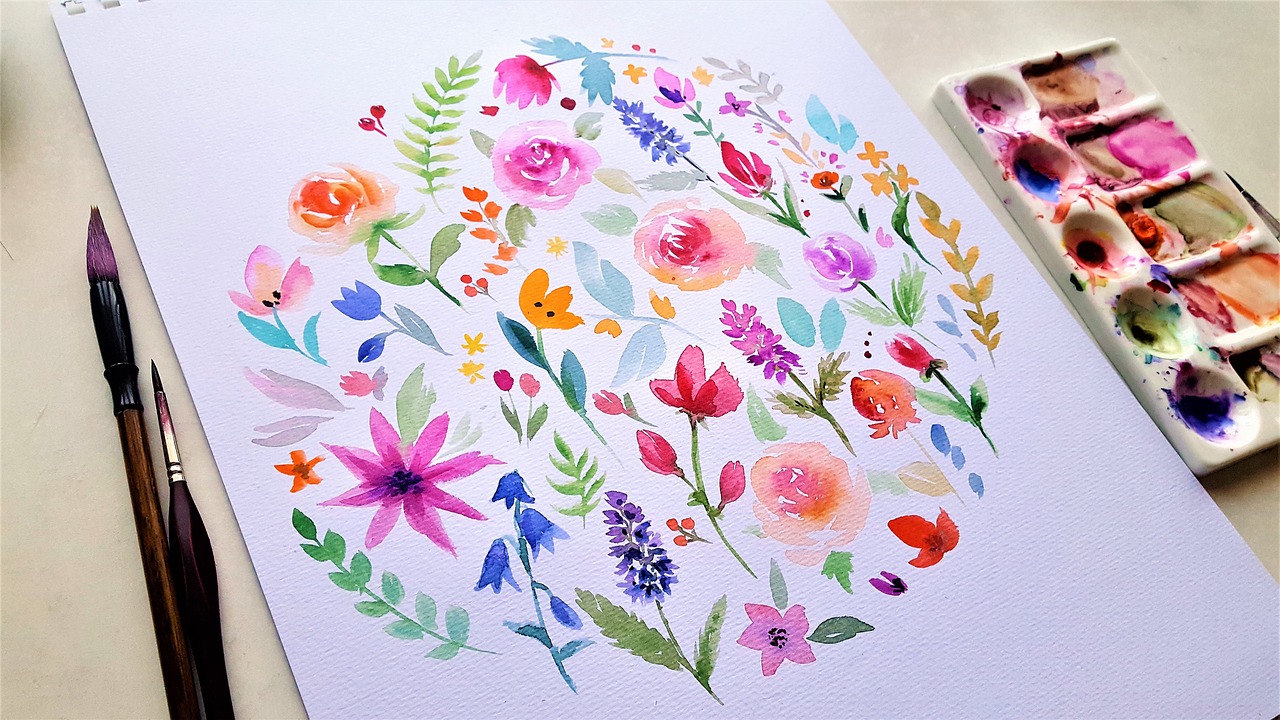
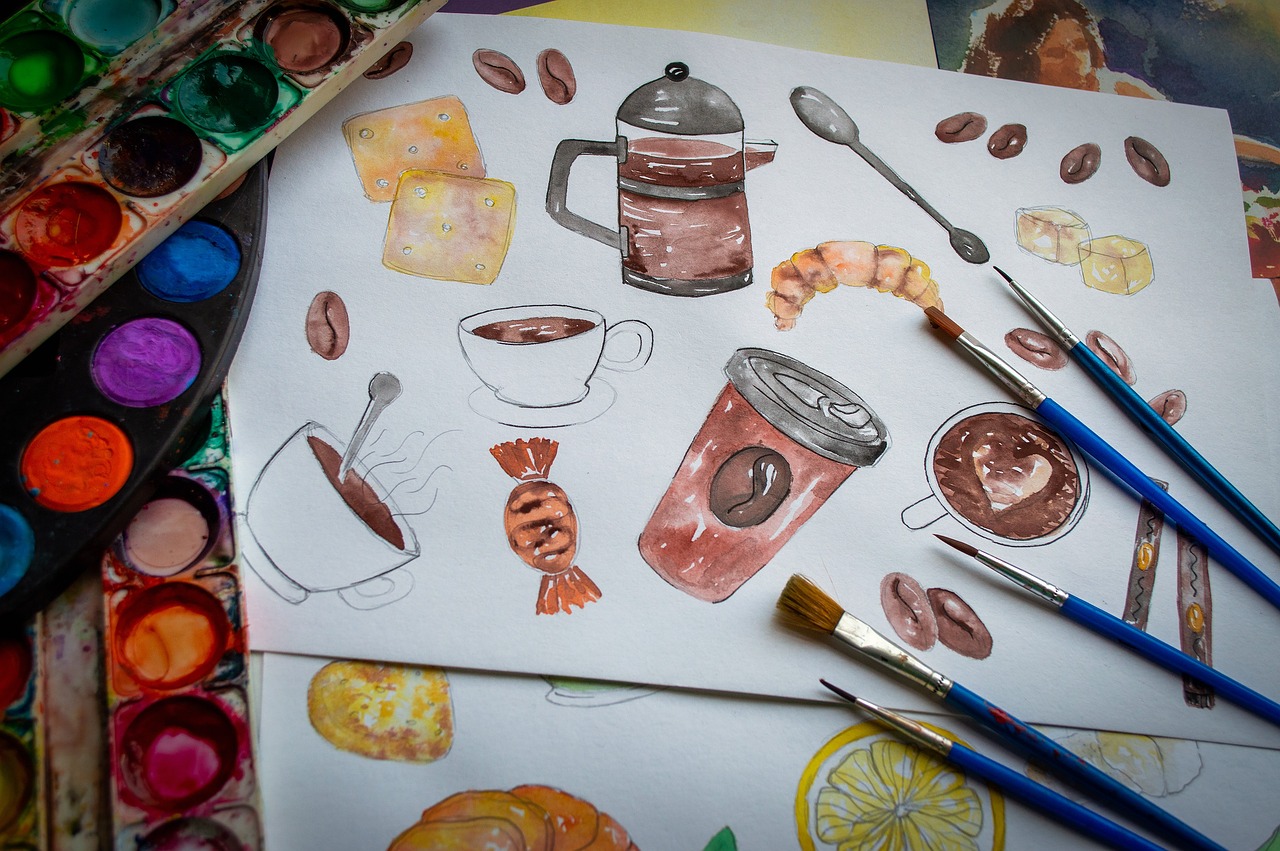
How to Paint with Watercolor: A Beginner's Guide
Welcome to the vibrant world of watercolor painting! If you've ever watched an artist skillfully blend colors on paper, you might have felt a spark of curiosity. How do they create those mesmerizing washes and delicate details? Well, you’re in luck! This guide is designed to provide you with essential tips and techniques that will empower you to explore watercolor painting like a pro, even if you’re just starting out. So, grab your brushes and let’s dive into this artistic adventure!
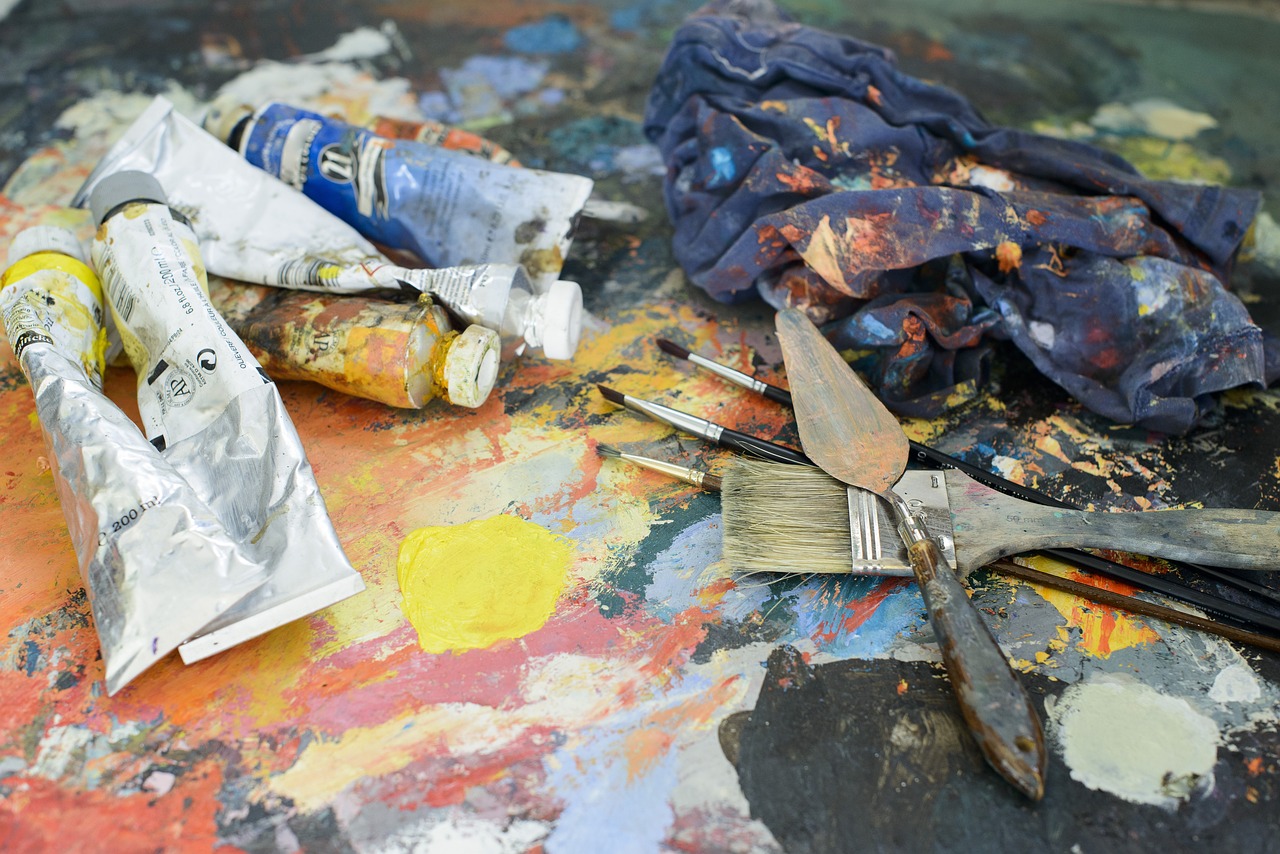
Before you dip your brush into the paint, it's crucial to understand what you're working with. Watercolor paints come in two primary forms: tubes and pans. Tubes are great for vibrant colors and allow you to squeeze out as much paint as you need. They are perfect for creating bold washes. On the other hand, pans are compact and portable, making them ideal for travel and quick sketches. Each type has its unique properties, influencing how you mix and apply colors on your canvas. Understanding these differences will help you choose the right paint for your artistic projects.
To embark on your watercolor journey, you'll need some essential tools. Think of these tools as your artistic companions, each playing a crucial role in your creative expression. Here’s a quick rundown of what you’ll need:
- Brushes: The magic wand of your painting process!
- Paper: The canvas for your masterpieces.
- Palette: Where colors come to life before hitting the paper.
Knowing the right tools will not only enhance your painting process but also improve your overall results. Let’s delve deeper into each of these essentials.
Brushes come in various shapes and sizes, each capable of producing different effects. Choosing the right brush is like picking the right instrument in a symphony—you want to ensure it complements your style. For instance, a round brush is fantastic for details and fine lines, while a flat brush is excellent for broad strokes and washes. Understanding your preferred techniques will guide you in selecting brushes that suit your artistic vision.
Here’s a brief overview of some common types of brushes you might consider:
| Brush Type | Best For |
|---|---|
| Round Brush | Details and fine lines |
| Flat Brush | Washes and broad strokes |
| Detail Brush | Fine details and intricate work |
Each brush serves a unique purpose, making it essential to understand their uses. Experimenting with different brushes will help you find your favorites!
Taking care of your brushes is vital for ensuring they last. After each painting session, rinse them thoroughly in clean water to remove any paint residue. Gently reshape the bristles and lay them flat to dry. This simple routine will keep your brushes in top condition, allowing them to perform beautifully for years to come.
Did you know that the type of paper you use can dramatically affect your painting? Watercolor paper comes in various weights and textures, each offering different absorbency and finish. For instance, cold-pressed paper has a textured surface that’s perfect for capturing detail, while hot-pressed paper is smoother, ideal for fine lines and washes. Choosing the right paper will enhance your creative expression and help you achieve the desired effects in your artwork.
Now that you’ve got your tools ready, let’s explore some fundamental watercolor techniques! Mastering these techniques will unlock a world of possibilities in your painting journey.
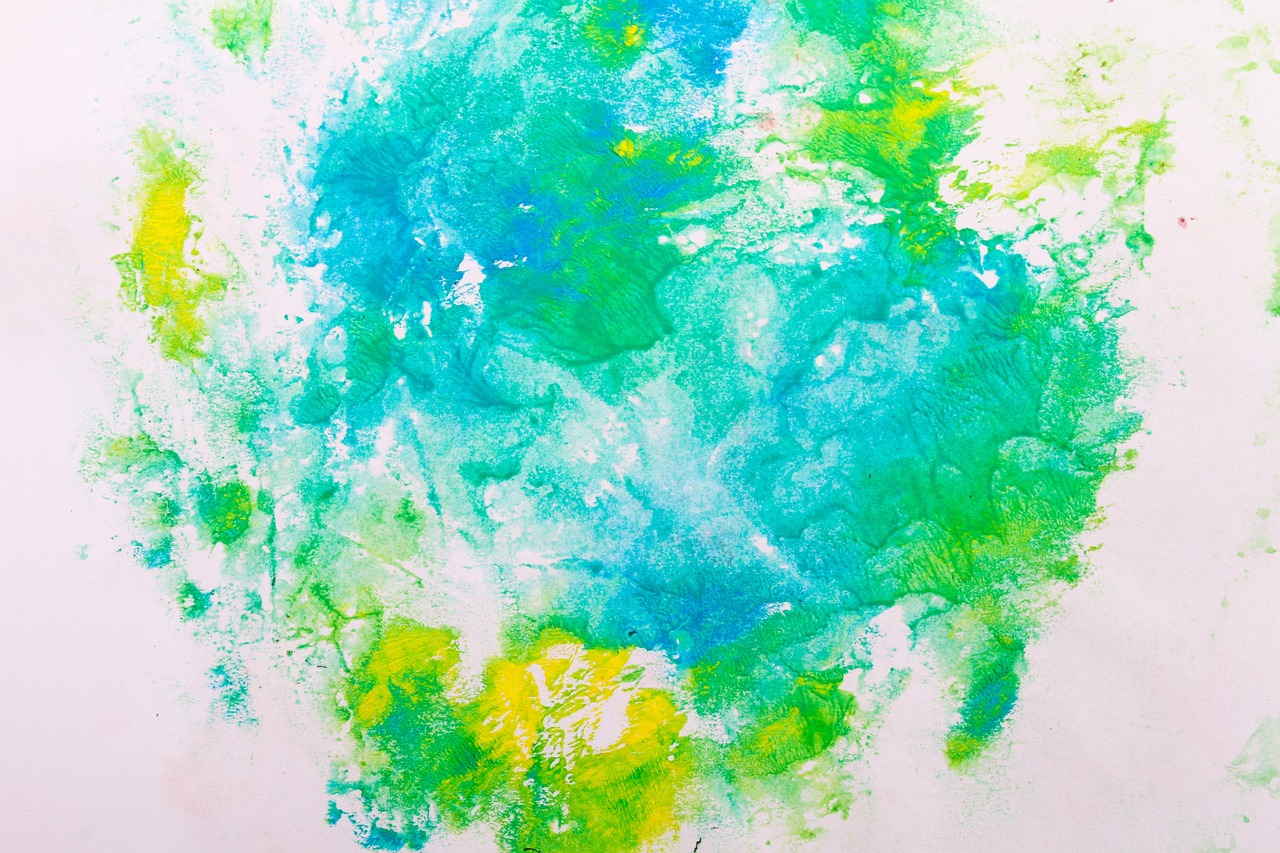
The wet-on-wet technique is a favorite among watercolorists. It involves applying wet paint onto wet paper, creating soft, blended effects that can mimic dreamy landscapes or serene skies. To effectively use this technique, start by wetting your paper with clean water using a brush or sponge. Then, apply your paint and watch as the colors dance and merge, creating fascinating textures. It’s like watching a watercolor magic show unfold right before your eyes!
Another powerful technique is glazing, which involves layering transparent washes of color to build depth and richness. Think of it like adding layers to a cake—the more layers you add, the more complex and delicious it becomes! To apply glazing, allow each layer to dry completely before adding another. This method not only enhances luminosity but also adds a beautiful complexity to your watercolor artworks.
Q: Do I need expensive materials to start watercolor painting?
A: Not at all! While quality materials can enhance your experience, you can start with affordable options and upgrade as you progress.
Q: How long does it take to learn watercolor painting?
A: Learning watercolor painting is a journey. With practice, you’ll see improvement in your skills over time. Enjoy the process!
Q: Can I mix different brands of watercolor paints?
A: Yes, you can mix different brands, but be aware that some may have different properties. Always test them together before committing to a piece.
Understanding Watercolor Paints
When diving into the vibrant world of watercolor painting, one of the first things you’ll encounter is the variety of watercolor paints available. It can be a bit overwhelming, but understanding the differences between them will set you on the right path to creating stunning artwork. Generally, watercolor paints come in two main forms: tubes and pans. Each has its unique characteristics and applications, so let’s break it down.
Tubes are like the wild child of watercolor paints. They offer a rich, concentrated pigment that allows for intense color mixing. If you’re looking to create bold, vibrant pieces, tubes might be your best friend. They’re also fantastic for larger works since you can squeeze out as much paint as you need without worrying about running out. However, they do require a bit of setup, as you’ll need a palette for mixing your colors.
On the other hand, pans are compact and convenient. These little squares of dried paint are perfect for artists on the go. They’re easy to transport and can be used directly with a wet brush. When you wet the pan, the paint reactivates, allowing for quick and easy application. However, pans may not deliver the same level of vibrancy as tubes, especially if you're aiming for a more saturated look. But don’t let that fool you; they can still produce beautiful results!
Another aspect to consider is the quality of the paint. Watercolors are typically categorized into two grades: student grade and artist grade. Student-grade paints are more affordable and offer decent color payoff, making them great for beginners. However, they often contain fillers that can affect the paint's transparency and vibrancy. Artist-grade paints, while pricier, are made with higher quality pigments and provide a richer, more vibrant color, which can make a significant difference in your final artwork.
In addition to the type and quality, it’s essential to consider the transparency of the paint. Watercolors are known for their ability to create layers and depth through transparency. Some colors are more transparent than others, which can affect how they blend and interact on the paper. For instance, if you want to achieve a luminous effect, look for paints labeled as transparent or semi-transparent. On the contrary, if you’re aiming for strong coverage, opaque colors might be your go-to.
In summary, understanding the different types of watercolor paints—tubes versus pans, student versus artist grade, and transparency—will help you make informed choices as you embark on your artistic journey. Remember, the paint you choose can significantly influence your painting experience and the final outcome of your work. So, take the time to explore these options and find what resonates best with your style and needs!
- What is the best type of watercolor paint for beginners?
Student-grade pans are often recommended as they are affordable and easy to use. - Can I mix tube and pan watercolors?
Yes, mixing them is perfectly fine, but be aware of the differences in consistency and pigment strength. - How do I choose the right colors for my palette?
Start with primary colors (red, blue, yellow) and add secondary colors as you gain confidence.
Essential Tools for Watercolor Painting
When diving into the vibrant world of watercolor painting, having the right tools can make all the difference between a frustrating experience and a joyful, creative journey. Think of your tools as the instruments of a musician; each one plays a vital role in producing a symphony of colors on your canvas. So, what do you need to get started?
First and foremost, you'll need watercolor paints. These come in two primary forms: tubes and pans. Tubes are like the wild, free-spirited artists of the paint world, allowing for easy mixing and bold applications. On the other hand, pans are neat and tidy, perfect for travel and quick sketches. Both have their charm, and your choice may depend on your style and how you plan to paint.
Next up is watercolor paper. Now, this is crucial! Not all paper is created equal when it comes to watercolors. You’ll want to choose paper specifically designed for watercolor painting, which is often thicker and has a texture that can hold water without warping. The texture can range from rough to cold-pressed (also known as NOT) and hot-pressed (or smooth). Each texture can yield different effects, so experimenting with various types will help you find what resonates with your artistic vision.
Then, of course, there are brushes. These beauties come in various shapes and sizes, each designed for different techniques. For instance, a round brush is fantastic for detail work and can create both fine lines and broad strokes, while a flat brush is perfect for washes and bold strokes. It's essential to have a good mix of brushes to give you the versatility you need in your watercolor toolkit.
To keep your painting area organized, a palette is essential. This is where you'll mix your colors, and a good palette can be the difference between a muddy mess and a masterpiece. Look for one with wells or compartments that can hold multiple colors, and make sure it’s easy to clean. You might also consider a water container for rinsing your brushes, as well as some paper towels for quick clean-ups and blotting.
Lastly, don’t forget about masking fluid. This handy tool allows you to preserve the white of the paper by applying it to areas you want to keep untouched by paint. It’s like putting on a raincoat before stepping out in a storm—essential for protecting your masterpiece from unwanted splashes of color!
To summarize, here’s a quick table of the essential tools you’ll need for watercolor painting:
| Tool | Purpose |
|---|---|
| Watercolor Paints | Color application; available in tubes and pans. |
| Watercolor Paper | Surface for painting; comes in various textures. |
| Brushes | Different shapes for various techniques. |
| Palette | Mixing colors before application. |
| Water Container | For rinsing brushes. |
| Masking Fluid | Preserves white areas on paper. |
With these essential tools at your disposal, you're well on your way to creating stunning watercolor artworks. Remember, each tool serves its purpose, and as you become more comfortable, you'll find your unique style and preferences. So, gather your supplies, unleash your creativity, and let the colors flow!
Q: Do I need expensive materials to start watercolor painting?
A: Not at all! While high-quality materials can enhance your experience, there are plenty of affordable options that work well for beginners.
Q: Can I use regular paper for watercolor painting?
A: It's best to use watercolor paper, as regular paper may warp or tear when wet.
Q: How do I clean my brushes?
A: Rinse them thoroughly in water after each use and reshape the bristles before storing them.
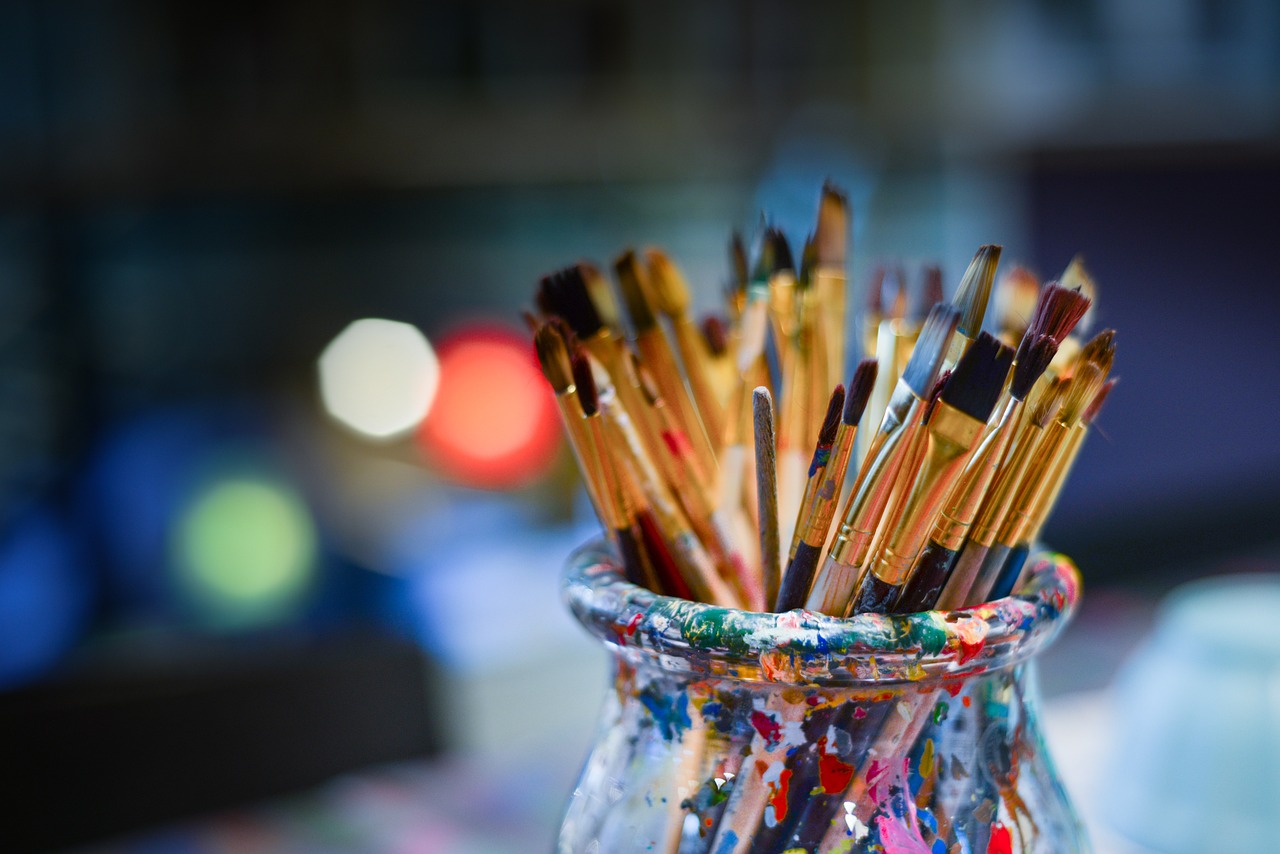
Choosing the Right Brushes
When it comes to watercolor painting, selecting the right brushes is akin to a chef choosing the perfect knife; the right tool can make all the difference in the outcome of your artwork. Brushes come in a variety of shapes and sizes, each designed to create different effects on paper. Understanding these differences is crucial for any beginner looking to enhance their watercolor skills. You might wonder, "How do I know which brush to use?" Well, let’s dive into the essentials!
First off, consider the brush shape. Different shapes serve distinct purposes. For instance, round brushes are fantastic for detailed work and can create both fine lines and broader strokes depending on the pressure applied. On the other hand, flat brushes are ideal for washes and bold strokes, allowing you to cover larger areas quickly. If you're aiming for intricate details, a detail brush will be your best friend. It’s like having a fine-tipped pen at your disposal, perfect for adding those last-minute touches that can really elevate your piece.
Now, let’s talk about brush sizes. Brushes come in various sizes, usually indicated by a number. A size 0 brush is tiny and perfect for delicate details, while a size 12 brush is larger, suitable for washes and broader strokes. It’s a good idea to have a range of sizes in your arsenal, enabling you to tackle any project that comes your way. Think of it as having a toolbox; each brush serves a specific purpose, and having the right one on hand can make your creative process smoother.
Another important aspect is the bristle type. Brushes can be made from natural hair (like sable or squirrel) or synthetic fibers. Natural hair brushes often hold more water and pigment, providing a luxurious feel on the paper, while synthetic brushes are typically more durable and easier to clean. For beginners, synthetic brushes can be a cost-effective option, allowing you to experiment without breaking the bank. However, as you grow in your watercolor journey, investing in a few high-quality natural hair brushes can enhance your experience significantly.
Lastly, don’t forget about brush maintenance. Proper care of your brushes will ensure they last longer and perform better. Always rinse your brushes thoroughly after use, reshape the bristles, and store them upright to avoid damage. Just like a well-loved book, your brushes need a little TLC to keep them in prime condition for your next masterpiece.
In summary, choosing the right brushes involves understanding their shapes, sizes, and materials. By selecting a variety of brushes that suit your style and needs, you’ll open up a world of possibilities in your watercolor painting journey. So, grab those brushes and let your creativity flow!
- What is the best brush for beginners? A round synthetic brush in a medium size (like a size 6 or 8) is a great choice for beginners as it offers versatility.
- How many brushes do I need to start? A basic set of 3-5 brushes, including a round, flat, and detail brush, should be sufficient to get you started.
- Can I use acrylic brushes for watercolor painting? While you can use them, watercolor brushes are specifically designed to hold water and pigment better, enhancing your painting experience.
Types of Brushes
When it comes to watercolor painting, the choice of brush can make a world of difference in your artwork. Each type of brush serves a unique purpose, allowing you to explore various techniques and effects. Whether you're creating delicate details or broad washes, understanding the different types of brushes is essential for any aspiring artist. Let's dive into the main types of brushes you'll encounter in the watercolor world:
- Round Brushes: These brushes are incredibly versatile and come in various sizes. The pointed tip allows for fine details, while the belly of the brush can hold a good amount of water and pigment, making it great for both washes and intricate work. Think of them as the Swiss army knife of watercolor brushes!
- Flat Brushes: Flat brushes have a rectangular shape, which is perfect for making bold strokes and broad washes. They are fantastic for creating sharp edges and can also be used to blend colors. If you want to cover large areas quickly, flat brushes are your go-to.
- Detail Brushes: As the name suggests, detail brushes are designed for fine work. They have a very small tip, making them ideal for intricate designs and tiny elements in your painting. If you love adding those little touches that bring your artwork to life, a detail brush is a must-have.
- Fan Brushes: These brushes have bristles arranged in a fan shape, which is great for creating texture and unique effects. They can be used to depict foliage, fur, and other natural elements, adding a touch of realism to your work.
- Wash Brushes: These are larger brushes designed specifically for applying washes of color over large areas. They hold a lot of water and pigment, allowing you to create smooth, even layers of color. Perfect for skies and backgrounds!
When selecting brushes, consider the sizes and shapes that will best suit your style. A well-rounded brush collection can empower you to express your creativity without limits. It's like having a toolbox filled with the right tools for any job; each brush will help you achieve different effects and styles in your watercolor paintings.
Don’t forget that the quality of brushes can vary widely. Investing in a few high-quality brushes will pay off in the long run, as they will perform better and last longer. Remember to experiment with different brushes to find what feels right for you. Each brush has its personality, and finding the right one can be like discovering a new friend in your artistic journey!
Care and Maintenance
Taking care of your watercolor brushes is essential for ensuring their longevity and performance. Just like a musician tunes their instrument, you must maintain your brushes to keep them in top shape. After all, a well-cared-for brush can make the difference between a masterpiece and a muddled mess. Here are some key practices to keep in mind:
First and foremost, **always rinse your brushes immediately after use**. Watercolor paint can dry quickly, and once it sets, it becomes significantly more challenging to remove. Use lukewarm water and gently swirl the brush to dislodge any paint. Avoid using hot water, as it can damage the bristles. Think of it like washing your hair; you wouldn't use boiling water on your scalp!
Once you've rinsed your brushes, it's essential to reshape the bristles. **Gently squeeze the brush with your fingers** to remove excess water and then reshape the tip. This step is crucial because it helps maintain the brush's original form, allowing for precise strokes and details in your artwork. If you neglect this step, your brushes may end up frayed and less effective, much like a worn-out pencil.
For brushes that have been used with more stubborn paints or mediums, consider giving them a deeper clean. You can use a mild soap or a specialized brush cleaner. Just be sure to rinse thoroughly afterward. It's similar to giving your brushes a spa day—treat them well, and they'll reward you with beautiful strokes on your canvas!
**Storage is equally important.** When storing your brushes, always keep them upright with the bristles facing up or lying flat. Avoid storing them with the bristles down, as this can lead to bending or damage. A brush holder or a simple container can work wonders here. Think of it as putting your brushes to bed; they need a comfortable and safe space to rest.
Lastly, inspect your brushes regularly. If you notice any significant wear and tear or if the bristles are starting to fall out, it might be time to replace them. Just like you wouldn't wear shoes with holes in them, you shouldn't work with damaged brushes. Investing in quality brushes and taking care of them will enhance your watercolor experience and help you create stunning pieces of art.
- How often should I clean my watercolor brushes? It's best to clean them after every use to prevent paint from drying and damaging the bristles.
- Can I use regular soap to clean my brushes? Yes, a mild soap can be used, but specialized brush cleaners are recommended for best results.
- How do I know when to replace my brushes? If you notice frayed bristles or loss of shape, it's time to consider a replacement.
Selecting Paper for Watercolor
When it comes to watercolor painting, the choice of paper is just as crucial as the paint itself. Using the right paper can mean the difference between a stunning masterpiece and a frustrating experience. Watercolor paper is specifically designed to handle the unique properties of water-based paints, and it comes in various types, weights, and textures. Understanding these differences will help you select the ideal paper for your projects, allowing your creativity to flourish.
Watercolor paper typically falls into three main categories: cold-pressed, hot-pressed, and rough. Cold-pressed paper, also known as NOT (not hot-pressed), features a textured surface that allows for excellent water absorption and blending, making it a favorite among many artists. On the other hand, hot-pressed paper has a smooth surface, which is perfect for detailed work and fine lines. Lastly, rough paper has a pronounced texture that creates interesting effects, ideal for more expressive and spontaneous painting styles.
Another factor to consider is the weight of the paper, which is measured in grams per square meter (gsm). The weight affects how much water the paper can handle without warping. For instance, a heavier paper (typically 300 gsm) can absorb more water and is less likely to buckle, making it suitable for techniques that involve a lot of water. In contrast, lighter papers (200 gsm or lower) may require stretching or taping down to prevent warping during the painting process.
Here’s a quick comparison table to help you understand the different types of watercolor paper:
| Type | Texture | Best For |
|---|---|---|
| Cold-Pressed (NOT) | Textured | General use, washes, blending |
| Hot-Pressed | Smooth | Fine detail, ink work |
| Rough | Very textured | Expressive techniques, texture |
In addition to texture and weight, consider the size of the paper. Watercolor paper comes in various sizes, from small pads perfect for sketching to large sheets suitable for grand compositions. If you're just starting out, you might want to stick with smaller sizes until you feel more comfortable with your techniques.
Ultimately, the best way to find your perfect watercolor paper is to experiment. Try out different types and weights to see which one resonates with your style. Remember, the right paper can inspire your creativity and elevate your artwork to new heights. So don’t be afraid to explore and have fun with it!
- What is the best weight for watercolor paper? Generally, 300 gsm is ideal for heavy washes, while 200 gsm can work for lighter applications.
- Can I use regular paper for watercolor painting? Regular paper is not recommended as it can warp and tear easily when wet.
- How do I stretch watercolor paper? You can stretch paper by soaking it in water and then taping it to a board to dry flat.
Basic Watercolor Techniques
When diving into the world of watercolor painting, mastering a few basic techniques can significantly elevate your artwork. These techniques are like the building blocks of watercolor, allowing you to explore a range of styles and effects. In this section, we’ll delve into some essential methods that every beginner should know. Think of these techniques as your toolkit – each one serves a unique purpose and can help you express your creativity in different ways.
One of the most popular techniques is the wet-on-wet method. This involves applying wet paint onto wet paper, which creates soft, diffused edges and beautiful blends of color. Imagine the way clouds merge in the sky; that’s the kind of dreamy effect you can achieve with this technique. To use wet-on-wet effectively, start by wetting your paper with clean water using a brush or a spray bottle. Then, as you apply your paint, watch how it flows and mingles, creating stunning backgrounds or ethereal landscapes.
Another essential technique is wet-on-dry, where you apply wet paint onto dry paper. This method results in sharper edges and more defined shapes, perfect for adding details to your painting. It’s like drawing with a brush – you have more control over where the color goes. If you’re looking to create intricate designs or bold strokes, wet-on-dry is your go-to technique. You can layer colors to build up depth, making your artwork pop with vibrancy.
Don’t forget about the glazing technique, which is all about layering transparent washes of color. This method allows you to build depth and richness in your paintings without losing the underlying layers. Think of it as adding filters to a photograph – each layer enhances the overall image, creating luminosity and complexity. To apply glazing, wait for each layer to dry before adding the next. This patience pays off as you see your painting transform into a multi-dimensional masterpiece.
In addition to these techniques, there are a few more tricks up your sleeve that can help you achieve stunning effects:
- Dry Brush Technique: Using a dry brush with minimal paint creates texture and can add interesting details to your work.
- Salt Technique: Sprinkling salt onto wet paint creates unique textures as the salt absorbs the pigment, leaving behind beautiful patterns.
- Masking Fluid: This is a liquid that you can apply to areas of your paper to protect them from paint. Once dry, you can paint over it and then remove it to reveal the untouched paper.
Each of these techniques opens up a world of possibilities for your watercolor paintings. They encourage experimentation, so don’t be afraid to play around and see what happens! Combining techniques can lead to unexpected results, sparking your creativity in ways you might not have imagined. Remember, the beauty of watercolor lies in its fluidity and unpredictability – embrace it!
Q: How do I choose the right technique for my painting?
A: It really depends on the effect you want to achieve. If you're looking for soft blends, try wet-on-wet. For sharper lines, go for wet-on-dry. Experimentation is key!
Q: Can I mix techniques in one painting?
A: Absolutely! Many artists combine techniques to create unique effects. Just make sure to let layers dry where necessary, especially when using glazing.
Q: What if I make a mistake?
A: Mistakes are part of the process! Watercolor is forgiving in many ways. You can lift paint with a damp brush or tissue, or turn a mistake into an interesting element of your artwork.

Wet-on-Wet Technique
The is one of the most magical approaches in watercolor painting, allowing artists to create stunning, ethereal effects that can transform a simple scene into something truly captivating. Imagine painting a landscape where the sky seamlessly blends into the horizon, or where clouds appear soft and fluffy, almost like cotton candy. This technique is all about layering wet paint onto wet paper, resulting in a fluidity that can be both unpredictable and exhilarating.
To get started with the wet-on-wet technique, you'll want to prepare your workspace. Make sure you have your watercolor paints, brushes, and a good quality watercolor paper ready. The paper should be dampened with clean water before you start painting. This can be done using a large brush or a spray bottle. The key here is to ensure that the paper is evenly wet, as this will allow the paint to flow smoothly across the surface.
Once your paper is prepped, you can begin applying your colors. Start with a light wash of color; think of it as laying the foundation for your masterpiece. As you apply the paint, observe how it spreads and mingles with the water. This is where the magic happens! You might find that colors blend beautifully, creating soft gradients that are perfect for backgrounds or atmospheric effects. It's important to remember that with wet-on-wet, you have to work quickly before the water dries. If you wait too long, the paint won't move as freely, and you might lose that dreamy effect.
Here are a few tips to make the most of the wet-on-wet technique:
- Use vibrant colors: The wet surface allows colors to mix and create new shades, so don't be afraid to experiment with bold hues.
- Control the water: The amount of water on your brush and paper will greatly affect the outcome. More water means more blending, while less water allows for sharper edges.
- Layer wisely: You can build up layers of color, but be mindful of drying times. If you add too many layers too quickly, you may muddy your colors.
One of the best aspects of the wet-on-wet technique is its versatility. You can use it to create a variety of effects, from soft washes that evoke a sense of calm to more dynamic pieces where colors clash and dance together. The unpredictability of the technique can be daunting at first, but it also opens up a world of creative possibilities. Think of it like dancing; sometimes you lead, and sometimes you follow the rhythm of the music. In this case, the water and paint will guide you.
As you practice, don't be afraid to make mistakes. Each stroke is a learning opportunity. You might find that some of your best work comes from those unexpected moments when the paint takes on a life of its own. So, grab your brushes, embrace the chaos, and let the wet-on-wet technique take you on a colorful journey!
Q: What type of paper is best for the wet-on-wet technique?
A: It's best to use 300 gsm (grams per square meter) watercolor paper, as it can hold more water without warping.
Q: Can I use this technique for detailed work?
A: While wet-on-wet is great for backgrounds and soft effects, it can be challenging for detailed work. However, you can combine it with other techniques for more controlled results.
Q: How do I fix mistakes made with the wet-on-wet technique?
A: If you make a mistake, you can gently blot the area with a clean, dry paper towel to lift some of the paint. Alternatively, you can let it dry and paint over it once it's dry.
Glazing Technique
The in watercolor painting is like adding layers of transparent color to create depth, richness, and luminosity in your artwork. Imagine building a beautiful stained glass window; each layer of color enhances the light and depth of the scene. This method allows you to manipulate your painting in a way that can transform a simple piece into something truly mesmerizing. By applying thin washes of color over dried layers, you can achieve a variety of effects that are simply unattainable with opaque paints.
To start glazing, you need to understand a few key principles. First, it's essential to allow each layer of paint to dry completely before applying the next. This drying time is crucial because it prevents the colors from muddying together, which can easily happen if you rush the process. The beauty of glazing lies in the transparency of the washes, allowing the colors underneath to shine through while adding new tones on top.
When selecting your colors for glazing, it's best to choose transparent watercolors. Not all watercolor paints are created equal; some are more opaque than others. You can easily check the transparency of your paints by looking at the label or testing them on a scrap piece of paper. A good rule of thumb is to use colors that are marked as transparent or semi-transparent for your glazing layers. This will help maintain the vibrancy of your painting.
Here’s a simple step-by-step guide to help you master the glazing technique:
- Start with a base layer: Begin your painting with an initial wash of color. This layer will serve as the foundation for your subsequent glazes.
- Let it dry: Patience is key! Allow your base layer to dry completely before moving on to glazing.
- Mix your glaze: Take a small amount of your chosen transparent color and mix it with water to create a wash. The goal is to have a fluid consistency that allows for smooth application.
- Apply the glaze: Use a clean brush to apply the glaze over your dried base layer. Be gentle and use broad strokes to avoid disturbing the underlying paint.
- Repeat: You can repeat this process with different colors, building up layers until you achieve the desired depth and richness in your painting.
One of the most exciting aspects of glazing is that it can completely change the mood of your artwork. For example, a warm glaze can add a sense of warmth and light, while a cooler glaze can evoke a feeling of tranquility or shadow. Experimenting with different colors and layering techniques can lead to unexpected and delightful results.
In summary, glazing is a fundamental technique that opens up a world of possibilities in watercolor painting. With practice and patience, you can create stunning works of art that captivate and inspire. Don’t hesitate to dive in and start layering your colors—you might be surprised at what you can achieve!
- What is the difference between glazing and layering? Glazing involves applying transparent washes over dry layers, while layering generally refers to adding more opaque colors on top of each other.
- Can I glaze with any type of watercolor paint? It’s best to use transparent or semi-transparent watercolors for effective glazing.
- How do I know when my layer is dry enough to glaze? A good test is to gently touch the surface with a clean finger; if it feels cool or tacky, it’s not ready yet.
Frequently Asked Questions
- What type of watercolor paints should I start with?
As a beginner, it's best to start with student-grade watercolor paints, which are more affordable and provide a good quality for practice. You can choose between tubes and pans; tubes are great for vibrant color mixes, while pans are convenient for travel and quick sketches.
- Do I need special brushes for watercolor painting?
Yes, using the right brushes can significantly impact your painting. Look for watercolor brushes made from soft materials, like sable or synthetic fibers. Round brushes are versatile for detail and washes, while flat brushes are excellent for broad strokes and washes.
- What kind of paper is best for watercolor?
Watercolor paper comes in various weights and textures. For beginners, 200 lb (or 425 gsm) cold-pressed paper is a great choice, as it can handle lots of water without warping. Experiment with different textures to find what suits your style best!
- Can I use regular paintbrushes for watercolor?
While you can use regular brushes, they may not deliver the same results as watercolor-specific brushes. Watercolor brushes are designed to hold water and pigment better, providing smoother application and blending.
- What basic techniques should I learn first?
Start with fundamental techniques like wet-on-wet and wet-on-dry. Wet-on-wet is perfect for creating soft blends, while wet-on-dry allows for more defined edges. These techniques will give you a solid foundation to build upon.
- How do I clean and maintain my watercolor brushes?
To clean your brushes, rinse them in clean water immediately after use. Gently reshape the bristles and let them dry flat or hanging. Avoid soaking them in water, as this can damage the glue holding the bristles.
- What is glazing in watercolor painting?
Glazing is a technique where you apply thin, transparent layers of paint over dried layers. This method adds depth and richness to your artwork, allowing you to create beautiful, luminous effects.
- Can I mix different brands of watercolor paints?
Yes, you can mix different brands! Just be mindful of the quality and transparency of the paints, as they can behave differently. Mixing brands can lead to unique color outcomes, so don’t hesitate to experiment!
- How can I stay inspired while practicing watercolor?
Inspiration can come from anywhere! Try painting from photographs, nature, or even your imagination. Joining online art communities or following watercolor artists on social media can also spark new ideas and techniques.


