Techniques to Paint Stunning Cloud Formations
Painting cloud formations can be one of the most exhilarating yet challenging aspects of landscape art. The beauty of clouds lies not only in their shapes but also in their ever-changing colors and textures. Whether you're an aspiring artist or a seasoned painter looking to refine your skills, mastering cloud painting techniques can elevate your artwork to new heights. This article explores various methods and tips that will help you create breathtaking skies, leaving your viewers in awe of your artistic prowess. So grab your brushes, and let’s dive into the world of stunning cloud formations!
To effectively paint clouds, it's crucial to understand the different types and their characteristics. Clouds come in various shapes and sizes, each presenting unique challenges and opportunities for artists. For instance, cumulus clouds are fluffy and white, often resembling cotton balls, while stratus clouds are flat and gray, creating a more somber mood. By recognizing these differences, artists can capture the essence of each cloud type, resulting in more realistic and dynamic cloud formations on canvas. Imagine painting a serene sunset with wispy cirrus clouds contrasted against a vibrant sky; the interplay of shapes and colors can evoke powerful emotions in your audience.
Color plays a vital role in effectively depicting clouds. The hues you choose can dramatically influence the atmosphere of your painting. For instance, warm colors like oranges and pinks are ideal for capturing the essence of a sunset, while cool blues and grays can convey a stormy or overcast sky. When mixing colors, consider the time of day and the prevailing atmospheric conditions. Experimentation is key here; don’t hesitate to blend shades to find that perfect representation of the sky. Understanding how light interacts with clouds will help you create stunning effects that draw the viewer in.
Exploring the contrast between warm and cool tones can dramatically affect the mood of your painting. Warm tones can evoke feelings of warmth and comfort, while cool tones often create a sense of calm or tension. For example, a painting of a bright, sunny day might primarily use warm yellows and whites, while a depiction of a stormy evening could rely on deep blues and grays. Using these tones wisely can add depth and dimension to your cloud formations, making them pop off the canvas. Consider using a color wheel to help you understand how different colors interact with each other, enhancing the overall harmony of your artwork.
Atmospheric perspective is a technique that helps achieve realism by simulating how colors change with distance. As objects recede into the background, they tend to lose contrast and saturation. When painting clouds, this means that clouds in the distance should be lighter and less saturated than those in the foreground. To implement this concept effectively, start with a base layer of lighter colors for distant clouds and gradually build up darker shades for those closer to the viewer. This technique not only adds depth but also creates a sense of space, making your sky feel expansive and inviting.
Before diving into color, consider creating value studies in grayscale. This approach helps artists understand light and shadow in cloud formations without the distraction of color. By sketching out your clouds in shades of gray, you can focus on the contrast between light and dark, which is essential for creating realistic clouds. Once you are satisfied with your value sketch, you can then apply color, knowing that the foundation of your painting is solid. This method can be particularly helpful when tackling complex cloud structures, allowing you to break down the forms before adding the final touches.
The right brush techniques can add texture and movement to clouds, making them feel alive. For example, using a fan brush can create soft, feathery edges that mimic the delicate shapes of cirrus clouds. On the other hand, a palette knife can be used to create more dramatic textures, perfect for stormy skies. Experimenting with different brushes and strokes will help you find the techniques that best suit your style. Remember, the goal is to convey the feeling of the clouds, whether they are fluffy and light or dark and ominous.
Layering is essential for creating depth in cloud formations. By building up layers of paint, you can achieve a three-dimensional look that brings your clouds to life. Start with a base layer of color, then gradually add more layers, allowing each to dry before applying the next. This technique not only adds depth but also allows for the incorporation of highlights and shadows, enhancing the overall realism of your clouds. Don’t be afraid to experiment with transparency and opacity to create the desired effect.
Glazing techniques can add luminosity and transparency to clouds, making them appear ethereal. By applying thin layers of transparent paint over dried layers, you can create a sense of depth and light that is hard to achieve with opaque paint alone. This technique is particularly effective for capturing the soft glow of sunlight filtering through clouds. To master glazing, be patient and build up layers gradually, allowing each to dry completely before adding the next.
Dry brushing can be used to create soft edges and subtle transitions in cloud formations. This technique involves using a dry brush with minimal paint to gently blend colors together, resulting in soft, airy effects. It’s perfect for creating the illusion of light clouds drifting across the sky. Practice this technique to master the art of creating delicate cloud edges that enhance the overall composition of your painting.
- What type of paint is best for cloud painting? Acrylics and oils are both great options, but acrylics dry faster, allowing for quicker layering.
- How can I practice painting clouds? Start by doing quick sketches or value studies, then gradually move to larger canvases as you gain confidence.
- Is it necessary to use a reference photo? While not mandatory, reference photos can help you understand the shapes and colors of clouds better.
Understanding Cloud Types
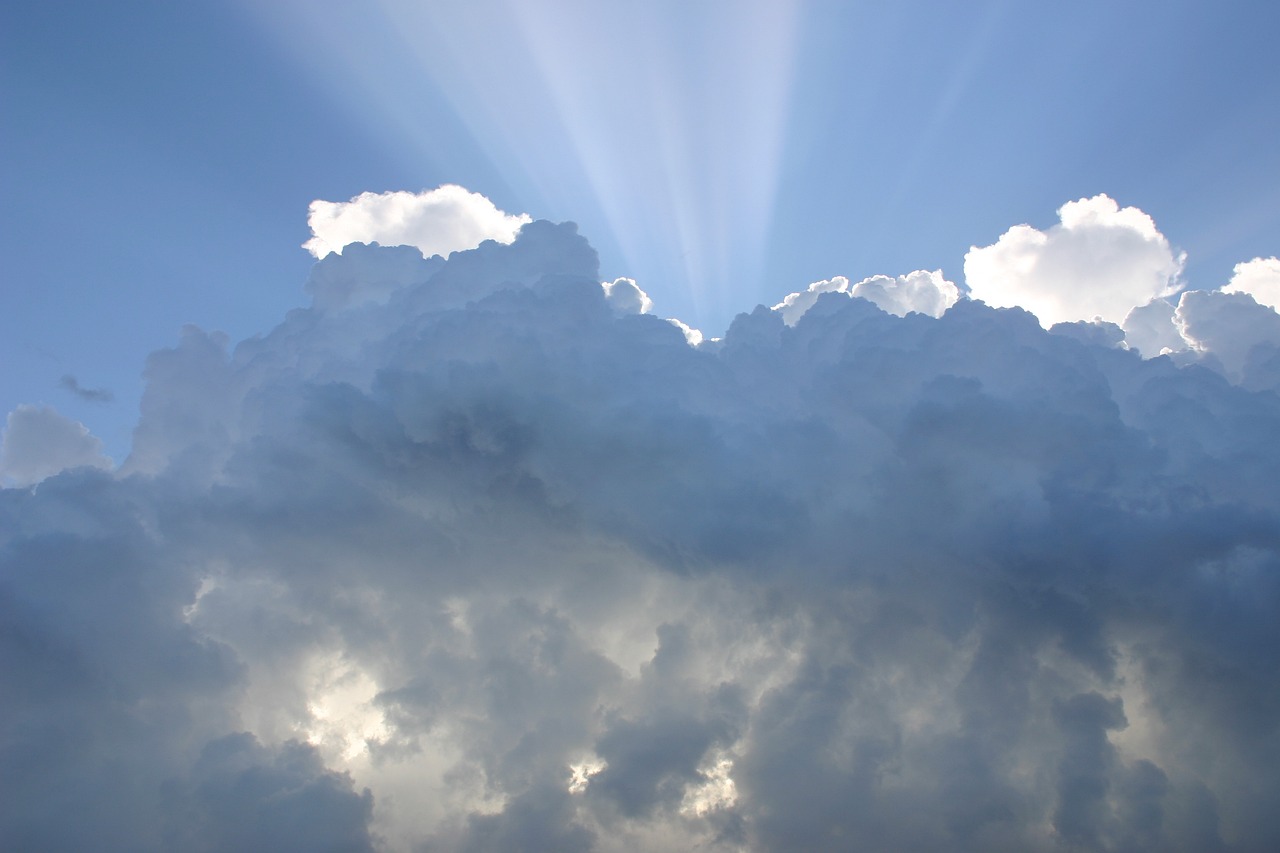
When it comes to painting breathtaking cloud formations, understanding the different types of clouds is crucial for artists. Each cloud type possesses its own unique characteristics and presents specific challenges and opportunities. By familiarizing yourself with these types, you can capture their essence on canvas, resulting in more realistic and dynamic cloud formations that draw viewers in.
Clouds can generally be categorized into several types based on their appearance and altitude. Here are a few common types of clouds that every artist should know:
- Cumulus: These fluffy, white clouds resemble cotton balls and often indicate fair weather. Their rounded tops and flat bases create a sense of depth and can be painted with soft, rounded brush strokes.
- Stratus: Stratus clouds appear as a uniform gray layer, often covering the entire sky. They can create a moody atmosphere, which can be effectively depicted using smoother brush techniques and muted colors.
- Cirrus: High-altitude clouds that are thin and wispy, cirrus clouds often indicate a change in weather. Their delicate structure can be painted with fine, sweeping strokes to convey their lightness.
- Nimbus: These clouds are associated with precipitation and can be quite dramatic. Their dark, heavy appearance can be captured using darker shades and thicker brush strokes to convey a sense of impending rain.
Understanding these types of clouds not only helps in accurately portraying them but also in evoking the right emotional response from your audience. For instance, a bright, fluffy cumulus cloud can evoke feelings of happiness and tranquility, while dark nimbus clouds may bring about a sense of foreboding or drama. By mastering the representation of these cloud types, you can enhance the storytelling aspect of your artwork.
Additionally, consider the atmospheric conditions that influence cloud formation. Factors such as humidity, temperature, and wind can change the appearance and behavior of clouds. For example, a humid atmosphere may lead to the formation of thick stratus clouds, while a clear, dry day might result in fluffy cumulus clouds. By observing and studying these conditions, you can add a layer of realism to your paintings that captivates your audience.
In summary, understanding cloud types is essential for any artist looking to create stunning cloud formations. By recognizing the unique characteristics of each cloud type, you can capture their beauty and evoke emotions in your artwork. So, the next time you sit down to paint, take a moment to reflect on the clouds above and let their inspiration guide your brush.
Color Theory for Clouds
When it comes to painting clouds, understanding color theory is crucial for achieving stunning results. The way we perceive clouds is deeply influenced by the colors we choose, which can evoke different emotions and atmospheres. Imagine a serene morning sky painted in soft pastels, or a dramatic sunset bursting with fiery oranges and reds. Each hue tells a story, and as an artist, it's your job to convey that narrative through your brushstrokes.
To effectively represent clouds, one must consider the time of day and the atmospheric conditions that influence color. For instance, during sunrise and sunset, the light is warmer, casting a golden glow that can transform even the most mundane cloud into a breathtaking spectacle. Conversely, midday skies often exhibit cooler tones, with bright whites and soft blues dominating the palette. Understanding these shifts is essential for any artist looking to create a realistic portrayal of the sky.
Here’s a quick breakdown of how to choose colors based on different times of day:
| Time of Day | Typical Colors |
|---|---|
| Morning | Soft pinks, light yellows, pale blues |
| Midday | Bright whites, vibrant blues, light grays |
| Evening | Rich oranges, deep purples, warm reds |
Now, let’s dive into the fascinating world of warm vs. cool tones. Warm colors, such as reds and yellows, can create feelings of warmth and comfort, while cool colors like blues and greens tend to evoke calmness and serenity. When painting clouds, using a mix of both can add depth and dimension to your artwork. For example, imagine painting a sunset where the clouds are highlighted with warm oranges and reds, while the sky gradually transitions to a cooler blue. This contrast not only adds visual interest but also helps in defining the shapes and forms of the clouds.
Another important concept in color theory is atmospheric perspective. This technique involves simulating how colors change with distance. As clouds recede into the background, they tend to lose saturation and appear lighter and bluer. To achieve this effect, artists can utilize a technique known as grayscale value studies. By first sketching out the clouds in shades of gray, you can better understand the interplay of light and shadow before applying color. This foundational step can significantly enhance the realism of your cloud paintings.
In conclusion, mastering color theory is not just about knowing which colors to use, but understanding how they interact and affect the overall mood of your artwork. By experimenting with warm and cool tones, applying atmospheric perspective, and practicing value studies, you’ll be well on your way to painting clouds that are not only visually stunning but also emotionally resonant.
- What colors should I use for storm clouds? Storm clouds typically feature dark grays, blues, and even purples. Using cooler tones can help convey the ominous nature of a storm.
- How can I create realistic shadows in my cloud paintings? Focus on using darker shades of the base color of your clouds. Incorporate grays and blues for shadow areas, keeping in mind the light source.
- Is it essential to use a limited color palette? While it's not mandatory, a limited palette can help create harmony within your painting. It allows for more cohesive color mixing and enhances the overall aesthetic.
Warm vs. Cool Tones
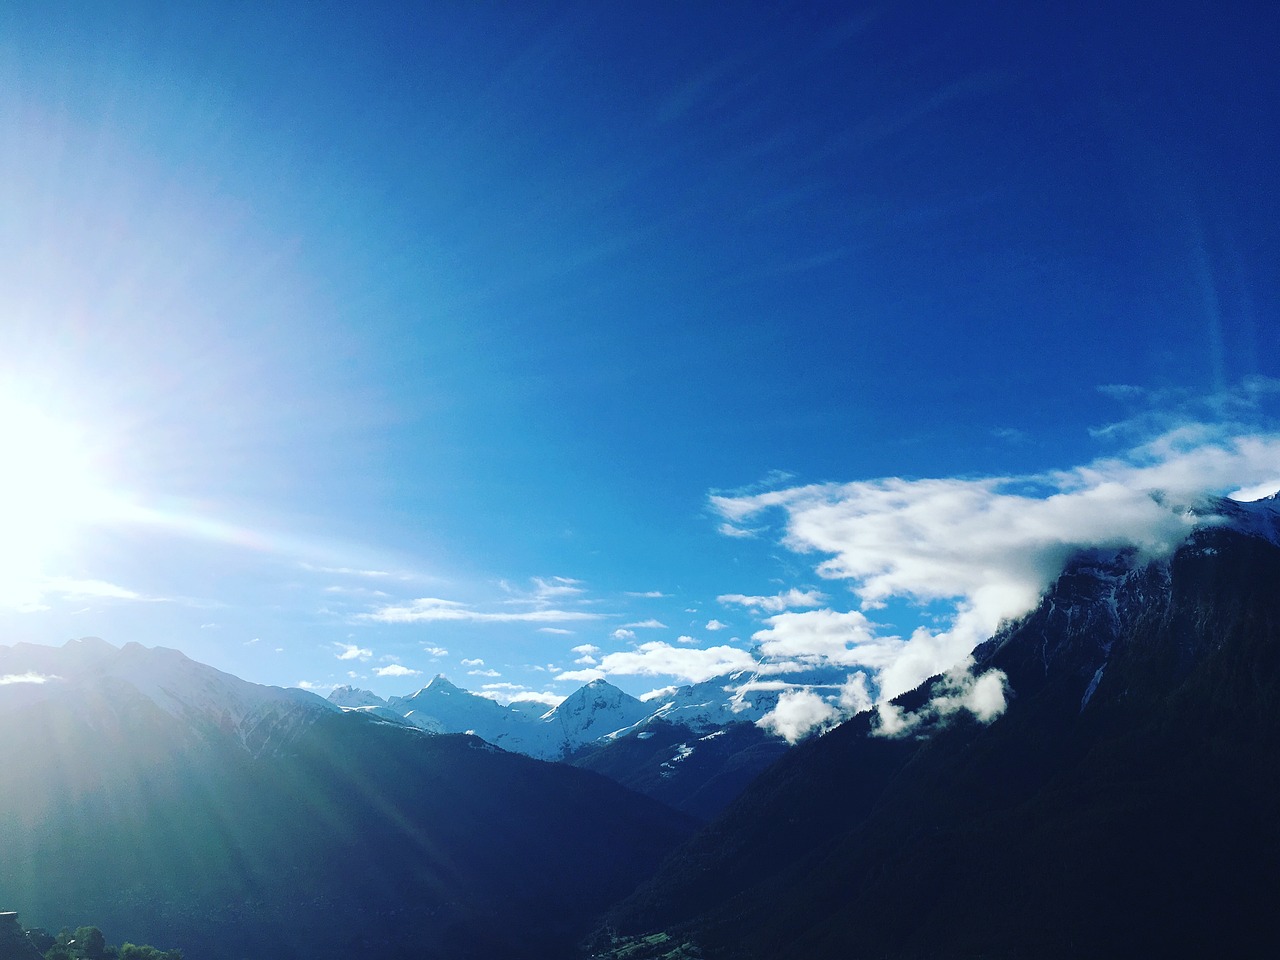
When it comes to painting cloud formations, the contrast between warm and cool tones can have a profound impact on the overall mood and atmosphere of your artwork. Imagine standing outside at dusk, where the sky is painted in vibrant oranges and deep purples, or at dawn, where soft pinks and gentle blues collide to create a sense of calm. These colors not only define the time of day but also evoke emotions and set the stage for the story you want to tell through your painting.
Warm tones, such as reds, oranges, and yellows, can infuse your clouds with a sense of energy and vibrancy. They are often associated with the sun's rays breaking through the clouds, creating a stunning spectacle that can ignite passion in your artwork. For instance, when you are depicting a sunset, using a palette dominated by warm colors can make your clouds appear alive, as if they are glowing from within. On the other hand, cool tones like blues, greens, and purples tend to evoke feelings of tranquility and serenity. They are perfect for illustrating overcast skies or the soft light of early morning, where the atmosphere feels calm and peaceful.
Incorporating both warm and cool tones into your cloud paintings can create a dynamic contrast that adds depth and interest. For instance, consider using warm yellows and oranges near the horizon where the sun sets, gradually transitioning to cooler blues and purples as you move upward in the sky. This technique not only adds dimension but also draws the viewer's eye across the canvas, inviting them to explore the various layers of your work.
To effectively mix and apply these tones, it's essential to understand the color wheel and how different colors interact with one another. Here’s a quick breakdown:
| Color Tone | Emotional Impact | Usage in Cloud Painting |
|---|---|---|
| Warm Tones | Excitement, Energy | Sunsets, Dramatic Skies |
| Cool Tones | Calm, Serenity | Overcast, Early Morning |
As you practice, remember that the key to mastering warm and cool tones lies in experimentation. Don’t be afraid to mix colors and try different combinations on your palette. You might discover unexpected results that enhance your cloud formations in ways you never imagined. And always keep in mind the balance between these tones; too much warmth can overpower a scene, while excessive coolness can make it feel lifeless.
Ultimately, the interplay of warm and cool tones in your cloud paintings can transform a simple sky into a breathtaking masterpiece. So grab your brushes, experiment with your palette, and let the colors guide your creativity!
- What are the best colors to use for painting clouds? It depends on the time of day and the mood you want to convey. Warm colors like oranges and reds are great for sunsets, while cool colors like blues and purples work well for overcast skies.
- How can I create depth in my cloud paintings? Use a mix of warm and cool tones to create contrast, and consider layering your colors to give a three-dimensional effect.
- What techniques can I use to blend colors effectively? Try wet-on-wet techniques or use a dry brush to gently blend colors for soft transitions.
Creating Atmospheric Perspective
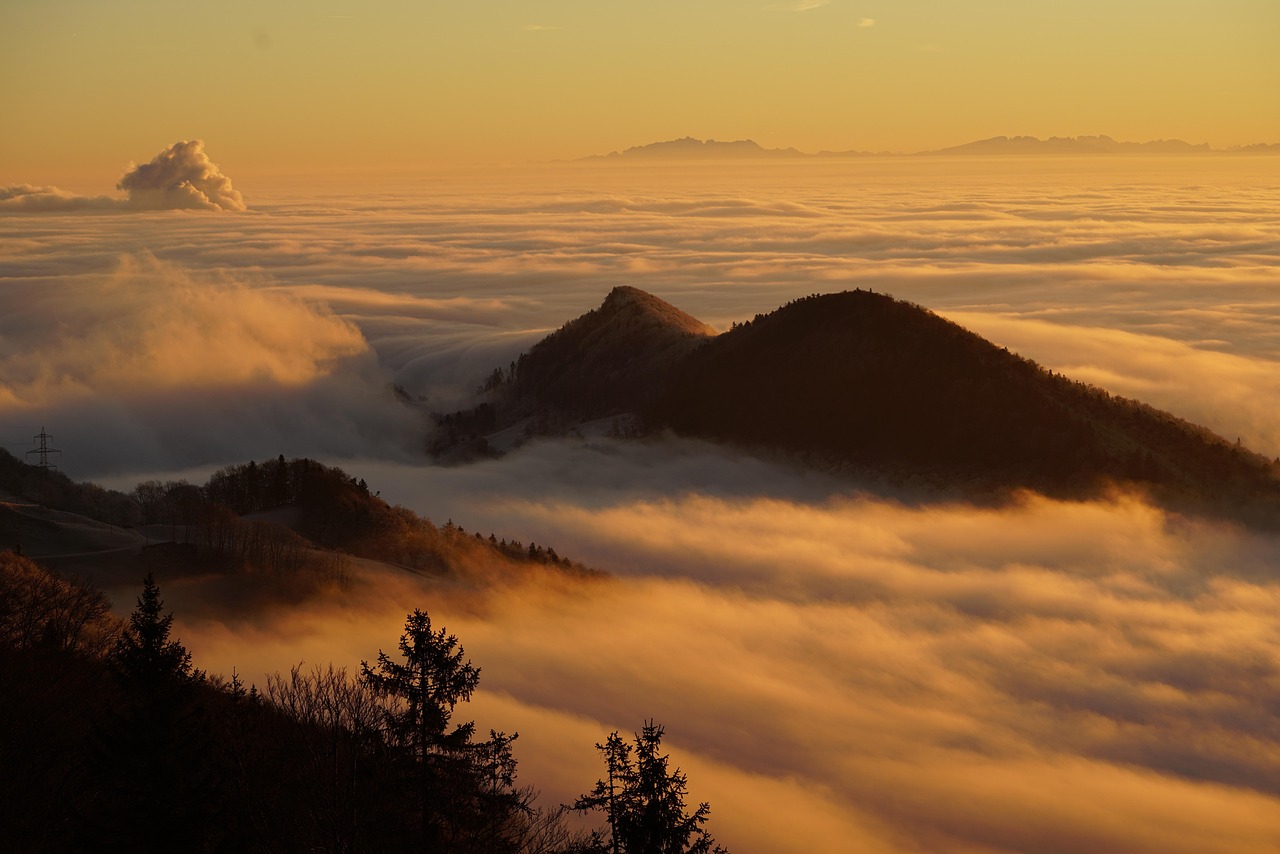
When it comes to painting clouds, one of the most effective techniques for achieving realism is atmospheric perspective. This concept refers to how the color and clarity of objects change as they recede into the distance. Think about it: when you look at a mountain range far away, the colors appear less vibrant and more muted compared to those close at hand. This phenomenon is due to the atmosphere's effect on light, and it can be beautifully replicated in your cloud paintings.
To master atmospheric perspective in your artwork, start by observing how clouds behave in different conditions. For instance, clouds that are closer to the horizon often appear lighter and less defined than those directly overhead. This is because atmospheric particles scatter light, softening the edges and altering the colors of distant clouds. To replicate this, you can use a gradient technique, gradually lightening the colors as you move from the foreground to the background of your painting. A good rule of thumb is to use cooler tones in the distance and warm tones in the foreground, as this contrast adds depth and dimension.
Here are some key points to consider when applying atmospheric perspective to your cloud formations:
- Color Shift: Use lighter and cooler colors for distant clouds while reserving warmer, richer hues for those in the foreground.
- Edge Definition: Keep the edges of distant clouds soft and less defined, while allowing closer clouds to have sharper edges.
- Layering: Build layers of paint to create depth, allowing the background clouds to peek through the foreground layers.
Another technique to enhance atmospheric perspective is to utilize transparency and glazing. By applying thin layers of transparent paint over your clouds, you can create a sense of depth that mimics the way light interacts with the atmosphere. This method allows you to achieve a luminous quality that can make your clouds appear to glow from within. Remember, the goal is to create a seamless transition between colors, which will draw the viewer's eye into the painting.
In summary, creating atmospheric perspective in your cloud paintings is all about understanding how distance affects color and clarity. By incorporating these techniques and being mindful of how you layer your paints, you can transform your cloud formations from flat representations into dynamic, three-dimensional scenes that captivate and engage your audience.
Q: What is atmospheric perspective?
A: Atmospheric perspective is a technique used in painting to create the illusion of depth by altering the color and clarity of objects as they recede into the distance.
Q: How do I choose colors for distant clouds?
A: For distant clouds, opt for lighter and cooler colors. This helps to replicate the way atmosphere affects the appearance of clouds far away.
Q: Can I use glazing techniques for clouds?
A: Absolutely! Glazing can add depth and luminosity to your clouds, making them appear more ethereal and realistic.
Q: What brush techniques work best for painting clouds?
A: Techniques such as dry brushing and stippling can create texture and movement in clouds, enhancing their realism.
Using Grayscale for Value Studies
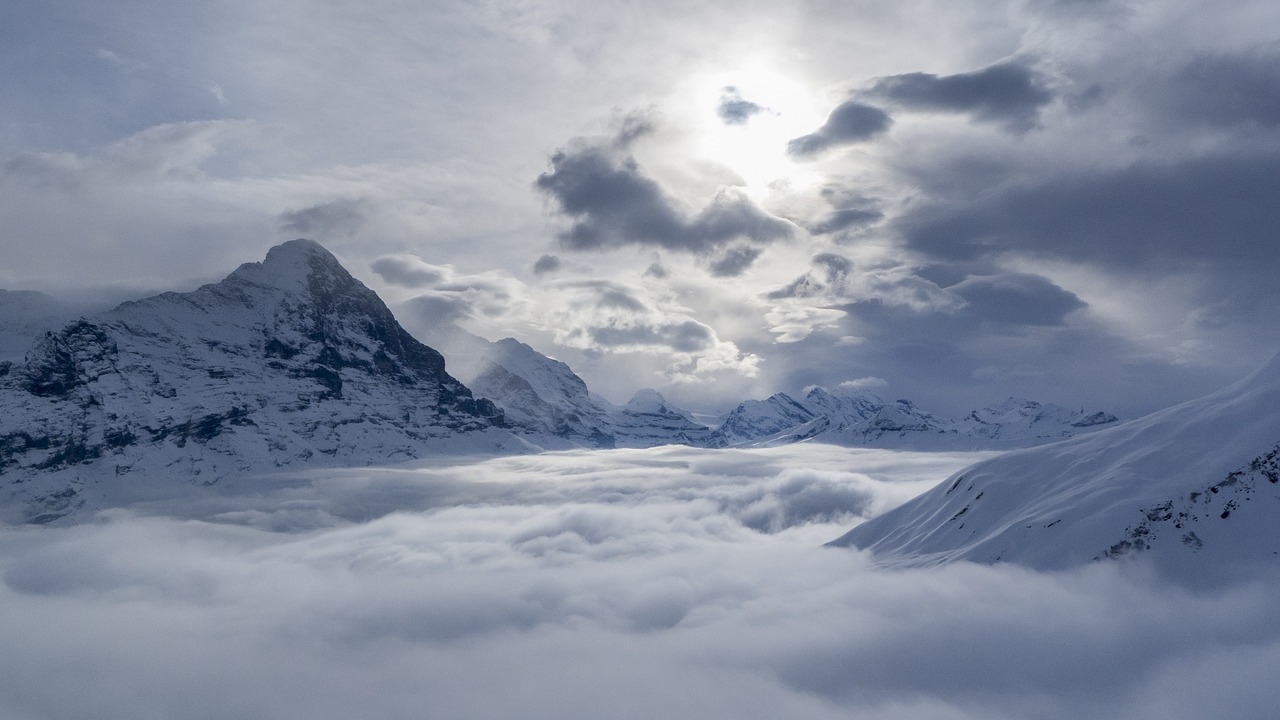
When it comes to painting stunning cloud formations, understanding the interplay of light and shadow is crucial. This is where grayscale value studies come into play. By stripping away color, artists can focus solely on the values—the lightness or darkness of a color—which is essential for creating depth and realism in your artwork. Imagine trying to navigate a foggy landscape; without clear distinctions between light and shadow, everything becomes a blur. Grayscale studies help sharpen those distinctions, allowing you to see how clouds interact with light.
To start your grayscale value study, gather reference images of clouds under various lighting conditions. This will help you observe how clouds change in tone depending on the time of day and atmospheric conditions. You can then create a series of value sketches using only a black pencil or charcoal. This process not only trains your eye to see values but also enhances your ability to translate that understanding into your paintings.
Here’s a simple approach to conducting your value studies:
- Choose Your Reference: Select images that showcase different types of clouds and lighting.
- Sketch in Grayscale: Using a pencil or charcoal, sketch out the cloud formations, focusing purely on the values.
- Analyze the Values: Pay attention to the darkest darks and the lightest lights. This contrast will be crucial in your final piece.
- Transfer to Canvas: Once you’re satisfied with your value sketch, use it as a guide to paint your clouds, translating those values into color.
Additionally, you might consider creating a value scale to reference while painting. A value scale is a gradient that ranges from pure white to pure black, with various shades of gray in between. This tool will help you determine the correct values as you work on your cloud formations. Here’s a simple example of a value scale:
| Value | Shade |
|---|---|
| 1 | White |
| 2 | Light Gray |
| 3 | Medium Gray |
| 4 | Dark Gray |
| 5 | Black |
By practicing with grayscale value studies, you’ll not only enhance your technical skills but also develop a deeper understanding of how to convey the mood and atmosphere in your cloud paintings. Remember, the goal is to make your clouds feel alive and dynamic, and mastering values is a significant step toward achieving that.
Q: How often should I practice value studies?
A: It’s beneficial to practice value studies regularly, especially when you’re starting out. Aim for a few studies each week to build your skills.
Q: Can I use color in my value studies?
A: While color can be helpful, it’s best to focus on grayscale for initial studies to avoid distractions and hone in on value relationships.
Q: What tools do I need for value studies?
A: Basic tools include a sketchbook, pencils or charcoal, and maybe a few reference images. A value scale can also be very useful!

Brush Techniques for Texture
When it comes to painting stunning cloud formations, the right brush techniques can make all the difference. Just like a chef chooses specific tools to create a culinary masterpiece, an artist must select the appropriate brushes to evoke the desired texture and movement in their clouds. Whether you want to depict fluffy cumulus clouds or wispy cirrus formations, understanding how to manipulate your brushes can elevate your artwork to new heights.
One of the most effective techniques for adding texture to clouds is the stippling method. This involves using a stiff-bristled brush to dab small amounts of paint onto the canvas. The result is a beautiful, speckled effect that mimics the natural variance found in cloud formations. Imagine a soft summer sky, where the clouds seem to dance and shift. By applying stippling, you can capture that dynamic quality, creating a sense of movement and life in your painting.
Another technique worth exploring is the fan brush technique. This brush, with its unique shape, allows for the creation of soft, sweeping strokes that can represent the gentle curves of clouds. To use a fan brush effectively, load it with a mix of colors and drag it lightly across the canvas. This technique can produce a gradient effect that is crucial for simulating the way light interacts with clouds. Picture the sun setting behind a horizon, casting golden hues across a sky filled with fluffy clouds; using a fan brush can help you recreate that stunning visual.
For those looking to achieve a more dramatic effect, the palette knife technique is an exciting option. Using a palette knife to apply paint can create sharp edges and bold textures that bring clouds to life. This method is particularly effective for stormy skies, where the clouds are thick and tumultuous. By scraping and layering paint with a palette knife, you can achieve a three-dimensional quality that draws the viewer into your artwork. Think of it as sculpting with paint, where each stroke adds depth and dimension.
It’s essential to remember that the choice of paint also influences texture. Using thicker paints, such as oil or acrylics, can help create a more textured surface, while watercolors may require a different approach. When working with watercolors, try the wet-on-wet technique, where you apply wet paint onto a wet surface. This method allows colors to blend seamlessly, resulting in soft edges that are perfect for capturing the ethereal quality of clouds.
To summarize, here are some key brush techniques to consider for enhancing the texture of your cloud paintings:
- Stippling: Dabbing paint for a speckled effect.
- Fan Brush: Creating soft, sweeping strokes.
- Palette Knife: Adding sharp edges and bold textures.
- Wet-on-Wet: Blending colors for soft edges.
Experimenting with these techniques can lead to breathtaking results. Don’t be afraid to mix and match methods, as the beauty of painting lies in its flexibility. As you practice, you’ll discover your unique style and approach, making each cloud formation a personal expression of your artistic voice. So grab your brushes, unleash your creativity, and watch as your clouds transform into stunning works of art!
Q1: What type of brushes are best for painting clouds?
A1: It's beneficial to have a variety of brushes, including stiff-bristled brushes for stippling, fan brushes for soft edges, and palette knives for texture. Each offers unique effects that can enhance your cloud paintings.
Q2: How do I choose colors for my cloud paintings?
A2: Consider the time of day and atmospheric conditions. Warm tones like oranges and pinks work well for sunsets, while cool blues and grays are perfect for overcast skies. Mixing colors can also add depth and realism.
Q3: Is it necessary to use oil paints for cloud textures?
A3: No, while oil paints allow for rich textures, acrylics and watercolors can also produce stunning cloud effects. Each medium has its unique qualities, so choose one that suits your style.
Q4: Can I use digital tools for painting clouds?
A4: Absolutely! Digital painting software offers a variety of brushes and effects that can replicate traditional techniques, allowing for endless creativity and experimentation.

Layering Techniques
When it comes to painting stunning cloud formations, are essential for achieving depth and realism. Think of layering as building a cake; each layer adds flavor and texture, creating a more complex and satisfying experience. In cloud painting, this means applying different colors and values in layers to mimic the natural variations found in the sky. Start with a basic underpainting, using a light color to establish the overall shape and mood of your clouds. This initial layer acts as a foundation, much like the base of a cake, setting the tone for the subsequent layers.
Once your underpainting is dry, it’s time to build upon it with additional layers. Use a variety of brushes to apply your colors, ensuring that you create a mix of soft and hard edges. This contrast is crucial, as it replicates the way light interacts with clouds. For example, the edges of cumulus clouds are often soft and diffused, while the shadows can be sharper and more defined. By layering these different qualities, you can create a cloud formation that feels dynamic and alive.
Another important aspect of layering is the transparency of your paints. Using semi-transparent paints allows the layers underneath to show through, adding depth and complexity to your clouds. This technique can be particularly effective when painting clouds at sunset or sunrise, where the colors are rich and vibrant. Applying a glaze over your dried layers can enhance luminosity and create that ethereal glow that makes clouds so captivating.
In addition to color, consider the value of each layer. Darker colors can be used to create shadows, while lighter colors can highlight the tops of clouds. This interplay of light and shadow not only adds dimension but also helps to convey the mood of your painting. A stormy sky might benefit from deeper, darker layers, while a clear, sunny day would shine with lighter, airier colors.
To summarize, effective layering techniques involve:
- Starting with a solid underpainting.
- Building layers with a variety of brushes.
- Using transparent paints for depth.
- Balancing light and dark values for realism.
Remember, practice makes perfect! Don’t be afraid to experiment with different layering techniques and observe how they affect the overall feel of your cloud formations. The beauty of painting lies in the journey of discovery, so embrace the process and let your creativity flow.
Q: How many layers should I use when painting clouds?
A: There’s no strict rule! Start with a few layers and gradually add more as needed. The key is to observe how colors interact and adjust accordingly.
Q: Can I use acrylics for layering techniques?
A: Absolutely! Acrylics are great for layering due to their quick drying time and versatility. Just remember to work quickly or use a slow-drying medium if you need more time.
Q: What's the best way to create soft edges in cloud paintings?
A: Using a dry brushing technique can help you achieve soft edges. Additionally, blending colors while they’re still wet can create seamless transitions.
Glazing for Transparency
When it comes to painting clouds, achieving a sense of transparency can elevate your artwork from ordinary to extraordinary. Glazing is a technique that allows artists to build layers of color that are both subtle and luminous, creating a depth that mimics the way light interacts with clouds in the sky. Imagine the soft glow of sunlight filtering through wispy clouds; this is the effect you can achieve with glazing.
To get started with glazing, it’s essential to understand the materials you’ll be using. Typically, artists use transparent or semi-transparent paints, such as watercolors, acrylics, or oils. The key is to apply these paints in thin layers, allowing each one to dry before adding another. This not only helps in achieving transparency but also enables you to control the intensity of the colors. A good rule of thumb is to start with lighter colors and gradually build up to darker tones.
Here’s a simple step-by-step approach to glazing for cloud painting:
- Prepare Your Surface: Make sure your canvas is primed and ready for painting. A smooth surface will allow for better glazing.
- Choose Your Colors: Select a palette that reflects the mood you want to convey. For instance, soft blues and whites can create a serene sky, while warm oranges and reds can evoke a sunset.
- Mix Your Glaze: Combine your chosen paint with a glazing medium. This will increase the transparency and allow the underlying layers to show through.
- Apply Thin Layers: Using a soft brush, apply your glaze over the areas where you want to create depth. Remember, less is more; you can always add more layers if needed.
- Adjust and Refine: After each layer dries, step back and assess your work. This will help you determine if you need to add more glaze or adjust the colors.
One of the most enchanting aspects of glazing is the way it can mimic the ethereal quality of clouds. For instance, when painting a sunset sky, you might start with a soft yellow base, then apply a warm orange glaze to create the illusion of sunlight. As you layer deeper, you can introduce a subtle purple glaze to represent the shadows of the clouds, allowing the viewer to feel the atmospheric depth.
Here’s a quick comparison of different glazing mediums:
| Medium | Transparency | Drying Time | Best For |
|---|---|---|---|
| Acrylic Glazing Medium | High | Fast | Quick layering |
| Oil Glazing Medium | Medium | Slow | Rich, deep colors |
| Watercolor Glazing Medium | High | Varies | Delicate washes |
In conclusion, glazing is a powerful technique that can transform your cloud paintings, making them feel more alive and dynamic. By carefully layering transparent colors, you can capture the essence of light and atmosphere, creating a breathtaking sky that draws the viewer in. So, grab your brushes, mix your glazes, and let your creativity soar as you paint stunning cloud formations!
Q1: What is glazing in painting?
A1: Glazing is a technique where thin layers of transparent paint are applied over a dried layer of paint to create depth and luminosity.
Q2: Can I use glazing with any type of paint?
A2: Yes, glazing can be used with watercolors, acrylics, and oils, but the technique may vary slightly depending on the medium.
Q3: How do I know when to stop glazing?
A3: It's essential to step back and assess your work frequently. Stop glazing when you feel you've achieved the desired depth and luminosity without overpowering the underlying colors.
Dry Brushing for Soft Edges
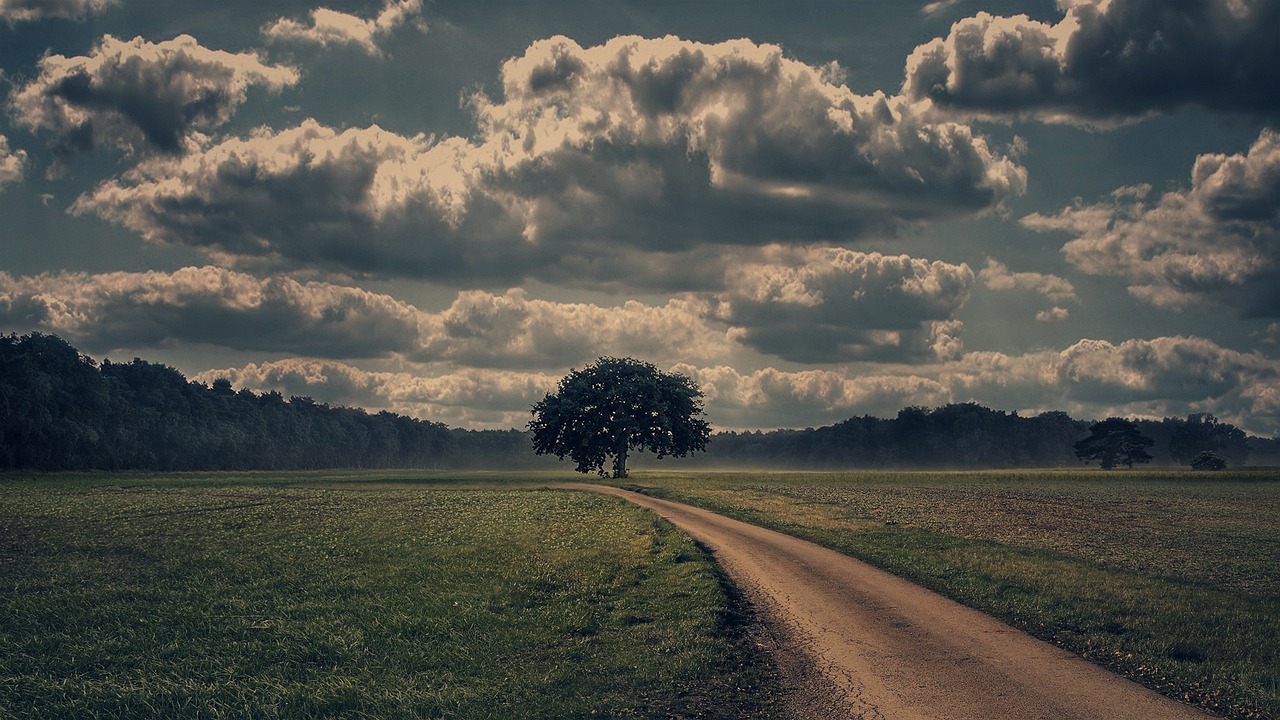
When it comes to achieving those dreamy, soft edges in your cloud paintings, dry brushing is a technique you simply cannot overlook. This method involves using a dry brush with minimal paint to create a subtle, feathery effect that mimics the natural look of clouds. Imagine the way light filters through a soft, fluffy cloud; that’s the kind of magic you can create on your canvas with just a few strokes!
To get started with dry brushing, you’ll want to choose a brush that has stiff bristles. A flat brush or a fan brush works wonders for this technique. First, dip your brush into the paint, then wipe most of it off on a paper towel or cloth. The goal here is to leave just a whisper of paint on your brush, which will allow you to build up layers gradually without overwhelming your canvas.
As you begin to apply the dry brush to your canvas, think about the direction of the light and how it interacts with the clouds. Use gentle, sweeping motions to create soft transitions between colors. You can achieve a stunning gradient effect by layering different shades of white, gray, and even hints of blue or pink, depending on the time of day you are trying to capture. For instance, if you’re painting a sunset, incorporating warm tones alongside your cooler colors can add depth and vibrancy to your clouds.
Here’s a quick tip: try to work in small sections at a time. This will allow you to monitor how the colors blend and transition, ensuring that you maintain that soft, ethereal quality. You might find it helpful to keep a reference image nearby to guide your brushwork and color choices. Remember, the beauty of dry brushing lies in its subtlety; don’t rush the process!
Another aspect to consider is the pressure you apply with your brush. Light pressure will yield softer edges, while a bit more pressure can create more defined textures. It’s all about finding the right balance. If you ever feel like you’ve gone too far and lost that soft edge, don’t worry! You can always go back in with a clean, dry brush to soften those areas again.
In summary, mastering the dry brushing technique for soft edges is all about practice and patience. With time, you’ll be able to create cloud formations that not only look realistic but also evoke emotion and wonder. So grab your brushes, and let your imagination soar into the skies!
- What type of paint is best for dry brushing? Acrylic paints are often recommended for dry brushing due to their fast drying time and vibrant colors.
- Can I use dry brushing on other subjects besides clouds? Absolutely! This technique can be applied to various subjects, including landscapes, portraits, and abstract works.
- How do I clean my brushes after dry brushing? Clean your brushes with warm soapy water immediately after use to prevent paint from drying in the bristles.
Frequently Asked Questions
- What are the different types of clouds I should know about?
Understanding cloud types is crucial for any artist looking to paint stunning skies. The main types include cumulus, stratus, cirrus, and nimbus clouds, each with its own unique characteristics. Cumulus clouds are fluffy and white, while stratus clouds are more uniform and gray. Cirrus clouds are thin and wispy, and nimbus clouds are associated with precipitation. Knowing these differences helps in capturing their essence on canvas.
- How can I effectively use color theory in my cloud paintings?
Color theory is your best friend when it comes to painting clouds! To create realistic skies, consider the time of day and atmospheric conditions. For example, warm tones like oranges and reds can depict a sunset, while cool tones like blues and purples are perfect for early morning or twilight. Mixing colors thoughtfully can help you convey mood and depth, making your clouds pop off the canvas.
- What techniques can I use to create depth in my cloud paintings?
Layering is key to achieving depth in cloud formations. Start with a base layer and gradually build up colors and textures. Techniques like glazing can add transparency and luminosity, while dry brushing helps create soft edges and transitions. Don’t forget to consider atmospheric perspective; colors tend to fade and become cooler as they recede into the distance, adding to the three-dimensional effect.
- Are there specific brush techniques I should learn for painting clouds?
Absolutely! Different brush techniques can dramatically enhance the realism of your clouds. Experiment with various brush strokes to create texture and movement. For instance, using a fan brush can help replicate the wispy nature of cirrus clouds, while a flat brush can be great for broader strokes in cumulus clouds. Practice is essential, so don’t hesitate to try out different tools!
- How can I practice value studies for my cloud paintings?
Value studies are an excellent way to understand light and shadow in clouds. Start by creating grayscale sketches to focus on the contrast between light and dark areas. This will help you visualize how light interacts with the clouds before you add color. Once you're comfortable with the values, you can confidently apply colors that reflect the mood and atmosphere you want to achieve.


