Paintings that Sparkle: How to Paint Glass
Have you ever gazed at a beautifully painted glass object and wondered, "How do they make it look so real?" Well, you're in the right place! In this article, we’re going to dive deep into the world of glass painting, exploring the techniques and tips you need to create stunning, sparkling effects that will leave your audience in awe. Whether you're a seasoned artist or just starting out, understanding the properties of glass and how to manipulate them with paint can transform your artwork into something truly magical.
To paint glass effectively, it's crucial to understand its unique properties. Glass is a fascinating material that interacts with light in extraordinary ways. When light hits glass, it can be reflected, refracted, or transmitted, creating a dazzling array of effects. This section covers three essential properties of glass:
- Light Reflection: This is when light bounces off the surface of the glass, creating highlights that can make your painting pop.
- Refraction: This occurs when light passes through the glass, bending and altering the appearance of objects behind it. Understanding this can help you create depth in your glass paintings.
- Transparency: Glass is known for its clarity, which means that capturing the essence of transparency is key to achieving a realistic effect.
By mastering these properties, you can begin to replicate the enchanting allure of glass in your artwork.
Selecting the appropriate materials is vital for painting glass. Not all paints are created equal, and using the right tools can make a world of difference in your final outcome. Here, we discuss the best types of paints, brushes, and surfaces to use for achieving that desired sparkling effect.
When it comes to painting glass, you have several options. Each type of paint has its own set of advantages and disadvantages:
| Type of Paint | Advantages | Disadvantages |
|---|---|---|
| Acrylics | Fast-drying, versatile, easy to clean | Can be less transparent unless layered |
| Oils | Rich colors, great for blending | Slow drying time, can be challenging to clean |
| Specialized Glass Paints | Designed for glass surfaces, excellent adhesion | May require special techniques for application |
Choosing the right paint will set the foundation for your glass painting journey.
Using the right brushes and tools can significantly impact the final outcome. For glass painting, you’ll want to consider a few key factors:
- Brush Types: Flat brushes are great for broad strokes, while fine detail brushes help you capture intricate designs.
- Brush Sizes: Having a variety of sizes allows for versatility in your artwork.
- Additional Tools: Sponges and palette knives can add unique textures and effects to your glass paintings.
Before you even think about picking up a brush, preparing the glass surface is crucial for paint adhesion. Start by cleaning the glass thoroughly to remove any dust, grease, or fingerprints. You can use a mixture of vinegar and water for this. Once clean, consider priming the surface with a suitable primer designed for glass to ensure a smooth painting experience and optimal results.
Achieving a realistic glass effect requires specific techniques. Here are a few methods to consider:
- Layering: Build up colors gradually to create depth.
- Glazing: Apply thin, transparent layers of paint to mimic the transparency of glass.
- Highlighting: Use lighter colors to create highlights that mimic reflections off the glass surface.
Light and shadow play a vital role in depicting glass. To effectively incorporate these elements, consider the light source in your composition. Shadows help ground the glass in its environment, making it feel more three-dimensional. Use soft, blended edges for shadows to enhance the realism of your painting.
Reflections are essential for realistic glass portrayal. To capture reflections accurately, observe how light interacts with your glass subject. You can use a lighter shade of your base color to depict reflected light, ensuring that the reflections are consistent with the surrounding environment.
Shadows help ground the glass in its environment. When painting shadows, consider their direction and intensity. Use darker tones of your base color, and blend them softly to create a natural transition from light to shadow.
Looking for inspiration? Here are some creative ideas for glass-themed paintings:
Still life compositions featuring glass can be stunning. Arrange glass objects in a way that highlights their shapes and transparency, and play with the lighting to create interesting effects. Consider using fruits or flowers alongside glass to add color and contrast.
Abstract interpretations of glass can be captivating. Focus on color, shape, and transparency to create unique abstract glass paintings that challenge the viewer's perception. Use bold colors and dynamic shapes to evoke emotion and intrigue.
Q: What type of paint is best for beginners?
A: Acrylic paints are often recommended for beginners due to their versatility and ease of use.
Q: Can I use regular brushes for glass painting?
A: While you can use regular brushes, it's best to use brushes specifically designed for glass to achieve better results.
Q: How do I clean my brushes after painting on glass?
A: Clean your brushes immediately with soap and water, or use a brush cleaner designed for the type of paint you used.

Understanding Glass Properties
To truly master the art of painting glass, it’s essential to delve into the unique properties that make glass such a fascinating medium. Glass is not just a transparent material; it interacts with light in remarkable ways. Understanding how light reflects, refracts, and passes through glass will empower you to create stunning, lifelike effects in your artwork. Imagine holding a crystal-clear glass of water; the way light dances through it can inspire your brush strokes.
One of the most striking features of glass is its transparency. This quality allows viewers to see through the material, but it also poses a challenge for artists. You need to paint not just the glass itself, but also what lies behind it. This is where the magic happens! By layering colors and adjusting opacity, you can create an illusion of depth that mimics the real thing. Think of it as creating a window into another world.
Another crucial aspect is light reflection. When light hits a glass surface, some of it bounces back, creating highlights that can make your painting sparkle. To achieve this, you might want to use a technique called glazing, which involves applying thin layers of transparent paint to build up color and luminosity. The interplay between light and shadow gives your piece a three-dimensional quality, making it pop off the canvas.
Then there's refraction, which occurs when light passes through glass and bends. This phenomenon can create beautiful distortions that add an artistic flair to your work. For instance, when painting a glass vase filled with flowers, the way the stems appear bent or warped can be a delightful challenge. It’s like a dance between reality and perception, and mastering this will elevate your glass paintings to new heights.
To summarize, here are the key properties of glass to consider when painting:
- Transparency: Essential for creating depth.
- Reflection: Creates highlights and a sparkling effect.
- Refraction: Adds distortion and visual interest.
By keeping these properties in mind, you'll be better equipped to tackle the challenges of painting glass. Remember, each brush stroke is an opportunity to capture the essence of this enchanting medium. So grab your paints and let the light guide your creativity!
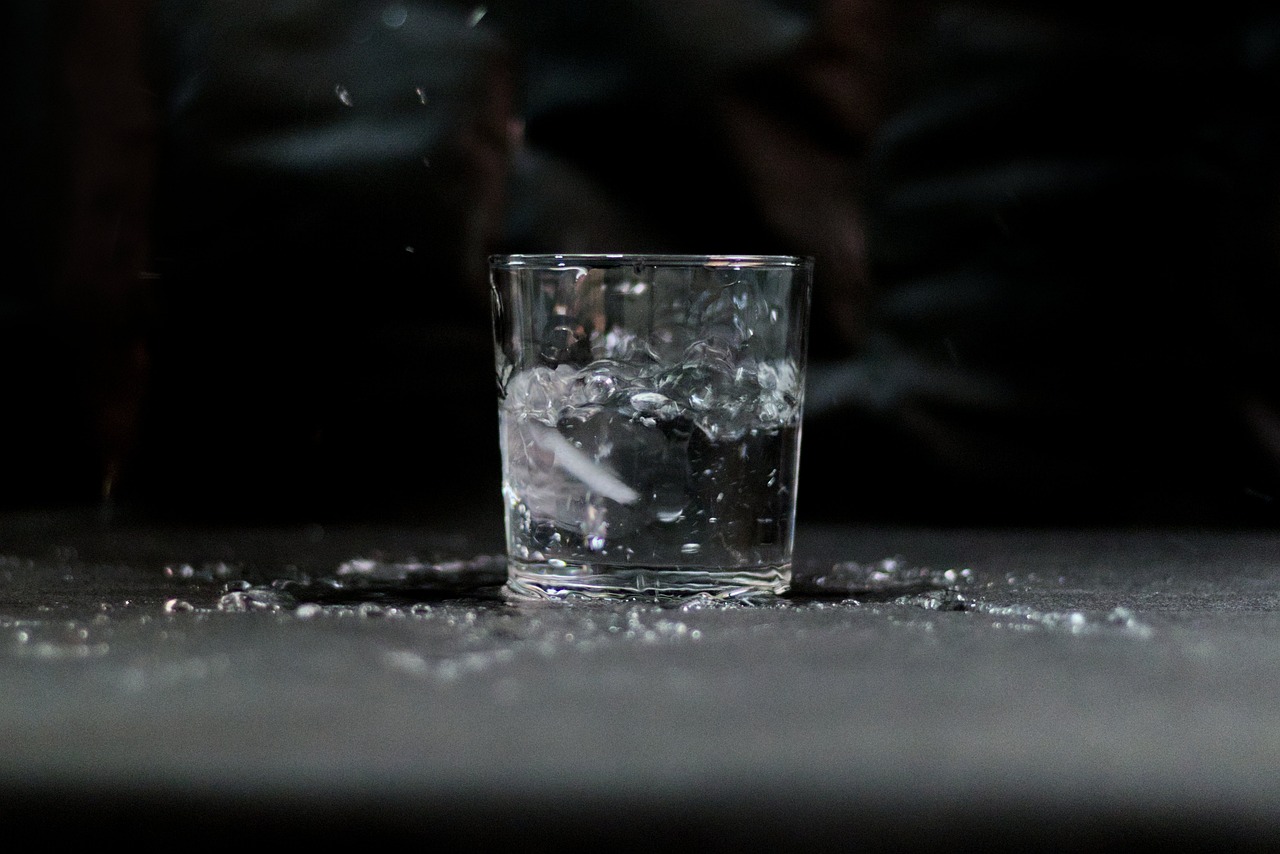
Choosing the Right Materials
When it comes to painting glass, selecting the right materials is absolutely fundamental to achieving that sparkling effect you desire. Think of it as choosing the right ingredients for a gourmet meal; the quality of your materials can make or break your artistic endeavor. The first step is to consider the type of paint you want to use. Each type has its own unique properties that can dramatically affect the final outcome of your work.
For instance, acrylic paints are versatile and quick-drying, making them a popular choice among artists. They adhere well to glass surfaces, but you may need a specialized medium to enhance their transparency. On the other hand, oil paints offer a rich texture and depth, but they take longer to dry, which can be both a blessing and a curse. Lastly, there are specialized glass paints that are designed specifically for this medium, providing excellent adhesion and a glossy finish. While they might be a bit pricier, the results can be stunning.
Next up is the choice of brushes. The right brushes can elevate your glass painting from mediocre to mesmerizing. You’ll want to invest in soft, synthetic brushes that can help you achieve fine details and smooth blending. Flat brushes are excellent for broad strokes, while detail brushes are perfect for those intricate highlights that can make your glass pop. Additionally, having a few fan brushes on hand can help you create unique textures that mimic the light reflecting off glass.
Now, let’s not forget about the surface preparation, which is crucial for paint adhesion. Before you even think about applying paint, you should thoroughly clean the glass surface with a mixture of soap and water, followed by a wipe down with rubbing alcohol. This ensures that no oils or dirt interfere with your paint. If you're looking for an extra layer of security, consider applying a primer designed for glass. This will not only help the paint stick better but also enhance the vibrancy of the colors you choose.
In summary, the materials you choose will be your allies in creating breathtaking glass art. It’s essential to experiment with different paints and brushes to find what works best for you, just like a chef perfects their recipes. Remember, the journey of creating art is as important as the final piece itself. So, don’t hesitate to explore and discover what materials inspire you the most!
- What type of paint is best for glass surfaces? Specialized glass paints are ideal, but acrylics and oils can also work with the right mediums.
- Do I need to prime the glass before painting? Yes, priming can help with paint adhesion and enhance color vibrancy.
- What brushes should I use for painting glass? Soft synthetic brushes are recommended for detailed work, while flat brushes can be used for broader strokes.
Types of Paints
When it comes to painting glass, the choice of paint can make or break your artistic vision. Different types of paints yield varying results, and understanding these differences is crucial for achieving that coveted sparkling effect. Let's dive into the three main categories of paints you can use: acrylics, oils, and specialized glass paints.
Acrylic paints are a popular choice among artists for their versatility and ease of use. They dry quickly, allowing for rapid layering, and are water-soluble, which makes cleanup a breeze. However, when painting glass, it's essential to use acrylics specifically formulated for non-porous surfaces. These specialized acrylics often contain additives that improve adhesion and durability on glass. One of the significant advantages of acrylics is their ability to create vibrant colors and a glossy finish, which can mimic the reflective quality of glass beautifully.
On the other hand, oil paints offer a rich texture and depth that many artists adore. They dry slowly, which allows for extended blending and working time. However, this property can be a double-edged sword when painting glass, as the longer drying time may lead to unwanted smudging if you're not careful. Additionally, oil paints can require solvents for cleanup, which may not be as convenient as acrylics. Nevertheless, if you master the technique, oils can produce stunningly realistic glass effects with their rich, luminous colors.
Lastly, we have specialized glass paints, which are designed explicitly for painting on glass surfaces. These paints often come in a variety of finishes, including transparent, translucent, and opaque, allowing for a wide range of creative possibilities. They are formulated to adhere well to glass and typically require curing through baking or air-drying to achieve durability. The beauty of specialized glass paints lies in their ability to enhance the natural transparency of glass, making them ideal for creating intricate designs and patterns.
To summarize, here’s a quick comparison of the three types of paints:
| Type of Paint | Advantages | Disadvantages |
|---|---|---|
| Acrylics | Quick drying, easy cleanup, vibrant colors | May require special formulations for glass |
| Oils | Rich texture, depth, excellent blending | Long drying time, requires solvents for cleanup |
| Specialized Glass Paints | Designed for glass, various finishes | May require curing, limited availability |
Ultimately, the choice of paint depends on your artistic style and the effect you wish to achieve. Whether you lean toward the quick-drying convenience of acrylics, the depth of oils, or the specialized nature of glass paints, each option has its unique charm. Experimenting with different types can lead to exciting discoveries and help you find the perfect medium for your glass painting journey.
- Can I use regular paint on glass? - Regular paint may not adhere well to glass and can chip or peel over time. It's best to use paints specifically designed for glass.
- How do I clean my glass painting brushes? - For acrylics, wash brushes with soap and water. For oils, use a solvent like turpentine. Specialized glass paints may require specific cleaners, so check the manufacturer's instructions.
- Do I need to prime the glass before painting? - Priming is not always necessary, but cleaning the glass thoroughly is crucial to ensure proper paint adhesion.

Brushes and Tools
When it comes to painting glass, the tools you choose can make all the difference in achieving that stunning, sparkling effect. Just like a chef needs the right knives to create a culinary masterpiece, an artist requires specific brushes and tools to bring their vision to life on glass. So, what should you be looking for? Let's dive into the essentials!
First and foremost, the type of brush you use is critical. For painting glass, soft-bristle brushes are your best friends. They allow for gentle strokes that can mimic the smooth surface of glass. Look for brushes that are specifically designed for fine detail work, such as round brushes and liner brushes. These brushes are perfect for creating intricate designs and capturing the delicate nuances of light and shadow on glass. A good rule of thumb is to have a variety of sizes on hand—from small detail brushes to larger ones for broader strokes.
But wait, there’s more! Beyond just brushes, consider investing in sponges and palette knives. Sponges can be excellent for creating texture and softening edges, while palette knives allow you to apply paint in a more controlled manner, especially when layering colors. If you want to add some unique flair to your glass paintings, try using fan brushes for a textured effect that mimics the reflective qualities of glass.
Now, let’s talk about the surfaces and mediums. While glass itself is the primary surface, preparing it properly is essential. You might want to use a glass primer to ensure that your paint adheres well. This step is often overlooked but can significantly impact your final outcome. Additionally, consider using a glass palette for mixing your paints. It not only provides a smooth surface for blending but also allows you to see how the colors will appear on glass.
Finally, don’t forget about the cleanup tools! Painting on glass can be a bit messy, so having some paper towels and solvent on hand will help you maintain a clean workspace. You might also want to have a water container for rinsing your brushes. Keeping your tools clean ensures that you can switch colors without muddying your palette, allowing your vibrant glass artwork to shine through.
In summary, the right brushes and tools can elevate your glass painting experience from ordinary to extraordinary. By selecting soft-bristle brushes, incorporating sponges and palette knives, using proper surface preparation, and maintaining cleanliness, you’ll be well on your way to creating stunning glass art that sparkles and shines.
- What type of paint is best for glass painting? Specialized glass paints are recommended for their adherence and finish, but acrylics can also work if properly prepared.
- Can I use regular brushes for glass painting? It's best to use soft-bristle brushes designed for detail work to achieve the best results.
- How do I clean my brushes after painting on glass? Rinse your brushes in water or solvent immediately after use to prevent the paint from drying on the bristles.

Surface Preparation
When it comes to painting glass, is not just a step; it's a crucial foundation for achieving stunning results. Think of it as the canvas for your masterpiece. If the surface isn’t properly prepared, your beautiful paint job could end up looking dull or even peel off. So, how do we ensure our glass is ready for that sparkling touch?
First and foremost, cleaning the glass is essential. Dust, fingerprints, and any residue can interfere with paint adhesion. Use a glass cleaner or a mixture of vinegar and water to wipe down the surface thoroughly. A lint-free cloth works wonders here, ensuring no fibers are left behind. After cleaning, give it a moment to dry completely. This step is vital; moisture can create havoc with your paint.
Next, consider priming the glass. While not all paints require a primer, using one can significantly enhance the durability of your artwork. A good primer creates a rough surface for the paint to grip onto, which is especially helpful for acrylics. Look for a primer specifically designed for glass or non-porous surfaces. Apply it evenly and allow it to cure as per the manufacturer’s instructions.
Once your glass is clean and primed, it’s time to think about the environment in which you’ll be painting. Ensure you’re working in a well-ventilated area, as some paints can emit strong fumes. Additionally, consider the lighting; natural light can help you see the true colors and effects of your paint as you work, giving you a clearer vision of your end goal.
Now, let’s talk about the tools. Using the right tools can make all the difference when painting glass. A variety of brushes can help you achieve different effects, but before diving into the painting process, make sure to have everything you need at your fingertips. Here’s a quick overview of what you might need:
| Tool | Purpose |
|---|---|
| Lint-free cloth | For cleaning the glass surface |
| Glass cleaner or vinegar solution | To remove dirt and oils |
| Glass primer | To improve paint adhesion |
| Various brushes | For different painting techniques |
| Palette | To mix paints |
In summary, preparing the glass surface is a multi-step process that lays the groundwork for your painting. By ensuring the glass is clean, primed, and that you have the right tools, you set yourself up for success. Remember, just like a chef wouldn’t start cooking without prepping their ingredients, you shouldn’t begin painting without adequately preparing your glass. Now that you have your surface ready, let’s dive into the exciting world of painting techniques!
- Do I need to prime the glass before painting? Yes, priming is recommended to enhance paint adhesion and durability.
- Can I use regular paint on glass? While you can, it's best to use paints specifically designed for glass for optimal results.
- How do I clean the glass after painting? Use mild soap and water, avoiding harsh chemicals that could damage the paint.
- Is it necessary to work in a ventilated area? Absolutely! Ventilation helps reduce exposure to fumes from the paint.
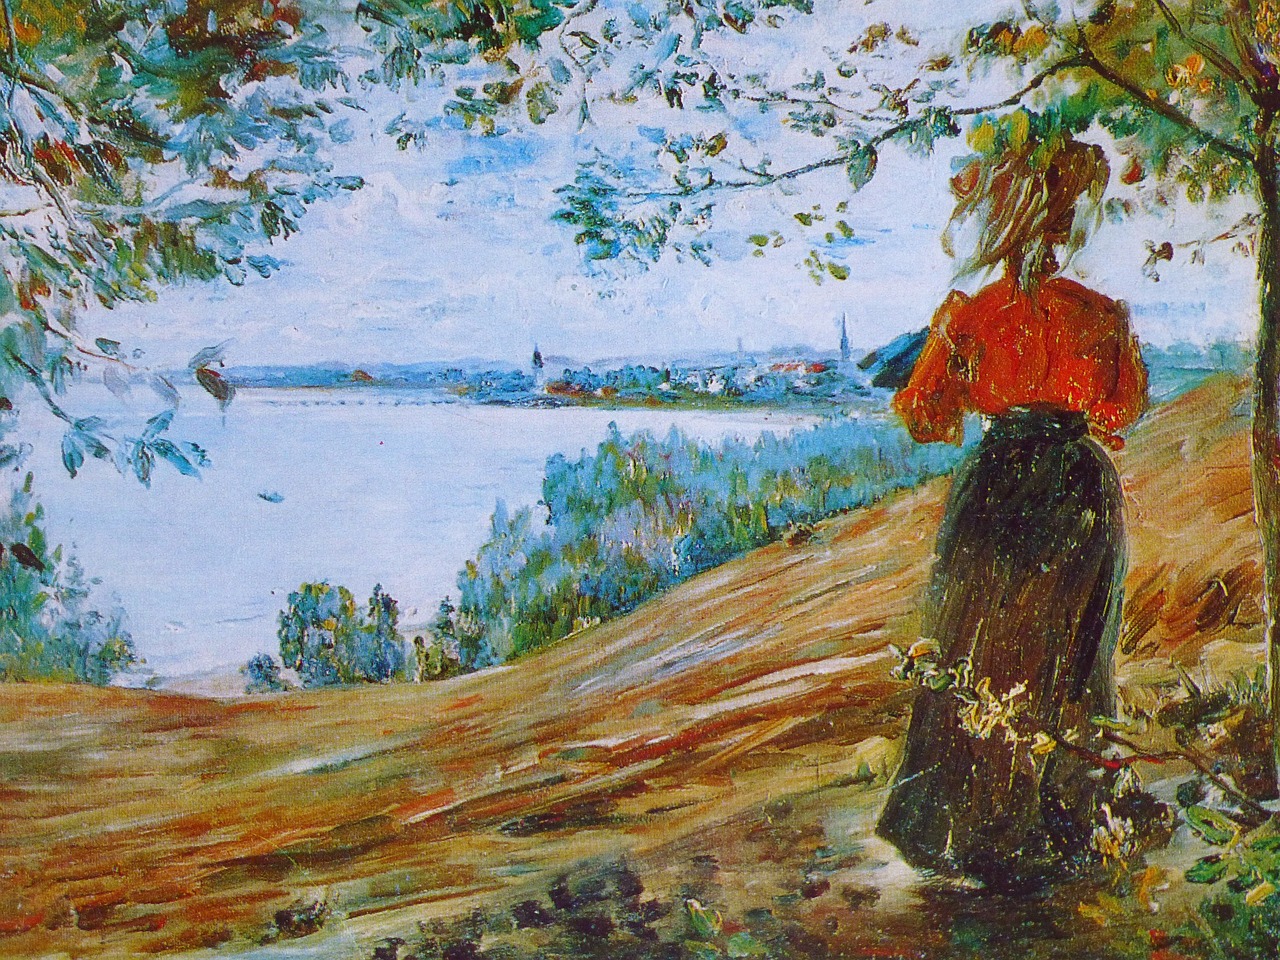
Techniques for Realistic Effects
When it comes to painting glass, achieving a realistic effect is all about mastering specific techniques that bring your artwork to life. One of the most effective methods is layering. This technique involves applying multiple thin coats of paint, allowing each layer to dry before adding the next. By doing so, you create a sense of depth that mimics the way light interacts with real glass. Think of it like building a sandwich; each layer adds flavor and texture, making the final product much more satisfying.
Another essential technique is glazing. This involves using transparent or semi-transparent paint to create a luminous effect. Glazing allows the colors underneath to show through, which is particularly useful for capturing the transparency of glass. Imagine looking through a tinted window; the colors on the other side are still visible, but they take on a different hue. By incorporating glazing into your glass painting process, you can replicate this beautiful effect, enhancing the overall realism.
Highlighting is also crucial for achieving that sparkling effect. Adding highlights to your glass paintings can create the illusion of light reflecting off the surface. Use a small brush to apply a lighter color or pure white to the areas where light would naturally hit the glass. This technique is akin to adding the final touches to a masterpiece; it’s what makes the artwork pop! Remember, the placement of highlights is vital; consider the light source in your composition to ensure they appear natural.
To further enhance your glass paintings, consider the use of texture. While glass is often smooth, incorporating subtle textures can add realism and interest. You might use a sponge or a dry brush technique to create the illusion of imperfections or reflections on the glass surface. This method can be particularly effective when painting objects like bottles or vases, where the texture can contribute to the overall feel of the piece.
Lastly, don't underestimate the importance of practice. The more you experiment with these techniques, the more proficient you'll become. Try different combinations of layering, glazing, highlighting, and texturing to see what works best for your style. Remember, each painting is a unique journey, and sometimes the most surprising results come from stepping outside your comfort zone.
- What type of paint is best for glass painting? Acrylic paints are often recommended for their versatility and ease of use, but specialized glass paints can offer unique effects.
- Do I need to prime the glass before painting? Yes, cleaning and priming the glass surface is essential for paint adhesion and achieving the best results.
- How can I create realistic reflections in my glass paintings? Focus on observing real glass objects and replicate the way light interacts with them; layering and glazing techniques can help achieve this.
- Can I use regular brushes for glass painting? While you can use regular brushes, investing in high-quality brushes designed for fine detail work can make a significant difference in your results.

Incorporating Light and Shadow
When it comes to painting glass, one of the most essential aspects to consider is the interplay of light and shadow. These elements are not just mere afterthoughts; they are the very foundation that brings your glass artwork to life. Imagine walking into a room filled with sunlight streaming through a window, casting beautiful shadows and reflections on the floor. This natural phenomenon is what you want to replicate in your paintings. By effectively incorporating light and shadow, you can enhance the three-dimensional quality of your glass pieces, making them appear more realistic and captivating.
To achieve this, it’s vital to understand how light interacts with glass. Glass is a transparent medium, meaning that it allows light to pass through, but it also reflects and refracts it. When you paint, you need to consider the direction of the light source and how it affects the glass object. For instance, if your light source is coming from the left, the right side of your glass will be darker, creating a natural shadow. Conversely, the left side will be brighter, reflecting the light. This simple understanding can drastically change the effectiveness of your painting.
Another crucial aspect to consider is the color of the shadows. Shadows are often thought to be merely gray or black, but in reality, they can take on hues that reflect the colors of the surrounding environment. For example, if you are painting a glass vase sitting on a wooden table, the shadow cast by the vase will likely have warm brown tones, reflecting the color of the table beneath it. By mixing colors that complement the hues in your painting, you can create shadows that feel more organic and believable.
To help you visualize the incorporation of light and shadow in your glass paintings, here’s a simple table summarizing the key points:
| Element | Description |
|---|---|
| Light Source | Identify where the light is coming from to determine highlights and shadows. |
| Reflection | Paint bright spots where light hits the glass directly. |
| Refraction | Consider how light bends as it passes through the glass. |
| Shadow Color | Use colors from the environment to create realistic shadows. |
Finally, don’t forget to experiment with different techniques to convey depth and dimension. For instance, layering your paint can create a richer texture, while glazing can add a translucent quality that mimics the way light passes through glass. By playing with these methods, you can achieve stunning results that leave viewers in awe of your talent.
Q: What is the best way to start painting glass?
A: Begin by understanding the properties of glass, such as transparency and reflection. Experiment with different light sources and observe how they affect your subject.
Q: Can I use regular acrylic paints on glass?
A: Yes, but it’s advisable to use paints specifically designed for glass to achieve the best results. These paints adhere better and provide a more vibrant finish.
Q: How do I create realistic reflections in my glass paintings?
A: Pay attention to the light source and the surrounding environment. Use lighter colors where the light hits and darker shades where shadows fall to create depth.
Q: Is it necessary to prime the glass surface before painting?
A: Priming is not always necessary, but cleaning the glass thoroughly is essential for paint adhesion. A primer can help if you’re using certain types of paint.

Creating Reflections
When it comes to painting glass, one of the most captivating aspects is the reflection. Reflections breathe life into your artwork, creating a sense of realism that can transport viewers into the scene. But how do you achieve this shimmering effect? It’s all about understanding the interplay of light, color, and surface. Think of glass as a mirror that not only reflects its surroundings but also distorts them slightly, adding an element of intrigue.
To begin, consider the environment surrounding the glass object. What colors and shapes are present? When painting reflections, it’s important to observe and replicate these elements accurately. Start by sketching the basic outline of your glass object, and then lightly map out where the reflections will go. This will serve as your roadmap, guiding you through the painting process.
One effective technique is to use a layering method. Begin with a base layer of color that reflects the predominant hues in the surrounding environment. For instance, if you're painting a clear glass vase on a table with a red tablecloth, your initial layer should include a subtle wash of red to mimic the reflection. Once this layer dries, you can build upon it with lighter and darker shades to create depth. This is where the magic happens—adding highlights and shadows can transform a flat surface into a three-dimensional object.
Additionally, consider the use of glazing. Glazing involves applying thin, transparent layers of paint over your initial work. This technique can enhance the luminosity of your reflections, making them appear more vibrant and lifelike. For example, a thin layer of blue glaze can simulate the reflection of a sky, while a warm yellow glaze can evoke sunlight bouncing off the glass surface.
Another important aspect of creating reflections is the brush technique. A soft, round brush is ideal for blending colors seamlessly, while a fine liner brush is perfect for adding intricate details. Remember to keep your strokes light and fluid, as heavy-handedness can lead to harsh lines that detract from the delicate nature of glass.
To summarize, here are some key points to keep in mind when creating reflections in your glass paintings:
- Observe your surroundings: Take note of the colors and shapes that will reflect in the glass.
- Layering is crucial: Start with a base color and gradually build up layers for depth.
- Utilize glazing: Thin layers of transparent paint can add luminosity.
- Choose the right brushes: Use soft brushes for blending and fine brushes for details.
By incorporating these techniques, you’ll be well on your way to mastering the art of reflections in your glass paintings. Remember, the key is to experiment and find what works best for your style. Each brushstroke is an opportunity to enhance the realism and beauty of your artwork, so embrace the process and let your creativity shine!
Q: What type of paint is best for creating reflections on glass?
A: Specialized glass paints or acrylics work best for creating reflections due to their ability to adhere well and provide vibrant colors.
Q: How can I make my reflections look more realistic?
A: Focus on layering colors, using glazing techniques, and paying attention to the light source in your composition.
Q: Do I need to use a specific type of brush for painting reflections?
A: Yes, a combination of soft round brushes for blending and fine liner brushes for details will yield the best results.
Shadow Techniques
Shadows are more than just dark shapes on a canvas; they are essential elements that help to ground your glass artwork in reality. When you paint glass, understanding how to portray shadows effectively can transform a flat image into a three-dimensional masterpiece. Think of shadows as the silent partners in your artwork; they enhance the story your painting tells. So, how do you create shadows that complement your glass pieces? Let’s dive into some effective techniques!
First off, it's important to observe how light interacts with glass. Glass is transparent, but it also reflects and refracts light, creating complex shadow patterns. To replicate this in your paintings, consider the following techniques:
- Soft Edges: Use a dry brush technique or a soft blending tool to create shadows with soft edges. This mimics the way light gently fades as it passes through or around glass.
- Color Variation: Shadows aren't just gray or black. Depending on your light source, shadows may take on hues from the surrounding environment. Experiment with colors that reflect the objects around your glass piece, such as blues from the sky or greens from nearby foliage.
- Layering: Build your shadows in layers. Start with a light wash of color, and gradually add darker tones to create depth. This technique can add a realistic quality to your shadows, making them appear more dynamic and engaging.
Another effective approach is to consider the light source's position. Is it coming from above, below, or the side? The angle of your light source will determine where the shadows fall. For instance, if your light source is above, expect longer shadows below the glass object. Conversely, if the light is coming from the side, the shadows will stretch away from the light source. This understanding will help you accurately depict the shadows in your artwork.
To further enhance your shadow techniques, pay attention to the surface on which the glass sits. A reflective surface will create sharper shadows, while a textured surface will diffuse them. For example, if your glass is placed on a wooden table, the shadows will have a different quality compared to if it were on a shiny countertop. You can even experiment with different surface textures in your paintings to see how they affect the shadows.
Finally, don't forget to step back and evaluate your work from a distance. Sometimes, shadows that look perfect up close may not read well from afar. Adjusting the intensity and color of your shadows can significantly improve the overall composition of your painting. Remember, shadows are not just about darkness; they are about creating a sense of space and dimension. So, take your time to refine them, and watch your glass paintings come to life!
Q: What type of paint is best for creating shadows on glass?
A: Acrylic paints are often preferred for glass because they dry quickly and can be easily layered. However, oil paints can also work well if you prefer a longer drying time for blending.
Q: How can I make my shadows look more realistic?
A: Focus on color variation and soft edges. Use a mix of colors from the environment and experiment with blending techniques to create shadows that mimic real-life lighting conditions.
Q: Should I use black paint for shadows?
A: While black can be used sparingly, it’s often more effective to use darker shades of colors found in the surrounding environment. This adds depth and realism to your shadows.
Creative Ideas for Glass Paintings
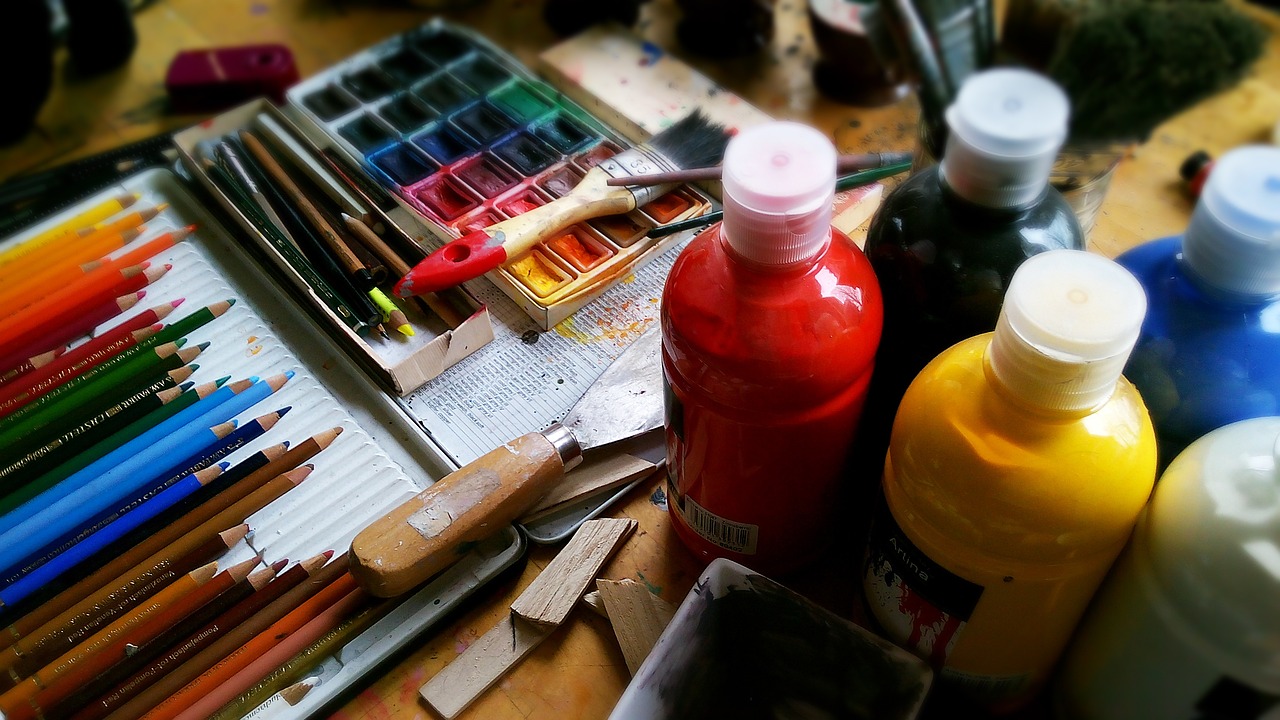
When it comes to glass paintings, the possibilities are as vast as your imagination. The beauty of glass lies in its ability to reflect and refract light, creating a mesmerizing effect that can transform any artwork into something truly spectacular. Whether you're a seasoned artist or just starting out, there are countless ways to explore this medium. Let's dive into some creative ideas that will not only ignite your artistic passion but also challenge your skills.
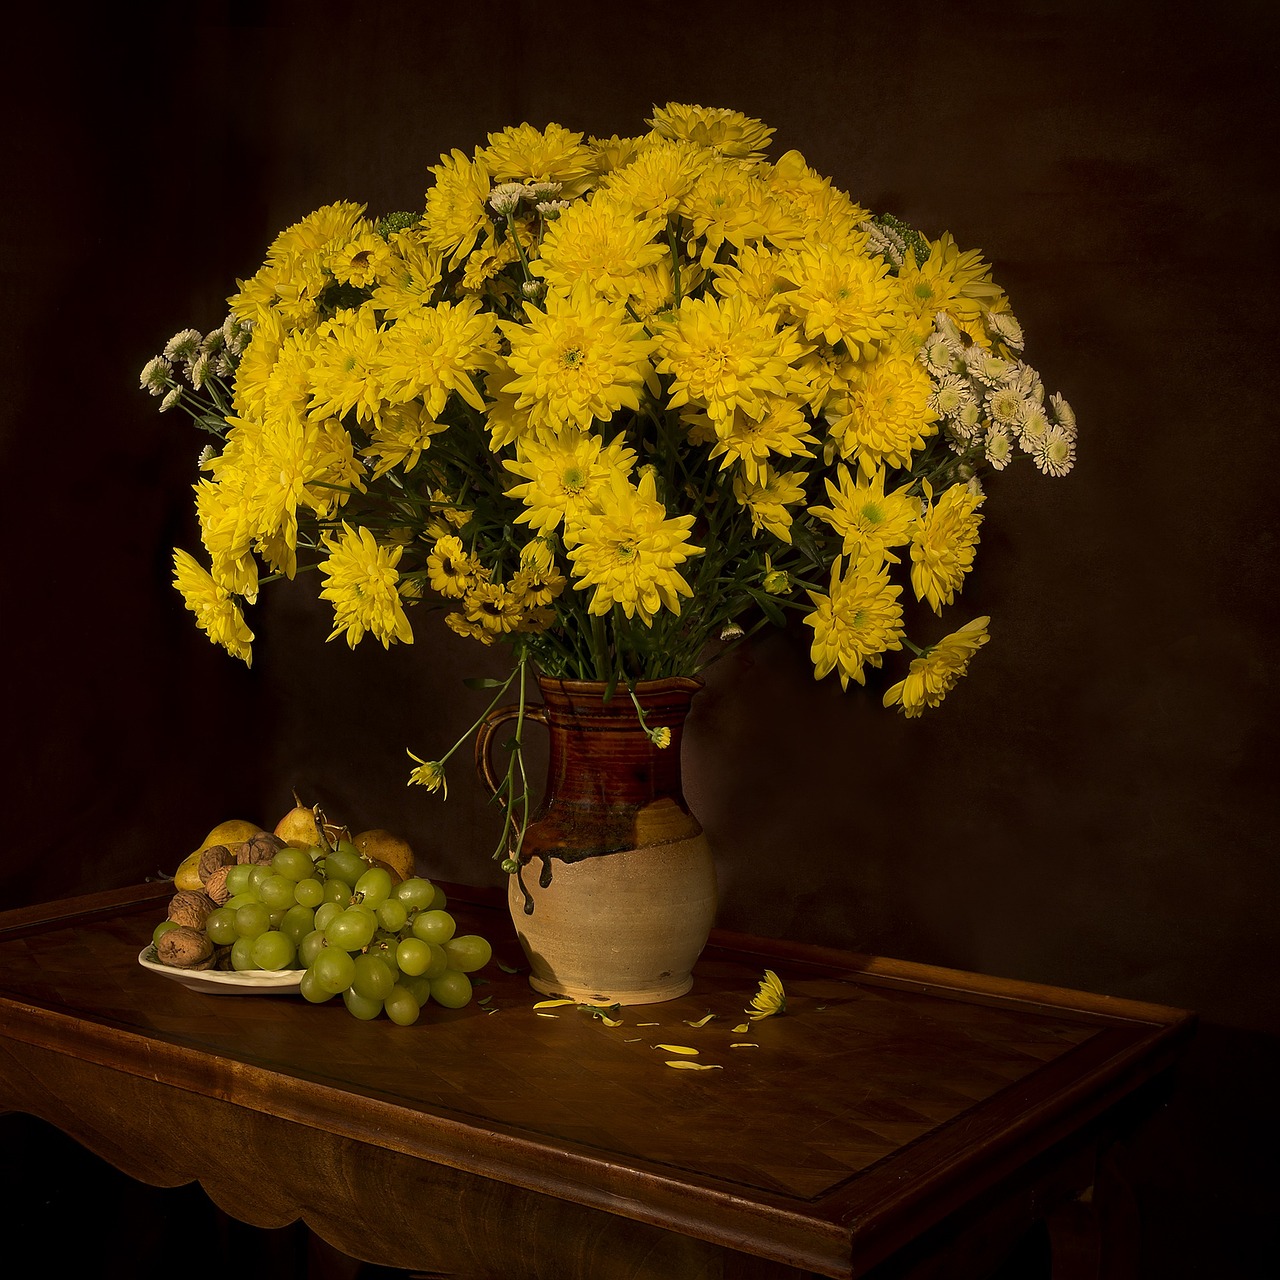
One of the most popular themes for glass paintings is still life compositions. Imagine a table adorned with a variety of glass objects, each reflecting the light in unique ways. To create a stunning still life, consider arranging your glass pieces in a way that emphasizes their shapes and colors. Use contrasting elements, such as dark fruits or vibrant flowers, to make the glass pop. When painting, focus on capturing the transparency and reflections of each object. This not only enhances the realism but also adds a dynamic quality to your work.
Another exciting avenue to explore is abstract glass art. This style allows for more freedom and creativity, letting you play with colors, shapes, and textures without the constraints of realism. For instance, you can create a piece that focuses on the interplay of light and color by layering different hues of paint to mimic the way light passes through glass. Think of it as a dance of colors, where each stroke contributes to a vibrant tapestry that draws the viewer in. The beauty of abstract art lies in its ability to evoke emotion and provoke thought, making it a perfect choice for glass paintings.
For those looking to push the boundaries of traditional glass painting, consider experimenting with mixed media. Combining glass paints with materials such as metallic inks, glitter, or even textured pastes can create a multi-dimensional effect that is truly captivating. This approach not only adds depth to your artwork but also invites viewers to engage with it on different levels. Imagine a piece that shimmers and shines under different lighting conditions, revealing new details and textures with each glance.
To inspire your creativity further, here are some unique concepts for glass-themed paintings:
- Glass in Nature: Capture the beauty of glass objects in natural settings, like a glass vase filled with flowers surrounded by foliage.
- Glass Architecture: Explore the elegance of glass buildings or structures, focusing on their reflections against the sky.
- Fantasy Glass Worlds: Let your imagination run wild by creating whimsical glass landscapes or creatures.
Remember, the key to successful glass painting lies in your ability to observe and interpret the world around you. Take the time to study how light interacts with glass in real life. Use reference photos or even set up your own still life to practice. The more you understand the properties of glass, the more effectively you'll be able to translate that into your artwork.
Q: What type of paint is best for glass painting?
A: Specialized glass paints are often recommended for their ability to adhere to glass surfaces and provide a glossy finish. However, acrylics can also work well if properly prepared.
Q: Do I need to prime the glass before painting?
A: Yes, cleaning and possibly priming the glass surface is crucial for ensuring paint adhesion and achieving the best results.
Q: How can I achieve realistic reflections in my glass paintings?
A: Focus on observing how light reflects off the glass objects in real life. Use layering techniques to build up the reflections and create depth.
Q: Can I use other materials in my glass paintings?
A: Absolutely! Mixing different media, such as metallic inks or textured pastes, can enhance your glass paintings and create unique effects.
Still Life Compositions
Creating still life compositions featuring glass can be an exhilarating experience for any artist. The challenge lies in capturing the intricate beauty and translucence of glass objects, which often reflect and refract light in mesmerizing ways. To achieve stunning results, it's essential to consider not only the arrangement of the glass items but also the surrounding elements that will complement their elegance. Think of your still life as a symphony where each piece plays its part, contributing to a harmonious visual melody.
When arranging your glass objects, consider the following tips to maximize visual impact:
- Vary Heights: Use objects of different heights to create a dynamic composition. This variation draws the viewer's eye and adds interest.
- Use Color Wisely: Incorporate colored glass or surrounding items that contrast with the glass to enhance its sparkle. For example, a deep blue vase can beautifully contrast against a vibrant orange fruit.
- Layering: Place objects at varying depths to create a sense of depth. This layering effect can add dimension and intrigue to your painting.
Additionally, consider the background and lighting of your composition. A neutral or textured background can help the glass stand out, while natural light can create stunning reflections and shadows that add to the overall effect. Experimenting with different light sources can lead to unexpected and delightful results, transforming your artwork into something truly captivating.
To further enhance your still life painting, don't forget about the importance of negative space. The areas surrounding your glass objects can be just as important as the objects themselves. By leaving some areas of the canvas blank or lightly painted, you can create a sense of balance and allow the glass objects to shine even brighter.
Ultimately, the beauty of still life compositions featuring glass lies in the details. Take your time to observe how light interacts with your glass objects, and let that guide your brush. With practice and patience, you will create pieces that not only depict glass but also evoke a sense of wonder and admiration in your viewers.
Q: What types of glass work best for still life compositions?
A: Clear glass, colored glass, and textured glass can all work beautifully. Each type will reflect light differently, so choose according to the effect you want to achieve.
Q: How can I improve my skills in painting glass?
A: Practice is key! Start with simpler forms and gradually work your way up to more complex compositions. Observing real-life glass objects and studying their reflections and shadows will also enhance your skills.
Q: What lighting is best for painting glass?
A: Natural light is often the best choice, as it provides a soft and dynamic quality. However, experimenting with artificial lighting can yield interesting results, especially with colored glass.

Abstract Glass Art
Creating is like diving into a world of color and imagination where the boundaries of reality blur. This artistic approach allows you to explore the essence of glass without being tied to traditional representations. Think of it as painting a beautiful dream; the goal isn't to recreate a specific object but to evoke feelings and emotions through your use of color, shape, and light.
One of the most exciting aspects of abstract glass art is the freedom it offers. You can play with transparency and opacity, layering different colors to create a sense of depth. Imagine using vibrant hues that mimic the way light dances through a glass prism, scattering rainbows across your canvas. By focusing on the interplay of colors, you can create a piece that feels alive and dynamic, inviting viewers to lose themselves in its depths.
To start your journey into abstract glass art, consider the following techniques:
- Layering: Begin with a base layer of color, allowing it to dry before adding additional layers. This technique enhances depth, mimicking the way light passes through real glass.
- Glazing: Use transparent paints to glaze over dried layers. This method adds luminosity and can create beautiful effects reminiscent of stained glass.
- Splattering: For a more spontaneous feel, try splattering paint onto your canvas. This technique can mimic the irregularities found in glass surfaces.
Moreover, don't shy away from experimenting with different tools. A palette knife or even a sponge can yield unexpected textures and effects, adding another dimension to your work. The goal is to capture the essence of glass—its ability to reflect, refract, and transform light.
As you create, think about how you can incorporate elements of movement into your abstract glass art. Perhaps you want to suggest the swirling motion of light through a glass sculpture or the way shadows play across a surface. By integrating these elements, you can create a composition that feels both vibrant and fluid, drawing the viewer's eye across the canvas.
Lastly, remember that abstract art is subjective. What resonates with you may not resonate with someone else, and that's perfectly okay! Embrace the process and allow your creativity to flow. Each brushstroke is a step closer to capturing the magical allure of glass in your own unique style.
Frequently Asked Questions
- What type of paint is best for painting glass?
When it comes to painting glass, specialized glass paints are often the best choice as they are designed to adhere well and provide a vibrant finish. However, acrylic paints can also work effectively if used with a proper primer. Oils can be used too, but they may take longer to dry and require more skill to handle.
- How do I prepare the glass surface for painting?
Preparing the glass surface is crucial for achieving the best results. Start by cleaning the glass thoroughly with soap and water to remove any dust or grease. After drying, you can lightly sand the surface for better paint adhesion. Some artists also prefer to apply a primer specifically designed for glass to ensure a smooth painting experience.
- Can I achieve a transparent effect while painting glass?
Absolutely! To create a transparent effect, use layering techniques and glazing. Start with a thin base layer and gradually build up your colors, allowing each layer to dry before adding the next. This method mimics the light refraction seen in real glass, giving your artwork depth and realism.
- What brushes are best for painting glass?
The best brushes for painting glass are those with soft bristles, such as synthetic or watercolor brushes. Flat brushes are great for broad strokes, while detail brushes work well for intricate designs. Make sure to choose the right size based on the level of detail you want to achieve in your painting.
- How can I create reflections in my glass paintings?
Creating reflections involves observing the light source and how it interacts with the glass object. Use lighter shades of your base color to paint areas where light hits the glass, and blend these with darker shades to suggest depth. This technique will give your painting a dynamic and realistic look.
- What are some creative ideas for glass-themed paintings?
There are endless possibilities when it comes to glass-themed paintings! You could explore still life compositions featuring glass vases or bottles, or dive into abstract art that emphasizes transparency and color. Think about incorporating everyday objects or even experimenting with light effects to create unique pieces that captivate the viewer.


