Simple Painting Techniques to Try Today
Are you ready to unleash your inner artist? Painting can be a delightful way to express yourself, and the best part is, you don’t need to be a professional to create something beautiful! Whether you're a complete novice or someone looking to refine your skills, this guide will explore various painting techniques that are simple yet effective. You’ll discover methods that not only enhance your artistic skills but also ignite your creativity. So, grab your brushes and let’s dive into the colorful world of painting!
Watercolor painting is an enchanting way to start your artistic journey. With its fluidity and transparency, it allows you to create stunning pieces with just a few basic techniques. Let’s break down the foundational methods that every watercolor artist should know: the wet-on-wet and wet-on-dry techniques. The wet-on-wet technique involves applying water to your paper before adding paint, which results in soft, blended colors that flow into each other beautifully. On the other hand, the wet-on-dry technique involves painting on dry paper, allowing for more defined edges and sharper details. Both methods provide unique outcomes, and experimenting with them can lead to breathtaking results!
Now, let’s step into the vibrant world of acrylic pouring! This technique has gained popularity for its ability to create stunning abstract art with mesmerizing colors and patterns. The beauty of acrylic pouring lies in its unpredictability; you never quite know how the colors will interact until the paint is poured! To get started, you’ll need a few materials: acrylic paints, a pouring medium, and a canvas. You can also use tools like cups for mixing and a torch to eliminate bubbles. Ready to get pouring? Let’s explore some exciting methods!
The dirty pour method is a thrilling approach where you mix multiple colors in one cup and then pour them onto the canvas. This technique creates beautiful, unpredictable patterns that can be both exciting and visually appealing. Imagine swirling colors blending into one another, creating a unique masterpiece right before your eyes! The key to mastering this method is to experiment with different color combinations and pouring techniques. Remember, the magic often happens when you least expect it!
When it comes to the dirty pour method, choosing the right colors is crucial. A harmonious color palette can make all the difference in your artwork. Consider selecting colors that complement each other, such as analogous colors (those that sit next to each other on the color wheel) or contrasting colors (those opposite each other). This can enhance the overall aesthetic of your piece and ensure it catches the viewer's eye. Don't be afraid to experiment; sometimes, the most unexpected combinations yield the most stunning results!
Layering different pours can add depth and dimension to your painting. By allowing some layers to dry before adding more on top, you create a rich, textured effect that draws the viewer in. Consider using a palette knife or a straw to manipulate the paint between layers, creating interesting shapes and effects. The beauty of acrylic pouring lies in its versatility; each layer tells a story, and the final piece is a culmination of your creative journey!
The swiping technique is another exciting method that allows you to manipulate the paint on your canvas. By using a tool like a palette knife or even a piece of cardboard, you can swipe across the surface of the wet paint, creating interesting textures and designs. This method is fantastic for adding unique elements to your artwork, making it stand out. Think of it as icing a cake; you’re spreading the paint to create a beautiful finish!
Mastering various brush techniques can significantly enhance your painting skills. From dry brushing to stippling, these methods will add depth and texture to your artwork. Each technique has its unique flair, and understanding how to use them effectively can elevate your paintings from ordinary to extraordinary.
Dry brushing involves using a dry brush to apply paint, resulting in a textured, subtle effect. This technique is perfect for adding highlights and details to your paintings. Imagine gently dragging a brush across the canvas, allowing the bristles to catch the texture underneath, creating a soft, ethereal look. It’s a fantastic way to add dimension, especially in landscapes or portraits!
Stippling is a technique that uses small dots of paint to create images. This method can add intricate detail and texture, making it an excellent choice for various artistic styles. Think of it as creating a mosaic, where each tiny dot contributes to the bigger picture. The more you practice stippling, the more you’ll discover how to use it to bring your artwork to life!
- What materials do I need to start painting? You’ll need basic supplies like brushes, paints (watercolor or acrylic), canvas or paper, and a palette for mixing colors.
- Can I use regular paints for pouring techniques? While acrylic paints are recommended for pouring, you can experiment with other types, but the results may vary.
- Do I need to be an experienced artist to try these techniques? Absolutely not! These techniques are designed for everyone, from beginners to advanced artists. Just have fun and enjoy the process!
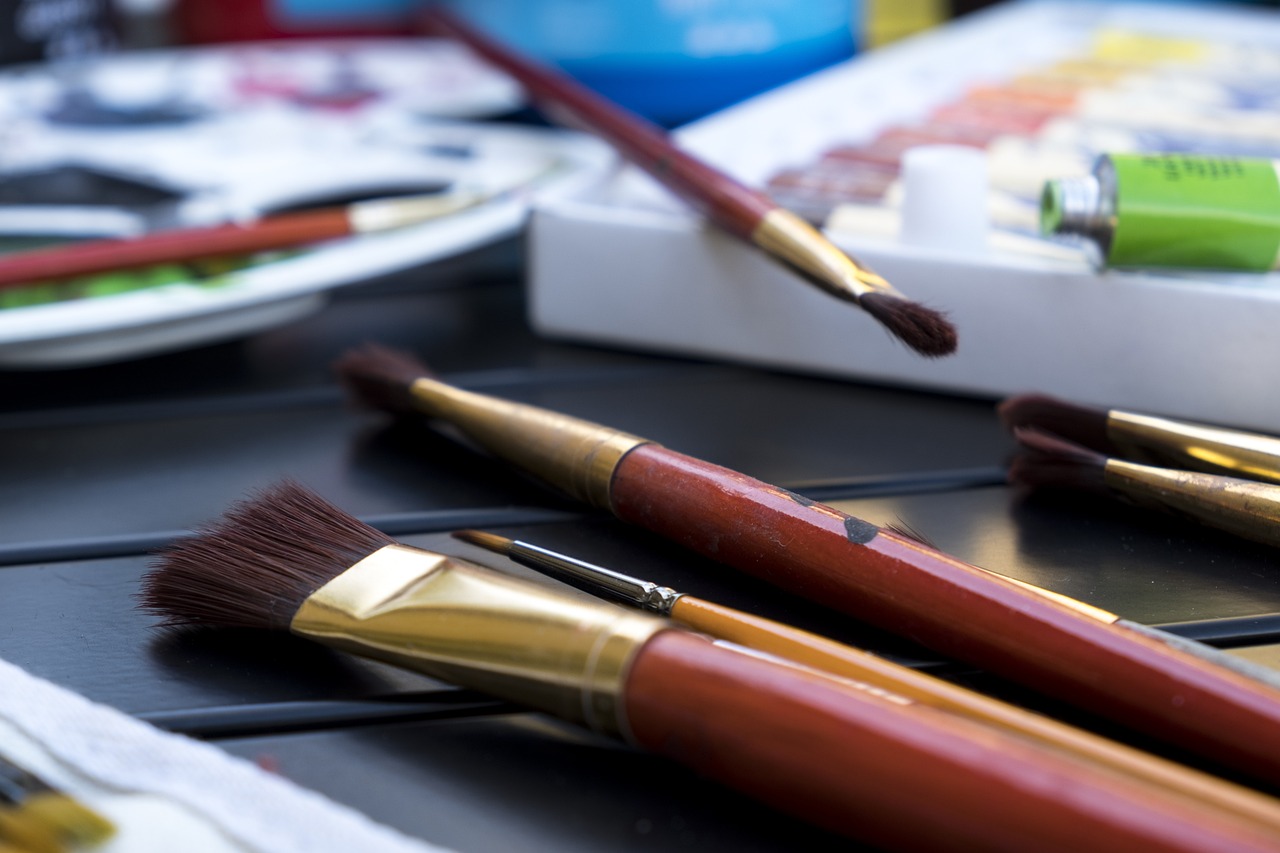
Watercolor Basics
Watercolor painting is a delightful and accessible medium that allows artists to express their creativity with fluidity and grace. Whether you’re a complete newbie or someone looking to refine your skills, understanding the foundational techniques of watercolor can open up a world of artistic possibilities. One of the essential techniques to grasp is the wet-on-wet method, where you apply wet paint onto a wet surface. This technique results in beautiful, soft edges and blends that can create dreamy landscapes or ethereal skies. Imagine the way colors swirl and dance together on the paper, much like clouds drifting in a gentle breeze.
On the flip side, we have the wet-on-dry technique, which involves applying wet paint onto dry paper. This method allows for sharper lines and more defined shapes, making it perfect for creating detailed elements in your artwork. Think of it as the difference between a soft whisper and a bold shout; both have their place and can evoke different feelings in your paintings. By mastering these two techniques, you can begin to explore the vast array of effects and styles that watercolor has to offer.
To get started, you’ll need some basic supplies. Here's a quick list to guide you:
- Watercolor paper: Choose a heavy-weight paper that can handle water.
- Watercolor paints: You can use tubes or pans, but make sure they are high-quality for the best results.
- Brushes: A variety of brushes in different sizes will help you achieve different effects.
- Water container: Essential for rinsing brushes and adjusting paint consistency.
- Paper towels: Handy for blotting and correcting mistakes.
Once you have your materials ready, it’s time to practice! Start with simple shapes and colors, allowing yourself to experiment without the pressure of creating a masterpiece. Remember, watercolor is all about exploration and discovery. You might find that some of your best work comes from happy accidents, like a splash of water that creates unexpected textures or a color blend that surprises you. So, grab your brushes and let the colors flow!
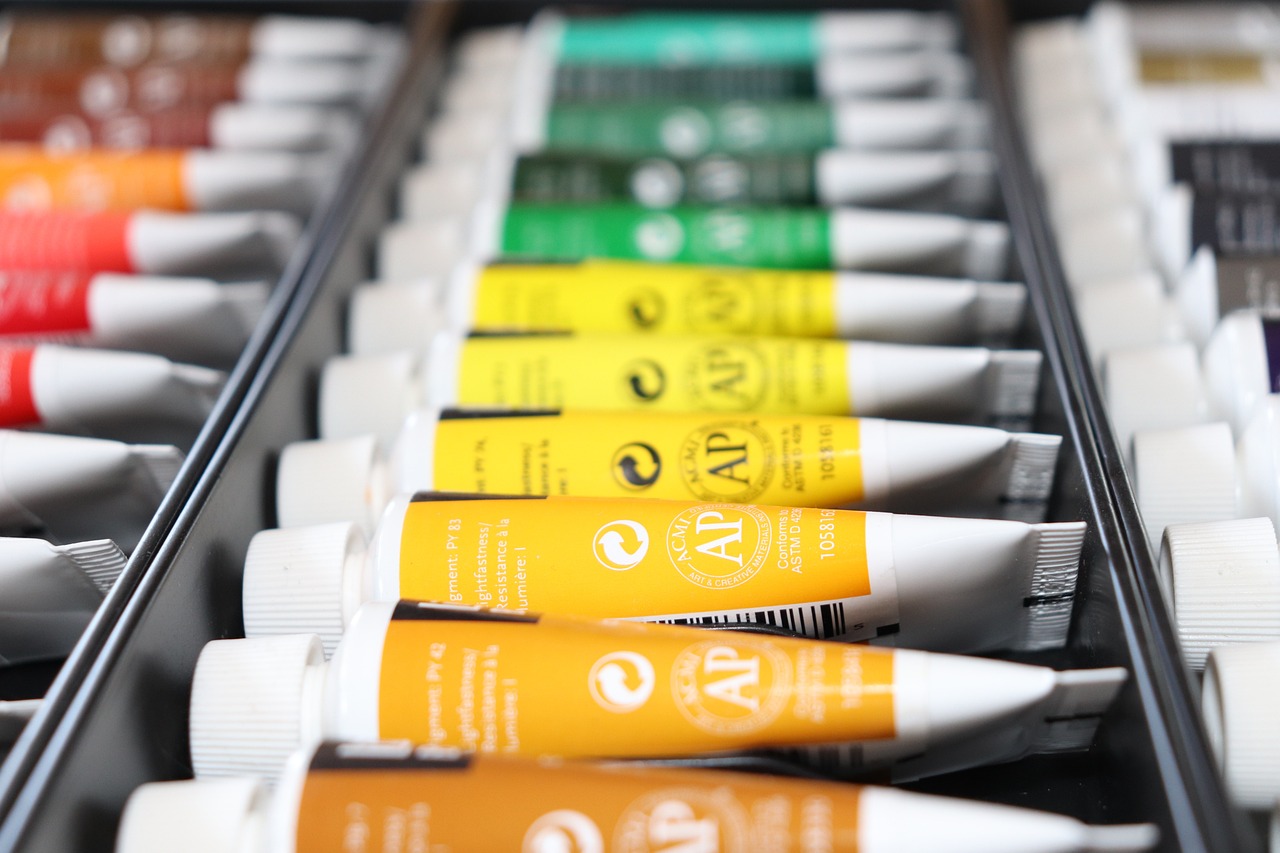
Acrylic Pouring Techniques
Acrylic pouring is an exhilarating and vibrant form of abstract art that allows you to unleash your creativity without the constraints of traditional painting. Imagine pouring a cascade of colors onto a canvas, and watching them dance and blend together in mesmerizing patterns. Whether you're a novice or a seasoned artist, acrylic pouring techniques can elevate your artistic expression to new heights. In this section, we'll explore various methods, materials, and tips to help you create stunning artwork that captures the imagination.
Before diving into the techniques, it's important to gather the right materials. You'll need:
- Acrylic paints in various colors
- Pouring medium (to achieve the right consistency)
- Canvas or a suitable pouring surface
- Cups for mixing paints
- Stir sticks
- Protective covering for your workspace
Now that you're equipped with the essentials, let's get into the exciting world of pouring techniques. Each method offers unique results, allowing you to explore different styles and effects.
The dirty pour method is one of the most popular techniques in acrylic pouring. This involves mixing multiple colors in a single cup before pouring them onto your canvas. The beauty of this method lies in the unexpected results it produces. As you pour, the colors blend and create beautiful, unpredictable patterns that can evoke a sense of wonder. Think of it as a mini explosion of color, where each pour reveals something new and exciting.
Choosing the right colors is crucial for achieving a harmonious look in your artwork. Here are some tips to help you select the perfect palette:
- Use a color wheel to find complementary colors.
- Consider the mood you want to convey—warm colors like reds and yellows evoke energy, while cool colors like blues and greens can create a calming effect.
- Experiment with different shades and tints of the same color for a monochromatic look.
Layering is another fantastic way to enhance your acrylic pouring. By layering different pours, you can add depth and dimension to your painting. Start with a base layer, and then pour additional colors on top, allowing them to interact and create unique textures. This technique can make your artwork feel more dynamic and alive, as if it's constantly evolving right before your eyes.
If you're looking to create interesting textures and designs, the swiping technique is a must-try. This method involves dragging a tool, such as a palette knife or a piece of cardboard, through the wet paint on your canvas. This manipulation can produce stunning effects, revealing layers and creating movement in your artwork. It's like painting with a sense of freedom, where the outcome is as unpredictable as it is beautiful.
In summary, acrylic pouring is a delightful way to express your creativity. With techniques like the dirty pour and swiping, you can create breathtaking pieces that capture attention and spark conversation. Remember, the key is to experiment and enjoy the process. So grab your paints, let your imagination run wild, and start pouring your way to artistic bliss!
Q: What type of canvas should I use for acrylic pouring?
A: You can use a pre-stretched canvas, canvas board, or even a wooden panel. Just ensure that the surface is primed and ready to hold the paint.
Q: Can I use regular acrylic paint for pouring?
A: Yes, but it’s recommended to mix your acrylic paint with a pouring medium to achieve the right consistency for pouring.
Q: How do I store leftover mixed paint?
A: You can store leftover mixed paint in an airtight container, but it's best to use it within a few days to maintain its quality.
Q: What can I do if my paint doesn’t flow well?
A: If your paint is too thick, try adding a bit more pouring medium or water to thin it out. Aim for a consistency similar to that of heavy cream.
Dirty Pour Method
The is one of the most exciting and unpredictable techniques in the world of acrylic pouring. Imagine pouring a rainbow of colors into a single cup, then releasing that vibrant concoction onto your canvas. The result? A stunning masterpiece that showcases a unique blend of colors and patterns, all thanks to the chaos of mixing. This method not only allows for creativity but also invites a sense of surprise with every pour. As you experiment, you may find that no two paintings ever turn out the same, which adds to the thrill of the process.
To get started with the Dirty Pour Method, you’ll need a few essential materials:
- Acrylic paints in your chosen colors
- Pouring medium to achieve the right consistency
- A cup for mixing the paints
- A canvas or a suitable painting surface
- Protective covering for your workspace
Once you have your materials, the fun begins! Start by pouring different colors of acrylic paint into the cup, layering them one on top of the other. The key here is to not mix them; you want the colors to remain distinct as they flow together later. When you're ready, lift the cup and pour the mixture onto your canvas. Watch in awe as the colors swirl and blend, creating patterns that are both mesmerizing and unexpected. It’s a bit like a magic trick, where you’re both the magician and the audience!
One of the most important aspects of the Dirty Pour Method is the color selection. Choosing colors that complement each other can make a significant difference in the final outcome. Consider using a color wheel to select harmonious combinations that will enhance your artwork. For example, pairing warm colors like reds and oranges with cool colors like blues and greens can create a dynamic contrast that is visually striking.
Another exciting element of the Dirty Pour Method is the opportunity to layer your pours. By allowing one layer to dry before adding another, you can achieve incredible depth and dimension. This technique can transform a simple pour into a complex piece of art that invites the viewer to explore its intricacies. Remember, patience is key; let each layer dry completely to avoid muddying your colors.
In conclusion, the Dirty Pour Method is not just about pouring paint; it’s about embracing the unpredictability of art. Each pour is a new adventure, and the possibilities are endless. So grab your supplies, unleash your creativity, and let the colors flow!
Here are some common questions about the Dirty Pour Method:
- What type of paint should I use? It's best to use high-quality acrylic paints for vibrant colors.
- Can I use other pouring techniques with the Dirty Pour? Absolutely! Feel free to combine methods to create unique effects.
- How do I store leftover paint? Store it in airtight containers to keep it fresh for future use.
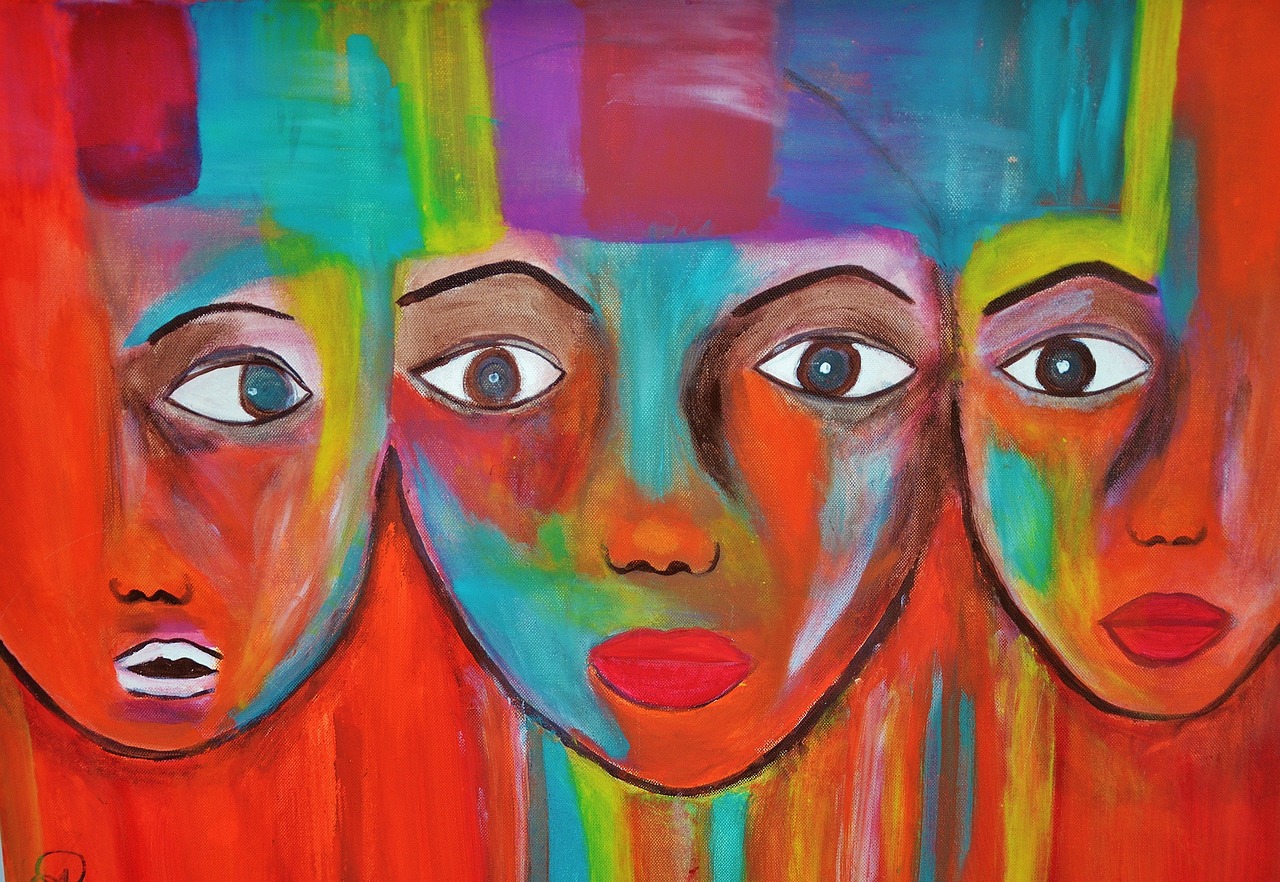
Color Selection Tips
Choosing the right colors for your artwork can feel like an overwhelming task, but it doesn't have to be! Think of color selection as a delightful dance where each hue complements the other, creating harmony on your canvas. One of the best ways to start is by understanding the color wheel. This handy tool shows you how colors interact with each other, and it’s a fantastic reference for creating stunning combinations. For example, colors that are opposite each other on the wheel, known as complementary colors, can create striking contrasts that draw the eye.
When selecting colors for your dirty pour, consider the mood you want to evoke. Warm colors like reds, oranges, and yellows can create a feeling of energy and excitement, while cool colors like blues and greens tend to be more calming and serene. You can also experiment with analogous colors—those that sit next to each other on the color wheel. These combinations often result in a more cohesive and soothing look.
Another tip is to think about the value and saturation of your colors. High-saturation colors are vibrant and bold, while low-saturation colors are more muted and subtle. Mixing these together can add depth to your painting. For instance, a vibrant blue can be beautifully balanced with a soft gray to create a stunning visual effect. Don't be afraid to test your colors on a separate piece of paper before committing them to your final piece; this allows you to see how they interact without the pressure of ruining your artwork.
Lastly, remember that less is often more. Instead of using every color in your palette, try limiting yourself to a few select hues. This can lead to a more sophisticated and intentional look in your artwork. Use the following color selection strategies to guide your choices:
- Use a Color Wheel: Familiarize yourself with the relationships between colors.
- Consider Mood: Think about the emotions you want to evoke with your color choices.
- Mix Values: Combine different saturations and values to create depth.
- Limit Your Palette: Fewer colors can lead to a more cohesive piece.
By keeping these tips in mind, you’ll be well on your way to creating breathtaking artwork that not only captivates the eye but also resonates with emotion. So grab your paints, let your imagination run wild, and remember that the journey of color exploration is just as important as the final masterpiece!
Q: How do I know which colors work well together?
A: Start by using a color wheel to identify complementary and analogous colors. Experiment with different combinations to see what resonates with you.
Q: Can I use all colors in my painting?
A: While you can technically use any color, it’s often more effective to limit your palette to create a more cohesive look. Try selecting a few colors that complement each other.
Q: What if I don’t like the colors I chose?
A: Don’t hesitate to experiment! You can always paint over areas or mix in new colors until you achieve the desired effect.

Layering Techniques
Layering techniques in painting can truly elevate your artwork, adding depth and dimension that captivates the viewer. Imagine your canvas as a delicious cake; each layer contributes to the overall flavor and texture. Just like a baker carefully adds layers of frosting, you can build your painting with various colors and textures that interact beautifully. The key to successful layering lies in understanding how different mediums behave and how they can be manipulated to achieve stunning results.
One effective approach is to start with a base layer that sets the tone for your artwork. This could be a solid color or a gradient that gives your painting a cohesive foundation. Once this layer dries, you can begin to add additional layers, each with its own unique characteristics. For instance, consider using transparent colors on top of opaque ones. This way, the underlying colors can subtly influence the top layer, creating a mesmerizing depth. It's like looking through a stained glass window, where each piece of glass adds to the overall beauty of the scene.
When layering, it's essential to pay attention to the drying times of your paints. Acrylics dry quickly, allowing you to build layers in a short amount of time, but be cautious not to add too many wet layers at once, as this can lead to muddiness. If you're working with watercolors, you might want to wait until each layer is completely dry before applying the next one. This patience can lead to breathtaking effects, especially when you use techniques like wet-on-wet or wet-on-dry to create soft blends or sharp edges.
Another exciting technique is to incorporate textures into your layers. You can achieve this by using tools other than brushes, such as sponges, palette knives, or even your fingers. For instance, a palette knife can create sharp lines and ridges, while a sponge can add a soft, mottled effect. Experimenting with these tools will not only enhance your layering but also bring a tactile quality to your artwork that invites closer inspection.
To help you visualize the layering process, here’s a simple table that outlines the steps:
| Step | Description |
|---|---|
| 1 | Start with a base layer, allowing it to dry completely. |
| 2 | Add a second layer using transparent colors for depth. |
| 3 | Incorporate textures using different tools for variety. |
| 4 | Continue layering until you achieve the desired effect. |
As you explore layering techniques, don't hesitate to experiment. Each artist has their own unique style, and finding what works best for you is part of the creative journey. So grab your brushes, mix those colors, and let your imagination run wild! Remember, the beauty of art lies not only in the final piece but also in the process of creation.
- What materials do I need for layering techniques? You’ll need a variety of paints (acrylics or watercolors), brushes, palette knives, and possibly sponges or other texturing tools.
- How do I know when to stop layering? Trust your instincts! A good rule of thumb is to step back and assess your painting from a distance. If it feels complete, it probably is.
- Can I layer with different types of paint? Yes, but be cautious! Mixing mediums can yield unpredictable results. It's best to stick with similar types (e.g., all acrylics) for consistency.
Swiping Technique
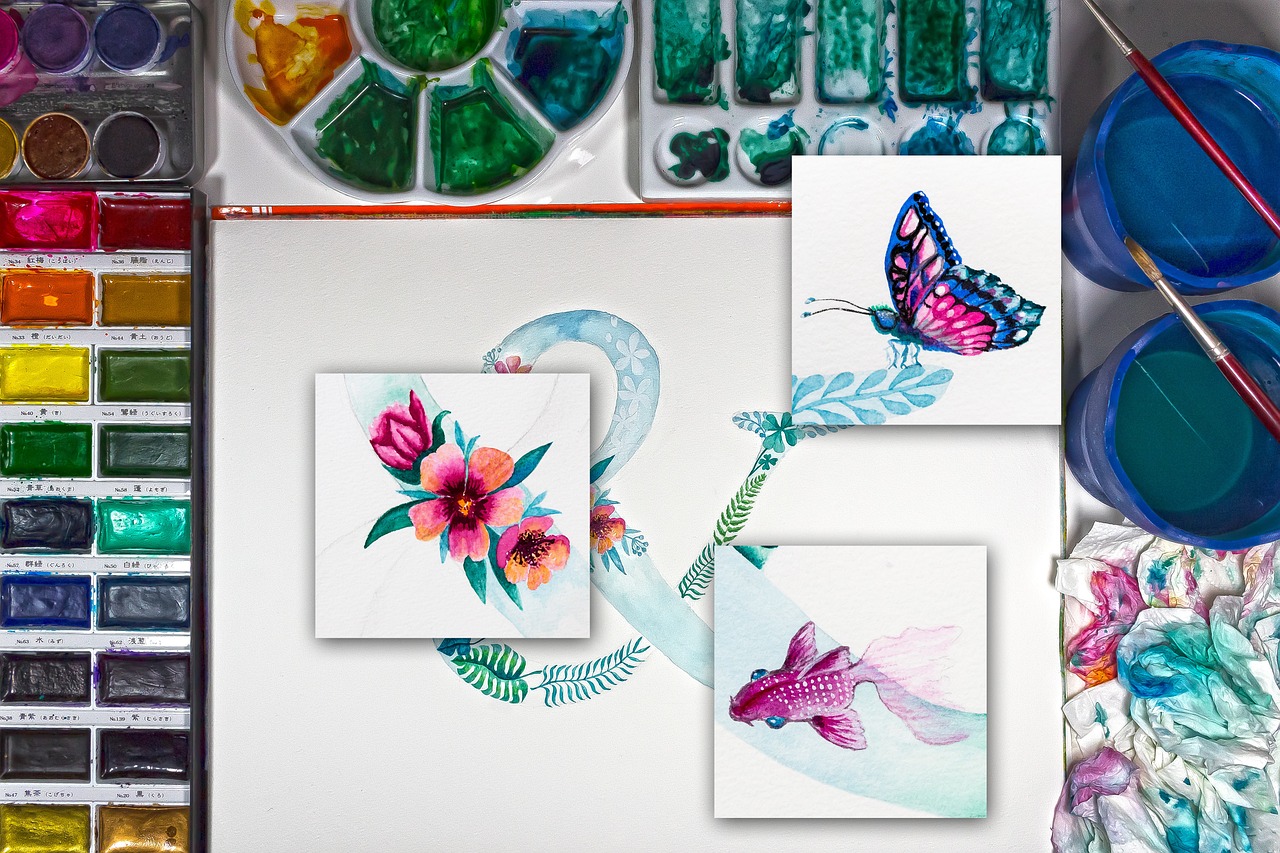
The is a captivating method that allows artists to manipulate paint on the canvas, creating stunning textures and designs that can elevate any artwork. Imagine the excitement of watching colors blend and dance across the surface, forming unique patterns that are entirely your own! This technique is not just about applying paint; it's about exploring the possibilities of movement and interaction between colors. By using tools like a palette knife, a piece of cardboard, or even your fingers, you can create mesmerizing effects that draw the viewer in.
To get started with the swiping technique, you'll need a few essential materials. First, gather your acrylic paints in various colors, a canvas, and your chosen tool for swiping. It's important to remember that the viscosity of your paint can greatly influence the final outcome. Thinner paints will flow more easily, while thicker paints will create more texture. The beauty of this technique lies in its unpredictability; every swipe can lead to a new surprise, much like flipping a coin and waiting to see which side lands up.
When you're ready to begin, apply a generous amount of paint to your canvas. You can either pour the paint directly onto the surface or use a brush to spread it out. Once you have a good base layer, take your swiping tool and drag it through the paint. This action will blend the colors and create beautiful, organic shapes. Don't be afraid to experiment! You can vary the pressure and angle of your swipe to achieve different effects. For instance, a gentle swipe might create soft, feathered edges, while a more forceful swipe could produce sharp lines and dramatic contrasts.
One of the most appealing aspects of the swiping technique is its versatility. You can use it to create abstract pieces or to enhance more representational works. For example, swiping can be used to create backgrounds that add depth to a landscape painting or to highlight specific areas in a portrait. Additionally, you can layer your swipes, allowing each layer to dry before adding another, which can result in a fascinating interplay of colors and textures.
Here are a few tips to keep in mind while using the swiping technique:
- Experiment with Colors: Use contrasting colors to create bold effects, or try analogous colors for a more harmonious look.
- Vary Your Tools: Different tools will produce different textures; don’t hesitate to try unconventional items!
- Practice Patience: Sometimes, the best results come from allowing the paint to dry slightly before swiping again.
In conclusion, the swiping technique is an exhilarating way to express your creativity and produce eye-catching artwork. With just a few simple tools and a willingness to experiment, you can unlock a world of possibilities. So, grab your paints and canvas, and let your imagination run wild!
Q: What type of paint works best for the swiping technique?
A: Acrylic paint is ideal for the swiping technique due to its quick drying time and versatility. You can also experiment with fluid acrylics for smoother swipes.
Q: Can I use the swiping technique on different surfaces?
A: Absolutely! While canvas is popular, you can also use wood panels, paper, or even fabric. Just ensure the surface is suitable for acrylic paint.
Q: How do I clean my tools after using the swiping technique?
A: Clean your tools immediately after use with soap and water to prevent the paint from drying and ruining them. For stubborn paint, you may need to use a brush cleaner.
Q: Is the swiping technique suitable for beginners?
A: Yes! The swiping technique is perfect for beginners as it encourages experimentation and creativity without the pressure of perfection.
Brush Techniques
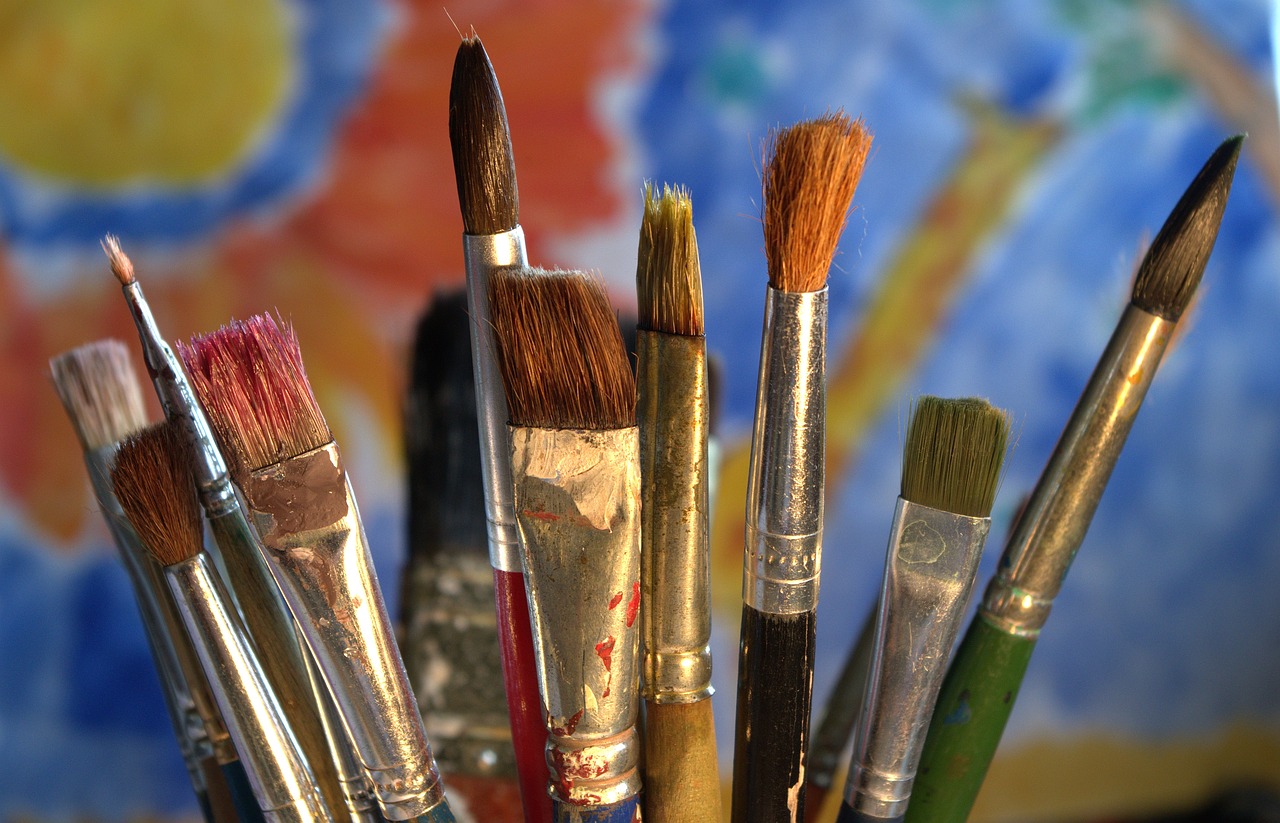
Mastering various can significantly enhance your painting skills and elevate your artwork to new heights. Whether you're a novice or a seasoned artist, understanding how to manipulate a brush can open up a world of creative possibilities. Let's dive into some essential techniques that can add depth and texture to your paintings, making them truly stand out.
One of the most exciting techniques is dry brushing. This method involves using a brush that is barely loaded with paint, allowing for a textured and subtle effect on the canvas. Imagine gently sweeping a dry brush across a surface, revealing the underlying texture and creating a soft, hazy appearance. This technique is particularly effective for adding highlights and details to your work, giving it a sense of dimension and life. It’s like whispering to the canvas instead of shouting, making every stroke count.
Next up is the stippling technique. This method utilizes small dots of paint to create images, allowing for intricate detail and texture. Think of it as a pointillist approach where each dot contributes to the overall image, much like the stars in a night sky coming together to form constellations. Stippling can be used to create stunning landscapes, portraits, or abstract designs, and it's a fantastic way to develop patience and precision in your painting practice.
When combining these techniques, you can achieve a mesmerizing effect. For instance, using dry brushing over a stippled background can create a dynamic contrast that draws the viewer's eye. The interplay of textures adds visual interest and can evoke different emotions, making your artwork not just visually appealing but also thought-provoking.
To help you get started, here’s a quick comparison of these two techniques:
| Technique | Description | Best For |
|---|---|---|
| Dry Brushing | Using a dry brush to apply paint for a textured effect. | Highlights, details, and soft textures. |
| Stippling | Applying small dots of paint to create detailed images. | Intricate designs and textured effects. |
As you explore these brush techniques, remember that practice is key. Experiment with different brushes, paints, and surfaces to discover what works best for you. Don't be afraid to make mistakes—each stroke is a learning opportunity that brings you closer to mastering your craft. And who knows? You might just stumble upon a unique style that resonates with your artistic voice.
- What type of brush should I use for dry brushing? A stiff-bristled brush is ideal for dry brushing as it helps create the texture you desire.
- Can I use stippling with any type of paint? Yes, stippling can be done with acrylics, watercolors, or oils, but ensure the paint is not too watery to maintain the dot effect.
- How do I clean my brushes after using these techniques? Always clean your brushes immediately after use with the appropriate solvent or water, depending on the type of paint used.
Dry Brushing
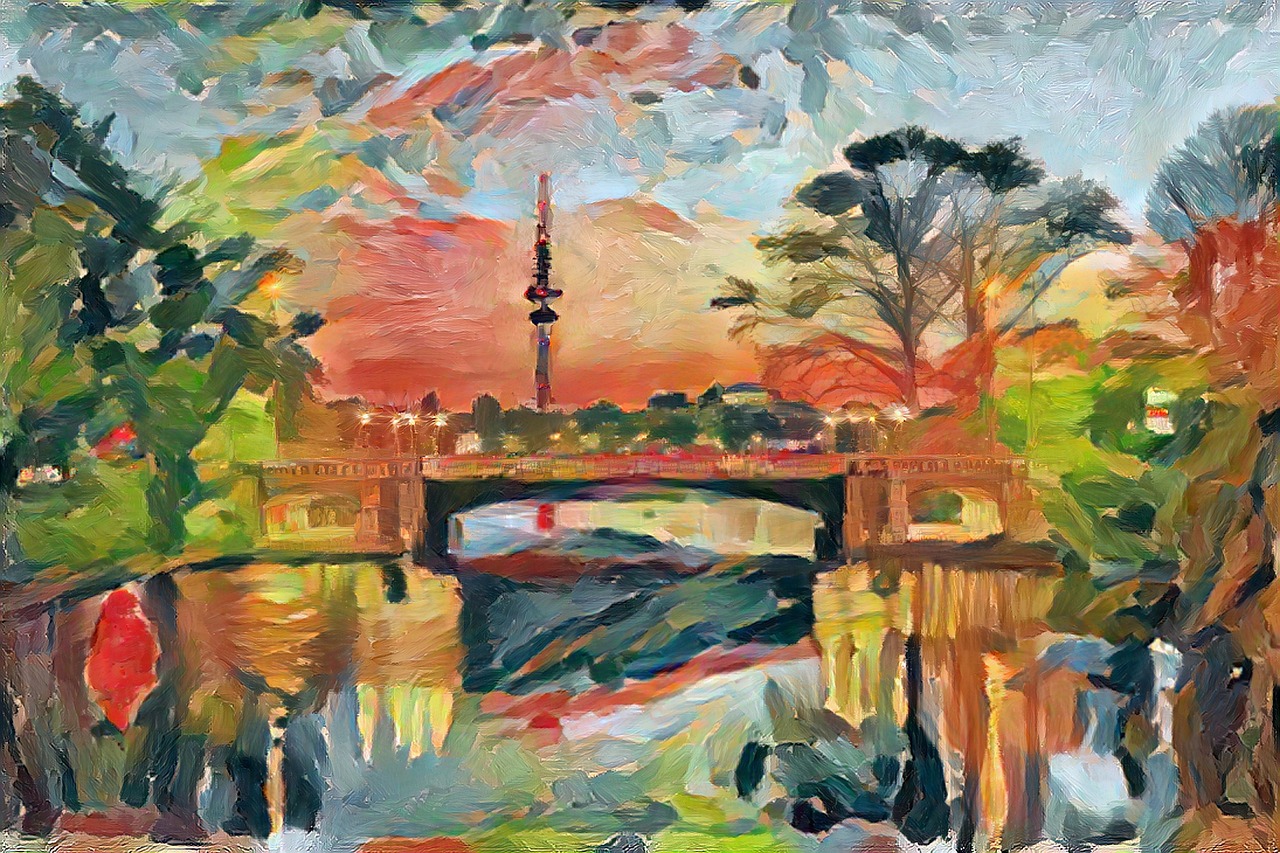
Dry brushing is a fascinating technique that can transform your artwork from ordinary to extraordinary. Imagine using a brush that barely touches the canvas, allowing the texture of the surface to shine through. This method is not just about applying paint; it's about creating a subtle, layered effect that adds depth and dimension to your work. When you use a dry brush, you're essentially working with the paint that remains on the bristles after most of it has been wiped away. This technique is perfect for adding highlights and intricate details, making it a favorite among artists who want to create a sense of realism or texture in their paintings.
To get started with dry brushing, you’ll need a few simple materials:
- A stiff-bristled brush
- Your choice of paint (acrylics work great)
- A palette or plate for mixing
- Paper towels or a rag for wiping off excess paint
Here’s a quick guide to help you master the dry brushing technique:
| Step | Description |
|---|---|
| 1 | Start by selecting a stiff-bristled brush. The stiffness will help create that textured effect. |
| 2 | Dip your brush into the paint, then wipe off most of the paint on a paper towel. You want it to be almost dry! |
| 3 | Gently drag the brush across the canvas, allowing the bristles to catch on the texture of the surface. |
| 4 | Layer the dry brushing technique to build up highlights and create a sense of depth. |
As you practice, you’ll discover that dry brushing can be applied in various ways. For instance, when painting landscapes, you can use this technique to create the illusion of light hitting the leaves of trees or the ripples on water. In portraiture, it can add soft highlights to skin tones, giving a more lifelike appearance. The beauty of dry brushing lies in its versatility; it can be used for realistic textures or abstract designs, depending on your artistic vision.
But remember, practice makes perfect! The more you experiment with dry brushing, the more comfortable you'll become with it. It’s all about finding the right balance and knowing how much paint to leave on your brush. So, grab your materials and start exploring the wonderful world of dry brushing today!
Q: What type of paint is best for dry brushing?
A: Acrylic paint is highly recommended for dry brushing due to its quick drying time and versatility. However, you can also experiment with oil paints if you prefer a longer working time.
Q: Can I use this technique on different surfaces?
A: Absolutely! Dry brushing works well on various surfaces, including canvas, wood, and even paper. Each surface will yield different textures, so feel free to experiment.
Q: How do I clean my brush after dry brushing?
A: Clean your brush thoroughly with water and soap after using acrylic paint. For oil paints, use a suitable solvent. Make sure to remove all paint to maintain the brush's stiffness for future use.
Stippling
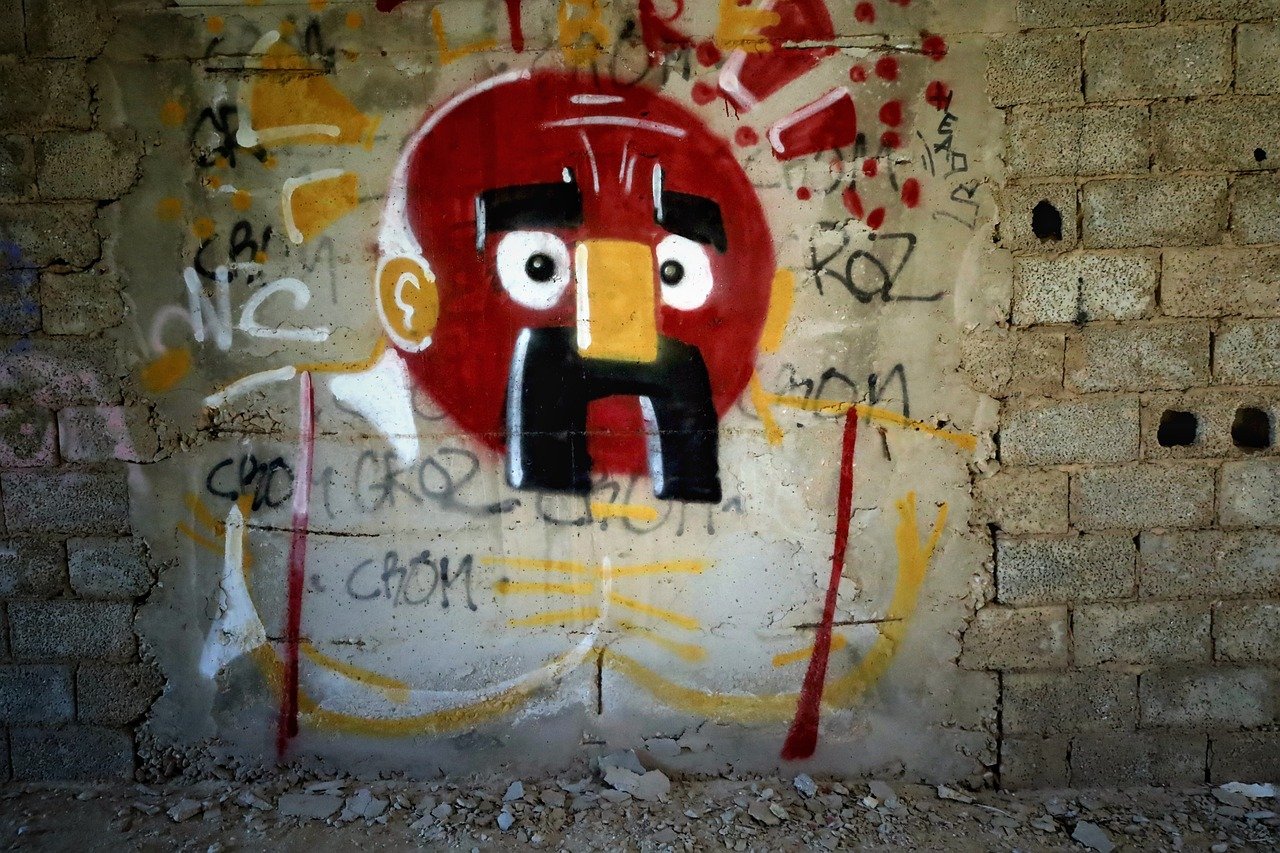
Stippling is a fascinating painting technique that employs the use of small dots to create intricate images. It’s a bit like creating a mosaic, where each dot contributes to the overall picture, allowing your creativity to shine through in a unique way. This method can be particularly rewarding because it invites you to slow down and pay attention to detail, elevating your artistic skills to a new level.
One of the best things about stippling is its versatility. You can use it across various mediums, whether you’re working with paint, ink, or even digital tools. The beauty of stippling lies in its ability to create depth and texture, bringing your artwork to life. Imagine creating a serene landscape where the trees are formed by carefully placed dots, or a portrait where the subtle variations in skin tone emerge from a series of tiny, deliberate touches. It’s almost like magic!
To get started with stippling, you’ll need a few basic supplies:
- Paint or Ink: Choose a medium that suits your style. Acrylics, watercolors, and ink are all great options.
- Brushes: A fine-tipped brush or a dotting tool will work wonders for this technique.
- Paper or Canvas: Make sure it’s suitable for your chosen medium.
Once you have your materials ready, it’s time to dive in! Start by sketching out your design lightly on the surface. This will act as your guide. Then, using your brush or dotting tool, begin applying small dots of paint. You can vary the size and spacing of the dots to create different effects. For instance, closer dots will create darker areas, while more spaced-out dots will give a lighter appearance.
As you work, remember that stippling requires patience. It’s not about rushing through; it’s about enjoying the process and watching your image come together, dot by dot. Think of it as a form of meditation, where each dot is a moment of focus and creativity. The more you practice, the more refined your technique will become, leading to stunning results that can impress anyone who sees your work.
Moreover, stippling can be combined with other painting techniques to create even more complex pieces. For example, you might use stippling to add texture to a watercolor painting or to highlight certain areas in an acrylic piece. The possibilities are endless, and as you experiment with different styles and methods, you’ll develop a unique artistic voice that reflects your personality.
In conclusion, stippling is a simple yet powerful technique that can greatly enhance your artistic repertoire. It encourages attention to detail, patience, and creativity, making it perfect for artists of all levels. So grab your brushes, choose your colors, and let your imagination run wild with stippling!
Here are some common questions that many artists have about stippling:
- What is the best medium for stippling? While stippling can be done with various mediums, acrylic paint and ink are popular choices due to their quick drying times and vibrant colors.
- Can I use stippling in digital art? Absolutely! Many digital painting programs have tools that simulate the stippling effect, allowing you to create stunning pieces on your tablet or computer.
- How do I create depth with stippling? To achieve depth, vary the size and density of your dots. Closer, darker dots will create shadows, while lighter, more spaced-out dots can represent highlights.
Frequently Asked Questions
- What basic techniques should I know for watercolor painting?
Watercolor painting starts with foundational techniques like wet-on-wet and wet-on-dry. The wet-on-wet method allows for beautiful blending, while wet-on-dry helps in layering colors effectively. These techniques are perfect for both beginners and seasoned artists looking to enhance their skills.
- What materials do I need for acrylic pouring?
To dive into acrylic pouring, you'll need acrylic paints, a pouring medium, a canvas, and some cups for mixing. Additionally, having a heat source like a torch can help in creating interesting effects by popping air bubbles.
- Can you explain the dirty pour method?
The dirty pour method involves mixing multiple colors in a single cup before pouring them onto the canvas. This technique creates unpredictable and stunning patterns that are both exciting and visually captivating. It’s like a surprise waiting to happen with every pour!
- How do I choose colors for my dirty pour painting?
Color selection is key in the dirty pour method. Aim for harmonious combinations that complement each other. Consider using a color wheel to find colors that work well together, making your artwork pop with vibrancy and cohesion.
- What is the swiping technique in painting?
The swiping technique is a fun method where you manipulate the paint on your canvas using a tool like a palette knife or a piece of cardboard. This creates unique textures and designs, adding an exciting element to your artwork. It’s a great way to let your creativity flow!
- How can I improve my brush techniques?
To master brush techniques, practice methods like dry brushing and stippling. Dry brushing applies paint with a dry brush for a textured effect, while stippling uses small dots to create intricate details. Experimenting with these techniques can significantly enhance the depth and texture of your paintings.


