How to Use Colored Pencil on Dark Paper
Using colored pencils on dark paper can feel like a thrilling adventure, where every stroke brings forth a new layer of vibrancy and depth. Imagine the challenge of painting in a dimly lit room—everything feels muted, yet there's an underlying potential for brilliance. The dark paper serves as a canvas that not only absorbs light but also enhances the colors you apply. In this article, we will explore various techniques and tips that will empower you to transform your artwork into a stunning visual experience. Whether you're a seasoned artist or just dipping your toes into the world of colored pencils, you'll find valuable insights that will elevate your skills.
When it comes to colored pencils, the choice of paper is paramount. Not all dark papers are created equal, and selecting the right one can significantly influence the outcome of your artwork. You’ll want to consider factors like texture and weight, as these elements affect how colors appear and blend. For instance, a smooth paper allows for detailed work and fine lines, while a textured paper can add an interesting dimension to your pieces. Experimentation is key—try different types of dark paper to see what resonates with your style and technique.
Understanding color theory is essential when working on dark backgrounds. The colors you choose can either pop or fade away, depending on their interaction with the dark surface. Bright and vibrant colors tend to stand out, while softer hues may get lost in the background. To make informed choices, consider the following strategies:
- Use complementary colors: Colors opposite each other on the color wheel can create striking contrasts.
- Opt for lighter shades: Light colors can provide a beautiful contrast against dark paper.
- Incorporate metallics: Metallic colored pencils can add a unique shimmer that catches the eye.
By thoughtfully selecting your colors, you can create a dynamic interplay that draws viewers in and makes your artwork truly captivating.
Diving deeper into color selection, it’s essential to understand the difference between warm and cool colors. Warm colors like reds, oranges, and yellows evoke feelings of warmth and energy, making them excellent choices for creating focal points. On the other hand, cool colors such as blues, greens, and purples can convey calmness and depth. When used effectively on dark paper, warm colors can leap off the page, while cool colors can recede, adding layers of interest. Balancing these temperatures can create a visually stunning composition that keeps your audience engaged.
Shadows are the unsung heroes of colored pencil artwork. They add depth and dimension, transforming flat images into three-dimensional masterpieces. When applying shadows on dark paper, consider using a slightly darker shade of the base color or introducing a complementary color to create contrast. A well-placed shadow can make your subject appear more realistic and grounded. Don’t shy away from experimenting with the intensity and direction of your shadows; they can dramatically alter the mood of your piece.
Highlights are equally crucial in creating contrast and visual interest. On dark paper, highlights can be achieved using lighter colored pencils or even white for maximum impact. Techniques such as burnishing or using a blending tool can help to smooth out transitions and make your highlights pop. Remember, the goal is to create a balance between light and dark, ensuring that your artwork feels dynamic and engaging.
Layering is a vital technique in colored pencil work, especially on dark paper. It allows you to build richness in your colors and achieve smoother transitions. Start with light layers and gradually build up to darker shades. This approach not only enhances the vibrancy but also gives you more control over the final outcome. Don’t rush the process; patience is your best friend when it comes to layering. The more layers you apply, the more depth your artwork will have.
Blending and shading are the cornerstones of realistic colored pencil art. On dark paper, these techniques can be particularly challenging but also rewarding. To blend colors seamlessly, consider using a blending stump or a soft brush. These tools can help you achieve smooth transitions without losing vibrancy. Additionally, when shading, remember to pay attention to light sources; they dictate where shadows and highlights should fall, creating a cohesive and believable composition.
Different tools can enhance your blending techniques significantly. Here’s a quick rundown of some effective blending tools:
| Tool | Description |
|---|---|
| Blending Stump | A tightly rolled paper tool that helps to blend colors smoothly. |
| Soft Brush | Great for gentle blending and softening edges. |
| Baby Oil | Can be used sparingly to create a smooth, painterly effect. |
Experiment with these tools to discover which ones work best for your style and technique.
Shading can dramatically affect the mood of your artwork, especially on dark paper. Techniques like cross-hatching, stippling, or smooth shading can all be adapted to suit your needs. Each method can create a different texture and feel, so don't hesitate to experiment. The key is to maintain a balance between light and dark, ensuring that your artwork feels alive and dimensional.
Q: Can I use regular colored pencils on dark paper?
A: Yes, but for the best results, opt for high-quality colored pencils that are designed for vibrant coverage.
Q: How do I fix mistakes made on dark paper?
A: You can use an eraser for light corrections or layer over mistakes with darker colors to conceal them.
Q: Is it necessary to use special paper for colored pencils?
A: While not mandatory, using paper specifically designed for colored pencils can greatly enhance your results.
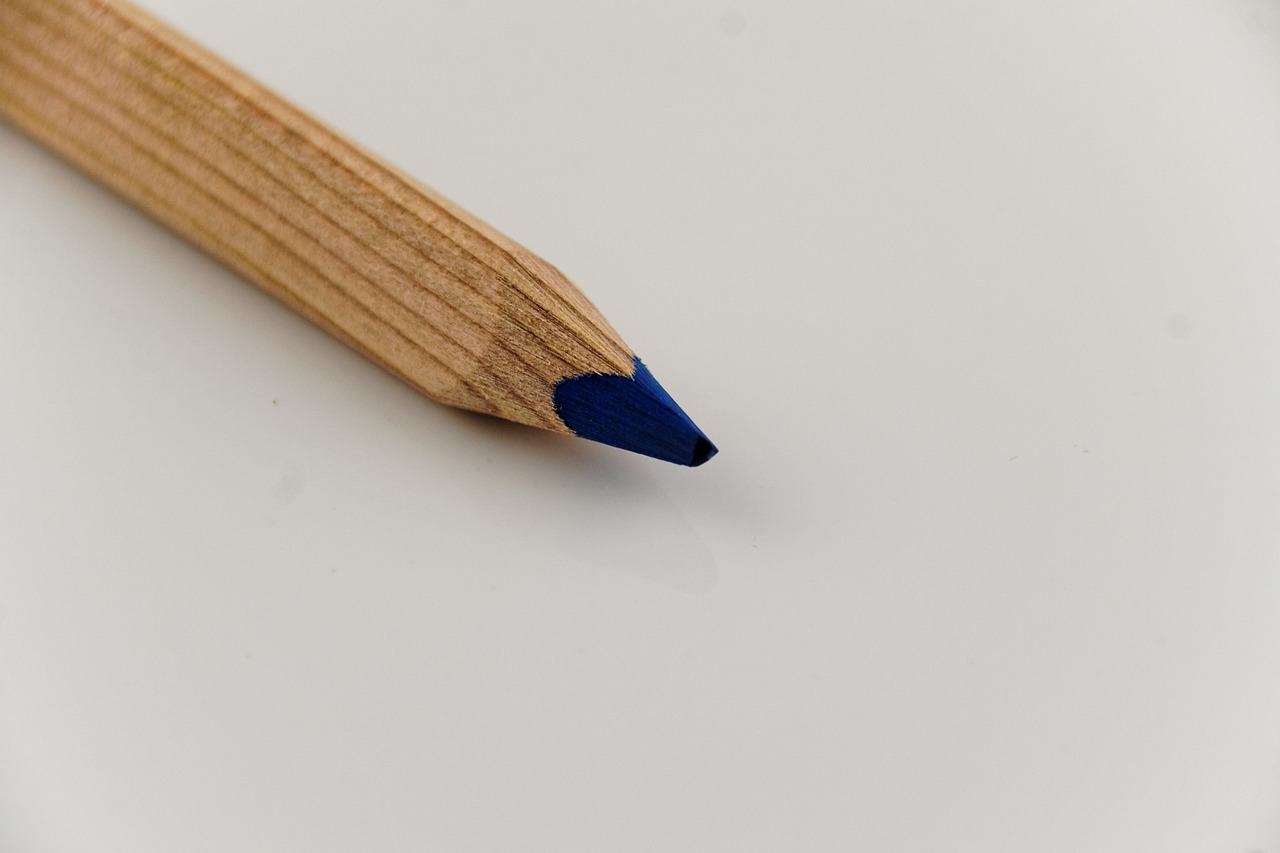
Choosing the Right Paper
When it comes to using colored pencils on dark paper, the choice of paper is absolutely crucial. You might be wondering, "Why does the type of paper matter so much?" Well, think of it this way: the paper acts as the canvas for your creativity, and just like an artist would choose the right brush for a masterpiece, you need to select the right paper to bring your colored pencil drawings to life. The texture, weight, and color of the paper can significantly influence how your colors appear and blend, ultimately affecting the overall impact of your artwork.
First off, consider the texture of the paper. Smooth papers allow for fine details and crisp lines, while textured papers can enhance the richness of colors and provide a more organic feel to your artwork. If you’re looking for a more vibrant finish, a smoother surface might be your best bet. However, if you want to create depth and interesting visual effects, textured paper can be a fantastic choice.
Next, let’s talk about the weight of the paper. Heavier papers, usually around 200gsm or more, can handle multiple layers of colored pencil without warping or tearing. This is particularly important when you're layering colors to achieve depth and richness. On the other hand, lighter papers may buckle under the pressure of heavy application. So, if you plan to go all out with your coloring, opt for a heavier stock.
Additionally, the color of the paper plays a pivotal role in how your colors will pop. Darker papers, such as black or deep blues, provide a dramatic backdrop that can make bright colors stand out beautifully. However, not all colors will perform equally well on dark backgrounds. For instance, neon or pastel colors can create stunning contrasts, while some darker hues may get lost in the background. Thus, it’s essential to test a few colors on your chosen paper before diving into a full project.
To sum it up, when selecting the right paper for your colored pencil artwork, keep these factors in mind:
- Texture: Smooth for detail, textured for richness.
- Weight: Heavier papers for layering; lighter for quick sketches.
- Color: Choose dark papers for vibrant contrasts, but test colors first.
Ultimately, experimenting with different types of paper will help you find what works best for your unique style and artistic vision. Don’t hesitate to try out various combinations until you discover the perfect match that enhances your artwork. Remember, the right paper can be the difference between a good piece and a great one!
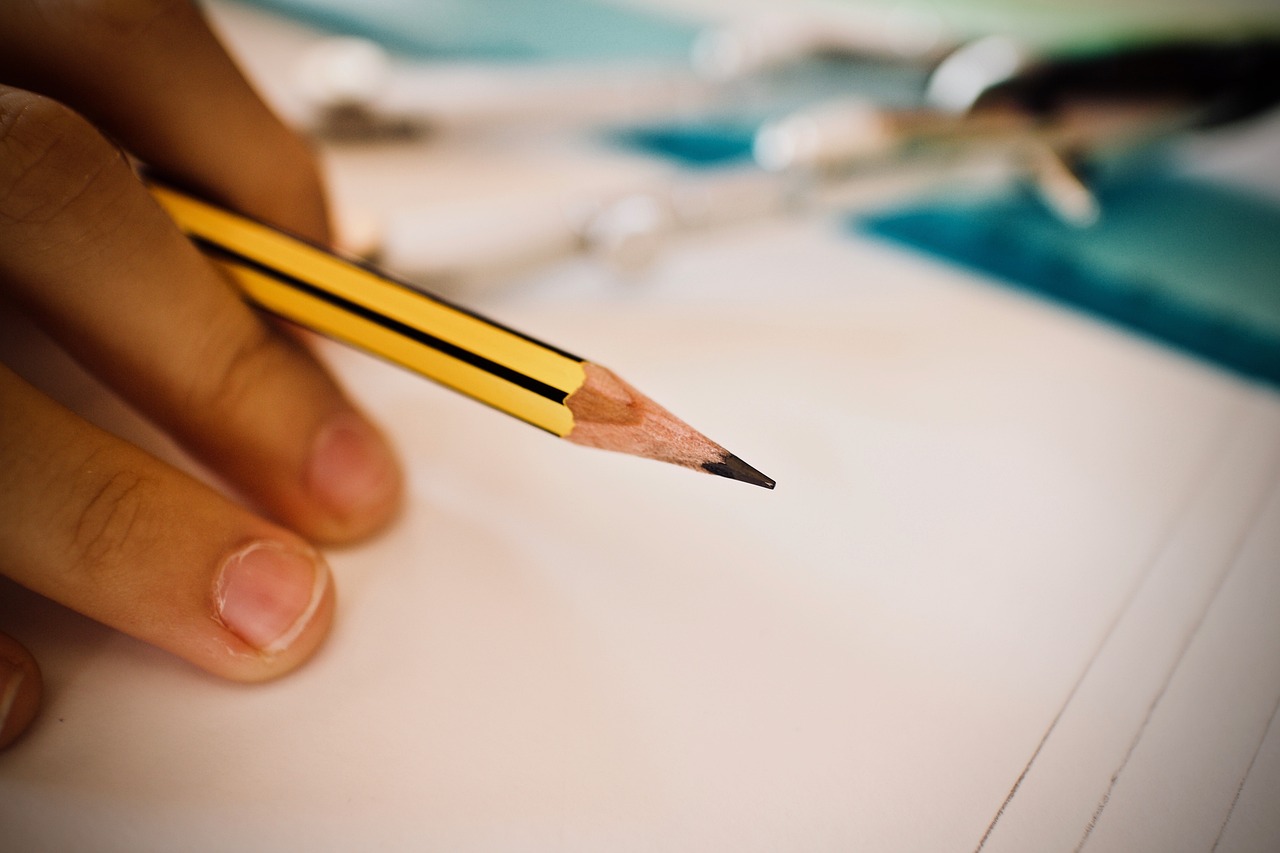
Color Selection Strategies
When it comes to creating stunning artwork on dark paper, color selection is more than just picking your favorite hues; it's about understanding how those colors will interact with the background. Dark paper can be a bit of a double-edged sword. On one hand, it provides a rich, dramatic backdrop that can make your artwork pop. On the other hand, it can also dull lighter colors if you're not careful. So, how do you navigate this colorful conundrum? Let's dive into some strategies that can help you make informed choices.
First and foremost, it’s essential to understand color theory. Knowing the color wheel and how colors relate to one another can significantly impact your decisions. For instance, complementary colors—those that are opposite each other on the wheel—tend to stand out more against dark backgrounds. If you’re using a deep blue paper, a bright orange or yellow can create a striking contrast that draws the eye. Conversely, analogous colors—those that are next to each other—can create a more harmonious look, which is also effective but may not have the same visual punch.
Another vital aspect is to consider the temperature of colors. Warm colors like reds, oranges, and yellows naturally attract attention and can create a sense of vibrancy on dark paper. Cool colors, such as blues and greens, can evoke calmness and depth. Mixing these temperatures strategically can create a dynamic visual experience. For example, if you’re drawing a sunset, using warm colors for the sun against a dark blue sky can create a breathtaking effect that feels alive.
Here’s a quick table that summarizes some effective color combinations for dark paper:
| Dark Paper Color | Recommended Color Combinations |
|---|---|
| Black | Bright Yellow, Neon Pink, Electric Blue |
| Dark Blue | Coral, Soft Peach, Bright Orange |
| Dark Green | Bright Red, Gold, Light Pink |
In addition to color choices, layering is crucial. Start with lighter colors and gradually build up to darker shades. This technique not only enhances vibrancy but also allows for smoother transitions. Think of it as painting with light—layering lighter colors first helps to create a glowing effect that can be quite magical against dark paper.
Finally, don’t forget about testing your colors before diving into your main piece. Grab a scrap piece of the same dark paper and experiment with different combinations. This practice can save you a lot of frustration down the road and help you visualize how your chosen colors will look once applied.
In summary, selecting colors for dark paper involves a thoughtful approach that considers color theory, temperature, layering, and testing. By keeping these strategies in mind, you can enhance the vibrancy and depth of your artwork, ensuring that it captivates the viewer’s attention and stands out beautifully.
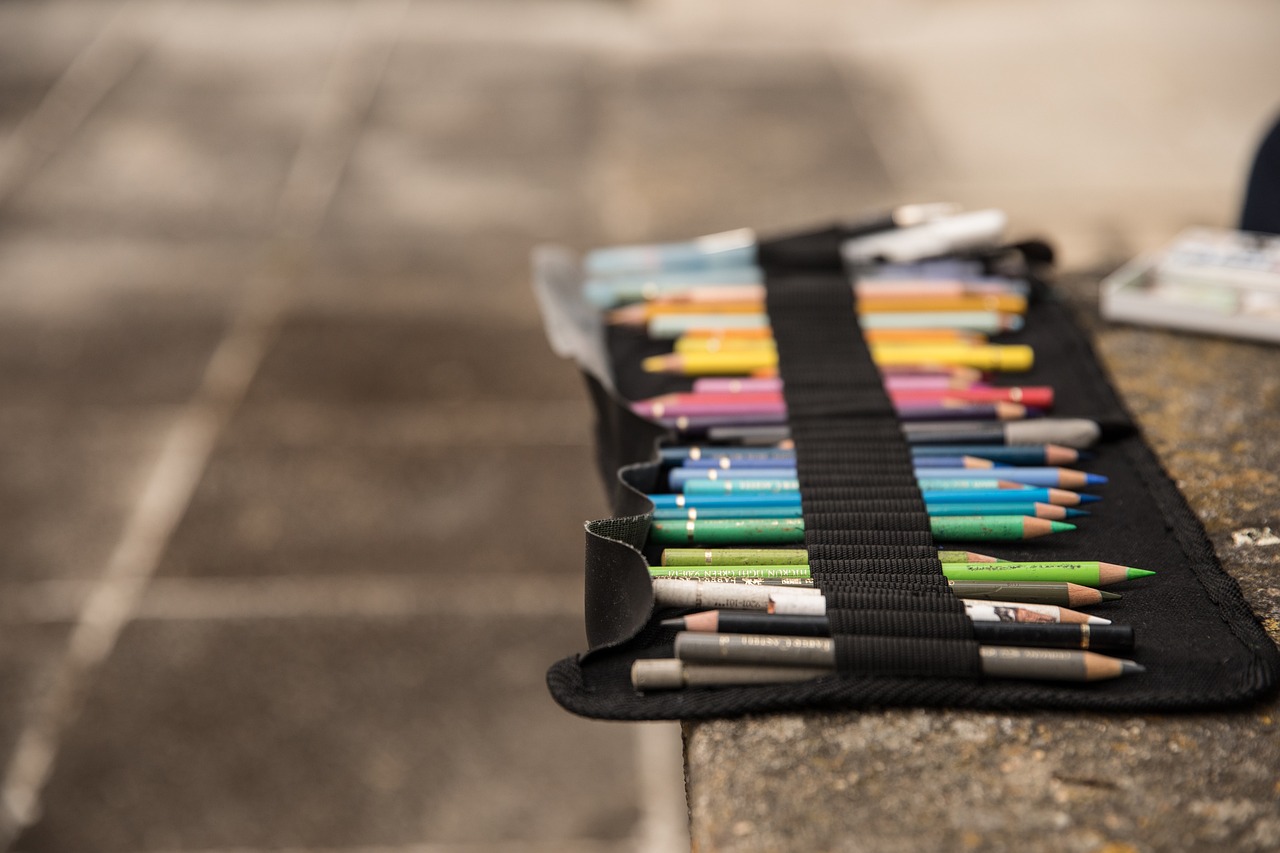
Warm vs. Cool Colors
When it comes to using colored pencils on dark paper, understanding the distinction between warm and cool colors can elevate your artwork to new heights. Warm colors, such as reds, oranges, and yellows, evoke feelings of energy and warmth. They tend to advance in a composition, drawing the viewer's eye and creating a sense of vibrancy. On the other hand, cool colors like blues, greens, and purples provide a calming effect and often recede in space, leading to a more tranquil atmosphere in your artwork. This dynamic interplay between warm and cool colors is essential for creating contrast and depth.
Imagine your artwork as a stage. The warm colors are like the spotlight, illuminating the main actors, while the cool colors serve as the backdrop, setting the mood and context. When applied thoughtfully, warm colors can create focal points that capture attention, while cool colors can provide balance and harmony. For instance, if you’re drawing a sunset on dark paper, using warm colors for the sun and cool colors for the sky can create a stunning visual contrast that pops off the page.
To make the most of warm and cool colors, consider the following strategies:
- Layering: Start with a base layer of cool colors to establish your background, then build up with warm colors for elements you want to highlight.
- Blending: Blend warm and cool colors at their edges to create smooth transitions and a more cohesive look.
- Contrast: Use warm colors against cool backgrounds to create striking contrasts that add interest and depth to your piece.
Ultimately, the choice between warm and cool colors will depend on the mood you wish to convey and the story you want your artwork to tell. Experimenting with these color temperatures on dark paper not only enhances the vibrancy of your work but also allows for a greater range of expression. So, grab your colored pencils and start playing with these color dynamics; you might be surprised by the stunning effects you can achieve!
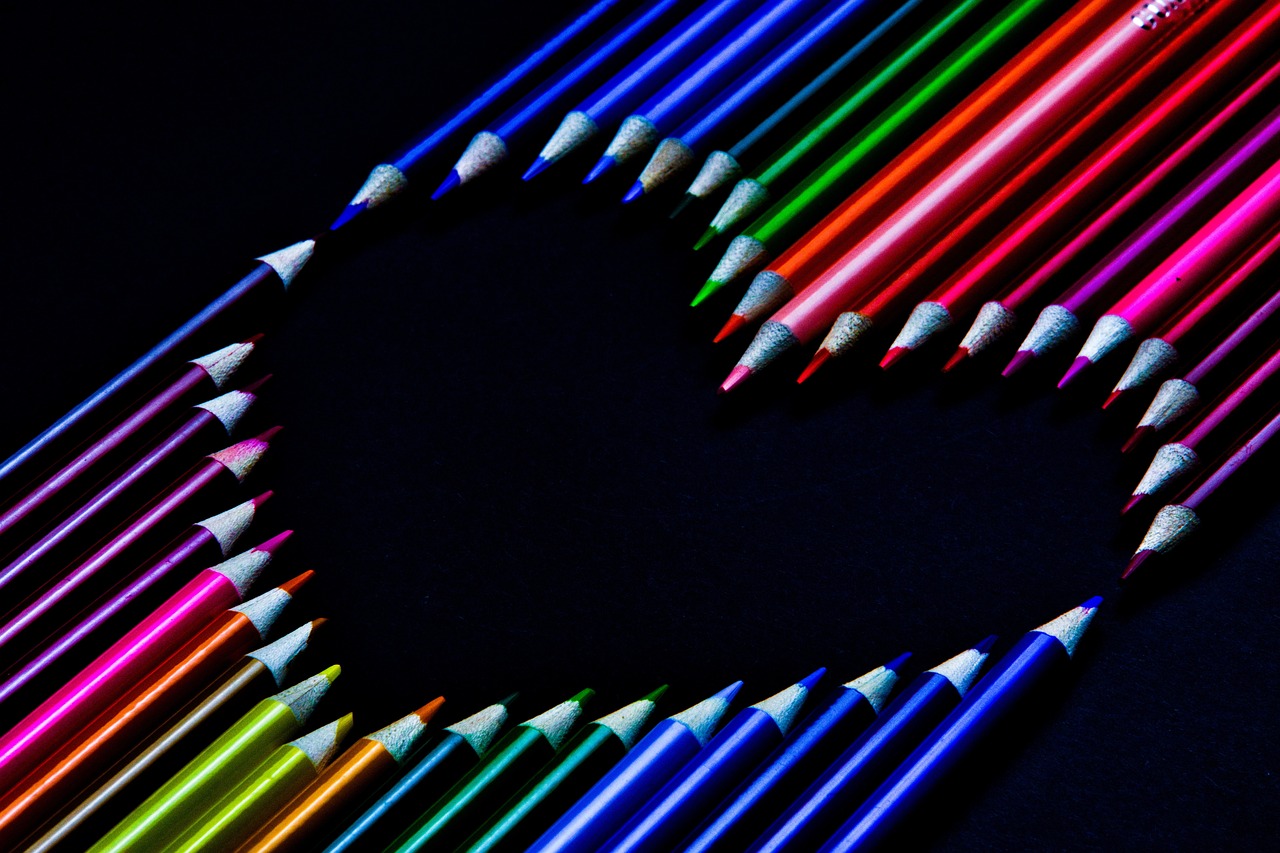
Creating Depth with Shadows
When it comes to creating stunning artwork on dark paper, shadows play a pivotal role in adding depth and dimension. Think of shadows as the secret sauce in your art recipe; without them, everything can feel a bit flat and lifeless. So, how do you effectively apply shadows to make your colored pencil drawings pop? Let’s dive into some techniques that will transform your artwork from ordinary to extraordinary.
First off, it's essential to understand the light source in your composition. Knowing where the light is coming from will help you determine where the shadows should fall. Shadows are typically found on the opposite side of the light source, and they vary in intensity based on the light's strength. For instance, a bright, direct light will create sharp, dark shadows, while a softer light will produce more diffused, lighter shadows. This understanding is crucial for achieving a realistic effect.
Next, consider the pressure you apply with your colored pencils. Start with a light hand to lay down the base layer of your shadow. This initial layer should be subtle, allowing you to build up intensity gradually. Once you have that base, you can increase pressure to deepen the shadow. Remember, shadows are rarely just one solid color; they often contain a mix of hues. For example, a shadow might include a touch of blue or purple to indicate coolness, especially in areas where light struggles to reach. This layering technique not only enriches the shadow but also creates a more realistic appearance.
Another effective method is to utilize blending techniques. After applying your shadow colors, use a blending tool—like a blending stump or even your finger—to smooth out the edges. This helps to create a seamless transition between light and shadow, enhancing the three-dimensional feel of your artwork. Just be cautious not to over-blend; you want to maintain some texture to keep the drawing interesting.
Lastly, consider using contrast strategically. Dark paper already provides a rich background, so when you layer your shadows, think about how they interact with the colors around them. For instance, placing a dark shadow next to a bright color can make both elements stand out more. It’s like a dance between light and dark, where each partner enhances the other’s beauty.
In summary, creating depth with shadows on dark paper involves a combination of understanding light sources, applying varied pressure, blending effectively, and using contrast wisely. By mastering these techniques, you’ll not only enhance your artwork's vibrancy but also give it a lifelike quality that draws viewers in. Shadows are not just an afterthought; they are an integral part of your artistic expression. So grab those colored pencils and start experimenting with shadows—you might just be amazed at the results!
- What type of colored pencils work best on dark paper? - Look for high-quality colored pencils that are highly pigmented. Brands like Prismacolor and Faber-Castell are excellent choices.
- Can I erase colored pencil on dark paper? - Erasing can be tricky, but a good kneaded eraser can help lift some color without damaging the paper.
- How do I achieve vibrant colors on dark paper? - Use white or light colors as a base layer before applying darker shades to help them stand out.
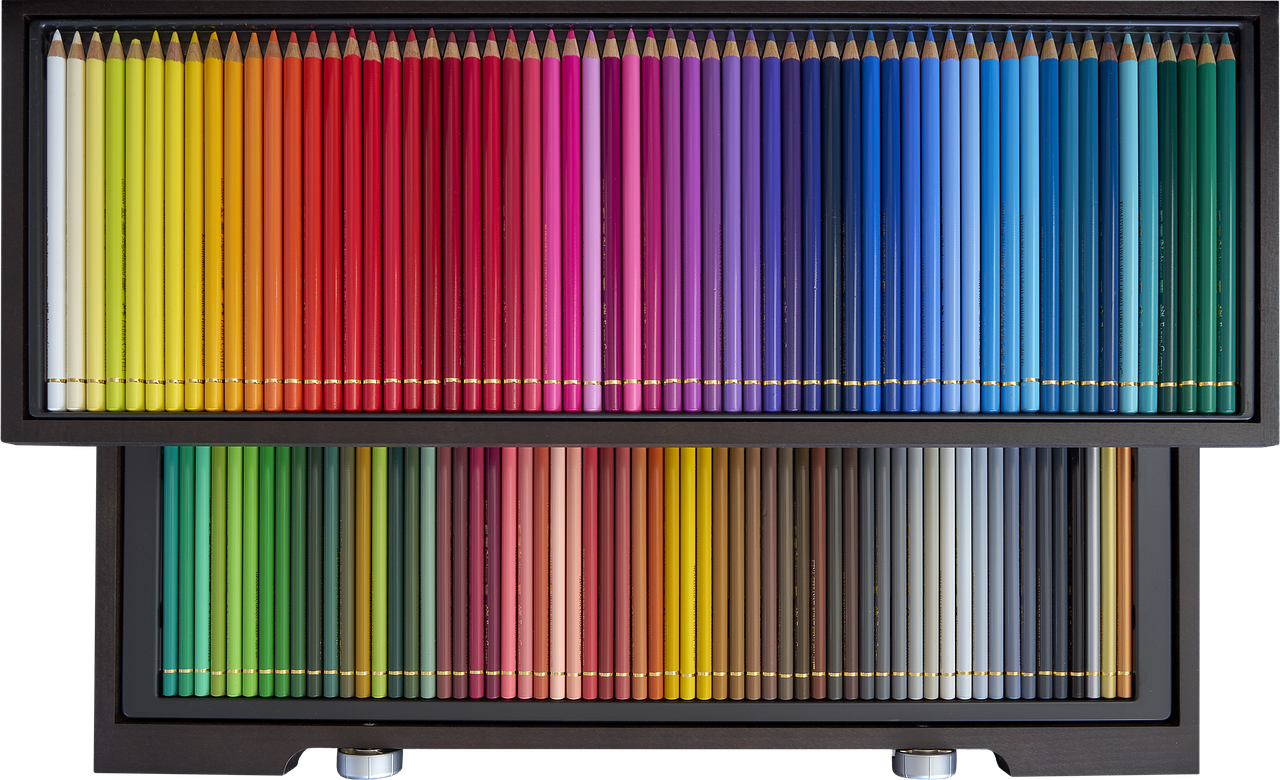
Highlight Techniques
When it comes to using colored pencils on dark paper, highlights are your secret weapon for creating stunning visual contrasts. Think of highlights as the sparkle in your artwork—they bring your colors to life and add that much-needed pop against the rich, dark background. But how do you achieve those captivating highlights? Let’s dive into some effective techniques that will elevate your colored pencil drawings to the next level.
First off, one of the most effective methods is to use a white colored pencil or a light-colored pencil that contrasts with the dark paper. This technique allows you to create bright spots that mimic light reflecting off surfaces. Start by lightly applying the white pencil in areas where light naturally hits your subject. For instance, if you’re drawing a shiny apple, focus on the area where the light source would illuminate it. The trick is to use a gentle touch at first, gradually building up intensity as needed. This will help you maintain control and avoid overwhelming the dark paper.
Another fantastic technique is to utilize a blending tool, such as a blending stump or a cotton swab. After applying your highlights, you can gently blend them into the surrounding colors. This creates a more seamless transition and enhances the overall depth of your drawing. However, be careful not to over-blend; you want those highlights to stand out, not get muddied. A little goes a long way!
Moreover, consider using a gel pen or a white acrylic paint pen for adding highlights. These tools can provide a more intense and glossy finish compared to colored pencils. Just like a painter would use white paint to create highlights on a canvas, you can apply these pens to your colored pencil artwork for a striking effect. Remember, the key is to apply them sparingly; too much can detract from the overall balance of your piece.
Lastly, don't forget about the power of negative space. By leaving certain areas of your dark paper untouched, you can create natural highlights that draw the viewer’s eye. This technique is especially effective in more abstract works or when depicting light sources, as it allows the dark background to work in harmony with your colors. Think of it as the art of suggestion—sometimes less is more!
In summary, achieving brilliant highlights on dark paper is all about experimenting with various techniques and tools. Whether you choose to use a white pencil, blending tools, or even gel pens, the key is to practice and find what works best for your artistic style. With these tips in your toolkit, you’ll be well on your way to creating vibrant and eye-catching artwork that truly stands out!
- What type of dark paper is best for colored pencils? Generally, a textured paper with a heavier weight works best as it holds the colored pencil better and allows for more layering.
- Can I use regular colored pencils on dark paper? Yes, but you may find that some colors do not show up as vividly. Using high-quality colored pencils designed for dark surfaces can yield better results.
- How can I make my highlights more vibrant? Layering a white or light-colored pencil over your base colors and using blending techniques can enhance the vibrancy of your highlights.
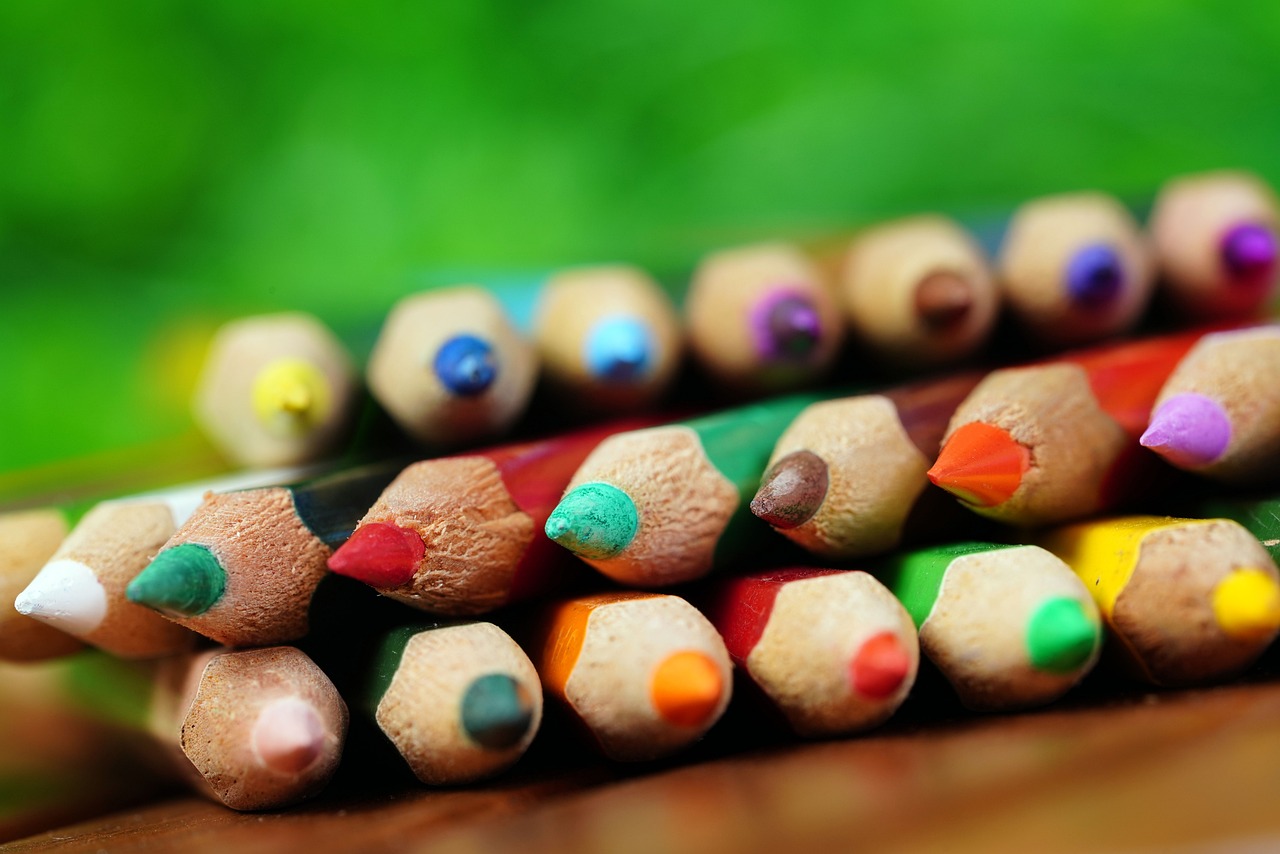
Layering Techniques
When it comes to creating stunning artwork on dark paper, mastering is essential. Layering allows you to build up color intensity and achieve a richness that single applications simply can't provide. Imagine painting a sunset; the more layers you apply, the more depth and vibrancy it gains. This principle applies equally to colored pencils on dark backgrounds. Start with a light hand, applying your first layer gently. This initial layer acts as a foundation, setting the stage for the colors to come.
One key to successful layering is understanding the transparency of colored pencils. Unlike paints, colored pencils are semi-transparent, which means that the colors beneath will influence the final look of your artwork. For instance, if you're using a bright yellow on top of a dark blue background, the blue will affect the brightness of the yellow. Therefore, it’s wise to experiment with different combinations to see how they interact. You might find that a subtle layer of white or a lighter color can create a beautiful base for brighter shades.
Another technique to consider is the cross-hatching method. This involves layering different colors in a crisscross pattern, which not only adds texture but also creates a more dynamic visual effect. Start with a base color, then apply a second color at an angle, overlapping the first. This technique can be especially effective on dark paper, where the contrast between colors becomes more pronounced. Don't be afraid to mix warm and cool tones; the interplay can enhance the depth of your work.
As you layer, remember to use a blending tool or your own fingers to smooth out the transitions between colors. This can help to create a more cohesive look and eliminate harsh lines. However, be cautious not to over-blend; the goal is to maintain some texture. Each layer should contribute to the overall composition without losing the vibrancy of the colors. It’s a delicate balance, but one that can be mastered with practice.
Lastly, consider the order of application. Start with lighter colors and gradually build up to darker shades. This method not only helps maintain vibrancy but also allows you to control the depth of your artwork more effectively. If you find a color too overpowering, you can always layer lighter shades over it to tone it down. Experimentation is key here—don’t hesitate to try different combinations and techniques to discover what works best for your unique style.
- What is the best type of dark paper to use for colored pencils? Look for papers specifically designed for colored pencil work, such as those with a smooth or slightly textured surface.
- Can I use regular colored pencils on dark paper? Yes, but professional-grade colored pencils often yield better results due to their higher pigment content.
- How many layers should I apply? It varies by technique and the effect you desire; however, typically 3-5 layers can create a rich depth.
- Is blending necessary when layering? Blending can enhance the final look, but it’s not always required. It depends on the texture and style you want to achieve.
Blending and Shading Tips
When it comes to using colored pencils on dark paper, blending and shading are essential techniques that can elevate your artwork to a whole new level. The richness of colors against a dark background can create stunning visuals, but achieving that vibrant effect requires a bit of know-how. One of the first things to understand is that the darker the paper, the more you need to think about how to manipulate your colors. Unlike lighter papers, dark surfaces absorb a lot of light, which can make your colors appear muted if not applied correctly. So, what are the best ways to blend and shade on dark paper? Let's dive into some practical tips!
To begin with, layering is your best friend. Building up layers of color can create a depth that makes your artwork come alive. Start with a light touch; use a lighter color to lay down a base layer. This initial layer will act as a foundation and help subsequent colors adhere better to the paper. As you apply more layers, gradually increase the pressure on your pencil to achieve richer tones. Remember, patience is key here! Rushing can lead to a muddy result, which we definitely want to avoid.
Another important aspect is to consider the blending tools at your disposal. While your colored pencils are the main tools, there are several other items you can use to enhance your blending techniques:
- Blending Stumps: These are great for smoothing out colors and achieving a more polished look. Just rub the stump over your colored pencil layers to blend them seamlessly.
- Baby Oil or Mineral Spirits: These can be used to dissolve the wax in colored pencils, allowing for smoother transitions and more vibrant colors. Just be sure to use them sparingly!
- Soft Brushes: A soft brush can help in blending colors without disturbing the underlying layers too much. It’s perfect for achieving a soft gradient.
When it comes to shading, think about your light source. Shadows can dramatically change the perception of your artwork, adding that all-important three-dimensionality. Use darker colors to create shadows, but don’t forget to blend them out to avoid harsh lines. You want to create a smooth transition from light to dark. A tip here is to use a color that’s slightly darker than your base color for shadows. This will maintain harmony in your artwork while still providing that necessary contrast.
Finally, don't shy away from experimenting with different techniques. For instance, try using cross-hatching or stippling to add texture. These methods can work wonders on dark paper, allowing you to create intricate details that pop against the rich background. Remember, art is about exploration and finding what works best for you, so let your creativity flow!
Q: Can I use regular colored pencils on dark paper?
A: Absolutely! However, you may find that some brands perform better than others. Look for pencils that are highly pigmented and designed for use on various surfaces.
Q: How do I maintain vibrancy when blending?
A: To keep your colors vibrant, focus on layering and use blending tools that don’t dilute the pigment too much. Avoid over-blending, which can lead to a washed-out look.
Q: Is it better to use oil-based or wax-based colored pencils on dark paper?
A: Both types can work well, but oil-based pencils tend to blend more smoothly, making them a popular choice for dark surfaces.
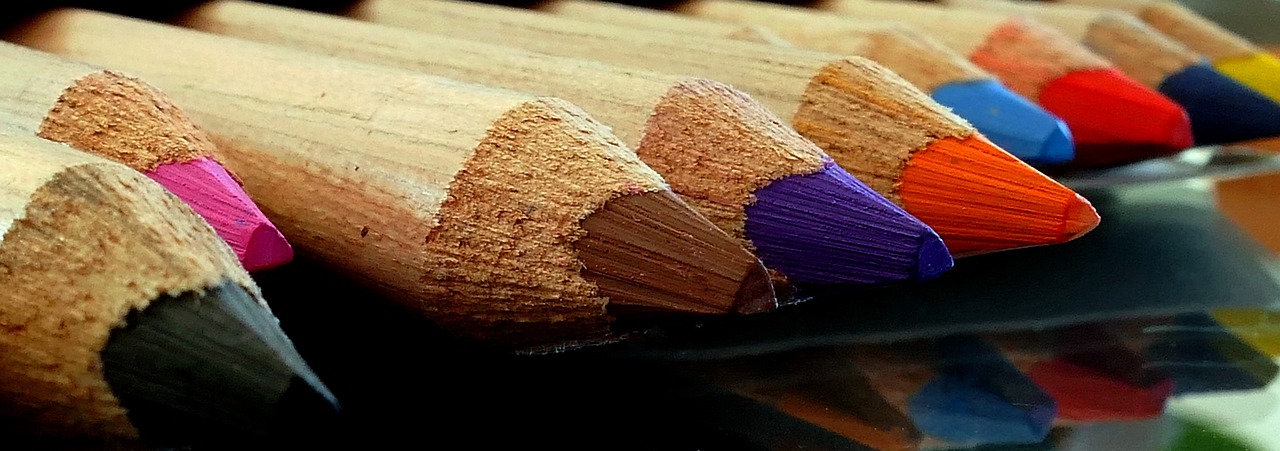
Tools for Blending
When it comes to achieving that smooth, professional look in your colored pencil artwork, having the right blending tools at your disposal can make all the difference. Blending is not just about mixing colors; it's about creating a seamless transition that adds depth and realism to your pieces. So, what tools should you consider to elevate your blending game on dark paper? Let's dive in!
First off, one of the most popular tools among artists is the blending stump. These little wonders are made from tightly rolled paper, and they allow for precise blending without adding any extra color. When you use a blending stump, you can achieve soft edges and smooth transitions that are particularly effective on dark backgrounds. Just remember to keep the tip clean by occasionally rubbing it on a scrap piece of paper.
Another fantastic option is the tortillon, which is similar to a blending stump but has a firmer texture. This tool is great for achieving more controlled blending, especially in detailed areas of your artwork. The pointed end allows you to get into those tricky spots where you want to maintain clarity while still blending colors together.
For those who prefer a more hands-on approach, your fingers can also serve as an effective blending tool! The warmth of your fingers can help melt the wax in colored pencils, creating a unique blending effect. However, be cautious with this method as it can sometimes lead to smudging, especially on dark paper.
Additionally, consider using a colorless blender pencil. These specialized pencils contain no pigment, making them perfect for blending colors without altering the hue. When applied over your colored work, they help to smooth out the transitions and can even enhance the vibrancy of your colors, making them pop against the dark background.
Here’s a quick overview of some effective blending tools you might want to try:
| Tool | Benefits |
|---|---|
| Blending Stump | Great for soft edges and smooth transitions. |
| Tortillon | Offers more control for detailed blending. |
| Fingers | Warmth can help melt wax for unique blending effects. |
| Colorless Blender Pencil | Smooths transitions without changing color. |
By experimenting with these tools, you can discover which combination works best for your style and the specific effects you want to achieve on dark paper. Remember, blending is an art in itself, and the more you practice, the better you'll become at creating those stunning, layered effects that truly make your artwork stand out.
Shading Techniques for Dark Paper
Shading on dark paper can be a game-changer for your artwork, transforming flat images into dynamic pieces that leap off the page. However, mastering this technique requires a bit of finesse and understanding of how colors behave against darker backgrounds. One effective approach is to start with a lighter touch. When working with colored pencils on dark paper, it’s essential to remember that the paper itself will absorb some of the color, so applying too much pressure initially can lead to muddy results. Instead, begin with gentle strokes and gradually build up your layers.
Another technique to consider is the use of white or light-colored pencils as a base layer. This can create a more vibrant canvas upon which to build your darker shades. For instance, if you’re drawing a sunset, laying down a light yellow or peach can help the subsequent layers of deeper oranges and reds stand out significantly. This method not only enhances vibrancy but also provides a smoother transition between colors.
Additionally, blending techniques play a crucial role in shading on dark paper. You can use a blending stump, cotton swab, or even your fingers to merge colors seamlessly. When blending, start with the lightest color and work your way to the darkest. This approach allows you to control the depth and intensity of your shadows without losing the brightness of your highlights. Remember, the goal is to create a gradient that feels natural and enhances the three-dimensionality of your subject.
Another effective method is to utilize cross-hatching and stippling. These techniques can add texture and depth to your shading while allowing the dark paper to show through in places, creating a sense of light and shadow. For example, when illustrating a tree, using cross-hatching can depict the rough bark texture while still highlighting the light filtering through the leaves. This not only adds interest but also emphasizes the contrast between light and dark areas.
To further illustrate these techniques, consider the following table that summarizes the various shading methods and their applications:
| Shading Technique | Description | Best For |
|---|---|---|
| Light Touch | Applying color gently to build layers. | Creating subtle gradients. |
| Base Layer | Using light colors as a foundation. | Enhancing vibrancy of darker colors. |
| Blending | Using tools to merge colors smoothly. | Achieving realistic transitions. |
| Cross-Hatching | Layering lines in different directions. | Adding texture and depth. |
| Stippling | Creating patterns with dots. | Adding detail and contrast. |
Finally, it's essential to experiment and find what works best for you. Each artist has a unique style, and the techniques that resonate with one person may not suit another. So grab your colored pencils, find a dark paper that inspires you, and start playing with these shading methods. Remember, the key to mastering shading on dark paper lies in practice and patience, so don’t be afraid to make mistakes along the way!
- Can I use any colored pencils on dark paper? Yes, but higher quality colored pencils with better pigmentation will yield more vibrant results.
- What type of dark paper is best for colored pencils? Look for papers specifically designed for colored pencils, such as those with a smooth texture or a heavier weight.
- How can I make my highlights pop on dark paper? Use white or metallic colored pencils to apply highlights, as they contrast well against dark backgrounds.
- Is layering necessary when shading on dark paper? Yes, layering helps build depth and richness in your colors, which is crucial for creating realistic effects.
Frequently Asked Questions
- Can I use any colored pencils on dark paper?
While you can technically use any colored pencils on dark paper, highly pigmented pencils work best. These pencils are designed to deliver vibrant colors even against darker backgrounds, ensuring your artwork stands out.
- What kind of dark paper should I choose?
Choosing the right dark paper is crucial! Look for heavier, textured papers that can hold multiple layers of pigment. Brands like Strathmore and Canson offer excellent options that enhance color vibrancy and blending.
- How do I select colors that pop on dark paper?
Understanding color theory is key! Use warm colors like reds and yellows to create striking contrasts against dark backgrounds, while cool colors can add depth. Experiment with combinations to see what works best for your piece.
- What techniques can I use to create depth with shadows?
Shadows add a three-dimensional feel to your artwork. Try using a layering technique to build up darker tones gradually, and don’t forget to blend them well for a smooth transition that enhances depth.
- How can I achieve highlights on dark paper?
To create highlights that pop, consider using a white colored pencil or a gel pen. Apply it sparingly on areas where light hits, and layer your colored pencils around these highlights to enhance their effect.
- What are the best tools for blending colored pencils on dark paper?
Blending can be achieved using various tools like blending stumps, tortillons, or even your fingers. Each tool offers a different texture and effect, so try them out to see which you prefer!
- Are there specific shading techniques for dark paper?
Absolutely! Use a light touch when applying your pencil to build up layers gradually. Techniques like cross-hatching or stippling can also add texture and depth, making your artwork more dynamic.


