How to Paint a Luminous City at Night
Have you ever strolled through a city at night, captivated by the vibrant glow of lights reflecting off the pavement? Painting a cityscape at night can evoke the same magic, transforming a blank canvas into a lively scene filled with energy and life. In this article, we will explore various techniques and tips that will help you capture the essence of a luminous city after sundown. Whether you are a seasoned artist or just starting out, these methods will guide you in creating artwork that radiates with light and vibrancy.
To truly capture the vibrancy of a city at night, it's essential to understand the different light sources that contribute to the overall atmosphere of your painting. Think about the warm glow of streetlights, the vibrant colors of neon signs, and the fleeting flashes of car headlights. Each of these elements plays a crucial role in creating a dynamic scene. Streetlights emit a soft, yellowish hue, which can create a cozy, inviting feel. In contrast, neon signs burst with color, adding excitement and a modern touch to your artwork. Car headlights, with their bright white light, can introduce movement and urgency. By incorporating these light sources into your painting, you can create an intricate tapestry that draws viewers in and makes them feel as though they are walking through your cityscape.
Selecting the right color palette is crucial for depicting nighttime scenes effectively. A well-thought-out palette can reflect the essence of a luminous city while maintaining harmony within your artwork. You might want to consider using a combination of deep blues, purples, and blacks for the background to represent the night sky. Then, layer in vibrant yellows, oranges, and pinks to depict the city lights. This contrast will help your painting pop and create a sense of depth. Remember, the goal is to evoke emotion and transport your viewers to that bustling city, so choose colors that resonate with the mood you want to convey.
Understanding the impact of warm and cool tones can elevate your painting significantly. Warm tones, such as yellows and reds, can create a sense of intimacy and warmth, reminiscent of cozy cafes and bustling streets. On the other hand, cool tones like blues and greens can evoke calmness and distance, perfect for portraying the night sky or shadowy corners of a city. Balancing these colors is key to creating depth and contrast in your nighttime cityscape. For instance, you might use warm tones to highlight the areas illuminated by streetlights while employing cool tones in the shadows to enhance the three-dimensionality of your buildings.
Shadows are an artist's best friend when it comes to nighttime painting. They play a vital role in enhancing the three-dimensionality of buildings and streets. To create realistic shadows, consider the direction of your light sources. For example, if a streetlight is casting light from the left, the shadows on the right side of buildings will be darker and more pronounced. Use darker shades of your base colors to paint these shadows, and don't be afraid to blend them into the surrounding areas for a more natural look. This technique will give your painting depth, making it feel like a real, bustling city.
Reflections can add a dynamic element to your cityscape, enhancing the luminous effect. Picture the way lights shimmer on wet pavement after a rain shower or how they dance on the glass windows of skyscrapers. To capture these reflections, use lighter shades of your paint to mimic the colors of the light sources. For wet surfaces, consider using a glossy medium to create a realistic shine. This will not only make your painting more visually appealing but also draw the viewer's eye to the intricate details of your artwork.
Strategically using light in your composition can create a visual pathway for the viewer's eye, leading them to focal points within your painting. Think of light as a guide, illuminating areas of interest and creating a sense of movement. For instance, if you have a brightly lit café on one side, you can use softer light tones to draw the viewer's attention toward it. This technique not only creates interest but also enhances the overall composition of your artwork.
Different brush techniques can produce various effects in your painting, especially when depicting light and texture in a nighttime city environment. Experimenting with these techniques can help you achieve the desired results and bring your cityscape to life.
The dry brush technique is fantastic for adding texture and detail to your painting. By using a dry brush with minimal paint, you can create the illusion of rough surfaces like brick walls or cobblestone streets. This method can be particularly effective in nighttime scenes, where the contrast between light and shadow can be accentuated through texture. Apply this technique sparingly, focusing on areas where you want to draw attention or add interest.
Blending techniques are essential for achieving soft edges in your night scene. To create smooth transitions between light and shadow, use a clean brush to gently blend colors together. This will help you achieve a more realistic effect, especially when depicting the subtle changes in light as it interacts with different surfaces. Remember, the goal is to create a seamless flow that mimics the natural world.
Adding final touches and highlights can elevate your painting, making it truly shine. These details are crucial for enhancing the overall luminosity and vibrancy of your cityscape at night. Consider adding small dots of bright color to represent distant lights or reflections, or use a glossy medium to make certain areas pop. These finishing touches can make a significant difference, transforming a good painting into a stunning masterpiece that captures the essence of a city alive with light.
- What materials do I need to paint a city at night? You will need quality paints, brushes, a canvas, and a palette. Consider using acrylics or oils for their vibrant colors.
- How do I choose the right colors for my night scene? Focus on deep blues and purples for the background, and vibrant yellows, oranges, and pinks for the light sources.
- Can I use photos as a reference? Absolutely! Using photos can help you understand light and shadow, as well as color placement.
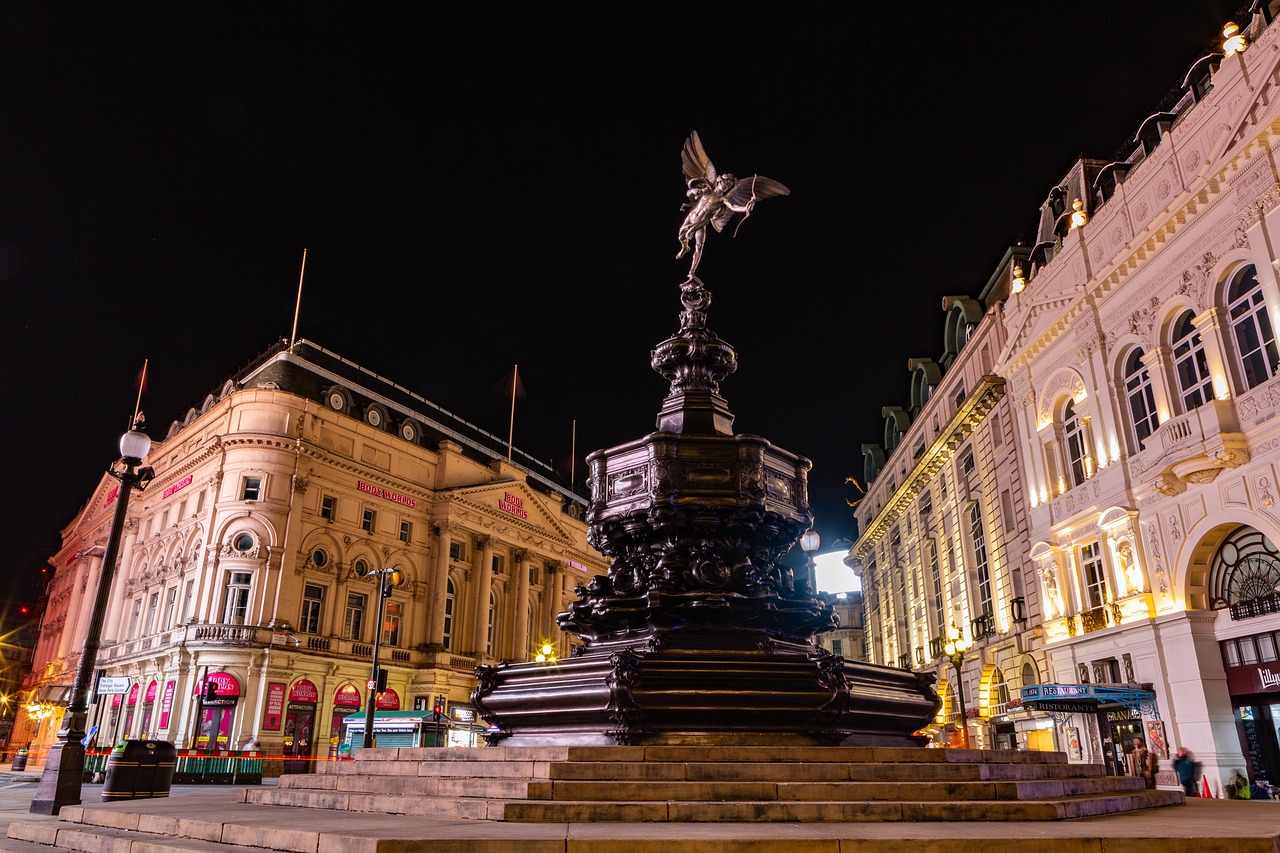
Understanding Nighttime Light Sources
When it comes to painting a city at night, understanding the various light sources is crucial for capturing that vibrant atmosphere. Think about it: what makes a city feel alive after dark? It's the interplay of streetlights, neon signs, and the occasional glow of car headlights. Each of these elements contributes to the overall mood and energy of your artwork, creating a tapestry of light that can be both stunning and complex.
Streetlights are often the unsung heroes of nighttime cityscapes. They cast a warm, inviting glow that can create pockets of light and shadow. When painting, consider how the light from these fixtures interacts with the surrounding environment. Does it create a soft halo effect? Or does it cast long, dramatic shadows that add depth to your scene? Pay attention to the color temperature of the light as well; warm yellow tones can evoke a cozy feeling, while cooler blues can create a more mysterious atmosphere.
Then we have neon signs, which are like the stars of the urban night sky. These vibrant colors can add a pop of excitement to your painting. When depicting neon lights, it's essential to consider their intensity and how they reflect off surfaces. For example, a neon sign's bright pink might illuminate the pavement below, creating a beautiful contrast with the darker shades of the night. Don't forget to capture the slight blur and diffusion of light that occurs as it interacts with the atmosphere. This can add a sense of realism and dynamism to your piece.
Car headlights and taillights also play a significant role in shaping the nighttime landscape. The way these lights streak across your canvas can convey motion and energy. Consider using long brush strokes to illustrate the movement of vehicles, creating a sense of life and activity in your painting. Additionally, think about how these lights might illuminate nearby objects or create reflections in puddles, further enriching your artwork.
In summary, the key to understanding nighttime light sources is to observe how they interact with each other and their surroundings. By paying close attention to their color, intensity, and the shadows they cast, you can create a cityscape that feels alive with energy and vibrancy. Remember, every light source has its own personality, and your job as an artist is to bring those personalities to life on your canvas.
- What types of light sources should I focus on in my painting?
Consider streetlights, neon signs, car headlights, and any other artificial light that contributes to the nighttime atmosphere. - How can I effectively portray shadows in my cityscape?
Use darker shades of your base colors and consider the light source's direction to create realistic shadows. - What color palette works best for nighttime paintings?
A mix of warm and cool tones can create a balanced and dynamic effect, reflecting the various light sources in your scene.
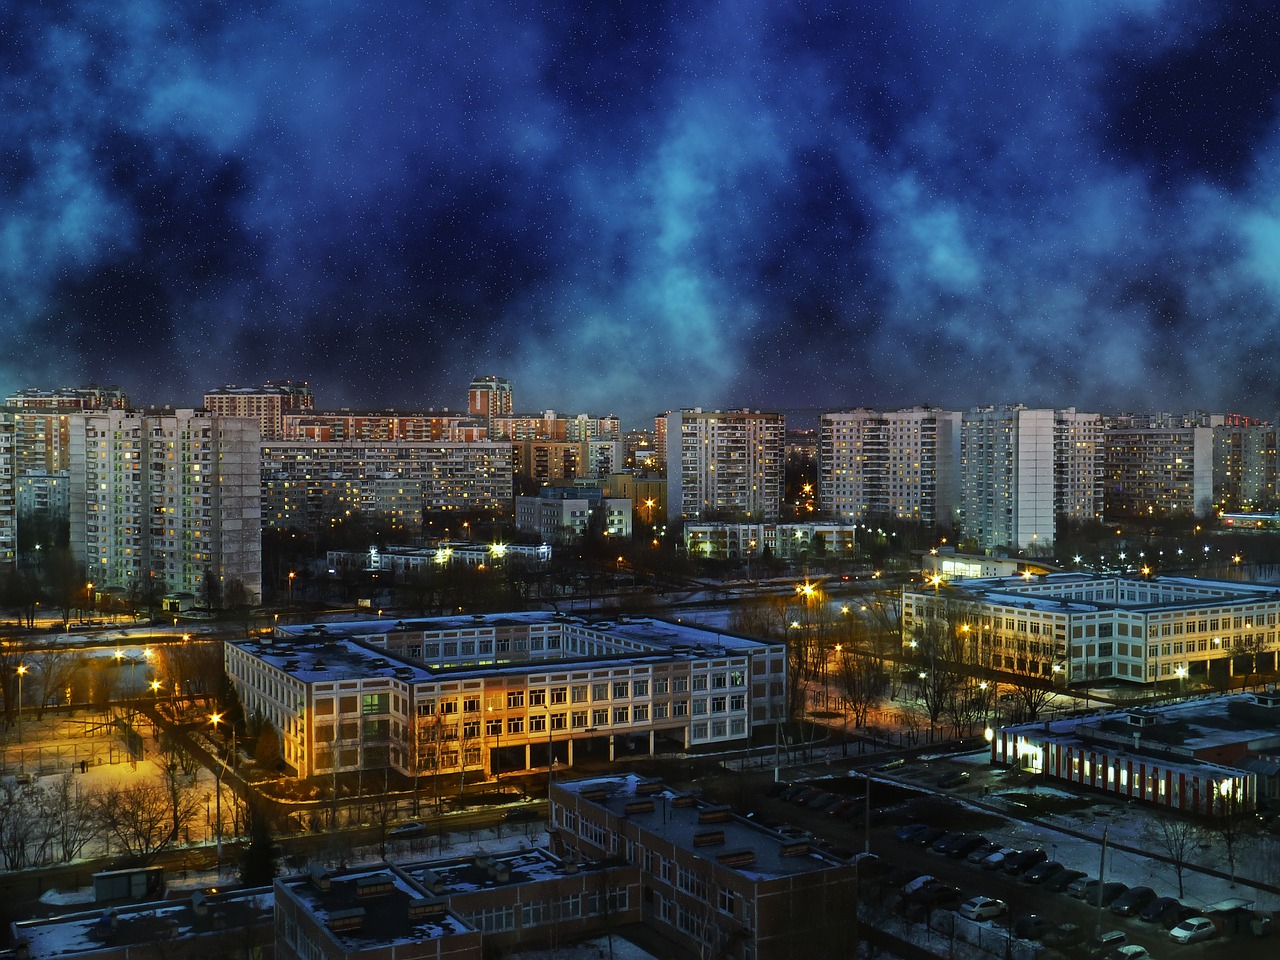
Choosing the Right Color Palette
When it comes to painting a luminous city at night, the color palette you choose is crucial. It’s like picking the right spices for a dish; the right colors can transform your artwork from bland to breathtaking. You want to select colors that not only reflect the essence of a vibrant city but also harmonize with one another. Think about the atmosphere you want to create. Do you want it to feel warm and inviting, or cool and mysterious? The choice of colors can significantly influence the mood of your painting.
To begin, consider the main light sources in your scene. Streetlights, neon signs, and car headlights all emit different hues that can guide your color choices. For instance, the warm glow of streetlights might inspire you to use shades of yellow and orange, while the cooler blues and purples of the night sky can add depth and contrast. The interplay between these colors can create a dynamic visual experience. It’s like a dance between light and shadow, creating a rhythm that draws the viewer in.
One effective approach is to create a color wheel specific to your nighttime scene. This can help you visualize how colors interact. Consider using a table to outline your chosen colors, their corresponding light sources, and how they blend together:
| Light Source | Color | Effect |
|---|---|---|
| Streetlights | Warm Yellow | Creates a cozy, inviting atmosphere |
| Neon Signs | Bright Pink/Blue | Adds vibrancy and energy |
| Car Headlights | White/Yellow | Highlights movement and action |
| Night Sky | Deep Blue/Purple | Provides a serene backdrop |
As you select your colors, keep in mind the concept of warm vs. cool tones. Warm colors can make elements appear closer, while cool colors tend to recede into the background. This understanding is essential for creating depth in your painting. Imagine a bustling street where the warm glow of the storefronts invites you in, contrasted against the cool shadows of the buildings. This balance can make your cityscape feel alive and three-dimensional.
Another important aspect to remember is to maintain harmony in your palette. Too many contrasting colors can lead to chaos rather than a cohesive scene. Aim for a limited palette that captures the essence of nighttime while allowing for some pops of color that can serve as focal points. You might want to use a technique called color layering, where you build up colors gradually to achieve the desired luminosity without overwhelming the viewer. It’s like layering flavors in a dish; each layer adds complexity and richness.
Finally, don’t forget the power of highlights. A few well-placed bright spots can make your painting sparkle, much like how city lights twinkle against the night sky. Use lighter shades of your chosen colors to create highlights that mimic the glow of light reflecting off surfaces. This can enhance the overall vibrancy of your cityscape, making it truly come alive.
In conclusion, choosing the right color palette for your nighttime cityscape is a blend of understanding light sources, balancing warm and cool tones, and maintaining harmony. With these elements in mind, you’ll be well on your way to creating a breathtaking and luminous city at night that captivates your audience.
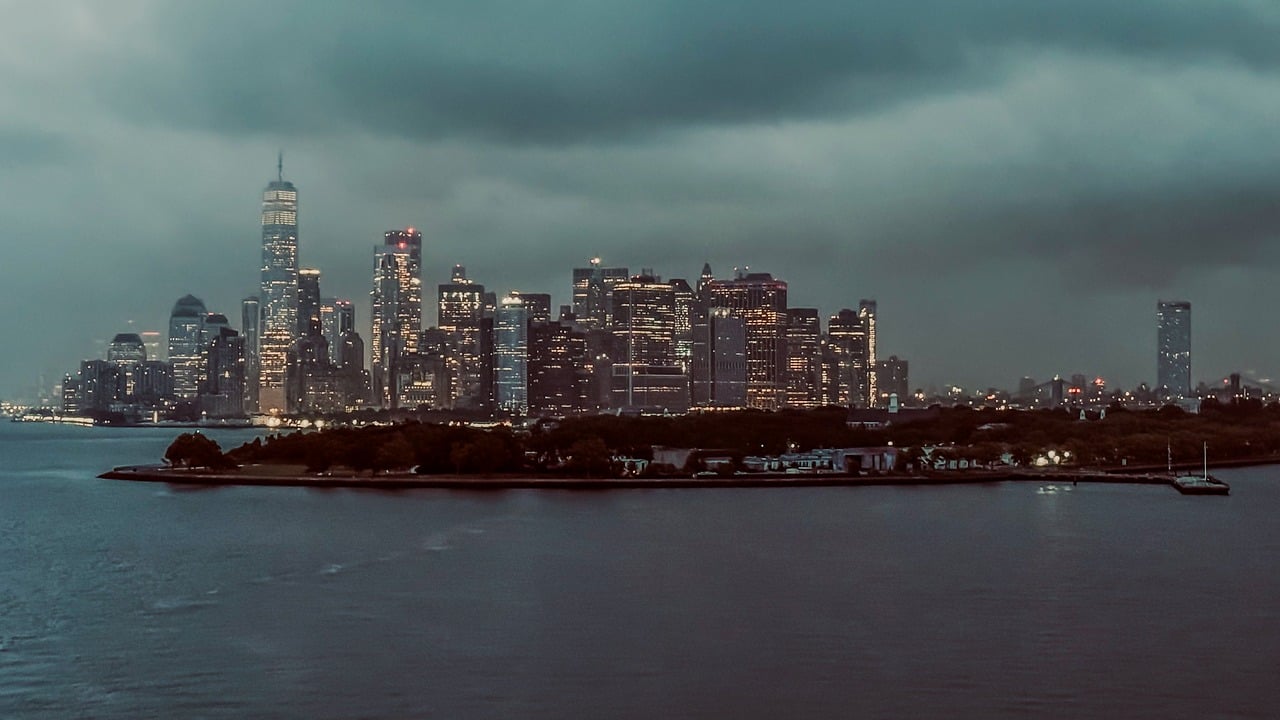
Warm vs. Cool Tones
When it comes to painting a luminous city at night, understanding the balance between warm and cool tones is essential for creating depth and atmosphere. Imagine standing on a bustling street corner after sunset, where the warm glow of streetlights contrasts beautifully with the cool shadows cast by buildings. This interplay not only adds visual interest but also evokes emotions and invites viewers into your artwork.
Warm tones, such as yellows, oranges, and reds, can create a sense of energy and vibrancy. They mimic the artificial light sources that illuminate a city, such as street lamps and neon signs. When you incorporate these hues into your painting, you can effectively draw the viewer's attention to specific areas, making them feel the warmth of the city alive at night. However, too much warmth can overwhelm a scene, so it's crucial to balance these tones with cooler shades.
On the other hand, cool tones like blues, greens, and purples can evoke a sense of calmness and mystery. They represent the shadows and nighttime sky, providing a perfect backdrop for the warm light to shine against. By using cool tones strategically, you can enhance the luminosity of your warm colors. For example, placing a bright yellow streetlight against a deep blue background can create a dramatic contrast, making the light appear even more vibrant.
To achieve a harmonious blend of warm and cool tones, consider the following techniques:
- Layering: Start with your cool colors as a base and gradually layer warm colors on top. This method allows the cooler tones to peek through, adding depth.
- Color Mixing: Experiment with mixing warm and cool colors to create transitional shades. For example, mixing a warm yellow with a cool blue can yield a beautiful green that enhances the overall palette.
- Contrast: Use contrasting warm and cool tones side by side to create focal points. This technique can guide the viewer's eye and emphasize the vibrancy of your cityscape.
Ultimately, the key to mastering warm and cool tones lies in experimentation. Don’t be afraid to try different combinations and see how they interact on your canvas. Remember, painting is not just about replicating reality; it’s about conveying the emotions and atmosphere of the scene. So, embrace the challenge and let your artistic intuition guide you!
Q: How do I know when to use warm or cool tones?
A: It depends on the mood you want to create. Use warm tones to convey energy and vibrancy, while cool tones can evoke calmness and depth.
Q: Can I mix warm and cool colors in the same area of my painting?
A: Absolutely! Mixing warm and cool colors can create beautiful transitions and enhance the overall luminosity of your artwork.
Q: What is the best way to practice using warm and cool tones?
A: Try creating small studies or color swatches to experiment with different combinations. This will help you understand how they interact and influence each other.
Creating Depth with Shadows
When it comes to painting a luminous city at night, shadows are not just the absence of light; they are the silent storytellers of your artwork. Think of shadows as the backstage crew in a theater production, working tirelessly to enhance the main event—the vibrant lights of the city. By skillfully incorporating shadows, you can create a sense of depth and dimension that draws the viewer into the scene, making them feel as if they could step right into your painting.
To achieve this effect, start by observing how shadows behave in real life. Notice how they stretch and shift depending on the light source. In a cityscape, shadows can be cast by buildings, streetlights, and even trees. The key is to use shadows to define shapes and create a sense of space. For instance, a tall skyscraper will cast a long shadow that can lead the eye through your painting, guiding viewers from one element to another.
Here are some essential techniques to consider when creating depth with shadows:
- Layering Colors: Begin with a base color for your shadows, typically a darker hue of the local color of the object. Layering different shades can add richness and complexity to the shadows.
- Soft vs. Hard Edges: Use soft edges for shadows that are further from the light source, creating a more gradual transition. In contrast, hard edges can be effective for shadows that are close to the light, adding a dramatic effect.
- Opacity Variation: Play with the opacity of your paint to create more realistic shadows. Thicker, more opaque layers can represent deeper shadows, while translucent washes can suggest lighter, softer areas.
Moreover, consider the direction of light when painting shadows. If your light source is positioned to the left, shadows will naturally fall to the right. This directional quality not only enhances realism but also adds a dynamic element to your composition. Shadows can also help to suggest the time of day; longer shadows indicate a setting sun, while shorter shadows might suggest a brighter moonlit night.
Finally, don’t forget to integrate shadows into your overall color scheme. The shadows should complement the lights, creating a harmonious balance. A well-painted shadow can elevate the luminosity of the lights, making them appear even more vibrant. Remember, shadows are not merely dark patches; they are an essential component of your painting that can transform a flat image into a three-dimensional experience.
- What colors should I use for shadows in a nighttime cityscape? Generally, using darker shades of the local colors along with some cool tones like blues or purples can create realistic shadows.
- How can I make shadows appear more realistic? Pay attention to the light source, use layering techniques, and vary the opacity to create depth and realism in your shadows.
- Should I use black paint for shadows? It's best to avoid pure black; instead, use dark hues that complement the colors in your painting for more natural-looking shadows.
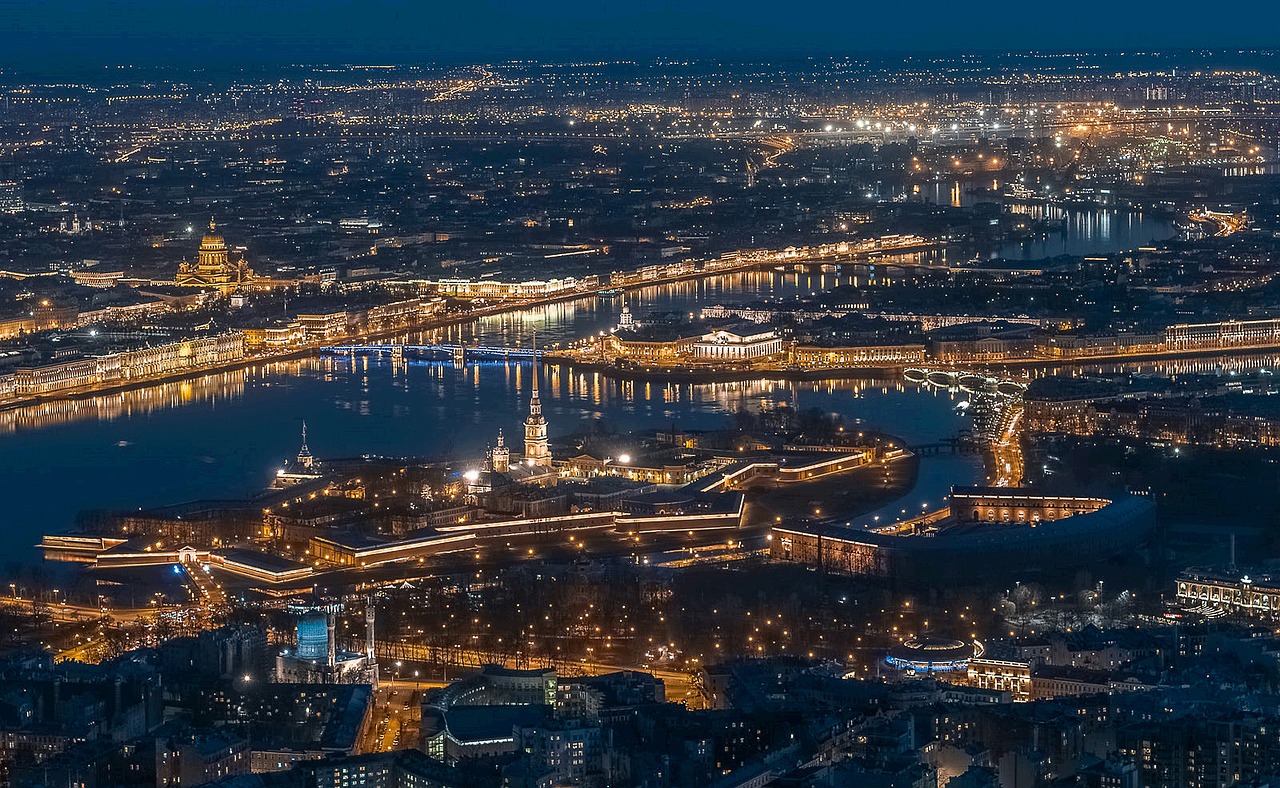
Highlighting Reflections
When it comes to painting a luminous city at night, reflections are one of the most captivating elements you can incorporate into your artwork. They not only add a dynamic quality but also serve to enhance the overall atmosphere of your cityscape. Imagine a rain-soaked street where the neon lights of nearby shops shimmer like jewels; this is the magic of reflections! To effectively capture these shimmering visuals, it’s essential to consider the surfaces where reflections will appear. Wet streets, glass windows, and even puddles can act as mirrors, creating a beautiful interplay of light and color.
One effective technique for highlighting reflections is to observe the colors and shapes of the light sources in your painting. For instance, if you have a bright red neon sign, the reflection on the pavement will not just be a simple red; it will be a softer, diffused version of that color, perhaps with hints of surrounding hues. This means that you should mix your colors to achieve a more realistic reflection. Use lighter shades of the original color to represent the reflected light, and don’t forget to add a bit of white or a lighter tone to give it that glistening effect.
Moreover, consider the angle of your brush strokes when painting reflections. Horizontal strokes can mimic the surface of water, while vertical strokes can help depict the textures of buildings and other structures. The combination of these strokes can create a more lifelike appearance. Remember, the goal is to make the reflections feel as if they are part of the scene rather than just an afterthought.
Additionally, understanding how to layer your paint can greatly enhance the luminosity of reflections. Start with a base layer that captures the general color of the reflection, then gradually build up layers of translucent paint to create depth. This layering technique allows the light to penetrate through the upper layers, creating a glowing effect that is reminiscent of real-life reflections. You can also use a glazing technique—applying a thin, transparent layer of paint over a dry layer—to achieve this effect.
Lastly, don’t shy away from experimenting! Each city has its unique light sources and ambiance, so take the time to study your surroundings. Try taking photos at night and observe how the light interacts with various surfaces. You might even want to create a small sketch or a digital mockup to plan your reflections before diving into the final piece. In essence, reflections are not merely decorative; they are a crucial component that can elevate your painting from ordinary to extraordinary, making viewers feel as if they are stepping right into your luminous city.
- What materials are best for painting reflections? Using high-quality acrylics or oils can help you achieve vibrant reflections. Transparent glazes can also enhance the luminosity.
- How can I practice painting reflections? Start by observing real-life examples. Take photos at night, and try to replicate the reflections in your sketches or smaller paintings.
- Can I use digital tools to create reflections? Absolutely! Digital painting software often has tools that mimic real-life painting techniques, making it easier to experiment with reflections.
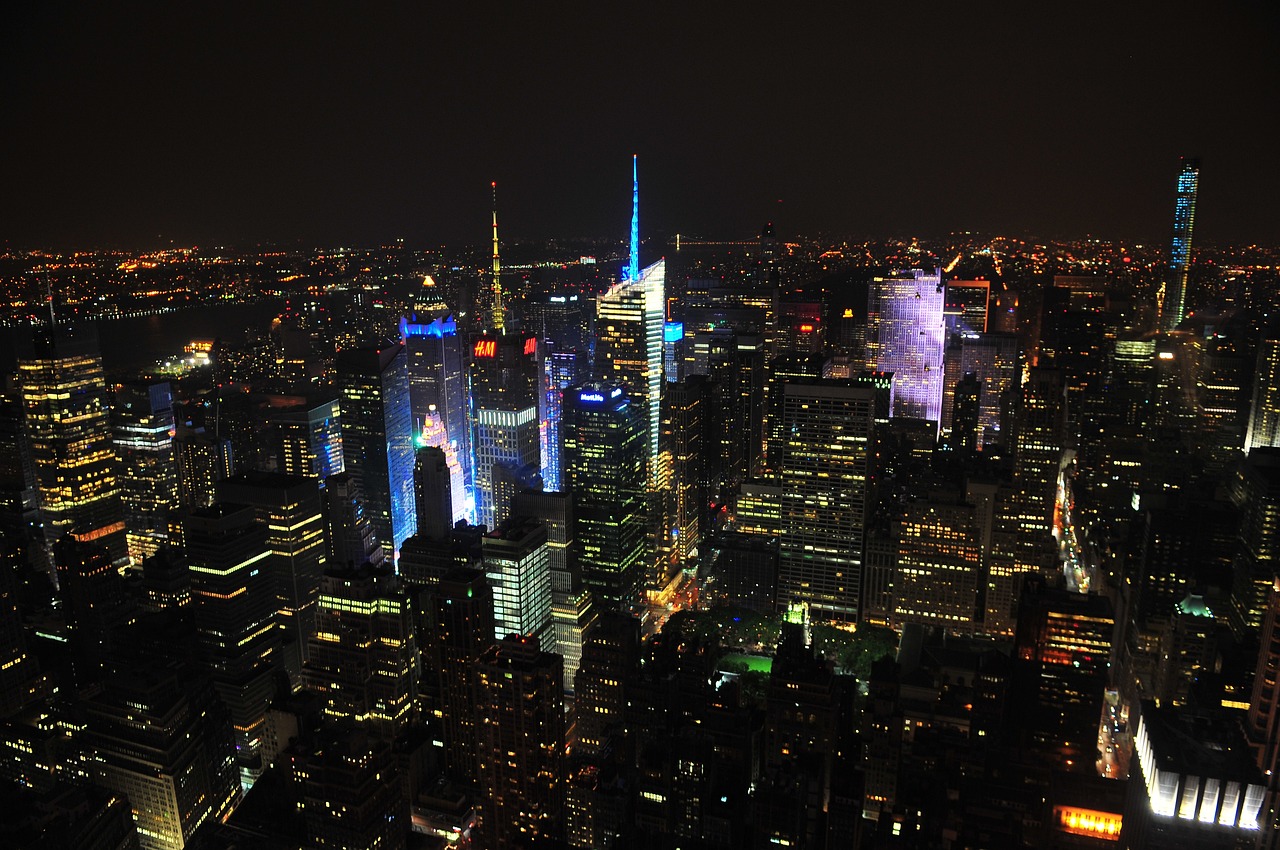
Using Light to Guide the Eye
When it comes to painting a luminous city at night, understanding how to use light strategically can be a game-changer. Light isn't just about illumination; it's a powerful tool that can direct the viewer's gaze, creating a sense of flow and movement within your artwork. Think of light as a magnet that pulls the eye toward focal points, much like how a moth is drawn to a flame. By effectively manipulating light, you can create a narrative within your painting, guiding the viewer through the bustling streets and vibrant scenes of your nocturnal cityscape.
One effective method to achieve this is by establishing a clear light source. Whether it's the warm glow of streetlights or the vibrant colors of neon signs, identifying your primary light source will help you determine where to place the brightest highlights. For instance, if you have a streetlamp casting a golden hue, you can use this light to lead the viewer's eye along the path it illuminates. This not only adds depth but also creates a sense of realism in your painting.
Consider using contrasting colors to enhance the effect of light. For example, if your light source is warm, you might want to incorporate cooler tones in the shadows. This contrast will not only make the light appear more vibrant but also help in creating a dynamic composition. The interplay of warm and cool tones can evoke emotions and set the mood, making your cityscape feel alive and pulsating with energy.
Another technique to guide the eye is to create a pathway of light. This can be achieved through the careful placement of highlights and reflective surfaces. For instance, the reflection of city lights on wet pavement can serve as a visual pathway, leading the viewer's gaze deeper into the scene. You might also consider using the light to frame certain elements, such as buildings or trees, drawing attention to them while still maintaining the overall harmony of the composition.
In summary, using light to guide the eye is about more than just brightness; it's about creating a visual journey. By thoughtfully placing your light sources, using contrasting colors, and creating pathways of light, you can craft a cityscape that not only captures the essence of nighttime vibrancy but also invites viewers to explore every corner of your masterpiece. So grab your brushes and let the light lead the way!
- What is the best way to create depth in a nighttime painting?
Using shadows effectively and contrasting warm and cool colors can help create a sense of depth in your artwork.
- How can I make my cityscape look more vibrant?
Incorporate a variety of light sources and use bold colors to reflect the lively atmosphere of a city at night.
- What materials are best for painting night scenes?
High-quality acrylics or oils can be great for capturing the luminosity of nighttime scenes, especially when layered effectively.
Brush Techniques for Night Scenes
When it comes to painting a vibrant city at night, the brush techniques you employ can make all the difference. Each stroke is like a note in a symphony, contributing to the overall harmony of your artwork. Understanding how to manipulate your brushes can help you capture the essence of a nighttime cityscape, where light and shadow dance together in a mesmerizing display.
One of the most effective techniques for night scenes is the dry brush technique. This method involves using a brush with very little paint on it, allowing you to create a textured surface that mimics the gritty, illuminated feel of a city at night. Imagine the rough texture of a brick wall or the glimmer of streetlights reflecting off wet pavement. By lightly dragging your brush across the canvas, you can achieve a stunning effect that adds depth and realism to your painting.
Another essential technique is blending. This is particularly important when you want to create soft edges that transition smoothly between light and shadow. Think of the way a sunset fades into night; it’s not a harsh line but rather a gentle gradient. To achieve this in your artwork, you can use a clean, damp brush to blend colors together, allowing them to flow seamlessly into one another. This technique is perfect for depicting the soft glow of neon signs or the subtle illumination of street lamps.
In addition to these techniques, consider using a fan brush for creating unique textures and effects. This brush can be particularly useful for painting foliage or the intricate details of a building’s architecture. The way the bristles fan out allows for a variety of strokes, giving you the flexibility to create both sharp lines and soft edges. For instance, you might use a fan brush to depict the delicate branches of a tree silhouetted against a glowing skyline.
To further enhance your painting, you can also experiment with layering. Start with a base layer of darker colors to establish the night sky, then gradually build up lighter colors for the buildings and light sources. This technique not only adds depth but also allows you to play with the luminosity of your scene. Think of it like building a sandwich; each layer adds flavor and texture to the final product.
Finally, don’t forget about the power of detail brushes. These smaller brushes are perfect for adding the finishing touches that can elevate your painting from good to extraordinary. Use them to highlight windows, add reflections, or create intricate details that draw the viewer in. Remember, it’s often the smallest details that catch the eye and make a piece truly shine.
In summary, mastering these brush techniques can significantly enhance your ability to depict a luminous city at night. Whether you’re using dry brush strokes for texture, blending for soft transitions, or layering to create depth, each method contributes to the overall vibrancy of your artwork. So grab your brushes, and let your creativity flow as you bring the magic of a nighttime cityscape to life!
- What type of brushes are best for painting night scenes?
For night scenes, a variety of brushes can be useful. Flat brushes are great for broad strokes, while detail brushes are perfect for intricate highlights. A fan brush can also add unique textures.
- How do I choose the right colors for a night painting?
Opt for a mix of cool and warm tones to create contrast. Deep blues and purples can form the base, while bright yellows and oranges can represent artificial light sources.
- Can I use acrylics for nighttime cityscapes?
Absolutely! Acrylics are versatile and dry quickly, making them ideal for layering and blending techniques necessary for capturing the essence of a night scene.
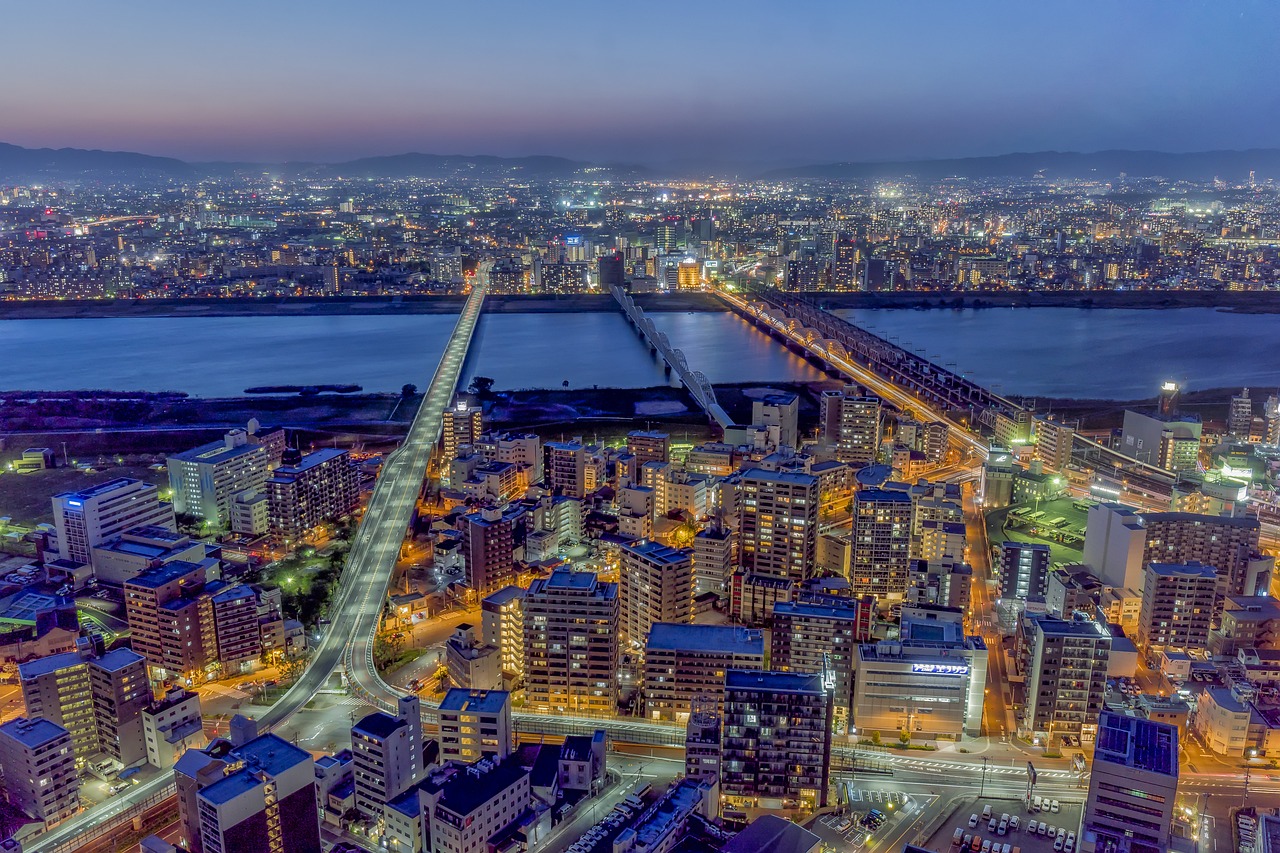
Dry Brush for Texture
When it comes to painting a luminous city at night, the dry brush technique is a game-changer. This method allows you to create stunning textures that mimic the rough surfaces of buildings and the smoothness of streets, all while maintaining the vibrant glow of your nighttime palette. Imagine the feeling of a cool breeze as you walk through the city; the dry brush technique captures that essence by adding a tactile quality to your artwork.
To master the dry brush technique, you’ll want to start with a stiff-bristled brush. This brush type is essential because it holds less paint, allowing you to apply just the right amount to create texture without overwhelming your canvas. Here's a simple step-by-step guide to get you started:
- Choose Your Colors: Select a few colors from your palette that you want to use for the texture. It's often best to pick shades that are slightly lighter or darker than your base colors.
- Load Your Brush: Dip your brush in the paint, then wipe most of it off on a paper towel or rag. You want just enough paint to create a subtle effect.
- Apply with a Light Touch: Gently drag the brush across the surface of your canvas. Use a flicking motion to create uneven textures that resemble the gritty surfaces of city buildings.
- Layering: Don’t be afraid to layer different colors. This adds depth and interest to your artwork. For instance, a soft blue can be layered over a deeper blue to create a shimmering effect that mimics the glow of streetlights.
One of the most exciting aspects of the dry brush technique is its versatility. You can use it to depict everything from the roughness of a brick wall to the smooth sheen of wet pavement. Each stroke adds an element of realism that pulls your viewer into the scene, making them feel as if they are standing right in the middle of your vibrant cityscape.
Additionally, the dry brush technique is particularly effective for highlighting areas where light interacts with surfaces. For example, when painting a street at night, you can use this technique to simulate the way light reflects off wet pavement or glistens on glass windows. This interplay between light and texture is what truly brings your painting to life, making it not just a representation of a city but an experience of being there.
In conclusion, incorporating the dry brush technique into your nighttime cityscape paintings can elevate your artwork to new heights. It adds a layer of texture that enhances the luminosity and vibrancy of your scene, inviting the viewer to explore every corner of your city. So grab that brush, experiment with different colors, and watch your luminous city come alive!
Q: What type of brush should I use for the dry brush technique?
A: A stiff-bristled brush works best for the dry brush technique as it allows for better control and texture creation.
Q: Can I use the dry brush technique on other types of paintings?
A: Absolutely! The dry brush technique can be applied to various subjects, including landscapes and portraits, to add texture and depth.
Q: How do I know when to stop applying the dry brush technique?
A: It's important to step back and assess your painting regularly. Stop when you feel the texture enhances the overall composition without overpowering other elements.
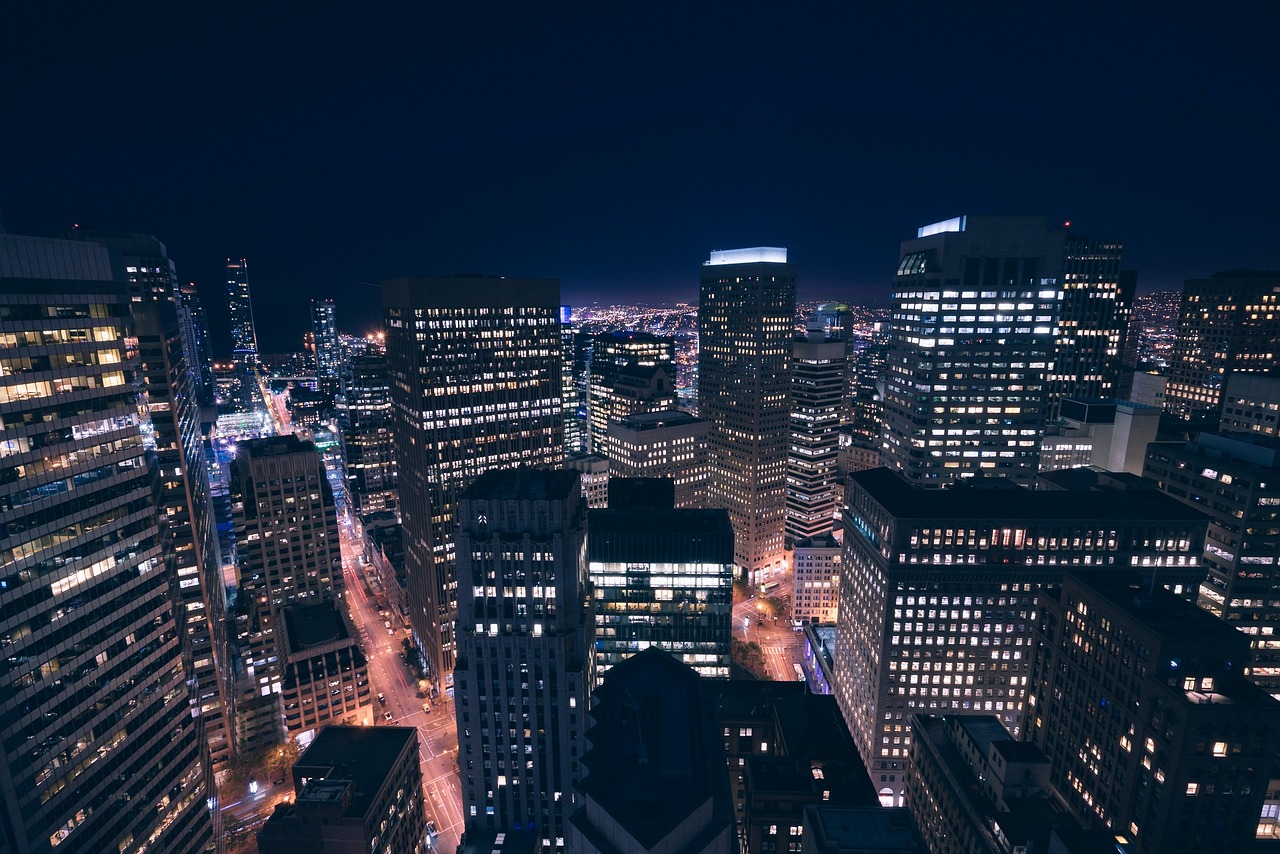
Blending for Soft Edges
When it comes to painting a cityscape at night, one of the most important techniques to master is . This technique is crucial because the transition between light and shadow is often subtle and nuanced, especially under the glow of streetlights and neon signs. Think of it like a gentle fog rolling over the city; it softens the harsh lines and creates a more dreamy, atmospheric effect. To achieve this, you need to understand the basic principles of color mixing and the tools that will help you achieve those smooth transitions.
First, let's talk about the right tools. A good set of brushes is essential. You’ll want to have a variety of sizes, but focus on those that have soft bristles. These brushes will allow you to blend colors seamlessly. A flat brush can be particularly effective for larger areas, while a round brush is perfect for detailed work. Remember, the key to blending is to work with wet paint; this keeps the colors fluid and allows them to merge beautifully.
Next, consider your color choices. When blending for soft edges, you want to use colors that are adjacent on the color wheel. This technique is known as analogous color blending. For instance, if you are painting a street illuminated by a warm yellow streetlight, consider using shades of orange and light brown to create that soft, glowing effect. Avoid stark contrasts unless you are aiming for a specific dramatic effect. Instead, let the colors flow into one another, creating a harmonious blend that mimics the natural light.
Here’s a simple step-by-step approach to blending for soft edges:
- Start with a base layer: Apply your base colors lightly, allowing them to dry slightly.
- Add layers: Gradually add darker shades around the edges where you want more depth.
- Use a clean brush: Dip a clean, damp brush into a lighter color and gently drag it over the darker edges to soften the transition.
- Repeat: Continue this process until you achieve the desired softness.
Don’t be afraid to experiment! Sometimes, the most stunning effects come from unexpected blends. Try layering different colors and see how they interact. You might find that a hint of blue in a shadow adds an unexpected depth to your painting. Just remember to keep your brush strokes light and fluid; the goal is to create a sense of movement and life within your cityscape.
In conclusion, mastering the art of blending for soft edges can transform your nighttime cityscape from a flat representation into a lively, glowing masterpiece. With practice, you'll find that your ability to create depth and atmosphere will significantly enhance the overall impact of your artwork. So grab your brushes and start blending – the city awaits your artistic touch!
Q: What types of brushes are best for blending?
A: Soft-bristled brushes, such as filbert or round brushes, work best for blending colors smoothly.
Q: Can I blend with acrylics, or is it better with oils?
A: Both mediums can be blended effectively, but acrylics dry faster, so you may need to work quickly or use a slow-drying medium.
Q: How do I know when to stop blending?
A: Stop blending when you achieve the desired softness and depth. Trust your instincts – sometimes less is more!
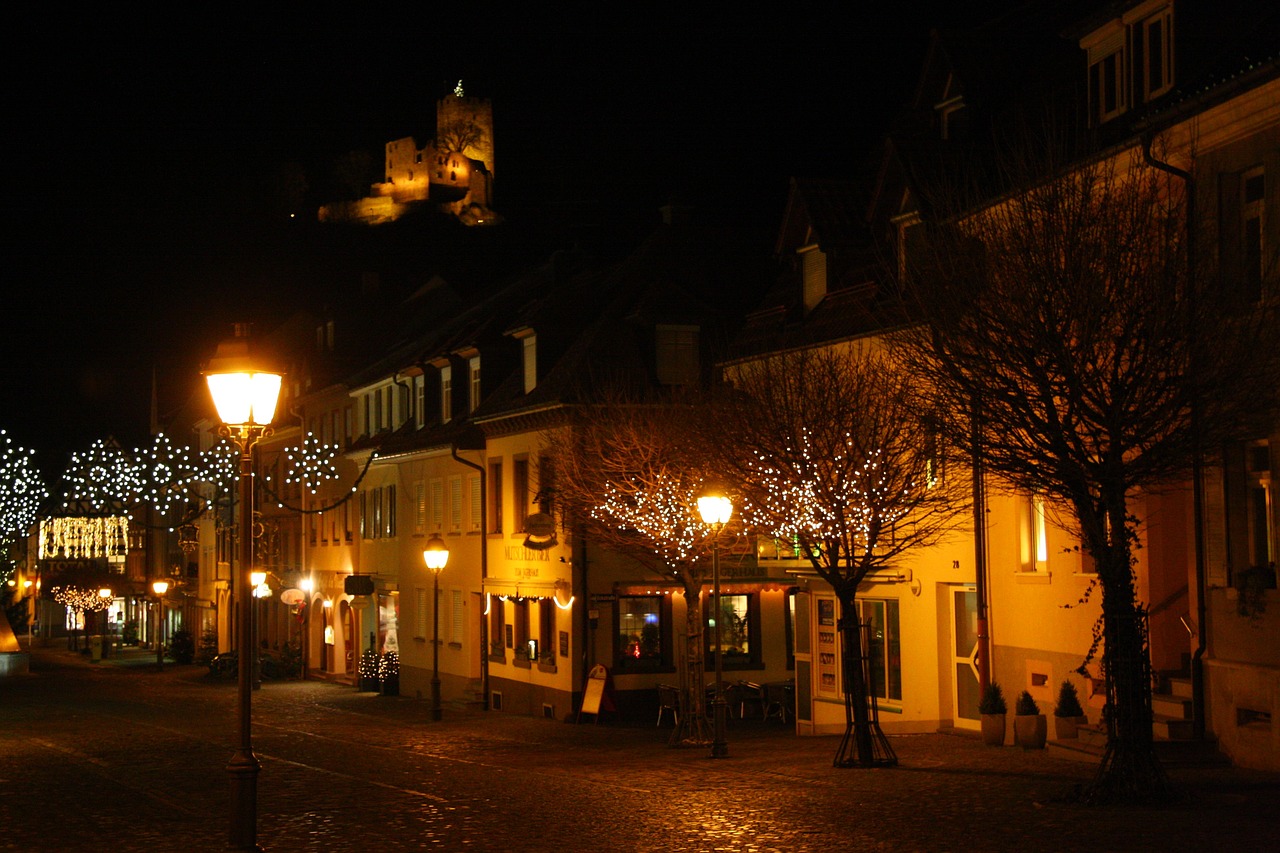
Final Touches and Highlights
When it comes to painting a luminous city at night, the final touches and highlights are what truly bring your artwork to life. These finishing elements can transform a good painting into a stunning masterpiece, so it's essential to approach them with care and creativity. Think of your painting as a beautiful cake; the frosting and decorations are what make it irresistible. Similarly, the highlights and final details in your artwork will make it pop and draw the viewer's eye.
To begin with, consider the sources of light in your cityscape. Streetlights, neon signs, and illuminated windows provide excellent opportunities for highlights. Use a fine brush to add small dots or lines of bright color in areas where light would naturally reflect. This technique not only emphasizes the vibrancy of the scene but also adds a sense of realism to your painting. For instance, a flickering neon sign can be depicted with sharp, bright strokes of color that contrast against the darker hues of the surrounding buildings.
Another crucial aspect to remember is the interplay between light and shadow. Shadows should be painted with a slightly muted tone, allowing the highlights to stand out more prominently. This contrast creates a dynamic visual experience, guiding the viewer's eye through the painting. You might want to experiment with different levels of brightness in your highlights; some areas can be more luminous than others, creating a sense of depth and intrigue.
Let’s not forget about the importance of layering. Adding multiple layers of highlights can enhance the luminosity of your painting significantly. Start with a base layer of lighter color and gradually build up additional layers. This approach will create a glowing effect that mimics the way light interacts with surfaces in the real world. For example, a wet street can reflect light differently than a dry one, so consider how you can use layering to depict these variations.
Finally, take a step back and evaluate your painting from a distance. Sometimes, what looks great up close may not have the same impact when viewed from afar. Adjust your highlights accordingly, ensuring they are balanced and harmonious with the overall composition. A well-placed highlight can serve as a focal point, drawing attention to specific areas of interest within your cityscape.
In conclusion, the final touches and highlights in your nighttime city painting are not just details; they are essential components that breathe life into your artwork. By carefully considering the sources of light, using contrast effectively, layering your highlights, and evaluating your work from different perspectives, you can create a breathtaking scene that radiates vibrancy and allure.
- What are some common mistakes to avoid when adding highlights? One common mistake is overdoing the highlights, which can make the painting look unnatural. It's essential to find a balance and ensure that highlights enhance rather than overwhelm your artwork.
- How can I make my highlights look more realistic? Use a variety of colors for your highlights instead of just white or yellow. Incorporating different hues can mimic the complexity of light in real life.
- What types of brushes are best for adding final touches? A fine detail brush or a round brush with a pointed tip is ideal for adding precise highlights and details.
Frequently Asked Questions
- What are the best light sources to consider when painting a city at night?
When capturing a city at night, focus on various light sources such as streetlights, neon signs, and car headlights. These elements not only illuminate the scene but also set the mood and atmosphere of your artwork. Each light source contributes differently, creating a vibrant tapestry of colors and shadows.
- How do I choose the right color palette for a nighttime cityscape?
Selecting a color palette is crucial for depicting the essence of a luminous city. Aim for a mix of warm and cool tones to create contrast and depth. Warm colors can evoke a sense of coziness, while cool tones can add a mysterious vibe. Balancing these colors will help your painting resonate with the vibrancy of the night.
- What techniques can I use to create depth with shadows?
Shadows are essential for adding a three-dimensional feel to your painting. Use darker shades of your base colors to create shadows, and pay attention to the direction of your light sources. This will help you establish a realistic depth, making your buildings and streets pop out, giving life to your cityscape.
- How can I highlight reflections in my night painting?
Reflections can bring a dynamic quality to your artwork. To capture reflections effectively, observe how light interacts with wet surfaces or glass. Use lighter shades and smooth blending techniques to mimic the shimmering effect of light bouncing off these surfaces, enhancing the overall luminosity of your piece.
- What brush techniques are effective for painting night scenes?
Different brush techniques can yield various effects in your paintings. The dry brush technique is great for adding texture, while blending techniques help create soft edges. Experiment with both to find the right balance for your night scene, ensuring that your light and shadow transitions are smooth and captivating.
- What final touches should I consider for my painting?
Final touches are where your painting truly comes to life! Adding highlights can elevate the vibrancy of your work. Consider using a fine brush to add small, bright spots where light hits surfaces directly, enhancing the overall luminosity and making your cityscape feel alive and dynamic.


