Transforming Your Photographs into Paintings
In a world where technology allows us to capture moments in high definition, the art of transforming those photographs into paintings offers a unique way to express creativity and emotion. Imagine taking a snapshot of a breathtaking sunset or a beloved pet and turning it into a vibrant piece of art that speaks to the heart. This article explores various techniques and tools for converting photographs into stunning paintings, enhancing your artistic expression and creativity through both digital and traditional methods.
The journey of transforming a photograph into a painting can be incredibly rewarding. It’s not just about replicating an image; it’s about infusing it with your own artistic flair. Whether you choose to embrace the world of digital painting or opt for the tactile experience of traditional methods, each approach has its own set of tools and techniques that can elevate your work to new heights. With the right knowledge and a bit of practice, you can create pieces that not only capture the essence of the original photograph but also convey your unique artistic vision.
But why stop at just one method? The beauty of art lies in its versatility. You can blend different techniques to achieve extraordinary results that stand out and captivate the viewer. So, whether you’re a seasoned artist or a curious beginner, the possibilities are endless. Get ready to dive deep into the world of artistic transformation, where your photographs can transcend their original form and become something truly magical.
Digital painting offers a modern approach to transforming photographs into artwork. With the advancement of technology, artists now have access to a plethora of software options and tools that make the process not only easier but also more enjoyable. Programs like Adobe Photoshop, Corel Painter, and Procreate have become staples in the digital artist's toolkit, providing a wide range of brushes and effects that can help you achieve realistic and stylized effects.
One of the most exciting aspects of digital painting is the ability to experiment without the fear of making irreversible mistakes. You can try out different colors, textures, and styles with just a few clicks. The undo button is your best friend! As you navigate through the digital canvas, consider how you can manipulate your photograph to create a unique piece of art that reflects your personality and style.
Selecting the perfect photograph is crucial for a successful transformation. Not all images will translate well into paintings, so it’s essential to consider various criteria that will enhance the final artwork. Factors such as composition, lighting, and subject matter play a significant role in determining how effectively a photograph can be transformed into a painting.
Understanding composition is essential for creating impactful paintings. The way elements are arranged within a frame can either draw the viewer in or push them away. Here are a couple of composition techniques that can enhance your artwork:
The Rule of Thirds is a fundamental guideline in photography and painting. By dividing your canvas into a grid of nine equal parts, you can place key elements along these lines or at their intersections, creating a more balanced and engaging composition. This simple technique can make a significant difference in how your painting resonates with viewers.
Leading lines guide the viewer's attention through the artwork. They can be natural elements like roads, rivers, or even shadows that draw the eye toward a focal point. Incorporating these lines from your photographs into your painting compositions can create a dynamic effect that keeps the viewer engaged.
Lighting plays a pivotal role in setting the mood of a painting. The way light interacts with your subject can evoke different emotions and create a particular atmosphere. Analyzing and replicating lighting from photographs can help you convey the intended mood in your artwork, whether it’s a soft, serene sunset or a dramatic, high-contrast scene.
Exploring traditional painting methods can offer unique textures and styles that digital painting may not be able to replicate. Techniques like oil, watercolor, and acrylic painting each bring their own characteristics to the table, allowing for a wide range of artistic expression. For instance, oil painting allows for rich color blending and texture, while watercolor offers a delicate and fluid approach to capturing details.
Oil painting allows for rich color blending and texture. Techniques such as glazing and impasto can be used to enhance the depth of your painted photographs. Glazing involves applying thin layers of transparent paint, allowing the colors beneath to show through, creating luminosity. Impasto, on the other hand, involves applying thick layers of paint, adding dimension and texture that can really make your artwork pop.
Watercolor painting offers a delicate and fluid approach. Techniques like wet-on-wet, where wet paint is applied to wet paper, can create soft, blended effects that beautifully translate photographic details into expressive paintings. Dry brush techniques can add fine details and textures, allowing you to bring your photographs to life in a different way.
Mixing digital and traditional methods can yield extraordinary results. Imagine starting with a digital sketch of your photograph, then printing it out and enhancing it with traditional paints. This hybrid approach allows you to combine the precision of digital art with the organic feel of traditional painting, creating unique artwork that stands out and captures the viewer's attention.
- Can I use any photograph for transformation? Not all photographs will translate well into paintings. It’s best to choose images with strong composition and lighting.
- What software is best for digital painting? Popular options include Adobe Photoshop, Corel Painter, and Procreate, each offering unique tools and features.
- Do I need to be an experienced artist to start? Not at all! Many beginners find joy in experimenting with both digital and traditional methods.
- Can I mix traditional and digital techniques? Absolutely! Many artists find that combining both methods yields stunning results.
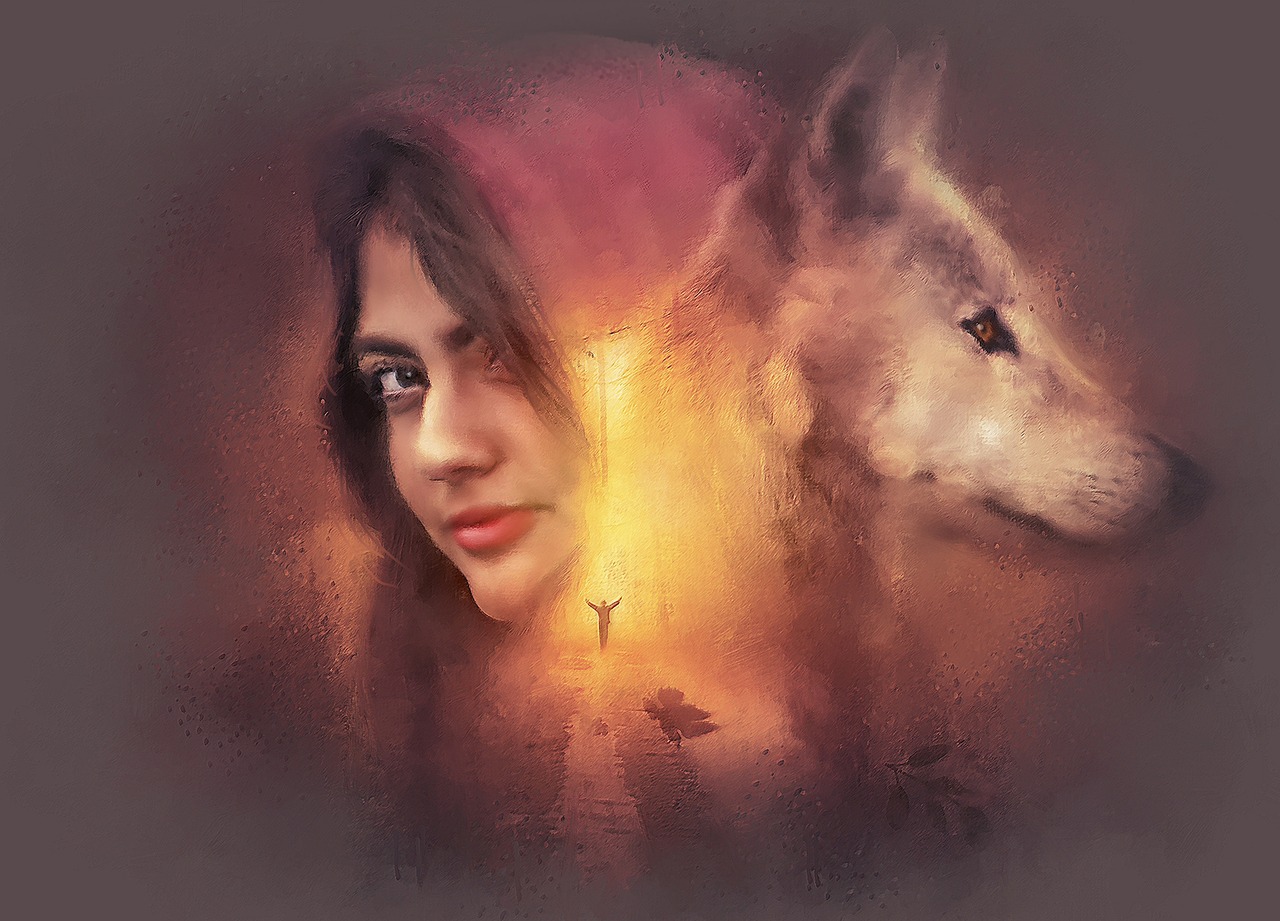
The Art of Digital Painting
Digital painting is a fascinating and innovative way to transform photographs into stunning works of art. With the advancement of technology, artists now have access to a plethora of software and tools that allow them to mimic traditional painting techniques while enjoying the flexibility and convenience of digital mediums. Whether you're a seasoned artist or a beginner exploring your creative side, digital painting opens up a world of possibilities for artistic expression. But what exactly does it entail?
At its core, digital painting involves using software to create artwork that resembles traditional painting. Programs like Adobe Photoshop, Corel Painter, and Procreate provide artists with various brushes, textures, and effects that can replicate the look of oils, watercolors, and more. The beauty of digital painting is that it allows for unlimited experimentation. Artists can easily undo mistakes, layer different elements, and manipulate colors without the mess of physical paint. This flexibility encourages creativity and allows for a more playful approach to art.
One of the most important aspects of digital painting is understanding the tools at your disposal. Each software has its unique features and capabilities. For instance, Adobe Photoshop is renowned for its powerful editing tools, while Corel Painter is celebrated for its realistic brush simulations. Procreate, on the other hand, is favored by many for its user-friendly interface and portability, making it ideal for artists on the go. To help you choose the right software, consider the following:
| Software | Best For | Platform |
|---|---|---|
| Adobe Photoshop | Advanced editing and versatility | Windows, Mac |
| Corel Painter | Realistic brush effects | Windows, Mac |
| Procreate | Portability and ease of use | iPad |
Once you've selected your software, the next step is to explore the various brushes and textures available. Digital brushes can mimic anything from fine pencil strokes to thick oil paints. Experimenting with different brushes can lead to discovering your unique style. For instance, using a textured brush can add depth and interest to your paintings, while a soft brush might create a smooth and ethereal effect.
Another key technique in digital painting is layering. Just like traditional painters build up their artwork in layers, digital artists can do the same. Layers allow you to separate different elements of your painting, making it easier to edit without affecting the entire piece. You can adjust the opacity of each layer, change the blending modes, and even apply different effects to create a more dynamic composition. This flexibility is one of the reasons many artists are drawn to digital painting.
Moreover, color theory plays a significant role in digital painting. Understanding how colors interact can greatly enhance the emotional impact of your artwork. Digital painting software often includes color pickers and palettes that help you select harmonious color schemes. Don't be afraid to experiment! Sometimes, unexpected color combinations can lead to the most striking results.
In conclusion, digital painting is not just about translating a photograph into a painting; it's about exploring your creativity and pushing the boundaries of your artistic expression. With the right tools and techniques, you can create mesmerizing artwork that captures the essence of your original photograph while adding your unique flair. So, why not dive into the world of digital painting and see where your creativity takes you?
- What software is best for beginners in digital painting?
For beginners, Procreate is highly recommended due to its intuitive interface and accessibility on the iPad. - Can I use a regular graphics tablet for digital painting?
Yes, a regular graphics tablet works well, but consider investing in a tablet with a screen for a more natural drawing experience. - How do I improve my digital painting skills?
Practice regularly, study color theory, and explore different techniques and styles to enhance your skills.

Choosing the Right Photograph
Choosing the perfect photograph is akin to selecting the right canvas for your masterpiece; it sets the stage for your artistic expression. The photograph you choose will significantly influence the final painting, so it’s essential to think critically about your options. Start by considering the composition, lighting, and subject matter. Each of these elements plays a vital role in how effectively your painting will capture the viewer's attention and convey emotion.
When selecting a photograph, think about the story you want to tell. Does the image evoke a particular feeling or mood? Is there a narrative that you can enhance through your painting? For example, a photograph of a bustling city street might convey energy and vibrancy, while a serene landscape can evoke tranquility and peace. By understanding the emotions tied to your photograph, you can better translate these feelings into your painting.
Next, let’s delve into some criteria to help you choose the right photograph:
- Composition: Look for photographs that have strong compositional elements. A well-composed image will naturally draw the viewer's eye and create a focal point. Pay attention to how the elements within the photograph interact with each other.
- Lighting: Consider the lighting in your photograph. Is it dramatic, soft, or harsh? Different lighting can create different moods. For instance, golden hour lighting can add warmth and depth, while high-contrast lighting can create a striking effect.
- Subject Matter: Choose subjects that resonate with you personally. Whether it's a portrait, landscape, or abstract image, selecting something that you feel passionate about will make your painting process much more enjoyable.
Moreover, think about how the photograph's details will translate into paint. Some images may have intricate details that are challenging to replicate, while others may lend themselves to broader strokes and more abstract interpretations. For instance, a photograph of a bustling market filled with various colors and textures can provide a rich tapestry for exploration, whereas a simple portrait might allow for a more focused approach.
In conclusion, the photograph you choose is the foundation upon which your painting will be built. By carefully considering composition, lighting, and subject matter, you can select an image that not only inspires you but also allows for a successful transformation into a beautiful painting. Remember, the right photograph can make all the difference in your artistic journey.
Composition Techniques
When it comes to transforming photographs into stunning paintings, understanding is key. Composition is like the backbone of your artwork; it dictates how the viewer's eye travels across the canvas and how the elements within the painting interact with one another. Think of it as setting the stage for a theatrical performance—every element must work together to create a captivating story. So, what are the essential techniques that can elevate your photographic transformations into masterpieces?
First off, let's talk about the Rule of Thirds. This classic guideline is a game-changer for both photographers and painters. Imagine dividing your canvas into a grid of nine equal sections by two vertical and two horizontal lines. By placing your subject along these lines or at their intersections, you create a more balanced and engaging composition. It's like placing the focal point of a narrative right where the audience's attention naturally lands. This technique helps avoid a static feel that often comes with centering your subject, making your painting more dynamic and inviting.
Another powerful technique is the use of leading lines. These are lines within your photograph that guide the viewer’s eye toward the focal point. Whether it's a winding road, a river, or even the edges of buildings, leading lines create a sense of depth and perspective. Incorporating these lines into your painting can add a layer of intrigue and movement, drawing the viewer deeper into the scene. It’s like inviting them to take a stroll through your artwork, experiencing it from different angles.
Let’s not forget about framing. This technique involves using elements within the scene to create a 'frame' around your subject. Think of it as a natural spotlight that highlights the main focus of your painting. Trees, archways, or even human figures can act as frames, directing the viewer’s attention where you want it. By strategically placing these framing elements, you add depth and context, enhancing the storytelling aspect of your artwork.
Furthermore, consider the balance of your composition. A well-balanced painting doesn’t mean everything is symmetrical; rather, it’s about distributing visual weight across the canvas. You might have a large, detailed subject on one side, balanced by a lighter area or an abstract shape on the other. This creates a harmonious feel that keeps the viewer’s eye moving around the piece without feeling overwhelmed. It’s akin to a well-orchestrated symphony where every instrument plays its part without drowning out the others.
Lastly, don’t underestimate the power of negative space. This refers to the empty areas around your subject. It might seem counterintuitive, but negative space can actually enhance your composition by giving your subject room to breathe. It creates a contrast that can make your focal point pop, much like a spotlight on a stage. By strategically using negative space, you can guide the viewer’s focus and evoke a sense of tranquility in your artwork.
In conclusion, mastering these composition techniques can significantly enhance the way you transform photographs into paintings. By applying the Rule of Thirds, utilizing leading lines, framing your subjects, ensuring balance, and incorporating negative space, you'll not only create visually appealing artwork but also tell a compelling story that resonates with your audience.
- What is the Rule of Thirds? The Rule of Thirds is a guideline that suggests dividing your canvas into a grid of nine equal parts and placing your focal points along those lines or their intersections.
- How can leading lines enhance my painting? Leading lines guide the viewer's eye towards the focal point, creating depth and perspective that makes your artwork more engaging.
- What is negative space, and why is it important? Negative space refers to the empty areas around your subject. It helps to highlight the focal point and can evoke a sense of tranquility in your artwork.
Rule of Thirds
The is a timeless principle that can dramatically enhance your photographic and painting compositions. Imagine dividing your canvas or photograph into a grid of nine equal sections, created by two equally spaced horizontal lines and two equally spaced vertical lines. This simple yet effective technique helps you to position the most important elements of your artwork along these lines or at their intersections, which are often referred to as "power points." By doing so, you can create a more balanced and engaging composition that naturally draws the viewer's eye.
When applying the Rule of Thirds, think about the emotional impact of your painting. For instance, if you're painting a landscape, you might place the horizon along the top third line rather than directly in the center. This allows the foreground to capture attention while also providing a sense of depth. Similarly, when painting a portrait, positioning the subject's eyes at one of the power points can evoke a stronger connection with the audience. The result? A composition that feels more dynamic and alive!
It's also important to consider the subject matter when applying this rule. Some subjects may lend themselves well to this technique, while others might require a more centered approach for emphasis. For example, a solitary tree in a vast field can be placed off-center to create a sense of isolation, while a bustling cityscape might benefit from a more centralized view to capture the energy of the scene. Ultimately, the Rule of Thirds serves as a guideline rather than a strict rule, encouraging you to experiment and find what works best for your artistic vision.
To help illustrate the application of the Rule of Thirds, consider the following table that highlights common compositions:
| Composition Type | Application of Rule of Thirds |
|---|---|
| Landscape | Place the horizon along the top or bottom third line. |
| Portrait | Position the subject's eyes at the upper intersections. |
| Still Life | Arrange objects along the grid lines for balance. |
| Action Shot | Align the subject with leading lines toward a power point. |
In conclusion, mastering the Rule of Thirds can significantly elevate your artistic creations, whether you're working with photographs or paintings. It encourages you to think critically about composition and helps you to create artworks that resonate with viewers. So next time you're about to start a new piece, take a moment to visualize that grid and see how it can transform your approach!
- What is the Rule of Thirds? It's a compositional guideline that suggests dividing your canvas into thirds both horizontally and vertically to create more engaging and balanced artwork.
- Can I break the Rule of Thirds? Absolutely! While it's a helpful guideline, creativity often comes from breaking the rules. Experiment and find what works best for your art.
- How can I practice the Rule of Thirds? You can practice by taking photographs using the grid feature on your camera or phone, or by sketching compositions with the grid in mind.
Leading Lines
Leading lines are an essential element in both photography and painting that can dramatically enhance the visual appeal and storytelling of your artwork. These lines naturally guide the viewer’s eye through the composition, creating a sense of movement and depth. Imagine walking through a beautiful landscape; your gaze is often drawn along paths, rivers, or rows of trees. Similarly, in art, leading lines can create that same immersive experience, pulling the viewer into the scene and helping them navigate through it.
When transforming a photograph into a painting, identifying and utilizing leading lines can elevate your work from ordinary to extraordinary. Here are some common types of leading lines you might encounter:
- Diagonals: These lines create dynamic movement and can evoke a sense of energy in your painting.
- Curves: Soft, flowing lines can add a sense of grace and elegance, guiding the viewer’s eye gently through the artwork.
- Horizontal and Vertical Lines: These lines can provide stability and balance, making your painting feel grounded.
To effectively incorporate leading lines from your photographs into your paintings, consider the following techniques:
- Identify the Lines: Before you start painting, take a moment to analyze your photograph. Look for natural lines that draw the eye. This could be the edge of a road, the outline of a building, or even the way light falls across a surface.
- Emphasize the Lines: Once you’ve identified the leading lines, enhance them in your painting. You can use brighter colors or sharper contrasts to make these lines stand out, ensuring they capture the viewer’s attention.
- Maintain Flow: Ensure that the leading lines lead to a focal point in your artwork. This could be a subject, an interesting detail, or an area of contrast. The goal is to create a journey for the viewer’s eye, guiding them seamlessly through the painting.
By effectively using leading lines, you can transform a simple photograph into a compelling painting that tells a story and engages the viewer on multiple levels. Remember, the key is to create a visual path that invites exploration, making your artwork not just a static image, but an experience.
1. What are leading lines in art?
Leading lines are compositional elements that guide the viewer's eye through a piece of artwork. They can be natural or man-made lines that create a sense of movement and depth.
2. How can I identify leading lines in my photographs?
Look for any lines in your photograph that draw the eye towards a focal point. These could be roads, rivers, fences, or even shadows and light patterns. Analyzing the composition will help you spot these lines.
3. Can I create leading lines in my paintings?
Absolutely! You can enhance or create leading lines in your paintings by emphasizing certain elements, using contrasting colors, or arranging your composition to guide the viewer’s eye.
4. Why are leading lines important?
Leading lines are important because they help to create a sense of depth, movement, and focus in your artwork. They can make your paintings more engaging and visually appealing, drawing the viewer into the scene.
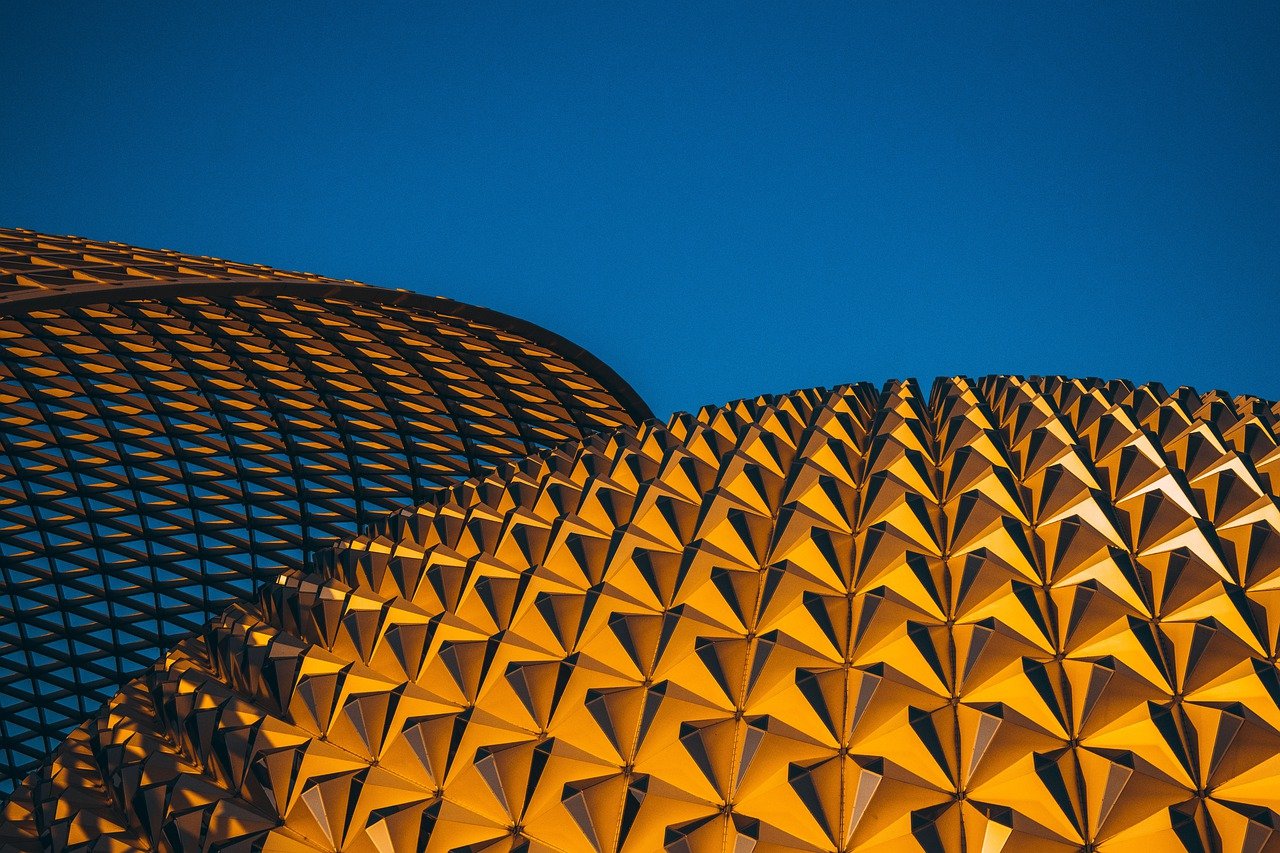
Lighting and Mood
Lighting is not just a technical aspect of photography and painting; it’s the very essence that breathes life into your artwork. It can transform a mundane scene into a captivating visual narrative that evokes emotion and draws the viewer in. Have you ever looked at a painting and felt an instant connection? More often than not, it’s the lighting that sets the mood, creating an atmosphere that resonates with our feelings. When you're transforming a photograph into a painting, understanding how to analyze and replicate lighting is crucial for achieving that emotional impact.
To start, consider the direction of light. Is it coming from the side, above, or below? The direction can dramatically change how shapes and forms are perceived. For instance, side lighting can create long shadows, adding depth and drama, while overhead lighting might wash out details, making everything look flatter. As you paint, think about how the light interacts with your subject. Does it highlight certain features or cast intriguing shadows? This interplay is what adds dimension to your work.
Next, let’s talk about color temperature. Warm lighting can evoke feelings of comfort and happiness, while cool lighting might suggest tranquility or melancholy. This is where color theory comes into play. You might choose to emphasize warm hues in a sunset photograph to convey a sense of warmth and nostalgia, or opt for cooler tones in a winter scene to evoke a feeling of isolation and calm. The colors you choose should align with the mood you want to convey.
Another vital aspect is contrast. High contrast can create a sense of drama, while low contrast tends to be more soothing. Think about how you can manipulate contrast in your painting to enhance the emotional quality of the piece. For example, a photograph with stark shadows and bright highlights can be transformed into a painting that feels intense and powerful, while a softer, more blended approach might evoke a sense of peace.
In addition to these elements, consider the time of day your photograph was taken. The golden hour, just after sunrise or before sunset, offers a magical quality of light that can add an ethereal glow to your paintings. On the other hand, the harsh midday sun can create stark shadows and vibrant colors. By understanding these nuances, you can select the right lighting techniques to enhance your artistic expression.
To help you grasp these concepts better, here’s a quick table summarizing the different lighting conditions and their emotional impacts:
| Lighting Condition | Emotional Impact |
|---|---|
| Golden Hour | Warmth, Nostalgia |
| Overcast | Calm, Softness |
| Harsh Midday Sun | Intensity, Vibrancy |
| Dim Light | Mystery, Introspection |
Ultimately, playing with lighting can make or break your painting. It’s like the seasoning in a dish; too little, and it’s bland; too much, and it overwhelms. Finding that perfect balance is key to creating artwork that not only looks beautiful but also resonates on an emotional level. So as you embark on your painting journey, remember to pay close attention to the lighting in your photographs. Embrace it, manipulate it, and let it guide you in crafting stunning pieces that capture the heart and soul of your subjects.
- What is the best lighting for painting?
The best lighting for painting depends on the mood you want to convey. Natural light, especially during the golden hour, is often preferred for its warm tones and soft shadows.
- How does lighting affect the mood of a painting?
Lighting affects the mood by influencing the colors and shadows in the painting. Warm lighting can create feelings of comfort, while cool lighting can evoke calmness or sadness.
- Can I change the lighting in my photograph before painting?
Yes! You can use photo editing software to adjust the lighting in your photograph, allowing you to experiment with different moods before you start painting.

Traditional Painting Techniques
Exploring traditional painting methods can offer a unique and tactile experience that digital mediums often lack. These techniques not only allow for rich textures and styles but also invite artists to engage with their materials in a deeply personal way. Whether you are a seasoned artist or a beginner looking to expand your creative horizons, understanding these techniques can significantly enhance your ability to recreate photographs as stunning paintings. In this section, we will delve into various traditional painting techniques, including oil, watercolor, and acrylic, each with its own set of characteristics and benefits.
One of the most celebrated mediums in the art world is oil painting. This technique is renowned for its ability to produce vibrant colors and intricate details. The slow drying time of oil paints allows artists to work at their own pace, enabling them to blend colors seamlessly to achieve depth and richness. Techniques such as glazing—which involves layering thin washes of color over dried paint—and impasto, where paint is applied thickly to create texture, can be particularly effective when transforming photographs into captivating paintings. Artists can manipulate the paint to create lifelike textures that mimic the original photograph, enhancing the visual impact of their work.
In contrast, watercolor painting offers a delicate and fluid approach to creating art. The transparency of watercolors allows for a unique interplay of light and color, making it an excellent choice for artists looking to capture the ethereal quality of a photograph. Techniques such as wet-on-wet, where wet paint is applied to a wet surface, can produce soft edges and beautiful blends that evoke a sense of movement and spontaneity. On the other hand, the dry brush technique, where a dry brush is used to apply paint, can create fine details and textures that add depth to the artwork. Each of these methods can effectively translate photographic details into soft, expressive paintings that resonate with viewers.
Acrylic painting is another versatile option that combines the best of both oil and watercolor techniques. It dries quickly, allowing artists to layer colors rapidly, and can be used in a variety of ways—thin washes for a watercolor effect or thick applications for an impasto style. The adaptability of acrylics means that they can be used to recreate the sharpness of a photograph or the softness of a painted scene, depending on the artist's intention. With the right techniques, acrylics can mimic the qualities of other mediums, making them a favorite among many contemporary artists.
Ultimately, the choice of traditional painting technique depends on the desired outcome and the artist's personal style. Each medium presents its own challenges and rewards, and experimenting with different methods can lead to surprising and delightful results. By understanding the nuances of oil, watercolor, and acrylic painting, artists can effectively transform photographs into unique pieces of art that reflect their individual creativity and vision.
- What is the best medium for beginners? - Watercolor is often recommended for beginners due to its forgiving nature and ease of use.
- Can I use traditional techniques digitally? - Yes! Many digital painting software programs allow you to replicate traditional techniques.
- How do I choose the right painting technique for my photograph? - Consider the mood and detail of your photograph; softer images may benefit from watercolor, while bold, vibrant photos may be better suited for oil or acrylic.
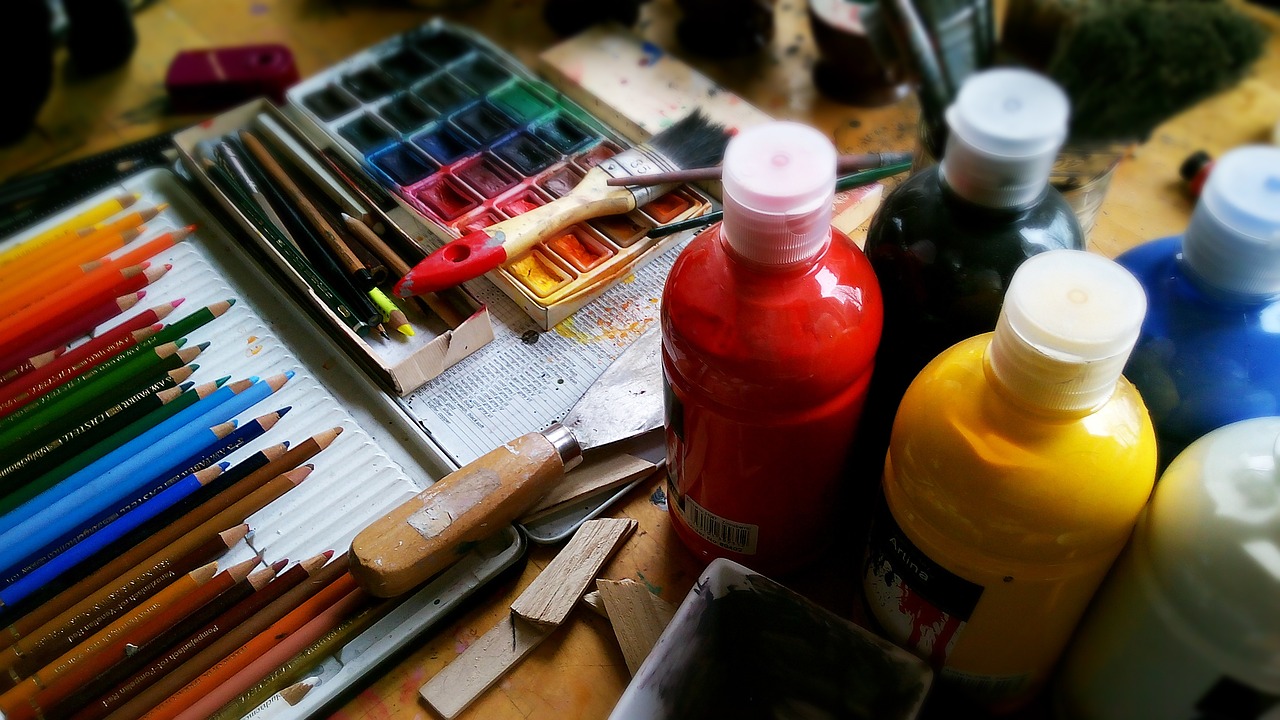
Oil Painting Techniques
Oil painting is a captivating medium that brings a unique richness and depth to your artwork, making it an ideal choice for transforming photographs into stunning paintings. With its ability to blend colors seamlessly and create intricate textures, oil paint offers artists the opportunity to explore a wide range of techniques. One of the most popular methods is glazing, where thin layers of transparent paint are applied over dried layers. This technique allows artists to build up color and luminosity gradually, resulting in a luminous effect that can breathe life into your painted photographs.
Another powerful technique is impasto, which involves applying paint in thick, textured layers. This method can create a three-dimensional effect, making certain elements of your painting pop out, almost like they are reaching out to the viewer. Imagine the vibrant flowers in a photograph transformed into a tactile masterpiece where you can almost feel the petals! Using a palette knife instead of a brush can enhance this technique, allowing for bold strokes and dramatic textures.
When working with oil paints, it’s essential to consider the fat over lean principle. This rule states that you should apply leaner (less oily) layers first and progressively add fat (more oily) layers. This technique helps to prevent cracking and ensures the longevity of your artwork. Additionally, understanding the color wheel can greatly enhance your oil painting skills. By mixing complementary colors, you can create stunning contrasts that make your paintings visually striking.
Here’s a quick overview of some effective oil painting techniques:
| Technique | Description |
|---|---|
| Glazing | Applying thin layers of transparent paint over dried layers to create depth and luminosity. |
| Impasto | Using thick layers of paint to create texture and a three-dimensional effect. |
| Fat Over Lean | Applying lean layers first, followed by fatter layers to prevent cracking. |
| Color Mixing | Understanding the color wheel to create contrasts and harmonies in your painting. |
As you dive into oil painting, don’t forget to experiment! Mixing techniques can lead to unexpected and delightful results. For instance, you might start with a glazing layer to establish a base and then apply impasto for highlights and focal points. The beauty of oil painting lies in its versatility and the freedom it offers to express your creativity.
In conclusion, mastering oil painting techniques can significantly enhance your ability to transform photographs into breathtaking works of art. Whether you are a seasoned artist or just starting, embracing these methods will not only improve your skills but also deepen your appreciation for the captivating world of oil painting.
- What materials do I need for oil painting? You will need oil paints, brushes, a palette, canvas or canvas boards, and medium (like linseed oil) for mixing.
- How long does it take for oil paint to dry? Oil paint can take anywhere from a few days to several months to dry, depending on the thickness of the application and the medium used.
- Can I mix oil paints with acrylics? It’s generally not recommended to mix oil and acrylic paints directly, but you can use them in layers if you follow the fat over lean rule.
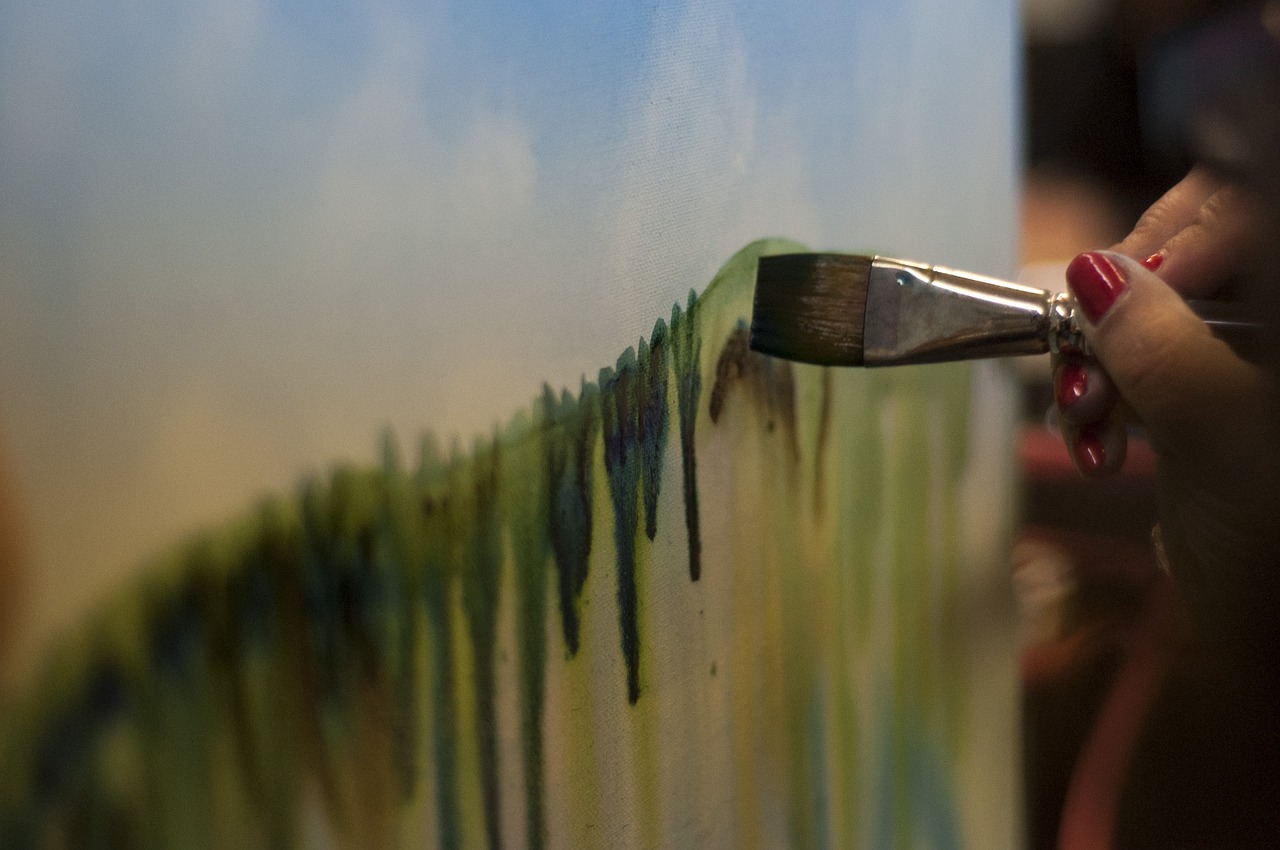
Watercolor Techniques
Watercolor painting is a captivating medium that allows artists to convey emotions and scenes with a delicate touch. One of the most enchanting aspects of watercolor is its ability to create soft, flowing effects that can transform a photograph into a dreamy piece of art. To master this technique, it's essential to understand various methods that can enhance your ability to translate photographic details into expressive paintings.
One popular technique is wash painting, which involves applying a thin layer of paint to create a uniform background or to lay down the initial color. This technique is particularly effective for establishing a base that can be built upon with additional layers. When using washes, it's important to control the amount of water you mix with the paint to achieve the desired transparency. A well-executed wash can set the mood of your painting, much like the backdrop in a theater production.
Another technique to consider is wet-on-wet, where wet paint is applied onto a wet surface. This method allows colors to blend seamlessly, creating soft edges and beautiful gradients. Imagine the way clouds drift and merge in the sky; wet-on-wet techniques can replicate that ethereal quality in your artwork. However, it requires a steady hand and a keen eye, as the paint can spread unpredictably. To achieve the best results, try practicing on different types of watercolor paper to see how each reacts to the wetness.
On the other hand, the dry brush technique offers a striking contrast. By using a brush that is barely wet, you can create sharp, defined lines and textures. This method is perfect for capturing intricate details that might be lost in softer techniques. Think of it as the difference between a gentle breeze and a strong wind; the dry brush can add a dynamic energy to your painting, perfect for depicting elements like foliage or rough textures.
When working with watercolors, layering is key. You can build depth and dimension by allowing each layer to dry before adding the next. This technique not only enhances the richness of your colors but also allows for corrections if needed. For instance, if a color appears too dark, you can lighten it with a subsequent layer of lighter paint. This process can be likened to sculpting; each layer adds to the final form, creating a masterpiece out of what was once a flat image.
To help you get started with watercolor techniques, here’s a quick overview of some essential methods:
| Technique | Description |
|---|---|
| Wash Painting | A thin layer of paint applied for a uniform background. |
| Wet-on-Wet | Applying wet paint on a wet surface for soft blending. |
| Dry Brush | Using minimal water for sharp, defined lines. |
| Layering | Building depth by allowing each layer to dry before adding more. |
In conclusion, mastering watercolor techniques is all about practice and experimentation. Don't be afraid to make mistakes; each one is a stepping stone towards improving your skills. As you explore these methods, you'll find your unique style emerging, allowing you to create stunning paintings that breathe life into your photographs. So grab your brushes, unleash your creativity, and watch as your images transform into beautiful works of art!
- What type of paper is best for watercolor painting? Watercolor paper is specially designed to absorb water without warping. Look for cold-pressed or hot-pressed options depending on your preferred texture.
- Can I use regular paintbrushes for watercolor? While you can use regular brushes, investing in watercolor-specific brushes will yield better results due to their ability to hold water and paint effectively.
- How do I fix mistakes in watercolor painting? Mistakes can often be lifted by gently blotting with a clean, damp cloth or by using a wet brush to re-wet the area and lift the paint.
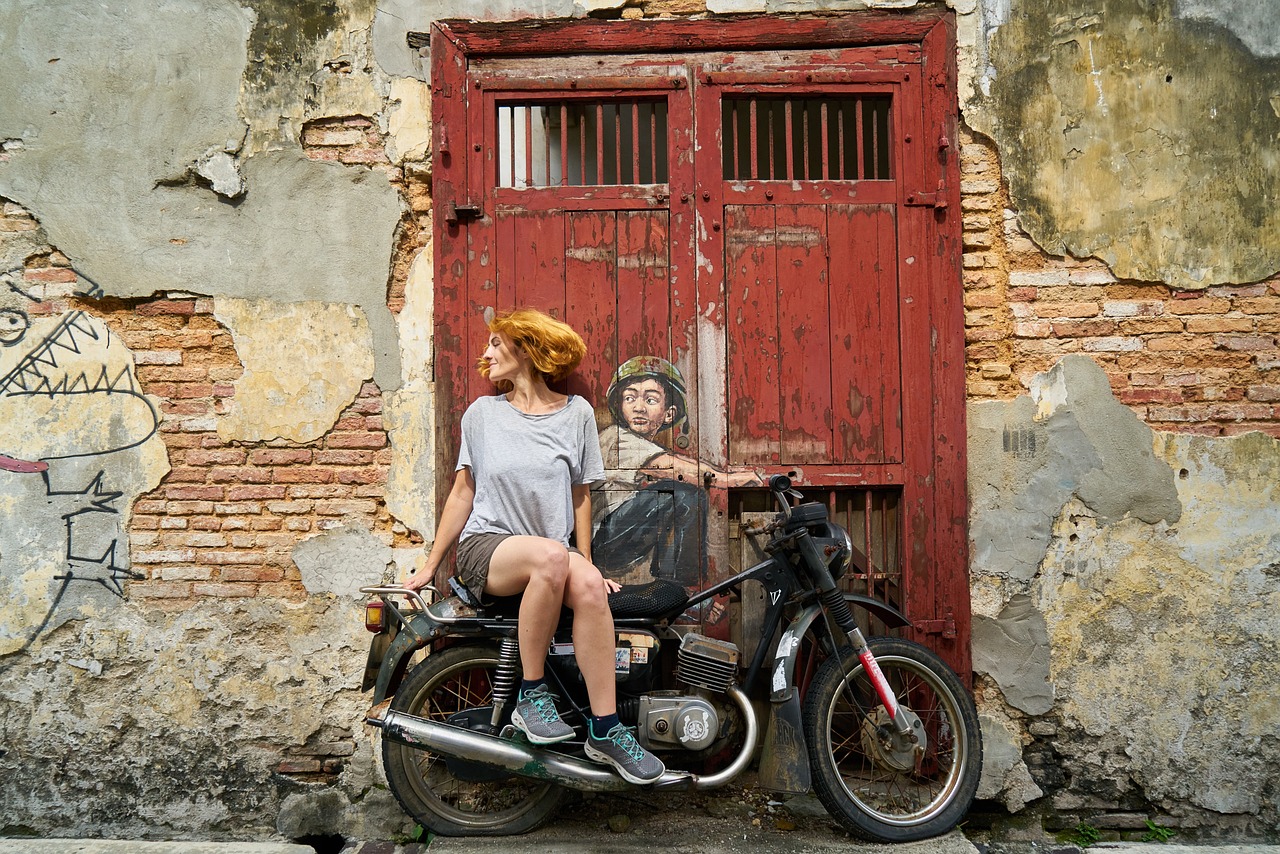
Combining Techniques for Unique Results
In the world of art, the magic often happens at the intersection of different techniques. When it comes to transforming photographs into paintings, combining digital and traditional methods can lead to truly unique results that capture the imagination. Imagine blending the precision of digital tools with the tactile beauty of traditional paint; this fusion allows artists to explore uncharted creative territories. So, how can you harness this powerful combination to elevate your artwork?
One of the most exciting aspects of combining techniques is the ability to experiment. For instance, you might start with a digital sketch of your photograph, utilizing software like Adobe Photoshop or Corel Painter to lay down the foundational elements. Here, you can play with colors, adjust compositions, and even apply filters to achieve the desired effect. Once you’re satisfied with the digital version, you can print it out and use it as a reference for your traditional painting.
When transitioning to traditional media, consider the use of mixed media. This approach allows you to incorporate various materials, such as charcoal, pastels, or even collage elements, into your painting. This not only adds depth and texture but also creates a unique narrative within your artwork. For instance, you might print a portion of your photograph onto canvas and then paint over it, blending the digital and traditional aspects seamlessly. The result? A striking piece that tells a story through its layers.
Moreover, the contrast between digital precision and traditional spontaneity can produce fascinating outcomes. Digital painting allows for meticulous detailing, while traditional techniques can introduce unexpected textures and effects. For example, you could create a detailed digital background and then use traditional oil or watercolor techniques to paint the foreground elements. This method can create a stunning depth of field that draws the viewer in, creating a sense of realism that is hard to achieve with either method alone.
Another technique worth exploring is the use of digital tools to enhance traditional artwork. After creating a painting using traditional methods, you can scan it into your computer and use digital software to adjust colors, add effects, or even overlay additional elements. This not only expands the possibilities of your original work but also allows for easy reproduction and sharing in the digital realm.
To wrap it all up, the key to combining techniques is to embrace your creativity and be open to experimentation. Whether you're layering digital prints with traditional paint or using digital tools to enhance your traditional art, the possibilities are endless. So, grab your brushes, fire up your software, and start exploring the beautiful synergy that arises when different artistic methods collide!
- Can I use any photograph for this process? - While you can technically use any photograph, those with strong compositions and clear lighting will yield the best results.
- Do I need expensive software for digital painting? - Not necessarily! There are many affordable or even free options available that can help you get started.
- How do I choose the right traditional medium? - It often depends on the effect you want to achieve. Experiment with different mediums to find what resonates with your style.
Frequently Asked Questions
- What is digital painting and how does it work?
Digital painting is a modern artistic technique that uses digital tools and software to create artwork. It allows artists to manipulate photographs and transform them into stunning paintings, offering a range of styles from realistic to abstract. Popular software options include Adobe Photoshop, Corel Painter, and Procreate, which provide various brushes and effects to enhance your creative process.
- How do I choose the right photograph for painting?
Selecting the right photograph is crucial for achieving a successful painting. Look for images with strong composition, good lighting, and engaging subject matter. Consider elements like color harmony and emotional impact, as these can greatly influence the final artwork. A well-chosen photograph can serve as a strong foundation for your painting.
- What are some composition techniques I should know?
Understanding composition is key to creating impactful paintings. Techniques like the Rule of Thirds can help you balance your artwork and draw the viewer's eye. Additionally, using leading lines can guide attention and create a sense of movement within the piece. Experimenting with these techniques will enhance your visual storytelling and overall composition.
- How important is lighting in painting?
Lighting is essential in setting the mood and atmosphere of your painting. Analyzing the light in your reference photograph can help you replicate the same emotional effect in your artwork. Pay attention to shadows, highlights, and color temperature, as these elements can dramatically influence how your painting is perceived.
- What traditional painting techniques can I use?
Traditional painting techniques like oil, watercolor, and acrylic each offer unique textures and styles. Oil painting allows for rich color blending and depth through techniques like glazing and impasto. Watercolor, on the other hand, offers a more delicate approach with methods like wet-on-wet and dry brush, perfect for soft, expressive details. Exploring these techniques can enhance your ability to recreate photographs.
- Can I combine digital and traditional painting techniques?
Absolutely! Combining digital and traditional methods can lead to extraordinary results. For instance, you might create a base layer digitally and then add traditional brushwork on top. This blending of techniques not only adds depth and uniqueness to your artwork but also allows for a broader range of creative expression.


