Drawing Landscapes: A Step-By-Step Guide
Welcome to the enchanting world of landscape drawing! Whether you're a beginner eager to explore your artistic side or an experienced artist looking to refine your skills, this guide is tailored just for you. Landscape drawing is not merely about replicating what you see; it’s about capturing the essence of nature and transforming it into a visual narrative. Imagine standing before a majestic mountain range, feeling the cool breeze, and hearing the rustle of leaves. Your task is to translate that sensory experience into a beautiful drawing. Sounds exciting, right? Let's dive into the elements that make up stunning landscape drawings and discover how to bring your artistic vision to life!
Before you put pencil to paper, it’s crucial to understand the key components that make up a landscape. Think of a landscape as a three-dimensional stage, where each layer plays a vital role. The foreground is the part of the scene that is closest to the viewer, often filled with intricate details that invite the eye to explore. The middle ground serves as a bridge, connecting the foreground to the background, while the background creates a sense of distance and depth. Together, these elements interact to create a harmonious composition that draws the viewer in. By mastering how these layers work together, you can create a sense of depth and perspective that makes your drawing truly come alive.
Now that you have a grasp on the landscape elements, let’s talk about the tools of the trade. The materials you choose can significantly impact the outcome of your artwork. From pencils to pastels, each medium has its unique characteristics that can enhance your drawing. For instance, graphite pencils are fantastic for detailed sketches, while charcoal can add dramatic effects with rich blacks and soft grays. Don't forget about pastels and watercolors, which can infuse your landscapes with vibrant colors and textures. Selecting the right materials is like choosing the right ingredients for a recipe; it can make all the difference!
When it comes to paper, not all surfaces are created equal. The type of paper you use can greatly affect the texture and feel of your drawing. Here are a few options to consider:
- Smooth Paper: Ideal for detailed pencil work, allowing for clean lines and precision.
- Textured Paper: Great for pastels and charcoal, providing a tactile quality that adds depth.
- Watercolor Paper: Perfect for watercolors, designed to hold moisture without warping.
Choosing the right paper is like picking the right canvas for a painter; it sets the stage for your creativity to flourish.
Understanding pencil grades is essential for achieving the desired depth and detail in your landscape drawings. Pencils are graded on a scale from H (hard) to B (soft), with HB being in the middle. Hard pencils are excellent for fine lines and light shading, while soft pencils allow for darker tones and richer textures. By experimenting with different grades, you can create a range of effects that add dimension to your work.
Color can breathe life into your landscapes. Watercolors, colored pencils, and pastels each offer unique benefits. Watercolors can create soft washes and vibrant hues, while colored pencils allow for detailed layering and blending. Pastels can provide an expressive, painterly quality. The key is to choose the medium that best suits your artistic style and the mood you wish to convey.
Before diving into the details, mastering fundamental sketching techniques is crucial. Start with light, loose lines to outline your composition. This initial sketch acts as a roadmap, guiding you through the drawing process. Focus on capturing the proportions and placement of elements within the landscape. Think of it as laying the foundation for a house; without a solid base, the structure won't stand strong!
Composition is the backbone of any successful drawing. One effective method is the rule of thirds, which divides your canvas into a grid. Placing key elements along these lines or at their intersections can create a more dynamic and interesting composition. Additionally, establishing a clear focal point draws the viewer's eye and creates a sense of direction within your artwork. A well-composed landscape isn’t just about what you include, but also what you choose to leave out.
To give your landscape a three-dimensional feel, understanding depth and perspective is essential. Techniques such as overlapping elements and varying the size of objects can create the illusion of distance. For instance, objects that are closer should appear larger and more detailed, while those in the background should be smaller and less defined. This approach helps to guide the viewer’s eye through the landscape, making the scene feel more immersive.
Light and shadow play a crucial role in adding realism to your landscape drawings. Observing how light interacts with different surfaces can help you understand where to place highlights and shadows. Use a range of values to create contrast, which can enhance the mood and depth of your artwork. Remember, the interplay of light and shadow can transform a flat drawing into a captivating scene that feels alive!
As you near the end of your drawing journey, it’s time to refine and polish your work. Take a step back and assess your piece. Are there areas that need more detail? Perhaps some adjustments to balance the composition? Adding final touches, such as highlights or deepening shadows, can elevate your drawing to new heights. It’s like putting the finishing touches on a gourmet meal; a little extra seasoning can make all the difference!
Q: What are the best materials for beginners?
A: Start with basic graphite pencils, smooth drawing paper, and perhaps a set of colored pencils. These materials are versatile and easy to work with!
Q: How can I improve my landscape drawing skills?
A: Practice regularly! Try drawing from real-life scenes and experimenting with different techniques and materials. Additionally, studying the works of other artists can provide inspiration and insight.
Q: Is it necessary to use color in landscape drawings?
A: Not at all! Many artists create stunning landscapes using only graphite or charcoal. Color can enhance your work, but it’s not a requirement.

Understanding Landscape Elements
When it comes to drawing landscapes, understanding the key components is crucial for creating depth and perspective. Think of a landscape as a three-dimensional world that you’re translating onto a two-dimensional surface. The three main elements you'll be working with are the foreground, middle ground, and background. Each of these layers plays a significant role in how your drawing is perceived.
The foreground is the part of the drawing that is closest to the viewer. It’s where you can add intricate details, like the texture of grass or the bark on a tree. This area is essential for capturing attention and drawing the viewer into your artwork. Imagine standing in a beautiful field; the flowers right in front of you are vibrant and detailed, while those in the distance appear less defined.
Next, we have the middle ground, which serves as a transition between the foreground and background. This is where you can introduce elements like hills, trees, or buildings that are not as close. The middle ground helps to create a sense of space and distance, allowing the viewer to feel the scale of the landscape. Consider it the bridge that connects the detailed foreground with the more subdued background.
Finally, the background is where the horizon lies, often featuring elements like distant mountains or a sunset. This area is typically less detailed and can be rendered in softer colors to enhance the feeling of depth. Think of it as the backdrop of a stage play; it sets the scene without overshadowing the main action happening in the foreground.
To visualize this better, here's a simple table that outlines the characteristics of each landscape element:
| Element | Description | Purpose |
|---|---|---|
| Foreground | Closest to the viewer; detailed elements like flowers and rocks. | Captures attention and draws the viewer in. |
| Middle Ground | Transition area; includes hills, trees, or buildings. | Creates a sense of space and distance. |
| Background | Farthest from the viewer; features distant mountains or skies. | Sets the scene and enhances depth. |
Understanding how these elements interact is essential for creating a balanced and engaging landscape drawing. As you practice, pay attention to how light and shadow affect each layer, and how they can enhance the overall composition. Remember, the goal is to create a piece that feels alive and invites the viewer to explore every corner of your artwork.
So, the next time you sit down to draw a landscape, think about these elements. How can you use them to create a story? What emotions do you want to evoke? By mastering the interplay between the foreground, middle ground, and background, you’ll be well on your way to drawing landscapes that are not only beautiful but also captivating.
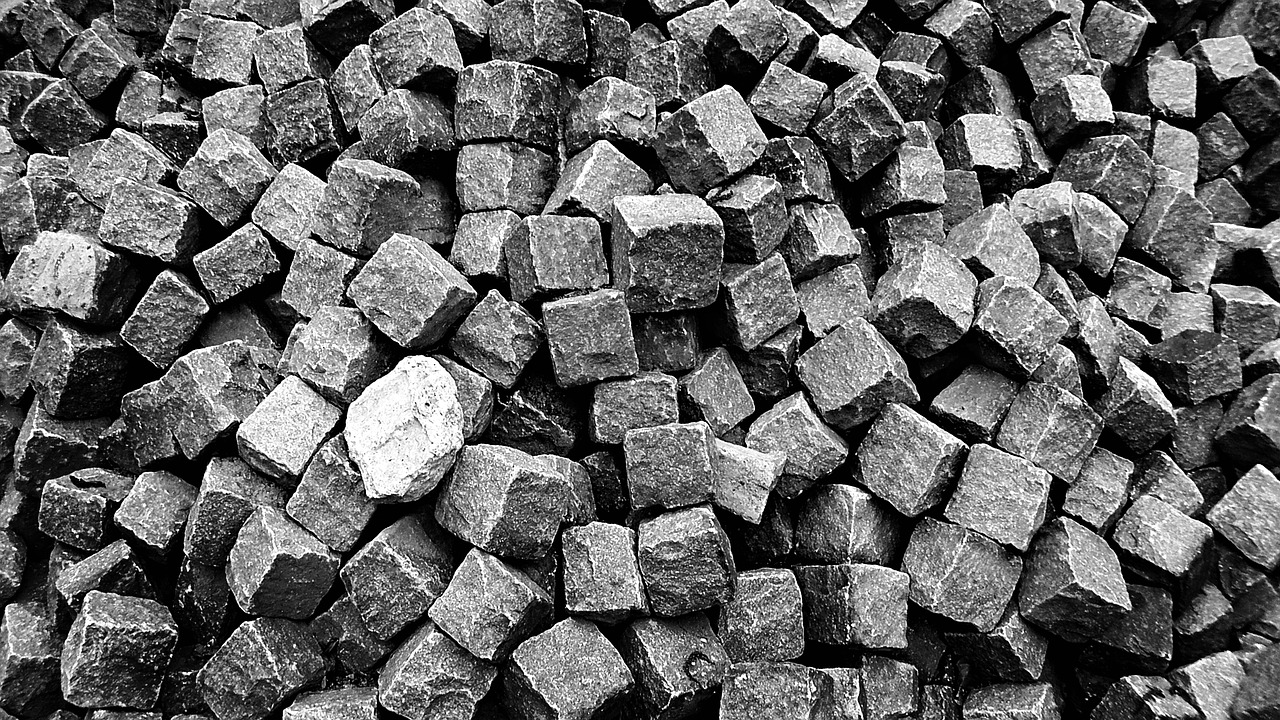
Choosing the Right Materials
When it comes to landscape drawing, the materials you choose can significantly impact the final outcome of your artwork. Just like a chef selects the finest ingredients for a recipe, an artist must carefully select their tools to create stunning visuals. Whether you're a beginner or an experienced artist, understanding the various materials available is essential to express your creativity effectively.
One of the first decisions you’ll make is selecting the medium you want to work with. You have several options, including graphite pencils, colored pencils, charcoal, pastels, and even watercolors. Each of these mediums has its unique characteristics and can produce different effects. For instance, graphite pencils are great for detailed sketches and shading, while pastels can provide a vibrant burst of color and a softer finish. Think of your medium as the brush you choose to paint with; each one tells a different story.
To help you navigate through your options, let’s take a closer look at the most common materials used in landscape drawing:
| Material | Characteristics | Best For |
|---|---|---|
| Graphite Pencils | Versatile, easy to blend, and great for detail | Sketching and shading |
| Colored Pencils | Wide range of colors, allows for layering and blending | Adding color and detail |
| Charcoal | Rich blacks, excellent for dramatic effects | Creating depth and contrast |
| Pastels | Soft texture, vibrant colors | Expressive landscapes with a painterly effect |
| Watercolors | Translucent, allows for layering and washes | Soft, atmospheric landscapes |
Next, let’s talk about paper types and textures. The kind of paper you use can dramatically alter the appearance of your drawing. Smooth paper is excellent for detailed work with pencils, while textured paper can add depth to pastels and watercolors. Think of it as the canvas for your masterpiece; a rough surface can give a different feel compared to a smooth one. Here are a few popular paper types you might consider:
- Hot-Press Paper: Smooth surface, ideal for detailed pencil work and watercolors.
- Cold-Press Paper: Textured surface, great for pastels and watercolor washes.
- Sketch Paper: Lightweight and versatile, perfect for quick studies and practice.
Another crucial element is understanding pencil grades. Pencils come in various grades, ranging from H (hard) to B (black), with F (fine point) in between. The harder the pencil, the lighter the mark it leaves, making it perfect for fine details. Conversely, a softer pencil will produce darker lines and is excellent for shading. Knowing how to use these grades effectively can help you create a range of textures and depths in your landscape drawings.
Finally, let’s not forget about color mediums. If you want your landscapes to pop with vibrancy, consider using watercolors or colored pencils. Watercolors can create soft gradients and washes that mimic the beauty of nature, while colored pencils allow for precision and layering. The choice of color medium can be likened to choosing the right paintbrush for an artist; it can make all the difference in the world.
In conclusion, choosing the right materials for landscape drawing is not just about picking items off a shelf; it’s about understanding how each tool can help convey your artistic vision. By experimenting with different mediums, papers, and techniques, you’ll find the combination that resonates with you and elevates your artwork to new heights.
Q: What is the best medium for beginners?
A: Graphite pencils are often recommended for beginners due to their versatility and ease of use. Once you're comfortable, you can explore other mediums like colored pencils or pastels.
Q: Can I use regular paper for my landscape drawings?
A: While you can use regular paper, it’s best to choose paper specifically designed for drawing or painting to achieve better results and prevent damage to your artwork.
Q: How do I know which pencil grade to use?
A: It depends on the effect you want to achieve. Use harder pencils (H grades) for fine details and softer pencils (B grades) for shading and darker areas.
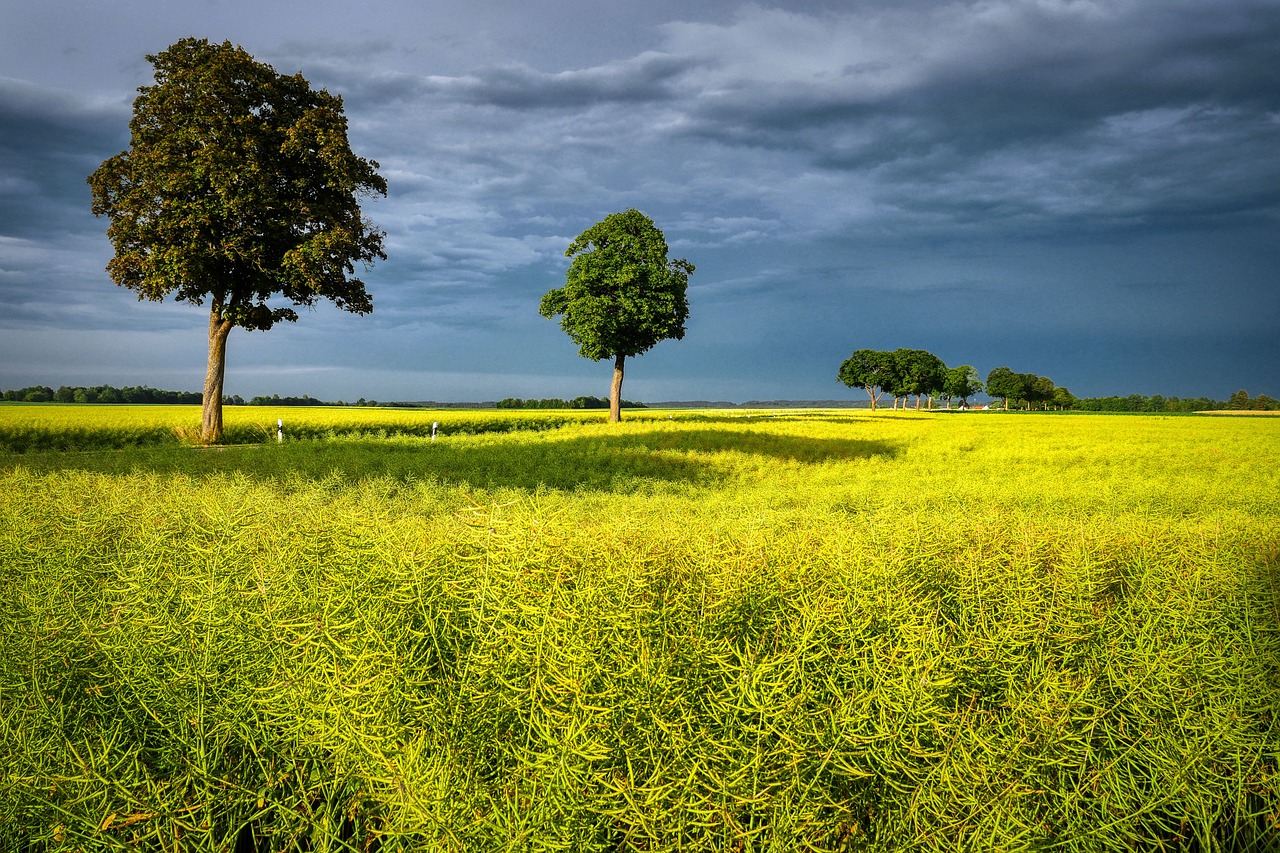
Paper Types and Textures
When it comes to landscape drawing, the choice of paper can significantly influence the outcome of your artwork. Just like a painter selects the right canvas, an artist must consider the various types of paper available to enhance their drawings. Each paper type offers unique characteristics that can affect texture, shading, and overall appearance, making it essential to understand these differences.
One popular choice among artists is cold-pressed watercolor paper, known for its textured surface that allows for beautiful blending and layering of colors. This type of paper is particularly effective if you're using watercolors or wet mediums, as it can absorb moisture without warping. The texture can create a sense of depth in your landscapes, mimicking the natural irregularities found in nature.
On the other hand, if you prefer a smoother finish, hot-pressed watercolor paper is an excellent option. This type of paper has a polished surface that is perfect for detailed work and fine lines. It is ideal for artists who want to achieve precision in their landscape drawings, especially when rendering intricate details like leaves or distant mountains.
Sketch paper, often found in pads, is another versatile option that is great for quick studies or preliminary sketches. While it may not have the same durability as watercolor paper, it provides a good surface for practicing your techniques without the pressure of creating a perfect piece. The lightweight texture allows for easy erasing and adjustments, making it a favorite among beginners.
| Paper Type | Texture | Best For |
|---|---|---|
| Cold-Pressed Watercolor Paper | Textured | Watercolors, blending |
| Hot-Pressed Watercolor Paper | Smooth | Detail work, fine lines |
| Sketch Paper | Lightweight | Quick studies, practice |
Additionally, mixed media paper is a fantastic choice for artists who like to combine different mediums, such as ink, pencil, and paint. This paper is designed to handle various techniques without tearing or buckling, making it a reliable option for those who like to experiment with their landscape drawings.
Ultimately, the choice of paper will depend on your personal style and the techniques you wish to explore. As you experiment with different types and textures, you'll discover which papers resonate with your artistic vision. Remember, the right paper can not only enhance the beauty of your landscape drawings but also elevate your overall drawing experience.
- What type of paper is best for beginners? Beginners often benefit from using sketch paper for practice, as it is affordable and allows for easy corrections.
- Can I use regular printer paper for landscape drawing? While you can use printer paper, it's not recommended for detailed work or wet mediums, as it may not hold up well.
- How does paper texture affect my drawing? Texture influences how mediums interact with the surface, affecting shading, blending, and overall visual appeal.
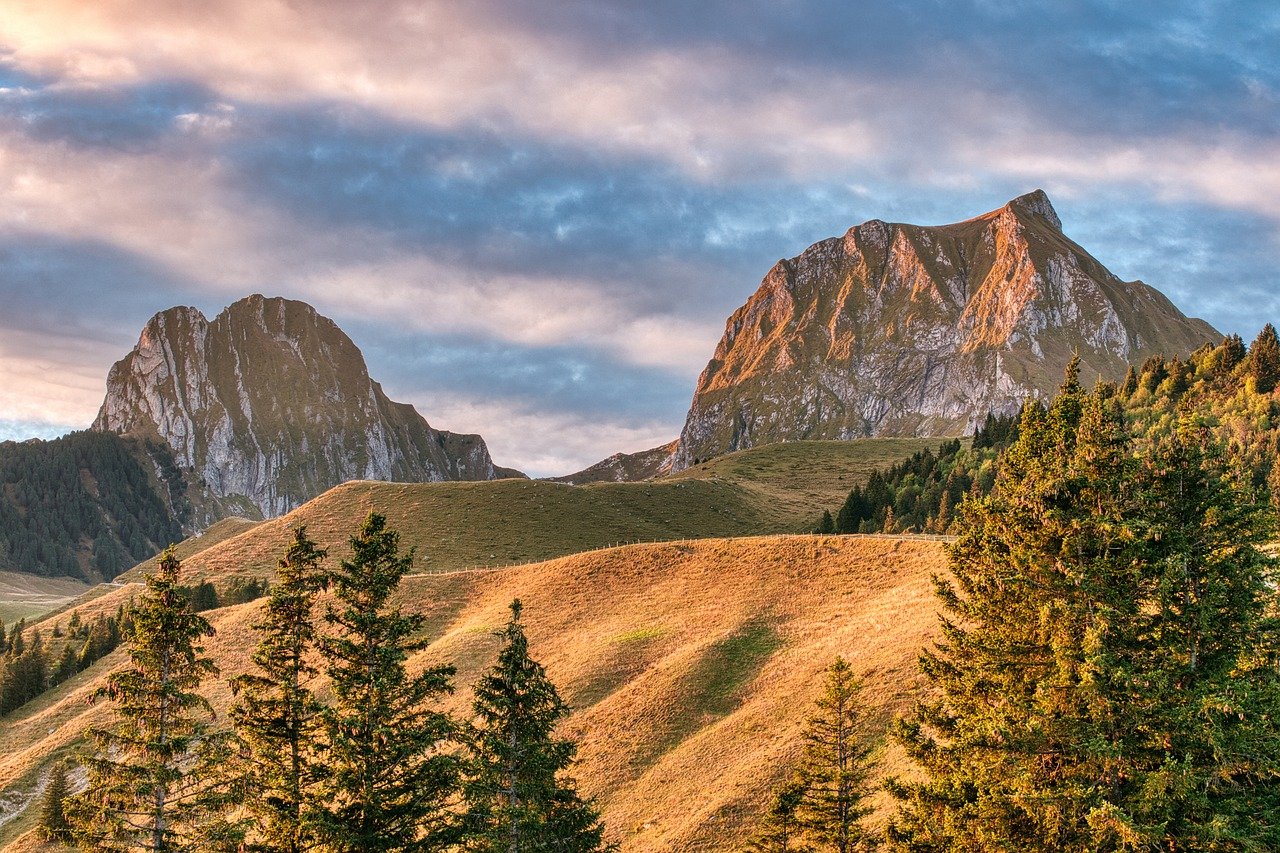
Pencil Grades
When it comes to creating stunning landscape drawings, understanding is crucial. Pencil grades indicate the hardness or softness of the pencil lead, which directly affects the depth and detail you can achieve in your artwork. The grading system typically ranges from H (hard) to B (black or soft), with F (fine point) in between. Here's a quick breakdown:
| Grade | Characteristics | Best Used For |
|---|---|---|
| H | Harder lead, produces lighter marks | Fine details, initial sketches |
| F | Fine point, balanced hardness | General sketching, outlines |
| B | Softer lead, produces darker marks | Shading, rich textures |
Using a variety of pencil grades can significantly enhance your landscape drawings. For example, you might start with an H pencil to sketch out the basic shapes and outlines of your landscape. This allows for precise control and clean lines. As you begin to add shadows and textures, switching to a B pencil will help you achieve those rich, dark areas that create depth. The beauty of using different grades lies in how they can interact with each other, allowing you to layer your work for a more dynamic appearance.
Moreover, understanding the pressure applied while drawing can also affect the outcome. Light pressure with a softer pencil will yield subtle shades, while applying more pressure will produce darker and more intense lines. This technique can be especially useful when depicting elements like clouds or foliage, where varying tones can add a lifelike quality to your work.
In conclusion, mastering pencil grades is about experimenting and finding what works best for your style. Don't hesitate to try different combinations of H and B grades to see how they can bring your landscape to life. Remember, the right pencil can be the difference between a flat drawing and one that feels vibrant and alive.
- What pencil grade is best for beginners? - Starting with a range of H, F, and B pencils is recommended. This variety allows beginners to explore different techniques.
- Can I use colored pencils for landscape drawings? - Absolutely! Colored pencils can add vibrancy and depth to your landscapes, especially when layered correctly.
- How do I know when to switch pencil grades? - Generally, switch to a softer pencil (B) when adding shadows or textures, and use harder pencils (H) for outlines and finer details.

Color Mediums
When it comes to landscape drawing, the choice of color mediums can significantly influence the vibrancy and overall impact of your artwork. Different mediums offer unique characteristics that can enhance your landscapes in various ways. For instance, watercolors are renowned for their transparency and ability to create soft, ethereal effects, making them perfect for depicting skies and water. On the other hand, colored pencils allow for precision and detail, enabling you to capture intricate elements of nature, such as the veins of a leaf or the texture of tree bark.
Each medium has its own set of techniques and styles, so it's essential to experiment to find what resonates with your artistic voice. For example, if you're using watercolors, layering washes can create beautiful gradients that mimic the natural transitions of light and color in the landscape. Conversely, with colored pencils, you can blend colors directly on the paper, achieving a rich depth that can bring your drawing to life.
Additionally, consider the acrylic paints if you're looking for bold colors and a more textured finish. They dry quickly and are versatile, allowing for both thick applications and thin washes. This versatility can be particularly useful when you want to create dynamic skies or vibrant foliage. If you’re feeling adventurous, you might even try mixing mediums. For instance, combining colored pencils with watercolor can yield stunning results, allowing the color pencil details to pop against the soft background created by watercolors.
To help you understand the strengths of various color mediums better, here's a quick comparison:
| Medium | Characteristics | Best For |
|---|---|---|
| Watercolors | Transparent, fluid, soft edges | Skies, water, and ethereal landscapes |
| Colored Pencils | Precise, detailed, blendable | Intricate details, textures, and fine lines |
| Acrylic Paints | Vibrant, quick-drying, versatile | Bold landscapes, dynamic scenes |
Ultimately, the choice of color medium should align with your personal style and the vision you have for your landscape drawing. Don't hesitate to explore and combine different mediums to discover new ways to express your creativity. As you practice and refine your skills, you'll find which mediums resonate most with your artistic journey, allowing you to create stunning landscapes that capture the beauty of the world around you.
- What is the best medium for beginners? Watercolors are often recommended for beginners due to their forgiving nature and ability to create beautiful effects with minimal experience.
- Can I mix different color mediums? Yes! Mixing mediums can lead to unique textures and effects, enhancing your artwork's richness.
- How do I choose the right colors for my landscape? Observe real landscapes and use a color wheel to understand complementary colors, which can bring your drawing to life.
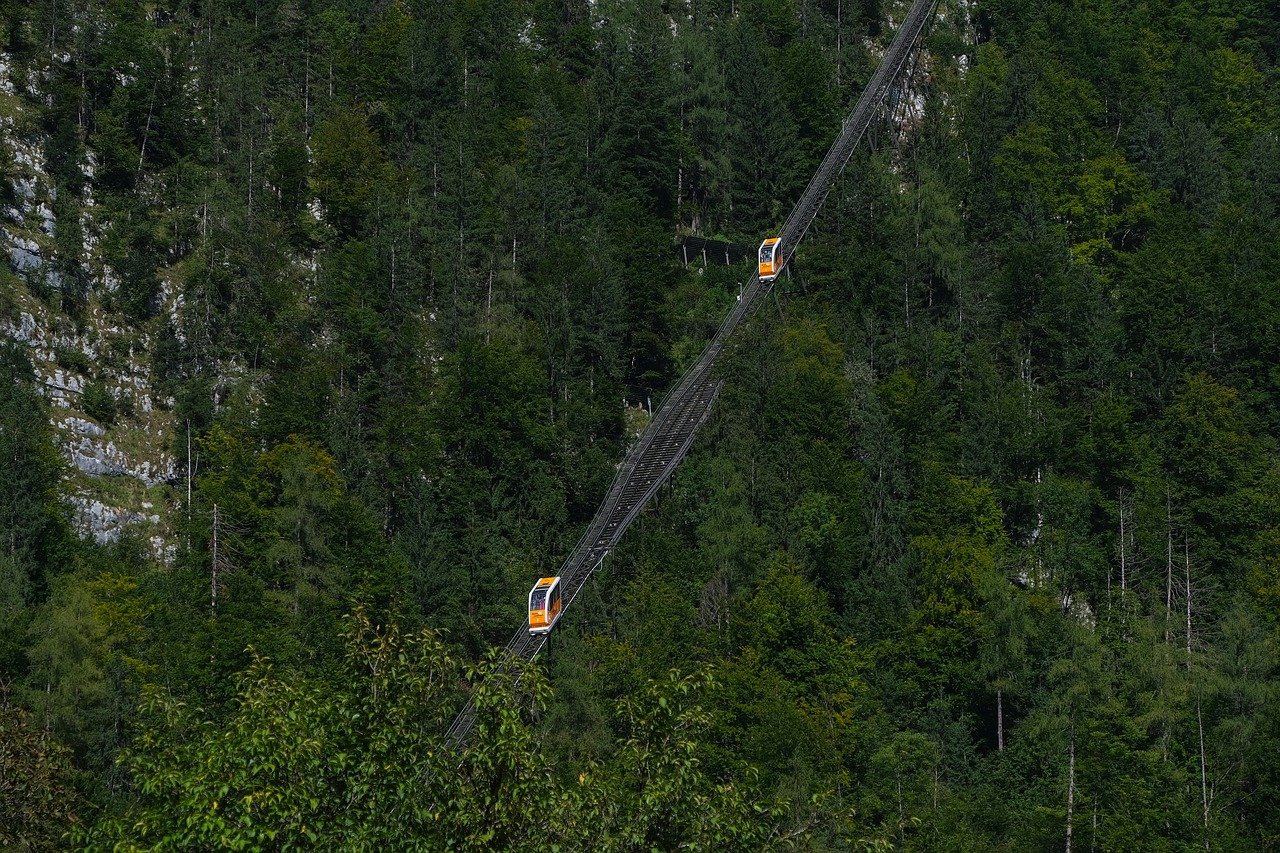
Sketching Techniques
When it comes to landscape drawing, mastering is crucial for laying a solid foundation. Think of your sketch as the blueprint for a magnificent building; without a strong base, the final structure can lack integrity. The first step is to understand the importance of proportion and scale. These elements are vital in ensuring that the various components of your landscape interact harmoniously. For instance, if you're drawing a mountain range, it's essential to position the mountains in relation to the foreground elements, like trees or a river, to create a sense of depth.
One effective technique is the use of light lines to outline your landscape. Begin with a soft pencil, like a 2H or 4H, to sketch the basic shapes and forms. This allows for easy adjustments as you refine your drawing. Once you’re satisfied with the overall layout, you can gradually increase the pressure on your pencil to darken the lines. This method not only gives you flexibility but also helps in maintaining the correct proportions. Remember, the goal at this stage is not perfection; it’s about capturing the essence of your landscape.
Another valuable technique is the block-in method. This involves sketching large shapes and forms without getting bogged down in details. For example, instead of focusing on individual leaves, sketch the overall shape of a tree. This approach helps in visualizing the composition as a whole and allows you to see how different elements interact. Once the larger shapes are in place, you can start adding details like texture and shading, which will bring your drawing to life.
As you work on your sketch, consider using hatching and cross-hatching techniques to create texture and depth. Hatching involves drawing parallel lines to indicate shadow, while cross-hatching uses intersecting lines to enhance the effect. These techniques can add a three-dimensional quality to your landscape, making it feel more realistic. For instance, when sketching a rocky cliff, hatching can help define the shadows and contours, giving your drawing a rugged texture.
Finally, don’t forget about the importance of negative space. This refers to the area around and between the subjects of your drawing. By paying attention to negative space, you can improve the overall composition and balance of your landscape. It’s like creating a dance between the objects in your drawing and the empty spaces around them. This technique not only enhances the visual appeal but also helps in achieving a more cohesive look.
- What materials do I need for sketching landscapes? You can start with basic materials like pencils, erasers, and sketch paper. As you progress, you might want to explore different types of pencils and papers.
- How do I improve my sketching skills? Practice is key! Try sketching different landscapes regularly, and don't hesitate to experiment with various techniques.
- Can I use digital tools for sketching landscapes? Absolutely! Digital tools offer a range of features that can enhance your sketching experience, allowing for easy adjustments and experimentation.
Composition and Layout
When it comes to creating stunning landscape drawings, are essential elements that can make or break your artwork. Think of composition as the backbone of your drawing; it organizes the visual elements and guides the viewer's eye through the piece. To create a compelling landscape, you need to consider how different components interact with one another and how they contribute to the overall narrative of your artwork.
One of the most effective techniques in composition is the rule of thirds. Imagine dividing your canvas into a grid of nine equal parts with two vertical and two horizontal lines. By placing key elements along these lines or at their intersections, you create a more balanced and dynamic composition. This technique helps to draw the viewer's attention to focal points, making your landscape more engaging. For example, if you're drawing a mountain range, consider positioning the peaks along one of the vertical lines while placing a serene lake at the intersection for a captivating effect.
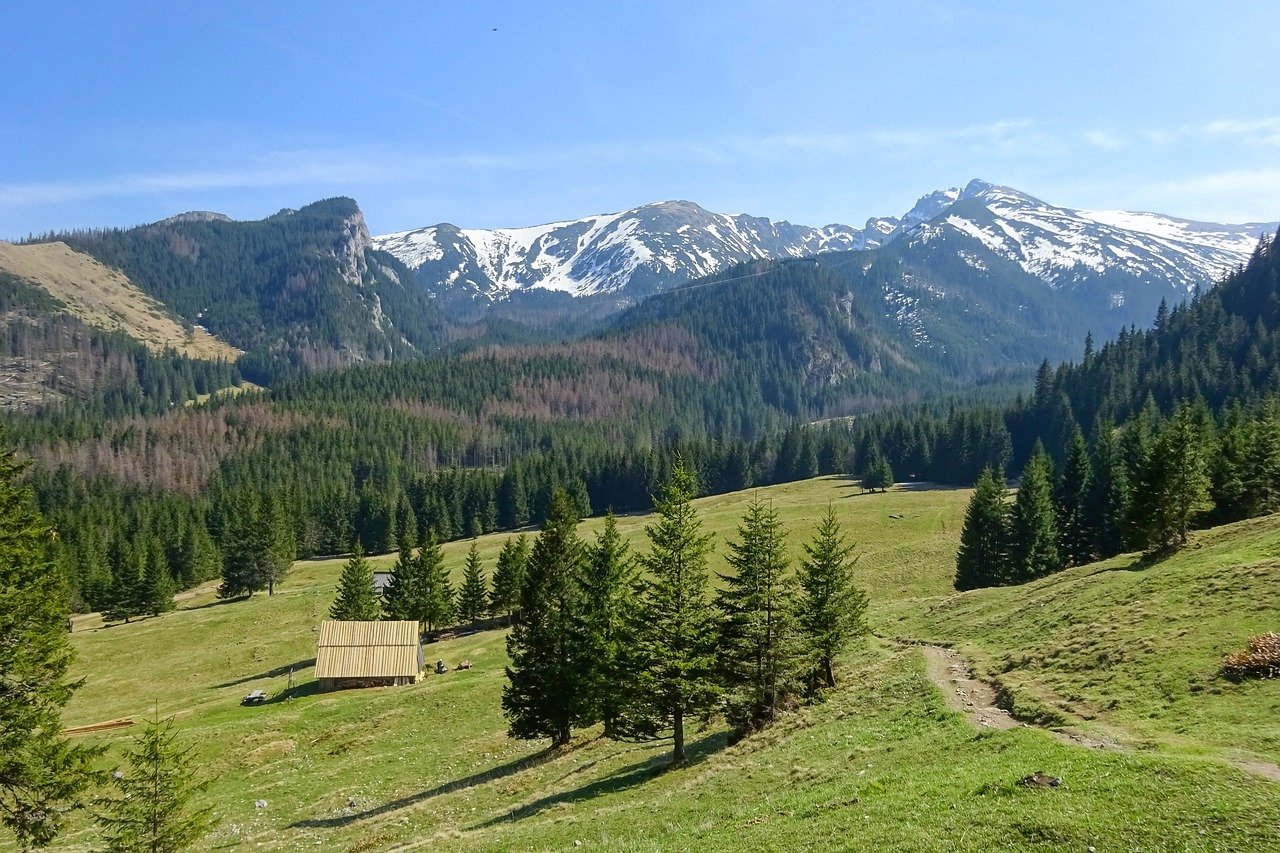
Another important aspect of layout is the establishment of a strong foreground, middle ground, and background. The foreground should grab the viewer's attention first, often featuring detailed elements like trees, rocks, or flowers. The middle ground serves as a transition, typically containing elements like hills or buildings, while the background often features distant mountains or skies. This layering creates a sense of depth, making your landscape feel more three-dimensional. A well-structured layout can evoke emotions and tell a story, inviting viewers to explore every corner of your drawing.
Consider using leading lines to guide the viewer's eye through your landscape. These can be natural elements like a winding path, a river, or even the horizon line. By strategically placing these lines, you can create a visual journey that pulls the viewer into your artwork, making them feel as if they are stepping into the scene. Additionally, think about the balance of positive and negative space in your drawing. Positive space refers to the main subjects of your artwork, while negative space is the area around and between those subjects. A harmonious balance between the two can enhance the overall composition, making your landscape more visually appealing.
Lastly, don't underestimate the power of color in your composition. The choice of colors can significantly impact the mood and atmosphere of your landscape. Warm colors like reds and yellows can evoke feelings of warmth and happiness, while cool colors like blues and greens can create a sense of calm and tranquility. When planning your layout, consider how color can enhance the emotional response you want to elicit from your audience.
In summary, mastering composition and layout in landscape drawing involves a blend of techniques and artistic intuition. By applying the rule of thirds, establishing depth through foreground, middle ground, and background, utilizing leading lines, balancing positive and negative space, and thoughtfully selecting your color palette, you can create breathtaking landscapes that resonate with viewers. So grab your pencil and start experimenting with these concepts to elevate your landscape drawings to new heights!
- What is the rule of thirds? The rule of thirds is a composition guideline that suggests dividing your canvas into a grid of nine equal parts and placing key elements along the lines or at their intersections for a balanced composition.
- How do I create depth in my landscape drawing? You can create depth by incorporating a strong foreground, middle ground, and background, using leading lines, and varying the size and detail of elements to suggest distance.
- What colors should I use for different moods? Warm colors like reds and yellows evoke warmth and happiness, while cool colors like blues and greens can create a calm and tranquil atmosphere.
Creating Depth and Perspective
When it comes to landscape drawing, creating depth and perspective is akin to building a three-dimensional world on a flat piece of paper. Imagine standing in a vast field, where the distant mountains seem to fade into the horizon while the flowers at your feet pop with color. This illusion of depth is what transforms a simple drawing into a captivating scene that invites the viewer to step inside. To achieve this, you need to understand a few key principles that govern how we perceive space.
First off, consider the concept of overlapping elements. When objects overlap, it naturally creates a sense of depth. For instance, if you draw a large tree in the foreground and a small house behind it, the tree's size and placement will make it appear closer to the viewer. This technique is simple yet effective, as it immediately establishes a hierarchy of space in your composition.
Next, let's talk about size variation. Objects that are closer to us should appear larger than those that are further away. Think of it this way: a giant balloon held by a child will look enormous up close, but from a distance, it shrinks in size. This principle is crucial in landscape drawing; by varying the size of the elements, you can guide the viewer's eye through the composition and create a convincing depth.
Another vital aspect is linear perspective. This technique involves using vanishing points and horizon lines to create the illusion of distance. Imagine standing on a straight road that seems to narrow as it stretches into the distance. In your drawing, you can replicate this effect by drawing parallel lines that converge at a single point on the horizon. This not only enhances depth but also provides a realistic framework for your landscape.
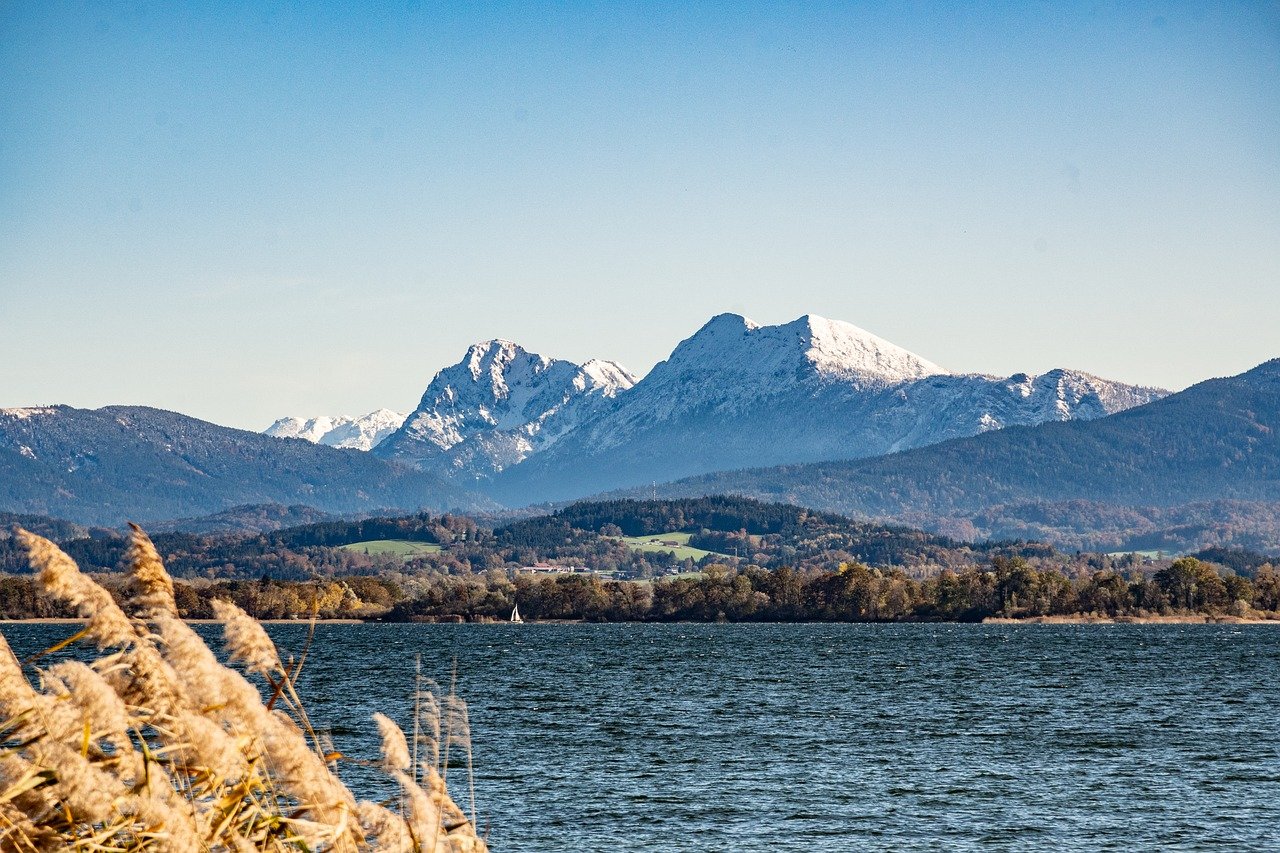
Moreover, atmospheric perspective plays a significant role in how we perceive depth. Objects that are farther away tend to lose detail and color saturation due to the atmosphere. For example, distant mountains may appear bluer and less defined than the vibrant greens of the grass in the foreground. To incorporate this into your drawing, use lighter shades and softer lines as you move toward the background.
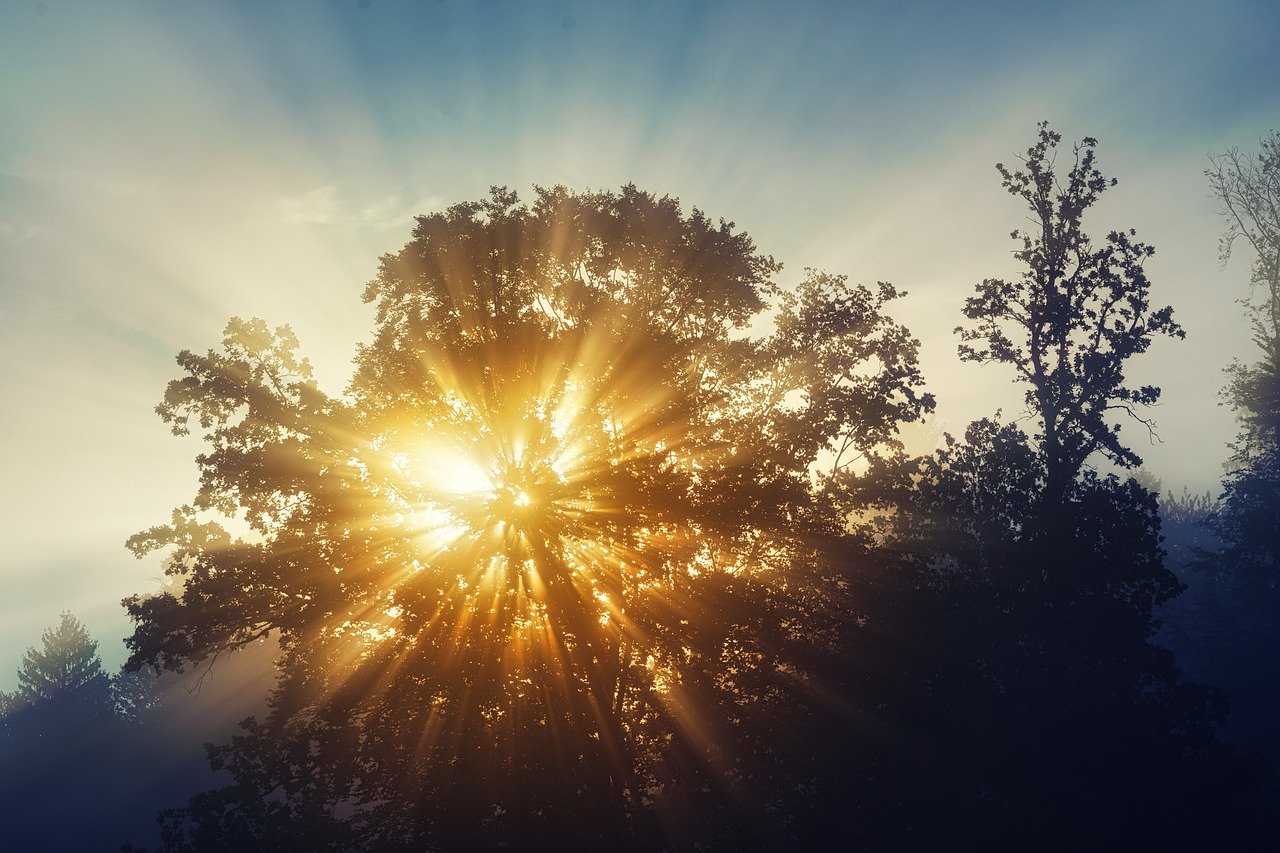
Lastly, don’t forget about the impact of light and shadow. Shadows can create a three-dimensional feel, making elements in your drawing pop out or recede into the background. By understanding where your light source is coming from, you can effectively place shadows to enhance the depth of your landscape. A well-placed shadow can suggest volume and form, adding to the overall realism of your artwork.
In summary, creating depth and perspective in landscape drawing involves a combination of techniques, including overlapping elements, size variation, linear perspective, atmospheric perspective, and the strategic use of light and shadow. By mastering these principles, you can elevate your landscape drawings, inviting viewers to immerse themselves in the scenes you create. Practice these techniques regularly, and soon enough, your landscapes will not just be drawings; they will be windows into another world.
- What is the best way to practice depth and perspective in landscape drawing?
Practice by sketching simple shapes and gradually adding elements to create a landscape. Focus on overlapping objects and varying sizes. - Do I need to use special tools to achieve depth in my drawings?
No, while certain tools can help, understanding the principles of depth and perspective is more important than the tools themselves. - How can I improve my understanding of linear perspective?
Study photographs or real-life scenes, identifying the horizon line and vanishing points. Practice replicating these in your sketches.
Using Light and Shadow
When it comes to landscape drawing, light and shadow are your best friends. They are the magical elements that can transform a flat image into a stunning, three-dimensional masterpiece. Just imagine walking through a forest at dusk; the way the light filters through the leaves and casts intricate shadows on the ground creates a beautiful dance of light and dark. This is the kind of effect you want to replicate in your drawings. Understanding how to use light and shadow effectively can elevate your artwork from ordinary to extraordinary.
To begin with, consider the source of light in your landscape. Is it coming from the sun, a cloudy sky, or perhaps a setting moon? Each light source has its own characteristics and will affect how shadows are cast. For instance, a bright, sunny day will create sharp, defined shadows, while an overcast day will result in softer, diffused shadows. As you sketch, take a moment to envision where the light is coming from and how it interacts with the elements in your drawing.
One effective technique to apply is the chiaroscuro method, which involves using strong contrasts between light and dark. This technique can add drama and depth to your landscape. Start by identifying the areas that will be illuminated and those that will remain in shadow. You can use a simple table to help visualize this:
| Light Area | Shadow Area |
|---|---|
| Sunlit hills | Shaded valleys |
| Bright clouds | Dark tree trunks |
| Reflective water | Shadowy rocks |
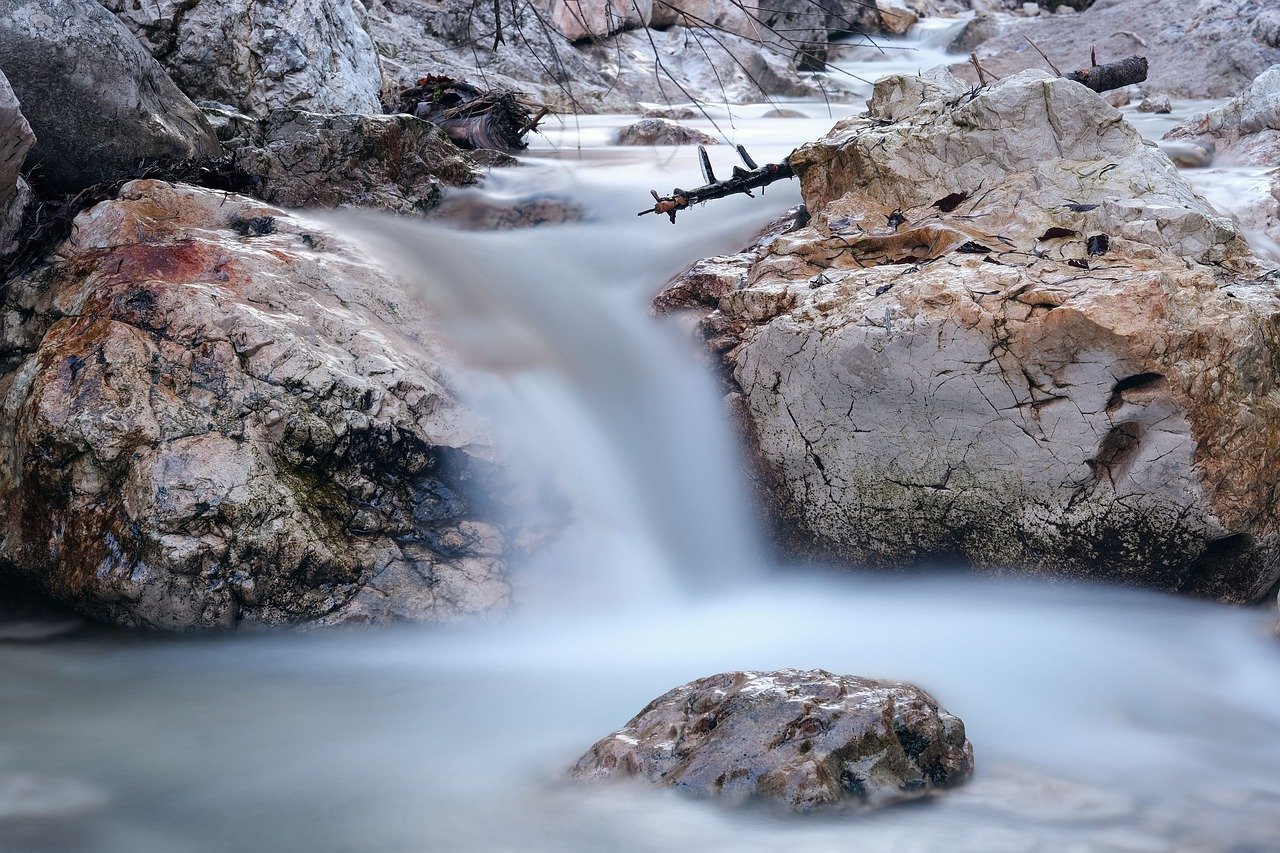
Next, consider the textures in your landscape. Different materials reflect light differently. For example, water will have a shiny surface that reflects light, while rough rocks will absorb more light, creating deeper shadows. To capture this in your drawing, you can use various shading techniques. For instance, using a stippling technique can create a textured effect that mimics the roughness of rocks, while smooth shading can depict the calm surface of water.
Moreover, don’t forget about the importance of color when working with light and shadow. Colors can appear lighter or darker depending on the light conditions. A vibrant green field under the sun will look very different than the same field in the shadow of a tree. Use this to your advantage by incorporating a range of colors in your shadow areas, making them richer and more dynamic. For example, shadows might have hints of blue or purple, especially in the evening light.
Finally, practice is key. Spend time observing real landscapes and how light plays across them. You might even want to create a small sketchbook dedicated to studies of light and shadow. Sketch different times of day and various weather conditions to see how they affect your subject. Remember, the more you practice, the more intuitive your understanding of light and shadow will become, allowing you to create captivating landscapes that draw viewers in.
- How do I choose the right light source for my landscape drawing?
Consider the mood you want to convey. A bright light source creates a cheerful atmosphere, while softer light can evoke tranquility. - Can I use colored pencils to depict light and shadow?
Absolutely! Colored pencils are great for adding depth. Use lighter shades for highlights and darker shades for shadows. - What if I struggle with getting the shadows right?
Practice makes perfect! Keep experimenting with different techniques and don’t hesitate to use reference photos.
Finalizing Your Drawing
Finalizing your landscape drawing is like putting the cherry on top of a beautifully crafted sundae. It’s that crucial moment when everything comes together, and your artwork transforms from a rough sketch into a captivating piece of art. To achieve this, you'll want to take a methodical approach, ensuring that every detail is polished and every element harmonizes with the others. So, how do you ensure your drawing reaches its full potential? Let’s dive into some essential tips!
First and foremost, take a step back and evaluate your work from a distance. This perspective allows you to see the overall composition more clearly, helping you identify areas that may need adjustments. Are the proportions correct? Does the color balance feel right? Here’s where you can make those necessary tweaks. Sometimes, even the smallest changes can make a significant impact. For instance, if a particular area feels too dark, consider lightening it up to create a better contrast with the rest of the piece.
Next, focus on adding details. This step can be incredibly satisfying as it brings your landscape to life. Use a fine pencil or a sharp colored pencil to enhance the textures and intricate elements in your drawing. Think of it like adding the final touches to a masterpiece—those little details can evoke emotions and draw the viewer in. Pay special attention to the foreground, as this area often captures the viewer's eye first. Incorporate elements like grass blades, leaves, or small rocks to create a sense of realism and depth.
Another critical aspect of finalizing your drawing is the use of light and shadow. This technique can dramatically enhance the three-dimensionality of your artwork. By applying shadows in the right places, you can create a sense of depth that makes the elements pop. Consider the light source in your landscape: where is it coming from? Use darker shades where shadows naturally fall and lighter tones where light hits. This contrast will not only add realism but also draw attention to focal points in your composition.
Don't forget about the edges of your drawing. Softening some edges while sharpening others can create a sense of focus and guide the viewer's eye through your artwork. For example, a sharp edge in the foreground can pull the viewer in, while softer edges in the background can create a sense of distance. This technique is essential in establishing a hierarchy within your landscape, ensuring that the most important elements stand out.
Finally, once you feel satisfied with the details, consider adding a protective layer to preserve your artwork. If you’re using pencil or charcoal, a spray fixative can help prevent smudging and fading. For colored pencils or pastels, a layer of archival spray can keep those vibrant colors intact. Just remember to follow the instructions on the product to avoid any unwanted reactions with your materials.
In conclusion, finalizing your landscape drawing is a rewarding process that requires attention to detail, an understanding of light and shadow, and a keen eye for composition. By taking the time to refine your work, you’ll not only enhance its visual appeal but also elevate your skills as an artist. So grab your tools, step back, and get ready to make those final touches!
- What materials do I need to finalize my drawing? You will need fine pencils or colored pencils for details, fixative spray for protection, and possibly blending tools for smooth transitions.
- How can I improve my understanding of light and shadow? Practice by observing real-life landscapes at different times of the day, and try to replicate the light conditions in your drawings.
- Is it necessary to add details to every part of the drawing? Not necessarily. Focus on key areas that will draw the viewer's attention, while allowing other parts to remain softer and less detailed.
Frequently Asked Questions
- What are the essential elements of a landscape drawing?
When creating a landscape drawing, it's crucial to understand the three main components: the foreground, middle ground, and background. These elements work together to create depth and perspective, allowing your artwork to feel more dynamic and engaging. Think of it like a stage play; each layer adds to the story you're telling with your art!
- What materials do I need for landscape drawing?
Choosing the right materials can significantly impact your artwork. For landscape drawing, you'll want to consider a variety of tools such as pencils, charcoal, pastels, and watercolors. Each medium brings its own unique qualities to your drawing, so don't be afraid to experiment and find what works best for you!
- How does paper type affect my landscape drawing?
The type of paper you use can make a world of difference in your final piece. Different textures and weights can enhance the appearance of your drawing, allowing for varied techniques and styles. For instance, rough paper is great for pastels, while smooth paper is ideal for fine pencil work. It's like choosing the right canvas for a painting!
- What sketching techniques should I learn first?
Mastering basic sketching techniques is essential for any aspiring landscape artist. Start with simple shapes and lines to establish proportions and accuracy. Techniques like contour drawing and gesture sketching can help you capture the essence of your scene quickly. Remember, practice makes perfect, so keep sketching!
- How can I create depth and perspective in my drawings?
Creating depth and perspective is all about understanding how objects relate to one another in space. Use techniques like overlapping, size variation, and atmospheric perspective to give your landscapes a three-dimensional feel. It's similar to how our eyes perceive distance; the closer something is, the more detail we see!
- What role do light and shadow play in landscape drawing?
Light and shadow are vital in adding realism and mood to your landscape drawings. They help define shapes and create contrast, making your artwork pop. Pay attention to where your light source is coming from and how it affects the scene. Think of it like the sun setting; the colors and shadows change dramatically, adding depth to the view!
- How do I finalize my landscape drawing?
Finalizing your drawing involves refining details and making adjustments to ensure a polished finish. Take a step back and evaluate your work; look for areas that may need more contrast or detail. Don't hesitate to add those final touches that will elevate your piece from good to great!


