How to Paint a Beautiful Field of Flowers
Painting a vibrant field of flowers is not just an artistic endeavor; it's a way to capture the essence of nature's beauty on canvas. Imagine standing in a sunlit meadow, surrounded by a riot of colors—reds, yellows, purples, and greens all dancing in the breeze. The goal of this article is to guide you through the entire process of creating your own stunning floral landscape, from choosing the right materials to mastering painting techniques that will bring your vision to life. Whether you're a seasoned artist or just starting, this step-by-step guide will help you unleash your creativity and express your love for nature.
Before diving into the world of paint, it's essential to gather the right materials. Selecting the appropriate paints, brushes, and canvases is crucial for achieving a beautiful field of flowers. Think of your materials as the foundation of your painting; without a solid base, your artwork may not reach its full potential. Here’s a quick overview of what you’ll need:
- Paints: Acrylics or oils are excellent choices for floral paintings. Acrylics dry quickly, while oils allow for more blending time.
- Brushes: A variety of brushes, including flat, round, and filbert shapes, will help you achieve different textures.
- Canvas: Choose a canvas size that feels comfortable for you. Larger canvases allow for more detail, while smaller ones are great for quick studies.
Investing in quality materials can significantly impact your painting process, leading to smoother application and richer colors. Don’t skimp on your tools; they are your allies in this creative journey!
Color theory is the secret sauce that can elevate your floral painting from ordinary to extraordinary. Understanding how colors interact, mix, and complement each other is vital for creating depth and harmony in your artwork. Imagine color as the music of your painting; the right notes can create a symphony of beauty. In the following sections, we’ll explore the basics of color mixing and how to choose the right palette for your floral scene.
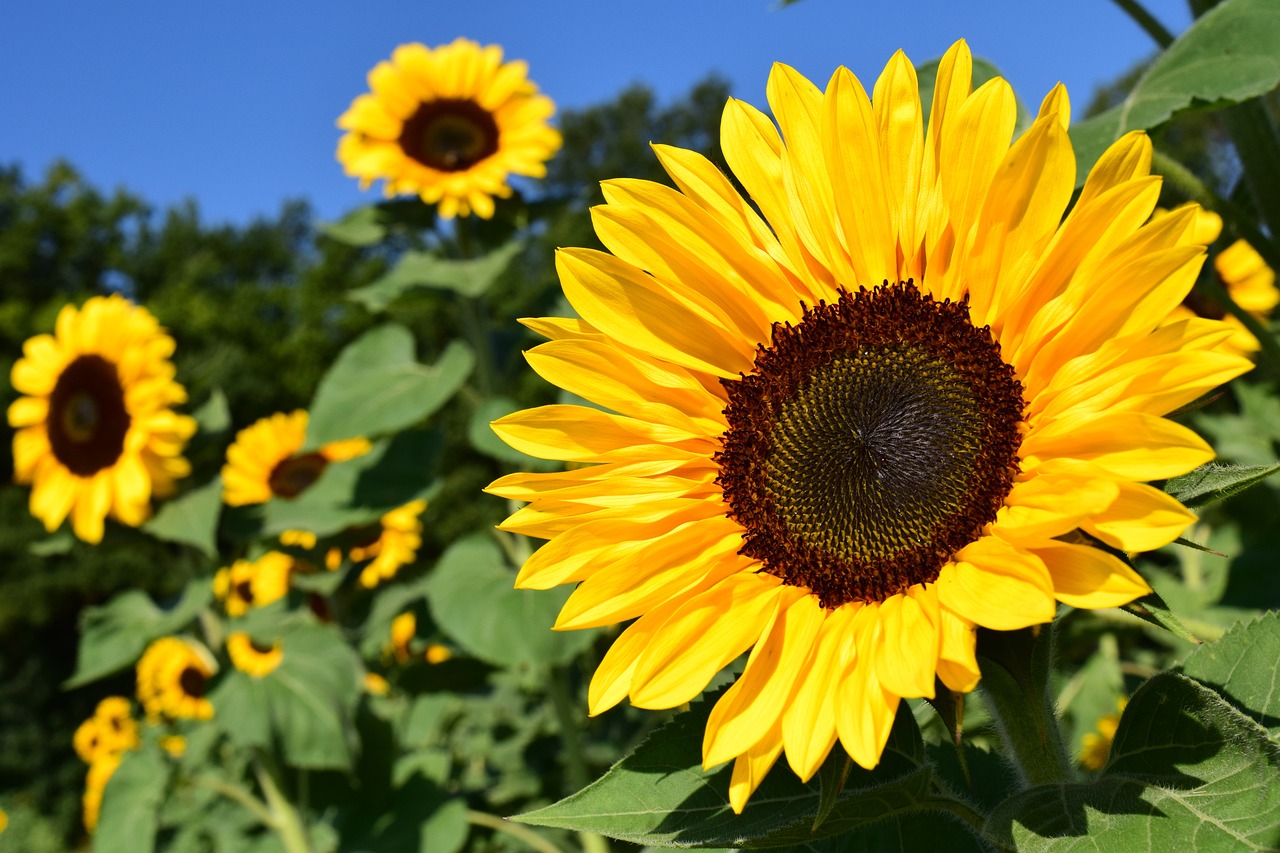
At the heart of color theory are primary and secondary colors. Primary colors—red, blue, and yellow—are the building blocks of all other colors. When you mix these colors together, you create secondary colors: green, orange, and purple. Understanding these relationships is crucial for creating a balanced composition. For instance, if you want to paint a field of sunflowers, you might use a vibrant yellow (a primary color) alongside deep greens (a secondary color) to capture the essence of summer.
To make your painting visually appealing, consider using color harmony techniques. Complementary colors—those opposite each other on the color wheel—can create striking contrasts that draw the viewer's eye. For example, pairing purple flowers with a yellow background can produce a stunning effect. Alternatively, analogous colors—those next to each other on the color wheel—can create a more serene and harmonious look. Using these methods can bring your field of flowers to life in a way that resonates with the viewer.
Adding depth to your painting is essential for achieving a realistic flower field. By using color gradients and varying shades, you can create the illusion of distance and dimension. Imagine painting a field where the flowers in the foreground are bright and vivid, while those in the background fade into softer hues. This technique not only enhances the visual appeal but also invites the viewer to step into your painted world.
A strong composition is key to a successful painting. Think of composition as the blueprint of your artwork. It determines how the elements of your painting interact with each other. You might consider using the rule of thirds, where you divide your canvas into a grid and position your focal points along the lines or intersections. This technique can create a sense of balance and guide the viewer's eye through your floral scene.
Now that you've laid the groundwork, it's time to dive into the techniques that will help you capture the essence of flowers. Different techniques can be employed to bring your floral scene to life. From layering to glazing and wet-on-wet painting, each method offers unique advantages that can enhance your artwork.
Layering is an essential technique for adding texture and depth to your flowers. By applying multiple layers of paint, you can create vibrant flower petals that seem to pop off the canvas. Start with a base layer of color and gradually build up additional layers, allowing each to dry before adding the next. This method not only enriches the color but also adds a tactile quality to your painting.
The wet-on-wet technique allows for smooth blending of colors, creating soft edges and a dreamy atmosphere in your floral landscape. This method involves applying wet paint onto wet paint, enabling colors to mix seamlessly. It's perfect for capturing the delicate transitions found in nature, such as the soft petals of a flower swaying in the breeze. Just remember, practice makes perfect, so don’t hesitate to experiment!
Q: What type of paint is best for beginners?
A: Acrylic paint is often recommended for beginners due to its ease of use and quick drying time.
Q: How can I make my flowers look more realistic?
A: Focus on layering colors and using varying shades to create depth and dimension.
Q: Is it necessary to use a canvas?
A: While canvas is popular, you can also use watercolor paper or wood panels depending on your preferred medium.
Choosing the Right Materials
When it comes to painting a vibrant field of flowers, selecting the right materials is absolutely crucial. Think of your painting tools as the foundation of a house; without a solid base, everything else can crumble. So, let's dive into the essentials that will help you create a stunning floral masterpiece!
First off, you'll need to choose the right type of paint. Acrylics are a fantastic choice for beginners and seasoned artists alike because they dry quickly and are incredibly versatile. On the other hand, if you're after a more traditional feel, oil paints can give you rich textures and deeper colors, though they require longer drying times. Watercolors, while delicate, can also produce beautiful effects, especially for soft, ethereal floral scenes. Each medium has its own charm, so consider what kind of mood you want to convey in your painting.
Next, let’s talk about brushes. The right brushes can make a world of difference in your painting process. A variety of brushes will allow you to experiment with different techniques. Here’s a quick rundown:
- Flat Brushes: Great for broad strokes and filling in large areas.
- Round Brushes: Perfect for detailed work and creating flower petals.
- Fan Brushes: Excellent for texture and foliage.
- Detail Brushes: Ideal for intricate designs and fine lines.
Don’t forget about the canvas! The surface you choose can dramatically affect the final look of your artwork. Stretched canvas is popular among artists for its durability and ability to hold paint well. If you prefer a more textured finish, try using canvas boards or even watercolor paper for a different effect. Just remember, the smoother the surface, the more detail you can achieve.
Lastly, consider your palette. A good palette allows you to mix colors easily and keep your workspace organized. A simple plastic or wooden palette can do the trick, but if you want to go a step further, a glass palette can provide a smooth mixing surface that’s easy to clean.
In summary, the materials you choose can significantly impact your painting experience and the quality of your final artwork. Investing in good quality paints, brushes, and canvases will not only make the process more enjoyable but also enhance the beauty of your floral field. So, gather your materials, and get ready to unleash your creativity!
Understanding Color Theory
Color theory is the backbone of any successful painting, especially when it comes to capturing the vibrant essence of a field of flowers. By understanding how colors interact, you can create depth, harmony, and emotion in your artwork. Imagine color as a musical scale; each note (or color) contributes to the overall symphony of your painting. The right combination can evoke feelings of joy, tranquility, or even nostalgia. So, let’s dive into the basics of color mixing and how to choose the right palette for your floral masterpiece!
At the core of color theory are the primary colors: red, blue, and yellow. These colors are like the building blocks of all other colors. When combined, they create secondary colors: green, orange, and purple. Understanding this relationship is crucial for a balanced composition. For instance, if you want to paint a vibrant field of sunflowers, knowing that yellow is a primary color and can be mixed with red to create a warm orange can help you achieve that sunny glow. Here’s a quick breakdown:
| Primary Colors | Secondary Colors |
|---|---|
| Red | Orange (Red + Yellow) |
| Blue | Green (Blue + Yellow) |
| Yellow | Purple (Red + Blue) |
Once you grasp the basics of primary and secondary colors, the next step is to explore color harmony. This concept involves using colors in a way that is visually appealing. Think of it as setting the mood for your painting. For example, using complementary colors—those that are opposite each other on the color wheel, like blue and orange—can create a striking contrast that makes your flowers pop. On the other hand, analogous colors—those next to each other, like blue, blue-green, and green—can provide a more serene and cohesive look.
Now, let’s talk about creating depth in your painting using color. This is where the magic happens! By employing color gradients and varying shades, you can add dimension to your floral field. Imagine the way light dances on flower petals; the highlights are often lighter shades of the base color, while shadows are deeper. By layering these shades, you can create a more realistic and immersive experience for the viewer. For instance, if you’re painting a field of lavender, you might use a gradient from light lavender to deep violet to capture the sunlight filtering through the blooms.
In summary, understanding color theory is essential for any artist looking to paint a stunning field of flowers. By mastering the relationships between primary and secondary colors, applying color harmony techniques, and creating depth through gradients, you can elevate your artwork to new heights. So grab your brushes and palette, and let the colors guide your creativity!
- What are the primary colors? The primary colors are red, blue, and yellow. They cannot be created by mixing other colors.
- How do I choose a color palette for my painting? Start by selecting a few primary and secondary colors that resonate with you. Consider the mood you want to convey.
- What is color harmony? Color harmony refers to the pleasing arrangement of colors that create a sense of balance and aesthetics in your artwork.
Primary and Secondary Colors
Understanding primary and secondary colors is essential for any artist looking to create a balanced composition in their floral paintings. Primary colors—red, blue, and yellow—are the foundation of the color wheel. These colors cannot be created by mixing other colors, which makes them the building blocks of your palette. When you mix two primary colors together, you get secondary colors: green, orange, and purple. For instance, mixing blue and yellow produces green, while red and blue yield purple. This relationship is not just theoretical; it has practical implications when you’re painting a vibrant field of flowers.
To visualize this, consider the color wheel:
| Primary Colors | Secondary Colors |
|---|---|
| Red | Green (Blue + Yellow) |
| Blue | Orange (Red + Yellow) |
| Yellow | Purple (Red + Blue) |
When you grasp this concept, it opens up a world of possibilities for your floral artwork. Imagine painting a field of sunflowers; you’ll want to use a rich yellow to capture their essence. By understanding how to mix primary colors to create secondary colors, you can add depth and vibrancy to your flowers. For example, adding a touch of orange to your yellow can create a stunning gradient that mimics the sunlight hitting the petals.
Moreover, the relationships between these colors can help you create a more harmonious composition. For instance, if you’re painting a scene with blue flowers, consider pairing them with their complementary color, orange, in the background. This contrast will make your flowers pop, drawing the viewer's eye to the focal point of your painting.
To make the most of primary and secondary colors, experiment with mixing them on your palette. Don’t shy away from creating your own shades; sometimes, the best hues come from unexpected combinations. Remember, the key to mastering color is practice and exploration. So grab your brushes, and let your creativity flow!
Color Harmony Techniques
When it comes to painting a vibrant field of flowers, color harmony is your secret weapon. It’s like the magic glue that holds your artwork together, creating a visual symphony that your viewers can’t help but admire. Imagine standing in a field of wildflowers, the sun shining down, casting a warm glow over the riot of colors. The way those colors interact with one another is what you want to capture on your canvas. So, how do you achieve that? Let’s dive into some effective techniques that will elevate your floral masterpiece.
One of the most powerful techniques is using complementary colors. These are colors that sit opposite each other on the color wheel, such as blue and orange or red and green. When placed side by side, complementary colors create a striking contrast, making each hue pop. For instance, if you have a vibrant red flower, consider painting the background in shades of green to make that red truly stand out. It’s like a dance between colors, where each partner enhances the beauty of the other.
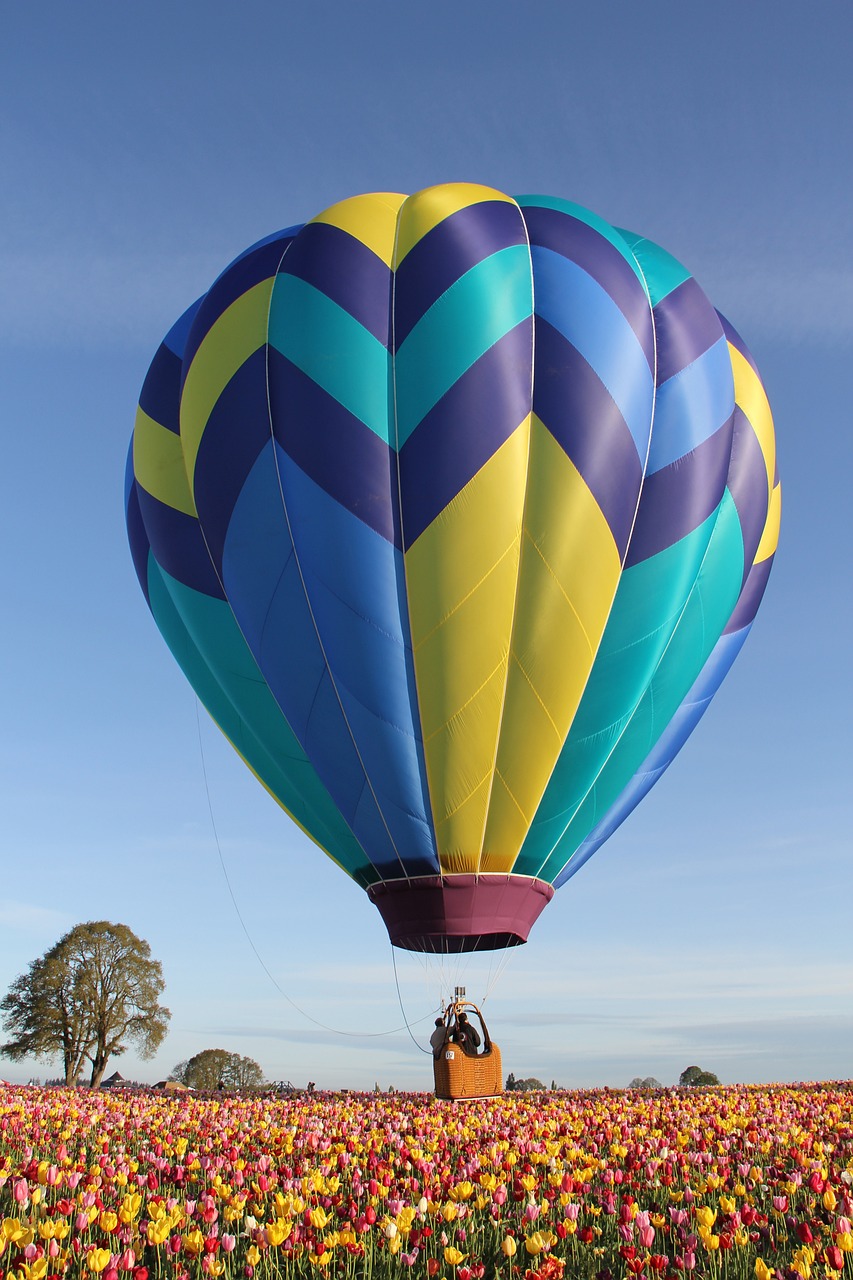
Another technique to consider is analogous colors. These are colors that are next to each other on the color wheel, such as yellow, yellow-green, and green. Using analogous colors creates a sense of harmony and unity in your painting. Picture a sunset where the colors transition smoothly from warm oranges to soft pinks. This technique can be particularly effective for painting flowers that naturally grow together, like a cluster of tulips in varying shades of pink and purple.
To illustrate these concepts, here’s a simple table that summarizes the characteristics of complementary and analogous colors:
| Technique | Description | Example Colors |
|---|---|---|
| Complementary | Colors opposite each other on the color wheel, creating contrast. | Red & Green, Blue & Orange |
| Analogous | Colors next to each other on the color wheel, creating harmony. | Yellow, Yellow-Green, Green |
Now, let’s talk about triadic color schemes. This technique involves using three colors that are evenly spaced around the color wheel, like a triangle. For example, you could use red, yellow, and blue. This method creates a vibrant and dynamic look, perfect for a lively field of flowers. The key is to balance the colors so that one doesn’t overpower the others. Consider using one color as the dominant hue, while the others serve as accents to enhance the overall composition.
Lastly, don’t forget about the importance of value and saturation in your color choices. Value refers to how light or dark a color is, while saturation describes the intensity of the color. By varying these aspects, you can create depth and interest in your painting. For example, using lighter, less saturated colors in the background can create a sense of distance, while vibrant, saturated colors in the foreground draw the viewer’s eye. It’s all about creating a visual pathway that guides the viewer through your floral landscape.
In summary, mastering color harmony techniques is crucial for painting a stunning field of flowers. Whether you choose to use complementary or analogous colors, triadic schemes, or pay attention to value and saturation, each choice you make will contribute to the overall beauty of your artwork. So grab your brushes, let your creativity flow, and watch as your canvas transforms into a breathtaking floral paradise!
- What is the best way to choose a color palette for my flower painting?
Start with a few colors that inspire you, and consider how they relate to each other using color harmony techniques. - Can I mix different painting techniques in one artwork?
Absolutely! Mixing techniques can add depth and interest to your painting. - How do I know if my colors are harmonious?
Step back and look at your painting from a distance; if the colors feel balanced and pleasing, you’ve likely achieved harmony.
Creating Depth with Color
When it comes to painting a beautiful field of flowers, is an essential skill that can transform your artwork from flat to fabulous. Imagine standing in a vibrant meadow, where each flower seems to dance in the breeze, basking in the warm sunlight. To replicate that sense of realism on your canvas, you need to master the art of color gradients and varying shades. This technique is akin to layering a cake; just as each layer adds to the overall flavor and texture, each color layer you apply will contribute to the depth and richness of your painting.
One effective method to create depth is through the use of color gradients. By gradually transitioning from one color to another, you can simulate the way light interacts with flowers in nature. For example, when painting a sunflower, you might start with a deep yellow at the center and gently blend it into a lighter shade towards the tips of the petals. This technique not only adds dimension but also draws the viewer's eye into the heart of your flower.
Additionally, incorporating varying shades of the same color can enhance the three-dimensional feel of your floral landscape. Think about how the sun casts shadows on the petals; those darker shades can be achieved by mixing in a touch of complementary color or even a bit of black. However, be cautious—too much black can muddy your colors, so always test your mixtures on a separate palette before applying them to your canvas.
To illustrate these concepts, consider the following table that outlines how different shades can affect the perception of depth in your painting:
| Flower Color | Light Shade | Medium Shade | Dark Shade |
|---|---|---|---|
| Yellow | #FFFF00 | #FFD700 | #B8860B |
| Blue | #ADD8E6 | #4682B4 | #00008B |
| Red | #FFB6C1 | #FF4500 | #8B0000 |
In addition to gradients and shades, consider the placement of your flowers on the canvas. Flowers that are meant to appear further back in the field can be painted in lighter, less saturated colors. This technique, known as atmospheric perspective, mimics how colors appear to fade in the distance, giving your painting an expansive feel. Conversely, flowers that are closer should be painted with richer, more vibrant colors to create that striking contrast.
Finally, don’t forget about the importance of highlighting and shadows. Adding highlights to the petals can give them a glossy, lifelike appearance, while shadows can anchor them in the scene. A well-placed shadow can make a flower pop off the canvas, inviting the viewer to reach out and touch it. Remember, the key to creating depth is not just in the colors you choose but also in how you apply them. So grab your brushes, experiment, and let your creativity blossom!
- What are some tips for blending colors effectively? Start with a wet brush and apply colors side by side, then gently blend them together using a clean brush.
- How can I choose the right colors for my flower painting? Consider the mood you want to convey; warm colors evoke energy, while cool colors can create a sense of calm.
- Is it necessary to use expensive paints for good results? Not necessarily! Quality student-grade paints can yield beautiful results if used properly.
Choosing a Composition
When it comes to painting a stunning field of flowers, composition is everything. Think of your canvas as a stage where your flowers will perform; the way you arrange them can make all the difference in the world. A well-thought-out composition not only draws the viewer's eye but also creates a sense of balance and harmony in your artwork. So, how do you go about choosing the right composition? Let’s explore some essential techniques and tips that can elevate your floral painting from ordinary to extraordinary.
First off, consider the Rule of Thirds. Imagine dividing your canvas into a 3x3 grid, like a tic-tac-toe board. The idea is to place your main focal points along these lines or at their intersections. This technique naturally guides the viewer’s gaze and creates a more dynamic scene. For example, if you have a large sunflower that you want to stand out, position it at one of these strategic points rather than dead center. This simple adjustment can make your painting feel more alive and engaging.
Another crucial aspect is the foreground, middle ground, and background concept. By layering your flowers in these three dimensions, you can create depth and perspective. Picture a beautiful field where the closest flowers are larger and more detailed, while those in the distance are smaller and less defined. This technique not only adds realism but also invites the viewer to explore the entire scene. For instance, you might have vibrant daisies in the foreground, a cluster of tulips in the middle, and a hazy background of wildflowers. This layering effect can make your painting feel like a window into another world.
Don't forget about negative space either. This refers to the empty areas around your flowers that can help define their shapes and make them pop. Think of it as the breathing room in your painting. Too much clutter can overwhelm the viewer, so giving your flowers some space can enhance their beauty. You might choose to leave a portion of the canvas blank or filled with soft colors that complement your flowers, allowing them to stand out even more.
Finally, always keep balance in mind. A well-balanced composition can be achieved through symmetry or asymmetry. Symmetrical compositions often feel more formal and stable, while asymmetrical compositions can create a sense of movement and excitement. For instance, if you have a large cluster of flowers on one side, consider balancing it with a smaller group or a complementary element like a tree or a path on the other side. This way, your composition feels complete and inviting.
In summary, choosing the right composition for your field of flowers is a combination of strategic placement, understanding depth, utilizing negative space, and achieving balance. By applying these techniques, you can transform your floral painting into a captivating masterpiece that draws viewers in and keeps them engaged. Remember, the beauty of art lies in its ability to evoke emotions, so let your creativity flow and enjoy the process!
- What is the Rule of Thirds? The Rule of Thirds is a composition guideline that suggests dividing your canvas into a 3x3 grid to place focal points along the lines or at their intersections.
- How can I create depth in my painting? You can create depth by layering flowers in the foreground, middle ground, and background, and by using varying sizes and details to suggest distance.
- What is negative space? Negative space refers to the areas surrounding your main subjects that help to define their shapes and enhance their visual impact.
- Should I aim for symmetry or asymmetry in my composition? It depends on the mood you want to convey. Symmetry creates a formal feel, while asymmetry can add excitement and movement.
Techniques for Painting Flowers
When it comes to painting flowers, the techniques you choose can dramatically transform your artwork from a simple depiction to a vibrant celebration of nature. Whether you are a beginner or an experienced artist, understanding various painting techniques will enhance your ability to capture the essence of flowers in your work. Each technique offers unique advantages, allowing you to express your creativity and bring your floral scenes to life in stunning detail.
One of the most essential techniques is layering. This method involves applying multiple layers of paint to build texture and depth in your flowers. By starting with a base layer of color and gradually adding more layers, you can create a sense of realism and dimension. For example, when painting a rose, you might begin with a light wash of pink, then add deeper shades of red and burgundy to the petals. This not only makes the flowers appear more lifelike but also adds a captivating richness to the overall composition.
Another technique that can elevate your floral paintings is glazing. Glazing involves applying thin, transparent layers of paint over dry layers. This technique allows you to modify the color and intensity of your flowers without losing the underlying details. For instance, if you want to soften the appearance of a bright yellow flower, a subtle glaze of green can create a beautiful shadow effect, making the flower look more three-dimensional. It’s a great way to experiment with color and achieve intricate effects that make your artwork pop.
Additionally, the wet-on-wet technique is a favorite among artists who desire smooth blending and soft edges. This method involves applying wet paint onto a wet surface, allowing colors to mix and flow together seamlessly. When painting a field of wildflowers, this technique can help you achieve that dreamy, ethereal quality that makes your landscape feel alive. Imagine the gentle blending of yellows, purples, and pinks as you create a field of daisies swaying in the breeze. The wet-on-wet technique gives you the freedom to create soft transitions between colors, evoking a sense of movement and harmony in your painting.
To help you visualize these techniques, consider the following table that summarizes some of the key techniques for painting flowers:
| Technique | Description | Benefits |
|---|---|---|
| Layering | Applying multiple layers of paint to create depth. | Adds texture and realism to flowers. |
| Glazing | Applying thin, transparent layers over dry paint. | Modifies color intensity and enhances details. |
| Wet-on-Wet | Applying wet paint onto a wet surface. | Allows for smooth blending and soft edges. |
As you practice these techniques, remember that each artist has their own unique style. Don’t be afraid to experiment and combine different methods to see what works best for you. Perhaps you’ll find that layering and glazing together create a beautiful effect for your sunflower fields, or that wet-on-wet blending gives your tulips a magical quality. The key is to enjoy the process and let your creativity flow.
Q: What type of paint is best for painting flowers?
A: Acrylics and oils are popular choices for painting flowers. Acrylics are fast-drying and versatile, while oils allow for richer colors and longer blending times.
Q: How can I make my flower paintings look more realistic?
A: Focus on using layering techniques, pay attention to light and shadow, and study real flowers for inspiration. Color mixing and understanding the anatomy of flowers can also help.
Q: Do I need to use expensive materials to create good flower paintings?
A: Not necessarily! While high-quality materials can enhance your work, many affordable options can yield stunning results. Focus on developing your skills and technique first.
Layering Techniques
When it comes to painting a vibrant field of flowers, are your best friend. Think of layering as the process of building a beautiful cake; each layer adds flavor and texture, making the final product truly delightful. In painting, layering allows you to add depth, dimension, and vibrancy to your flowers, transforming a flat canvas into a stunning masterpiece that pops with life.
To start, you'll want to use a high-quality acrylic or oil paint, as these mediums lend themselves well to layering. The secret to successful layering lies in the transparency and opacity of the paint. Begin with a base layer, applying a thin wash of color to establish the foundation of your floral scene. This initial layer sets the tone and can be a lighter shade that will allow subsequent layers to shine through.
Once your base layer is dry, it’s time to add more pigment. Use a slightly thicker consistency of paint to create the next layer. This is where you can start to define the shapes of your flowers. For instance, if you're painting a field of sunflowers, you might choose a deep yellow for the petals. Apply this color in a way that follows the natural contours of the flower, allowing the base layer to peek through in certain areas. This technique not only adds depth but also creates a sense of realism.
As you continue to layer, consider the color relationships between the different hues. For example, if you’re painting a field with a variety of flowers, you might want to layer complementary colors. This could mean adding a touch of purple to balance the yellows and oranges of your flowers. The interplay between these colors can create a stunning visual effect, drawing the eye across the canvas.
Another important aspect of layering is the drying time. If you’re using oil paints, you’ll need to wait longer between layers compared to acrylics. This is crucial because applying wet paint on top of wet paint can lead to muddiness instead of the crisp, defined layers you want. A good rule of thumb is to wait until the previous layer is fully dry before applying the next one.
For those looking to experiment further, consider using a glazing technique. This involves applying a thin, transparent layer of paint over a dried layer. It’s an excellent way to enhance color vibrancy and create luminosity in your flowers. Imagine the way light filters through petals; glazing can help replicate that effect beautifully.
In summary, layering techniques are essential for creating a dynamic and engaging floral painting. By starting with a solid base, carefully selecting your colors, and respecting drying times, you can build a stunning field of flowers that captures the essence of nature. So grab your brushes and start layering; your canvas is waiting to bloom!
- What is the best type of paint for layering? Acrylic and oil paints are ideal for layering due to their versatility and depth of color.
- How can I ensure my layers don’t become muddy? Always allow each layer to dry completely before applying the next one, and use transparent colors to maintain clarity.
- Can I layer different types of paint? While it’s generally best to stick with one medium, some artists successfully layer acrylics over oils, but this requires caution.
Wet-on-Wet Painting
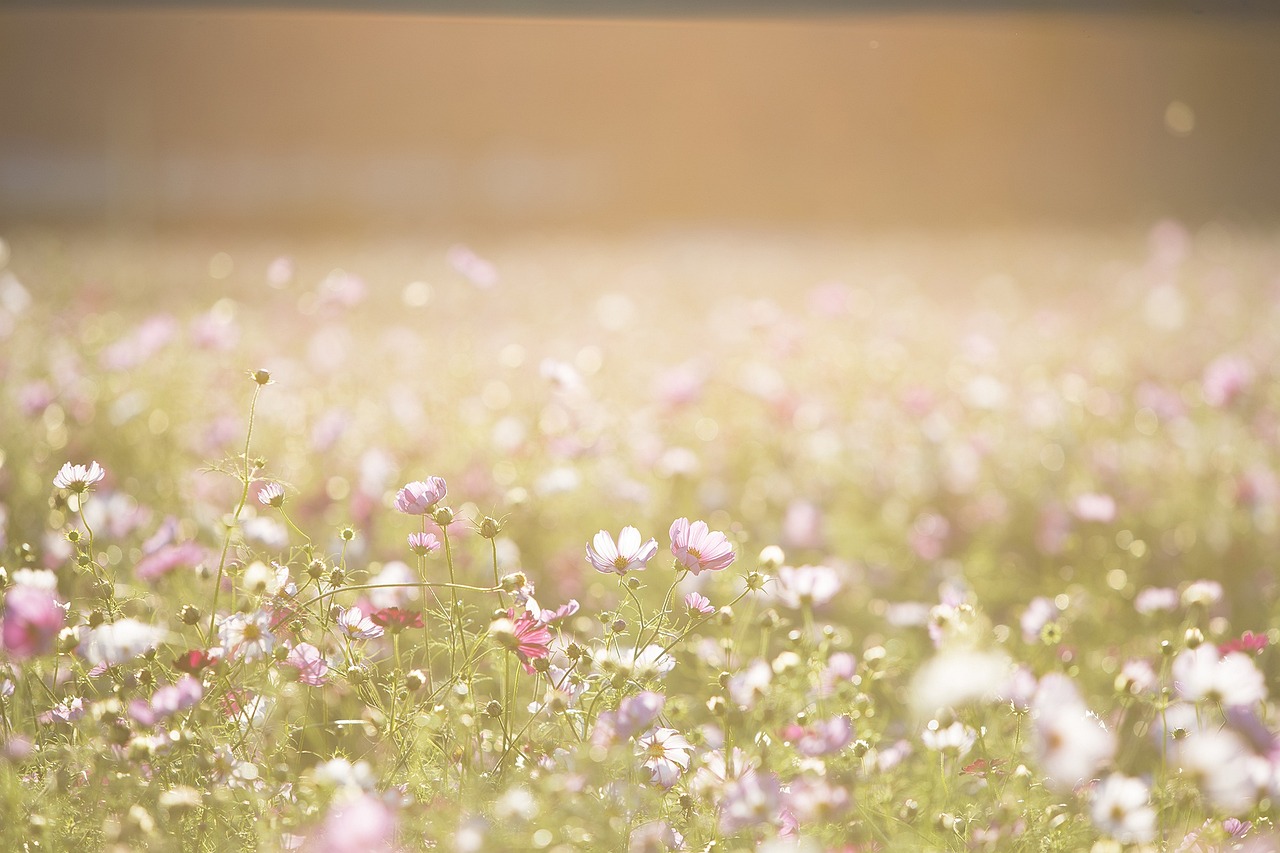
The wet-on-wet painting technique is a magical approach that allows artists to blend colors seamlessly, creating soft edges and a dreamy atmosphere in their floral landscapes. Imagine standing in a vibrant field of flowers, where the colors dance and blend into one another—this technique captures that very essence. By applying wet paint onto wet paint, you can achieve stunning transitions and a sense of movement in your artwork. It’s like watching a watercolor painting come to life, with each brushstroke revealing a new layer of beauty.
To master this technique, you'll need to consider a few essentials. First, ensure that your paint is fresh and your canvas is primed with a layer of wet paint. This could be a thin wash of color or a clear medium, depending on your preference. The key is to keep your brush loaded with paint, allowing you to manipulate and blend colors as you work. Here’s a quick rundown of the steps you might follow:
- Start with a base layer of wet paint on your canvas.
- Choose your colors and load your brush generously.
- Apply the new color directly onto the wet surface, allowing it to spread and blend.
- Use a clean brush to soften the edges and create smooth transitions.
One of the most exciting aspects of wet-on-wet painting is the unexpected results it can yield. Just like nature, your flowers might surprise you with their vibrant hues and soft transitions. As you paint, you might find that the colors mix in ways you hadn’t anticipated, creating unique shades and textures that add depth to your work. This unpredictability can be both exhilarating and daunting, but it’s essential to embrace it. After all, art is about exploration and expression!
When painting flowers, consider the following tips to enhance your wet-on-wet technique:
- Work quickly: Since the paint is wet, you need to work swiftly to maintain the blending effect.
- Use a variety of brushes: Different brushes can create different textures. A flat brush can cover large areas, while a round brush can help with details.
- Experiment: Don’t be afraid to try unusual color combinations. Sometimes, the most beautiful flowers come from unexpected mixes!
As you dive into the world of wet-on-wet painting, remember that practice makes perfect. Each brushstroke is an opportunity to learn and grow, so don’t be discouraged by initial challenges. Instead, view them as stepping stones on your artistic journey. Before you know it, you’ll be creating stunning floral masterpieces that capture the vibrant beauty of nature.
Q: Can I use acrylic paint for wet-on-wet painting?
A: Yes! Acrylics can be used for wet-on-wet painting, but they dry faster than oils. To keep them workable, consider using a slow-drying medium or a wet palette.
Q: What type of canvas is best for wet-on-wet painting?
A: A primed canvas or a canvas board works well. Make sure it’s properly prepared with a layer of wet paint to facilitate blending.
Q: Is wet-on-wet painting suitable for beginners?
A: Absolutely! While it may seem challenging at first, this technique encourages creativity and experimentation, making it a great choice for beginners.
Frequently Asked Questions
- What materials do I need to paint a field of flowers?
To create a stunning field of flowers, you'll need a few essential materials. Start with high-quality acrylic or oil paints, a set of brushes in various sizes, and a sturdy canvas. Don’t forget a palette for mixing colors, a water container (if using acrylics), and some paper towels for quick clean-ups. These tools will help you bring your floral vision to life!
- How important is color theory in painting flowers?
Color theory is crucial when painting flowers because it helps you understand how to mix colors and create harmony in your artwork. By mastering primary and secondary colors, you can create a balanced composition. Additionally, techniques like complementary and analogous colors can enhance the vibrancy of your painting, making your flower field pop with life!
- What is the wet-on-wet painting technique?
The wet-on-wet technique involves applying wet paint onto wet paint, allowing for smooth blending and soft edges. This method is fantastic for creating a dreamy atmosphere in your floral landscape. It’s like blending colors in a beautiful dance, where each hue flows into the next, giving your flowers a soft, ethereal look!
- Can I use layering techniques for painting flowers?
Absolutely! Layering is an essential technique for adding texture and depth to your flower petals. By applying multiple layers of paint, you can create a more realistic and vibrant appearance. Think of it as building a cake—each layer adds flavor and richness to the final masterpiece!
- How do I choose the right composition for my painting?
Choosing the right composition is key to a successful painting. Consider using techniques such as the rule of thirds or leading lines to frame your floral scene effectively. A strong composition guides the viewer's eye and enhances the overall impact of your artwork, making it feel balanced and harmonious.


