
Brushwork Essentials For The Aspiring Artist
Every artist's journey begins with a single stroke, and mastering brushwork is an essential stepping stone in this creative adventure. Whether you're a budding Picasso or just someone who loves to dabble in colors, understanding brushwork can transform your artistic expression. Imagine standing before a blank canvas, armed with a palette of vibrant colors and a selection of brushes, ready to unleash your imagination. But wait! Before you dive in, let’s explore the key techniques and tips that can elevate your skills and enhance your creative voice through various painting styles.
Different brush types serve unique purposes in painting, and knowing which brush to use can dramatically affect your technique and the final outcome of your artwork. Brushes come in various shapes and sizes, each designed to create specific effects. For instance, round brushes are perfect for detailed work and fine lines, while flat brushes excel in covering large areas and creating bold strokes. Understanding these differences is like having a toolbox filled with specialized instruments; each one plays a crucial role in achieving your artistic vision.
For beginners, mastering fundamental brush techniques is key to building confidence and skill. Think of it as learning the alphabet before writing a novel; these essential strokes and methods form the foundation of effective painting. As you familiarize yourself with these techniques, you'll find that your brush becomes an extension of your creativity, allowing you to express emotions and ideas more freely. So, let’s dive into some basic strokes that every aspiring artist should know!
Learning basic strokes is crucial for beginners. These strokes are the building blocks of your painting style. Here are a few common strokes that every artist should practice:
- Flat Wash: This technique involves applying a smooth layer of color across a surface, creating an even tone that serves as a backdrop for your artwork.
- Dry Brush: This method uses a brush with minimal paint, resulting in a textured effect that adds depth and interest to your piece.
- Stippling: Using the tip of your brush to create dots, stippling can bring a unique texture and dimension to your work.
The flat wash technique is essential for creating an even color across a surface. To achieve a smooth application, you need to control the amount of water and paint on your brush. Start by wetting your brush and dipping it into the paint. Then, sweep the brush across the canvas in long, even strokes. The key is to maintain a consistent pressure and speed, allowing the paint to flow seamlessly. This technique is particularly useful for backgrounds and skies, where a soft gradient can set the tone for your entire piece.
On the other hand, the dry brush technique adds texture and depth to your artwork. This method involves using a brush that has very little paint on it, allowing you to create scratchy, textured strokes. It’s perfect for depicting rough surfaces like tree bark or creating a sense of movement in water. To use this technique effectively, load your brush lightly with paint and drag it across the canvas with a flicking motion. You’ll be amazed at how this simple technique can bring your artwork to life!
Color blending is vital for creating depth and dimension in your work. When colors seamlessly blend into one another, they create a sense of harmony and movement. There are several methods to achieve this, such as wet-on-wet blending, where wet paint is applied to wet paint, allowing colors to merge naturally. Another method is dry blending, where you use a dry brush to mix colors directly on the canvas. Experimenting with these techniques will help you discover the unique characteristics of your chosen medium.
The type of paint you choose can significantly influence your brushwork. Different paints interact with brushes in unique ways, and understanding these interactions can enhance your artistic process. Let’s take a look at the three primary types of paint: oils, acrylics, and watercolors.
Understanding the differences between oil and acrylic paints is essential for any artist. Oil paints have a slow drying time, allowing for extensive blending and layering, which is fantastic for detailed work. However, this means that you need to be patient and plan your strokes carefully. Acrylics, on the other hand, dry quickly, making them ideal for artists who prefer to work fast and layer colors rapidly. Each paint type affects brushwork differently, so consider experimenting with both to find your preference.
Watercolor painting requires specific techniques for effective brushwork. This medium is all about control—control of water, paint, and the brush itself. Techniques like wet-on-dry, where wet paint is applied to dry paper, can create sharp edges and defined shapes. Conversely, wet-on-wet allows colors to bleed into each other, producing soft, dreamy effects. Mastering these techniques will not only enhance your brushwork but also open up a world of creative possibilities.
Q: What is the best brush for beginners?
A: A good starter set typically includes a round brush for detail, a flat brush for washes, and a filbert brush for blending.
Q: How do I clean my brushes properly?
A: Always rinse your brushes immediately after use. For acrylics, use warm soapy water; for oils, use a solvent like turpentine.
Q: Can I use different types of paint with the same brushes?
A: While you can use the same brushes for different paints, it's best to have separate brushes for oils and acrylics to maintain their quality.
Understanding Brush Types
When it comes to painting, the brush type you choose is just as important as the colors on your palette. Each brush serves a unique purpose, and understanding these differences can dramatically affect your technique and the final outcome of your artwork. Imagine trying to paint a delicate flower with a thick, bristly brush; it just wouldn’t work, right? So, let’s dive into the world of brushes and discover what makes each one special.
Brushes come in various shapes, sizes, and materials, and they can be categorized into several types based on their design and intended use. Here are some common brush types you should know:
- Round Brushes: These brushes have a pointed tip and are great for detail work. They can create fine lines and are perfect for intricate designs.
- Flat Brushes: With a square edge, flat brushes are ideal for bold strokes and filling in larger areas. They can also be used to create sharp lines.
- Filbert Brushes: Combining the features of both round and flat brushes, filbert brushes have an oval shape that allows for versatility in strokes.
- Fan Brushes: These brushes are shaped like a fan and are excellent for creating textures, such as foliage or clouds.
- Detail Brushes: These tiny brushes are perfect for adding fine details and are often used in acrylic and oil painting.
Each brush type interacts differently with paint, and the way you hold and move the brush can change the resulting texture and finish. For instance, using a round brush with a light touch can produce delicate lines, while a flat brush can create bold, sweeping strokes when pressure is applied. The key is to experiment with different brushes to discover what works best for your style and the effect you want to achieve.
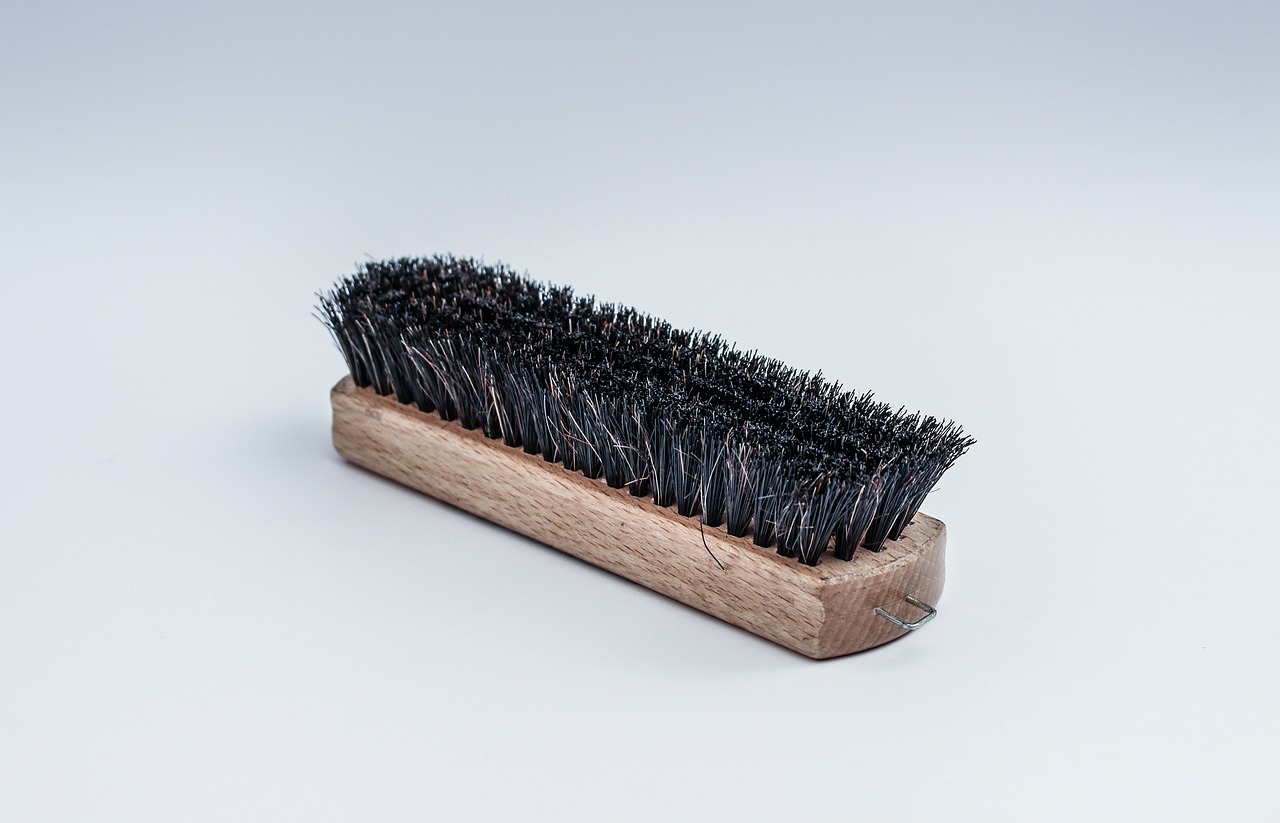
Moreover, the material of the brush bristles plays a significant role in how the brush performs. Brushes can be made from natural materials, like sable or hog hair, or synthetic fibers, each offering unique benefits. Natural bristles tend to hold more paint and provide a smoother application, while synthetic brushes are often more durable and easier to clean. Choosing the right material can help you achieve the desired effect in your artwork.
As you embark on your artistic journey, remember that understanding brush types is just the beginning. It’s essential to practice and find what feels comfortable for you. Embrace the learning process, and don’t be afraid to make mistakes; they’re often the stepping stones to discovering your unique artistic voice.

Brush Techniques for Beginners
When you first dip your brush into paint, it can feel like stepping into a new world filled with endless possibilities. Brush techniques are the backbone of painting, and mastering them is essential for every aspiring artist. Think of your brush as a magic wand; the way you wield it can transform a blank canvas into a vibrant masterpiece. In this section, we’ll explore some fundamental techniques that will help you build a solid foundation for your artistic journey.
One of the first things to understand is that different strokes can evoke different emotions and effects in your artwork. Each stroke you make can tell a story, so it’s important to practice and refine your technique. To start, let’s break down some of the most common brush techniques that every beginner should know. These techniques will not only enhance your skills but also boost your confidence as you paint.
Learning basic strokes is crucial for beginners. Just like a writer must master the alphabet before crafting a novel, an artist must first learn the strokes that form the basis of their work. Here are a few essential strokes that you should get comfortable with:
- Flat Wash: This technique involves applying an even layer of color across a surface, creating a smooth and consistent look.
- Dry Brush: This method uses a brush with very little paint on it to create texture and depth, allowing the background to show through.
- Stippling: A technique that involves applying small dots of color, which can create interesting textures and patterns.
By practicing these strokes, you’ll start to understand how each one can affect the overall feel of your painting. For instance, a flat wash can create a serene sky, while stippling can bring a lively garden to life. The key is to experiment and see how each stroke interacts with the colors and textures you choose.
The flat wash technique is a fundamental skill that every painter should master. It involves loading your brush with a generous amount of paint and water and then sweeping it across the canvas in a smooth, even motion. To achieve a perfect flat wash, follow these steps:
1. Wet your brush and dip it into your chosen paint.
2. Start at one edge of the canvas.
3. Use long, even strokes to apply the paint, ensuring you maintain a consistent pressure.
4. Reload your brush as needed to keep the color even.
5. Allow the wash to dry completely before adding additional layers.
With practice, you’ll be able to create stunning backgrounds and smooth transitions between colors, enhancing the depth of your artwork.
The dry brush technique is perfect for adding texture and dimension to your paintings. It’s a fantastic way to create interesting effects, especially in landscapes or abstract works. Here’s how to effectively use a dry brush:
1. Start with a clean, dry brush.
2. Dip the tip of your brush into the paint, but remove most of it by wiping it on a paper towel.
3. Lightly drag the brush across the canvas, allowing the bristles to skip over the surface.
4. Experiment with different pressures to create varying textures.
This technique can give your artwork a sense of movement and energy, making it feel alive. Remember, the more you practice, the more you'll discover the unique effects you can achieve!
Another crucial aspect of brushwork is color blending. This technique is vital for creating depth and dimension in your work. Blending colors can transform your painting from flat to fabulous, making it more visually appealing. Whether you're mixing colors directly on the palette or blending them on the canvas, the right brushwork can make all the difference.
As you experiment with these techniques, don’t forget that practice makes perfect. Each stroke you make is a step towards developing your unique style. So grab your brushes, unleash your creativity, and enjoy the process of learning!
Q: How do I choose the right brush for each technique?
A: The type of brush you use can greatly affect your technique. For flat washes, use a wide, flat brush. For dry brushing, a stiff bristle brush works best. Experiment with different shapes and sizes to see what feels right for you!
Q: How important is practice in mastering brush techniques?
A: Practice is essential. The more you paint, the more comfortable you will become with different techniques. Set aside time regularly to experiment and refine your skills.
Q: Can I use the same brushes for different types of paint?
A: While it's possible to use the same brushes for different paints, it's best to have specific brushes for watercolors, acrylics, and oils to maintain the integrity of each medium.
Basic Strokes
Learning is crucial for any aspiring artist, as they form the backbone of effective painting techniques. Just like a musician must master scales before composing a symphony, an artist must become familiar with these fundamental strokes to create their masterpieces. So, let’s dive into some common strokes that can elevate your artwork!
First up is the flat wash. This technique is all about achieving an even layer of color across your canvas. Imagine a serene sky painted in a uniform blue; that’s the magic of a flat wash! To execute this, you’ll want to load your brush with paint and water, ensuring the mixture is smooth yet not too watery. Start at one edge of your surface and sweep the brush across in a horizontal motion, maintaining consistent pressure. This technique is not just for backgrounds; it can also be used to create large fields of color in your compositions.
Next, we have the dry brush technique, which is perfect for adding texture and depth. Think of it as the artist's secret weapon for creating dynamic effects. When you use a dry brush, you’re applying paint with minimal water, allowing the bristles to catch the texture of the canvas or paper. This technique can evoke feelings and moods, almost like how a rough stone can feel rugged and strong, while a smooth pebble feels gentle and calming. To master this, simply dip your brush in paint, wipe off the excess, and lightly drag it across your surface. You’ll be amazed at the textures you can create!
Stippling is another essential stroke that every artist should know. This technique involves creating images using small dots, much like pointillism. It’s a bit like a painter’s version of a mosaic, where each dot contributes to the overall picture. To practice stippling, use the tip of your brush and apply small dots of color onto your canvas. Vary the pressure to create lighter or darker dots, which will help you achieve depth and dimension in your artwork. The beauty of stippling is that it allows you to create intricate details without needing to blend colors extensively.
Incorporating these basic strokes into your practice can significantly enhance your painting skills. Each stroke serves a unique purpose and can be combined to create stunning effects. As you experiment with these techniques, remember that practice is key. Don't be afraid to make mistakes; they are often the stepping stones to discovering your unique style!
In summary, mastering basic strokes like the flat wash, dry brush, and stippling is essential for any artist. These techniques not only improve your brushwork but also expand your creative possibilities. So grab your brushes, experiment, and let your imagination run wild!
- What is the best brush for beginners? A good starter brush is a round brush, as it can be used for various techniques and strokes.
- How do I clean my brushes properly? Rinse your brushes in water immediately after use, and use soap to clean them thoroughly, preventing paint buildup.
- Can I use the same brushes for different types of paint? While you can use the same brushes, it's best to have separate brushes for acrylics, oils, and watercolors to maintain their integrity.

Flat Wash Technique
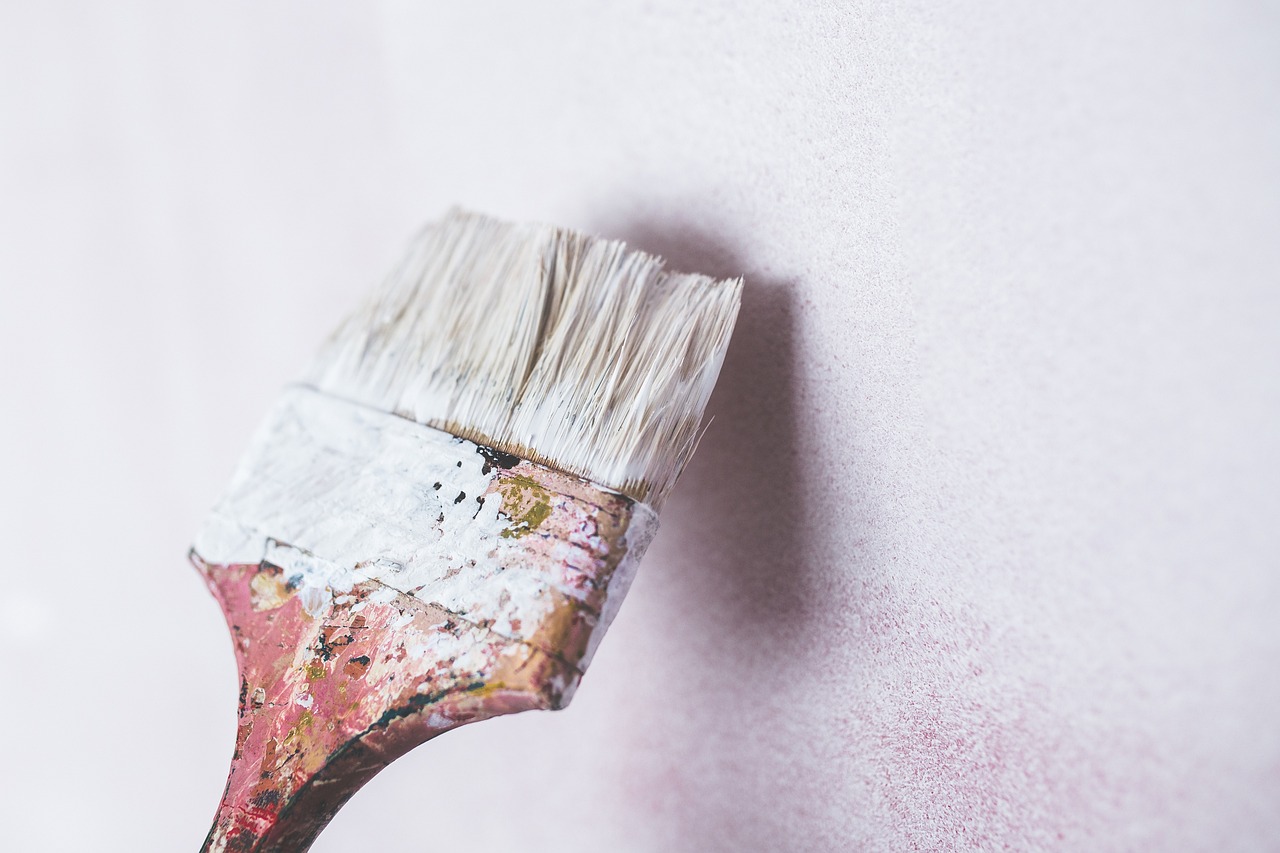
When it comes to painting, the is one of the most fundamental skills an artist can master. It’s like the foundation of a house; without it, everything else can feel shaky and unsteady. This technique involves applying a smooth, even layer of color across a surface, which can set the tone for your entire artwork. Imagine painting a sky or a background; the flat wash provides a solid base that allows other elements to pop and shine.
To achieve a successful flat wash, you need to consider a few key factors, such as the type of brush you use, the consistency of your paint, and your water control. A wide, flat brush is typically your best friend here, as it allows for more coverage with fewer strokes. It’s important to load your brush properly—think of it as filling a sponge with water. You want enough paint to cover the area, but not so much that it drips everywhere.
Here's a quick breakdown of the steps to create a flat wash:
- Prepare Your Surface: Make sure your canvas or paper is clean and ready to go. Any dirt or debris can affect the smoothness of your wash.
- Mix Your Paint: Achieve the desired color by mixing your paint with water. The right consistency is key; it should be fluid but not too watery.
- Load Your Brush: Dip your brush into the paint, ensuring it's evenly coated. Tap off any excess paint to avoid drips.
- Apply the Wash: Start at one edge and move your brush across the surface in a smooth, continuous stroke. Keep your hand steady and apply even pressure.
- Maintain Wet Edges: As you work, try to keep the edges of your wash wet to avoid hard lines. If you notice any dry spots, quickly revisit them with your brush.
Practice makes perfect with the flat wash technique. Don’t be discouraged if your first attempts aren’t flawless; think of it as learning to ride a bike. You might wobble at first, but with time, you’ll find your balance. Experiment with different colors and brush sizes to see how they affect your wash. The beauty of this technique is that it can be used in a variety of styles, from landscapes to abstract pieces.
In conclusion, mastering the flat wash technique opens up a world of possibilities for your art. It’s not just about laying down color; it’s about creating a harmonious backdrop that enhances your entire composition. So grab your brush, mix up some paint, and let your creativity flow!
Dry Brush Technique
The is a fantastic method that adds a layer of texture and depth to your artwork, making it stand out in a captivating way. Imagine painting with a brush that barely touches the canvas, allowing the underlying surface to peek through. This technique is not just about applying paint; it's about creating a visual dialogue between the brush and the canvas. To master this technique, you need to understand the balance between paint and brush pressure. When you use a brush that is relatively dry, you can create a variety of effects that range from subtle to bold.
To begin with, you'll want to choose a stiff-bristled brush, as it’s perfect for this technique. The stiffness helps in scraping the paint across the surface, which is essential for achieving that rugged texture. You can use a range of brushes, but fan brushes or flat brushes often yield the best results. The key is to load your brush lightly with paint—just enough to coat the bristles without saturating them. This will allow you to apply the paint in a way that reveals the texture of the canvas beneath.
When you start applying the paint, think about the direction of your strokes. You can create dramatic effects by varying the angle and pressure of your brush. For instance, dragging the brush lightly across the surface can produce a soft, feathery effect, while pressing down harder can create more pronounced lines. Experimenting with different angles and pressures will help you discover the unique voice of your brushwork.
One of the most exciting aspects of the dry brush technique is its versatility. You can use it for various styles, from realistic landscapes to abstract pieces. For example, if you're painting a landscape, you might use the dry brush technique to depict the rough texture of tree bark or the soft, wispy clouds in the sky. In abstract art, the technique can create dynamic patterns and textures that draw the viewer's eye.
Here's a simple step-by-step guide to get you started with the dry brush technique:
- Step 1: Choose your colors and prepare your palette.
- Step 2: Select a stiff-bristled brush and dip it lightly into the paint.
- Step 3: Wipe off excess paint on a paper towel or cloth.
- Step 4: Lightly drag the brush across the surface of your canvas, varying pressure as needed.
- Step 5: Continue layering until you achieve the desired texture and depth.
Remember, practice makes perfect! The more you experiment with the dry brush technique, the more comfortable you’ll become. Don't hesitate to try it out on different surfaces, as each canvas will respond uniquely. And most importantly, have fun with it! Art is all about exploration and expression.
Q: Can I use the dry brush technique with watercolor paint?
A: Yes! While the dry brush technique is commonly associated with acrylics and oils, it can also be applied to watercolor painting. Just ensure that your brush is relatively dry and that you’re working on a textured paper for the best results.
Q: What types of brushes work best for the dry brush technique?
A: Stiff-bristled brushes, such as flat or fan brushes, are ideal for the dry brush technique. They help create the desired texture without saturating the canvas with paint.
Q: How do I clean my brush after using the dry brush technique?
A: It’s important to clean your brush thoroughly after using it with the dry brush technique. Rinse it in water or appropriate solvent, depending on the type of paint used, and reshape the bristles before storing it.
Color Blending Techniques
When it comes to painting, color blending is like the secret sauce that takes your artwork from ordinary to extraordinary. Imagine standing in front of a beautiful sunset, where the colors merge seamlessly from fiery orange to soft lavender. That’s the magic of blending! Mastering this technique is essential for creating depth, dimension, and a sense of realism in your paintings.
There are several methods to achieve stunning color blends, and each has its own unique charm. Whether you're using a round brush for soft transitions or a flat brush for bold strokes, the right technique can elevate your work. Here are a few popular blending techniques that every aspiring artist should explore:
- Wet-on-Wet Blending: This technique involves applying wet paint onto wet paint. It’s perfect for creating soft edges and smooth transitions. Think of it as a dance between colors, where they mingle and create beautiful gradients.
- Dry Brushing: Contrary to its name, this technique uses a brush with minimal paint to create texture. It’s great for achieving a more rugged or textured look, adding character to your artwork.
- Glazing: This method involves applying a thin, transparent layer of paint over a dry layer. It’s a fantastic way to enrich colors and add depth without losing the underlying details.
To get started with blending, consider the following tips:
| Technique | Description | Best For |
|---|---|---|
| Wet-on-Wet | Applying wet paint on wet paint for soft edges. | Landscapes, skies, and portraits. |
| Dry Brushing | Using a dry brush to create texture. | Textured surfaces, fur, and foliage. |
| Glazing | Applying a transparent layer over dry paint. | Enhancing depth and richness in colors. |
Don't forget to practice! Grab your brushes and paint, and try these techniques on a scrap canvas before committing to your masterpiece. Remember, blending is not just about technique; it’s also about feeling. Allow your emotions to guide your brush as you mix colors, and you might just discover a new favorite method of expression.
As you experiment with color blending, keep in mind that every artist has their own style. What works for one may not work for another, so don't hesitate to modify these techniques to suit your personal approach. The key is to stay curious and keep pushing the boundaries of your creativity!
- What is the best brush for blending colors? A round brush is often favored for blending due to its versatility, but experiment with flat and filbert brushes as well!
- Can I blend colors with acrylic paint? Absolutely! Acrylics are great for blending, especially when used with the wet-on-wet technique.
- How do I clean my brushes after blending? Clean your brushes thoroughly with water and soap to prevent paint buildup, especially if you’re switching between colors.
Choosing the Right Paint
When it comes to painting, the choice of paint can make or break your artwork. Imagine trying to cook a gourmet meal without the right ingredients—it just wouldn't taste the same! Similarly, the type of paint you choose can dramatically influence your brushwork and the final look of your piece. In this section, we'll delve into the three most popular types of paint: oils, acrylics, and watercolors. Each of these paints has its own unique characteristics that interact differently with brushes, so understanding these differences is essential for any aspiring artist.
Oils are known for their rich, vibrant colors and slow drying times. This allows artists to work with the paint for extended periods, blending and layering colors to perfection. However, this also means that oil paints require a different approach to brushwork. Artists often use a variety of brushes to achieve different textures and effects, ranging from soft, rounded shapes to sharp, defined lines. One downside, though, is that oil paints can be challenging to clean up, requiring solvents like turpentine or mineral spirits.
On the other hand, acrylics are a favorite among many contemporary artists due to their versatility and quick drying time. They can mimic the look of oils when used thickly or can be thinned with water to create a watercolor-like effect. Acrylics allow for vibrant color application and can be used on a variety of surfaces, making them a great choice for mixed media projects. However, their fast drying time means that artists need to work quickly, which can sometimes lead to a more spontaneous style of painting.
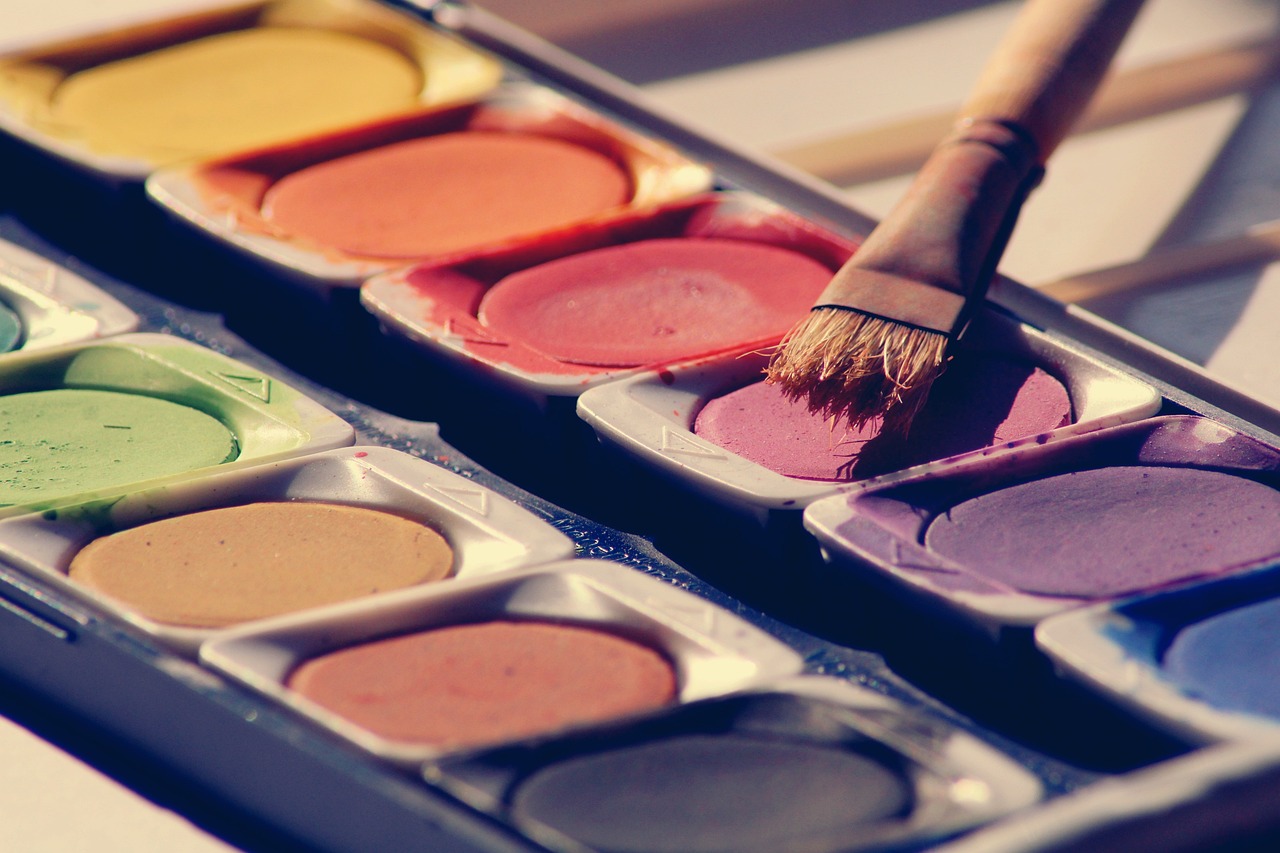
Then we have watercolors, which require a unique set of techniques and brush control. Watercolor paints are known for their transparency and fluidity, allowing artists to create soft washes and delicate details. The interaction between water and pigment is crucial, and understanding how to manipulate this can lead to stunning results. Using the right brushes, such as round or flat brushes designed specifically for watercolor, can help achieve those beautiful gradients and intricate details that make watercolor paintings so enchanting.
To summarize, here's a quick comparison of the three types of paint:
| Type of Paint | Drying Time | Texture | Cleanup |
|---|---|---|---|
| Oils | Slow | Rich and thick | Requires solvents |
| Acrylics | Fast | Versatile | Water-based |
| Watercolors | Varies (depends on water) | Transparent and fluid | Water-based |
Choosing the right paint is not just about preference; it’s about understanding how each type will affect your brushwork and the overall outcome of your artwork. As you experiment with different paints, pay attention to how they interact with your brushes and techniques. This exploration will not only enhance your skills but also deepen your appreciation for the art of painting.
- What is the best type of paint for beginners? Acrylics are often recommended for beginners due to their ease of use and quick drying time.
- Can I mix different types of paint? It's generally not advisable to mix different types of paint, as they may not adhere properly to each other.
- How do I choose the right brush for my paint? The brush type should complement the paint's characteristics; for example, use stiff bristles for oils and softer bristles for watercolors.
Oil vs. Acrylic
When it comes to choosing between oil and acrylic paints, the decision can feel a bit like standing at a crossroads, each path promising a unique journey. Both mediums have their own distinct characteristics that can significantly influence your brushwork and overall painting experience. Understanding these differences is crucial for any aspiring artist looking to refine their skills and express their creativity effectively.
First, let's dive into the world of oil paints. Known for their rich, vibrant colors and smooth texture, oil paints have been a favorite among artists for centuries. One of the most appealing aspects of oil paint is its long drying time. This allows artists to work at a leisurely pace, blending colors and making adjustments without the pressure of the paint drying too quickly. However, this can also be a double-edged sword; while it offers flexibility, it can lead to a longer wait before your masterpiece is complete. Additionally, oil paints require solvents for thinning and cleaning, which can be a drawback for some artists concerned about the fumes and environmental impact.
On the other hand, acrylic paints are the modern marvel of the art world. These fast-drying paints allow for quick layering and rapid completion of artworks, making them ideal for artists who thrive on spontaneity. Acrylics can mimic the appearance of oils when mixed with retarders, which slow down their drying time, but they still maintain a unique quality that many artists adore. One of the significant advantages of acrylics is that they are water-soluble when wet, making cleanup a breeze. This feature also allows for a variety of techniques, such as pouring and glazing, which can add exciting dimensions to your work.
To help you visualize the differences between these two mediums, here’s a quick comparison:
| Feature | Oil Paints | Acrylic Paints |
|---|---|---|
| Drying Time | Long (days to weeks) | Fast (minutes to hours) |
| Texture | Rich and buttery | Varies (can be thick or thin) |
| Clean-Up | Requires solvents | Water-based |
| Color Retention | Colors can darken as they dry | Colors remain vibrant |
| Flexibility | Excellent for blending | Great for layering and mixed media |
In conclusion, the choice between oil and acrylic paints ultimately boils down to your personal preferences and artistic goals. If you enjoy a slow, methodical approach to painting, perhaps oil paints are your best bet. But if you thrive on quick results and versatility, acrylics may be your medium of choice. Experimenting with both can be a rewarding experience, allowing you to discover which paint aligns with your artistic vision.
- Can I mix oil and acrylic paints? Mixing oil and acrylic paints is generally not recommended, as they have different bases and drying times. However, you can use them in layers, ensuring that the acrylic is dry before applying oil on top.
- Which medium is better for beginners? Acrylics are often recommended for beginners due to their ease of use, quick drying time, and simple cleanup.
- Do oil paints require special brushes? While you can use regular brushes, it's best to use brushes designed specifically for oil paints, which often have stiffer bristles to handle the thicker consistency.
- How do I store leftover acrylic paint? Leftover acrylic paint can be stored in airtight containers to prevent it from drying out. You can also cover palettes with plastic wrap when not in use.
Watercolor Techniques
Watercolor painting is a magical journey that requires a unique approach to brushwork. Unlike other mediums, watercolor demands a delicate balance between water and pigment, making brush control essential. One of the first techniques every aspiring watercolorist should master is the wash technique. This involves loading your brush with a mix of water and paint, allowing you to create broad strokes that can serve as a foundation for your artwork. The beauty of a wash lies in its ability to create soft gradients and smooth transitions, which can evoke emotions and set the mood of your piece.
Another crucial technique is wet-on-wet, where you apply wet paint onto a wet surface. This method allows colors to blend seamlessly, creating soft edges and beautiful blooms. Imagine pouring water on a dry sponge; the paint behaves similarly, spreading out and mixing with adjacent colors. The key here is timing—too much water can lead to chaos, while too little can cause harsh lines. It’s all about finding that sweet spot!
In contrast, the wet-on-dry technique involves painting wet paint onto a dry surface, which yields sharper edges and more defined shapes. This method is perfect for adding details and creating contrast in your artwork. Think of it as the difference between a gentle breeze and a gusty wind; both can be beautiful, but they serve different purposes in your artistic expression.
When working with watercolors, brush control is paramount. The size and shape of your brush can dramatically alter your stroke. For instance, a round brush is fantastic for creating fine lines and detailed work, while a flat brush is ideal for broad strokes and washes. Understanding how to manipulate your brush can lead to stunning effects. It’s like having a conversation with your canvas; your brush becomes an extension of your voice.
To help you navigate the world of watercolor techniques, here’s a quick overview of some popular methods:
| Technique | Description | Best For |
|---|---|---|
| Wash | Broad strokes of color created with a mix of water and paint. | Backgrounds and gradients. |
| Wet-on-Wet | Applying wet paint onto a wet surface for soft blending. | Soft edges and blending. |
| Wet-on-Dry | Painting wet paint onto a dry surface for sharp edges. | Details and contrast. |
Finally, don’t shy away from experimenting with layering. This technique involves applying multiple layers of color to build depth and richness in your painting. Start with lighter washes and gradually add darker tones, allowing each layer to dry before applying the next. It’s a bit like building a house; you need a strong foundation before you can add the beautiful details on top.
In summary, mastering watercolor techniques is all about practice and exploration. The more you experiment with different brushes, water levels, and techniques, the more you’ll discover your unique style. So grab your brushes, unleash your creativity, and let the watercolor flow!
- What is the best type of brush for watercolor painting? A round brush is versatile for various techniques, while flat brushes are great for washes.
- How do I prevent my colors from becoming muddy? Use clean water and avoid over-mixing colors on your palette.
- Can I use regular paper for watercolor? It’s best to use watercolor paper, which is designed to handle the water and pigment without warping.
Frequently Asked Questions
- What are the different types of brushes and their uses?
Brushes come in a variety of shapes and sizes, each designed for specific techniques. For example, flat brushes are great for broad strokes and washes, while round brushes excel at detail work and fine lines. Fan brushes can create texture, and filbert brushes are versatile for both blending and detailing. Understanding these differences can help you choose the right brush for your artistic needs.
- How can beginners master basic brush techniques?
Mastering basic brush techniques is all about practice and familiarity with your tools. Start with simple strokes like the flat wash, which involves applying a consistent layer of paint, or the dry brush technique, where you use a minimal amount of paint for texture. Regular practice will help you gain confidence and develop your unique style over time.
- What is the flat wash technique, and how can I achieve it?
The flat wash technique is all about applying a smooth, even layer of color across your canvas. To achieve this, use a large flat brush, load it with paint, and maintain a consistent water-to-paint ratio. Work quickly and in one direction to avoid streaks, and remember to keep your brush strokes even for the best results.
- How does the dry brush technique differ from other methods?
The dry brush technique is unique because it involves using a brush with very little paint, creating a textured, scratchy effect. This method is perfect for adding depth and interest to your artwork. It contrasts with techniques like the flat wash, where a smooth application is key. Experimenting with both can give your paintings a dynamic quality.
- What are the best practices for color blending?
Color blending is essential for creating depth in your artwork. To blend colors effectively, use a clean brush and work quickly while the paint is still wet. Overlap colors slightly to create a smooth transition. Different brushes can yield different blending effects, so don’t hesitate to experiment with various types to find what works best for you!
- How do different paint types affect brushwork?
The type of paint you choose can significantly influence your brushwork. For instance, oil paints take longer to dry, allowing for more blending time, while acrylics dry quickly, requiring faster techniques. Watercolors demand a unique approach since they rely heavily on water control. Understanding these differences can enhance your painting techniques and overall results.
- What are the key differences between oil and acrylic paints?
Oil paints are known for their rich colors and slow drying time, which allows for extensive blending and layering. In contrast, acrylic paints dry quickly and can be thinned with water, making them versatile and easy to clean. Depending on your preferred painting style, one may suit you better than the other, so it's worth trying both!
- What specific techniques should I use for watercolor painting?
Watercolor painting requires a different set of techniques, primarily focused on water control and brushwork. Techniques like wet-on-wet, where wet paint is applied to wet paper, and wet-on-dry, where wet paint is applied to dry paper, can create beautiful effects. Mastering these methods will enhance your watercolor skills and allow for more creativity in your work.


