Inspiring Winter Art Projects to Try This Season
Winter is a magical time of year, where the world transforms into a stunning white wonderland, inviting us to unleash our creativity. Whether you’re a seasoned artist or just looking for a fun way to pass the time, there are countless inspiring winter art projects to try this season. These projects not only celebrate the beauty of winter but also provide a fantastic opportunity for both children and adults to express themselves artistically. So grab your supplies, gather your loved ones, and let’s dive into the enchanting world of winter art!
One of the best ways to connect with the season is through nature-inspired crafts. The winter landscape is filled with unique materials just waiting to be transformed into beautiful creations. Imagine collecting pine cones, branches, and even dried leaves to craft stunning pieces that reflect the chill and charm of winter. For instance, you can create rustic centerpieces or ornaments by simply gluing pine cones together and adding a splash of glitter. This not only brings a piece of nature indoors but also fosters a deeper appreciation for the environment during the colder months.
Painting is a fantastic way to channel your inner artist, and winter offers a plethora of themes to explore. From serene snowy landscapes to vibrant frosty trees, there are so many ways to capture the essence of the season on canvas. Watercolor techniques are particularly effective for depicting winter scenes, as the fluidity of the paint mimics the softness of falling snow. You can experiment with various methods, such as the salt technique, where salt is sprinkled on wet watercolor to create unique textures that resemble snowflakes. This not only adds depth but also an element of surprise to your artwork.
When working with watercolors, layering colors is key to achieving a rich, vibrant winter scene. Start with a light wash and gradually build up darker shades to create depth and dimension in your painting. The beauty of watercolor is in its unpredictability—each brushstroke can lead to delightful surprises. Don’t be afraid to play around with color combinations; the icy blues and whites can blend beautifully to evoke the chill of winter.
Have you ever tried the salt technique in watercolor painting? It’s a fun and simple method that yields impressive results. By sprinkling salt onto your wet watercolor, you’ll notice the salt absorbs some of the paint, creating a fascinating texture that resembles the intricate patterns of snowflakes. This technique is perfect for adding a unique touch to your winter landscapes, making them truly one-of-a-kind.
Layering colors in watercolor is not just a technique; it's an art form! Start with lighter hues and gradually add darker tones to create shadows and highlights. This process enhances the visual impact of your artwork, making it more dynamic and captivating. Remember, the key is to be patient and allow each layer to dry before adding the next. This way, you can avoid muddying your colors and achieve that stunning winter scene you envision.
If you’re looking for something a bit bolder, acrylic painting is a fantastic medium to explore. The versatility and vibrancy of acrylics allow you to create striking winter landscapes that pop with color. You can easily blend colors and create textures that mimic the icy beauty of the season. Plus, acrylics dry quickly, so you can layer your work without waiting too long between coats. Imagine painting a sunset over a snowy field, where the warm colors contrast beautifully with the cool whites and blues of winter.
Why not bring the beauty of winter into your home with some DIY decorations? Crafting your own winter-themed decor can be incredibly rewarding and is a great way to add a personal touch to your space. For instance, consider making snowflake ornaments using paper, glitter, or even fabric. These delicate creations can be hung around the house or on a winter tree, adding a festive flair to your environment. Additionally, creating winter wreaths with evergreen branches and seasonal elements can enhance your front door, welcoming guests with the spirit of the season.
Crafting snowflake ornaments is a delightful project that can engage the whole family. You can cut out intricate designs from paper, decorate them with glitter, or even sew them using fabric. The best part? Each snowflake is unique, just like the real ones falling outside your window!
Making winter wreaths is another fantastic way to celebrate the season. Gather evergreen branches, berries, and other seasonal elements to create a beautiful wreath that can hang on your front door or above your mantel. Not only does it look stunning, but it also brings a touch of nature indoors, reminding us of the beauty that winter holds.
For those who love capturing moments, winter photography projects are a wonderful way to explore the season through your lens. Whether it’s the glistening snow covering the landscape or the delicate frost on tree branches, there’s so much beauty to capture. Focus on composition, lighting, and timing to create stunning images that truly reflect the essence of winter.
When photographing snowy landscapes, consider the time of day. Early morning or late afternoon light can create beautiful shadows and highlights, enhancing the visual appeal of your photos. Pay attention to your composition—leading lines, framing, and the rule of thirds can help guide the viewer’s eye and create a more engaging image.
Winter is also a great time for wildlife photography. Animals adapt to the colder months in fascinating ways, and capturing them in their natural habitats can lead to breathtaking photos. Patience is key here; understanding animal behavior will help you anticipate their movements and get that perfect shot. So bundle up, grab your camera, and venture into the winter wilderness!
Q: What materials do I need for winter art projects?
A: Common materials include paper, acrylic or watercolor paints, natural items like pine cones and branches, and crafting supplies like glue and glitter.
Q: Can children participate in these winter art projects?
A: Absolutely! Many of these projects are family-friendly and can be adapted for children of all ages, making them a great way to spend time together.
Q: How can I display my winter artwork?
A: You can frame your paintings, hang your ornaments on a winter tree, or use your crafts as centerpieces to showcase your creativity throughout the season.
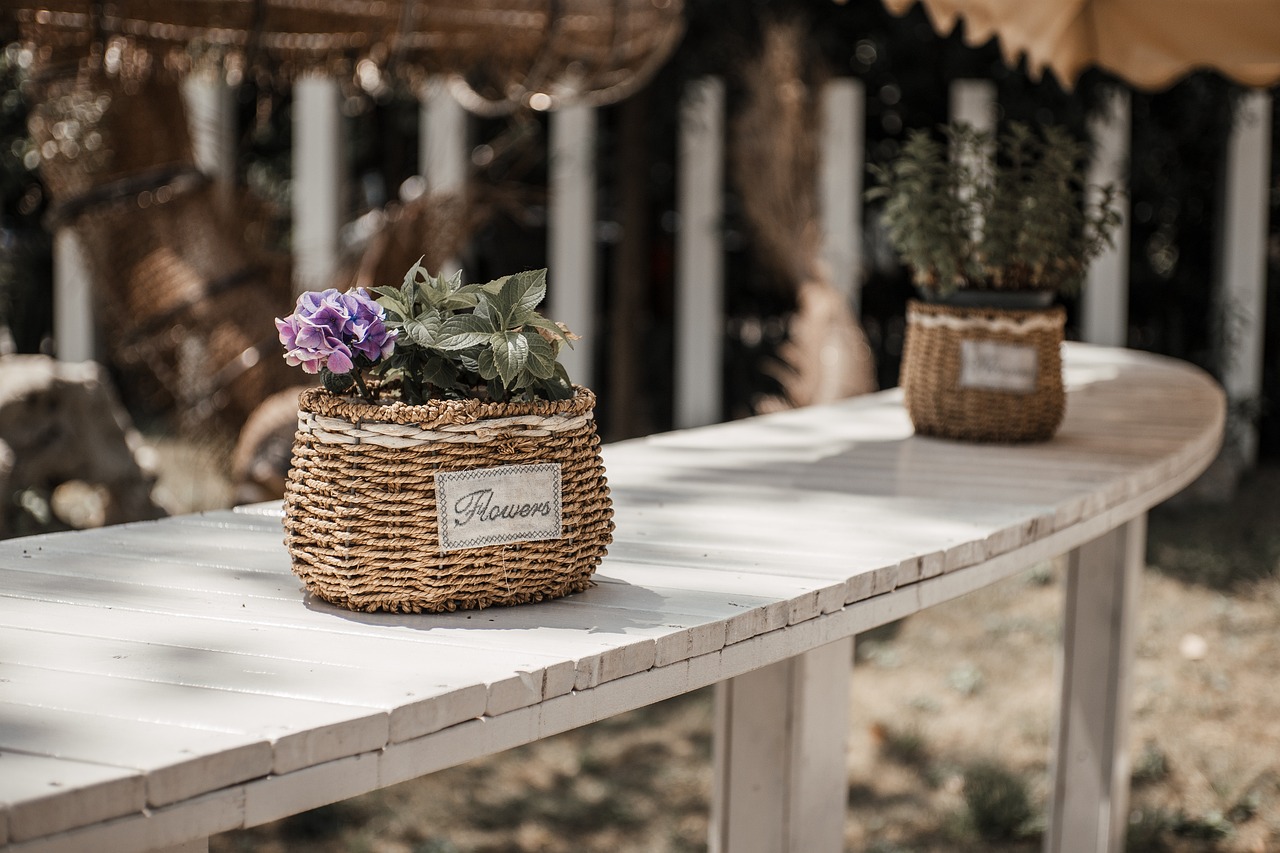
Nature-Inspired Winter Crafts
Winter is a magical time of year, where the world transforms into a serene wonderland blanketed in snow. This season invites us to embrace our creativity by utilizing the natural materials that surround us. Crafting with items like pine cones, branches, and leaves not only celebrates the beauty of winter but also fosters a deeper connection with nature. Imagine walking through a snowy forest, collecting these treasures, and then bringing them home to create something truly special. It's not just about the end product; it's about the experience and the memories made along the way.
One of the simplest yet most rewarding projects involves using pine cones. These natural wonders can be transformed into festive decorations or unique gifts. For instance, you can paint them in vibrant colors or sprinkle them with glitter to create eye-catching ornaments. Not only do they look beautiful hanging on a tree, but they also add a rustic touch to your home decor. Plus, they are incredibly easy to make! All you need are some pine cones, paint, and a little imagination. As you work, you might find yourself reminiscing about childhood adventures spent in the woods, making the crafting process even more enjoyable.
Another fantastic project is creating winter-themed centerpieces using branches. Simply gather a few sturdy branches from your yard or a nearby park, and arrange them in a vase. You can enhance the look by wrapping them with fairy lights or adding some artificial snow for that extra wintery feel. The beauty of this project lies in its simplicity and versatility; you can change the decorations with each season, keeping your home fresh and inviting all year round.
Additionally, don't overlook the beauty of leaves. Even in winter, you can find unique shapes and colors that can be used for various crafts. For example, you can press leaves between sheets of wax paper to create beautiful bookmarks or decorative pieces. This process not only preserves the leaves but also allows you to appreciate their intricate designs. You could even host a crafting session with friends or family, sharing stories while creating something beautiful together. This is a wonderful way to bond and make lasting memories.
To inspire you further, here are some additional ideas for nature-inspired winter crafts:
- Nature Collages: Collect various natural elements like twigs, dried flowers, and leaves, and create stunning collages that reflect the beauty of winter.
- Bird Feeders: Use pine cones, peanut butter, and birdseed to create homemade bird feeders that will attract winter birds to your yard.
- Winter Terrariums: Create a miniature winter scene using small branches, stones, and even artificial snow inside a glass container.
These projects not only serve as a creative outlet but also promote sustainability by utilizing items that might otherwise be discarded. So, gather your supplies, invite your loved ones, and let the beauty of winter inspire your next crafting adventure!
Q: What materials do I need for nature-inspired winter crafts?
A: Basic materials include pine cones, branches, leaves, glue, scissors, and decorative items like paint and glitter. You can also incorporate other natural elements based on what you find.
Q: Can I do these crafts with children?
A: Absolutely! These projects are perfect for children. Just make sure to supervise them, especially when using scissors or paint.
Q: Where can I find materials for these crafts?
A: You can find materials in your backyard, local parks, or craft stores. Nature walks are a great way to gather supplies while enjoying the outdoors!
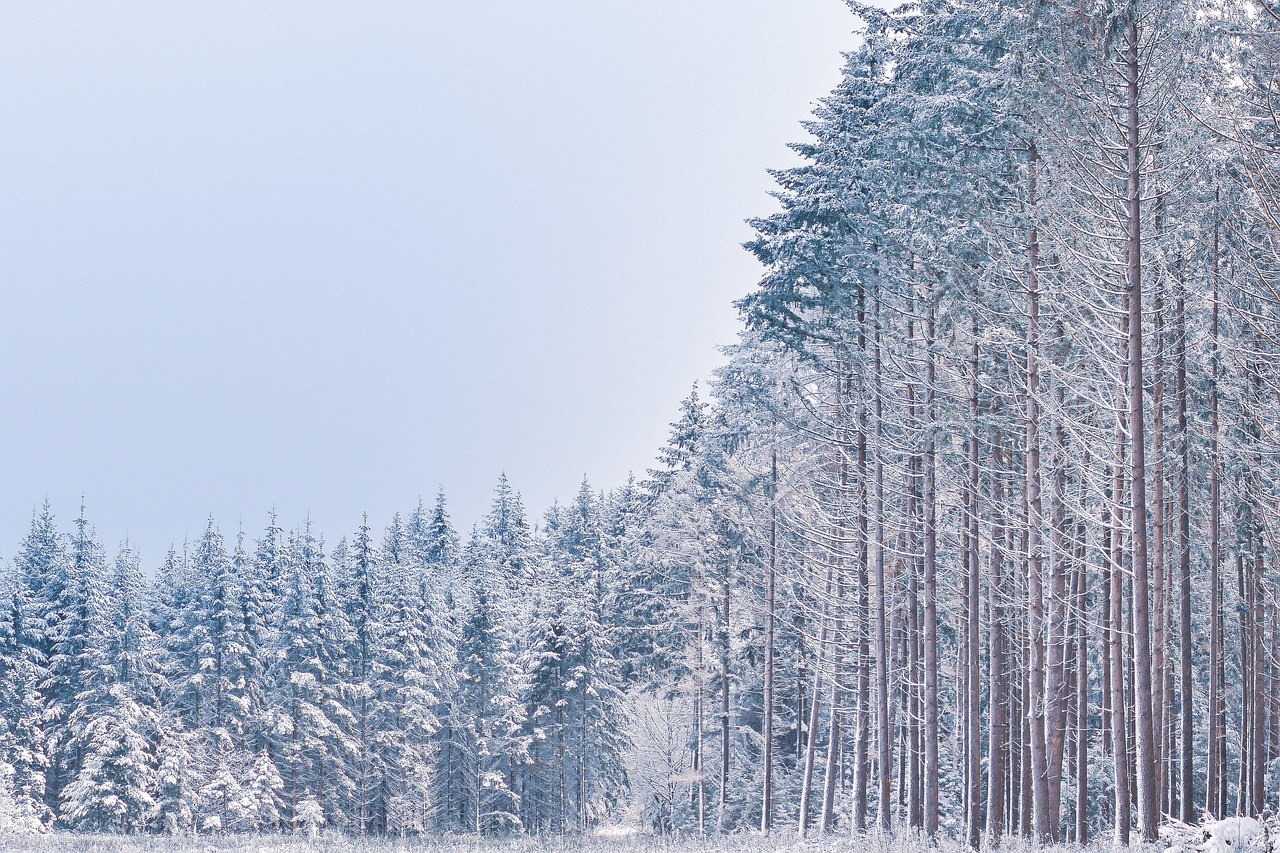
Winter-Themed Painting Ideas
Winter is a magical time of year, and what better way to capture its beauty than through painting? Whether you're a seasoned artist or a curious beginner, winter-themed painting ideas can ignite your creativity and inspire you to create stunning pieces that reflect the season's charm. From tranquil snowy landscapes to the intricate details of frost-covered branches, the possibilities are endless. Let’s dive into some exciting painting techniques that will help you portray the essence of winter in your artwork.
Watercolors are perfect for depicting winter scenes due to their fluid nature and ability to blend seamlessly. The soft washes of color can mimic the gentle fall of snow or the delicate frost on a window. Here are some techniques to consider:
- Wet-on-Wet Technique: This involves applying wet paint onto a wet surface, allowing colors to bleed into each other, creating soft edges that resemble the smoothness of snow.
- Dry Brush Technique: For a more textured look, use a dry brush to apply paint. This technique can create the appearance of rough bark on trees or the intricate patterns of frost.
Experimenting with these techniques can help you find your unique style while capturing the serene beauty of winter.
One of the most fascinating methods in watercolor painting is the salt technique. By sprinkling salt onto wet watercolor paint, you can create stunning textures that mimic snowflakes or icy surfaces. As the salt absorbs the moisture, it leaves behind beautiful, random patterns that add depth and interest to your artwork. To try this technique, follow these simple steps:
- Begin by painting your winter scene with wet watercolor.
- While the paint is still wet, sprinkle salt over the desired areas.
- Allow the painting to dry completely before brushing off the salt to reveal intricate textures.
This technique not only enhances the visual appeal of your artwork but also adds an element of surprise, making your winter scenes stand out.
Layering colors is crucial when it comes to creating rich, vibrant winter landscapes. By building up layers of paint, you can achieve depth and complexity that truly brings your painting to life. Start with lighter shades for the background and gradually add darker tones to create shadows and details. This method allows you to capture the nuances of light reflecting off snow or the intricate shadows cast by trees. Remember, patience is key; let each layer dry before adding the next to avoid muddiness in your colors.
If you prefer a more vibrant and versatile medium, acrylic painting is a fantastic choice for winter landscapes. Acrylics dry quickly and can be easily manipulated, allowing you to create bold strokes and vivid colors. You can experiment with techniques like palette knife painting to add texture or glazing to enhance luminosity in your winter scenes. The versatility of acrylics means you can create everything from a soft, ethereal winter morning to a dramatic, snow-laden forest.
To get started with acrylics, consider setting up a winter scene outside or using a reference photo. Pay attention to the play of light and shadow, and don’t be afraid to mix colors to capture the unique shades of winter. The key is to have fun and let your creativity flow!
Q: What materials do I need for winter-themed painting?
A: Basic materials include watercolor or acrylic paints, brushes, watercolor paper or canvas, and optional items like salt for texture or palette knives for acrylics.
Q: Can beginners try these techniques?
A: Absolutely! These techniques are suitable for all skill levels. Just remember to practice and enjoy the process.
Q: How can I display my winter paintings?
A: You can frame your artwork, create a gallery wall, or even gift your paintings to friends and family to spread the winter cheer!
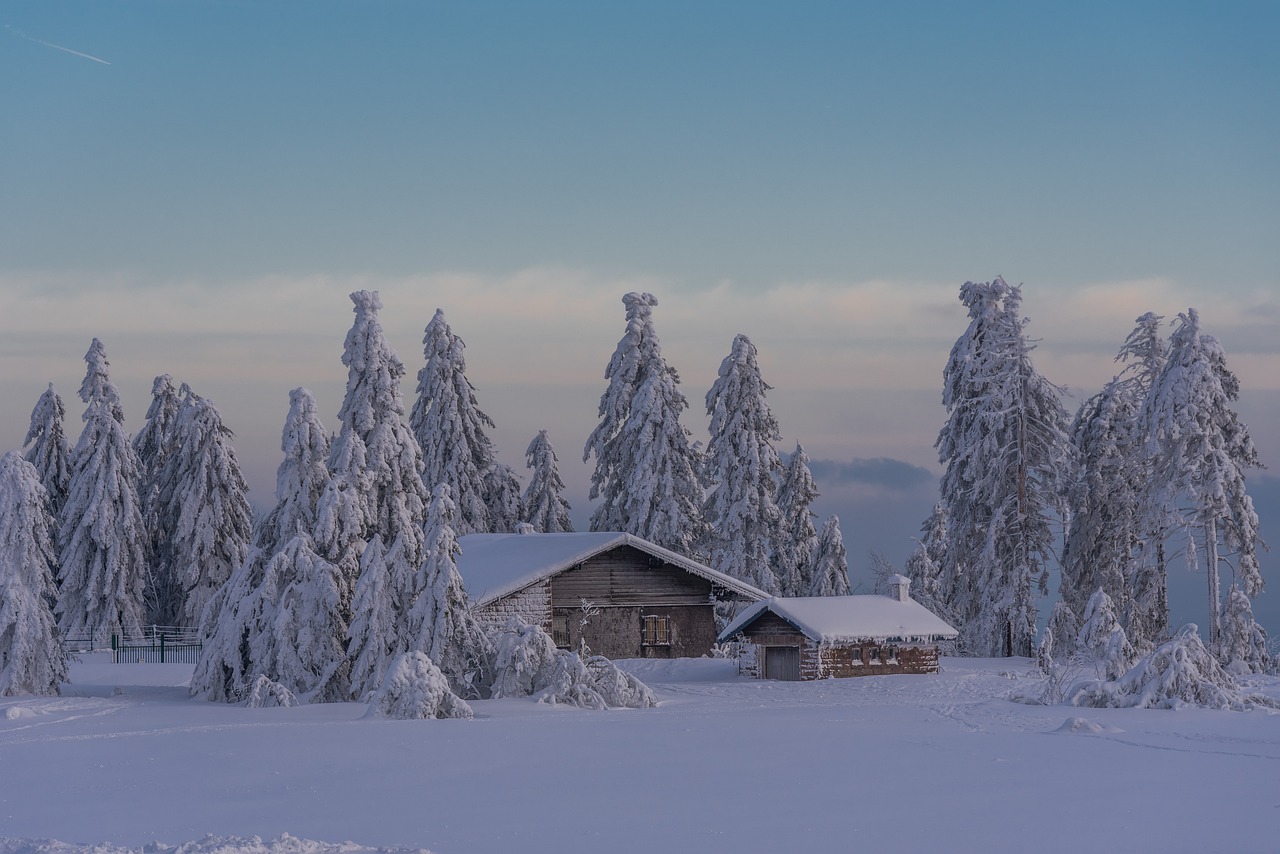
Watercolor Techniques
Watercolor painting is a delightful way to express the ethereal beauty of winter. The fluidity of watercolors allows artists to create soft, dreamy landscapes that capture the essence of the season. Imagine a serene snowy evening, where the world is blanketed in white, and the colors are muted yet vibrant. This is where watercolor shines! By mastering several techniques, you can transform a simple piece of paper into a breathtaking winter scene.
One of the most captivating aspects of watercolor is its ability to blend colors seamlessly. When painting winter landscapes, consider using a technique known as wet-on-wet. This involves applying wet paint onto a wet surface, allowing the colors to merge and flow together. The result? Soft edges that mimic the gentle curves of snow drifts. It's like watching a winter storm unfold on your canvas!
Another essential technique is dry brushing. This method involves using a brush with very little water and paint, which creates a textured effect. It’s perfect for capturing the intricate details of frosty branches or the rough texture of a snow-covered path. You can think of it as adding the final touches to a beautiful winter picture, much like dusting off the last bit of snow from your favorite winter coat.
Don't forget about the salt technique, which adds a unique twist to your winter paintings. By sprinkling salt onto wet watercolor, you create interesting textures that resemble snowflakes or icy surfaces. As the salt absorbs the water, it leaves behind beautiful patterns, adding depth and intrigue to your artwork. It's like a surprise gift that nature gives you through your brush!
Layering colors is also crucial in watercolor painting. Start with light washes and gradually build up to darker tones. This technique not only enhances the visual impact of your artwork but also creates a sense of depth, allowing your winter scene to come alive. Imagine painting a sunset over a snowy landscape; the layers of color can evoke feelings of warmth amidst the cold, reminding us that beauty exists even in the chill of winter.
To help you visualize these techniques, here’s a quick comparison of their characteristics:
| Technique | Description | Best For |
|---|---|---|
| Wet-on-Wet | Applying wet paint on a wet surface for soft blending | Creating dreamy backgrounds |
| Dry Brushing | Using a dry brush for textured effects | Details like frosty branches |
| Salt Technique | Sprinkling salt on wet paint for unique textures | Snowflakes and icy surfaces |
| Layering Colors | Building up colors for depth and richness | Creating vibrant scenes |
By exploring these watercolor techniques, you can unleash your creativity and depict the stunning beauty of winter. So grab your brushes, mix your colors, and let the magic of winter inspire your next masterpiece!
Q: What materials do I need for watercolor painting?
A: You'll need watercolor paints, brushes, watercolor paper, and a palette for mixing colors. Optional items include salt for texture and masking fluid to preserve white areas.
Q: Can beginners try watercolor painting?
A: Absolutely! Watercolor painting is accessible for all skill levels. Start with simple techniques and gradually challenge yourself with more complex projects.
Q: How can I fix mistakes in watercolor painting?
A: While watercolors are tricky to correct, you can use techniques like lifting (using a damp brush to lift color) or layering to cover mistakes. Practice makes perfect!
Salt Technique
The in watercolor painting is a delightful method that can transform your winter artwork into a magical scene filled with texture and depth. Imagine sprinkling a little bit of salt on your wet paint and watching as it interacts with the pigments, creating unique patterns that resemble the delicate beauty of snowflakes or the shimmering effect of icy surfaces. This technique is not only simple to execute but also incredibly rewarding, making it perfect for artists of all ages.
To begin, you'll want to gather your materials. All you need is watercolor paper, watercolors, a brush, and, of course, some salt. The process is straightforward: first, create your winter scene with your watercolors, ensuring the paint is still wet when you apply the salt. As the salt absorbs the water, it will pull the pigment outwards, resulting in beautiful, organic shapes that mimic the essence of winter.
Here’s a quick breakdown of the steps:
- Prepare your workspace: Make sure you have all your materials ready and your workspace is protected from spills.
- Create your base: Paint your winter scene using your chosen colors, focusing on soft blues, whites, and grays to evoke a chilly atmosphere.
- Sprinkle the salt: While the paint is still wet, gently sprinkle salt over the areas where you want to create texture.
- Let it dry: Allow the painting to dry completely. As it dries, the salt will work its magic, creating stunning effects.
Once your painting is dry, you can gently brush off the salt to reveal the intricate textures beneath. The results can be breathtaking, with patterns that look like they were crafted by nature itself. This technique is particularly effective for creating backgrounds or adding special effects to focal points in your winter landscapes.
Incorporating the salt technique into your winter art projects not only enhances your creativity but also allows you to explore the fascinating interplay between materials. It’s a reminder that art can be spontaneous and surprising, just like winter itself. So, gather your paints and salt, and let your imagination run wild!
Q: Can I use table salt for this technique?
A: Yes, regular table salt works perfectly for this technique! Just make sure to sprinkle it lightly over the wet paint.
Q: Is it necessary to use watercolor paper?
A: While watercolor paper is recommended due to its ability to absorb water without warping, you can experiment with other types of paper. Just be aware that the results may vary.
Q: How long should I let the painting dry?
A: Allow your painting to dry completely, which can take anywhere from a few hours to overnight, depending on the amount of water used.
Q: Can I use this technique with other mediums?
A: The salt technique is primarily used with watercolors, but you can experiment with other wet mediums to see how they react with salt.
Layering Colors
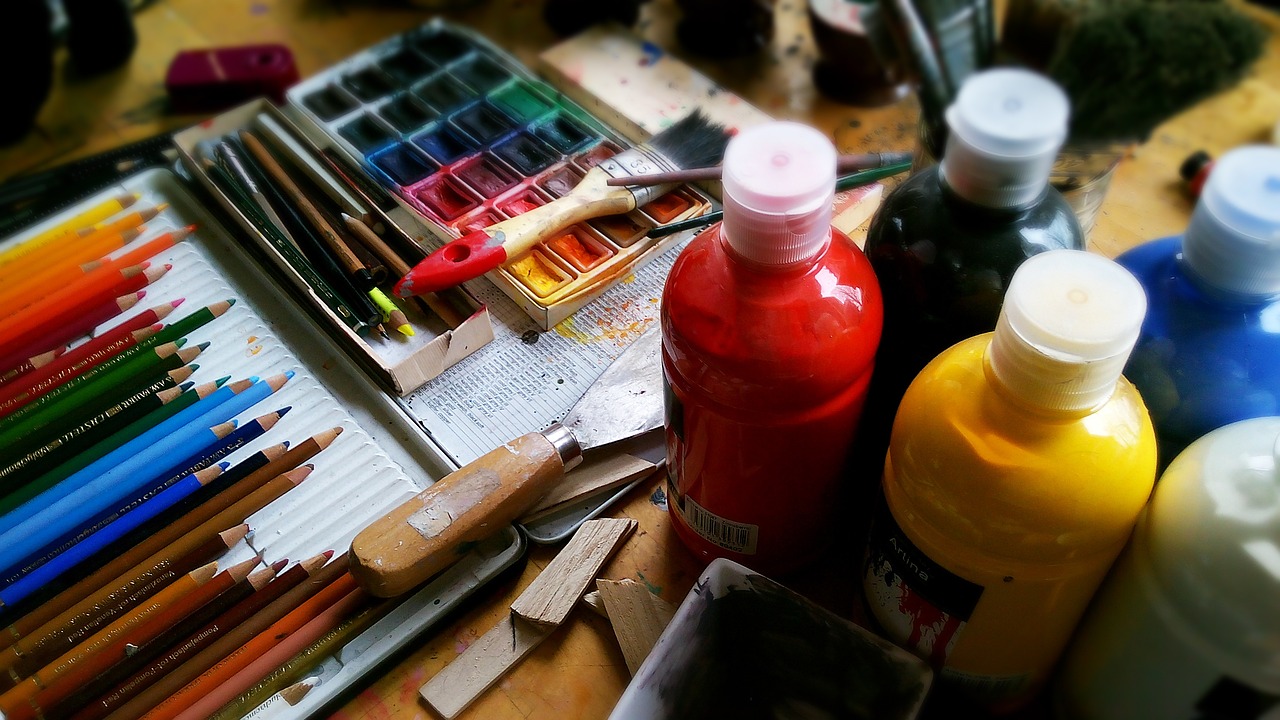
When it comes to painting winter scenes, is an essential technique that can elevate your artwork from ordinary to extraordinary. Imagine building a snowman; you start with a solid base and gradually add layers to create something beautiful. That’s exactly what layering colors in watercolor is all about. It allows you to create depth and richness in your paintings, capturing the subtle nuances of winter light and shadow.
To begin, you’ll want to start with a light wash as your foundation. This first layer sets the tone for your entire piece, much like the soft, pale light of a winter morning. Once this layer has dried, you can begin to add additional colors. Think of each layer as a new snowfall, each one adding more texture and complexity to your scene. For example, you might start with a light blue wash for the sky, and then layer on darker blues and purples to create the illusion of depth and atmosphere.
It's important to remember that patience is key in this process. Allow each layer to dry completely before applying the next. This not only prevents the colors from muddying together but also allows you to see how the colors interact with one another. You might find that a color you thought was too bold actually complements the previous layers beautifully, much like how vibrant berries stand out against a blanket of snow.
Another fantastic tip is to use a limited color palette. By sticking to a few colors, you can create a harmonious look that feels cohesive. This approach can help prevent your artwork from feeling chaotic or overwhelming. For instance, if you're painting a snowy landscape, consider using various shades of blue, white, and a touch of gray to convey the chill of the season. Remember, less can often be more!
Moreover, don’t shy away from experimenting with different techniques while layering. You might try wet-on-wet for a dreamy background or wet-on-dry for sharper details. Each technique can add a unique flair to your winter scene. Just like a snowflake, no two paintings will ever be the same, and that’s what makes this process so exciting!
To summarize, layering colors is not just a technique; it’s an art form that allows you to express the beauty of winter in your own unique way. So grab your brushes and let your creativity flow, and remember, the magic of winter is just a few layers away!
- What materials do I need for layering colors in watercolor? You'll need watercolor paints, brushes, watercolor paper, and water. Optional materials include masking fluid and salt for added effects.
- How do I know when to stop layering? A good rule of thumb is to step back and look at your work from a distance. If it feels balanced and visually interesting, you might be done!
- Can I use layering techniques with other mediums? Absolutely! While this article focuses on watercolor, layering can be applied in acrylics, oils, and even mixed media.
Acrylic Winter Landscapes
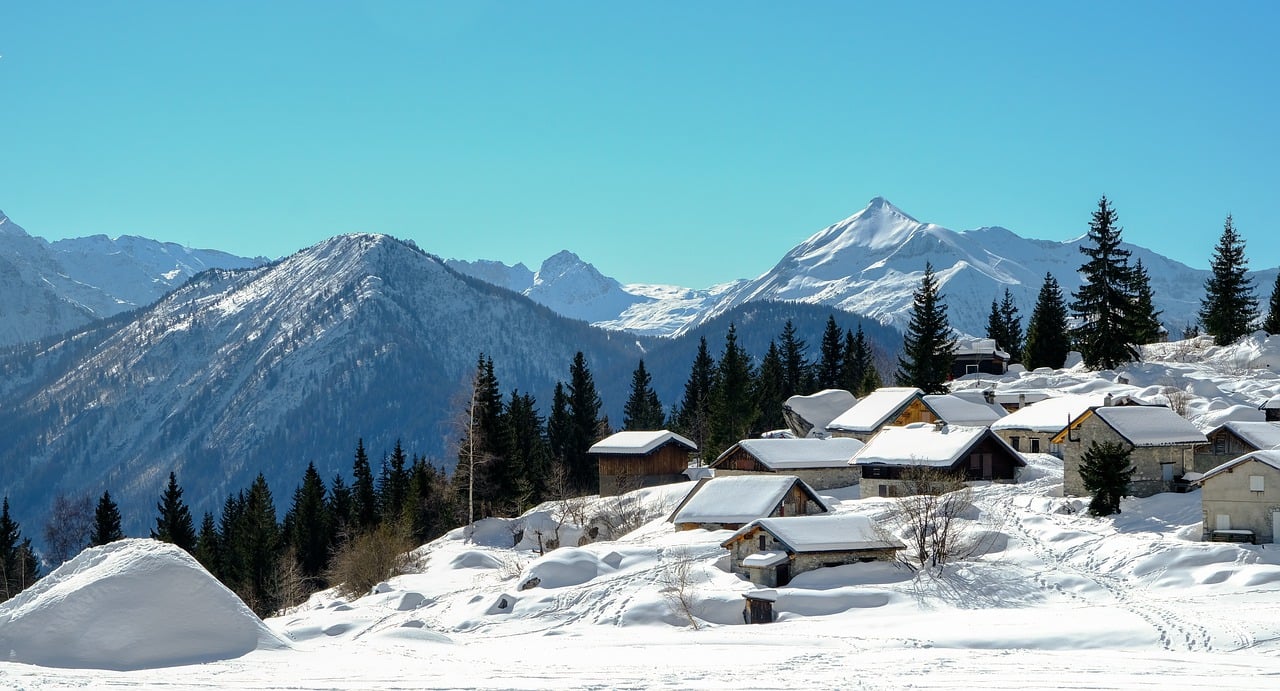
When it comes to capturing the breathtaking beauty of winter, acrylic painting stands out as a versatile medium that can bring your artistic visions to life. Imagine the vibrant blues and whites swirling together on your canvas, creating a scene that feels as if you could step right into it. Acrylics dry quickly, allowing for rapid layering and adjustments, making them perfect for those spontaneous bursts of inspiration that often come during the chilly months. The best part? You don’t need to be a professional artist to create stunning winter landscapes; you just need a little guidance and a splash of creativity!
To start your acrylic winter landscape, consider the following essential elements that can elevate your artwork:
- Color Palette: Choose a color palette that reflects the winter season. Think cool hues like icy blues, soft whites, and deep purples, mixed with warm accents of burnt sienna or golden yellow to represent the sun peeking through the clouds.
- Texture: Acrylics can be manipulated to create various textures. Use a palette knife for rough, snowy surfaces or a soft brush for smooth, frosty skies. Experimenting with these techniques can add depth and interest to your painting.
- Composition: Plan your composition carefully. Consider the rule of thirds to create a balanced and engaging scene. Perhaps a winding path leading through a snow-covered forest or a cozy cabin nestled among the trees can serve as the focal point of your artwork.
Once you have your materials ready, it's time to dive into the painting process. Start with a base layer—a wash of light blue or gray can set the tone for a winter sky. As you build upon this foundation, layer darker shades to create depth in the trees and ground. Don’t forget to leave some areas white to represent untouched snow! This contrast will make your painting pop.
One technique that many artists find helpful is to work from the background to the foreground. This approach allows you to establish the overall atmosphere of the landscape before adding intricate details. As you progress, consider incorporating elements like frosted branches or distant mountains. These details can transform a simple painting into a captivating winter scene that tells a story.
As you paint, remember to embrace the process. Acrylic painting can be forgiving—if you make a mistake, simply paint over it! This flexibility encourages experimentation, so don’t hesitate to try bold strokes or unconventional colors. After all, art is about expression and finding your unique voice.
Once your masterpiece is complete, take a moment to step back and appreciate your work. You might even want to share it with friends or family to spread the winter cheer! Whether you hang it in your living room or give it as a gift, your acrylic winter landscape will surely bring warmth and joy during the cold months.
Q: What materials do I need to start painting winter landscapes with acrylics?
A: You will need acrylic paints, brushes of various sizes, a palette for mixing colors, a canvas or acrylic paper, and water for cleaning your brushes. Optional items include a palette knife for texture and a spray bottle to keep your paints moist.
Q: How do I choose the right colors for a winter landscape?
A: Focus on cool colors like blues and whites for snow and ice, and consider adding warm tones for contrast. Look at reference photos for inspiration, and don’t be afraid to mix colors to find the perfect shades!
Q: Can I paint winter landscapes if I’m a beginner?
A: Absolutely! Acrylics are great for beginners due to their ease of use and quick drying time. Start with simple scenes and gradually explore more complex compositions as you gain confidence.
DIY Winter Decorations
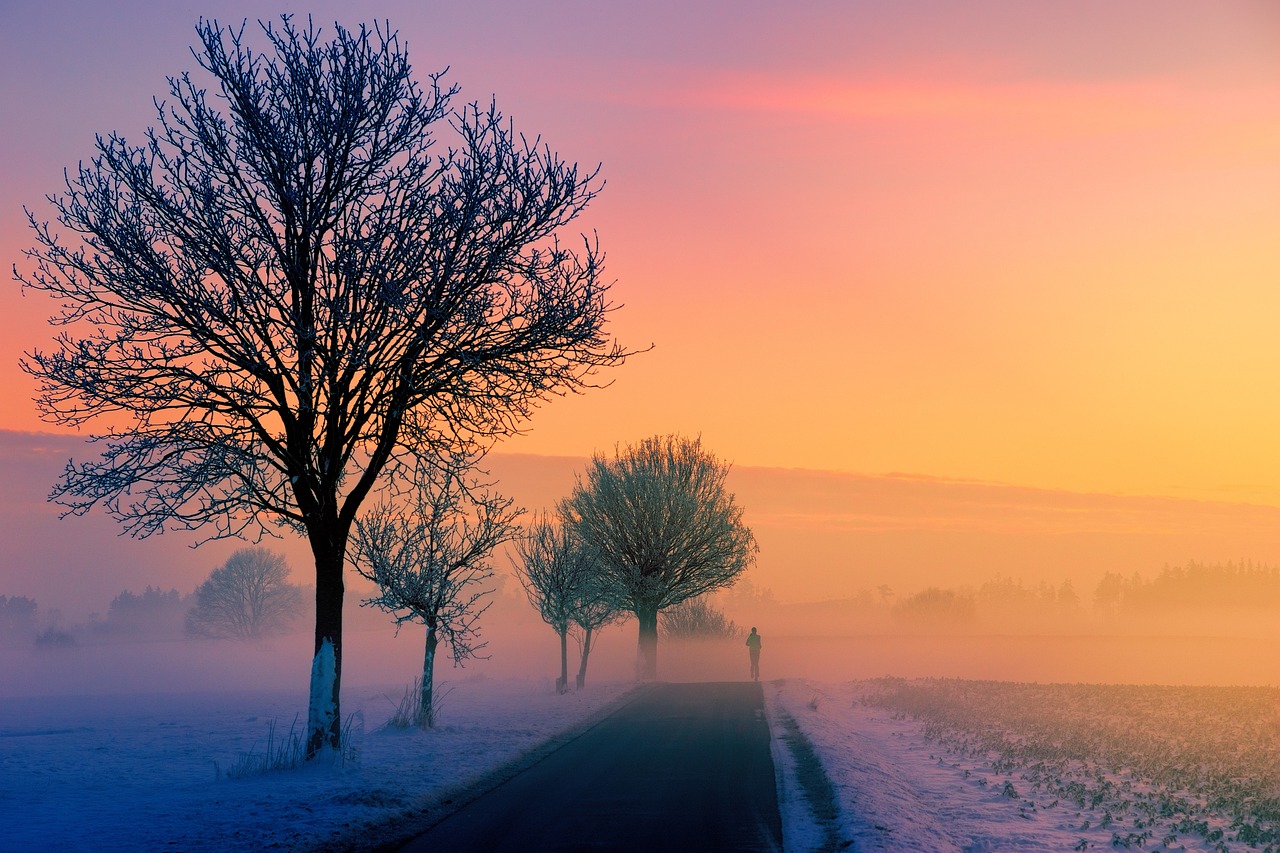
Winter is a magical time of year, and what better way to celebrate this season than by creating your own DIY winter decorations? These projects not only provide a fun way to express your creativity but also help to bring a cozy, festive atmosphere into your home. Imagine walking into a space adorned with beautiful, handcrafted decorations that remind you of the serene beauty of winter. Let’s dive into some exciting ideas that will inspire you to get crafty!
One of the most delightful DIY projects you can undertake is making snowflake ornaments. These delicate creations can be fashioned from various materials such as paper, glitter, or even fabric. The beauty of snowflakes lies in their uniqueness; no two are alike! You can hang these ornaments around your home, on your winter tree, or even create a stunning mobile to grace your living space. To make them, simply cut out snowflake shapes, decorate them with glitter or paint, and hang them with a string or ribbon. It’s a simple yet effective way to add a touch of winter charm to your decor.
Another fantastic DIY project is crafting winter wreaths. Picture a beautiful wreath made from evergreen branches, vibrant berries, and other seasonal elements. Not only do these wreaths look stunning on your front door, but they also invite the spirit of winter into your home. To create your own winter wreath, gather materials such as pine branches, holly leaves, and decorative accents like pinecones or dried oranges. Use a wire frame as your base and attach the materials with floral wire or hot glue. The result will be a breathtaking wreath that showcases the beauty of winter and welcomes guests with open arms.
For those looking to incorporate a bit of sparkle, consider adding DIY candle holders to your winter decorations. You can transform ordinary glass jars into enchanting candle holders by wrapping them with twine, adding some faux snow, or even painting them with frosty designs. When lit, these candles create a warm, inviting glow that perfectly complements the chilly winter nights.
Moreover, don’t forget about the power of natural elements in your decorations. You can collect pine cones, branches, and even dried flowers to create beautiful centerpieces or table decorations. Arranging these items in a rustic wooden bowl or glass vase can bring a touch of nature indoors, making your space feel fresh and alive. The earthy tones of these materials contrast beautifully with the whites and blues of winter, creating a visually appealing balance.
To help you get started, here’s a simple table outlining some essential materials you might need for these DIY winter decoration projects:
| Decoration Type | Materials Needed |
|---|---|
| Snowflake Ornaments | Paper, glitter, scissors, string |
| Winter Wreaths | Evergreen branches, berries, wire frame, floral wire |
| Candle Holders | Glass jars, twine, paint, candles |
| Natural Centerpieces | Pine cones, branches, vase, dried flowers |
These DIY winter decorations not only enhance your home’s aesthetic but also provide a wonderful opportunity to bond with family and friends. Gather your loved ones, put on some festive music, and let the creativity flow! Each project is a chance to make lasting memories while celebrating the beauty of the winter season.
Q: What materials are best for making snowflake ornaments?
A: You can use paper, glitter, fabric, or even popsicle sticks to create beautiful snowflake ornaments. The key is to let your creativity shine!
Q: How can I make my winter wreath last longer?
A: To prolong the life of your winter wreath, consider using preserved or dried materials, and keep it away from direct sunlight to prevent fading.
Q: Are there any tips for photographing my DIY winter decorations?
A: Natural light works best for photography. Try to shoot during the day when the light is bright but soft. Use a simple background to make your decorations stand out!
Snowflake Ornaments
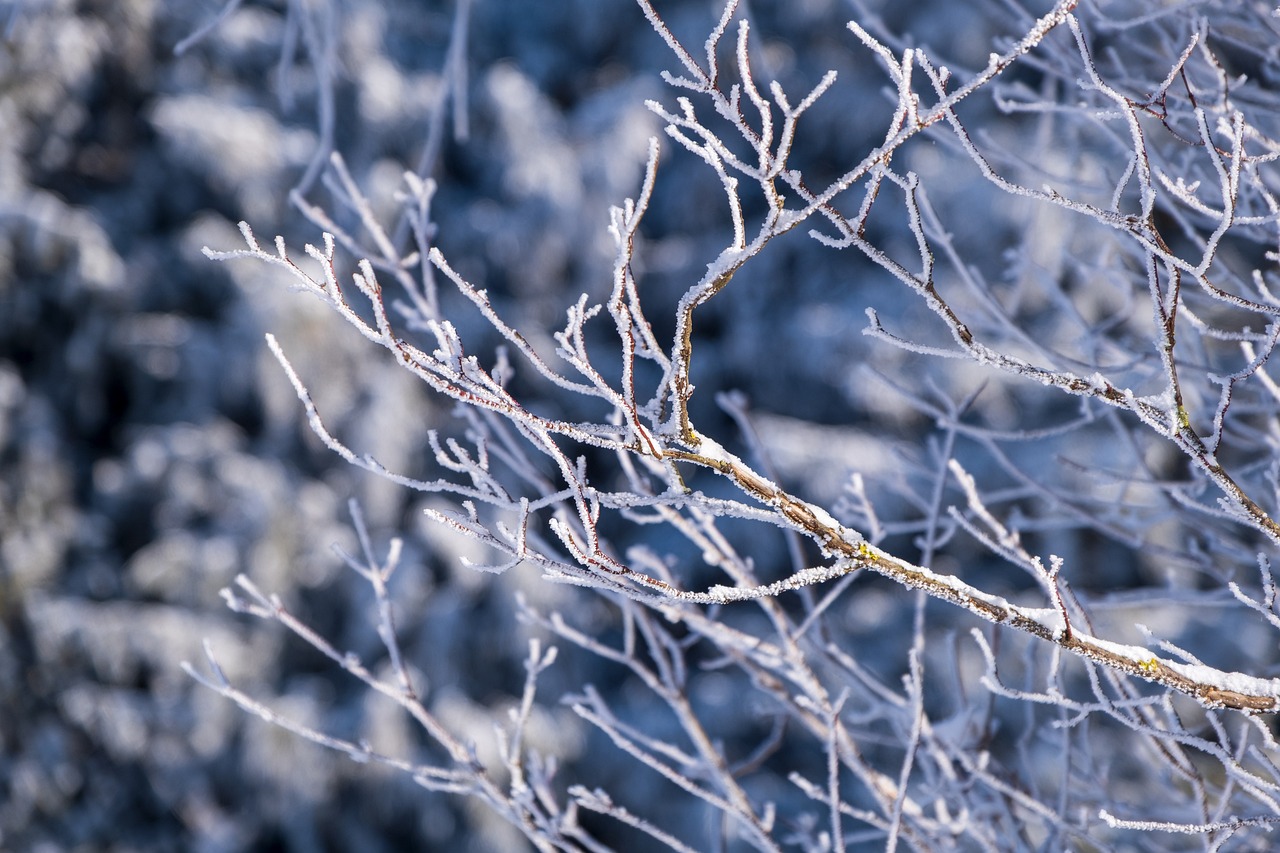
Creating is a delightful way to bring the charm of winter into your home. These delicate decorations can add a touch of magic to any space, whether you hang them on your tree, in the window, or around the house. The beauty of snowflake ornaments lies in their intricate designs, which can be crafted from a variety of materials, allowing for endless creativity and personalization.
One of the simplest ways to make snowflake ornaments is by using paper. All you need is some white or colored paper, scissors, and perhaps a sprinkle of glitter for that extra sparkle. Start by folding your paper into quarters or eighths, depending on how intricate you want your snowflake to be. Then, cut out different shapes along the edges. When you unfold your creation, you'll be amazed at the unique snowflake design that emerges! This method is not only easy but also perfect for kids, making it a fantastic family project.
If you're looking to elevate your snowflake game, consider using fabric. Felt or cotton fabric can be cut into snowflake shapes and adorned with beads or sequins for a more textured look. You can even use a sewing machine to stitch the edges for a polished finish. The tactile quality of fabric ornaments adds a cozy feel to your winter decor, making them a lovely addition to any holiday display.
For those who enjoy a bit of sparkle, glittered snowflakes can be made using a simple glue and glitter technique. Cut out your snowflake shapes from sturdy cardstock, apply glue to the surface, and generously sprinkle glitter over them. Shake off the excess, and you’ll have dazzling ornaments that catch the light beautifully. These glittery creations can also serve as great gifts for friends and family, spreading the joy of winter cheer.
To make your crafting experience even more enjoyable, gather your friends or family for a snowflake-making party. Set up a crafting station with all your materials, play some festive music, and let the creativity flow! Not only will you create beautiful ornaments, but you'll also make lasting memories together. Plus, you can share tips and techniques, inspiring each other to try new designs and methods.
In conclusion, snowflake ornaments are not just decorations; they are a celebration of the winter season and a fantastic way to express your creativity. Whether you choose to make them from paper, fabric, or glitter, the joy of crafting these ornaments can be a wonderful activity for all ages. So, gather your materials, unleash your imagination, and let it snow—inside your home!
- What materials do I need to make snowflake ornaments? You can use paper, fabric, glitter, or even recycled materials like old gift wrap or magazines.
- Can children participate in making these ornaments? Absolutely! Snowflake crafting is a fun and safe activity for children, with supervision for younger kids when using scissors.
- How can I hang my snowflake ornaments? You can use string, ribbon, or even fishing line to hang your ornaments. Just make a small hole at the top and thread through your chosen material.
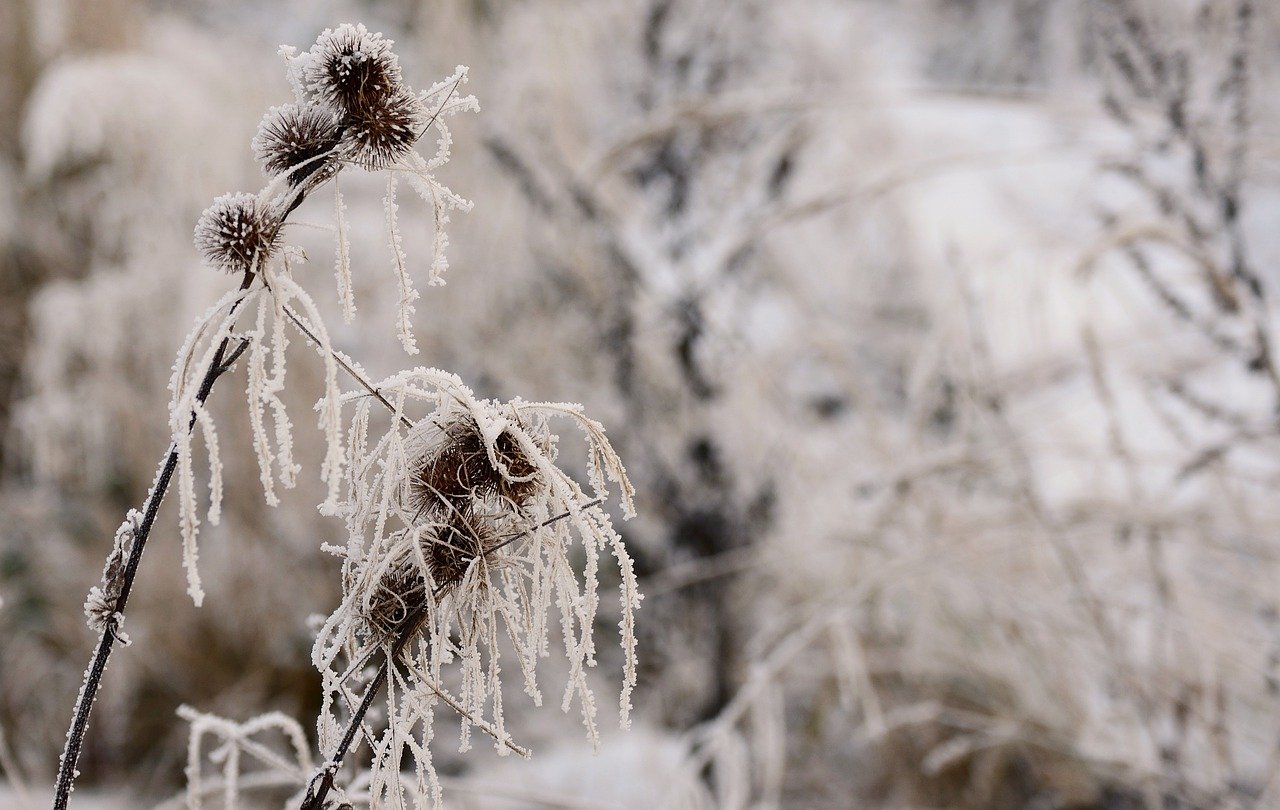
Winter Wreaths
Creating is not just a fun craft; it’s a way to bring the beauty of the season into your home. Imagine walking up to your front door and being greeted by a stunning wreath made of evergreen branches, twinkling berries, and maybe even a splash of glitter that catches the light. These wreaths not only add a festive touch but also serve as a warm welcome for guests during the chilly months.
To get started on your winter wreath, you'll need a few basic supplies. Here’s a quick list to help you gather what you’ll need:
- Evergreen branches (like pine or fir)
- Floral wire or a wreath frame
- Decorative elements (such as berries, pine cones, or ribbons)
- Hot glue gun (for securing decorations)
- Scissors or wire cutters
First, begin by creating a base with the evergreen branches. You can cut them into smaller pieces and attach them to your wreath frame using floral wire. This step is like laying the foundation of a house; it’s essential for the overall look of your wreath. Once your base is ready, it’s time to unleash your creativity! You can add colorful berries for a pop of red, or incorporate pine cones for a rustic touch. The beauty of winter wreaths is that they can reflect your personal style.
Consider adding a few unique elements to make your wreath stand out. For instance, you could use a splash of glitter to mimic the sparkle of freshly fallen snow, or even tie a beautiful ribbon at the bottom for an elegant finish. The possibilities are endless, and that’s what makes this craft so exciting!
Once your wreath is complete, hang it on your front door or in a window where it can be admired. It’s a simple yet effective way to celebrate the season and bring a little warmth to the cold winter days. Plus, crafting your own wreath can be a delightful activity to do with family or friends, turning a simple project into a cherished memory.
Q: How long will my winter wreath last?
A: If properly cared for, a fresh winter wreath can last several weeks to a couple of months. Keep it in a cool, dry place and mist it with water occasionally to maintain its freshness.
Q: Can I use artificial materials for my wreath?
A: Absolutely! Artificial materials can be a great option, especially if you want a wreath that lasts year after year. Plus, they can be just as beautiful and vibrant as natural materials.
Q: What other decorations can I add to my winter wreath?
A: Besides berries and pine cones, consider adding dried citrus slices, cinnamon sticks, or even small ornaments to give it a festive flair. The key is to mix textures and colors for visual interest.
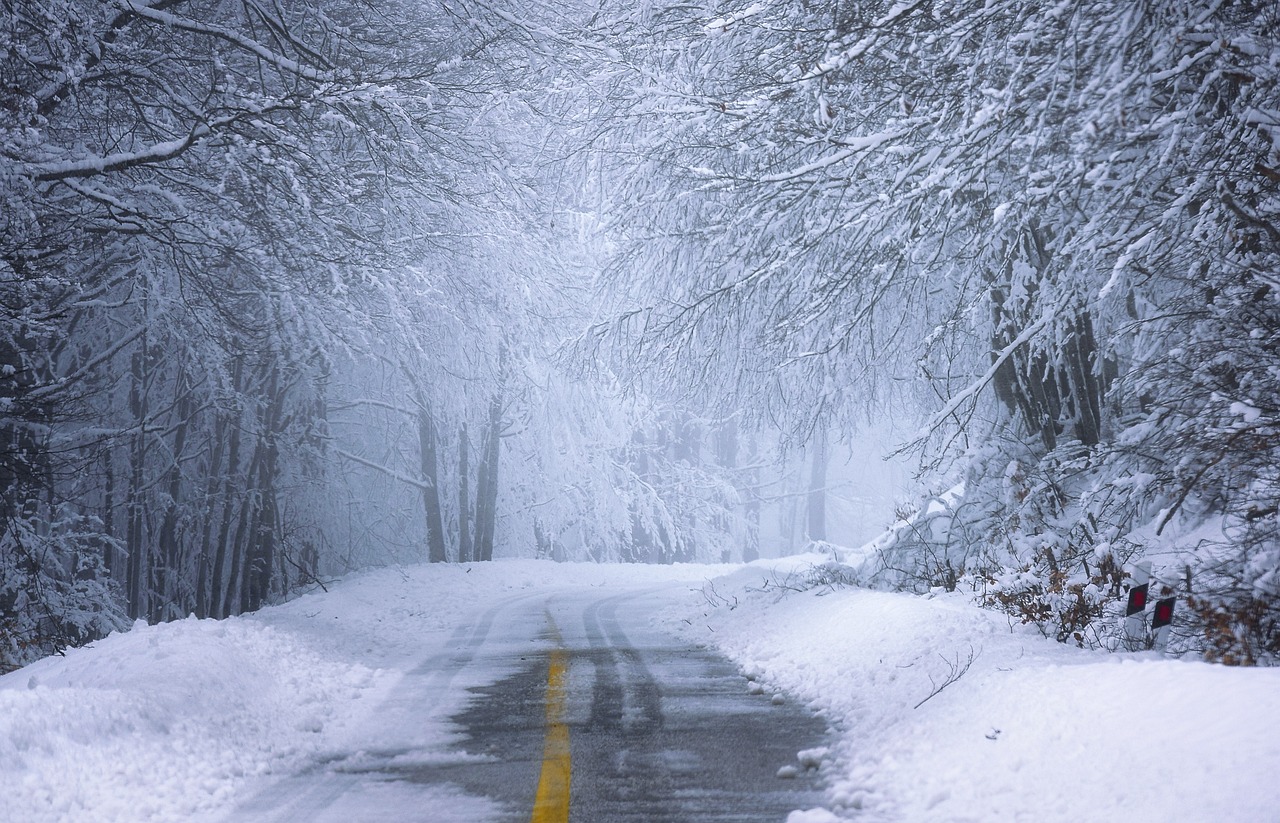
Winter Photography Projects
Winter is a magical time for photography, where nature transforms into a stunning canvas of whites, blues, and silvers. If you’re looking to enhance your photography skills and capture the beauty of the season, there are some exciting projects to dive into. Whether you’re an amateur or a seasoned photographer, winter offers unique opportunities to explore your creativity through the lens. So grab your camera and let’s embark on this frosty adventure!
One of the most captivating aspects of winter photography is the way it can convey emotions through stark contrasts and serene landscapes. Imagine standing in a quiet forest, the air crisp and cold, the ground blanketed in fresh snow, and the only sound is the crunch of your boots. This peaceful setting is the perfect backdrop for capturing stunning images that tell a story. But how do you make the most of these winter scenes? Here are some tips to help you get started:
- Composition: Pay attention to the rule of thirds. Positioning your subject off-center can create a more dynamic image. Use leading lines, like snowy paths or tree branches, to draw the viewer's eye into the scene.
- Lighting: The soft, diffused light during winter can create ethereal photographs. Early mornings or late afternoons, known as the golden hour, are particularly magical times to shoot.
- Timing: Timing is everything in photography. Snowfall can create a beautiful atmosphere, so be ready to capture those fleeting moments when the snowflakes dance through the air.
Another exciting project to consider is Winter Wildlife Photography. This can be a rewarding yet challenging endeavor. The key is to understand animal behavior and be patient. Animals often have different routines in winter; for instance, they may be more active during the early morning or late afternoon when temperatures are slightly warmer. Here are a few tips to help you capture stunning wildlife photos:
- Be Silent: Animals are easily startled, so approach quietly and avoid sudden movements.
- Use a Zoom Lens: A zoom lens allows you to capture wildlife from a distance without disturbing them.
- Focus on Eyes: The eyes are the windows to the soul, and sharp focus on the eyes can make your photos truly captivating.
In addition to these tips, consider experimenting with different settings and techniques. For instance, you can play with exposure settings to capture the sparkle of snow, or use a slower shutter speed to create a dreamy effect with falling snowflakes. Each click of the shutter can tell a different story, so don’t hesitate to try new things!
Q: What equipment do I need for winter photography?
A: While a good camera is essential, don’t forget to bring extra batteries (as they drain faster in cold weather), a tripod for stability, and protective gear for your camera against snow and moisture.
Q: How can I protect my camera in cold weather?
A: To protect your camera, keep it in a sealed bag when not in use and allow it to acclimate to temperature changes gradually to prevent condensation.
Q: What settings should I use for snowy landscapes?
A: Use manual mode to adjust exposure compensation. Snow can trick your camera’s meter, causing it to underexpose. Increase exposure by +1 to +2 stops to ensure the snow appears white instead of grey.
Winter photography projects are not just about capturing pretty pictures; they are about experiencing the season in all its glory. So, bundle up, step outside, and let the beauty of winter inspire your next photographic adventure!
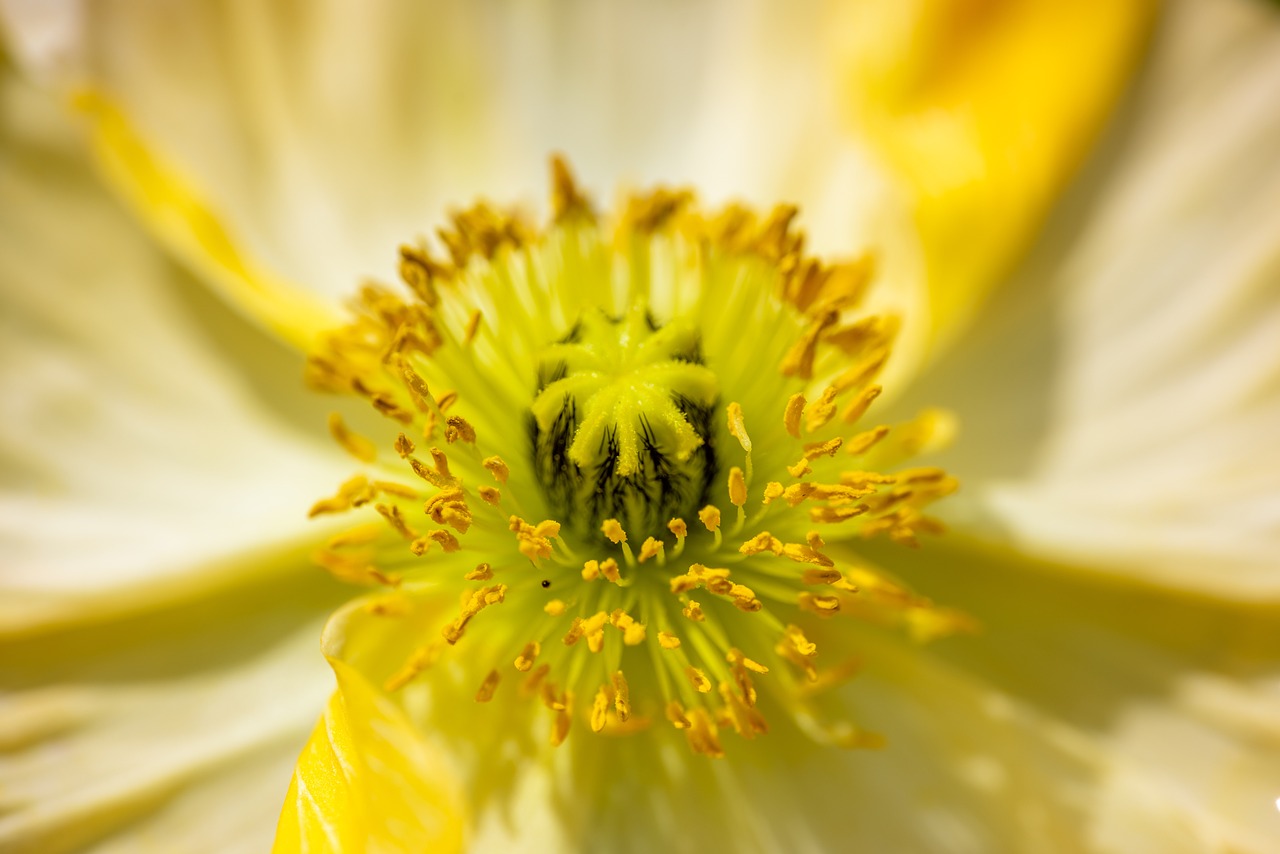
Snowy Landscapes
Capturing the beauty of snowy landscapes can be a magical experience for any photographer. Imagine standing in a serene winter wonderland, where the world is blanketed in a soft layer of snow, transforming the mundane into something ethereal. To truly convey the essence of winter through your lens, it’s essential to pay attention to a few key elements. First and foremost, composition is everything. Think about how you can frame your shot to highlight the contrast between the white snow and the darker elements of nature, like trees and rocks. This contrast can create striking images that pop.
Next, consider the lighting. Winter light can be both harsh and beautiful, especially during the golden hours of sunrise and sunset. The low angle of the sun during these times casts long shadows and adds warmth to your photos, making the snow sparkle like diamonds. On cloudy days, the soft, diffused light can create a moody atmosphere, perfect for capturing the stillness of a snowy landscape. Don’t forget to adjust your camera settings accordingly to avoid overexposure, which is a common issue when shooting in bright snow.
Timing is another crucial factor in photographing snowy landscapes. Early mornings or late afternoons are ideal for capturing the soft light that enhances the beauty of snow. A fresh snowfall can also dramatically change the landscape, so be ready to shoot right after a storm. The untouched snow creates a pristine canvas that begs to be captured. Don't hesitate to venture out after a snowfall; the world transforms, and every tree branch and fence post becomes an opportunity for a stunning shot.
Finally, don't shy away from including people or animals in your snowy landscapes. A child making snow angels or a dog bounding through the snow can add a sense of scale and joy to your images. These elements provide a narrative that draws viewers into the scene, making them feel the chill and excitement of winter. By combining these techniques—composition, lighting, timing, and storytelling—you'll create breathtaking photographs that not only capture the beauty of snowy landscapes but also evoke emotion and wonder.
- What camera settings should I use for snowy landscapes? Use a lower ISO setting to reduce noise, and adjust your aperture to control depth of field. A shutter speed of 1/250 or faster is often ideal to freeze motion, especially in windy conditions.
- How can I avoid overexposure in snowy conditions? Consider using exposure compensation to reduce the exposure by 1-2 stops. This helps to ensure that the snow doesn’t appear too bright and retains texture.
- What time of day is best for photographing snow? The golden hour, shortly after sunrise or before sunset, provides the best light for snowy landscapes, adding warmth and depth to your photos.
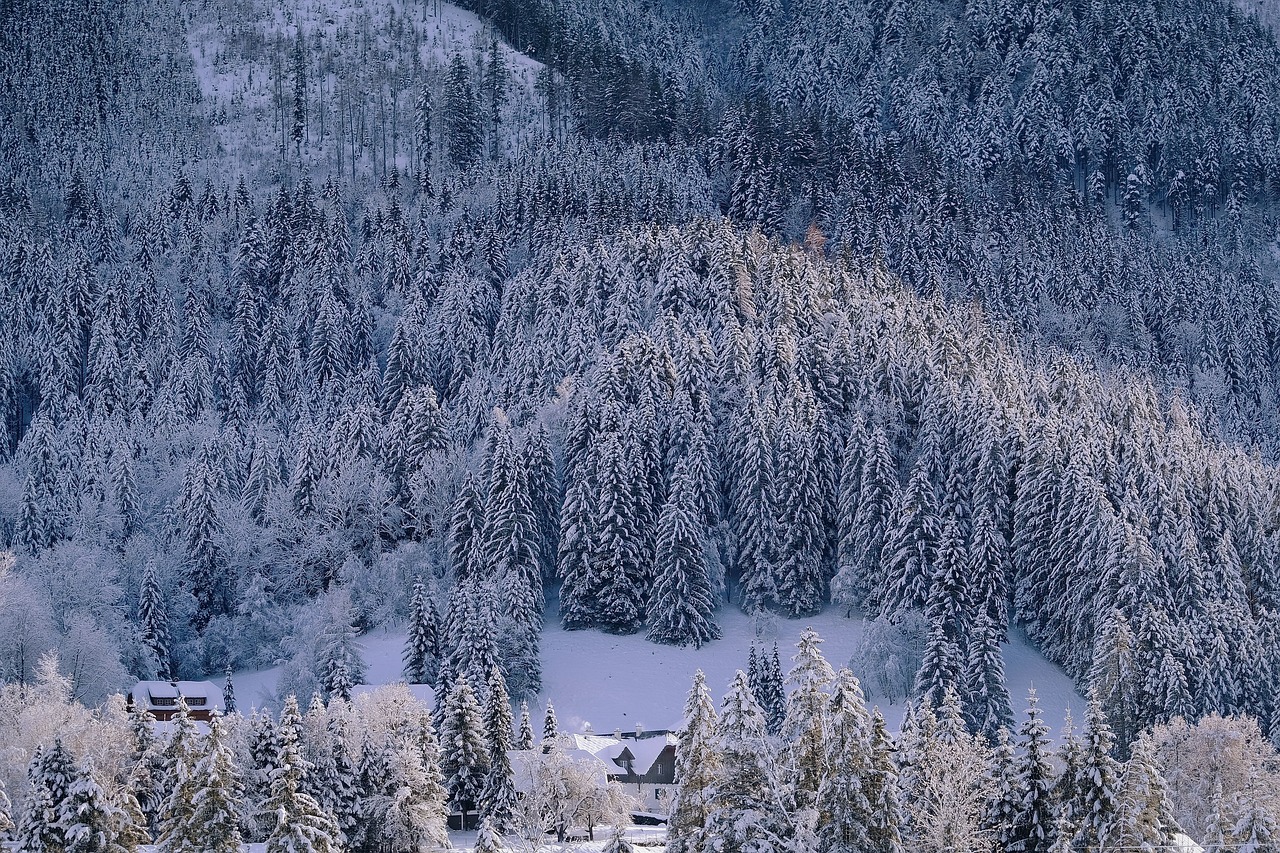
Winter Wildlife Photography
Winter wildlife photography is a thrilling endeavor that allows you to capture the beauty of nature in its most serene state. Imagine stepping out into a world blanketed in snow, where every sound is muffled, and the air is crisp and invigorating. The challenge of photographing animals in their natural habitat during the colder months requires not only skill but also patience and a bit of creativity. So, how do you ensure that your winter wildlife photos are nothing short of breathtaking? Let’s explore some essential tips and techniques!
First and foremost, understanding animal behavior is crucial. Different species react to winter conditions in various ways. Some animals, like deer and rabbits, may be more visible as they forage for food, while others, such as birds, might be harder to spot but can be found at feeders or in the trees. Take the time to observe their habits, and you’ll find yourself in the right place at the right time. Remember, patience is your best friend in wildlife photography!
Additionally, the right equipment can make a significant difference. A camera with a good zoom lens is essential for capturing wildlife from a distance without disturbing them. Here’s a quick guide on what gear to consider:
| Equipment | Purpose |
|---|---|
| DSLR or Mirrorless Camera | Offers high-quality images and manual control |
| Telephoto Lens (200mm or longer) | Allows you to photograph animals from a distance |
| Tripod | Stabilizes your camera for sharper images |
| Weatherproof Camera Bag | Protects your gear from snow and moisture |
Lighting is another critical element in winter wildlife photography. The low winter sun can create stunning golden hour effects, especially during the early morning or late afternoon. The snow acts as a natural reflector, brightening your subject and adding a magical quality to your images. Try to shoot during these times for the best results!
Lastly, don’t forget to dress appropriately! Staying warm and comfortable will allow you to focus on your photography rather than the cold. Layer your clothing and wear waterproof boots to keep your feet dry while trudging through snow. The more comfortable you are, the more time you can spend capturing those elusive winter moments!
In conclusion, winter wildlife photography is not just about taking pictures; it’s about immersing yourself in the beauty of nature and capturing fleeting moments that showcase the resilience of wildlife during the colder months. With the right knowledge, equipment, and a bit of patience, you can create stunning images that tell the story of winter in the wild.
- What is the best time of day for winter wildlife photography?
The early morning and late afternoon, known as the golden hours, provide the best lighting conditions for capturing stunning wildlife images. - Do I need a special lens for wildlife photography?
A telephoto lens is recommended as it allows you to photograph animals from a safe distance without disturbing them. - How can I stay warm while photographing in winter?
Dressing in layers, wearing waterproof boots, and using hand warmers can help keep you comfortable while shooting in cold conditions.
Frequently Asked Questions
- What are some easy winter art projects for kids?
There are plenty of fun and easy winter art projects for kids! You can create snowflake ornaments using paper and glitter, or make nature-inspired crafts with pine cones and branches. Painting snowy landscapes with watercolors is also a fantastic way to let their creativity shine while celebrating the beauty of winter.
- How can I use natural materials for winter crafts?
Using natural materials like pine cones, twigs, and leaves is a great way to connect with nature during winter. You can gather these items during a winter walk and use them to create unique decorations, such as wreaths or table centerpieces. Just let your imagination run wild!
- What painting techniques work best for winter scenes?
Watercolor techniques, such as the salt technique and layering colors, are fantastic for capturing the essence of winter. The salt technique creates beautiful textures that resemble snowflakes, while layering colors helps achieve depth and vibrancy in your winter landscapes.
- Can I create winter decorations with my family?
Absolutely! DIY winter decorations are a perfect family activity. You can craft snowflake ornaments together or make festive winter wreaths using evergreen branches and berries. It’s a wonderful way to bond and create beautiful pieces to decorate your home.
- What tips do you have for winter photography?
When photographing winter landscapes, focus on composition, lighting, and timing. Early morning or late afternoon light can create stunning effects. For wildlife photography, patience is key. Understanding animal behavior will help you capture breathtaking moments in their natural habitats.


