
How to Paint a Snowy Winter Landscape
This article provides a step-by-step guide on techniques and materials to create a stunning snowy winter landscape painting, capturing the serene beauty of winter scenes.
When it comes to painting a snowy winter landscape, the materials you choose can make all the difference. Whether you're a beginner or an experienced artist, selecting the right paints, brushes, and canvases is crucial for achieving the desired effects. For starters, you'll want to invest in high-quality acrylic or oil paints, as these mediums allow for vibrant colors and smooth blending. A good range of brushes, including flat, round, and fan brushes, will help you create various textures, from soft snow to detailed tree bark. Lastly, a sturdy canvas or watercolor paper will provide the perfect backdrop for your masterpiece. Remember, the right tools can elevate your art from ordinary to extraordinary!
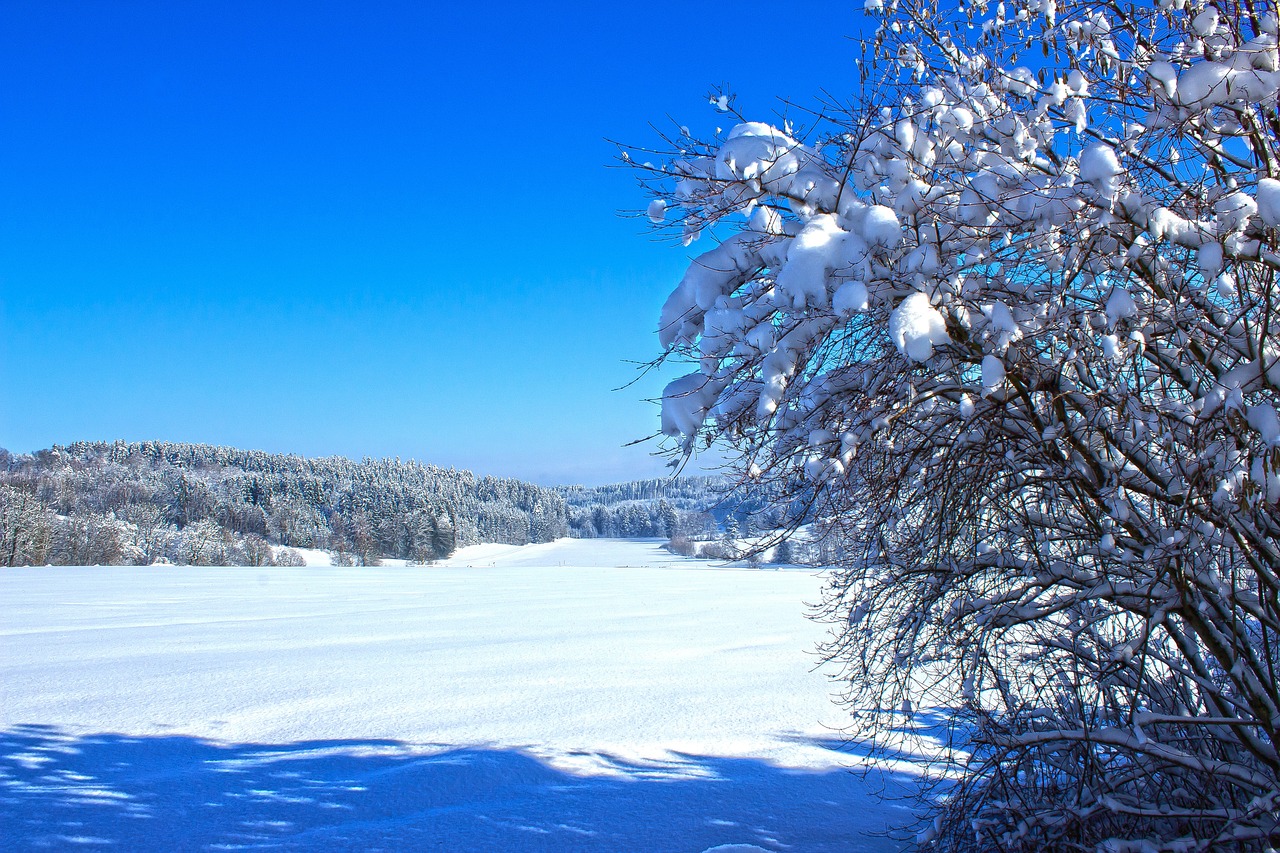
Color theory plays a significant role in painting winter landscapes. Understanding how to mix and use colors effectively can help you depict the cool tones and subtle nuances of a snowy scene. The beauty of a winter landscape lies in its serenity and tranquility, which can be captured through the right color choices. Think about the soft blues of the sky, the whites of the snow, and the grays of the shadows. By mastering color theory, you'll be able to evoke the chill of winter and create a harmonious composition. Let's dive deeper into this concept!
To create a palette that reflects the chill of winter, you need to focus on mixing cool colors. This means incorporating various shades of blue, white, and gray into your work. Start with a base of titanium white and gradually mix in ultramarine blue or cerulean blue to create different shades of icy blue. For grays, you can mix black with white, or add a touch of blue to cool it down. The goal is to evoke a frosty atmosphere that captures the essence of winter.
Utilizing various shades of white and gray is essential for adding depth and dimension to your snowy landscape. Layering these colors effectively can create shadows and highlights that make your painting come alive. For instance, a warm white mixed with a hint of yellow can simulate sunlight reflecting off the snow, while a cool gray can represent shadows cast by trees or hills. The interplay between these shades will give your painting a sense of realism and intrigue.
While your palette will primarily consist of cool colors, don't shy away from incorporating subtle accent colors. Adding warmer tones, such as soft yellows, pale oranges, or even muted reds, can create contrast and interest in an otherwise cool palette. These accents can represent the warm glow of a sunset or the rich colors of a distant cabin, drawing the viewer's eye and enhancing the overall composition.
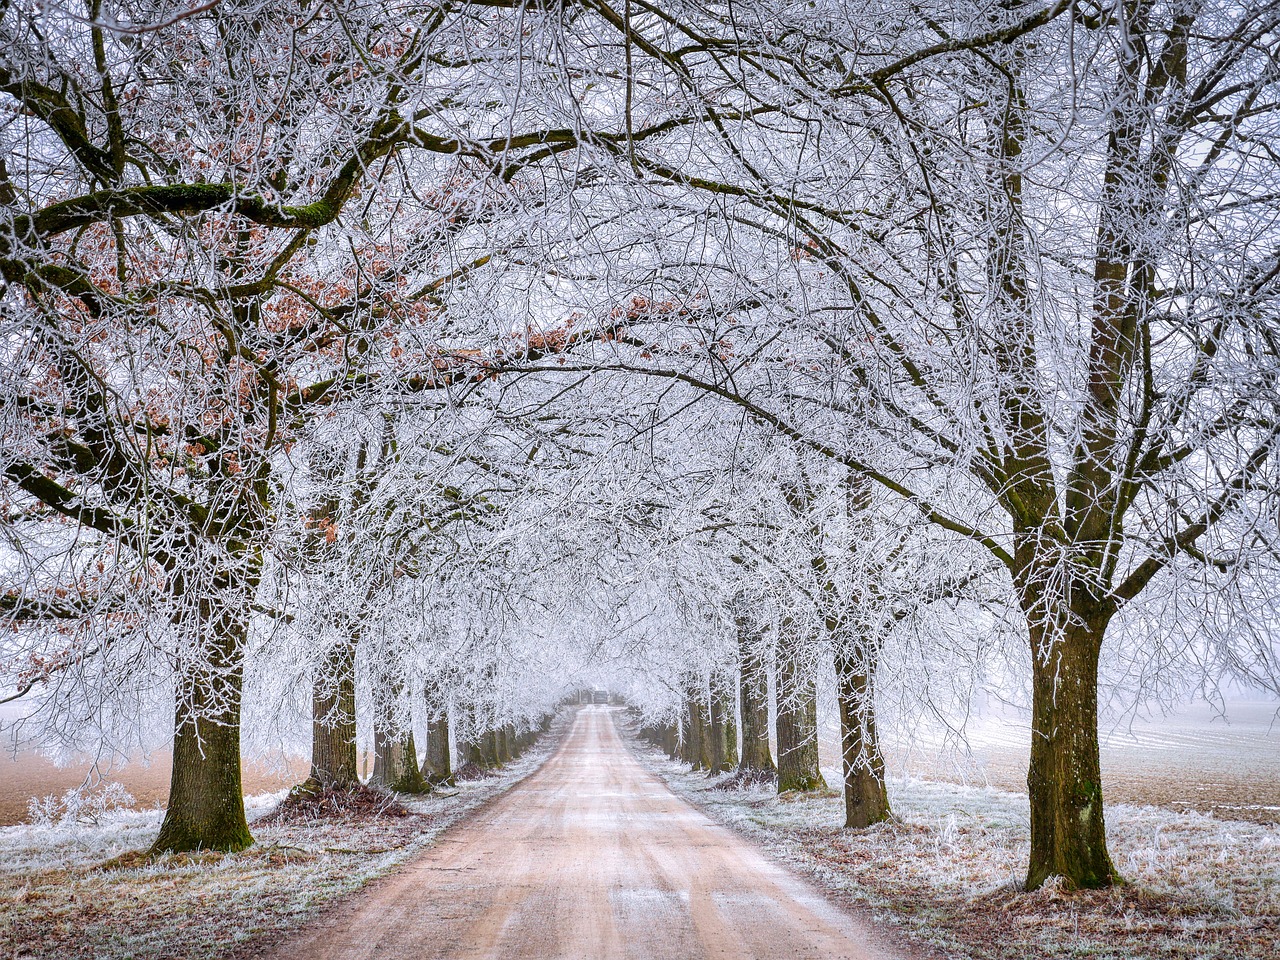
Understanding depth and perspective is essential for a realistic landscape painting. To create a sense of distance and dimension in your snowy scene, consider using techniques such as atmospheric perspective. This involves using cooler, lighter colors for distant objects and warmer, darker colors for those that are closer. Additionally, overlapping elements can enhance the illusion of depth. For example, placing a cluster of trees in the foreground while fading others into the background can create a captivating visual journey.
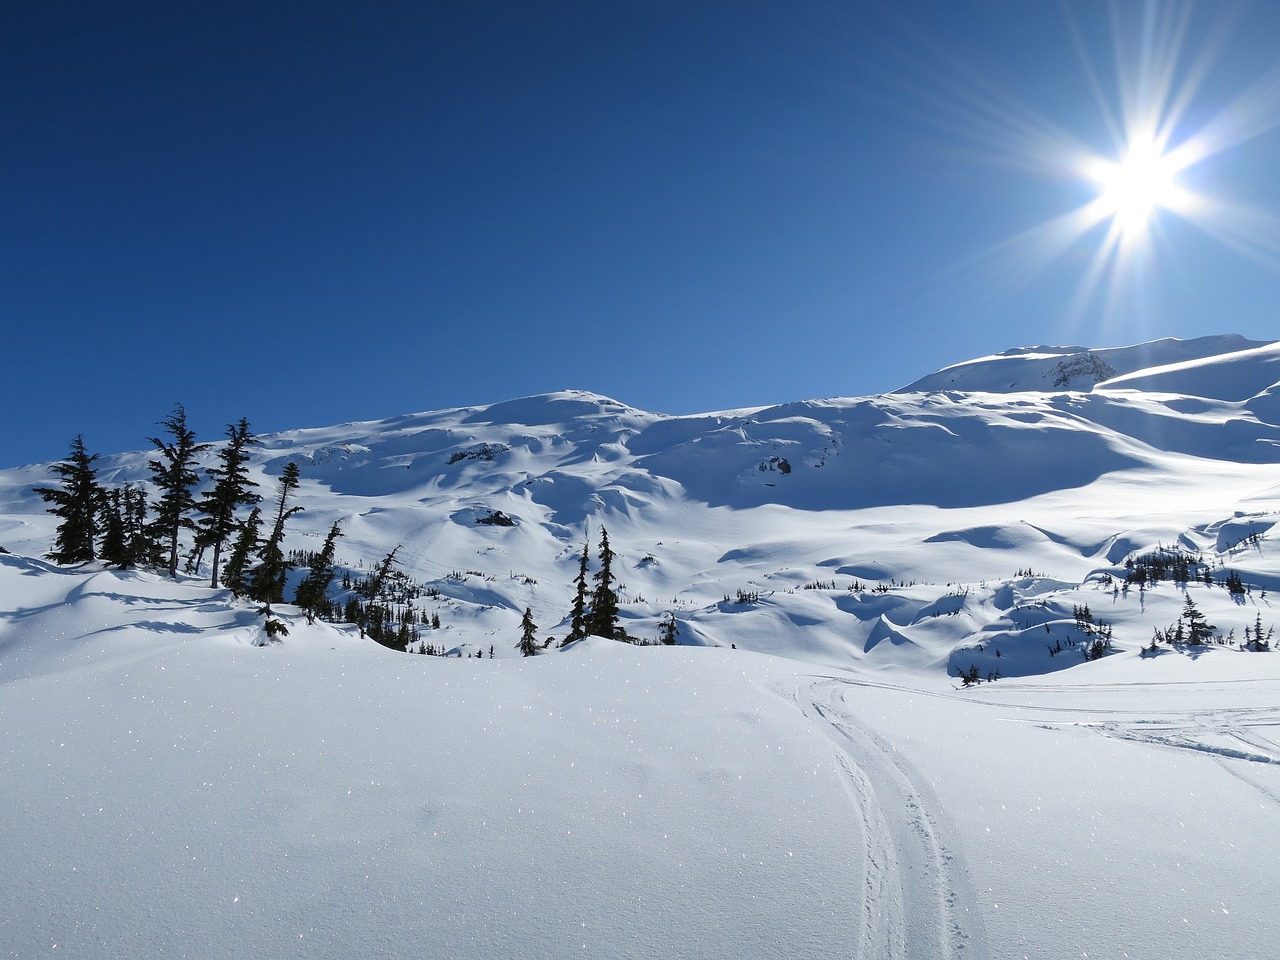
Painting snow can be challenging due to its reflective qualities. However, with the right techniques, you can effectively represent snow in all its glory. From brush strokes to texture application, there are several methods to explore. One popular technique is the dry brush technique, which allows you to achieve a soft, textured look that mimics the appearance of fresh snow on the ground. By using a dry brush and lightly dragging it across the canvas, you can create the illusion of fluffy snowflakes.
The dry brush technique is a favorite among artists for depicting snow. To master this method, start with a dry brush and dip it lightly into your white paint. Then, gently drag the brush across the canvas, allowing the bristles to skip over the surface. This technique mimics the texture of snow and creates a beautiful, soft effect. It's like painting with a whisper, capturing the delicate nature of freshly fallen snow.
Layering is key to creating a realistic snowy landscape. By building up layers of paint, you can capture the complexity and variations found in snow-covered scenes. Start with a base layer of white, then gradually add shades of gray and blue to create shadows and depth. Remember to let each layer dry before adding the next to maintain the integrity of your work. This method is akin to sculpting with paint, allowing you to carve out the nuances of your snowy masterpiece.
- What type of paints are best for beginners? Acrylic paints are often recommended for beginners due to their ease of use and quick drying time.
- How can I create a sense of depth in my painting? Use lighter colors for distant objects and darker colors for those in the foreground, along with overlapping elements.
- What is the best way to represent snow texture? The dry brush technique is effective for creating the soft, fluffy texture of snow.
Choosing the Right Materials
When it comes to painting a stunning snowy winter landscape, the materials you choose can make all the difference. Whether you're a beginner or a seasoned artist, selecting the right paints, brushes, and canvases is crucial for achieving the desired effects in your artwork. So, let’s dive into the essentials that will help you create that breathtaking winter scene!
First off, let's talk about paints. Acrylics and oils are two popular choices for landscape painting, but they each have their unique characteristics. Acrylics dry quickly, allowing for faster layering and adjustments, which is perfect for beginners who may want to experiment without waiting too long. On the other hand, oils provide a rich depth of color and a longer drying time, which gives you more flexibility to blend and work on details. If you're looking for vibrant colors that pop in your snowy scenes, consider using high-quality paints that can withstand layering and mixing.
Next, you’ll need to choose your brushes. A variety of brush shapes and sizes can help you achieve different textures and effects. For a snowy landscape, consider having:
- Flat brushes for broad strokes and covering large areas.
- Round brushes for finer details and creating tree branches.
- Fan brushes for adding texture to the snow and trees.
Each brush type has its purpose, and experimenting with them will help you find what works best for your style.
Lastly, the choice of canvas can significantly impact your painting experience. A stretched canvas is ideal for oils, while canvas boards work well for acrylics. If you prefer a more textured surface, consider using a canvas with a heavier weight. This texture can add depth to your snow and sky, making your painting feel more dynamic. Don’t forget to prepare your canvas properly; priming it can help the paint adhere better and enhance the vibrancy of your colors.
To summarize, here’s a quick reference table for the materials:
| Material | Type | Best For |
|---|---|---|
| Paints | Acrylics / Oils | Vibrant colors, blending, detail work |
| Brushes | Flat, Round, Fan | Varied textures and details |
| Canvas | Stretched / Canvas Board | Surface texture and paint adherence |
Choosing the right materials is like setting the stage for your winter masterpiece. With the right tools in hand, you’ll be well on your way to capturing the serene beauty of snowy landscapes. So gather your supplies, and let your creativity flow!
Understanding Color Theory
When it comes to painting a snowy winter landscape, color theory is your best friend. It’s like having a secret map that guides you through the icy terrain of hues and shades. You might be thinking, "How does color theory even apply to painting snow?" Well, imagine trying to capture the essence of a winter wonderland without understanding how to mix those cool blues and soft whites. It’s like trying to make a snowman without snow—pretty tough, right?
To effectively depict the tranquil beauty of a snowy scene, you need to grasp the subtle nuances of color. The first step is to create a palette that reflects the chill of winter. This involves mastering the art of mixing cool colors. Think about the various shades of blue, white, and gray that Mother Nature uses to blanket the world in snow. By understanding the relationships between these colors, you can evoke the feeling of a crisp winter day with just a few well-placed brush strokes.
Let’s dive into the world of cool colors! When mixing your paints, you want to focus on achieving a range of icy blues and soft whites. For instance, a mix of ultramarine blue with a touch of white can create a beautiful, frosty hue that captures the essence of cool winter air. Similarly, incorporating a bit of cobalt blue can add depth to your palette, giving your snow-covered landscape a sense of realism that feels almost tangible.
Here’s a quick reference table to help you understand some basic cool color mixes:
| Color | Mixing Suggestions |
|---|---|
| Sky Blue | Ultramarine Blue + White |
| Frosty Gray | White + A Touch of Black |
| Ice Blue | Cobalt Blue + White |
Now, let’s talk about the unsung heroes of your snowy landscape: whites and grays. These colors are not just fillers; they are essential for adding depth and dimension to your painting. Imagine a snow-covered field—it's not just a flat white surface. There are varying shades that create shadows and highlights. By layering different whites, like titanium white and zinc white, you can achieve a stunning effect that brings your landscape to life.
Consider this: when light hits the snow, it reflects in different ways, creating a spectrum of shades. By using a combination of whites and grays, you can mimic this reflective quality. Start with a base layer of white, then add subtle grays to create shadows where the snow dips or where a tree casts its shadow. This layering technique adds realism, making your painting feel like a window into a winter scene.
While your palette will largely consist of cool colors, don’t forget about the power of accent colors. These warmer tones can create contrast and interest in your otherwise cool palette. Think about the soft glow of a setting sun reflecting off the snow or the warmth of a cabin nestled in the woods. You can use touches of warm yellows or soft oranges to highlight areas that catch the light, giving your painting a dynamic quality.
Ultimately, understanding color theory is about more than just mixing paints; it’s about capturing the essence of winter in your artwork. By mastering these techniques, you’ll be able to create a stunning snowy landscape that draws viewers in and makes them feel as if they’re stepping into a serene winter wonderland.
- What colors should I use for painting snow? Focus on cool colors like blues and whites, along with grays for shadows. Adding warm accent colors can enhance your painting.
- How do I create depth in my snowy landscape? Use layering techniques with different shades of white and gray to create shadows and highlights that add dimension.
- Can I use acrylics for winter landscapes? Absolutely! Acrylics are versatile and can be layered to achieve the desired texture and depth.
Mixing Cool Colors
When it comes to painting a snowy winter landscape, the first thing you need to master is the art of . Imagine standing outside on a crisp winter morning—the air is sharp, and the world is blanketed in a soft layer of snow. The colors you choose will play a crucial role in capturing that serene beauty. The palette for a winter scene typically revolves around cool hues like blues, whites, and grays, which together evoke the chill of the season.
To get started, you'll want to gather your paints. Here’s a quick list of essential colors to consider:
- Cerulean Blue - A bright, cool blue that can mimic the clear winter sky.
- Ultramarine Blue - A deeper blue perfect for shadows and depth.
- Phthalo Blue - A vibrant blue that can be used sparingly to create striking contrasts.
- Titanium White - Essential for achieving various shades of snow.
- Payne's Gray - A versatile color that can add depth and shadow to your snowy scenes.
Now that you have your colors, it’s time to mix them. Start with a base of white, which is crucial for any snowy landscape. Gradually add a hint of blue to create the soft, icy tones that reflect the coolness of winter. Remember, less is more—adding too much blue can overpower the white and make your snow look unnatural. Instead, aim for a delicate balance that captures the essence of a frosty day.
One effective technique is to create a cool color gradient. Start with a pure white at one end of your palette, then gradually introduce small amounts of blue and gray. This method not only helps you see the transition of colors but also allows you to test how they will look when applied to your canvas. As you mix, consider the light source in your painting; the direction and intensity of light can dramatically affect how colors appear.
Additionally, don’t shy away from experimenting with layering colors. For instance, you can paint a layer of light blue over a white base and then add a touch of gray for shadows. This layering technique adds depth and dimension, making your snow look more realistic. Think of it as building a snowman—each layer of snow adds to the overall shape and character. The same principle applies to your painting!
As you work, keep in mind that the beauty of winter lies in its subtlety. The best snowy landscapes often feature muted tones with just a hint of color. By focusing on cool colors and understanding how to mix them effectively, you can create a painting that captures the quiet, peaceful essence of a snowy day.
Q: What is the best type of paint for a winter landscape?
A: Acrylics are great for beginners due to their quick drying time and versatility, while oils offer rich colors and blending capabilities.
Q: How do I create shadows in my snowy landscape?
A: Use cool grays and blues to create shadows, layering them over your white base to give depth to your snow.
Q: Can I use other colors besides blue and white?
A: Absolutely! Incorporating subtle warm tones like soft yellows or light pinks can add warmth and contrast to your cool palette.
Using Whites and Grays
When it comes to painting a snowy winter landscape, the use of whites and grays is absolutely essential. These colors not only define the snowy surface but also help in creating a sense of depth and dimension. Imagine standing in the middle of a serene winter scene; the snowflakes gently falling, the ground blanketed in a soft, white layer, and the sky painted in subtle shades of gray. To replicate this beauty on canvas, you need to master the art of utilizing these colors effectively.
First off, let’s talk about the different shades of white. Not all whites are created equal! You might be surprised to learn that there are numerous variations, such as Titanium White, Zinc White, and Flake White. Each of these has its own unique qualities:
| Shade | Characteristics |
|---|---|
| Titanium White | Opaque, bright, and excellent for mixing with other colors. |
| Zinc White | Translucent and great for glazing techniques. |
| Flake White | Rich and creamy, ideal for impasto techniques. |
By blending these whites with various shades of gray, you can create a stunning range of tones that mimic the natural world. For instance, mixing a bit of black with white produces a beautiful gray that can represent shadows cast by trees or the subtle variations in the snow. Remember, the key to a captivating winter landscape is to layer these colors effectively. Start with a base layer of white, and then gradually add in your grays to create shadows and depth.
Another technique to consider is the use of glazing. This involves applying a thin, transparent layer of paint over a dry base layer. Using a gray glaze over your white base can create a soft, atmospheric effect that captures the essence of a cold winter day. Additionally, you can use a dry brush technique to lightly apply whites and grays, allowing the underpainting to show through. This adds texture and a sense of realism to your snowy landscape.
Lastly, don’t forget about the importance of layering. Begin with your lightest whites and gradually build up to darker grays. This approach not only enhances the visual interest of your painting but also creates a more dynamic and lifelike representation of snow. By paying attention to the subtleties of whites and grays, you can transform a simple canvas into a breathtaking winter wonderland that captures the viewer’s imagination.
- What type of paint is best for snowy landscapes? Acrylics and oils are both excellent choices, as they allow for layering and blending, essential for depicting snow.
- How do I make my snow look realistic? Focus on using a variety of whites and grays, and incorporate layering techniques to add depth.
- Can I use a palette knife for painting snow? Absolutely! A palette knife can create interesting textures that mimic the uneven surface of snow.
Incorporating Accent Colors
When it comes to painting a snowy winter landscape, one might think that sticking strictly to whites and grays is the way to go. However, incorporating accent colors can truly elevate your artwork, adding vibrancy and depth that might otherwise be missing. Just like a dash of spice can transform a bland dish into a culinary masterpiece, accent colors can breathe life into your winter scenes, making them pop with personality and warmth.
So, what are these magical accent colors? Think of soft pinks, muted oranges, and gentle lavenders that can mimic the subtle hues of a winter sunset or the blush of a setting sun reflecting off the snow. These colors can create a beautiful contrast against the cooler tones of your landscape, drawing the viewer's eye and inviting them to explore the painting further. To effectively incorporate these colors, you might want to consider the following techniques:
- Strategic Placement: Place accent colors in areas where light naturally hits, like the tops of snowdrifts or the edges of trees. This not only enhances realism but also guides the viewer's gaze across your composition.
- Layering Techniques: Use layering to blend these colors subtly into your snowy palette. For instance, a light wash of pink over white snow can create a stunning effect that mimics the warmth of the sun.
- Color Harmony: Ensure that your accent colors harmonize with the rest of your palette. A well-balanced color scheme will create a cohesive look, making your painting feel intentional and polished.
Moreover, don’t be afraid to experiment! Sometimes, the most unexpected colors can yield the most breathtaking results. Imagine a splash of soft lavender in the shadows of a snow-covered tree or a hint of peach in the sky. These subtle touches can evoke feelings of warmth and nostalgia, even in the coldest of scenes.
Finally, remember that the goal is to enhance your painting without overwhelming it. The beauty of a snowy landscape lies in its serene simplicity, so use accent colors judiciously. Think of them as the cherry on top—a little goes a long way, and the right touch can make your winter wonderland truly enchanting.
Q: What are some good accent colors for a snowy landscape?
A: Soft pinks, muted oranges, and gentle lavenders work well to create warmth and contrast against cooler tones.
Q: How can I ensure my accent colors blend well with my main palette?
A: Experiment with layering and placement, and make sure that the accent colors harmonize with the overall color scheme of your painting.
Q: Can I use bright colors as accents in a snowy landscape?
A: While bright colors can be used, it's best to keep them subtle to maintain the serene quality of a winter scene. Soft, muted tones typically work better.
Creating Depth and Perspective
When it comes to painting a snowy winter landscape, depth and perspective are your best friends. They transform a flat canvas into a world that feels alive and inviting. Imagine standing in a vast, snowy field, where the snowflakes dance around you and the trees stretch majestically into the sky. To replicate this feeling on canvas, you need to master the art of creating depth.
One of the most effective ways to achieve depth is through layering. Think of your painting as a three-dimensional space. You can create layers by using different shades of blue and white to represent distant snow-covered hills, while darker shades can bring the foreground closer to the viewer. This technique mimics how our eyes perceive distance: the further away an object is, the lighter and less detailed it appears. For example, when painting mountains in the background, use lighter and cooler tones, while the trees in the foreground should be painted with richer, darker hues.
Another crucial aspect of perspective is the placement of elements within your composition. Consider using the rule of thirds to guide your layout. This rule suggests dividing your canvas into a 3x3 grid and placing key elements along these lines or at their intersections. By doing this, you create a more balanced and engaging scene. For instance, you might place a solitary tree off to one side, leading the viewer's eye into the painting, while allowing the vastness of the snowy landscape to unfold.
In addition, overlapping elements can significantly enhance the sense of depth. When objects overlap, it creates a visual cue that some are closer than others. For example, if you're painting a row of trees, allow the branches of the nearest tree to overlap with those in the background. This not only adds realism but also establishes a clear foreground, midground, and background, which is essential for depth perception.
Moreover, incorporating atmospheric perspective can add another layer of realism to your snowy landscape. This technique involves using less saturated colors and softer edges for objects that are further away. As you paint the horizon, you might notice that distant mountains appear hazy and muted compared to the vibrant details of the trees in the foreground. By applying this principle, you can create a beautiful gradient that draws the viewer into your snowy world.
Finally, don’t forget about the sky. A well-painted sky can set the mood for your entire landscape. Whether it’s a bright, sunny day or a moody, overcast scene, the sky helps to establish the light source, which is crucial for creating shadows and highlights on the snow. A gradient of soft blues or warm pinks can enhance the sense of depth, making the snow appear even more inviting.
In summary, creating depth and perspective in your snowy winter landscape painting is all about understanding how to manipulate color, placement, and layering. By applying these techniques, you'll transform your artwork from a simple depiction of snow into a breathtaking scene that captures the serene beauty of winter.
- What materials do I need to create depth in my painting? You will need a variety of paint brushes, a palette of cool and warm colors, and a canvas. Layering techniques will require a good selection of whites, blues, and grays.
- How can I improve my perspective skills? Practice by studying photographs of landscapes and trying to replicate the depth you see. Using the rule of thirds can also help improve your composition.
- What is the best way to paint snow? Focus on layering and using the dry brush technique to create texture. Incorporating shadows and highlights will also enhance the realism of the snow.

Techniques for Painting Snow
Painting snow can be a delightful yet challenging endeavor, primarily due to its unique reflective qualities and the way it interacts with light. To truly capture the essence of a snowy landscape, artists need to utilize various techniques that highlight the beauty and texture of snow. One of the most effective methods is the dry brush technique, which involves using a brush with minimal paint to create a soft, textured look that mirrors the appearance of freshly fallen snow. This technique allows for a delicate representation of the snow's surface, making it appear light and airy.
When employing the dry brush technique, it's essential to choose a brush with stiff bristles, as this will help in creating those beautiful, feathery strokes that evoke the feeling of snow. Start by loading your brush with a small amount of white paint and gently dragging it across the canvas. The key here is to use a light touch, allowing the underlying colors to peek through, which adds depth and dimension to your painting. Remember, snow is not just white; it has subtle variations in color that reflect the environment around it.
In addition to the dry brush technique, layering is crucial for achieving realism in your snowy landscapes. By building up layers of paint, you can capture the complexity and variations found in snow-covered scenes. Begin with a base layer of cool blues and grays to establish the shadow areas, as these colors will provide a foundation for the snow's reflective qualities. Once the base layer is dry, gradually add layers of white and lighter shades to create highlights and contours, mimicking the way light interacts with snow.
To further enhance the realism of your snowy landscape, consider incorporating texture techniques. For instance, you can use a palette knife to apply thick, impasto strokes of paint, which can represent areas where the snow has built up. This method not only adds dimension but also invites the viewer to feel the weight and presence of the snow. Additionally, you can use a sponge or a cloth to dab on highlights, creating a soft, diffused look that captures the ephemeral nature of snowflakes.
Another important aspect to consider is the use of shadows. Snow is not uniformly bright; it carries shadows that add depth and interest to your painting. Use a mix of grays and blues to create shadows in the snow, paying attention to how the light source in your scene influences these colors. Shadows can be subtle, but they play a significant role in grounding your painting and providing a sense of dimension.
Lastly, don't forget to experiment with accent colors. While snow is predominantly white, it can be enriched with hints of color that reflect the environment. For example, a warm orange or soft pink can be used to depict the warm glow of a sunset reflecting on the snow. This contrast not only enhances the vibrancy of your painting but also adds emotional depth, drawing the viewer into the serene beauty of a winter landscape.
- What type of paint is best for painting snow? Acrylics and oils are both excellent choices for painting snow, as they allow for layering and blending.
- Can I use a regular brush for the dry brush technique? While you can use a regular brush, a stiff-bristled brush works best for achieving the desired texture.
- How do I make my snow look realistic? Focus on layering colors, using shadows, and incorporating texture techniques to create depth and realism.
- Is it necessary to use accent colors in a snowy landscape? While not necessary, accent colors can enhance the vibrancy and emotional impact of your painting.
Dry Brush Technique
The is a remarkable method that can transform your snowy landscape painting into a breathtaking scene. Imagine the soft, fluffy texture of freshly fallen snow glistening under the winter sun; that's the magic you can achieve with this technique. To start, you’ll need a stiff-bristled brush, which is essential for creating that textured effect. Instead of loading your brush with a lot of paint, you’ll want to use a minimal amount, almost like you’re dusting the canvas rather than painting it. This approach allows the underlying layers of color to peek through, giving your snow a more dynamic and realistic appearance.
When you apply the paint, use light, quick strokes. Think of it as gently caressing the canvas rather than painting it aggressively. This method allows you to build texture gradually, which is crucial for capturing the essence of snow. You can experiment with different angles and pressures to see how the brush interacts with the paint and canvas. It’s all about finding that perfect rhythm! You might also want to consider the type of paint you’re using; acrylics work wonderfully for this technique because they dry quickly, allowing for layering without much wait time.
As you work, remember to vary your shades of white and gray. Snow isn’t just one color; it reflects the environment around it. For instance, when painting a snowy landscape at sunrise, you might incorporate soft pinks and warm yellows. To illustrate this concept, here’s a simple table showing some color combinations you might use:
| Time of Day | Color Palette |
|---|---|
| Morning | Soft whites, pale blues, hints of pink and lavender |
| Noon | Bright whites, cool blues, and light grays |
| Evening | Warm whites, deep blues, and subtle purples |
By layering these colors with the dry brush technique, you can create depth and dimension in your snowy landscape. One tip is to start with the lightest colors first, then gradually add darker shades. This layering effect will help create a three-dimensional feel, making your painting not just a flat image but a window into a winter wonderland. Don’t be afraid to step back and assess your work from a distance, as this can help you see where you might need to add more texture or adjust your color balance.
In conclusion, mastering the dry brush technique is all about practice and experimentation. Each stroke brings you closer to capturing that enchanting winter scene. So grab your brush, let your creativity flow, and enjoy the process of painting snow like never before!
- What is the best type of brush for the dry brush technique? A stiff-bristled brush is ideal for creating texture.
- Can I use oil paints with the dry brush technique? Yes, but be mindful of the drying time compared to acrylics.
- How do I clean my brush after using it for dry brushing? Clean your brush with water (for acrylics) or solvent (for oils) immediately after use to maintain its shape.
Layering for Realism
When it comes to painting a snowy winter landscape, layering is not just a technique; it's an essential skill that transforms a flat canvas into a breathtaking, three-dimensional scene. Imagine standing in a serene winter wonderland, where the snow blankets the ground in a soft, inviting layer. To replicate this beauty on canvas, you must carefully build up your layers, allowing each one to add depth and dimension. It's like constructing a delicate cake: each layer contributes to the overall flavor and texture, making the final product not only beautiful but also rich and satisfying.
Start with a solid base layer that sets the tone for your snowy landscape. This initial layer should be a mix of cool colors, predominantly whites and light blues, to create the illusion of snow. Use broad, sweeping strokes to cover the canvas, ensuring that the base is smooth and even. Think of this layer as the foundation of a house; it needs to be sturdy enough to support the intricate details that will follow.
Once your base is dry, it’s time to add depth through subsequent layers. This is where the magic happens! Begin by mixing slightly darker shades of blue and gray, applying them to areas where shadows naturally occur, such as under trees or along the edges of snowdrifts. This contrast is crucial; without it, your painting may appear flat and lifeless. As you layer these darker tones, remember to blend them gently into the lighter areas. The goal is to create a seamless transition that mimics the way light interacts with snow in the real world.
Another important aspect of layering is to consider the texture of your snow. Snow isn’t just a flat surface; it has a variety of textures, from soft powdery drifts to hard-packed trails. To achieve this, you can use a technique known as impasto, where you apply paint thickly to create a three-dimensional effect. Use a palette knife or a stiff brush to add peaks and valleys in your snow, capturing the way it shifts and settles. This tactile quality will draw viewers into your painting, making them feel as if they could reach out and touch the snow.
As you progress, don’t forget to incorporate subtle details that can enhance the realism of your snowy landscape. For instance, tiny specks of color can represent snowflakes caught in the light, or hints of warmer tones can suggest areas where the sun has melted the snow slightly. These little touches can make a big difference, elevating your painting from simple to stunning.
Finally, always step back and assess your work from a distance. This will help you see how well your layers are coming together and whether the depth you’ve created feels natural. Just like a sculptor chisels away at stone to reveal the beauty within, you too can refine your painting by adjusting layers until you achieve that perfect snowy scene. Remember, patience is key; allow each layer to dry completely before adding the next, and don’t rush the process. The more time you invest in layering, the more realistic and captivating your snowy winter landscape will become.
- What is the best type of paint to use for layering? Acrylics are great for layering due to their quick drying time, but oils can also work well for blending.
- How many layers should I use? There’s no set number; typically, 3-5 layers can create a good depth, but feel free to add more if needed.
- Can I use a hairdryer to speed up drying time between layers? Yes, a hairdryer can help, but use it on a low setting to avoid disturbing the paint.
Frequently Asked Questions
- What materials do I need to start painting a snowy winter landscape?
To get started, you’ll need a few essential materials: acrylic or oil paints, a variety of brushes (flat and round), a canvas or watercolor paper, and a palette for mixing colors. Don’t forget to have a jar of water (for acrylics) or solvents (for oils) handy for cleaning your brushes!
- How do I mix the right cool colors for a winter scene?
Mixing cool colors involves combining blues, whites, and grays. Start with a base of blue and gradually add white to lighten the tone. For a frosty effect, try mixing in a touch of gray to create depth. Experimenting with different ratios will help you find the perfect shade that captures the chill of winter.
- What is the dry brush technique and how can I use it?
The dry brush technique is a fantastic way to depict the soft texture of fresh snow. To use this method, take a brush with very little paint and lightly drag it across the canvas. This creates a soft, feathery look that mimics the way snow settles on surfaces. It’s all about the light touch!
- How can I create depth in my snowy landscape painting?
Creating depth involves using layers of color and varying shades. Start with darker colors for the foreground and gradually lighten your palette as you move towards the background. This technique tricks the eye into perceiving distance, making your painting feel more realistic and inviting!
- Can I use accent colors in a winter landscape?
Absolutely! While winter scenes often rely on cool colors, incorporating subtle accent colors can bring your painting to life. Warm tones like soft yellows or muted oranges can create contrast and interest, especially in areas like sunset reflections or warm light peeking through trees.


