Different Brush Techniques for Dynamic Paintings
Welcome to the vibrant world of painting, where every stroke tells a story and every color breathes life into your canvas! In this article, we will delve into dynamic brush techniques that can elevate your artwork from mundane to mesmerizing. Whether you are a seasoned artist or just starting out, understanding these techniques can unlock new levels of creativity and expression. Imagine your paintings not just sitting on a wall, but dancing before the eyes of your viewers, pulling them into a world of color and emotion. Ready to explore how to make your brushwork sing? Let’s dive in!
Before we get our hands dirty with paint, it’s crucial to understand the tools we’ll be using. Different brush types can significantly affect the outcome of your artwork. Brushes come in various shapes and sizes, each designed for specific techniques and effects. For instance, a flat brush is perfect for bold strokes and smooth blends, while a round brush excels in detail and intricate designs. Here’s a quick overview of some common brush types:
| Brush Type | Characteristics | Best For |
|---|---|---|
| Flat Brush | Wide, rectangular shape | Bold strokes, blending |
| Round Brush | Round tip, varying sizes | Detail work, fine lines |
| Filbert Brush | Oval shape with a flat edge | Soft edges, blending |
| Fan Brush | Fanned bristles | Texture, foliage effects |
Choosing the right brush can make all the difference in your painting process. Think of it like picking the right instrument for a song; the brush is your tool to create a symphony of colors and textures. So, take some time to explore different brushes and discover how each one can contribute to your artistic vision.
Now that we’ve set the stage with our brush types, let’s talk about the foundation of any painting: basic brush strokes. Mastering these strokes is essential for any painter, as they form the building blocks for more complex techniques. Think of basic strokes as the alphabet of painting; just like you need to know your letters to form words, you need to know your strokes to create stunning artwork.
Some fundamental strokes include:
- Straight Strokes: These are the simplest, yet they can create strong lines and shapes.
- Circular Strokes: Perfect for creating soft edges or blending colors.
- Cross-Hatching: This technique adds depth and texture, especially in shadow areas.
By practicing these strokes, you’ll develop muscle memory and confidence, allowing you to experiment with different techniques as you progress in your painting journey. Remember, every artist has their own style, so don’t be afraid to make these strokes your own!
Flat brushes are incredibly versatile tools that can create bold strokes and smooth blends. They can be used to cover large areas quickly or to create intricate details, making them a favorite among many artists. To effectively use flat brushes for dynamic effects in your paintings, consider the angle at which you hold the brush, as this can dramatically alter the stroke's outcome.
One of the most exciting aspects of using flat brushes is their ability to create texture. By layering paint and varying your pressure, you can build depth in your artwork. Try using a dry brush technique with your flat brush to create a rough texture that can mimic natural elements like grass or bark. Layering different colors can also produce stunning effects, making your painting feel alive.
Blending colors seamlessly is crucial for achieving depth and realism in your artwork. To master blending techniques using flat brushes, start by applying a base color and then gradually mix in a second color. Use the edge of the flat brush to gently stroke back and forth, allowing the colors to merge without becoming muddy. This method can create beautiful gradients and soft transitions, giving your painting a professional finish.
Round brushes are ideal for detailed work and intricate designs. Their pointed tips allow for fine lines and delicate details, making them perfect for creating focal points in your paintings. To add finesse and precision to your artwork, experiment with different pressures and angles when using a round brush. You can create everything from fine outlines to bold strokes with just a flick of your wrist!
The dry brush technique is perfect for adding texture and dimension to your artwork. This method involves using a brush with very little paint on it, allowing the bristles to catch and drag across the surface of the canvas. The result? A unique, textured look that can add depth and interest to any painting. It’s like adding the final touches to a masterpiece, giving it that extra pop!
To execute the dry brush technique effectively, follow these steps:
- Choose a flat or stiff brush and dip it lightly into your paint.
- Remove excess paint by brushing it onto a paper towel.
- Gently drag the brush across the canvas, allowing the bristles to skip over the surface.
- Experiment with different pressures to achieve varying textures.
As with any technique, avoiding common pitfalls is essential for mastering the dry brush technique. Some frequent mistakes include:
- Using too much paint, which can lead to a muddy appearance.
- Applying too much pressure, which can flatten the texture.
- Not varying the angle of the brush, leading to repetitive patterns.
By being mindful of these mistakes and practicing regularly, you’ll be well on your way to creating stunning textured effects in your paintings!
Q: How do I know which brush to use for my painting?
A: It depends on the effect you want to achieve! Flat brushes are great for bold strokes and blending, while round brushes are perfect for details.
Q: Can I use the same brush for different techniques?
A: Absolutely! Many brushes are versatile and can be used for multiple techniques. Just make sure to clean them properly between uses.
Q: How can I improve my brush techniques?
A: Practice is key! Experiment with different brushes and techniques, and don’t be afraid to make mistakes. Each stroke is a learning opportunity!
Understanding Brush Types
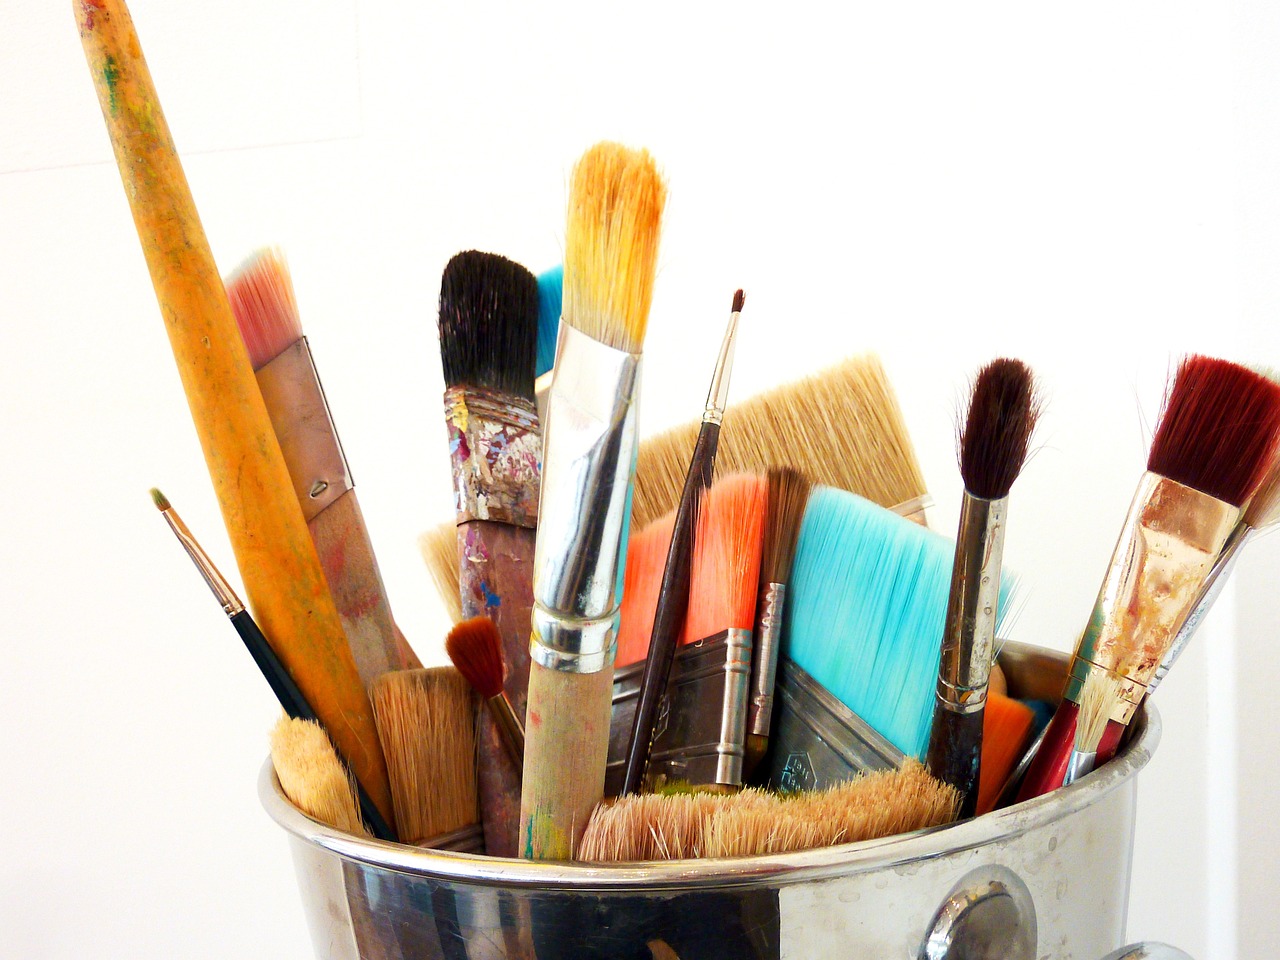
When it comes to painting, the type of brush you choose can dramatically influence your artwork. Think of brushes as the instruments of your creative orchestra; each one plays a unique role in producing the symphony of colors on your canvas. There are various types of brushes available, each designed for specific techniques and effects. Understanding these brushes is essential for any artist looking to elevate their painting skills.
First up, we have the flat brush. This brush is characterized by its rectangular shape and stiff bristles. It's fantastic for making bold strokes and filling in large areas. Flat brushes are perfect for creating sharp edges and can also be used to blend colors smoothly. They’re like the wide paint roller of the brush world—ideal for covering ground quickly!
Next, we have the round brush. As the name suggests, this brush has a rounded tip and is incredibly versatile. It excels in detail work and is perfect for creating fine lines, curves, and intricate designs. If you think of painting as a conversation, the round brush is your eloquent speaker, capable of expressing complex ideas with finesse.
Then there’s the filbert brush, which combines the features of both flat and round brushes. Its oval shape allows for both broad strokes and detailed work, making it a favorite among many artists. It’s like having the best of both worlds—perfect for those who want versatility without sacrificing quality.
Lastly, we have the fan brush, which is shaped like a fan and is excellent for creating textures like foliage or clouds. This brush can add a unique flair to your paintings, making it an essential tool for artists looking to achieve a more organic feel in their work.
To summarize, here’s a quick comparison of the different brush types:
| Brush Type | Shape | Best For |
|---|---|---|
| Flat Brush | Rectangular | Bold strokes, filling areas |
| Round Brush | Round | Detail work, fine lines |
| Filbert Brush | Oval | Versatile strokes, blending |
| Fan Brush | Fan-shaped | Textures, organic effects |
Choosing the right brush is not just about the physical characteristics; it’s also about how you feel when you use them. So, experiment with different types and see which ones resonate with your painting style. Remember, the brush is an extension of your hand, and the more comfortable you are with it, the better your artwork will be!
Basic Brush Strokes
Mastering basic brush strokes is essential for any painter looking to elevate their craft. These strokes are the building blocks of your artistic expression, allowing you to create everything from simple shapes to complex images. Think of them as the alphabet of painting; just as you need to know your letters to form words, you must understand these strokes to create stunning artwork. Let’s dive into some fundamental brush strokes that every artist should know!
One of the most basic strokes is the straight stroke. This stroke is achieved by moving the brush in a straight line across the canvas. It’s perfect for creating clean edges and can be used to outline shapes or add structure to your painting. To master this technique, practice maintaining a steady hand and consistent pressure on the brush. You might find it helpful to start with a light touch and gradually increase pressure as you become more comfortable.
Another essential stroke is the curved stroke. This technique involves moving the brush in a gentle arc, which can add fluidity and movement to your work. Imagine painting a winding river or a soft breeze blowing through grass; curved strokes can bring these elements to life. To practice, try painting a series of waves or spirals, focusing on the flow and rhythm of your movements.
Cross-hatching is a technique that involves layering strokes to create depth and shadow. By crossing lines at different angles, you can achieve a rich texture that adds dimension to your paintings. This technique is often used in ink drawings but can be adapted for paint as well. Start with a light base layer and gradually build up your cross-hatched strokes, observing how the layers interact with one another.
For those looking to create more dynamic effects, the stippling technique is a fun and effective method. This involves applying small dots of paint to the canvas, which can create a sense of texture and movement. Stippling is particularly useful for depicting foliage, clouds, or other organic forms. Experiment with different brush sizes to see how they affect the density and appearance of your stippling.
To summarize the basic brush strokes, here’s a quick reference table:
| Brush Stroke | Description | Use Cases |
|---|---|---|
| Straight Stroke | Moving the brush in a straight line | Outlining shapes, creating clean edges |
| Curved Stroke | Moving the brush in a gentle arc | Creating fluidity, depicting movement |
| Cross-hatching | Layering strokes at different angles | Adding depth, creating shadows |
| Stippling | Applying small dots of paint | Creating texture, depicting organic forms |
Each of these strokes can be combined and manipulated to create unique effects in your paintings. As you practice, don’t be afraid to experiment! Try combining different strokes to see how they interact, or layer them to create more complex images. The beauty of painting lies in its versatility, and mastering these basic brush strokes will give you the confidence to explore your creative potential.
Remember, practice makes perfect. Set aside some time to focus solely on these brush strokes. The more you practice, the more natural they will become, allowing you to express your artistic vision with ease. So grab your brushes and get started—your canvas awaits!
- What type of brush should I use for basic strokes? A variety of brushes can work, but flat and round brushes are particularly effective for mastering these techniques.
- How can I improve my brush control? Regular practice and focusing on your hand movements will help improve your brush control over time.
- Can I use these techniques in different painting styles? Absolutely! These basic strokes are versatile and can be adapted to various styles, including realism, abstract, and impressionism.
Flat Brush Techniques
Flat brushes are like the Swiss Army knives of the painting world—they're incredibly versatile and can be used for a myriad of techniques that bring your artwork to life. Whether you're aiming for bold strokes or delicate blends, mastering the use of flat brushes can elevate your painting game to a whole new level. But how exactly do you harness the full potential of these tools? Let’s dive into some effective flat brush techniques that can add dynamism and depth to your paintings.
One of the most exciting aspects of using flat brushes is their ability to create both defined edges and soft transitions. To achieve this, start by loading your brush with paint, ensuring that you have an even distribution on the bristles. When applying paint, angle the brush to utilize its width for broader strokes. This technique is especially useful for creating backgrounds or large areas of color, allowing you to cover more space efficiently. But don’t just stop there! You can also use the edge of the brush to create fine lines, which can add intricate details to your work.
Another technique to explore is the scrubbing motion. This involves using a back-and-forth motion with a bit of pressure to mix colors directly on the canvas. It’s a fantastic way to create texture and movement in your paintings. Imagine the way waves crash against the shore; that’s the kind of energy you can evoke with this technique. Just remember to keep your paint slightly wet to allow for better blending and smoother textures.
For those looking to create layered effects, flat brushes are your best friend. Start with a base layer and allow it to dry completely before applying subsequent layers. This method not only adds depth but also allows you to play with transparency and color mixing. You can create stunning landscapes or abstract pieces that draw the viewer in with their complexity. Don’t hesitate to experiment with different colors and opacities; the results can be surprisingly captivating!
To give you a clearer picture of how flat brushes can be used effectively, here’s a simple table summarizing various techniques:
| Technique | Description | Effect |
|---|---|---|
| Bold Strokes | Using the brush flatly to cover large areas | Creates strong, defined shapes |
| Scrubbing Motion | Back-and-forth motion to mix colors | Adds texture and movement |
| Layering | Applying dry layers of paint | Creates depth and complexity |
Finally, don't forget about cleaning your brush between color changes. This not only preserves the integrity of your colors but also prevents muddying your palette. A quick rinse in water followed by a gentle wipe on a paper towel will do wonders. Remember, a clean brush is a happy brush!
In conclusion, the flat brush is an essential tool for any painter looking to add dynamism to their work. By mastering these techniques, you’ll not only improve your skills but also discover new ways to express your artistic vision. So grab your flat brushes, experiment with these methods, and watch your paintings come to life!
Q: What types of paint are best for flat brushes?
A: Flat brushes work well with various types of paint, including acrylics, oils, and watercolors. Each paint type will offer a different texture and finish, so feel free to experiment!
Q: How do I know which size flat brush to use?
A: The size of the flat brush you choose depends on the area you’re painting. Larger brushes are great for broad strokes, while smaller ones are better for details.
Q: Can I use flat brushes for detail work?
A: Absolutely! While flat brushes are typically used for broader strokes, you can use the edge of the brush for more intricate details.
Q: How do I maintain my flat brushes?
A: Always clean your brushes immediately after use with soap and water. For oil paints, use a solvent. Proper care will extend the life of your brushes significantly.

Creating Texture with Flat Brushes
When it comes to painting, texture can transform a flat surface into a dynamic landscape of visual interest. Flat brushes are your best friends in this endeavor, allowing you to create a variety of textures that can evoke emotion and depth in your artwork. Imagine the feel of a gentle breeze or the ruggedness of a rocky cliff; these sensations can be captured through the clever use of flat brushes.
One of the most effective ways to utilize flat brushes for texture is through layering. By applying multiple layers of paint, you can build a rich surface that adds complexity to your work. Start with a base layer of color; once it dries, use a slightly lighter or darker shade to create highlights and shadows. This technique not only adds depth but also invites the viewer to explore the nuances of your painting.
Another technique involves using the edge of the flat brush to create scraping effects. By dragging the edge of a loaded brush across the canvas, you can produce fine lines that mimic the appearance of grass, hair, or other natural textures. This method can be particularly effective in landscapes or portraits where such details are essential. Don’t be afraid to experiment with varying pressures; a light touch will yield different results than a more forceful stroke.
For those looking to achieve a more abstract texture, consider the stamping technique. Dip your flat brush into the paint and then press it onto the canvas at different angles. This creates a series of shapes and patterns that can add a spontaneous feel to your work. You might find yourself creating a field of flowers or a bustling cityscape without ever lifting the brush from the canvas!
To give you a clearer idea of how to create texture with flat brushes, here’s a simple step-by-step guide:
- Choose your colors wisely; contrasting colors can enhance texture.
- Start with a base layer and allow it to dry completely.
- Use a clean flat brush to apply a new layer, experimenting with pressure and angle.
- Incorporate scraping or stamping techniques to add interest.
- Finish with a final layer, possibly using a lighter shade for highlights.
Ultimately, the key to mastering texture with flat brushes lies in practice and experimentation. Don’t shy away from trying out different techniques; the beauty of painting is that it allows for endless creativity. Each stroke can bring something new to your canvas, and with flat brushes, you have the power to turn an ordinary painting into a textured masterpiece.
- What type of paint should I use for creating texture? Acrylics and oils are great for texture, as they can be layered easily.
- Can I use flat brushes for detailed work? While flat brushes are typically used for broader strokes, they can also be used for details if handled carefully.
- How do I clean my flat brushes after use? Clean them with soap and water for acrylics or an appropriate solvent for oils to maintain their shape.
Blending with Flat Brushes
When it comes to creating stunning artworks, can be a game-changer. Imagine standing in front of a canvas, armed with a flat brush, ready to transform your vision into a masterpiece. The flat brush's wide, rectangular shape allows for a variety of strokes and blending techniques that can add depth and dimension to your paintings. But how do you achieve that seamless transition between colors? Let’s dive into the world of blending!
First off, it's essential to understand that blending is not just about mixing colors; it's about creating a visual harmony that draws the viewer in. To start blending effectively with a flat brush, you should use a technique called the "feathering" method. This involves lightly dragging the edge of the brush across the canvas where two colors meet. The key here is to apply gentle pressure and use a flicking motion, which helps to soften the edges and create a smooth gradient.
Another effective technique is the "cross-hatching" method. This is where you apply strokes in different directions to build up layers of color. By alternating between horizontal and vertical strokes, you can achieve a rich texture that feels dynamic and alive. Keep in mind that the quality of your paint plays a significant role in how well these techniques work. Using high-quality acrylics or oils will allow for better blending and more vibrant colors.
Here’s a quick tip: always keep a wet palette handy! This will help keep your paints moist and workable, making the blending process much smoother. You can create a simple wet palette by placing a damp sponge at the bottom of a shallow container and laying a piece of parchment paper over it. This will keep your paints fresh for longer, allowing you to focus on perfecting your blend.
To visualize the blending process, consider the following table that highlights the essential steps for effective blending with flat brushes:
| Step | Description |
|---|---|
| 1 | Choose your colors and prepare a wet palette. |
| 2 | Load your flat brush with the first color. |
| 3 | Apply the first color to the canvas using broad strokes. |
| 4 | Clean your brush and load it with the second color. |
| 5 | Gently drag the edge of the brush across the area where the two colors meet. |
| 6 | Use feathering or cross-hatching techniques to blend the colors. |
| 7 | Step back and assess your work; make adjustments as necessary. |
Remember, practice makes perfect! The more you experiment with blending techniques using flat brushes, the more confident you will become in your abilities. Don’t be afraid to make mistakes; they often lead to the most interesting results. So grab your flat brush, unleash your creativity, and let the colors dance on your canvas!
- What type of paint is best for blending with flat brushes?
Acrylics and oils are highly recommended due to their consistency and workability. - How can I avoid streaks when blending?
Ensure your brush is clean and wet, and use a light hand when applying the colors. - Can I blend colors that are far apart on the color wheel?
Yes, but it may require more effort to achieve a harmonious blend. Experimenting with transitional colors can help.
Round Brush Techniques
This article explores various brush techniques that can bring life and movement to your paintings. Learn how to enhance your artistic expression with these diverse methods.
Different brush types can significantly affect the outcome of your artwork. This section discusses the various brushes available and their unique characteristics that suit different painting techniques.
Mastering basic brush strokes is essential for any painter. Here, we will cover fundamental strokes and how they form the foundation for more complex techniques.
Flat brushes are versatile tools for creating bold strokes and smooth blends. This part explains how to effectively use flat brushes for dynamic effects in your paintings.
Flat brushes can create interesting textures. Learn techniques for layering and building depth in your artwork using flat brushes effectively.
Blending colors seamlessly is crucial for depth. This section will guide you through blending techniques using flat brushes for a smooth finish.
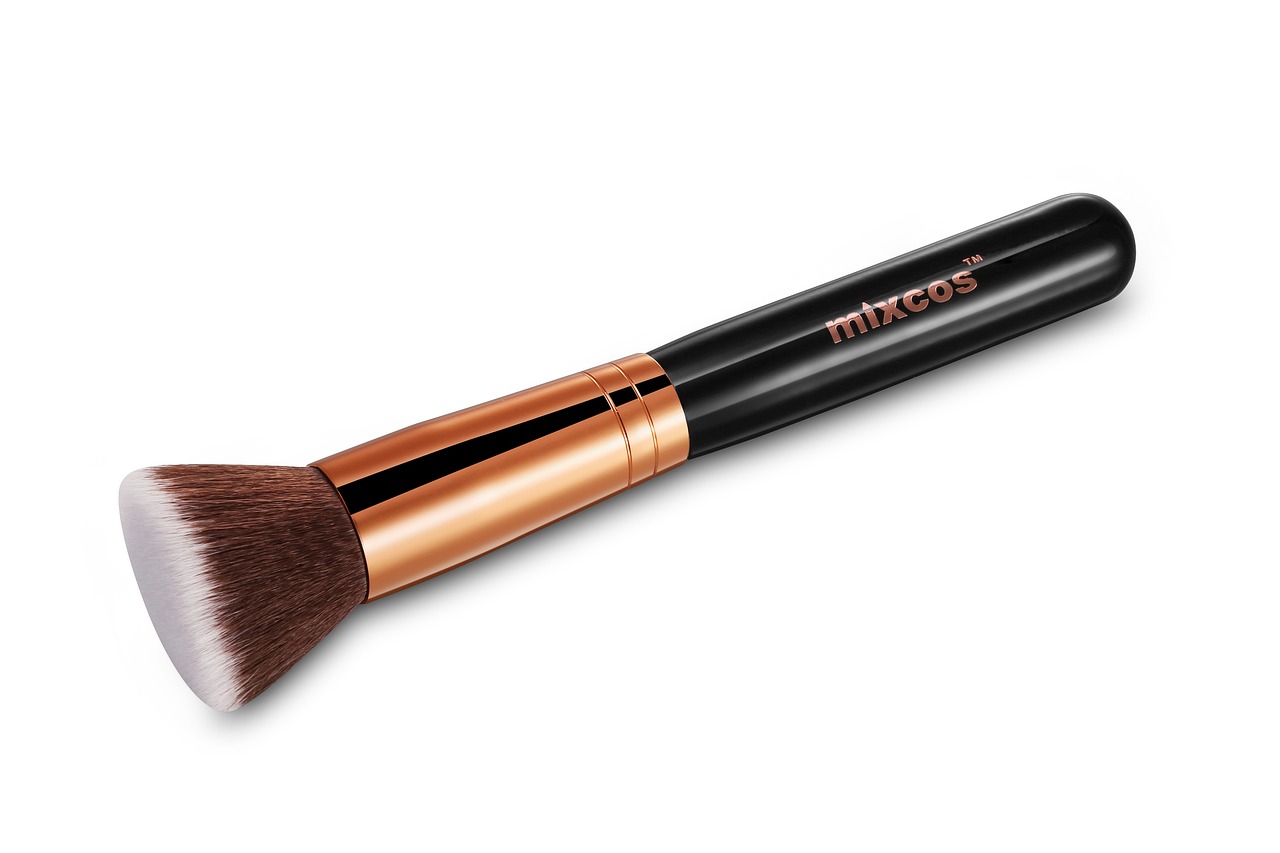
Round brushes are like the Swiss Army knives of the painting world; they're incredibly versatile and perfect for adding finesse and precision to your artwork. Whether you're creating delicate lines or bold strokes, round brushes can do it all. Their shape allows for a variety of techniques, making them essential tools in any artist's kit.
When using a round brush, you'll find that it can produce both fine details and broader strokes depending on how you hold it and the pressure you apply. For instance, if you use the tip of the brush lightly, you can create thin, intricate lines that are perfect for adding details to a painting. On the other hand, if you press down harder, you can achieve a thicker line, which is great for more expressive, dynamic effects.
One of the most exciting aspects of round brush techniques is the ability to create a sense of movement in your artwork. By varying the pressure and angle of your strokes, you can make your subjects appear more alive and vibrant. For example, when painting flowers, using a round brush to flick the petals can give them a sense of fluttering in the breeze.
Here are some techniques to master with round brushes:
- Detail Work: Use the fine tip for intricate designs, such as facial features or delicate patterns.
- Washing: A round brush is excellent for creating washes of color, allowing for smooth transitions between hues.
- Glazing: Layering transparent colors can add depth and richness to your paintings.
In addition to these techniques, it's essential to consider the size of the round brush you choose. Smaller brushes are perfect for detail work, while larger ones can cover more area and create bolder strokes. Experimenting with different sizes will help you discover the best fit for your style and the effects you want to achieve.
The dry brush technique is perfect for adding texture and dimension. This section explains how to execute this technique effectively for striking visual effects.
Learn the step-by-step process of applying the dry brush technique to achieve a unique, textured look in your paintings.
Avoiding common pitfalls is essential for mastering the dry brush technique. This part highlights frequent mistakes and how to correct them for better results.
Q: What is the best type of paint to use with round brushes?
A: Acrylic and watercolor paints work exceptionally well with round brushes due to their fluidity and ability to blend seamlessly.
Q: How do I clean my round brushes properly?
A: Always rinse your brushes in water immediately after use. For acrylics, use warm soapy water, and for oils, use a suitable solvent. Make sure to reshape the bristles while they are wet to maintain their form.
Q: Can I use round brushes for oil painting?
A: Absolutely! Round brushes are versatile and can be used effectively with oil paints, allowing for both detailed work and broader strokes.
Dry Brush Technique
The is a fantastic method that can elevate your paintings from mundane to mesmerizing. Imagine painting with a brush that barely touches the canvas, allowing you to create a sense of texture and depth that feels almost three-dimensional. This technique is particularly effective for landscapes, portraits, and even abstract art, where you want to evoke emotion and dynamism. The beauty of the dry brush technique lies in its simplicity and the surprising results it can yield!
To get started with the dry brush technique, you’ll need to select the right materials. A stiff-bristled brush is ideal, as it helps to control the amount of paint that adheres to the bristles. You can use acrylics or oil paints, but acrylics are particularly popular because they dry quickly and allow for layering. The key here is to use minimal paint on your brush; you want it to be almost dry, hence the name! This will help you achieve that beautiful, textured effect.
So, how do you apply the dry brush technique effectively? Here’s a step-by-step breakdown:
- Prepare Your Canvas: Make sure your canvas is primed and ready for painting. A textured canvas can enhance the dry brush effect.
- Load Your Brush: Dip your brush into the paint, then wipe off most of it on a paper towel. Remember, less is more!
- Apply the Paint: Using light pressure, drag the brush across the canvas. You should see the brush catching on the texture of the surface, leaving behind a beautiful, uneven layer of color.
- Build Layers: Allow each layer to dry before adding more. This will create depth and dimension in your artwork.
As you practice, you’ll discover that the dry brush technique can be incredibly versatile. You can create soft, wispy clouds in a sky or rugged textures in rocky landscapes. The possibilities are endless! However, it’s essential to be mindful of some common mistakes that artists make when trying this technique.
Even seasoned artists can fall into traps when using the dry brush technique. Here are a few pitfalls to watch out for:
- Using Too Much Paint: The most common mistake is overloading the brush. This can lead to a muddy appearance instead of the desired texture.
- Pushing Too Hard: Applying too much pressure can flatten the texture you’re trying to create. Light, gentle strokes work best.
- Neglecting to Experiment: Don’t be afraid to play with different brushes and surfaces. Each combination can yield unique results!
By avoiding these mistakes and practicing the steps outlined above, you’ll be well on your way to mastering the dry brush technique. Remember, the goal is to embrace the unpredictability of this method. Each stroke can lead to surprising outcomes that can enhance your artistic expression.
Q1: Can I use the dry brush technique with watercolor paints?
A1: Yes! While the dry brush technique is commonly associated with acrylics and oils, it can also be adapted for watercolors. Just ensure your brush is dry and your paint is concentrated for the best results.
Q2: What type of brush is best for the dry brush technique?
A2: Stiff-bristled brushes, such as bristle or hog hair brushes, work best. They allow you to control the amount of paint and create the desired texture.
Q3: How do I clean my brush after using the dry brush technique?
A3: Clean your brush immediately after use to prevent paint from drying in the bristles. Use warm, soapy water for acrylics and appropriate solvents for oils.
Q4: Can I combine the dry brush technique with other painting techniques?
A4: Absolutely! The dry brush technique can be layered with other methods like glazing or wet-on-wet painting to create more complex effects.
In conclusion, the dry brush technique is a powerful tool in your artistic arsenal. With a bit of practice and creativity, you can harness its potential to add stunning textures and depth to your paintings. So grab your brush and let your imagination flow!
Applying the Dry Brush Technique
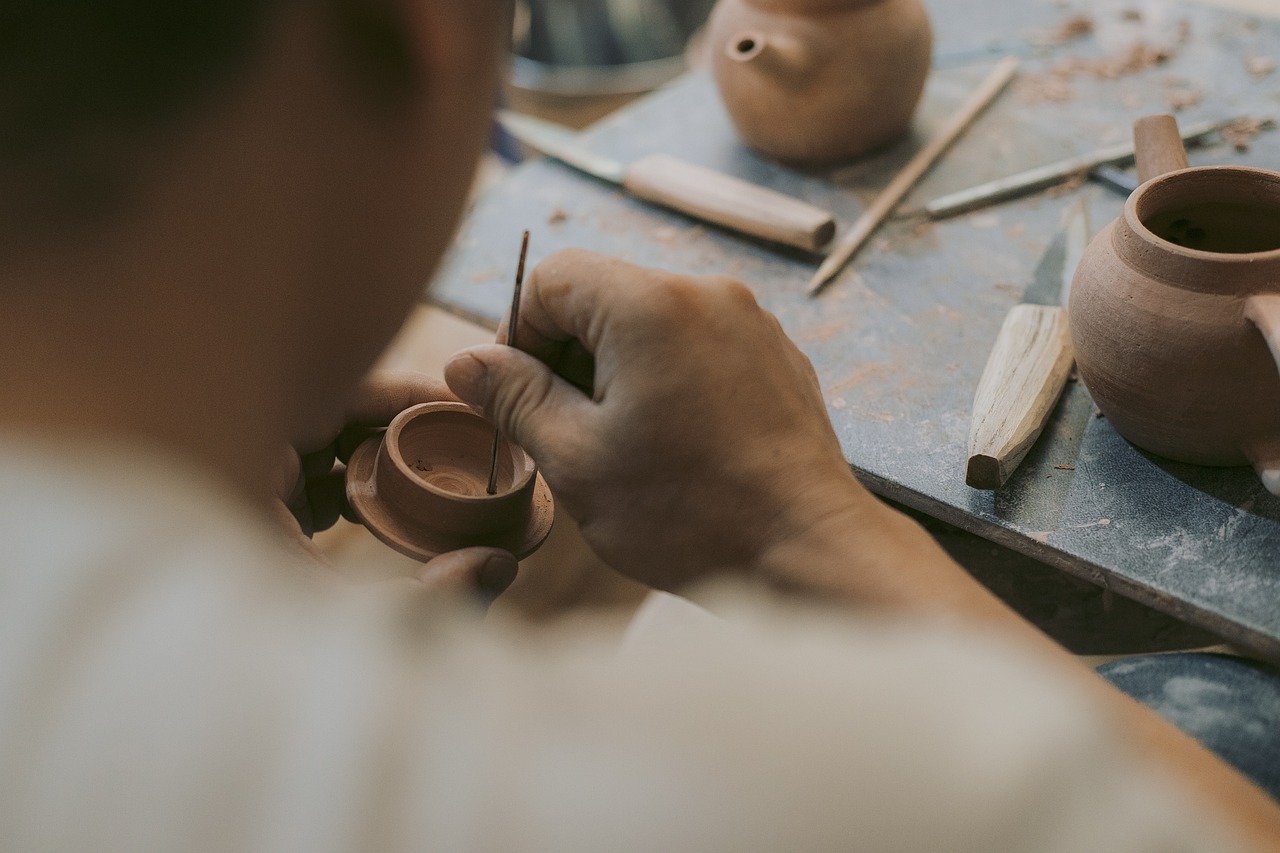
The dry brush technique is a fantastic way to add texture and depth to your paintings, creating a unique visual experience that can captivate viewers. To effectively apply this technique, start by selecting the right brush. A stiff, bristle brush works best, as it allows for more control and a more pronounced texture. Begin with a small amount of paint on your brush—less is definitely more here! The key is to ensure that the brush is not overloaded; you want it to be just damp enough to pick up the pigment without saturating it.
Next, choose the surface you will be painting on. A textured canvas or paper will enhance the dry brush effect, allowing the bristles to catch on the surface and create those lovely, uneven strokes that characterize this technique. Once you have your setup ready, gently drag the brush across the surface. Use quick, light strokes rather than heavy pressure. Imagine you're lightly whisking the paint across the canvas, allowing the bristles to skip and dance over the surface.
As you apply the dry brush technique, consider layering your strokes. Start with a base color and allow it to dry completely before adding another layer on top. This not only enhances the texture but also creates a sense of depth in your artwork. You can experiment with different colors by mixing them on your palette, and then lightly brushing them over the dry base layer. This will create a beautiful, blended effect that is both dynamic and visually engaging.
Another essential aspect of the dry brush technique is the angle of your brush. Adjusting the angle can significantly alter the texture and appearance of your strokes. For instance, using the edge of the brush will create thinner lines, while using the flat side can produce broader strokes. Don’t be afraid to explore and play with these angles to find what works best for your artistic vision.
Finally, remember that practice makes perfect. The more you experiment with the dry brush technique, the more comfortable you will become with it. Don't hesitate to try it out on different projects, whether you're creating landscapes, portraits, or abstract pieces. Each painting is an opportunity to refine your skills and discover new ways to express your creativity!
- What type of paint is best for the dry brush technique? Acrylics and oil paints work well for this technique, as they have the right viscosity to create texture.
- Can I use this technique on any surface? While it can be used on various surfaces, textured canvases or papers yield the best results.
- How do I clean my brush after using the dry brush technique? Clean your brush with soap and water for acrylics or solvent for oils, ensuring no paint residue remains.
- Is it possible to overdo the dry brush technique? Yes, too many layers can muddy your colors. It's best to apply it in moderation.
Common Mistakes to Avoid
When it comes to mastering the dry brush technique, avoiding common mistakes can make a world of difference in your artwork. One of the biggest pitfalls many artists encounter is using too much paint on the brush. This technique relies on the bristles being dry, so loading your brush with a heavy amount of paint can lead to a muddy finish rather than the desired textured effect. Think of it like trying to sprinkle salt on your food; if you dump the whole shaker, you’ll overpower the dish instead of enhancing it.
Another frequent mistake is not experimenting with different brush pressures. The beauty of the dry brush technique lies in its versatility, and adjusting the pressure you apply can yield strikingly different results. Light pressure can create delicate textures, while firmer strokes can add boldness. It’s essential to practice varying your pressure to discover what works best for your specific piece. Remember, each stroke is like a conversation between you and the canvas; you want to find the right balance.
Additionally, many artists overlook the importance of surface preparation. Using a surface that is too smooth can lead to a lack of texture, while overly rough surfaces can absorb too much paint, making it difficult to achieve the desired effect. It’s crucial to select the right canvas or paper that complements the dry brush technique. Consider using a textured canvas or a medium that allows for more control over the paint application.
Lastly, don’t forget to clean your brushes properly between uses. Residual paint can mix with new colors, leading to unexpected hues that might not align with your vision. Proper brush care is like maintaining a good relationship with your tools; it ensures they are ready to perform at their best when you need them. So, give your brushes a good rinse and dry them thoroughly before diving into your next masterpiece.
Here are some common questions artists have about the dry brush technique:
- What type of paint works best for dry brushing? Acrylics and oils are both excellent choices for dry brushing, but acrylics tend to dry faster, allowing for quicker layering.
- Can I use the dry brush technique on any surface? While it can be done on various surfaces, textured canvases or papers work best to enhance the technique.
- How do I know if I'm using the right amount of paint? The right amount is usually a very small amount; it should barely coat the bristles. Test on a scrap surface first.
- Is the dry brush technique suitable for beginners? Absolutely! It’s a great way for beginners to explore texture and practice control without needing advanced skills.
Frequently Asked Questions
- What types of brushes are best for beginners?
For beginners, it's essential to start with a few versatile brushes. A flat brush is great for bold strokes, while a round brush can help with details. Investing in a set of synthetic brushes can also be a good choice as they are affordable and easy to clean.
- How do I choose the right brush for my painting technique?
Choosing the right brush depends on the effect you want to achieve. For broader strokes and blending, a flat brush is ideal. If you're working on intricate details, a round brush will serve you better. Experimenting with different brushes will help you understand their unique characteristics.
- Can I use the dry brush technique with any type of paint?
Yes! The dry brush technique can be used with various types of paint, including acrylics and oils. However, it's most effective with thicker paints. Just make sure your brush is dry and only pick up a small amount of paint for that textured effect.
- What common mistakes should I avoid when using the dry brush technique?
One common mistake is using too much paint on your brush, which can lead to a muddy look. Another is not allowing the layer beneath to dry properly before applying the dry brush technique, which can cause unwanted blending. Remember, less is more!
- How can I create texture in my paintings?
Texture can be created using various techniques, such as layering with a flat brush or utilizing the dry brush technique. You can also experiment with different mediums or add materials like sand or fabric to your paint for a unique texture.
- Is it necessary to clean brushes after every use?
Yes, cleaning your brushes after every use is crucial to maintain their shape and longevity. For water-based paints, rinse them in water, and for oil-based paints, use a suitable solvent. Proper care will ensure your brushes perform well for years!


