How to Nightscapes Using Acrylics
Creating stunning nightscape paintings with acrylics is not just an artistic endeavor; it’s an invitation to explore the depths of your imagination. The beauty of a night sky, with its shimmering stars and mysterious shadows, can be captured on canvas with the right techniques and a splash of creativity. Whether you are a seasoned artist or a beginner looking to dabble in the enchanting world of acrylics, this guide will navigate you through the essential steps to bring your night scenes to life. From color selection to brush techniques and composition strategies, let’s dive into the magical realm of nightscapes.
Understanding color theory is essential for nightscapes. The colors you choose can evoke the mood of the night, transforming a simple canvas into a mesmerizing scene. Focus on using deep blues, rich purples, and contrasting highlights to create a dynamic atmosphere. Think of the night sky as a canvas itself, where the darker hues of blue and purple represent the vastness of the universe, while the bright whites and yellows mimic the twinkling stars. Here’s a quick overview of colors to consider:
| Color | Emotion/Mood |
|---|---|
| Deep Blue | Calmness, Depth |
| Purple | Mystery, Magic |
| White/Yellow | Light, Hope |
By thoughtfully selecting your colors, you can set the perfect mood for your nightscape painting.
Different brush techniques can create unique textures and effects in nightscapes. Each technique offers a different way to express the beauty of the night sky. For instance, stippling, dry brushing, and glazing are all methods that can enhance your artwork. Imagine stippling as a sprinkle of fairy dust across your canvas, creating an illusion of stars twinkling in the night. Dry brushing, on the other hand, can help you create soft clouds or mist that float gently across the sky. Glazing allows you to build depth and richness in your colors, making the night sky feel alive.
Stippling can effectively create the illusion of stars in your night sky. This technique involves using a brush to apply small dots of paint, which can add depth and sparkle to your painting. To get started, dip your brush lightly into white or yellow paint, and then gently tap it on the canvas, allowing the paint to form tiny dots. Vary the pressure for different sizes of stars, and don’t be afraid to overlap some dots to create a sense of depth. It’s like a sprinkle of magic that transforms your nightscape into a celestial wonderland!
A gradient sky sets the tone for your nightscape. To achieve a realistic twilight or nighttime effect, blend colors smoothly. Start with a deep blue at the top of your canvas, gradually transitioning to lighter shades of blue or purple as you move down. Use a clean, damp brush to blend the colors seamlessly, creating a soft transition that mimics the natural beauty of the sky. Think of it as painting a beautiful sunset, but in reverse; instead of the sun setting, you’re capturing the essence of the night creeping in.
Capturing light in a night scene is crucial. Techniques for representing moonlight and artificial light sources can enhance the overall atmosphere of your artwork. For moonlight, use a soft, glowing white or pale yellow to create a circular shape, then blend it into the surrounding colors to give it that ethereal glow. For artificial lights, like street lamps or windows, add warm yellows and oranges to contrast against the cooler tones of the night. This contrast not only draws the viewer's eye but also brings your nightscape to life.
Layering is vital for building depth in your nightscape. Applying multiple layers of paint can achieve a rich, dimensional look. Start with a base layer of your chosen colors, and once dry, add additional layers to enhance highlights, shadows, and textures. Each layer adds complexity to your artwork, much like the layers of the atmosphere that create the stunning visuals of a night sky.
Effective composition is key to a successful nightscape. Arranging elements in your painting thoughtfully can draw the viewer's eye and create balance. Consider the rule of thirds when positioning your focal points. This technique involves dividing your canvas into three equal parts, both horizontally and vertically, and placing important elements along these lines or at their intersections. This can create a more engaging and dynamic composition.
Establishing a focal point can guide the viewer's attention. Whether it’s a glowing moon, a silhouette of a tree, or a distant city skyline, placing your focal point strategically can make your night scene more impactful. Think of it as the main character in a story; it’s what draws the audience in and keeps them engaged.
Incorporating foreground elements adds interest and depth. Trees, buildings, or silhouettes can effectively integrate into your nightscape composition. These elements not only frame your painting but also provide a sense of scale, making the night sky feel even more expansive. Imagine standing in a forest, looking up at a starry sky; the trees provide context and enhance the beauty of the scene.
- What type of acrylics should I use for nightscapes? - It's best to use high-quality acrylic paints for vibrant colors and better blending.
- Can I use other mediums with acrylics? - Yes, you can incorporate mediums like gel or glazing mediums to enhance textures and effects.
- How do I fix mistakes in my painting? - Acrylics dry quickly, so you can paint over mistakes easily. Just wait for the layer to dry before applying new paint.
Choosing the Right Colors
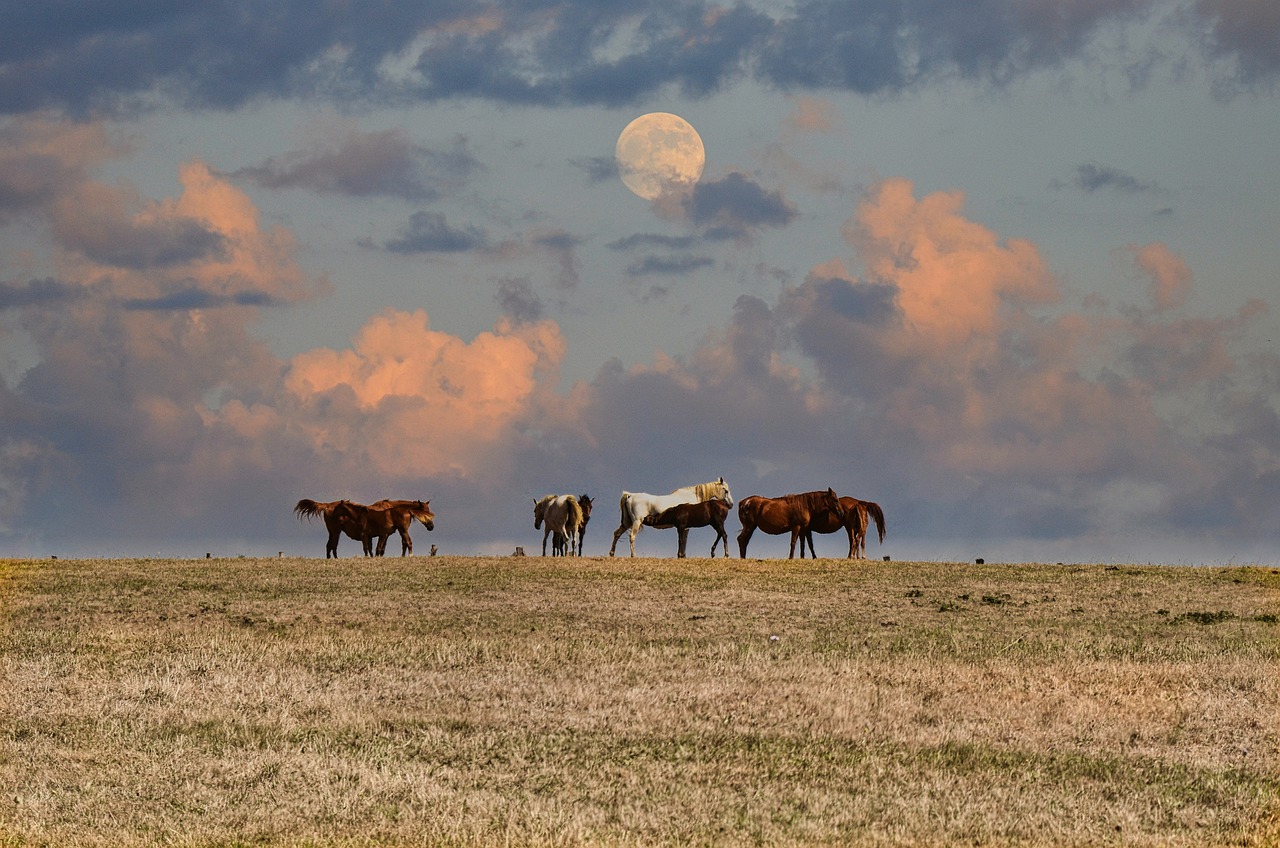
When it comes to painting nightscapes, color selection plays a crucial role in conveying the mood and atmosphere of your artwork. The night sky is not just a flat canvas of black; it is a dynamic blend of deep blues, rich purples, and soft, glowing highlights. Understanding color theory is essential for artists aiming to evoke the enchanting feel of nighttime scenes. Have you ever noticed how the sky transforms as the sun sets? Those colors can inspire your palette.
To create a captivating nightscape, consider using a combination of cool colors like ultramarine blue, cobalt blue, and violet. These hues will help you establish a deep, mysterious background that draws viewers in. On the other hand, incorporating warm colors such as yellows, oranges, and whites can create stunning contrasts, mimicking the glow of the moon or city lights. The interplay between warm and cool tones can add a sense of depth and intrigue to your work.
Here's a quick breakdown of color choices you might consider for your nightscapes:
| Color Type | Examples | Effect |
|---|---|---|
| Cool Colors | Ultramarine Blue, Cobalt Blue, Violet | Creates depth and a sense of calm |
| Warm Colors | Yellow, Orange, White | Adds contrast and highlights |
| Neutral Colors | Black, Gray | Grounds the painting and adds shadow |
When mixing your colors, remember that less is often more. You want to maintain a sense of harmony in your palette. Using too many colors can lead to a chaotic look that detracts from the serene beauty of a night scene. Instead, try to limit your palette to a select few colors and explore their various shades and tints. This approach not only simplifies your process but also enhances the overall impact of your painting.
Another important aspect to consider is the lighting in your scene. Think about where the light sources are coming from. For instance, if you’re painting a moonlit night, you might want to use a soft white or pale yellow to depict the moon’s glow. On the other hand, if your nightscape features city lights, vibrant oranges and yellows can effectively capture that urban glow. This contrast between the dark sky and illuminated elements creates a stunning visual effect that can mesmerize the viewer.
In summary, choosing the right colors for your nightscape is all about understanding the emotional response you want to evoke. By selecting a balanced palette of cool and warm colors, mixing thoughtfully, and considering the light sources in your painting, you can create a night scene that is not only beautiful but also deeply engaging. So grab your brushes, and let the colors of the night inspire your next masterpiece!
Brush Techniques for Nightscapes
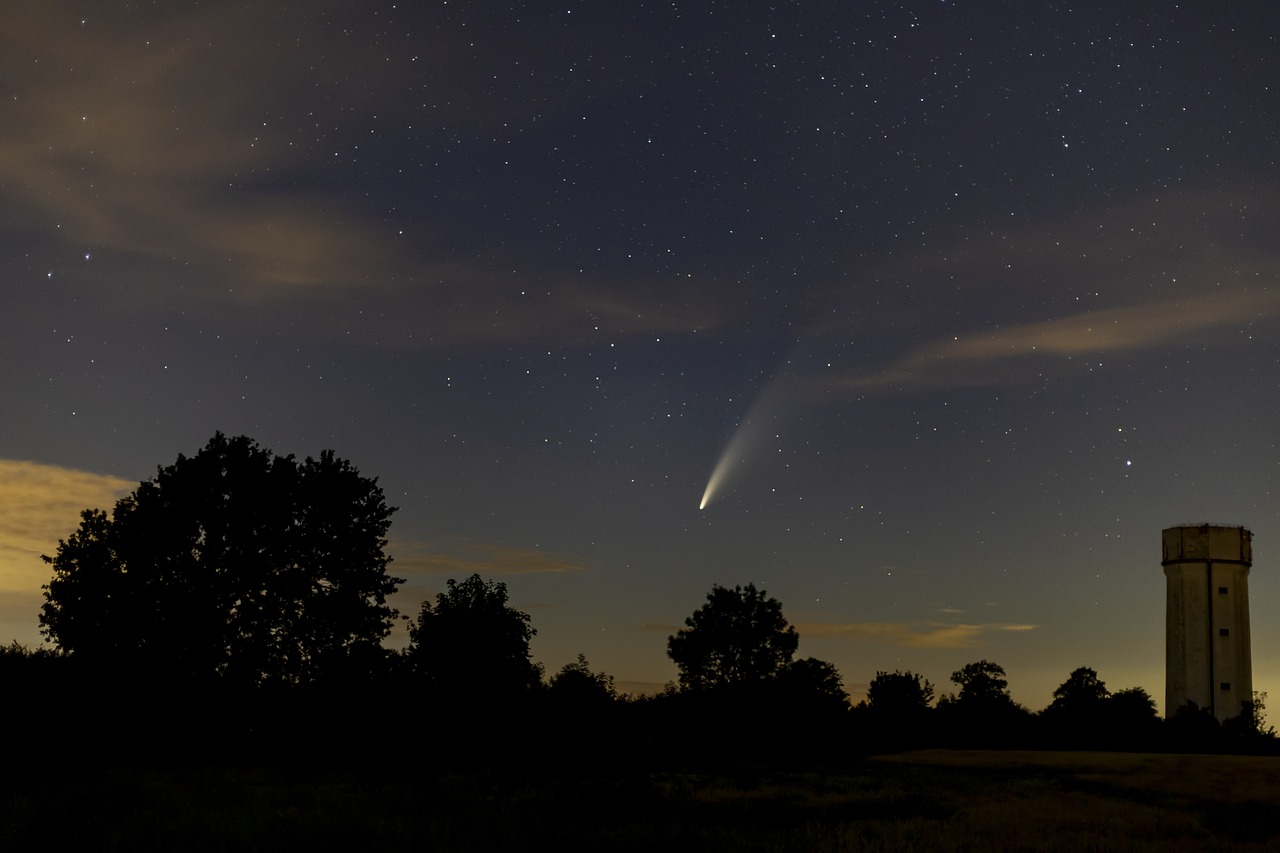
Creating captivating nightscapes with acrylics involves mastering various brush techniques that can dramatically enhance the visual appeal of your artwork. The magic lies in how you apply the paint to bring the night sky to life. Each method offers a unique texture and effect, allowing you to express your artistic vision. Whether you’re aiming for the soft glow of moonlight or the twinkling of distant stars, the right brush technique can make all the difference.
One of the most effective techniques for nightscapes is stippling. This method involves using the tip of your brush to create small dots of paint, which can simulate the appearance of stars scattered across the night sky. To achieve this, you can use a stiff brush or even a cotton swab dipped in white or light-colored paint. By varying the pressure and spacing of your dots, you can create a sense of depth and twinkle, making your night sky feel alive. Imagine standing under a clear sky, where each star shines with its own unique brightness—this is the effect you want to replicate.
Another essential technique is dry brushing. This method involves using a brush that has very little paint on it to create a soft, textured effect. It’s perfect for adding subtle highlights to your nightscape, such as the gentle shimmer of moonlight on clouds or the soft glow of lights in a distant city. To dry brush effectively, load your brush with a small amount of paint, then gently sweep it across the canvas. This technique can create a dreamy, ethereal quality that enhances the overall mood of your painting.
Furthermore, glazing is a technique that can add depth and richness to your nightscapes. By applying a thin, transparent layer of paint over dried layers, you can create a luminous effect that mimics the way light interacts with the atmosphere at night. For instance, using a deep blue glaze over a lighter base can intensify the color and create a more immersive experience for the viewer. This technique is particularly useful for achieving the rich, velvety backgrounds that are characteristic of night scenes.
To help you visualize these techniques, here’s a quick overview:
| Technique | Description | Best For |
|---|---|---|
| Stippling | Creating small dots to simulate stars | Night skies with twinkling stars |
| Dry Brushing | Applying paint with minimal pigment for soft highlights | Moonlight effects and soft glows |
| Glazing | Layering thin, transparent paint for depth | Rich backgrounds and atmospheric effects |
By combining these techniques, you can create a stunning nightscape that draws viewers in and evokes emotion. Remember, practice is key! Don’t be afraid to experiment with different brushes and techniques to find what works best for you. Each stroke is a step toward mastering your craft, and soon enough, you’ll be painting nightscapes that feel as if they could pull you right into the scene.
Q: What type of brushes should I use for nightscapes?
A: It’s best to have a variety of brushes on hand, including stiff brushes for stippling, soft brushes for dry brushing, and flat brushes for glazing. Each has its unique purpose!
Q: How do I choose the right colors for my nightscape?
A: Stick to a palette that includes deep blues, purples, and blacks, complemented by lighter shades for stars and moonlight. This contrast will help create the nighttime atmosphere.
Q: Can I use other mediums with acrylics for nightscapes?
A: Absolutely! You can incorporate other mediums like pastels or oil pastels to add texture and depth to your nightscapes.
Stippling for Stars
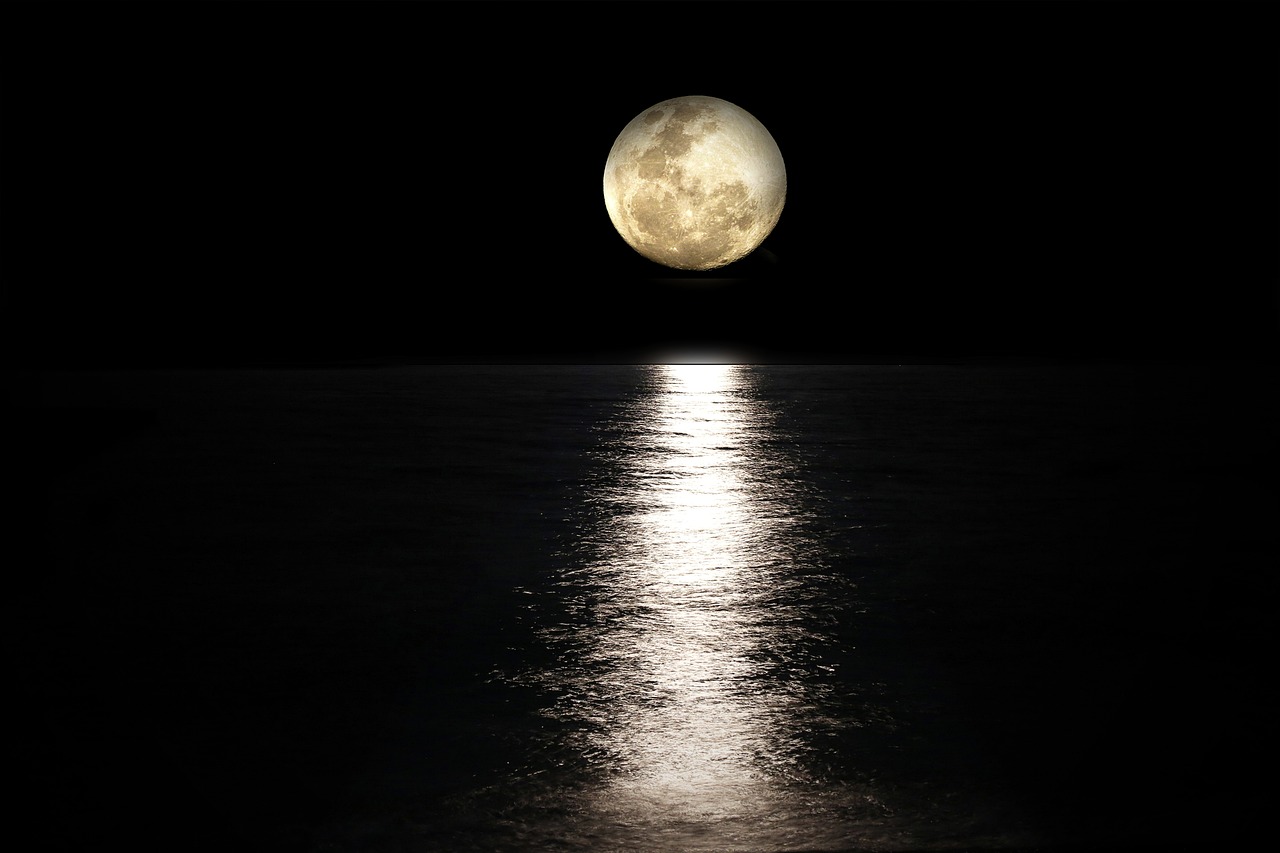
When it comes to capturing the essence of a night sky, stippling is one of the most enchanting techniques you can employ. Imagine standing under a vast expanse of twinkling stars; each point of light is unique, and stippling allows you to recreate that magical effect on your canvas. This technique involves applying small dots of paint, which can mimic the shimmering quality of stars beautifully. But how do you achieve that perfect starry effect? Let’s break it down.
First, it’s essential to choose the right brush. A small round brush or a detail brush works wonders for stippling. You want something that can deliver precision while allowing you to create a range of dot sizes. Start by loading your brush with a small amount of paint—too much can lead to blobs instead of delicate stars. It's often best to use a white or light-colored paint for your stars, as this will contrast beautifully against the darker shades of your nightscape.
Now, let’s talk about technique. Hold your brush vertically and gently tap it onto the canvas. The key is to vary the pressure and the amount of paint on your brush. This variation will help you create stars that differ in size and intensity, which is crucial for achieving a realistic night sky. You can also experiment with different colors; for instance, a hint of yellow or pale blue can give your stars a unique glow.
To enhance the depth of your night sky, consider layering your stippled stars. After your first layer has dried, you can add more dots to create clusters or constellations. This technique not only adds dimension but also draws the viewer's eye across the canvas, inviting them to explore your artwork further.
If you’re looking to add an extra layer of magic, try using a glow-in-the-dark paint for your stippling. This can create an unexpected surprise, making your artwork come alive in the dark. Imagine the delight of your audience when they discover your nightscape transforms under low light!
In summary, stippling for stars is a delightful technique that can elevate your nightscape paintings. By using the right tools and techniques, you can create a sky that not only captures the beauty of the night but also evokes emotion and wonder in your viewers. So grab your brushes, and let your imagination take flight among the stars!
Here are some common questions about stippling for stars in nightscape paintings:
- What type of paint should I use for stippling?
It's best to use acrylics, particularly in white or light colors for a striking contrast against darker backgrounds.
- Can I use stippling on other parts of my painting?
Absolutely! Stippling can be used to create textures in other elements of your painting, such as clouds or distant city lights.
- How do I clean my brush after stippling?
Clean your brush immediately after use with water and soap to prevent the paint from drying and damaging the bristles.
Creating a Gradient Sky
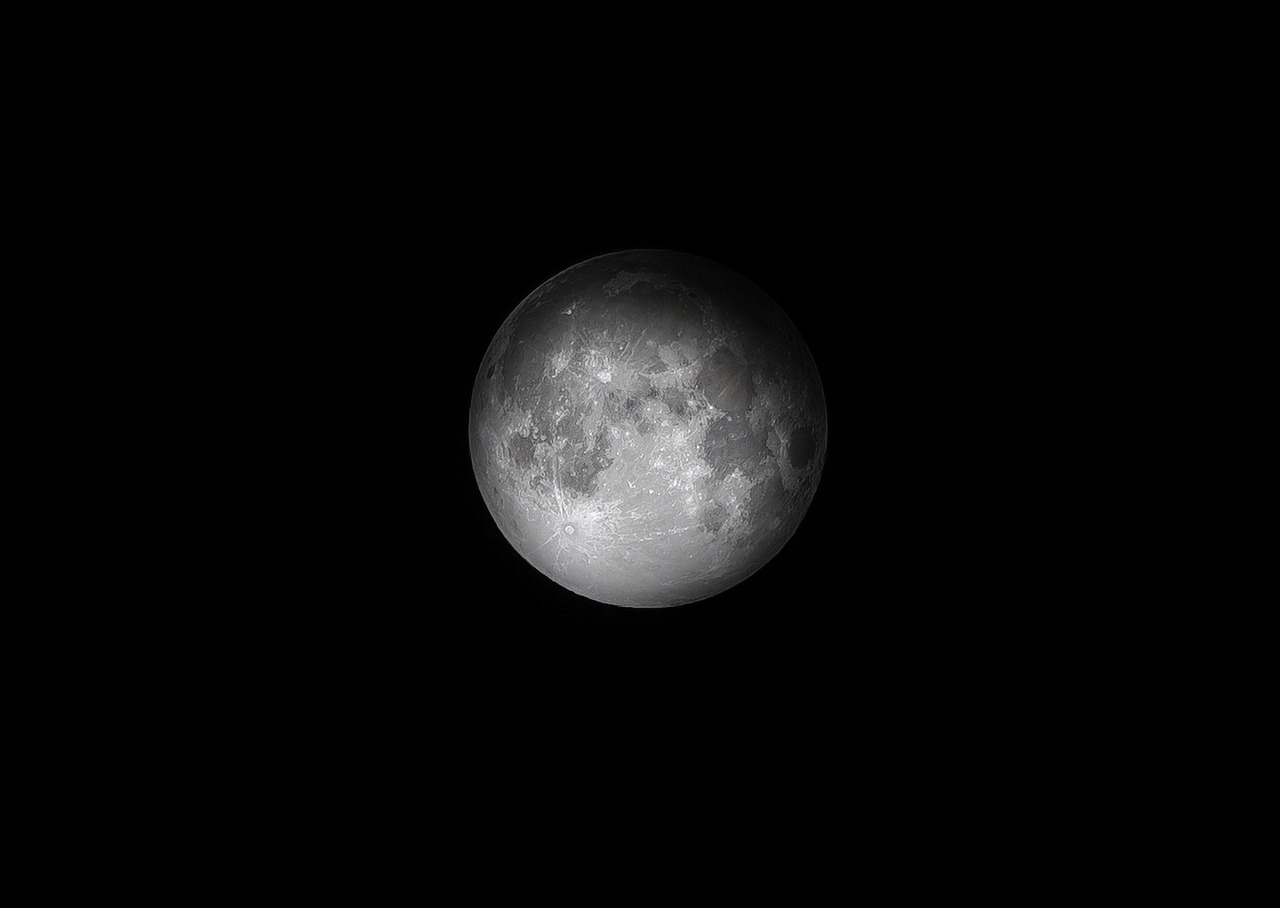
When it comes to painting nightscapes, a gradient sky serves as the foundation that sets the entire mood for your artwork. Imagine standing outside on a clear night, gazing up at the sky as it transitions from the deep, dark blues of midnight to the soft purples and pinks of twilight. Capturing this essence in your painting can be both exhilarating and challenging. To achieve a stunning gradient sky, you’ll want to focus on a few key techniques that will bring your night scene to life.
First, it’s essential to select the right colors. The typical palette for a gradient sky might include various shades of blue, purple, and even hints of pink or orange for those moments just before the sun disappears. Start by applying the darkest shade at the top of your canvas, gradually transitioning to lighter shades as you move down. This method creates a natural flow that mimics the real sky.
Next, consider the application technique. Using a large, soft brush can help you achieve a smooth blend. Start at the top of the canvas and work your way down, using a gentle, circular motion to blend the colors seamlessly. It’s important to work quickly while the paint is still wet to avoid harsh lines. If you find that your colors are becoming muddy, don’t hesitate to wipe your brush and pick up fresh paint. Remember, the goal is to create a soft transition between colors, evoking the peacefulness of a night sky.
For a more dynamic effect, you can also incorporate a glazing technique. Once your initial gradient is dry, apply a thin layer of transparent paint over the top. This will add depth and richness to your sky. You might use a deep blue glaze to enhance the nighttime feel, or a light purple glaze to mimic the glow of dusk. This layering not only adds complexity to your work but also allows the colors beneath to shine through, creating a luminous effect.
Lastly, don’t forget about the importance of light. Even in a night sky, there are sources of illumination that can affect how colors appear. For instance, if you’re depicting a moonlit scene, you might want to add a subtle glow around the moon or create highlights where the light reflects off clouds. This can be achieved by carefully applying lighter shades with a small brush or even a sponge for a softer effect.
In summary, creating a gradient sky is all about color selection, application techniques, and the use of light. By choosing the right colors, blending them effectively, and incorporating glazing techniques, you can create a stunning backdrop for your nightscape that captures the beauty and mystery of the night sky.
- What colors should I use for a night sky? Generally, deep blues, purples, and hints of pink or orange work well to create a realistic night sky.
- How can I blend colors smoothly? Use a large, soft brush and work while the paint is still wet to achieve a seamless blend.
- What is glazing, and how do I use it? Glazing is applying a thin, transparent layer of paint over dried paint to add depth and richness.
- Can I use a sponge for blending? Yes! A sponge can create soft edges and a unique texture when blending colors.
Adding Light Effects
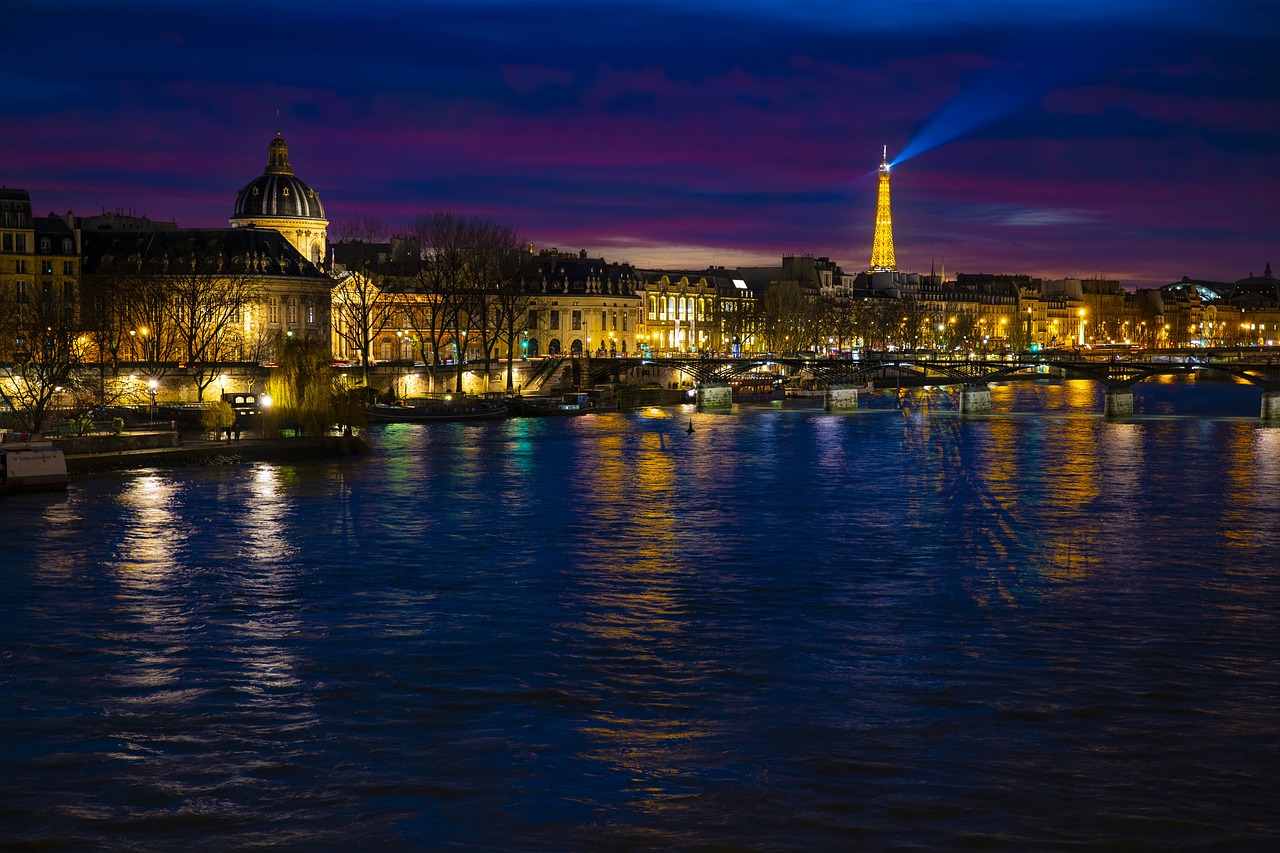
When it comes to painting nightscapes, one of the most captivating elements you can introduce is the play of light. Capturing light in a night scene is not just about throwing in a few bright spots; it’s about creating a sense of atmosphere and mood that draws the viewer in. Think about how the moonlight dances on water or how street lamps cast a warm glow on a chilly night. These light effects can transform your painting from a simple depiction of a night scene into a mesmerizing experience. So, how do you achieve this effect with acrylics? Let’s dive in!
First, consider the source of your light. Is it the moon, a street lamp, or perhaps the glow from a distant city? Each light source will have a different color temperature and intensity, which can dramatically affect the overall feel of your painting. For instance, moonlight often has a cooler, bluish hue, while artificial lights tend to emit warmer yellows and oranges. To create a realistic light effect, you’ll want to blend these colors seamlessly into your nightscape. Start by laying down a base color for your light source, then gradually mix in white or a lighter shade to simulate the glow.
Next, let’s talk about technique. One effective method is to use a technique called glazing. This involves applying thin, transparent layers of paint over your base colors. By building up these layers, you can create a luminous effect that mimics how light interacts with the surrounding environment. For example, if you’re painting a moonlit scene, you might start with a dark blue background and then glaze over it with a light yellow or white to represent the moon's glow. The key is to allow each layer to dry before adding the next, which will help maintain the clarity of your colors.
Moreover, don’t forget about the shadows that light creates. Shadows are just as important as the light itself, as they help define shapes and add depth to your scene. When painting shadows, remember that they are often not just black or gray; they can be tinted with colors from the surrounding environment. For instance, a shadow cast by a warm street lamp may have hints of orange or yellow. To achieve this effect, mix a darker shade of your base color with a touch of the color from your light source. This will create a more cohesive look in your painting.
Lastly, consider the reflection of light. If you have water or shiny surfaces in your nightscape, capturing reflections can add an extra layer of realism. Use a thin brush to lightly dab the color of your light source onto the water's surface, following the natural flow of the water. This technique can make your night scene feel alive, as if the light is truly interacting with its surroundings.
In summary, adding light effects to your nightscape is all about understanding the interplay between light and shadow. By carefully selecting your colors, employing glazing techniques, and considering reflections, you can create stunning nightscapes that not only capture the beauty of the night but also evoke emotion and intrigue in the viewer. So grab your brushes and let your imagination run wild!
- What colors should I use for moonlight? Moonlight typically has a cooler, bluish tint. Mixing white with a touch of blue can help achieve this effect.
- How can I make my light effects look realistic? Use glazing techniques to layer colors and consider the shadows and reflections that light creates in your scene.
- What techniques work best for creating stars in a night sky? Stippling is an effective technique for creating the illusion of stars. Use a small brush and white paint to lightly dot the canvas.
Layering Techniques
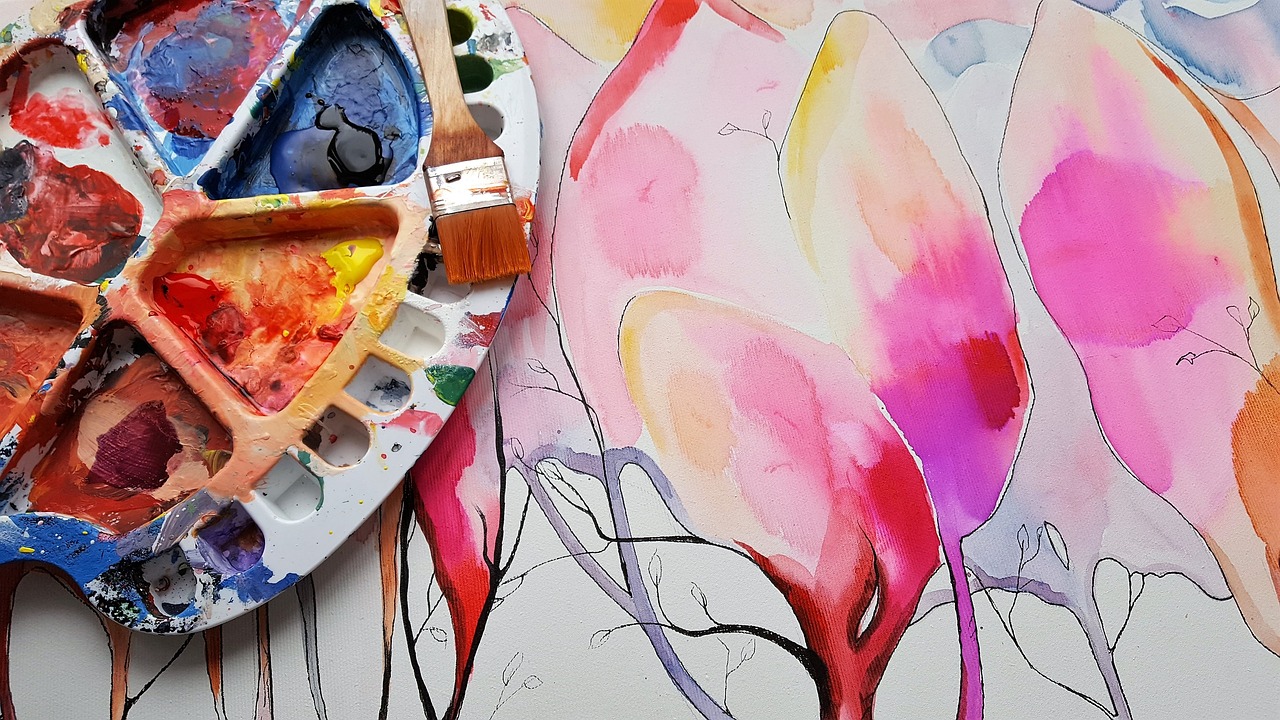
When it comes to bringing your nightscapes to life, are your best friends. Just like a beautiful cake, each layer adds depth, richness, and complexity to your artwork. The beauty of acrylic paint lies in its versatility; you can build up layers to create stunning effects that capture the essence of a nighttime scene. But how do you go about this? Let’s dive into the world of layering, where every stroke counts!
First and foremost, it’s essential to start with a solid foundation. Begin by applying a base layer of paint to establish the general colors of your nightscape. Think of this as the canvas upon which you'll build. For instance, a deep blue or indigo can serve as a great backdrop for your night sky. Once this base layer is dry, you can start layering additional colors. The key here is to allow each layer to dry before applying the next. This not only prevents muddying your colors but also helps to create a more vibrant and luminous effect.
Next, consider the transparency of your layers. Acrylics can be thinned with water or a medium to create transparent washes. This technique is particularly effective for creating atmospheric effects, such as fog or distant stars. For example, if you want to depict a soft glow of the moonlight on a landscape, apply a thin, transparent layer of white or light yellow over your base layer. This technique allows the colors beneath to show through, giving your painting a sense of depth and luminosity.
Moreover, don't shy away from experimenting with different brush strokes. Each brush can produce a unique texture that adds to the overall feel of your painting. For instance, using a fan brush can create the illusion of wispy clouds, while a flat brush can help you achieve smooth, even layers. Consider using a dry brushing technique for highlights, where you lightly drag a dry brush over the surface of your painting. This can add a magical sparkle to your night sky, mimicking the twinkling of stars.
One of the most exciting aspects of layering is the ability to create a sense of depth. By strategically placing darker colors in the foreground and lighter shades in the background, you can guide the viewer's eye through your composition. For example, if you're painting a forest under the moonlight, consider using deep greens and blacks in the foreground, while blending lighter shades of blue and purple in the background. This contrast not only enhances the three-dimensional feel of your painting but also draws attention to the elements you want to highlight.
Finally, remember that layering is not just about the paint; it's about the emotional journey you want to convey. Each layer can represent a different mood or time of night. Perhaps your first layer captures the calmness of dusk, while subsequent layers reflect the mystery and excitement of midnight. As you paint, ask yourself what story you want to tell and let that guide your layering process.
In summary, layering techniques in acrylic painting can transform your nightscapes from simple images into breathtaking works of art. By starting with a solid base, utilizing transparency, experimenting with brush strokes, creating depth, and telling a story through your layers, you can craft nightscapes that not only capture the beauty of the night but also resonate with viewers on a deeper level.
- What is the best way to start layering with acrylics? Begin with a solid base layer, allowing it to dry completely before adding additional layers.
- Can I use water to thin my acrylic paint? Yes, thinning acrylics with water or a medium can create transparent washes that enhance your layering.
- How do I create depth in my nightscapes? Use darker colors in the foreground and lighter colors in the background to create a three-dimensional effect.
- What brush techniques are best for layering? Experiment with different brushes; flat brushes for smooth layers, and fan brushes for textures like clouds.

Composition Strategies
When it comes to creating stunning nightscapes, effective composition is crucial. Think of your painting as a stage, where every element plays a role in telling a story. The arrangement of your subjects can evoke emotions, guide the viewer’s eye, and create a sense of balance. So, how do you craft a composition that captivates? One of the first steps is to understand the principle of the Rule of Thirds. This classic technique suggests dividing your canvas into a grid of nine equal parts, using two horizontal and two vertical lines. By placing key elements along these lines or at their intersections, you can create a more dynamic and engaging composition.
Another strategy is to consider the flow of your painting. Just like a good conversation, your artwork should lead the viewer’s eye around the canvas. Use elements such as pathways, trees, or even the horizon line to create a natural flow. This can help draw the viewer's attention to important areas, such as a glowing moon or a distant city skyline. Additionally, incorporating negative space—the empty areas around your subjects—can enhance the focal points and give your painting room to breathe.
Now, let’s talk about balance. A well-balanced composition doesn’t mean that every element must be symmetrical; instead, it’s about creating a sense of harmony. For instance, if you have a large tree on one side of your canvas, consider adding smaller elements, like distant hills or stars, on the opposite side to counterbalance it. This not only creates visual interest but also ensures that no part of your painting feels too heavy or crowded.
To further enhance your composition, think about incorporating foreground elements. These can add depth and context to your nightscape. Imagine a silhouette of a tree or a building in the foreground, which can frame your scene and lead the viewer's eye deeper into the painting. This technique not only provides a sense of scale but also adds layers to your artwork, making it feel more immersive.
In addition to these strategies, experimenting with different perspectives can yield surprising results. Try painting from a low angle to emphasize the sky and make your nightscape feel grander, or from a higher vantage point to capture a sprawling city below. Each perspective offers a unique way to tell your story and can dramatically change the mood of your piece.
Lastly, don't forget the importance of contrast. Nightscapes thrive on the interplay between light and dark. By strategically placing bright elements against darker backgrounds, you can create striking visuals that pop. For example, the soft glow of a streetlamp can illuminate the surrounding darkness, drawing attention and adding a magical quality to your scene.
In summary, mastering composition in your nightscape paintings involves a blend of techniques, including the Rule of Thirds, creating flow, maintaining balance, utilizing foreground elements, experimenting with perspectives, and leveraging contrast. By incorporating these strategies, you’ll not only enhance the visual appeal of your artwork but also evoke the emotions you wish to convey. Remember, every brushstroke counts in this enchanting journey of bringing the night to life on canvas!
- What is the Rule of Thirds? The Rule of Thirds is a composition principle that divides your canvas into a grid of nine equal parts, helping you place elements for a more dynamic composition.
- How can I create depth in my nightscape? Incorporate foreground elements like trees or buildings to add layers and context, making your painting feel more immersive.
- What colors work best for nightscapes? Blues, purples, and contrasting highlights are essential for evoking the mood of night in your artwork.
- How do I balance my composition? Use negative space and counterbalance larger elements with smaller ones to create harmony in your painting.
Focal Points in Nightscapes
When it comes to creating captivating nightscapes, establishing a focal point is crucial. Think of your painting as a stage where the stars of the show need to shine. Without a focal point, your artwork can feel scattered and lack direction, much like a movie without a plot. So, how do you effectively place these focal points to guide the viewer’s eye?
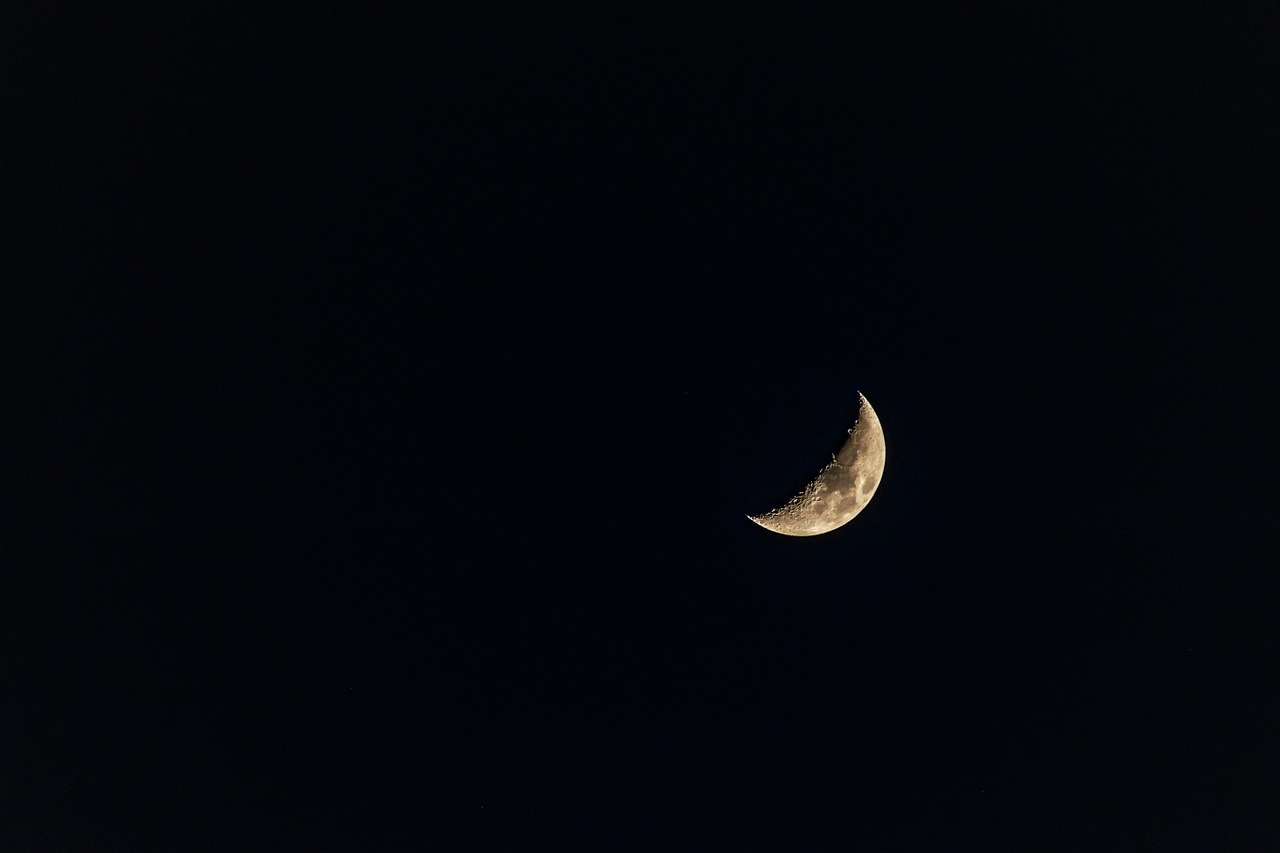
First, consider the natural elements of your scene. For instance, a bright moon can serve as a stunning focal point, drawing attention immediately. Its luminous glow can contrast beautifully against the deep blues and purples of the night sky, creating a striking visual impact. You might also choose to highlight an interesting building silhouette, a tree, or even a distant mountain range. Each of these elements can serve as a point of interest, inviting the viewer to explore the rest of the painting.
Placement is key! A common technique is the Rule of Thirds, which suggests dividing your canvas into a 3x3 grid. Positioning your focal point at one of the intersections of these lines can create a sense of balance and harmony in your composition. This technique is not just for photography; it works wonders in painting too. For example, if you have a beautiful starry sky, placing the moon slightly off-center can create a more dynamic and engaging scene.
Moreover, you can enhance your focal point by using contrast. Darker areas surrounding your focal point can make it pop even more. Imagine a bright yellow moon against a velvety navy sky; the contrast not only draws the eye but also adds a sense of drama and depth to your artwork. Additionally, you can use leading lines—like a pathway or a river—to draw the viewer's gaze towards your focal point.
To further emphasize your focal point, consider adding color variations. Using a brighter or more saturated color for your focal point can help it stand out. For instance, if your nightscape features a tranquil lake reflecting the moonlight, ensure that the moon is painted in a way that it captures attention, perhaps with a slight glow around it that suggests illumination.
In summary, establishing a focal point in your nightscapes is all about creating a visual journey for your viewers. By carefully selecting and placing your focal elements, using contrast and color effectively, and employing techniques like the Rule of Thirds, you can transform your painting into a mesmerizing night scene that captivates and enchants.
- What is a focal point in art? A focal point is the area in a painting that draws the viewer's attention first, often due to its contrast, color, or placement.
- How do I choose a focal point for my nightscape? Look for elements that stand out, like a bright moon or a striking silhouette, and consider their placement using principles like the Rule of Thirds.
- Can I have more than one focal point? Yes, but be cautious! Too many focal points can confuse the viewer. It's best to have one primary focal point with secondary elements that support it.
Using Foreground Elements
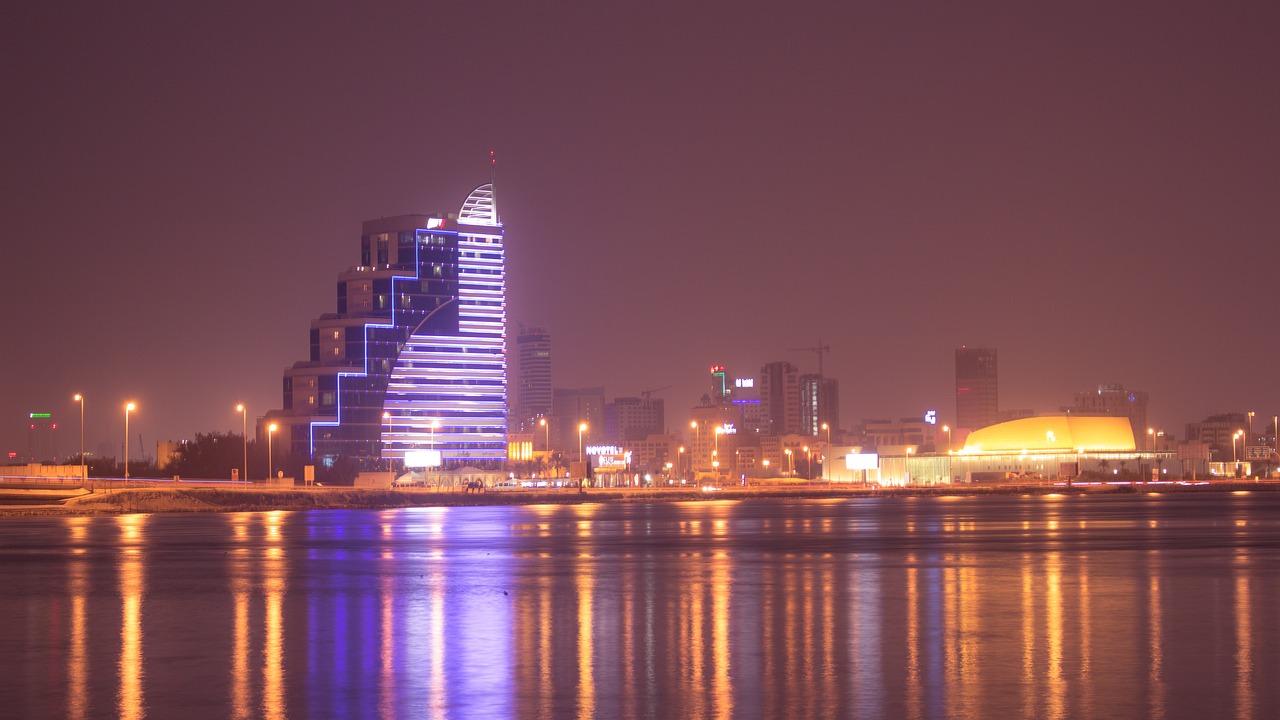
In the world of nightscape painting, foreground elements play a pivotal role in creating depth and interest. Imagine standing on a hilltop, gazing at a twilight sky painted in hues of deep blue and purple, with silhouettes of trees or buildings framing your view. These elements not only anchor your composition but also invite the viewer into the scene, making them feel as if they are part of the moment. So, how do you effectively incorporate these elements into your nightscape?
First, consider the scale and placement of your foreground elements. A large, dark silhouette of a tree can create a striking contrast against a bright moonlit sky, drawing the viewer's eye immediately. On the other hand, smaller elements like distant hills or buildings can add layers of complexity to your painting. When placing these elements, think about the rule of thirds: positioning key elements off-center can create a more dynamic and engaging composition.
Next, pay attention to the lighting. In a night scene, the way light interacts with your foreground elements can dramatically change the mood. For instance, a glowing streetlamp can cast long shadows and create a warm atmosphere, while the cool light of the moon can highlight the edges of a tree, giving it a ghostly quality. Using acrylics, you can experiment with glazing techniques to layer colors and achieve a realistic effect. This layering will help you depict how light reflects off surfaces, enhancing the three-dimensional feel of your painting.
Additionally, consider incorporating textures into your foreground elements. For example, using a dry brush technique can add a rough texture to tree bark or the surface of a building, making them feel more tangible. Alternatively, stippling can create the illusion of leaves rustling in the wind or the twinkling of distant lights. By varying your brush techniques, you can create a rich tapestry of textures that captivates the viewer's attention.
Finally, don’t forget about the emotional impact of your foreground elements. Each component of your nightscape should contribute to the overall story you want to tell. Are you evoking a sense of tranquility with a calm lake reflecting the stars? Or perhaps a bustling city scene filled with life and energy? The choices you make in your foreground will guide the viewer's emotional journey through your artwork.
In summary, using foreground elements effectively in your nightscape paintings can transform a simple scene into a captivating visual experience. By considering scale, lighting, texture, and emotional impact, you can create a composition that not only draws the viewer in but also resonates with them on a deeper level. So grab your brushes, and let your creativity flow as you bring your nightscapes to life!
- What are the best colors to use for nightscapes? Blues, purples, and contrasting highlights are ideal for creating the mood of night.
- How can I create realistic stars in my painting? Stippling is an effective technique to create the illusion of stars.
- What techniques can I use to depict light in night scenes? Techniques like glazing and dry brushing can help represent moonlight and artificial light sources.
- Why is composition important in nightscape paintings? Effective composition helps draw the viewer's eye and creates a balanced artwork.
Frequently Asked Questions
- What colors should I use for nightscapes?
When creating nightscapes, it's essential to focus on rich, deep colors like blues and purples. These colors evoke the mood of night and can be beautifully contrasted with lighter highlights such as whites or yellows to represent stars and moonlight.
- How can I create a starry night effect?
Stippling is a fantastic technique for adding stars to your night sky. By using a small brush and applying dots of white or light yellow paint, you can create the illusion of twinkling stars. Remember to vary the size and spacing of the dots to add depth and realism!
- What brush techniques work best for nightscapes?
There are several effective brush techniques you can use, including dry brushing for texture, glazing for depth, and blending for smooth transitions. Experimenting with these can help you achieve the desired effects in your paintings.
- How do I create a gradient sky?
To achieve a beautiful gradient sky, start with your darkest color at the top and gradually blend lighter shades downwards. Use a clean, damp brush to blend the colors smoothly, creating a seamless transition that mimics the natural fading of light in the evening sky.
- What are some tips for effective composition in nightscapes?
Composition is crucial in nightscapes. Consider using a focal point to draw the viewer's eye and arranging elements like trees or buildings in the foreground to add depth. Balancing these elements will help create a more engaging and visually appealing piece.
- How can I depict light sources in my painting?
Capturing light in your night scene is vital for creating atmosphere. Use lighter colors to represent moonlight or artificial lights, and employ techniques like glazing to layer these effects. This will enhance the overall mood and bring your nightscape to life!


