Essential Tips for Pastel Painting
Pastel painting is a vibrant and expressive medium that allows artists to create stunning works of art with a unique texture and richness. Whether you’re a novice exploring your creative side or an experienced artist looking to refine your skills, mastering pastel painting can be an incredibly rewarding journey. In this article, we will delve into essential tips and techniques that will help you unlock the full potential of this beautiful medium. From selecting the right materials to understanding blending techniques, we’ve got you covered. So, grab your pastels and let’s get started on this colorful adventure!
Selecting the appropriate pastels is crucial for achieving the desired effects in your artwork. Pastels come in various types, each offering unique qualities. Soft pastels are known for their vibrant colors and smooth application, making them ideal for creating rich, bold strokes. On the other hand, hard pastels are firmer and provide more control, perfect for fine details and sharp lines. Lastly, oil pastels have a buttery texture that allows for blending and layering, adding a different dimension to your artwork. Understanding these differences will help you choose the best pastels for your artistic style and vision.
In addition to pastels, having the right tools can significantly impact your painting experience. Essential tools include high-quality paper, blending tools, and fixatives. The right paper can enhance the vibrancy and adherence of your pastels. Blending tools such as tortillons, brushes, or even your fingers can create smooth transitions and textures. Finally, fixatives are vital for preserving your artwork, ensuring that your colors remain vibrant and intact over time. Investing in quality materials will elevate your pastel painting experience and results.
The choice of paper can affect how pastels adhere and blend. Various types of paper are suitable for pastel painting, each with unique characteristics. For instance, textured paper allows for better pastel grip and layering, making it a favorite among many artists. Conversely, smooth paper offers a different application experience, allowing for finer details but may not hold as much pastel as textured options. When selecting paper, consider the outcome you desire and the techniques you plan to use.
When it comes to choosing between textured and smooth paper, think of it like choosing a canvas for a painting. Textured paper acts like a sponge, holding onto the pastel and allowing for multiple layers, while smooth paper is akin to a slick surface that lets pastels glide effortlessly. If you’re aiming for a soft, blended look, textured paper is your best bet. However, if you prefer sharp lines and details, smooth paper will serve you well.
The color and weight of your paper can influence the vibrancy of your pastels. Lighter colored papers can enhance the brightness of your pastels, while darker papers can create dramatic contrasts. Additionally, the weight of the paper affects its durability and how much pastel it can hold. A heavier weight paper will withstand more layering and blending, making it a better choice for complex works. Always test your pastels on different papers to see which combination produces the effects you desire.
Blending is a key technique in pastel painting that creates soft transitions and depth. There are various methods to achieve stunning results, including finger blending, using tools like tortillons, or even employing brushes for larger areas. Each method offers a unique texture and finish, so feel free to experiment to find what works best for your style. Layering techniques, such as applying light colors first and gradually adding darker shades, can create a beautiful depth that draws the viewer in.
Layering is essential for creating depth and dimension in pastel paintings. By starting with lighter colors and progressively adding darker shades, you can enhance your painting's depth and richness. This approach not only helps in achieving a more cohesive composition but also allows the colors to interact beautifully, creating a vibrant interplay of light and shadow. The key is to be patient and allow each layer to dry before adding the next, ensuring that your artwork develops a rich, dynamic appearance.
Starting with lighter colors and gradually adding darker shades can enhance your painting's depth. This technique is akin to building a house; you need a solid foundation (the lighter colors) before adding the more intricate details (the darker shades). By following this method, you can create a balanced composition that feels alive and engaging. Plus, it helps prevent muddy colors that can occur when darker shades are applied first.
Fixatives can protect your artwork, but they must be used correctly to avoid damaging your pastels. There are various types of fixatives available, including workable and final fixatives. Workable fixatives allow you to continue layering after application, while final fixatives are used to preserve your completed artwork. When applying fixatives, do so in light, even coats from a distance to avoid saturating the pastels, which can dull their vibrancy. Understanding how to use fixatives properly will ensure your artwork remains stunning for years to come.
Identifying and avoiding common pitfalls can significantly improve your pastel painting skills. Some frequent mistakes include using the wrong paper type, over-blending, or applying fixatives too heavily. By being aware of these issues, you can steer clear of them and enhance your artistic journey. Remember, every artist makes mistakes, but learning from them is what helps you grow and improve.
Inspiration is key to creativity in pastel painting. It can come from various sources, such as nature, photography, or even the works of other artists. Take time to explore your surroundings, capture moments with your camera, or visit galleries to ignite your artistic vision. Keeping a sketchbook handy can also help you jot down ideas or sketches that inspire you. The world is full of beauty waiting to be translated onto your canvas, so keep your eyes and heart open!
- What type of pastels should I start with? Soft pastels are a great choice for beginners due to their vibrant colors and ease of blending.
- Can I use regular paper for pastel painting? While you can use regular paper, it’s recommended to use paper specifically designed for pastels for better adhesion and blending.
- How do I fix my pastel artwork? Use a workable fixative to protect your artwork, applying it in light, even coats from a distance.
- Is it necessary to use blending tools? While not necessary, blending tools can help achieve smoother transitions and more professional-looking results.
Choosing the Right Pastels
When it comes to pastel painting, selecting the right pastels is akin to a chef choosing the best ingredients for a gourmet meal. The type of pastels you use can dramatically influence the outcome of your artwork, so it's essential to understand the differences between the various options available. Generally, pastels fall into three primary categories: soft pastels, hard pastels, and oil pastels. Each type has its unique properties, benefits, and ideal uses, making it crucial to choose wisely based on your artistic style and the effects you wish to achieve.
Soft pastels are known for their vibrant colors and buttery texture, making them a favorite among many artists. They are easy to blend and layer, allowing for smooth transitions and rich color depth. However, they can be quite fragile and may produce dust, which some artists find bothersome. On the other hand, hard pastels are firmer and less pigmented, making them ideal for fine details and precise lines. They are less prone to breakage and dust but may require more effort to blend effectively.
Then we have oil pastels, which offer a different experience altogether. Unlike their chalky counterparts, oil pastels have a creamy texture and are more akin to oil paints. They can be used on a variety of surfaces and provide a unique, glossy finish. However, they take longer to dry and may require specific techniques to achieve the desired blending effects.
To help you make an informed decision, here's a quick comparison of the three types of pastels:
| Type | Texture | Best For | Blending Ability |
|---|---|---|---|
| Soft Pastels | Buttery | Vibrant colors, blending | Excellent |
| Hard Pastels | Firm | Fine details, lines | Good |
| Oil Pastels | Creamy | Versatile surfaces, glossy finish | Moderate |
Ultimately, the best pastel for you depends on your personal preference and the specific effects you want to create. It’s worth experimenting with different brands and types to find what resonates with your artistic vision. Remember, the right pastels can elevate your artwork to new heights, so choose wisely and let your creativity flourish!
Essential Tools and Materials
When it comes to pastel painting, having the right tools and materials is just as important as your technique. Think of them as the foundation of a house; without a solid base, everything else can crumble. First and foremost, you need to choose the right type of pastels. While there are various kinds available, including soft, hard, and oil pastels, each has its unique characteristics that can greatly affect your artwork. Soft pastels are known for their vibrant colors and easy blendability, while hard pastels provide more control and precision. Oil pastels, on the other hand, offer a different texture and finish altogether, allowing for a more painterly approach.
Next on the list is the choice of paper. The surface you work on plays a crucial role in how your pastels adhere and blend. Textured papers are fantastic for layering and gripping the pastel, while smooth papers can give you a more refined finish. It's essential to experiment with different types until you find what works best for your style. For instance, if you're looking for a rich, vibrant look, a heavier paper with a pronounced texture may be your best bet. Conversely, if you prefer more subtle transitions, a smoother surface could be ideal.
In addition to pastels and paper, you should consider investing in a few blending tools. These can range from your fingers (which are great for softening edges) to specialized tools like blending stumps or tortillons. Each tool offers a different effect, so don’t hesitate to explore various options. You might also want to keep a few fixatives on hand. These sprays can help protect your artwork from smudging and fading, but be cautious! Applying them incorrectly can damage your pastels, so always test on a scrap piece first.
To make your pastel painting experience even more enjoyable, here’s a quick table summarizing the essential tools and their uses:
| Tool/Material | Purpose |
|---|---|
| Soft Pastels | Vibrant colors, easy blending |
| Hard Pastels | Precision and control |
| Oil Pastels | Painterly effects, unique texture |
| Textured Paper | Better grip and layering |
| Smooth Paper | Refined finish, subtle transitions |
| Blending Tools | Soften edges, blend colors |
| Fixatives | Protect artwork from smudging |
Ultimately, the right combination of tools and materials can elevate your pastel painting to new heights. So take the time to experiment and find what resonates with you. After all, art is a personal journey, and the tools you choose should reflect your unique style and vision.
What type of paper is best for pastel painting?
While both textured and smooth papers can work well, textured paper is often preferred for its ability to grip and hold the pastel better, allowing for more layering and depth.
Can I use regular drawing paper for pastels?
Regular drawing paper is not recommended for pastels as it may not hold the pigment well and can lead to smudging. It's best to use paper specifically designed for pastels.
How do I preserve my pastel artwork?
Using a fixative spray is crucial for preserving pastel artwork. Make sure to apply it lightly and from a distance to avoid damaging the pastels.
Is it necessary to use blending tools?
While blending tools can enhance your artwork, they are not mandatory. Many artists prefer using their fingers for blending, which can also give a more personal touch to the work.
Understanding Paper Types
When it comes to pastel painting, the choice of paper is just as important as the pastels themselves. The right paper can significantly affect how your pastels adhere, blend, and ultimately, how your artwork looks. Think of paper as the canvas for your creativity; it can either enhance your work or frustrate your efforts. There are several types of paper that artists can choose from, each with unique characteristics that cater to different techniques and styles.
One of the primary distinctions in pastel paper is between textured and smooth surfaces. Textured paper, often referred to as "toothy" paper, features a rough surface that allows the pastel particles to grip better, making it ideal for layering and creating depth. If you love to build up your colors and experiment with different techniques, textured paper might be your best friend. On the other hand, smooth paper provides a sleek surface that can be perfect for detailed work and fine lines. Artists who prefer a more controlled application often gravitate towards smooth paper.
Additionally, the color and weight of the paper play crucial roles in the final outcome of your artwork. Lighter-colored papers can make pastel colors appear more vibrant, while darker papers can create a dramatic backdrop that enhances the luminosity of lighter pastels. The weight of the paper, typically measured in grams per square meter (gsm), can also impact your painting experience. Heavier papers (around 200 gsm and above) can withstand more layering without warping, making them suitable for extensive pastel techniques.
| Paper Type | Texture | Best For |
|---|---|---|
| Textured Paper | Rough | Layering, blending, and bold strokes |
| Smooth Paper | Sleek | Fine details and controlled applications |
| Colored Paper | Varies | Creating contrast and depth |
Ultimately, selecting the right paper type boils down to your personal style and the effects you wish to achieve. Experimenting with different types can be a fun journey that helps you discover your preferences. As you delve into the world of pastel painting, take the time to explore various papers and see how they interact with your pastels. You might find that certain papers inspire you to create in ways you never thought possible!
- What is the best paper for beginners? Generally, a textured paper is recommended for beginners as it allows for better pastel grip and easier blending.
- Can I use regular drawing paper for pastels? While you can use it, regular drawing paper may not hold the pastel as effectively, leading to a less vibrant finish.
- How do I choose the right color of paper? Consider the colors you plan to use; lighter papers enhance pastel vibrancy, while darker ones can create dramatic contrasts.
Textured vs. Smooth Paper
When it comes to pastel painting, the choice between textured and smooth paper is a decision that can significantly influence the outcome of your artwork. Each type of paper offers unique characteristics that can either enhance or limit your creative expression. Textured paper, often referred to as toothy paper, is designed with a rough surface that allows pastels to grip better. This feature is particularly advantageous for artists who love to layer colors, as the texture provides a natural resistance that helps build depth and dimension in your work.
On the flip side, smooth paper presents a different set of opportunities. It allows for a more fluid application of pastels, making it ideal for artists who prefer a softer, more blended look. The smooth surface can make it easier to achieve fine details and subtle transitions between colors. However, it may not hold as much pastel as textured paper, which means you might need to apply more layers to achieve the same vibrancy.
To help you decide which paper might be best for your style, consider the following:
- Textured Paper: Best for layering, creating depth, and vibrant color application.
- Smooth Paper: Ideal for detailed work, soft blends, and subtle transitions.
Ultimately, the choice between textured and smooth paper boils down to personal preference and the specific effects you wish to achieve in your pastel paintings. Experimenting with both types can lead to delightful discoveries, allowing you to find your unique artistic voice. So, grab some samples and see which one resonates with your creative process!
Color and Weight Considerations
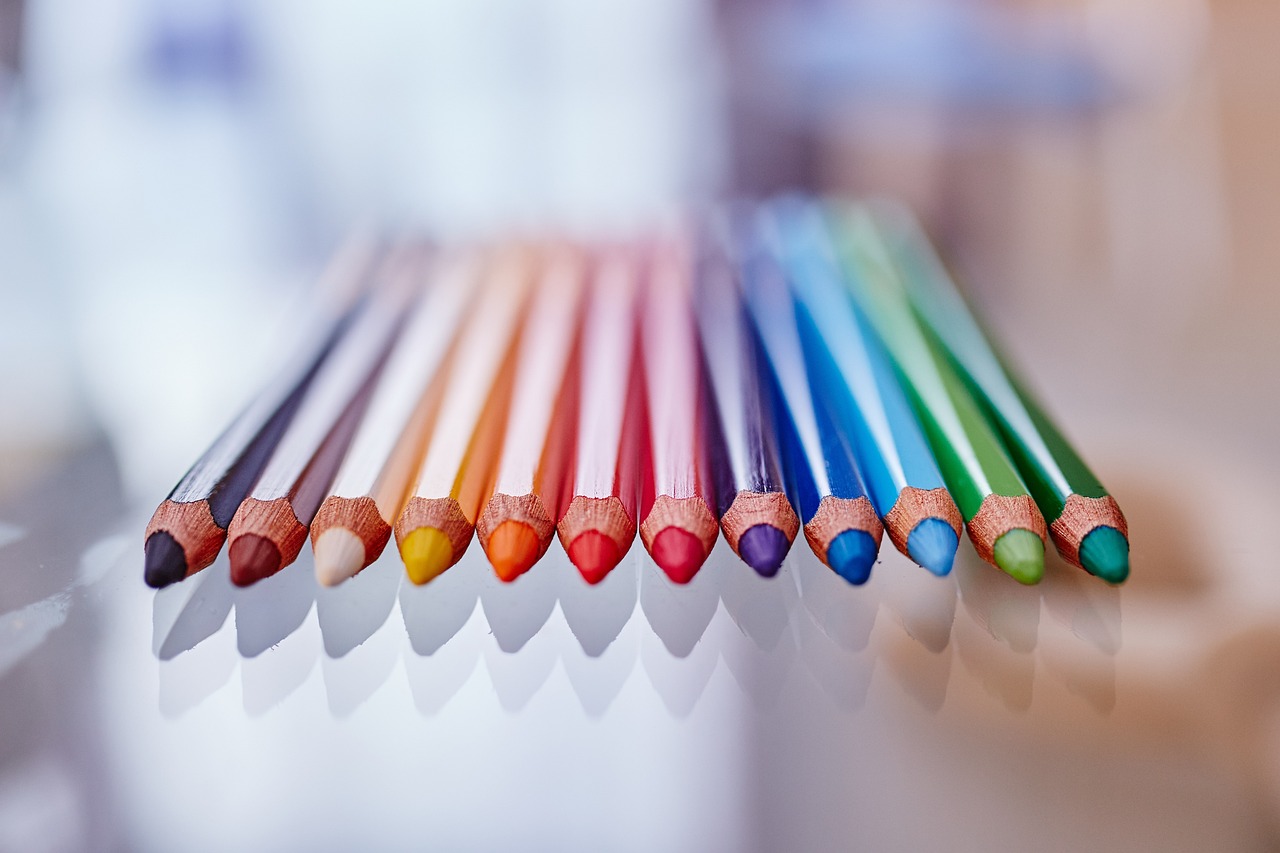
When it comes to pastel painting, the color and weight of your paper are not just minor details; they play a pivotal role in the overall vibrancy and impact of your artwork. Imagine trying to paint a sunset on a dull, gray canvas—would the colors pop? Probably not! Similarly, the right paper can make your pastels sing. Choosing a paper that complements your chosen pastel colors can elevate your art from ordinary to extraordinary.
The weight of the paper is measured in grams per square meter (gsm), and it influences how much pastel the paper can hold. For instance, heavier papers, typically ranging from 200 gsm to 400 gsm, are excellent for layering and allow for more build-up of color without warping. Lighter papers, while easier to handle, may buckle under the pressure of heavy layering. So, if you're planning to create a rich, textured piece, opt for that heavier stock!
Now, let’s dive into color considerations. The color of your paper can significantly affect the hues of your pastels. A white or light-colored paper will allow the colors to appear bright and true, making it perfect for vibrant subjects like flowers or sunny landscapes. On the other hand, a dark-colored paper can create a dramatic contrast, making your pastels stand out in a striking way. Think of it like a stage: the right backdrop can enhance the performance of your stars!
Here’s a quick breakdown of how paper color can affect your work:
| Paper Color | Effect on Pastels |
|---|---|
| White | Brightens colors, ideal for vibrant scenes. |
| Light Gray | Softens colors, great for subtle tones. |
| Dark Gray | Enhances contrast, ideal for dramatic effects. |
| Colored (e.g., Blue, Brown) | Provides unique undertones, can affect overall mood. |
In conclusion, when selecting your paper for pastel painting, consider both the color and weight as essential elements of your creative toolkit. They can profoundly influence the outcome of your artwork, so take the time to experiment with different combinations. This experimentation can lead to surprising discoveries and help you find your unique artistic voice!
- What type of paper is best for pastel painting?
The best paper for pastel painting is typically textured and heavier (200 gsm or more) to support layering and blending.
- Can I use watercolor paper for pastels?
Yes, watercolor paper can be used, especially if it's heavy and textured, but it may not grip the pastels as well as dedicated pastel papers.
- Does the color of the paper affect the final artwork?
Absolutely! The color of the paper can change how your pastels look, enhancing or muting their vibrancy.
Blending Techniques
Blending is the magical process that transforms your pastel artwork from a collection of colors into a cohesive masterpiece. It's like mixing ingredients for a perfect recipe; the right blend can elevate your painting to new heights. There are several techniques you can employ to achieve stunning blends with pastels, and understanding these methods will enhance your artistic expression.
One of the most intuitive ways to blend pastels is through finger blending. This technique allows you to use the natural oils in your skin to smooth out the pigments, creating a soft transition between colors. Just remember to keep your fingers clean and dry to avoid muddying your colors. If you prefer a more controlled approach, you might want to consider using blending tools such as tortillons or stumps. These tools can help you achieve precise blends and are particularly useful for smaller areas where you want to maintain detail.
Another effective method is the layering technique, where you apply one layer of pastel over another. Start with a light color and gradually build up darker shades. This not only creates depth but also allows for beautiful transitions between colors. As you layer, be mindful of the pressure you apply—too much can result in a flattened appearance, while too little may not allow the colors to adhere properly. It's all about finding that sweet spot!
For those who love experimenting, wet blending can be an exciting option. By lightly misting your pastel with water or using a wet brush, you can create a watercolor-like effect. This technique can add a unique texture and vibrancy to your work, but it requires careful handling to avoid over-saturation, which could damage your paper. Remember, blending is not just about mixing colors; it's about creating a mood and atmosphere in your artwork.
To summarize, here are some key blending techniques to consider:
- Finger Blending: Use your fingers to achieve soft transitions.
- Blending Tools: Utilize tortillons and stumps for precision.
- Layering: Build depth by layering colors from light to dark.
- Wet Blending: Experiment with water for unique effects.
Incorporating these blending techniques into your pastel painting practice will not only enhance your skills but also allow your creativity to flow more freely. Remember, practice makes perfect, so don’t hesitate to experiment and find what works best for you!
Q: What is the best way to clean blending tools?
A: You can clean blending tools like tortillons by gently rubbing them against sandpaper or a rough surface to remove the accumulated pastel dust.
Q: Can I use water with pastels?
A: Yes, using a small amount of water can create interesting effects, but be cautious not to over-saturate the paper.
Q: How do I avoid muddy colors when blending?
A: To prevent muddy colors, work with a limited palette and blend from light to dark, always keeping the colors clean and vibrant.
Q: Is it necessary to use fixatives after blending?
A: While not always necessary, using a fixative can help protect your artwork from smudging, especially if you plan to layer more pastels on top.
Layering and Building Depth
When it comes to pastel painting, layering is the secret ingredient that transforms a flat canvas into a mesmerizing masterpiece. Imagine your artwork as a delicious cake; each layer adds flavor and richness, creating a delightful experience for the viewer. To achieve that captivating depth in your paintings, it's essential to master the art of layering. Start by applying a base layer of lighter colors, which sets the foundation for your work. This technique not only helps in creating a harmonious blend but also allows darker shades to stand out beautifully.
As you build your layers, think of each stroke as a whisper of color, gradually revealing the story behind your painting. One effective approach is to use a light-to-dark strategy. By beginning with softer hues, you can easily adjust and refine your composition before committing to the more intense, darker shades. This method not only enhances the depth of your artwork but also allows for a smoother transition between colors, making your piece more cohesive.
Another key aspect of layering is understanding the concept of transparency. Pastels are inherently opaque, but you can achieve a sense of transparency by applying thin layers and gently blending them. This technique creates a luminous effect, reminiscent of light filtering through leaves on a sunny day. To illustrate this, consider the following table that outlines the different layering techniques and their effects:
| Technique | Description | Effect |
|---|---|---|
| Light to Dark | Start with lighter colors and gradually add darker shades. | Creates depth and balance. |
| Thin Layers | Apply pastels in thin, translucent layers. | Achieves a luminous, ethereal quality. |
| Blending | Use tools or fingers to blend layers together. | Softens transitions and enhances depth. |
As you layer, don't forget to step back from your work periodically. This allows you to assess the overall composition and make necessary adjustments. Sometimes, what looks good up close may not translate well from a distance. Additionally, using a fixative between layers can help preserve your work and keep colors vibrant. Just remember, moderation is key! Over-spraying can dull your pastels and ruin the beautiful effects you've created.
Finally, practice is your best friend when it comes to layering. Experiment with different techniques and colors to discover what resonates with your artistic voice. Each layer is an opportunity to explore, express, and evolve your style. So grab those pastels, let your imagination run wild, and watch as your artwork transforms into a stunning display of depth and dimension!
- What is the best way to start layering in pastel painting?
Begin with lighter colors and gradually add darker shades, allowing for smooth transitions.
- How can I achieve depth in my pastel paintings?
Use multiple layers of color, blending them gently to create a rich, dimensional effect.
- Is it necessary to use fixatives when layering?
Using fixatives can help preserve your work, but apply them sparingly to avoid dulling colors.
Light to Dark Approach
When it comes to pastel painting, the is a game-changer that can elevate your artwork from ordinary to extraordinary. Imagine sculpting a beautiful landscape, where the sun's rays dance on the surface, and shadows create depth in your composition. By starting with lighter colors and gradually layering in darker shades, you can achieve a sense of dimension and cohesion that truly captivates the viewer's eye.
Why is this approach so effective? Well, pastels are inherently vibrant, and using lighter colors first allows you to build a foundation that enhances the overall luminosity of your painting. Think of it like building a house: you wouldn’t start with the roof before laying down the walls. Similarly, starting with lighter pastels sets the stage for the darker hues to come, allowing them to stand out and create a striking contrast.
As you layer your pastels, consider the following key points to master this technique:
- Start with a Base Layer: Apply a light, soft color as your base. This could be a pale blue for a sky or a light green for grass. This base layer will serve as the foundation of your painting.
- Gradual Transition: Slowly introduce mid-tones before applying dark colors. This gradual transition not only creates a smoother blend but also helps in maintaining the integrity of the lighter shades.
- Use Dark Colors Sparingly: Darker shades should be used to enhance shadows and depth, but they can easily overpower your lighter tones if applied too heavily. Less is often more when it comes to darker pastels.
It's also essential to keep in mind the color wheel when choosing your shades. Complementary colors can create beautiful contrasts, adding to the visual interest of your painting. For instance, if you start with a light yellow, consider using a deep violet for your darker layers to create a stunning effect. This not only enhances depth but also brings a sense of harmony to the overall piece.
Lastly, don't forget to step back and evaluate your work periodically. Sometimes, what looks great up close may need adjustments from a distance. This will help you maintain balance and ensure that your light to dark transitions are effective and visually appealing.
By embracing the light to dark approach, you’re not just applying color; you’re telling a story through your artwork. Each layer adds a chapter, and as you build upon your initial light tones, you create a narrative that invites viewers to explore the depths of your creativity.
Q1: Why should I start with light colors in pastel painting?
A1: Starting with light colors allows you to create a luminous foundation that enhances the vibrancy of your darker shades, ultimately leading to a more dynamic and cohesive piece.
Q2: Can I use this approach for all types of subjects?
A2: Absolutely! Whether you're painting landscapes, portraits, or abstract pieces, the light to dark approach can help you achieve depth and dimension in any subject.
Q3: What should I do if I accidentally apply too much dark pastel?
A3: If you find that you've over-applied dark pastels, try blending them with a lighter tone or using a blending tool to soften the harshness. You can also layer lighter pastels over the dark areas to adjust the balance.
Using Fixatives Wisely
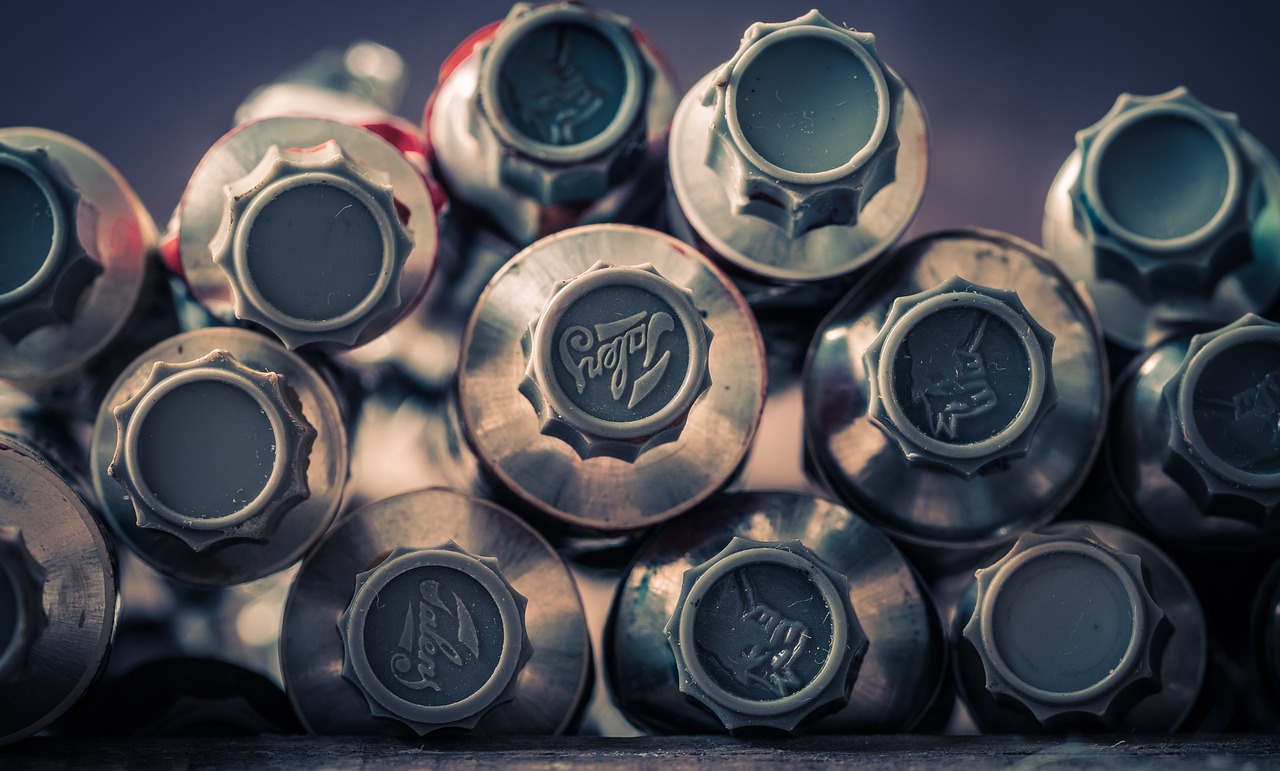
When it comes to pastel painting, one of the most crucial yet often overlooked aspects is the use of fixatives. These sprays are designed to protect your artwork from smudging and fading, but using them incorrectly can lead to disastrous results. Imagine spending hours on a beautiful piece, only to have it ruined by an overly heavy application of fixative that dulls the vibrant colors you worked so hard to achieve. Therefore, understanding how to use fixatives wisely is essential for any pastel artist.
First and foremost, it’s important to know that there are different types of fixatives available, each serving a specific purpose. Generally, they can be categorized into two main types: workable fixatives and final fixatives. Workable fixatives are used while you’re still in the process of creating your artwork, allowing you to layer additional pastels without disturbing the previous layers. On the other hand, final fixatives are applied once your artwork is complete, sealing it for preservation. It's crucial to choose the right type based on the stage of your painting.
Before applying any fixative, you should always test it on a scrap piece of your pastel paper. This allows you to see how the fixative interacts with the pastels you’ve chosen. Some fixatives can change the color of the pastels, making them look darker or duller. If you’re unsure which fixative to use, consider the following:
- Aerosol Fixatives: These are the most common and easy to use. They provide an even coat but can sometimes cause a slight sheen.
- Liquid Fixatives: These require a brush for application and can offer more control, but they may also disturb the layers if applied too heavily.
When applying fixatives, less is often more. Start with a light misting from a distance of about 12 to 18 inches. This distance helps to ensure an even application without saturating the surface. Remember, you can always add more layers of fixative, but it’s difficult to remove excess once it’s applied. After the initial layer, allow it to dry completely before adding additional layers or details to your artwork.
Another important consideration is the environment in which you apply the fixative. Ideally, you should work in a well-ventilated area to avoid inhaling any fumes. If you’re indoors, open windows and use fans to circulate the air. This not only protects your health but also ensures that the fixative dries evenly without any unwanted particles settling on your artwork.
Lastly, keep in mind that even with fixatives, pastel paintings are still delicate. While they offer a layer of protection, it’s wise to handle your artwork with care. Store it flat and avoid stacking pieces on top of each other. Consider framing your finished pieces under glass to further protect them from dust and damage. By using fixatives wisely and taking proper care of your artwork, you can ensure that your pastel paintings remain vibrant and beautiful for years to come.
Q: What is the difference between workable and final fixatives?
A: Workable fixatives allow you to continue layering pastels while final fixatives are used to seal your completed artwork.
Q: Can I use any fixative for pastels?
A: Not all fixatives are suitable for pastels. It’s essential to choose one specifically designed for pastel use to avoid altering the colors.
Q: How far should I hold the spray can when applying fixative?
A: Hold the can approximately 12 to 18 inches away from your artwork for an even application.
Q: Is it necessary to use fixatives on pastel paintings?
A: While not strictly necessary, using fixatives can help protect your work from smudging and fading over time.
Common Mistakes to Avoid
When diving into the world of pastel painting, it's easy to get swept away by the vibrant colors and the sheer joy of creating. However, even the most enthusiastic artists can stumble into some common pitfalls that can hinder their progress and diminish the quality of their work. Here are some critical mistakes to watch out for, along with tips on how to avoid them.
One of the most prevalent mistakes is using the wrong type of paper. Pastels require a specific texture to hold the pigment effectively. If you opt for a smooth paper, you might find that your pastels slide around rather than adhere, resulting in a frustrating painting experience. Instead, choose textured paper designed for pastels, which allows for better grip and layering. Remember, the right paper can make a world of difference!
Another common error is neglecting to layer colors properly. Many beginners tend to apply colors haphazardly, which can lead to muddiness in their artwork. A good rule of thumb is to start with lighter shades and gradually build up to darker tones. This light-to-dark approach not only helps maintain vibrancy but also adds depth and dimension to your paintings.
Additionally, over-blending can be a trap for many artists. While blending is essential for achieving soft transitions, too much blending can lead to a loss of texture and vibrancy. Instead of blending every area, consider leaving some parts untouched to retain the unique qualities of the pastels. Think of it like seasoning a dish—too much can overpower the flavors!
Furthermore, many artists overlook the importance of using fixatives correctly. While fixatives can protect your artwork from smudging, applying them improperly can ruin the delicate layers of pastel. Always test your fixative on a scrap piece of paper before applying it to your artwork, and use it sparingly to avoid saturating the pastels.
Lastly, don't forget to step back and evaluate your work regularly. It's easy to get lost in the details and lose sight of the overall composition. Taking a moment to assess your painting from a distance can provide valuable perspective and help you identify areas that need adjustment. Remember, art is a journey, and sometimes stepping back is the best way to move forward!
In summary, being aware of these common mistakes can significantly enhance your pastel painting experience. By choosing the right materials, layering effectively, blending wisely, applying fixatives properly, and regularly evaluating your work, you’ll be well on your way to creating stunning pastel masterpieces.
- What type of paper is best for pastel painting? Textured paper specifically designed for pastels is ideal as it allows for better pigment adhesion and layering.
- How can I avoid muddy colors in my painting? Always start with lighter colors and layer darker shades gradually, ensuring each layer is dry before adding more.
- Is it necessary to use fixatives? While not mandatory, fixatives can protect your artwork. Just be sure to use them correctly to avoid damaging your pastels.
- Can I use any blending tool for pastels? Yes, but it's best to experiment with different tools like blending stumps, fingers, or even soft cloths to see what works best for your style.
Finding Inspiration
Inspiration is the lifeblood of any artist, and when it comes to pastel painting, it can come from the most unexpected places. Whether you’re wandering through a vibrant garden, flipping through a photography book, or even watching a movie, the world is teeming with potential ideas just waiting to be captured on your canvas. Have you ever noticed how a simple sunset can evoke a myriad of emotions? That’s the beauty of art—it’s all about perception and interpretation. So, let’s dive into some avenues that can spark your creativity and elevate your pastel painting experience!
One of the most enriching sources of inspiration is nature. The colors, textures, and forms found outdoors can ignite your imagination like nothing else. Take a walk in a park or a hike in the mountains; observe the way light interacts with leaves or how shadows dance on the ground. You might find that the soft pastels of a sunset or the vibrant hues of flowers can translate beautifully into your artwork. Don’t forget to carry a sketchbook with you! Jotting down quick sketches or notes can help you capture those fleeting moments of inspiration.
Another fantastic source of inspiration is photography. With the rise of social media platforms, especially Instagram and Pinterest, you have access to a treasure trove of images from around the globe. Follow photographers who resonate with your artistic style, and take note of their compositions and color palettes. You can even create a digital mood board to collect images that inspire you. The great thing about photography is that it can serve as a reference point for your pastel paintings, allowing you to experiment with different interpretations of the same scene. Just remember, while it’s okay to draw inspiration from others, your unique voice should shine through in your work.
Also, don’t underestimate the power of collaboration. Engaging with fellow artists can open up new perspectives and ideas. Join local art groups or online forums where you can share your work and receive constructive feedback. You might find that discussing your techniques or challenges with others can lead to unexpected breakthroughs. Plus, seeing how others approach their art can inspire you to try new methods or styles that you hadn’t considered before.
Lastly, look to other artists for inspiration. Whether it’s attending gallery shows, visiting museums, or simply browsing art books, immersing yourself in the works of others can reignite your passion for pastel painting. Pay attention to how different artists use color, light, and texture. You might discover a technique or style that resonates with you, prompting you to explore it in your own work. Remember, art is a conversation; it’s about sharing ideas and building upon them.
In summary, finding inspiration for pastel painting can be as simple as stepping outside your door or as complex as delving into the works of legendary artists. Keep your eyes and mind open, and don’t be afraid to explore various sources. After all, the world is your canvas, and every experience can contribute to your artistic journey.
| Question | Answer |
|---|---|
| How can I overcome artist's block? | Try changing your environment, experimenting with new techniques, or taking a break to refresh your mind. Sometimes, stepping away can provide new insights. |
| What materials do I need to start pastel painting? | You'll need pastels (soft, hard, or oil), suitable paper, blending tools, and fixatives to protect your work. |
| How do I blend pastels effectively? | Use your fingers, blending stumps, or soft brushes to create smooth transitions. Layering colors gradually can also enhance depth. |
Frequently Asked Questions
- What are the different types of pastels?
There are mainly three types of pastels: soft pastels, which are great for vibrant colors and blending; hard pastels, which are ideal for fine details and lines; and oil pastels, known for their creamy texture and rich pigmentation. Choosing the right type depends on your style and the effects you want to achieve.
- What paper should I use for pastel painting?
The choice of paper is crucial! Textured paper is excellent for grip and layering, while smooth paper allows for a different application technique. Consider the weight and color of the paper as well, as these factors can affect how your pastels appear on the surface.
- How do I blend pastels effectively?
Blending can be done using your fingers, blending tools, or even a soft cloth. Each method offers different results, so it's worth experimenting to find what works best for you. Layering colors before blending can also create stunning transitions.
- What is the best way to layer colors in pastel painting?
Start with lighter shades and build up to darker ones. This light-to-dark approach helps maintain vibrancy and depth in your artwork. Remember, layering takes practice, so don’t rush the process!
- How do I use fixatives without damaging my artwork?
Fixatives can protect your pastel art, but it's essential to use them sparingly. Spray from a distance and apply light coats to avoid saturating the pastels. Always test on a scrap piece first to see how it interacts with your materials.
- What common mistakes should I avoid in pastel painting?
Some common pitfalls include using too much pressure, which can damage the paper, or neglecting to layer colors properly. It's also important to keep your pastels clean and avoid over-blending, as this can muddy your colors.
- Where can I find inspiration for my pastel paintings?
Inspiration can come from anywhere! Nature, photography, and even the works of other artists can ignite your creativity. Don't hesitate to explore different sources and let your imagination run wild!


