Understanding the Basics of Still Life Drawing
Still life drawing is more than just sketching a bowl of fruit or a vase of flowers; it's a gateway into the world of art that invites both beginners and seasoned artists alike to hone their skills. Imagine sitting in a sunlit room, surrounded by everyday objects that, when arranged thoughtfully, transform into a captivating composition. This art form allows you to delve into the intricacies of form, light, and shadow, making it an essential practice for anyone looking to enhance their artistic abilities.
At its core, still life drawing is about observation and interpretation. It provides a controlled environment where artists can experiment with different techniques and materials without the unpredictability of live subjects. The beauty of still life lies in its simplicity; you can use ordinary items to create extraordinary art. Whether it's a simple apple or an elaborate arrangement of glassware, each object presents a unique challenge and opportunity for creativity.
One of the most appealing aspects of still life drawing is its accessibility. You don’t need to travel far or seek out exotic locations to find inspiration. Your kitchen table or a cozy corner of your living room can serve as the perfect studio. All you need are a few objects that catch your eye and spark your imagination. This makes still life drawing an ideal practice for artists of all levels, especially beginners who are just starting to explore their artistic voice.
Understanding the fundamentals of still life drawing can significantly enhance your skills. It encourages you to focus on the details that might otherwise go unnoticed in the hustle and bustle of daily life. By studying the interplay of light and shadow, you learn to create depth and dimension in your work. Moreover, the process of arranging objects teaches you about composition and balance, essential elements in any artwork.
As you embark on your still life journey, remember that practice is key. The more you draw, the more you will develop your observational skills and artistic techniques. Don't be afraid to experiment with different materials and styles. Each drawing you create is a stepping stone toward becoming a more proficient artist.
- What materials do I need to start with still life drawing? You can begin with basic materials such as sketching pencils, erasers, and drawing paper. As you progress, you might want to explore charcoal, pastels, or even watercolors.
- How do I choose objects for my still life? Select objects that have interesting shapes, textures, and colors. Combining a variety of items can create a more dynamic composition.
- What are some common mistakes to avoid? Many beginners struggle with proportions and perspective. Take your time to measure and observe the relationships between objects to achieve better accuracy.
- How can I improve my skills? Regular practice is essential. Try setting up different arrangements and challenge yourself to draw them from various angles.
The Importance of Still Life in Art
Still life drawing is not just about arranging a few objects and sketching them; it’s a powerful tool that serves as a foundational practice for artists of all skill levels. Why is it so important, you ask? Well, think of it as the training wheels for your artistic journey. It allows you to delve deep into the essential elements of art, such as form, light, and shadow, all while providing a controlled environment that encourages experimentation and observation.
When you engage in still life drawing, you’re not merely reproducing what you see; you’re training your eyes to observe details that might otherwise go unnoticed. This practice enhances your observational skills, which are crucial for any artist. You learn to see the world in layers, understanding how light interacts with objects and how shadows can create depth and dimension. It’s like learning to read a map before embarking on an adventurous journey; without this skill, you might find yourself lost in the vast landscape of creativity.
Additionally, still life drawing provides a safe space for artists to experiment with various techniques without the pressure of working with live models or dynamic scenes. You can play with different compositions, rearranging objects until you find the perfect arrangement that speaks to you. This freedom to explore is invaluable in developing your unique artistic voice. Here are a few key benefits of still life drawing:
- Improved Understanding of Composition: You learn how to arrange elements within your artwork effectively.
- Mastery of Light and Shadow: You gain insight into how light behaves, allowing you to create more realistic and engaging pieces.
- Enhanced Observational Skills: Your ability to notice details improves significantly, which translates to better overall artistry.
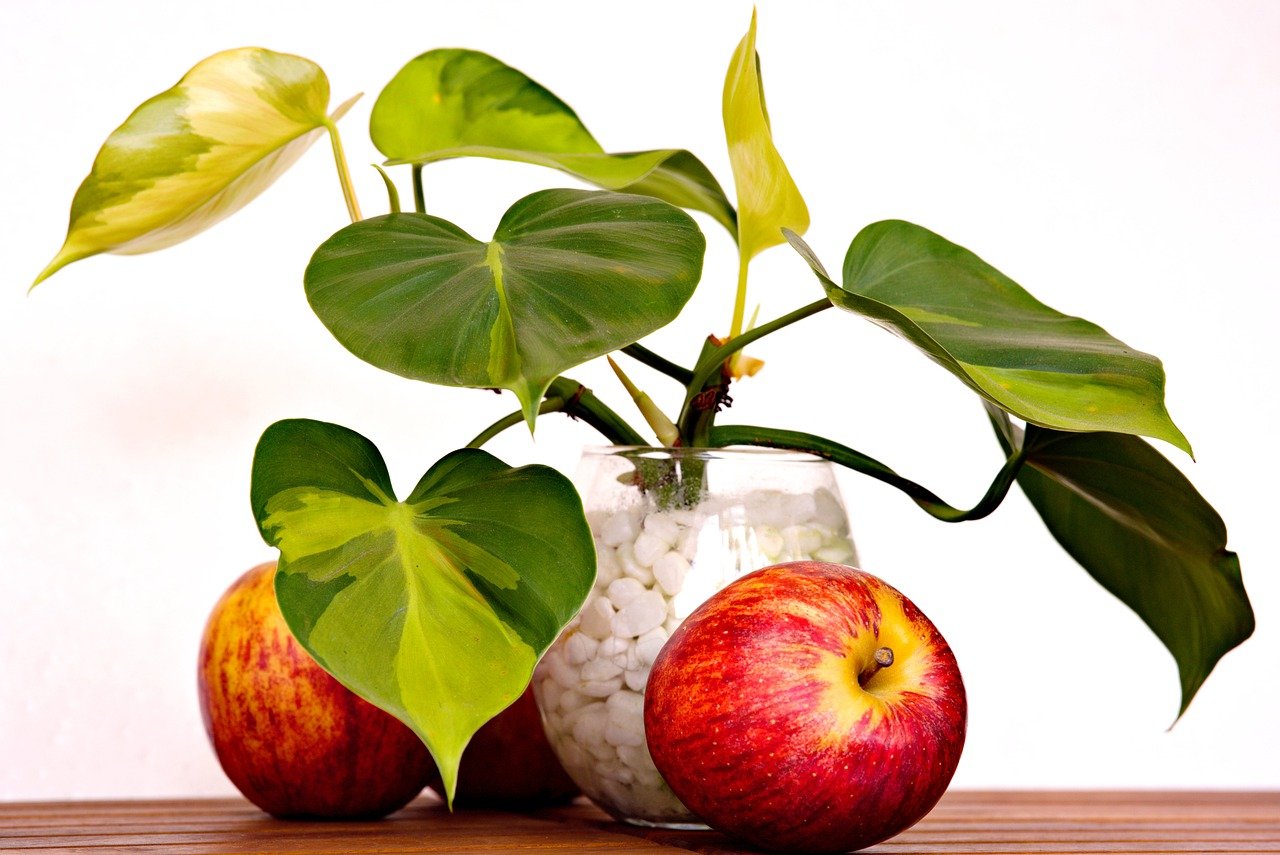
Moreover, still life can be a source of inspiration. The objects you choose to draw can carry personal significance, telling a story or conveying emotions. Imagine capturing a simple apple on a table; it could represent health, temptation, or even nostalgia, depending on how you choose to portray it. This ability to imbue ordinary objects with meaning is what makes still life drawing so captivating. It invites viewers to look deeper and find their interpretations, creating a dialogue between the artwork and its audience.
In conclusion, the importance of still life in art cannot be overstated. It is a fundamental practice that enriches your artistic journey, allowing you to hone your skills, experiment with techniques, and express your unique perspective. So, whether you’re a budding artist or a seasoned pro, don’t underestimate the power of a simple still life. Embrace it as a stepping stone to greater artistic achievements!
What is still life drawing?
Still life drawing is the practice of depicting inanimate objects, such as fruits, flowers, or everyday items, arranged in a composition. It focuses on capturing the form, light, and shadow of these objects.
Why should beginners start with still life?
Beginners should start with still life because it allows them to develop fundamental skills like observation, composition, and understanding light and shadow in a controlled environment.
What materials do I need for still life drawing?
Essential materials include pencils, sketching paper, and erasers. You can also experiment with charcoal, pastels, or colored pencils as you progress.
How can I improve my still life drawing skills?
Regular practice, studying the work of other artists, and experimenting with different techniques and compositions will greatly enhance your still life drawing skills.
Essential Materials for Still Life Drawing
When diving into the world of still life drawing, having the right materials can make a world of difference. Think of your art supplies as the tools of a craftsman; without them, even the most talented artist can struggle to bring their vision to life. So, what do you need to get started? Let's break it down!
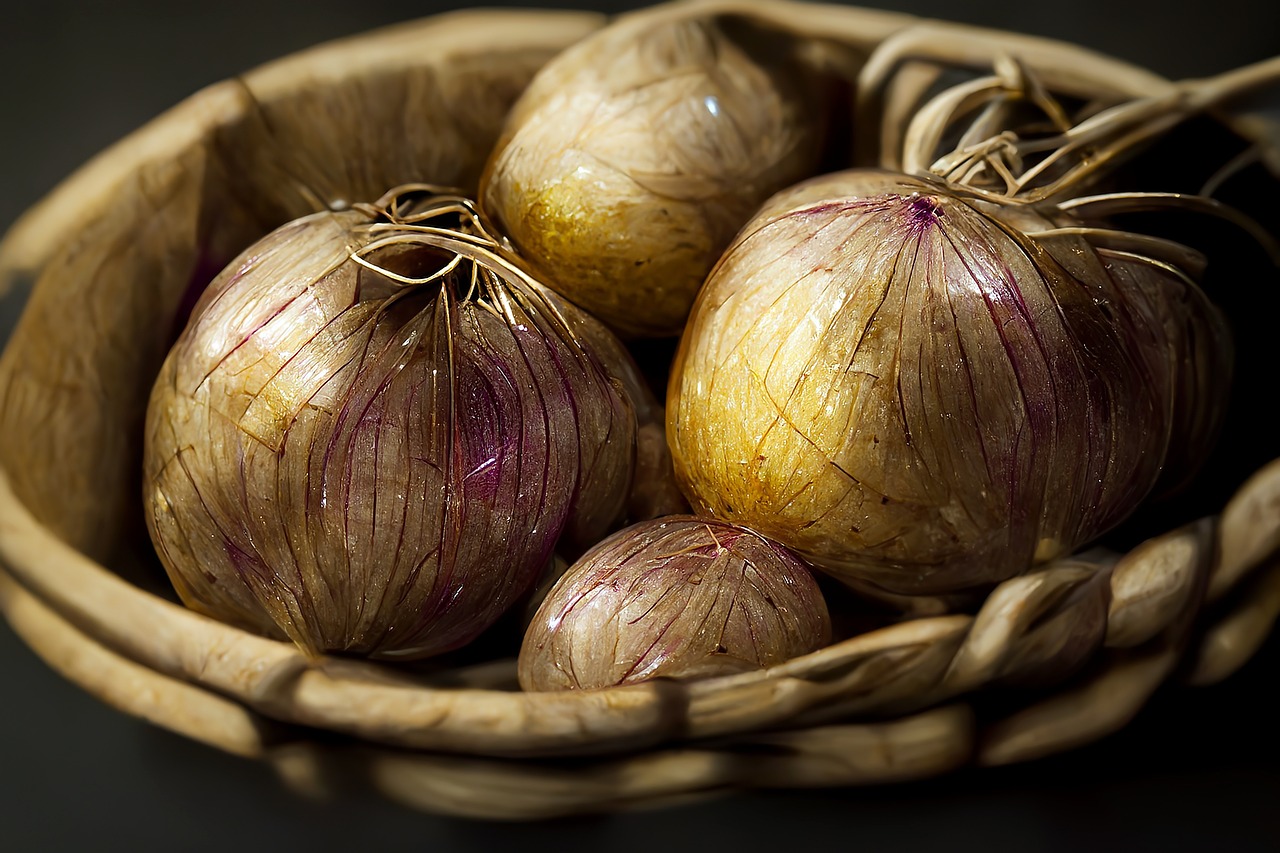
First and foremost, pencils are your best friends. A range of pencils from hard (H) to soft (B) will give you the versatility to create fine lines and rich shadows. For beginners, I recommend starting with a set that includes 2H, HB, and 2B pencils. The 2H is perfect for light sketching, the HB for general use, and the 2B for those darker areas that need a bit more oomph. Each pencil serves its purpose, much like the different spices in your kitchen; they each contribute to the overall flavor of your artwork.
Next up is your choice of paper. Not all paper is created equal! For still life drawing, you want something with a bit of texture—this is where sketch paper or drawing paper comes into play. Look for a weight of at least 100gsm to ensure it can handle erasing and shading without warping. Additionally, consider using a smooth bristol board for more refined work; it’s like the canvas of the drawing world, providing a perfect surface for detailed pieces.
Now, let’s not forget about erasers. A good eraser can be the difference between a clean finish and a muddy mess. I suggest having both a kneaded eraser and a vinyl eraser in your kit. The kneaded eraser is fantastic for lifting graphite without damaging the paper, while the vinyl eraser is perfect for those stubborn marks that just won’t budge. Think of them as your cleanup crew, always ready to rescue your work from any mishaps.
To truly elevate your still life drawings, consider incorporating blending tools such as tortillons or blending stumps. These handy tools help to smooth out your pencil strokes and create softer transitions between light and shadow. It’s like applying a filter to your artwork, giving it that professional touch that makes viewers take a second glance.
Finally, let’s talk about lighting. While not a traditional material, the way you light your still life setup can significantly affect your drawing. Natural light is ideal, as it creates soft shadows and highlights that are easier to replicate. However, if you’re working indoors, a simple lamp with a daylight bulb can mimic that effect. Remember, the right lighting can turn a mundane setup into something magical, inviting your audience to explore the depths of your creation.
In summary, here’s a quick reference table of essential materials for still life drawing:
| Material | Purpose |
|---|---|
| Pencils (2H, HB, 2B) | Varied line quality and shading |
| Drawing Paper | Surface for sketching and shading |
| Kneaded & Vinyl Erasers | Correction and cleanup |
| Blending Tools (Tortillons) | Smooth transitions and shading |
| Lighting (Natural or Artificial) | Enhances depth and realism |
With these materials in hand, you’re well on your way to creating stunning still life drawings that capture the essence of your subjects. Remember, the journey of an artist is filled with exploration and experimentation, so don’t hesitate to try out new supplies and find what works best for you!
Q: Do I need expensive materials to start drawing?
A: Not at all! You can start with basic materials, and as you improve, you can invest in higher-quality supplies.
Q: How often should I practice still life drawing?
A: Regular practice is key! Try to draw at least a few times a week to build your skills.
Q: Can I use colored pencils for still life drawing?
A: Absolutely! Colored pencils can add a vibrant touch to your still life, just remember to consider color theory for the best results.
Setting Up Your Still Life Composition
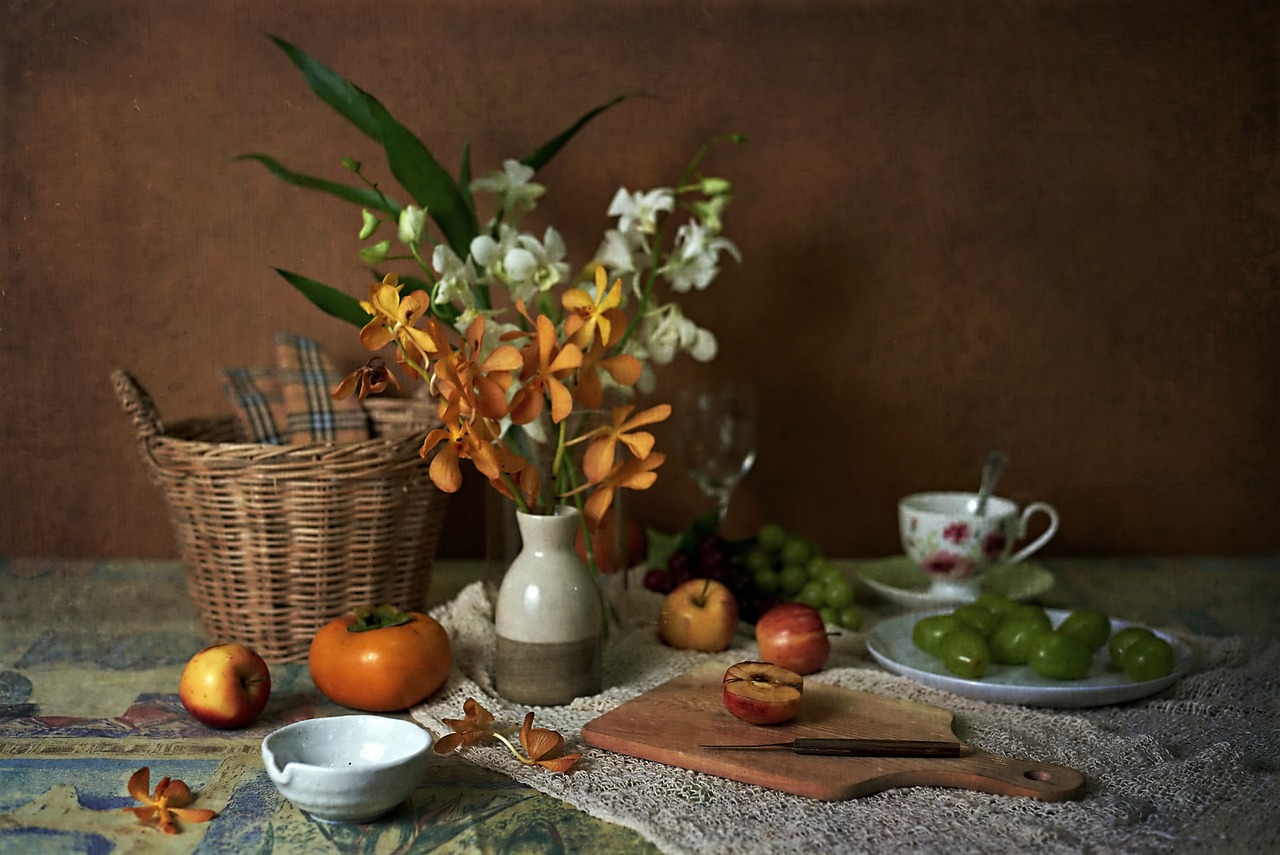
Creating a compelling still life composition is like setting the stage for a captivating performance. Every object you choose plays a role, and how you arrange them can either draw the viewer in or leave them feeling disconnected. So, how do you create that magical arrangement? First, consider the objects you want to include. Think about their shapes, sizes, and textures. A good mix of these elements can create visual interest. For example, pairing a smooth, round apple with a rough, textured piece of wood can create a beautiful contrast that catches the eye.
Next, think about the perspective. Are you going for a bird's-eye view, or will you be drawing from eye level? The angle at which you view your composition can dramatically affect the way it feels. If you choose a low angle, objects can appear grander and more imposing, adding a sense of drama to your work. On the other hand, a high angle can provide a more intimate feel, allowing viewers to see the details of each object up close. Play around with different angles until you find one that resonates with the story you want to tell.
When arranging your objects, consider using the rule of thirds. Imagine your canvas divided into nine equal sections by two horizontal and two vertical lines. Placing your main subjects along these lines or at their intersections can create a more balanced and dynamic composition. Additionally, think about the negative space around your objects. This empty space can help to draw attention to your subjects and prevent the composition from feeling cluttered. Sometimes, less is more!
To help visualize your composition better, you might want to sketch a few thumbnails. These small, quick drawings can serve as a roadmap for your final piece, allowing you to experiment with different arrangements without committing to a full drawing. Don’t be afraid to make adjustments as you go; art is a fluid process, and sometimes the best ideas come from spontaneous changes.
Lastly, lighting is essential. The way light interacts with your objects can enhance your composition significantly. Natural light often works best, as it can create soft shadows and highlights that add depth. Try to position your light source to one side to create interesting shadows and highlights. If you’re working indoors, experiment with different times of the day to see how the light changes your setup. Remember, the goal is to create a composition that not only looks good but also feels alive!
In summary, setting up your still life composition involves a careful balance of object selection, perspective, arrangement, and lighting. By paying attention to these elements, you can create stunning works of art that capture the viewer’s attention and evoke emotion. So grab your materials, set up your scene, and let your creativity flow!
- What are some common objects to use in still life drawing? Fruits, flowers, vases, and everyday household items are great choices.
- How do I choose the right lighting for my still life? Natural light is often best; try different times of day to see how shadows and highlights change.
- Can I use digital tools to set up my composition? Absolutely! Digital art software can help you experiment with arrangement and lighting before you start drawing.
Understanding Light and Shadow
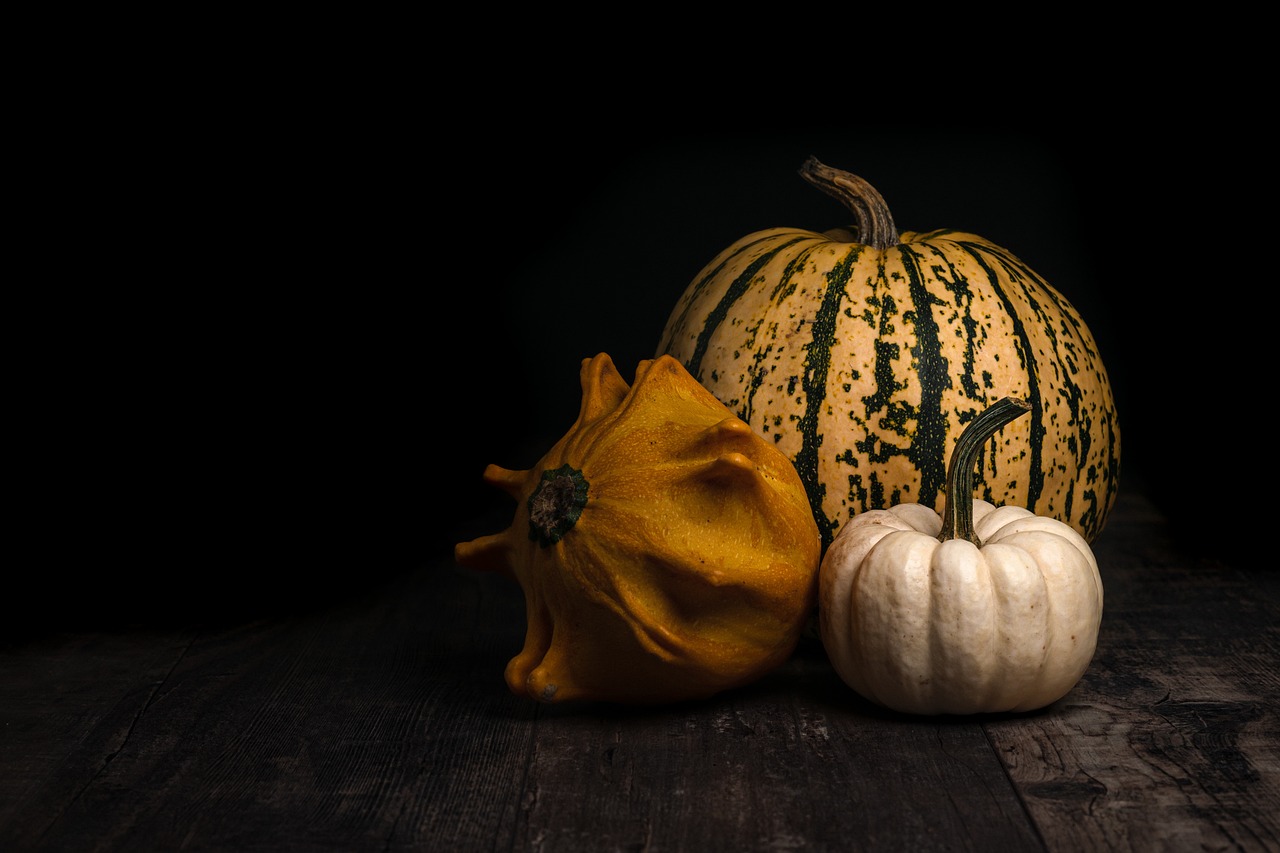
When it comes to still life drawing, light and shadow are not just mere elements; they are the very essence that brings your artwork to life. Imagine standing in a room filled with objects, and the sun shines through the window, casting intricate patterns on the surfaces. This interplay between light and shadow creates a magical atmosphere, and as artists, it’s our job to replicate that magic on paper. But how do we do this?
First, let's break down the concept of light. Light is what allows us to see objects; it defines their shape, color, and even texture. When you observe an object, the way light interacts with it can tell you a lot about its form. For instance, a shiny apple reflects light differently than a matte stone. Understanding these differences is crucial for capturing the true essence of your subject. To get started, pay attention to:
- Source of Light: Identify where the light is coming from. Is it natural light from a window or artificial light from a lamp? The source will dictate the shadows and highlights.
- Direction of Light: Light can come from various angles. A light source positioned above will cast shadows downward, while a side light will create more dramatic contrasts.
- Quality of Light: Is the light harsh or soft? Harsh light creates sharp shadows, while soft light results in more diffused, gentle shadows.
Now, let’s talk about shadow. Shadows can be intimidating for many artists, but they are just as important as the light itself. Shadows help define the shape of an object and add depth to your drawing. There are different types of shadows to consider:
- Cast Shadows: These are the shadows that an object casts on the surface beneath it. Think of a vase on a table; the shadow it casts will follow the shape of the vase and extend outward.
- Form Shadows: These shadows appear on the object itself and indicate the curvature and contours of the surface. For example, the rounded side of a ball will have a darker area where the light doesn’t reach.
To effectively replicate light and shadow in your still life drawings, it's essential to practice observing and sketching from real-life setups. Start by setting up a simple still life with a few objects and a single light source. As you draw, take note of how the light creates highlights on the surfaces and how shadows form around and underneath the objects.
A useful technique is to create a value scale, which helps you practice the range of light to dark tones. You can create a simple table like this:
| Value | Description |
|---|---|
| 1 | Brightest highlight |
| 5 | Mid-tone |
| 10 | Darkest shadow |
As you progress, challenge yourself by manipulating the light source. Move it closer or further away, or change its angle. Observe how these changes affect the shadows and highlights. This experimentation will not only improve your observational skills but also enhance your ability to depict realism in your artwork.
In conclusion, understanding light and shadow is fundamental to mastering still life drawing. By observing how light interacts with objects and practicing the various techniques for rendering shadows, you will create drawings that are not only visually appealing but also rich in depth and emotion. So grab your sketchbook, set up a still life, and let the light guide your hand!
Q: How do I choose the right lighting for my still life setup?
A: Natural light is often the best choice for beginners. Try setting up near a window during the day to take advantage of soft, diffused light. If you use artificial lighting, consider using a softbox or a lamp with a dimmer to control the intensity.
Q: Can I use color in my still life drawing?
A: Absolutely! Once you feel comfortable with light and shadow in pencil or charcoal, you can experiment with colored pencils, pastels, or watercolors to add vibrancy to your work.
Q: What if I struggle with proportions in my still life?
A: Start by using simple shapes to block in your objects before adding details. This will help you get the proportions right before you refine your drawing.
Techniques for Capturing Texture
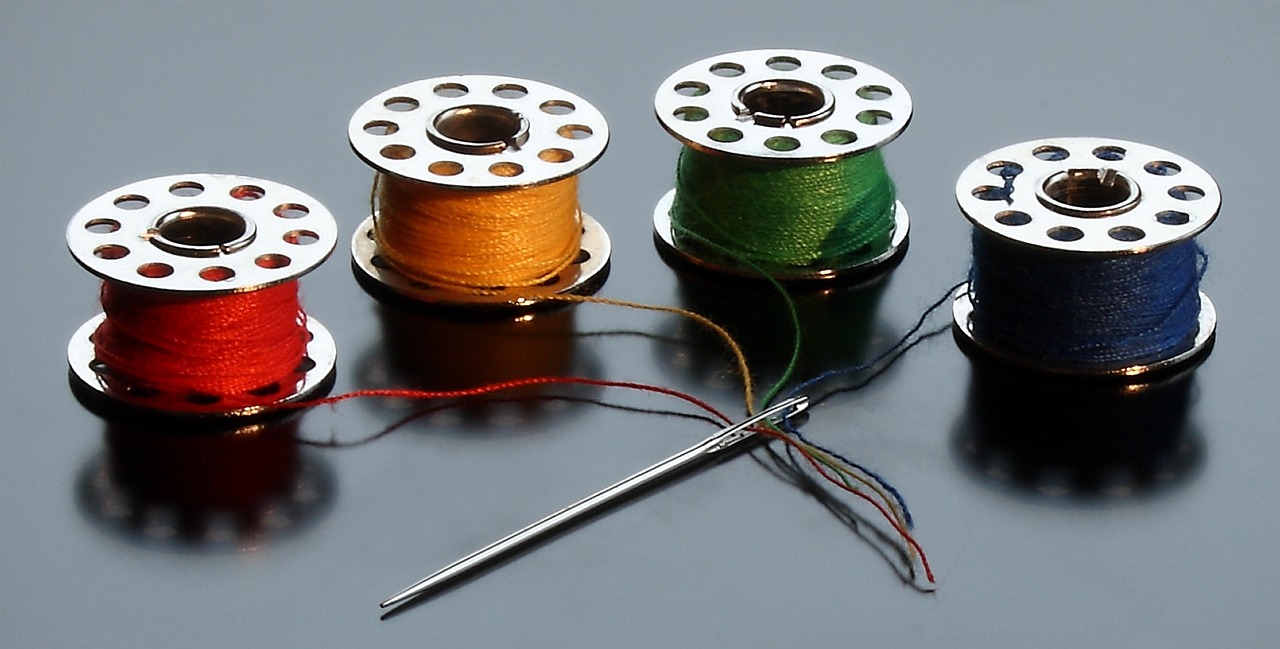
When it comes to still life drawing, capturing texture can be the secret ingredient that transforms a flat image into a vibrant, lifelike representation. Think about it: when you look at an object, you don't just see its shape and color; you also perceive its surface quality. Is it smooth like a polished apple, rough like tree bark, or soft like a piece of fabric? Understanding how to replicate these textures on paper can elevate your artwork significantly.
One of the most effective methods for achieving texture is through hatching. This technique involves drawing closely spaced parallel lines to create the illusion of depth and dimension. For instance, when hatching, the closer the lines are to each other, the darker that area will appear, mimicking the way light interacts with the surface of an object. If you want to add even more complexity, try cross-hatching, where you layer lines in different directions. This method can be particularly useful for depicting shadows and intricate surfaces, like the petals of a flower or the ridges of a fruit.
Another technique worth exploring is stippling, which involves creating texture through small dots. This method can be incredibly effective for rendering fine details, such as the speckles on a bird’s egg or the grain of wood. The key to stippling is understanding how to vary the density of the dots; more dots create darker areas, while fewer dots result in lighter sections. It’s almost like painting with a brush, but instead, you’re using the tip of your pencil to 'dot' your way to texture.
As you practice these techniques, consider the following tips to enhance your texture rendering:
- Experiment with Pressure: Varying the pressure on your pencil can yield different textures. A light touch can produce delicate lines, while a heavier hand can create bold, dark strokes.
- Use Different Pencils: Different hardness levels of pencils can create a range of textures. Softer pencils (like 2B or 4B) are great for darker, richer textures, while harder pencils (like H or 2H) can provide fine, light lines.
- Observe Real Objects: Spend time looking at the textures in your still life setup. Notice how light affects the appearance of different surfaces and try to replicate that in your drawing.
To truly master texture in still life drawing, it's essential to practice regularly. Set up a small still life with a variety of objects that have different textures—perhaps a shiny metal bowl, a rough stone, and a soft fabric. Spend time sketching each item, focusing on how you can use the techniques of hatching, cross-hatching, and stippling to convey their unique surfaces. Remember, the more you practice, the more intuitive these techniques will become!
In conclusion, texture is not just an afterthought in still life drawing; it’s a fundamental aspect that can bring your artwork to life. By experimenting with various techniques and being mindful of how you observe objects, you can create drawings that resonate with viewers and convey a sense of reality. So grab your pencils, set up a still life, and start exploring the wonderful world of texture!
Q: What is the best pencil for drawing textures?
A: It really depends on the texture you want to achieve. Softer pencils (like 2B or 4B) are great for darker textures, while harder pencils (like H or 2H) can help you create finer details.
Q: How can I practice texture drawing?
A: Set up a still life with various objects that have different textures. Spend time observing and sketching them using techniques like hatching, stippling, and cross-hatching.
Q: Is it necessary to use color to depict texture?
A: While color can enhance the perception of texture, it’s not necessary. You can effectively convey texture using just pencil techniques.
Color Theory in Still Life Drawing
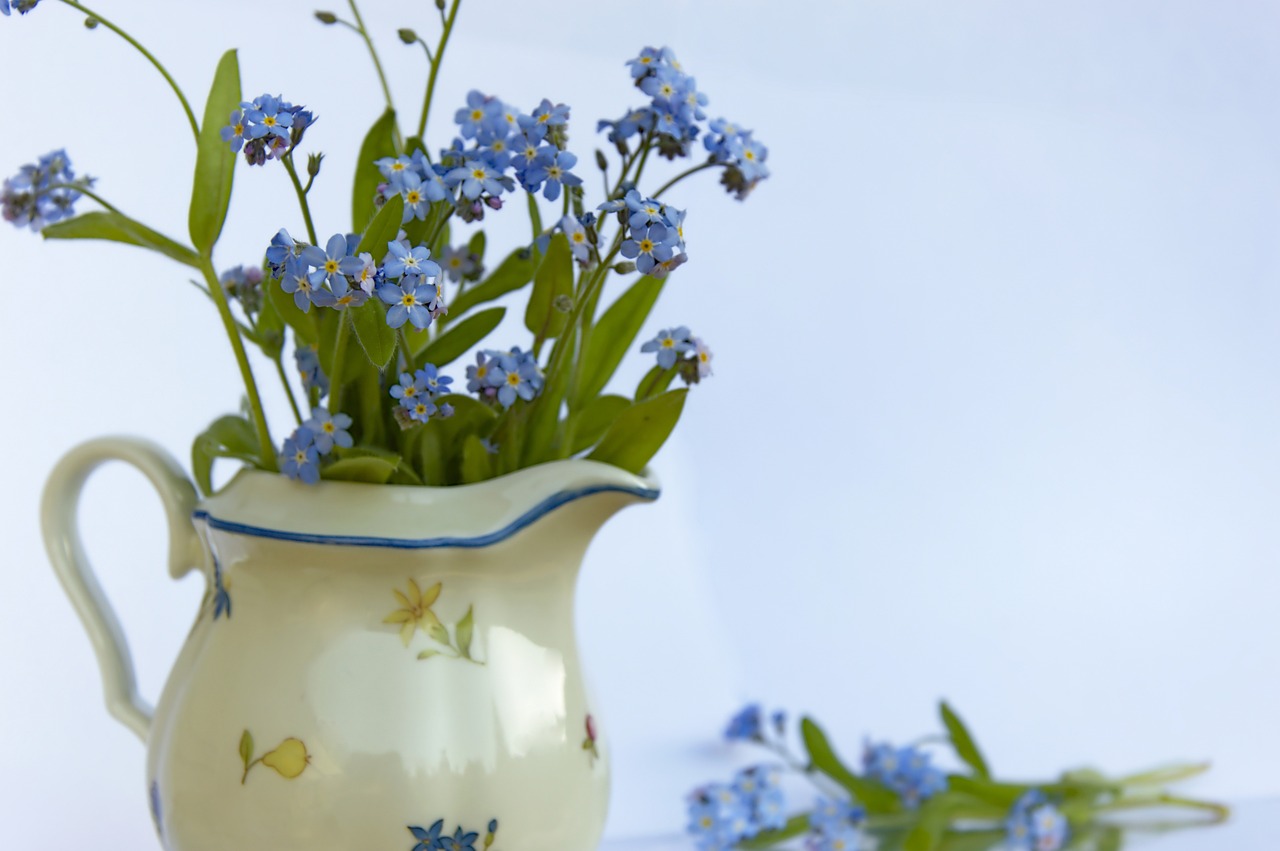
When it comes to still life drawing, color theory is an essential tool that can transform a simple composition into a vibrant masterpiece. Understanding how colors interact with one another can elevate your artwork, making it not just visually appealing but also emotionally engaging. Imagine walking into an art gallery and being drawn to a painting because of its vivid colors—that’s the power of color theory!
At its core, color theory revolves around the color wheel, which categorizes colors into three primary groups: primary, secondary, and tertiary colors. Primary colors (red, blue, and yellow) are the building blocks of all other colors. When mixed together, they create secondary colors (green, orange, and purple), and further mixing leads to tertiary colors. This foundational knowledge is crucial for any artist looking to create depth and harmony in their still life compositions.
One of the most exciting aspects of color theory is the concept of complementary colors. These are colors that are opposite each other on the color wheel, such as blue and orange or red and green. Using complementary colors in your still life drawing can create a striking contrast, making certain elements pop and drawing the viewer's eye to key focal points. For instance, if you have a bright yellow lemon in your composition, placing a deep purple cloth behind it can enhance its brightness and make it stand out even more.
Another important aspect to consider is the temperature of colors. Colors can be categorized as warm (reds, oranges, yellows) or cool (blues, greens, purples). Warm colors tend to evoke feelings of energy and excitement, while cool colors can create a sense of calm and tranquility. When arranging your still life, think about the mood you want to convey. For example, a composition featuring warm colors can evoke a cozy, inviting atmosphere, while cooler colors might suggest a more serene and peaceful setting.
To help you visualize how these concepts come together, consider the following table that outlines the relationships between different color groups:
| Color Group | Examples | Emotional Impact |
|---|---|---|
| Primary Colors | Red, Blue, Yellow | Bold, Strong, Fundamental |
| Secondary Colors | Green, Orange, Purple | Vibrant, Dynamic |
| Tertiary Colors | Red-Orange, Yellow-Green, etc. | Complex, Nuanced |
| Complementary Colors | Blue & Orange, Red & Green | Contrasting, Eye-Catching |
| Warm Colors | Red, Orange, Yellow | Energetic, Inviting |
| Cool Colors | Blue, Green, Purple | Calm, Relaxing |
As you begin to incorporate color into your still life drawings, remember that practice makes perfect. Experiment with different color combinations and observe how they change the overall feel of your artwork. Don’t be afraid to make mistakes; after all, some of the best discoveries in art come from unexpected outcomes!
In conclusion, mastering color theory is a vital step in enhancing your still life drawing skills. By understanding the relationships between colors, their emotional impacts, and how to use them effectively, you can create captivating artworks that resonate with viewers on a deeper level. So grab your paints or colored pencils, and let the world of color inspire your next still life masterpiece!
- What is the best way to start learning color theory? Begin by familiarizing yourself with the color wheel and practicing mixing colors to see how they interact.
- How can I effectively use complementary colors in my still life? Try placing complementary colors next to each other in your composition to create contrast and draw attention to focal points.
- Is it necessary to use color in still life drawing? While color can enhance your work, black and white drawings can also be powerful. It ultimately depends on your artistic vision.
- Can I use digital tools to apply color theory? Absolutely! Digital art software often has features that help you experiment with color combinations and palettes easily.
Common Challenges and Solutions
When diving into the world of still life drawing, artists often encounter a myriad of challenges that can be both frustrating and enlightening. One of the most common issues is achieving accurate proportions. It’s easy to get lost in the details and forget about the overall shape of the objects. To combat this, consider using a technique called sighting. This involves holding your pencil at arm's length and using it as a measuring tool to compare the sizes of different elements in your composition. By doing this, you can create a more balanced and harmonious piece.
Another frequent hurdle is mastering perspective. It can be tricky to make objects appear three-dimensional on a flat surface. A useful tip is to practice drawing simple shapes like cubes and spheres in various orientations. This exercise helps you understand how to depict depth and distance accurately. Remember, even the most experienced artists continually refine their understanding of perspective, so be patient with yourself!
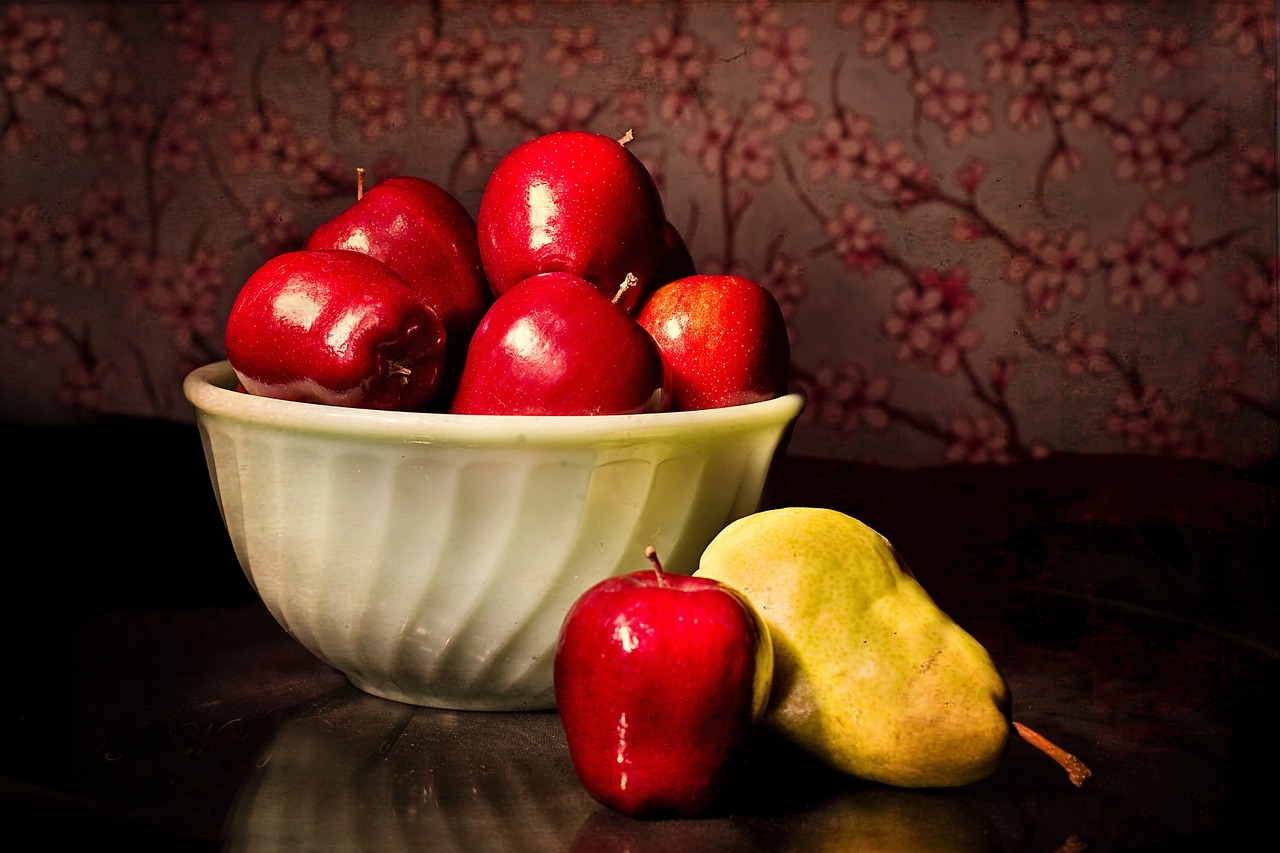
Light and shadow also pose significant challenges. Many beginners struggle with how to render shadows realistically. A helpful approach is to observe how light interacts with different surfaces. For instance, when drawing a shiny apple, notice how the light creates highlights and shadows. You can use a simple value scale to practice transitioning between light and dark tones, which will enhance the depth in your drawings.
Moreover, texture can be a tricky aspect to capture. Different materials have unique surface qualities that can be challenging to replicate. For example, the smoothness of glass versus the roughness of a burlap sack requires different techniques. Experimenting with hatching, cross-hatching, and stippling can help you find your unique style and effectively convey texture in your work. Don’t shy away from using your fingers or tools to smudge and blend for softer textures!
Lastly, maintaining motivation can be a challenge, especially when results don’t match your expectations. It’s essential to remember that every artist has faced this struggle. Set small, achievable goals for each drawing session, and celebrate your progress, no matter how minor it may seem. Consider keeping a sketchbook to document your journey; this will not only track your improvement but also serve as a source of inspiration.
- What should I do if my proportions are off?
Try using the sighting technique to measure and compare your objects. You can also step back and view your work from a distance to see the overall composition. - How can I improve my understanding of perspective?
Practice drawing simple shapes from different angles and study the way they change in appearance. There are many online resources and books that can guide you through perspective drawing exercises. - What are some effective ways to depict light and shadow?
Observe how light affects objects in real life and practice creating value scales to represent different tones. Experimenting with different drawing techniques will also help you find what works best for you. - How can I capture texture better?
Try using various techniques like hatching and stippling. Don’t hesitate to use your fingers or blending tools to achieve the desired effect. - What can I do to stay motivated?
Set small goals, keep a sketchbook, and remember to celebrate your progress. Surrounding yourself with a community of artists can also provide support and inspiration.

Practicing Still Life: Tips and Exercises
When it comes to mastering still life drawing, regular practice is your best friend. It’s like training for a marathon; the more you run, the better you get at it! So, how do you make the most of your practice sessions? First off, set aside dedicated time each week specifically for still life exercises. Consistency is key! You don’t need to spend hours at a time; even short, focused sessions can yield great results.
One effective way to practice is by creating your own still life setups at home. Look around you—your kitchen is a treasure trove of potential subjects! Gather everyday items like fruits, vegetables, or even simple household objects. Arrange them in a way that catches your eye. Remember, the goal is to create a composition that tells a story. Play with different arrangements and see how the mood changes. This experimentation is not just fun; it’s a fantastic way to develop your observational skills.
Additionally, consider using a sketchbook dedicated solely to still life studies. This can serve as a visual diary of your progress. Start with quick sketches to warm up, and then dive into more detailed drawings. Don't be afraid to make mistakes; they are part of the learning process! You might even want to set challenges for yourself, such as:
- Drawing the same setup from different angles.
- Limiting yourself to a specific medium, like charcoal or colored pencils.
- Setting a timer to create quick sketches under pressure.
Another great exercise is to study the works of master still life artists. Take a moment to analyze how they use light, shadow, and composition. Try to replicate a piece that resonates with you. This isn’t about copying; it’s about understanding the techniques that make those artworks captivating. You can even create a table in your sketchbook to note down what you learn from each artist:
| Artist | Technique | What I Learned |
|---|---|---|
| Juan Sánchez Cotán | Use of dramatic light and shadow | How to create depth with chiaroscuro |
| Paul Cézanne | Geometric shapes in objects | Breaking down forms into basic shapes |
| Giorgio Morandi | Subtle color palettes | Exploring harmony through color |
Don’t forget to incorporate feedback into your practice routine. Share your work with friends, family, or online art communities. Constructive criticism can provide new perspectives and insights you might not have considered. Plus, engaging with fellow artists can inspire you to try new techniques and ideas!
Lastly, always keep your mindset open to exploration. Art is a journey, not a destination. Whether you're drawing a simple apple or a complex arrangement of objects, enjoy the process. Each piece you create brings you one step closer to your artistic goals. So grab your pencils, set up your still life, and let your creativity flow!
Q: How often should I practice still life drawing?
A: Aim for at least a few times a week. Consistency helps improve your skills over time!
Q: What should I start with if I'm a beginner?
A: Begin with simple objects like fruits or household items. Focus on getting the shapes and proportions right before moving on to more complex compositions.
Q: How can I improve my observational skills?
A: Try drawing from life as much as possible. Spend time observing the objects closely before putting pencil to paper.
Frequently Asked Questions
-
What is still life drawing?
Still life drawing is an artistic practice that involves creating representations of inanimate objects. These can range from everyday items like fruits and flowers to more complex arrangements. It’s a fantastic way for artists to hone their skills in observation, composition, and technique.
-
Why is still life important for artists?
Engaging in still life drawing helps artists develop their observational skills, allowing them to study form, light, and shadow in a controlled environment. It serves as a foundational practice that prepares artists for more complex subjects, enhancing their overall artistic abilities.
-
What materials do I need for still life drawing?
To get started with still life drawing, you’ll need a few essential materials: quality pencils (like HB and 2B for sketching), drawing paper, and a good eraser. These tools will help you capture the nuances of your subjects and improve your overall drawing experience.
-
How can I set up a compelling still life composition?
Arranging your objects thoughtfully is key! Consider the shapes, sizes, and perspectives of the items you choose. Use varying heights and angles to create visual interest, and don’t forget to think about the background and how it complements your arrangement.
-
How do I understand light and shadow in still life drawing?
Light and shadow are crucial for adding depth and realism to your drawings. Observe how light interacts with your objects—notice where highlights and shadows fall. Practice replicating these effects in your artwork to enhance its three-dimensionality.
-
What techniques can I use to capture texture?
Texture can be depicted using various techniques like hatching, cross-hatching, and stippling. Each method allows you to represent the surface qualities of different objects effectively, adding richness and detail to your still life drawings.
-
How does color theory apply to still life drawing?
Incorporating color can elevate your still life artwork! Understanding basic color theory—like color mixing and complementary colors—will help you create more vibrant and harmonious compositions that draw viewers in.
-
What are some common challenges in still life drawing?
Artists often struggle with issues like proportion, perspective, and capturing light accurately. The good news is that these challenges can be overcome with practice and by applying specific techniques. Don’t hesitate to experiment and learn from your mistakes!
-
What are some tips for practicing still life drawing?
Regular practice is essential! Try setting up different still life arrangements and challenging yourself with various styles and techniques. Consider keeping a sketchbook to document your progress and explore new ideas as you refine your skills.


