Essential Paint Mixing Tips for Artists
Are you an artist looking to elevate your paint mixing skills? If so, you've landed in the right place! Mixing paint isn't just about slapping colors together; it's an intricate dance of hues, shades, and tones that can make or break your artwork. Whether you're a seasoned professional or just starting out, understanding the nuances of paint mixing can open up a world of creative possibilities. In this article, we will explore essential tips and techniques that will help you achieve the colors and effects you desire in your paintings. So, grab your brushes and let's dive into the colorful universe of paint mixing!
A fundamental grasp of color theory is essential for effective paint mixing. Think of color theory as the foundation of your artistic house; without it, everything else might crumble. In this section, we will explore the primary, secondary, and tertiary colors, as well as complementary and analogous color schemes. Understanding how these colors interact can help you create stunning combinations that resonate with viewers. For instance, using complementary colors—those opposite each other on the color wheel—can create striking contrasts that catch the eye. On the flip side, analogous colors—those next to each other—can produce harmonious and soothing visuals. By mastering these concepts, you’ll be equipped to make informed choices when mixing your paints.
Selecting the appropriate palette can significantly impact your mixing process. Imagine trying to cook a gourmet meal without the right tools; the same applies to paint mixing! Here, we will discuss various types of palettes and how to choose one that suits your artistic style. A well-chosen palette not only enhances your mixing experience but also reflects your unique artistic identity. You might prefer a wooden palette for its traditional feel, or perhaps a plastic one for its convenience. The right palette can make all the difference in achieving the results you want.
Different palettes serve unique purposes. Below, we’ll highlight three common types of palettes, each with its own advantages and disadvantages:
- Wooden Palettes: These are traditional and durable. They offer the advantage of absorbing some paint, which can enhance mixing. However, they require more maintenance to keep clean.
- Plastic Palettes: Lightweight and easy to clean, plastic palettes are practical for various painting mediums. They can be less absorbent than wooden palettes, which might affect certain mixing techniques.
- Disposable Palettes: These are perfect for quick setups and easy clean-up, making them ideal for artists on the go. However, they can be less eco-friendly and may not provide the same mixing experience.
Artists often benefit from customizing their palettes. Think of it as tailoring a suit; it should fit your unique style and artistic vision. This section will guide you through selecting colors that resonate with you. Consider the emotions you want to evoke in your artwork. Do you want to convey tranquility with soft blues and greens, or perhaps energy with vibrant reds and yellows? Choosing a custom palette allows you to express your individuality while also improving your mixing skills.
Mastering mixing techniques is crucial for achieving the desired color results. It's like learning the intricacies of a dance; the more you practice, the more fluid and natural it becomes. In this section, we will delve into various methods, including wet blending and dry brushing, to enhance your painting skills. Each technique serves a different purpose and can dramatically alter the final outcome of your artwork.
Wet blending is a technique that allows for smooth transitions between colors. Imagine the way clouds blend into the sky at sunset; that's the magic of wet blending! This subsection will provide tips on how to effectively use this technique in your artwork. The key is to work quickly while the paint is still wet, using a soft brush to merge colors seamlessly. Don't be afraid to experiment; sometimes, the best results come from happy accidents!
Layering colors can create depth and dimension in your artwork. Think of it like building a cake; each layer adds richness and complexity. Here, we will explore how to layer paints effectively to achieve stunning visual effects in your paintings. Start with a base layer and gradually add more colors, allowing each layer to dry before applying the next. This technique not only enhances the vibrancy of your colors but also adds a tactile quality to your work.
Even experienced artists can make mistakes when mixing paints. It's all part of the learning process! This section will identify common pitfalls and provide advice on how to avoid them for better results. Understanding these mistakes can save you time and frustration in your artistic journey.
Overmixing can dull colors and reduce vibrancy. It's like overcooking a dish; you lose the essence of the ingredients. This subsection will explain why it's essential to know when to stop mixing for optimal results. Trust your instincts and remember that sometimes, less is more!
Understanding paint opacity is crucial in mixing. Neglecting opacity can affect the final appearance of your artwork, leading to unexpected results. This part will discuss how to incorporate transparency and opacity into your mixing process. By mastering this aspect, you can create layers that interact beautifully, enhancing the overall depth of your painting.
Q: How can I improve my paint mixing skills?
A: Practice is key! Experiment with different colors and techniques, and don't be afraid to make mistakes. Each mix teaches you something new.
Q: What type of palette is best for beginners?
A: A plastic palette is often recommended for beginners due to its lightweight and easy-to-clean nature. However, choose one that feels comfortable for you!
Q: Can I mix different types of paint?
A: Yes, but be cautious! Mixing oil-based and water-based paints can lead to undesirable results. Always check compatibility before mixing.

Understanding Color Theory
Color theory is the backbone of any artist's journey, acting as a guide to navigate the vibrant world of hues and shades. To truly enhance your paint mixing skills, it’s crucial to have a solid understanding of the different types of colors and their relationships with one another. At its core, color theory breaks down into three primary categories: primary colors, secondary colors, and tertiary colors. These categories form the foundation upon which all other colors are built.
Let's start with the primary colors: red, blue, and yellow. These colors are unique because they cannot be created by mixing other colors together. Instead, they serve as the building blocks for all other colors. When you mix two primary colors together, you create a secondary color. For instance, mixing red and blue yields purple, blue and yellow produce green, and red and yellow create orange. This interaction between colors is where the magic of paint mixing begins!
Now, when you mix a primary color with a secondary color, you get a tertiary color. These colors are more complex and nuanced, adding depth to your palette. Some examples of tertiary colors include red-orange, yellow-green, and blue-purple. Understanding these relationships allows artists to create a rich tapestry of colors in their artwork, ensuring that each piece resonates with emotion and intention.
In addition to knowing the types of colors, it’s essential to grasp the concepts of complementary and analogous color schemes. Complementary colors are those that are opposite each other on the color wheel, such as blue and orange. When placed next to one another, they create a striking contrast that can make your artwork pop. On the other hand, analogous colors are those that sit next to each other on the wheel, like blue, blue-green, and green. These colors blend smoothly, offering a sense of harmony and unity in your paintings.
To visualize these concepts, consider the following table:
| Color Type | Examples | Mixing Result |
|---|---|---|
| Primary Colors | Red, Blue, Yellow | N/A |
| Secondary Colors | Purple, Green, Orange | Mix of two primary colors |
| Tertiary Colors | Red-Orange, Yellow-Green | Mix of a primary and a secondary color |
Understanding these color relationships not only enhances your paint mixing capabilities but also enriches your overall artistic expression. As you become more familiar with how colors interact, you’ll find that your ability to create stunning visual effects improves dramatically. So, next time you sit down to paint, take a moment to consider the colors on your palette and how they relate to one another. This awareness can transform your artwork from ordinary to extraordinary!
Choosing the Right Palette
When it comes to creating stunning artwork, one of the most overlooked aspects is the choice of palette. Selecting the right palette can significantly influence your mixing process and ultimately the results of your artwork. Think of your palette as your personal stage—it sets the scene for the colors to shine and interact. Whether you're a beginner or a seasoned artist, understanding the nuances of different palettes can elevate your painting experience.
There are a variety of palettes available, each catering to different artistic styles and preferences. Some artists prefer the traditional feel of wooden palettes, while others lean towards the practicality of plastic options. Each type has its own set of benefits and drawbacks. For instance, wooden palettes, with their natural absorbency, can enhance paint mixing by allowing colors to blend seamlessly. On the other hand, plastic palettes are lightweight and easy to clean, making them ideal for artists who are always on the go.
When choosing your palette, consider the following factors:
- Material: Different materials can affect how paint behaves. Wooden palettes can absorb moisture, while plastic palettes provide a slick surface for easier mixing.
- Size: The size of your palette should match your working style. A larger palette offers more space for mixing, while a smaller one is perfect for quick sketches or on-location painting.
- Shape: Palettes come in various shapes—oval, rectangular, and even circular. The shape can affect how easily you can access your colors and how comfortable it feels in your hand.
Additionally, customizing your palette can be a game changer. By selecting colors that resonate with your personal style, you create a palette that not only serves functional purposes but also inspires you creatively. Consider the colors you frequently use and how they interact with each other. This can help you create a harmonious blend that reflects your artistic vision.
In summary, choosing the right palette is crucial for any artist looking to enhance their paint mixing skills. By understanding the differences between wooden and plastic palettes, considering factors like material, size, and shape, and customizing your palette to fit your unique style, you can set yourself up for success. Your palette is more than just a tool; it’s a canvas for your creativity before the paint even hits the surface!
1. What is the best type of palette for beginners?
A plastic palette is often recommended for beginners due to its lightweight nature and ease of cleaning. It allows for quick adjustments without the worry of damaging the surface.
2. How do I clean my palette properly?
For wooden palettes, a gentle scrub with soap and water is usually sufficient. For plastic palettes, you can use a sponge or cloth with a mild detergent. Avoid abrasive cleaners that could scratch the surface.
3. Can I use a disposable palette for all types of paint?
Yes, disposable palettes are versatile and can be used with acrylics, oils, and watercolors. They are particularly useful for artists who prefer to work quickly and want to avoid cleanup.
4. How do I customize my palette?
To customize your palette, select a range of colors that you frequently use and enjoy. Arrange them in a way that makes sense to you, perhaps by color family or how they blend together.
Types of Palettes
When it comes to painting, the type of palette you choose can significantly influence your creative process. Each palette has its unique characteristics, advantages, and disadvantages that can cater to different artistic styles and preferences. Understanding these differences is crucial for any artist looking to enhance their paint mixing skills. Let's dive into the three main types of palettes: wooden, plastic, and disposable.
Wooden palettes are the traditional choice for many artists, and it's easy to see why. These palettes are not only durable but also provide a unique texture that can enhance the paint mixing experience. The natural wood can absorb some of the paint, which helps in achieving a smoother blend between colors. Additionally, wooden palettes are often easier to clean than you might think; a simple wipe down with a cloth can remove most paint residues. However, they do require some maintenance to prevent warping or cracking over time.
On the other hand, plastic palettes are a favorite among artists who prioritize convenience and portability. They are lightweight and often come with a non-stick surface, making them incredibly easy to clean. This feature is particularly beneficial for artists who work with multiple mediums, as plastic palettes can accommodate everything from acrylics to watercolors without absorbing any paint. However, one downside is that plastic may not provide the same level of mixing quality as wood, as it doesn't absorb any paint, which can sometimes lead to colors appearing more vibrant than intended.
For those who prefer a no-fuss approach, disposable palettes are a fantastic option. They are typically made from paper or cardboard and are designed to be used once and tossed away. This eliminates the need for cleaning and maintenance, allowing artists to focus solely on their work. However, while they are incredibly convenient, disposable palettes may not offer the same mixing capabilities as their wooden or plastic counterparts. They can also be less environmentally friendly, so it's essential to consider your impact on the planet when choosing this option.
In summary, the type of palette you choose can greatly affect your painting experience. Whether you lean towards the traditional charm of wooden palettes, the practicality of plastic, or the convenience of disposable options, each has something unique to offer. Experimenting with different types can help you discover what best suits your artistic style and enhances your paint mixing skills.
- What is the best type of palette for beginners? - Beginners often find plastic palettes to be the most user-friendly due to their ease of cleaning and lightweight nature.
- Can I use a wooden palette for acrylic paints? - Absolutely! Wooden palettes can work beautifully with acrylics, although you should clean them promptly to prevent staining.
- Are disposable palettes worth it? - If you prioritize convenience and quick cleanup, disposable palettes can be a great choice, but consider their environmental impact.
- How do I clean a plastic palette? - Most plastic palettes can be cleaned with soap and water. For stubborn stains, a bit of rubbing alcohol can work wonders.
Wooden Palettes
When it comes to artistic expression, the tools you choose can significantly impact your work, and wooden palettes are often regarded as a classic choice among artists. These palettes are not just functional; they also carry a sense of tradition that many artists cherish. The natural wood grain can be aesthetically pleasing, offering a tactile experience that enhances the creative process. One of the standout features of wooden palettes is their durability. Unlike some disposable options, a wooden palette can last for years, becoming a trusted companion in your artistic journey.
Another remarkable advantage of wooden palettes is their ability to absorb paint. This characteristic allows for a more seamless mixing experience, as the paint doesn't simply sit on the surface; it melds with the wood, creating a unique texture that can enhance color blending. However, this absorption can also mean that you need to clean your palette more thoroughly after use to prevent old paint from affecting your new mixes. The cleaning process, while potentially tedious, can also be a meditative ritual, allowing you to reflect on your previous work as you prepare for new creations.
Moreover, wooden palettes often come in various shapes and sizes, catering to different painting styles and preferences. Here’s a quick comparison of some common types of wooden palettes:
| Type | Advantages | Disadvantages |
|---|---|---|
| Traditional Wooden Palette | Durable, absorbs paint, aesthetically pleasing | Requires thorough cleaning, can be heavy |
| Wooden Palette with a Thumb Hole | Easy to hold, allows for comfortable mixing | May not fit all hand sizes |
| Wooden Palette with Compartments | Organizes colors, reduces mixing time | Less space for mixing large amounts of paint |
If you're considering a wooden palette, remember that the choice of wood can also influence your experience. Hardwoods like birch or maple are popular because they're less porous and easier to clean, while softer woods may absorb more paint but can be more challenging to maintain. Ultimately, the choice of a wooden palette can reflect your personal style and preferences, making it an extension of your artistic identity.
In conclusion, wooden palettes offer a blend of tradition, functionality, and aesthetic appeal that can enhance your painting experience. By understanding their benefits and maintaining them properly, you can ensure that your wooden palette serves you well for many creative endeavors to come.
- How do I clean my wooden palette? It’s best to use a palette knife to scrape off excess paint, followed by wiping it down with a cloth soaked in mineral spirits or a mild soap solution.
- Can I use acrylics on a wooden palette? Yes, wooden palettes work well with acrylic paints, but be sure to clean them thoroughly to prevent paint buildup.
- What is the best type of wood for a palette? Hardwoods like birch and maple are ideal due to their durability and ease of cleaning.
Plastic Palettes
Plastic palettes are a popular choice among artists for several compelling reasons. First and foremost, their lightweight nature makes them incredibly easy to transport, which is perfect for artists on the go or those who enjoy painting outdoors. Imagine setting up your easel in a park, surrounded by nature, and having a palette that you can easily carry without straining your back! This convenience allows for spontaneous creativity, letting you capture inspiration wherever it strikes.
Another significant advantage of plastic palettes is their ease of cleaning. Unlike wooden palettes that can absorb paint and require more effort to maintain, plastic palettes can be wiped clean with minimal fuss. This means less time scrubbing and more time creating! Additionally, many plastic palettes come with a non-stick surface, which helps prevent colors from mixing unintentionally, allowing you to maintain the integrity of your hues.
When it comes to versatility, plastic palettes shine as well. They are suitable for a variety of painting mediums, including acrylics, oils, and watercolors. Each type of paint behaves differently, and having a palette that accommodates all of them is a real game changer. You can easily switch between mediums without needing to invest in multiple palettes, which is not only economical but also practical for artists who like to experiment.
However, it's essential to note that while plastic palettes have numerous benefits, they may not offer the same level of aesthetic appeal as traditional wooden palettes. Some artists prefer the classic look and feel of wood, believing it adds a certain charm to their creative process. But let’s be honest—when you’re in the zone, the last thing you want to worry about is whether your palette looks good or not! It's all about functionality.
In summary, plastic palettes are a fantastic option for artists who value convenience, ease of use, and versatility. They may not have the rustic charm of wooden palettes, but they certainly hold their own in terms of practicality. So, whether you're a beginner just starting your artistic journey or a seasoned pro looking for a reliable palette, plastic options might just be the perfect fit for your creative needs.
- Are plastic palettes better than wooden palettes? It depends on personal preference. Plastic palettes are easier to clean and more portable, while wooden palettes offer a traditional feel and absorb some paint, enhancing mixing.
- Can I use plastic palettes for oil paints? Yes, plastic palettes can be used for oil paints, but make sure to choose a palette that is specifically designed for oil to avoid any issues with paint adhesion.
- How do I clean my plastic palette? Simply wipe it down with a damp cloth or paper towel. For stubborn paint, a gentle scrub with soap and water usually does the trick.
Creating a Custom Palette
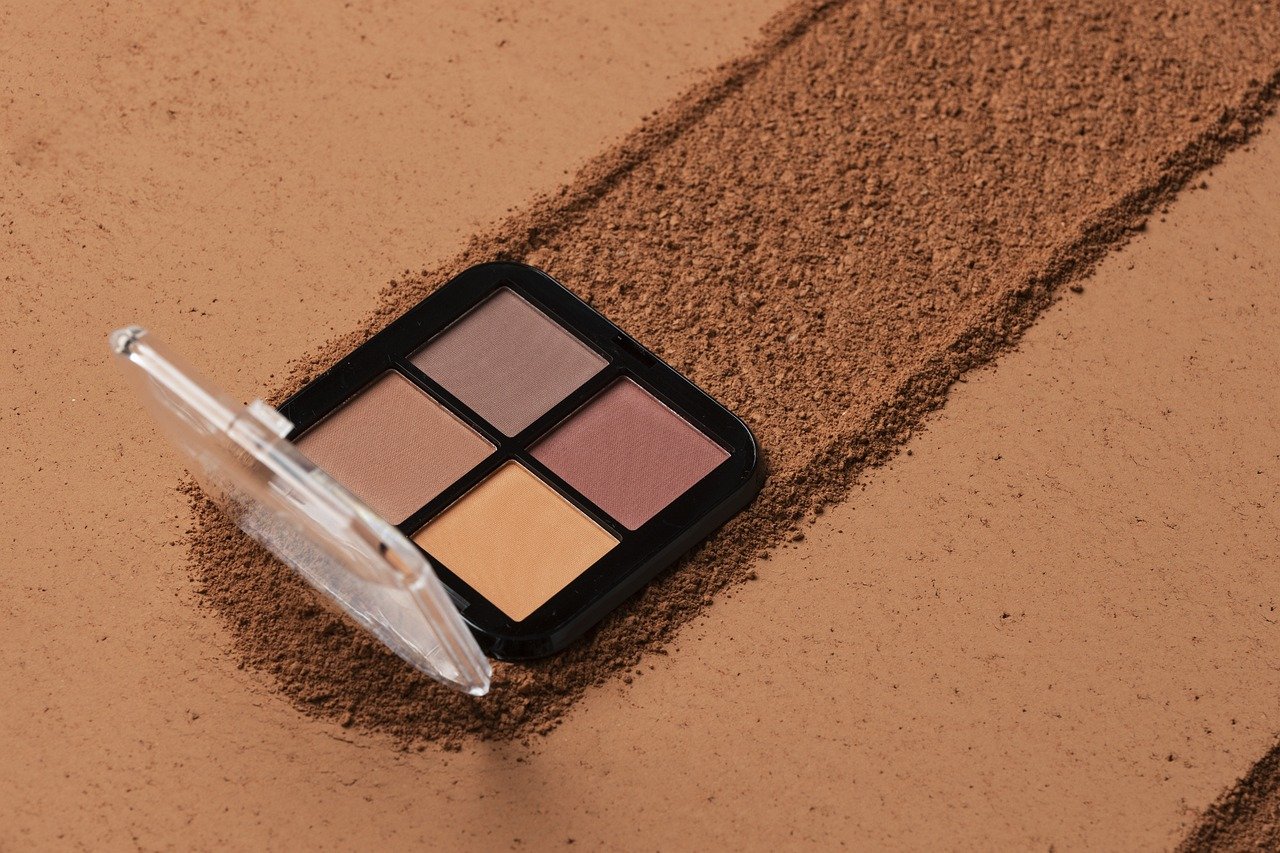
Creating a custom palette is like crafting your own secret weapon as an artist. It allows you to select colors that truly resonate with your personal style and artistic vision. Imagine stepping into a world where every hue you mix feels like an extension of your emotions and ideas. So, how do you go about building this magical palette? First, consider what colors speak to you. Do you lean towards vibrant, bold shades, or do you prefer soft, muted tones? Understanding your preferences is the first step in this creative journey.
When selecting colors for your custom palette, it’s essential to think about the mood you want to convey in your artwork. For instance, warm colors like reds and yellows can evoke feelings of energy and passion, while cool colors such as blues and greens can create a sense of calm and tranquility. You might want to create a palette that includes:
- Primary Colors: Red, blue, and yellow as your base.
- Secondary Colors: Green, orange, and purple to add variety.
- Neutral Colors: Whites, blacks, and grays for balance.
Next, think about the color harmony you wish to achieve. This involves understanding how colors interact with each other. For example, you can create a harmonious palette by choosing analogous colors, which sit next to each other on the color wheel, or complementary colors, which are opposite each other. The interplay of these colors can create stunning visual effects in your artwork.
Another crucial aspect of creating a custom palette is considering the medium you will be using. Different paints, whether acrylics, oils, or watercolors, have unique properties that can affect how colors appear when mixed. For example, acrylics dry quickly, which can be beneficial for layering techniques, while oils allow for more extended blending time. Thus, your palette should reflect the characteristics of the medium you choose.
Finally, don't be afraid to experiment! Sometimes the best colors come from unexpected combinations. Try mixing colors directly on your palette to see how they interact. You may find that a splash of a color you initially overlooked can bring your artwork to life. Remember, art is a journey, and your palette is a reflection of that journey. Embrace the process, and let your creativity flow!
Mixing Techniques
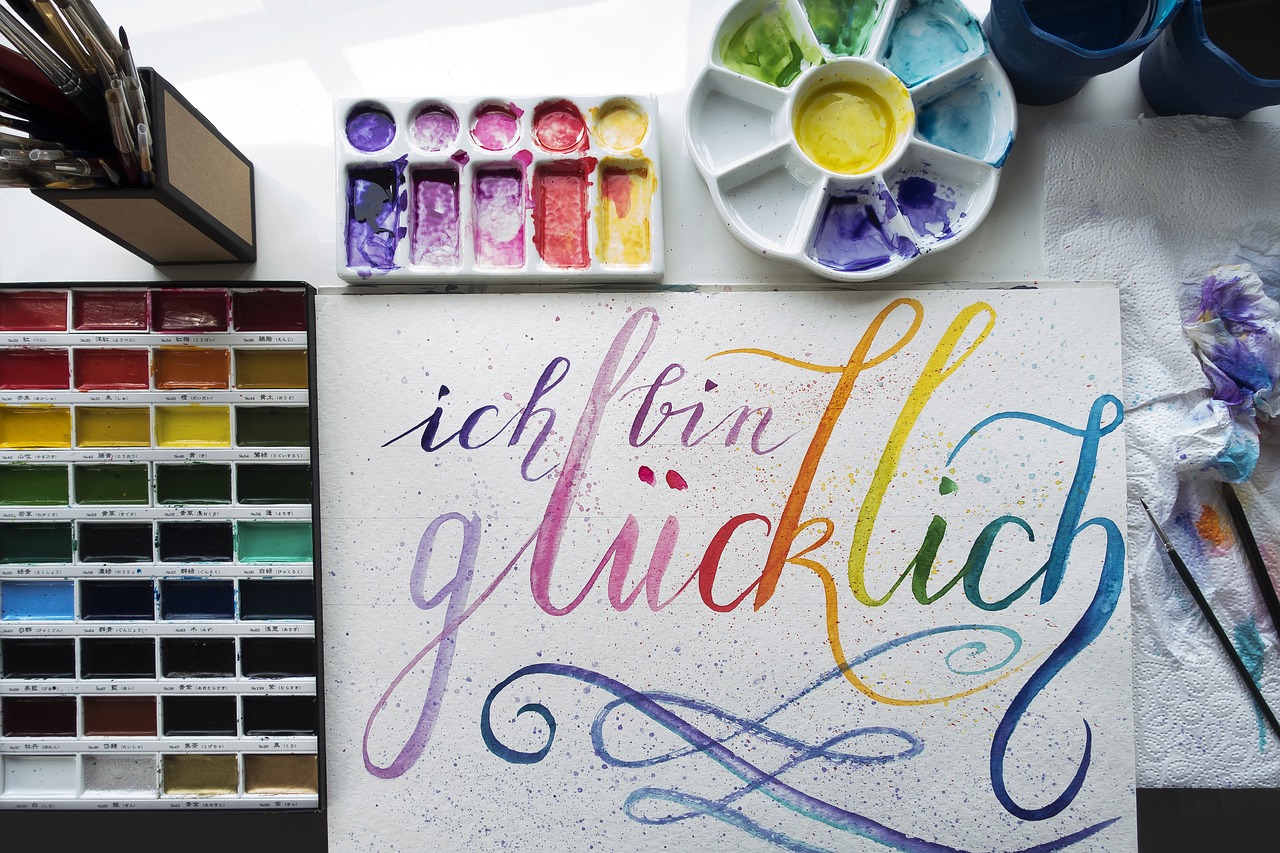
Mastering mixing techniques is crucial for achieving the desired color results in your artwork. Whether you’re a seasoned artist or just starting out, understanding how to manipulate your paints can transform your creations from ordinary to extraordinary. One of the most effective methods is wet blending, which allows for seamless transitions between colors. This technique is particularly useful when you want to create soft gradients or when you're working on skin tones in portrait painting. To effectively use wet blending, start by applying two colors side by side on your canvas. Then, using a clean brush, gently stroke back and forth where the colors meet. This will help create a smooth transition, making your artwork appear more cohesive.
Another powerful technique is layering colors. This method involves applying multiple layers of paint to build depth and dimension in your work. Think of it like adding layers to a cake—each layer contributes to the overall flavor and appearance. When layering, it’s important to allow each layer to dry before applying the next one, especially if you’re using acrylics or oils. This not only prevents muddying your colors but also gives you the opportunity to evaluate how the colors interact with one another. A great tip is to start with lighter colors and gradually add darker shades. This way, you can maintain control over the vibrancy and saturation of your final piece.
In addition to these techniques, experimenting with glazing can yield stunning results. Glazing involves applying a transparent layer of paint over a dry layer, creating a rich, luminous effect. This is particularly effective for achieving intricate details and enhancing color vibrancy. To achieve a successful glaze, mix a small amount of paint with a glazing medium to thin it out. Apply this mixture over your dried paint, and watch as it transforms the underlying layers, adding depth and complexity to your artwork.
Finally, it's important to remember that practice makes perfect. Mixing paints and mastering these techniques can take time and experimentation. Don’t be afraid to make mistakes—each one is a stepping stone toward improving your skills. Keep a journal of your mixing experiments, noting which combinations work well and which don’t. This can serve as a valuable reference for future projects.
To summarize, here are some essential mixing techniques to enhance your painting skills:
- Wet Blending: Create smooth transitions between colors for a cohesive look.
- Layering Colors: Build depth and dimension by applying multiple layers of paint.
- Glazing: Use transparent layers to enhance color vibrancy and add luminosity.
Wet Blending
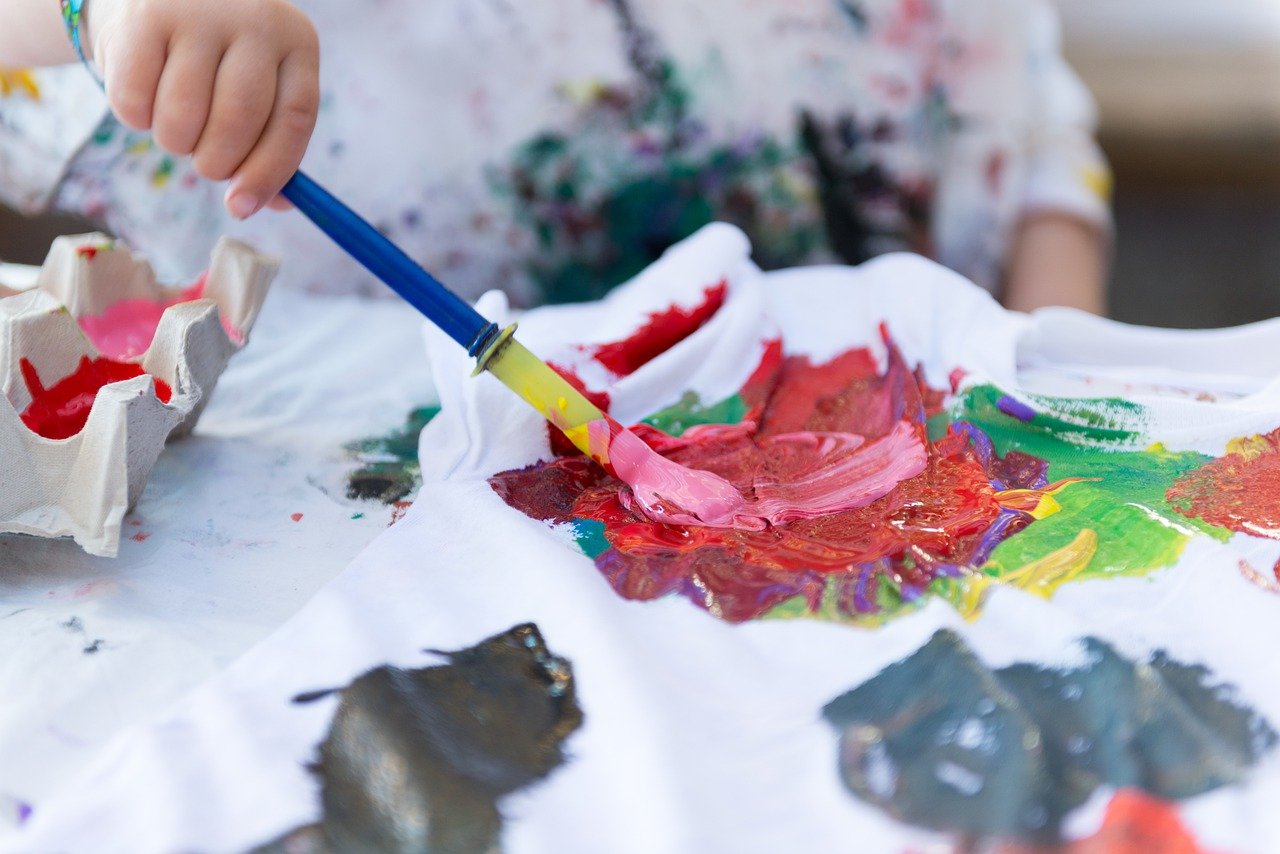
Wet blending is a captivating technique that allows artists to create smooth transitions between colors, resulting in a seamless and harmonious appearance in their artwork. Imagine standing in a lush green meadow where different shades of green blend effortlessly into one another; that's the magic of wet blending! To achieve this effect, you'll need to work quickly and maintain a wet surface on your palette and canvas. The key is to keep your paints moist, which enables them to mix together, creating gradients that are both beautiful and dynamic.
To start wet blending, you’ll want to apply your base color onto the canvas first. Once that’s done, take a contrasting or complementary color and place it right next to the base color. Now comes the fun part: using a clean brush, gently work the two colors together where they meet. This technique is akin to a dance, where the colors move together in harmony, creating stunning transitions that can evoke emotions and depth in your artwork.
Here are some tips to enhance your wet blending skills:
- Use a good quality brush: A soft, flexible brush will allow you to blend colors more effectively.
- Keep your paints moist: If your paints start to dry out, consider using a wet palette or spray mist to keep them workable.
- Practice patience: Wet blending requires practice. Don’t rush the process; take your time to observe how the colors interact.
Additionally, understanding the properties of the paints you are using can greatly influence your results. For instance, some paints are more transparent than others, which can affect how they blend together. It’s essential to experiment with different brands and types of paints to find the ones that work best for your style. As you practice, you’ll develop a feel for how much pressure to apply and how to manipulate the colors to achieve the desired effect.
Wet blending is not just a technique; it’s an experience that can elevate your artistry to new heights. By mastering this skill, you’ll be able to create stunning visuals that draw viewers in and leave them mesmerized. So grab your brushes, mix those colors, and let your creativity flow!
Layering Colors
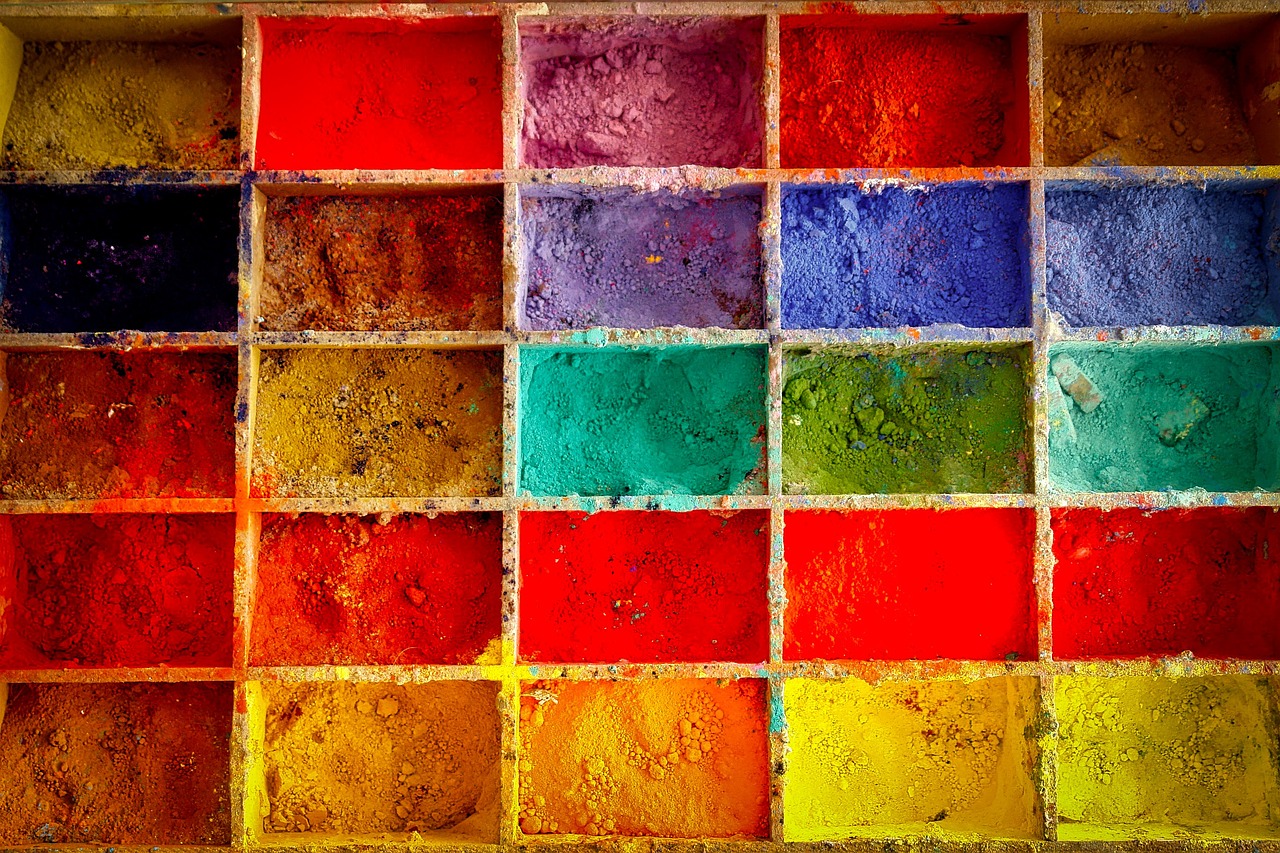
Layering colors is like building a beautiful cake; each layer adds depth, complexity, and richness to your artwork. When you apply different colors in layers, you create a sense of dimension that can transform a flat painting into a stunning visual experience. This technique allows you to achieve effects that are not possible with a single application of paint. Think of it as a dance between transparency and opacity, where each color interacts with the others to produce a harmonious blend.
To effectively layer colors, it's crucial to understand the properties of the paints you are using. For instance, some paints are more transparent than others. Transparent colors allow the underlying layers to show through, creating luminous effects, while opaque colors will cover the layers beneath them. This interplay can dramatically influence the final look of your painting. For example, if you start with a vibrant blue and layer a transparent yellow over it, you might achieve a beautiful green hue. However, if you were to use an opaque yellow, it would completely cover the blue, resulting in a different outcome.
One effective method for layering is to work from dark to light. This approach enables you to build a solid foundation with darker shades, which can then be highlighted with lighter tones. Here’s a simple breakdown of the process:
- Start with a base layer: Apply a thin layer of your darkest color. This will serve as the foundation for your painting.
- Build up mid-tones: Gradually add mid-tones, blending them into the dark base to create a smooth transition.
- Add highlights: Finally, apply lighter colors to bring certain areas to life and create contrast.
Additionally, consider the drying time between layers. If you rush the process and apply new layers too soon, you risk muddying your colors. Allow each layer to dry completely before moving on to the next. This patience will reward you with stunning results, as the colors will remain vibrant and true to their intended hues.
Experimentation is key when it comes to layering colors. Don’t be afraid to try different combinations and techniques. You might discover that layering certain colors creates unexpected and delightful results. Keep a journal of your experiments, noting what works and what doesn’t. This practice will not only improve your skills but also help you develop a unique style that reflects your artistic vision.
In conclusion, layering colors is an essential skill for any artist looking to add depth and character to their work. By understanding the properties of your paints, working methodically from dark to light, and allowing for proper drying time, you can unlock a world of possibilities in your artwork. So grab your brushes, unleash your creativity, and watch as your paintings come to life with every layer you add!
Q: What is the best way to layer colors without muddying them?
A: To avoid muddy colors, allow each layer to dry completely before adding the next one. Additionally, use transparent colors for layering to maintain vibrancy.
Q: Can I layer colors on different types of surfaces?
A: Yes, layering can be done on various surfaces, but the texture and absorbency of the surface will affect how the paint behaves. Experiment to find what works best for you!
Q: How do I know when to stop layering?
A: Trust your instincts! If you feel the painting is becoming too busy or losing its original intention, it may be time to step back and evaluate. Sometimes less is more.
Common Mistakes to Avoid
When it comes to paint mixing, even the most seasoned artists can stumble upon pitfalls that can derail their creative flow. One of the most common mistakes is overmixing colors. You might think that blending your paints until they are perfectly homogeneous will yield the best results, but this is often far from the truth. Overmixing can lead to dull colors that lack the vibrancy and life you initially intended. Imagine stirring a beautiful cocktail until it turns into a murky puddle; the same principle applies to your paints. To avoid this, remember to mix just enough to achieve the desired shade, and then step back to see how it interacts with the other colors on your palette.
Another frequent misstep is ignoring opacity. Understanding how transparent or opaque your paints are is crucial for achieving the desired effects in your artwork. For instance, if you layer a transparent color over an opaque one without considering their properties, you could end up with unexpected results that may not align with your vision. Always test your colors on a scrap piece of paper before committing them to your canvas. This practice will help you gauge how they will appear once dried and layered. To illustrate this point, here’s a quick reference table:
| Color Type | Opacity | Best Use |
|---|---|---|
| Transparent | Low | Layering, Glazing |
| Opaque | High | Solid Coverage, Details |
| Semi-Transparent | Medium | Mixing Effects |
Moreover, don’t overlook the importance of testing your mixes. It’s easy to get caught up in the excitement of creating, but taking a moment to test your mixed colors can save you from potential disappointment later on. Use a small brush to apply a dab of your mix onto a test surface. This simple act can reveal whether you need to adjust your mixture or if it’s just right.
Lastly, let’s touch on the habit of not keeping a paint mixing journal. Recording your mixing experiments can be an invaluable resource for future projects. When you find a mix that works wonders, jot it down! Include details like the colors used, the ratio, and the context in which you applied it. This practice not only helps you remember successful combinations but also allows you to learn from your mistakes. Over time, you’ll develop a personal palette that reflects your unique style and preferences.
Q: How can I avoid overmixing my colors?
A: One effective way to avoid overmixing is to mix small amounts of paint at a time and to stop mixing as soon as you achieve the desired shade. Trust your instincts and remember that some texture can add interest to your artwork.
Q: What should I do if my colors look dull?
A: If your colors appear dull, consider adding a touch of complementary color to bring them to life. Sometimes, a small adjustment can make a significant difference. Additionally, check your mixing technique; overmixing can often lead to a lack of vibrancy.
Q: Is it necessary to test my colors before applying them to the canvas?
A: Yes! Testing your colors on a scrap piece of paper allows you to see how they will look once dried and layered. This step can prevent unwanted surprises and help you make necessary adjustments before committing to the canvas.
Overmixing Colors
When it comes to mixing paints, one of the most common pitfalls that artists encounter is . It’s an easy trap to fall into, especially when you’re trying to achieve that perfect shade or hue. Imagine you’re trying to create a vibrant sunset; you start with beautiful oranges and yellows, but as you mix and mix, those lively colors begin to dull, transforming into a muddy brown. This is the essence of overmixing. It can rob your artwork of its vibrancy and energy, leaving you with a palette that feels lifeless and uninspired.
So, what exactly leads to overmixing? It often stems from a desire for precision. Artists may think that the more they mix, the closer they’ll get to their desired color. However, this approach can backfire. Each time you stir those colors, you’re not just blending; you’re also breaking down the pigments. The more you mix, the more you lose the unique qualities of each color. To avoid this, it’s crucial to develop an understanding of when to stop mixing.
Here are some tips to help you avoid the overmixing trap:
- Trust Your Instincts: If a color looks good on your palette, it’s likely to look good on your canvas. Don’t overanalyze!
- Mix in Small Batches: Instead of mixing a large amount of paint, start with smaller quantities. This way, even if you do overmix, you won’t waste too much paint.
- Use a Palette Knife: A palette knife can help you control the mixing process better than a brush, allowing for more texture and less blending.
Additionally, consider incorporating some layering techniques into your work. By applying colors in layers rather than mixing them all into one, you can maintain the integrity and vibrancy of each hue. This method not only enhances the depth of your artwork but also allows for greater control over the final outcome. Remember, sometimes less is more. The beauty of art often lies in its imperfections and the unique characteristics of each color.
In conclusion, while it’s tempting to strive for the perfect mix, knowing when to step back is vital. Embrace the beauty of your colors as they are, and don’t be afraid to let them shine in their individual glory. After all, art is about expression, and sometimes, the most expressive pieces come from a little chaos and spontaneity.
Q: How can I tell if I've overmixed my paint?
A: If your paint appears dull or muddy rather than vibrant and distinct, you’ve likely overmixed it. Pay attention to the texture and color intensity as you mix.
Q: What are some techniques to avoid overmixing?
A: Mixing in smaller batches, using a palette knife, and layering colors instead of blending them all together can help maintain vibrancy.
Q: Is it ever okay to overmix?
A: While overmixing is generally discouraged, there are instances in abstract art or specific techniques where a more blended look is desired. It all depends on your artistic vision!
Ignoring Opacity
When it comes to paint mixing, can lead to some serious missteps in your artwork. Opacity refers to how transparent or opaque a paint is, and understanding this concept is crucial for achieving the desired effects in your paintings. Many artists, especially beginners, might not realize just how much the opacity of their paints can influence the final look of their work. For instance, if you layer a transparent color over a more opaque one without understanding how they interact, you may end up with muddy, lifeless colors instead of the vibrant hues you envisioned.
To illustrate this point, consider the following table that compares the characteristics of transparent and opaque paints:
| Type of Paint | Opacity | Best Use |
|---|---|---|
| Transparent | Allows light to pass through | Glazing, layering for depth |
| Opaque | Blocks light | Covering, bold strokes |
As you can see from the table, transparent paints are fantastic for glazing techniques, where you can build up layers to create depth and luminosity. However, if you neglect to consider the opacity of the paints you are using, you might end up applying a transparent layer over an opaque one, which can dull the vibrancy of your colors. This is a common mistake that can be easily avoided by simply testing your paints beforehand. A quick swatch on a piece of scrap paper can reveal how transparent or opaque a color is, allowing you to make informed decisions as you work.
Moreover, understanding opacity can also help you in mixing colors. For example, if you mix a highly opaque paint with a transparent one, the result can be surprising. You might think you’re creating a new shade, but you could inadvertently end up with a color that lacks the vibrancy you were aiming for. Therefore, it’s essential to experiment with your paints and get a feel for how they behave in different combinations.
In conclusion, never underestimate the power of opacity in your paint mixing journey. By paying close attention to how transparent and opaque paints interact, you can avoid common pitfalls and elevate your artwork to new heights. Remember, every stroke counts, and understanding the properties of your materials is key to unlocking your creative potential.
- What is the difference between transparent and opaque paints?
Transparent paints allow light to pass through, creating a glowing effect, while opaque paints block light, providing bold and solid coverage. - How can I test the opacity of my paints?
Simply apply a small amount of paint on a piece of scrap paper and observe how much light passes through. This will give you a good indication of its opacity. - Can I mix transparent and opaque paints?
Yes, but be mindful of how they interact. Mixing them can produce unexpected results, so it's best to experiment first.
Frequently Asked Questions
- What is color theory and why is it important for painting?
Color theory is the study of how colors interact and complement each other. Understanding this theory is crucial for artists because it helps them create harmonious color schemes and achieve the desired emotional impact in their artwork. By knowing how primary, secondary, and tertiary colors work together, artists can mix paints more effectively and make informed choices about their palettes.
- How do I choose the right palette for my painting style?
Choosing the right palette depends on your personal style and the medium you use. For instance, wooden palettes are great for oil paints due to their ability to absorb some paint, while plastic palettes are ideal for acrylics because they are easy to clean. Consider what materials you enjoy working with and how you like to mix your colors. Experimenting with different types can help you find the perfect fit!
- What are some effective mixing techniques I should know?
Two popular mixing techniques are wet blending and layering colors. Wet blending involves mixing colors on the canvas while they are still wet, allowing for smooth transitions. Layering, on the other hand, involves applying multiple thin layers of paint to build depth and complexity in your artwork. Both techniques can enhance your painting skills and lead to stunning results!
- What common mistakes should I avoid when mixing paints?
One common mistake is overmixing colors, which can dull their vibrancy. It's important to know when to stop mixing to maintain the richness of the colors. Another mistake is ignoring paint opacity; understanding how transparent or opaque a paint is can significantly affect the final appearance of your artwork. Always keep these factors in mind to achieve better results!
- Can I create a custom palette, and how do I do it?
Absolutely! Creating a custom palette allows you to select colors that resonate with your artistic vision. Start by choosing a few base colors that you love, then add complementary and analogous colors to enhance your palette. Experiment with different combinations until you find a set that inspires you. This personalized approach can elevate your artwork to new heights!


