
Tips for Drawing Realistic Animal Fur
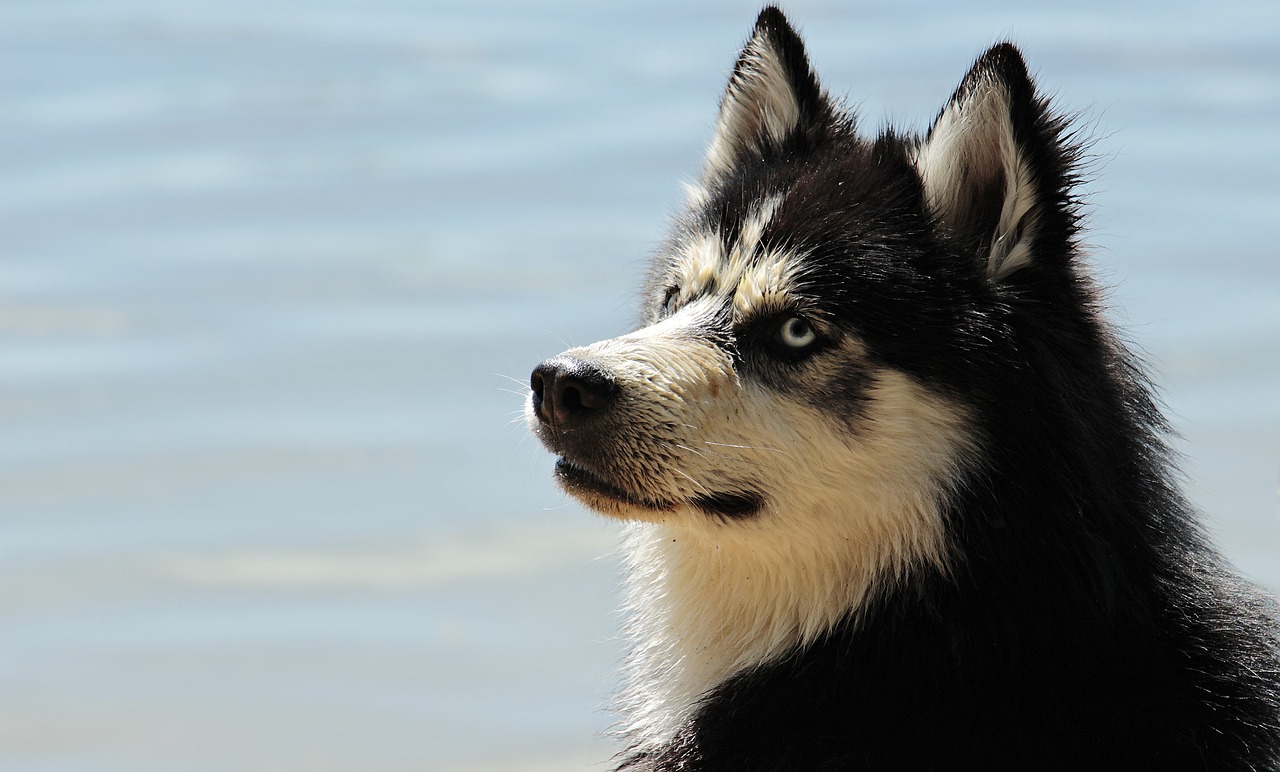
Drawing realistic animal fur can feel like a daunting task, but with the right techniques and a bit of practice, you can create stunning artwork that captures the essence of your favorite creatures. Imagine the soft, delicate strands of a cat’s fur or the thick, shaggy coat of a dog. Each type of fur has its own unique characteristics, and understanding these can be the key to bringing your drawings to life. In this article, we will explore essential tips and techniques that will elevate your fur drawing skills, making your artwork not just good, but truly exceptional.
When you think about animal fur, consider how it varies from one species to another. For instance, the sleek, short fur of a greyhound is vastly different from the long, flowing fur of a golden retriever. This diversity means that artists must adapt their methods to replicate these textures accurately. Have you ever noticed how light interacts with the different lengths and densities of fur? Capturing that interplay of light and shadow is crucial for achieving realism.
To get started, it’s important to familiarize yourself with the types of fur you want to draw. Take a moment to observe the animal in question, whether it's in person or through high-quality photographs. Look closely at how the fur lies against the skin, the direction in which it grows, and how it reflects light. This attention to detail will not only enhance your understanding but also inform your drawing techniques.
As you begin your artistic journey, remember that the tools you choose can make a significant difference. High-quality pencils, paper, and blending tools are essential for creating the depth and texture that realistic fur demands. For example, using a range of graphite pencils can help you achieve various shades and textures, while blending tools can smooth out transitions between colors, mimicking the softness of fur. Choosing the right paper is equally important; a textured surface can catch the pencil more effectively, allowing for more intricate details.
In the following sections, we will delve deeper into the essential tools and techniques needed to master the art of drawing realistic animal fur. From layering and stippling to honing your observational skills, each aspect plays a vital role in your artistic development. So, grab your pencils and let’s embark on this creative adventure together!
- What type of pencils are best for drawing fur? Graphite pencils ranging from H to B grades are ideal, as they allow for a variety of textures and shading.
- How can I improve my observational skills? Spend time studying animals in real life or through high-quality images, paying close attention to the details of their fur.
- What is the best paper for drawing fur? Textured drawing paper is recommended, as it helps to create depth and detail in your artwork.
- How often should I practice drawing fur? Regular practice is essential; try to draw fur textures multiple times a week to build your skills.
Understanding Fur Types
This article provides essential techniques and tips for artists seeking to capture the intricate details and textures of animal fur in their drawings, enhancing realism and depth.
When it comes to drawing realistic animal fur, understanding the different types of fur is absolutely crucial. Just like how each animal has its own unique personality, their fur types also vary significantly. This variety means that the techniques you use to depict fur must be tailored to the specific animal you are drawing. For instance, the soft, fluffy fur of a Persian cat will require different techniques than the sleek, short fur of a Greyhound.
To break it down further, we can categorize fur into a few main types:
- Short Fur: Commonly found in breeds like Boxers and Beagles, this type of fur is sleek and lies close to the body. It requires smooth shading and minimal layering.
- Medium Fur: This fur type, seen in animals like Golden Retrievers, has a bit more texture and volume. It allows for more layering and detailing to create depth.
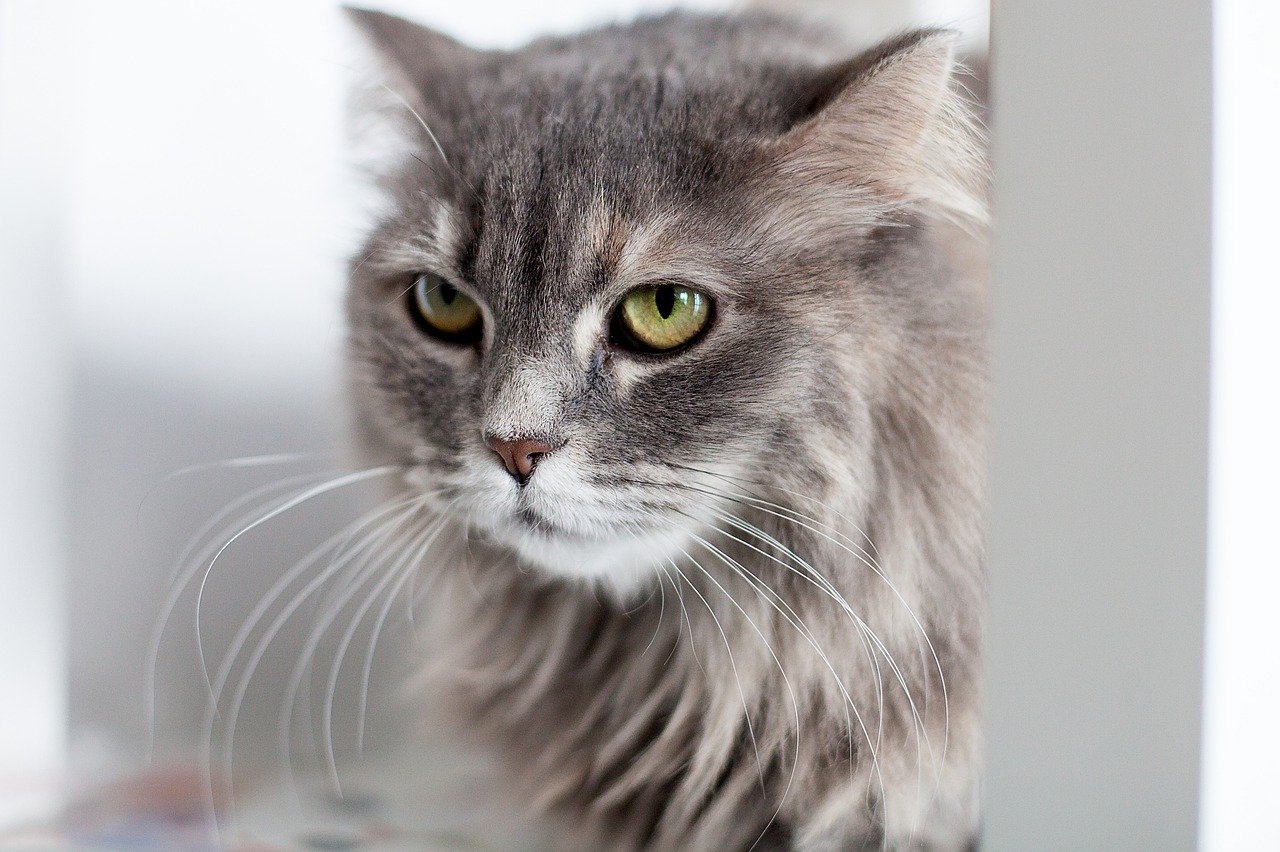
- Long Fur: Breeds such as Collies and Persian cats have long, flowing fur that can be quite challenging to draw. Capturing the movement and flow of long fur is essential to achieving a realistic look.
- Curly Fur: Found in breeds like Poodles, curly fur presents a unique challenge due to its texture. This fur type often requires a different approach to shading and highlighting.
Recognizing these distinctions helps in not just replicating the look of the fur but also in conveying the character of the animal. For example, the way light interacts with short fur differs from long fur; short fur reflects light more evenly, while long fur can create shadows and highlights that dance across the surface. Understanding how these variations affect the overall appearance of the animal will empower you to create more lifelike representations.
Moreover, as you familiarize yourself with these fur types, consider studying photographs or observing live animals. This practice will enhance your ability to notice the subtleties in texture, color, and light reflection. Remember, the goal is not just to replicate what you see but to imbue your artwork with the essence of the animal's fur—its warmth, its movement, and its life.
Choosing the right tools and materials can significantly impact the quality of your fur drawings. This section explores the best pencils, papers, and blending tools for optimal results.
Graphite pencils come in various hardness levels, affecting the texture and shading of your fur. Learn how to select and utilize these pencils effectively for realistic fur.
Blending tools like tortillons and blending stumps can create smooth transitions in fur textures. Discover how to use these tools to enhance the depth and realism in your drawings.
Color pencils can add vibrancy and detail to fur drawings. This section discusses how to choose the right colors and techniques for layering to achieve a lifelike effect.
The choice of paper can influence the final appearance of your artwork. Explore the best paper types for drawing animal fur and how they affect texture and detail.
Creating realistic fur texture involves specific techniques such as layering, stippling, and cross-hatching. This section delves into methods that enhance the visual appeal of your artwork.
Layering is essential for building depth in fur drawings. Learn how to apply multiple layers effectively to create a rich, textured appearance that mimics real fur.
Stippling and cross-hatching are effective techniques for adding detail and depth. This section explains how to use these methods to create realistic shadows and highlights in fur.
Developing strong observational skills is vital for accurately depicting fur. This section emphasizes the importance of studying real animals or high-quality images to inform your artistic practice.
Regular practice is key to mastering fur drawing techniques. This section provides practical exercises to help refine your skills and improve your ability to capture realistic fur textures.
Q: What is the best way to start drawing animal fur?
A: Begin by choosing a reference image and studying the fur type. Use light strokes to outline the basic shapes and then gradually build up layers of texture.
Q: How can I make my fur drawings look more realistic?
A: Pay attention to light and shadow. Use blending tools to create smooth transitions and try to replicate the unique characteristics of the fur type you are drawing.
Q: Is it necessary to use color pencils for fur drawings?
A: While graphite pencils can be effective, color pencils can add depth and vibrancy to your artwork, making it more lifelike.
Essential Tools and Materials
When it comes to drawing realistic animal fur, the right tools and materials can make all the difference in your artwork. Choosing the appropriate supplies is like picking the right ingredients for a gourmet dish; each component plays a crucial role in the final outcome. So, let's dive into what you need to create stunning fur textures that pop off the page!
First and foremost, graphite pencils are essential for any artist looking to master the art of fur drawing. These pencils come in various hardness levels, ranging from 9H (very hard) to 9B (very soft). The hardness of your pencil affects the texture and shading of your fur. For instance, harder pencils are perfect for fine details and lighter shades, while softer pencils allow for rich, dark tones and smooth transitions. A good set of graphite pencils will typically include a range of hardness, enabling you to switch between them as needed. Here’s a quick breakdown:
| Pencil Hardness | Use Case |
|---|---|
| H (Hard) | Fine details and lighter shades |
| B (Soft) | Rich dark tones and shading |
Next on the list are blending tools. These tools, such as tortillons and blending stumps, are invaluable for creating smooth transitions in the texture of fur. By blending your pencil strokes, you can achieve a more realistic look that mimics the softness of actual fur. The key to using these tools effectively is to apply them gently; too much pressure can erase your hard work rather than enhance it!
Color pencils are another fantastic option to consider. They can add vibrancy and depth to your fur drawings, allowing you to capture the unique hues found in different animal coats. When selecting color pencils, look for high-quality brands that offer a wide range of shades. Layering colors is an effective technique to create a lifelike effect. Start with a base color and gradually add layers of different hues to achieve the desired richness and complexity.
Don't forget about paper selection! The type of paper you choose can significantly influence the final appearance of your artwork. For fur drawings, textured papers can enhance the depth and detail, while smooth papers are excellent for fine lines and detailed work. Experimenting with different paper types will help you discover what works best for your style. Here are some popular paper choices:
- Cold Pressed Watercolor Paper: Great for texture and depth.
- Smooth Bristol Board: Ideal for fine details and clean lines.
- Mixed Media Paper: Versatile and suitable for various techniques.
In summary, having the right tools and materials is essential for drawing realistic animal fur. By investing in quality graphite and color pencils, blending tools, and appropriate paper, you'll be well on your way to creating stunning, lifelike fur textures that will impress anyone who sees your artwork. Remember, the journey of mastering these techniques is just as important as the final product, so enjoy the process and let your creativity shine!
Q: What type of paper is best for drawing fur?
A: Textured paper is generally best for capturing the depth and detail of fur, while smooth paper works well for fine lines.
Q: How do I choose the right color pencils for fur?
A: Look for high-quality color pencils that offer a wide range of shades, and focus on layering different colors to achieve a lifelike effect.
Q: Can I use digital tools to draw fur?
A: Absolutely! Digital drawing software offers various brushes and effects that can mimic the look of traditional fur drawing techniques.
Graphite Pencils
When it comes to drawing realistic animal fur, the choice of is crucial. These pencils come in a range of hardness levels, typically graded from H (hard) to B (black), with F (fine point) in between. Each type serves a unique purpose in your drawing process, allowing you to create various textures and depths that mimic the intricacies of real fur.
For instance, harder pencils (like H or 2H) are perfect for achieving fine details and lighter shades, which are essential when capturing the subtle highlights on a fur coat. Conversely, softer pencils (like 2B or 4B) are ideal for creating darker areas and rich shadows, providing the contrast needed to give your fur drawing depth and realism. It’s like cooking; just as you wouldn’t use the same spice for every dish, you need to select the right pencil for each part of your artwork.
Here’s a quick guide to help you choose the right graphite pencil for your fur drawing:
| Pencil Type | Best For |
|---|---|
| H (Hard) | Fine details and light shading |
| HB (Medium) | General use; balancing detail and depth |
| B (Soft) | Dark shading and rich textures |
| 2B and above | Deep shadows and dramatic contrasts |
To get the most out of your graphite pencils, consider the following techniques:
- Pressure Control: Varying the pressure you apply can dramatically change the texture of your strokes. Light pressure creates fine lines, while heavy pressure yields darker, thicker lines.
- Layering: Start with lighter pencils and gradually build up the darker tones. This layering technique not only adds depth but also allows for smoother transitions between shades.
- Blending: Use a blending tool or your finger to soften the edges of your strokes. This is particularly useful for creating the soft, fluffy appearance of fur.
In conclusion, mastering the use of graphite pencils is a fundamental step in your journey to create stunning, realistic animal fur drawings. By understanding the properties of different pencil types and employing effective techniques, you can bring your fur drawings to life, capturing the essence of your subjects with remarkable accuracy.
Blending Tools
When it comes to drawing realistic animal fur, blending tools play a crucial role in achieving smooth transitions and a lifelike texture. These tools help you merge different shades and create depth, making your artwork pop. Among the most popular blending tools are tortillons and blending stumps. Both of these tools are designed to help you manipulate graphite or colored pencil on paper, giving you the ability to create soft edges and gradients that mimic the natural flow of fur.
Tortillons are tightly rolled paper tools that come to a point, allowing for precision in blending small areas. They are perfect for working on fine details, especially when you want to blend the fur around the eyes or nose of an animal. On the other hand, blending stumps are similar but are typically made from compressed paper and come in various sizes. They are fantastic for larger areas of fur where you need to cover more ground quickly. The choice between the two often depends on the size of the area you're working on and the level of detail you wish to achieve.
To use these tools effectively, start by applying your initial layers of graphite or colored pencil. Once you've established your base, take your blending tool and gently rub it over the area you want to blend. It’s important to use a light touch; too much pressure can remove the pigment rather than blend it. You can also use a circular motion to achieve a more natural look, as fur often has a soft, flowing quality.
Additionally, you can enhance your blending technique by incorporating a few other tools and materials:
- Soft Brushes: These can be used to lightly sweep over the surface, helping to blend colors without disturbing the underlying layers.
- Q-tips or Cotton Swabs: These are great for blending smaller areas and can be easily discarded after use.
- Chamois Cloth: A piece of chamois can provide a different texture for blending and is particularly useful for larger areas.
Remember, blending is not just about making things look smooth; it’s about creating a sense of depth and dimension. The shadows and highlights in fur are what give it life, and blending tools are your best friends in achieving that realism. So, don't shy away from experimenting with different techniques and tools until you find what works best for you. The more you practice, the more intuitive your blending will become, and soon, you'll be able to capture the essence of animal fur with stunning accuracy.
Q1: What is the best blending tool for beginners?
A1: For beginners, tortillons are often recommended because they are easy to handle and provide good control over blending small areas.
Q2: Can I use my fingers to blend?
A2: While some artists prefer using their fingers for blending, it’s generally better to use tools like tortillons or blending stumps to avoid smudging and adding oils from your skin to the paper.
Q3: How do I clean my blending tools?
A3: You can clean tortillons and blending stumps by rubbing them against sandpaper to remove the accumulated graphite or pigment. This helps maintain their effectiveness for blending.
Q4: Are blending tools necessary for drawing fur?
A4: While not strictly necessary, blending tools can greatly enhance the realism of your fur drawings by allowing for smoother transitions and more depth.
Color Pencils
When it comes to capturing the essence of animal fur, color pencils are a game changer. They allow for a level of vibrancy and detail that can transform a simple drawing into a lifelike representation. But not all color pencils are created equal, and choosing the right ones can significantly affect the outcome of your artwork. So, how do you select the perfect color pencils for your fur drawing?
First, consider the quality of the pencils. Professional-grade color pencils, such as those from brands like Prismacolor or Faber-Castell, offer superior pigmentation and blendability compared to student-grade options. This means you can achieve richer colors and smoother transitions, which are essential when mimicking the soft, varied hues found in real fur. Investing in a good set of color pencils can make a world of difference in your artwork.
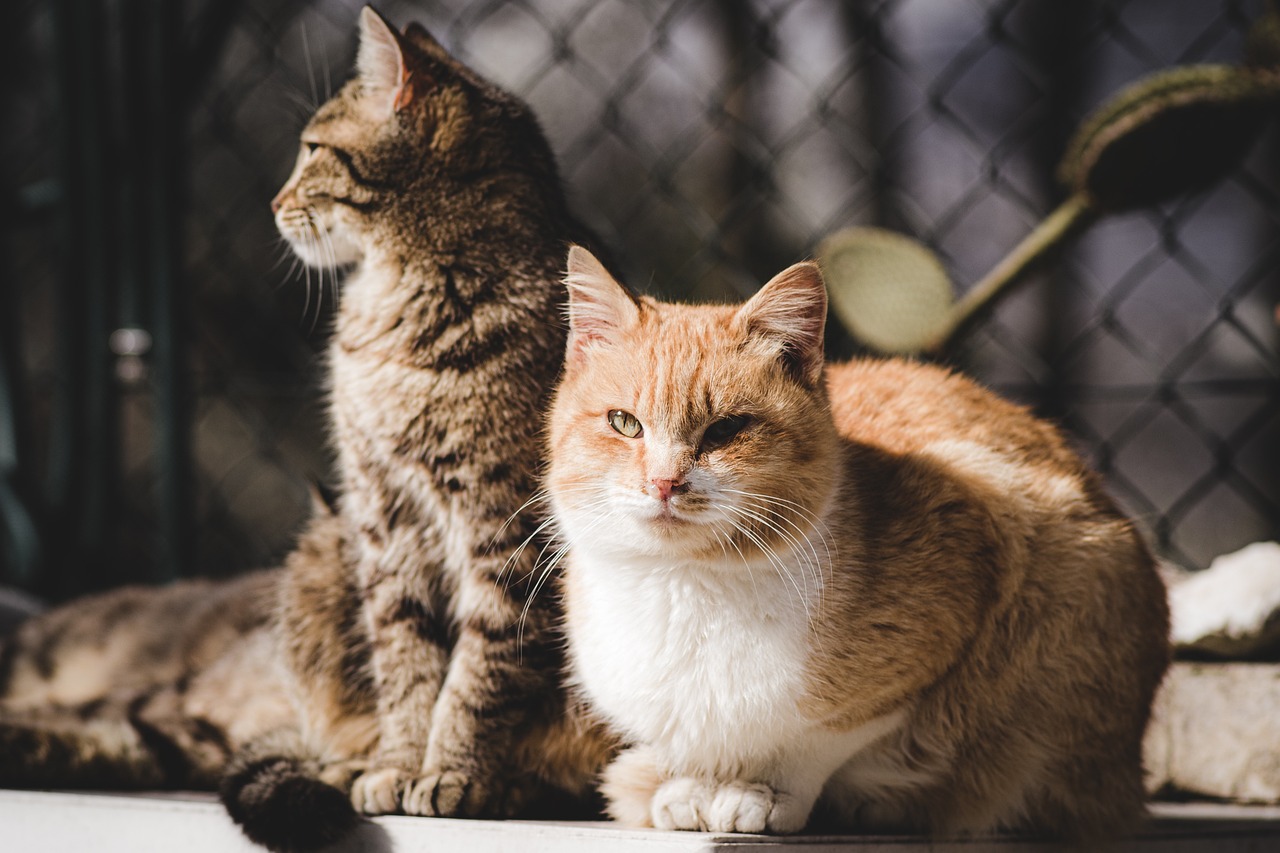
Next, think about the color palette you’ll need. Animal fur is rarely a single color; it often consists of multiple shades and tones. For example, a golden retriever might have a base of golden yellow, but closer inspection reveals hints of cream, brown, and even gray. Therefore, it’s wise to have a wide range of colors at your disposal. Here’s a quick overview of essential colors you might consider for different animals:
| Animal Type | Essential Colors |
|---|---|
| Golden Retriever | Golden Yellow, Cream, Brown, Gray |
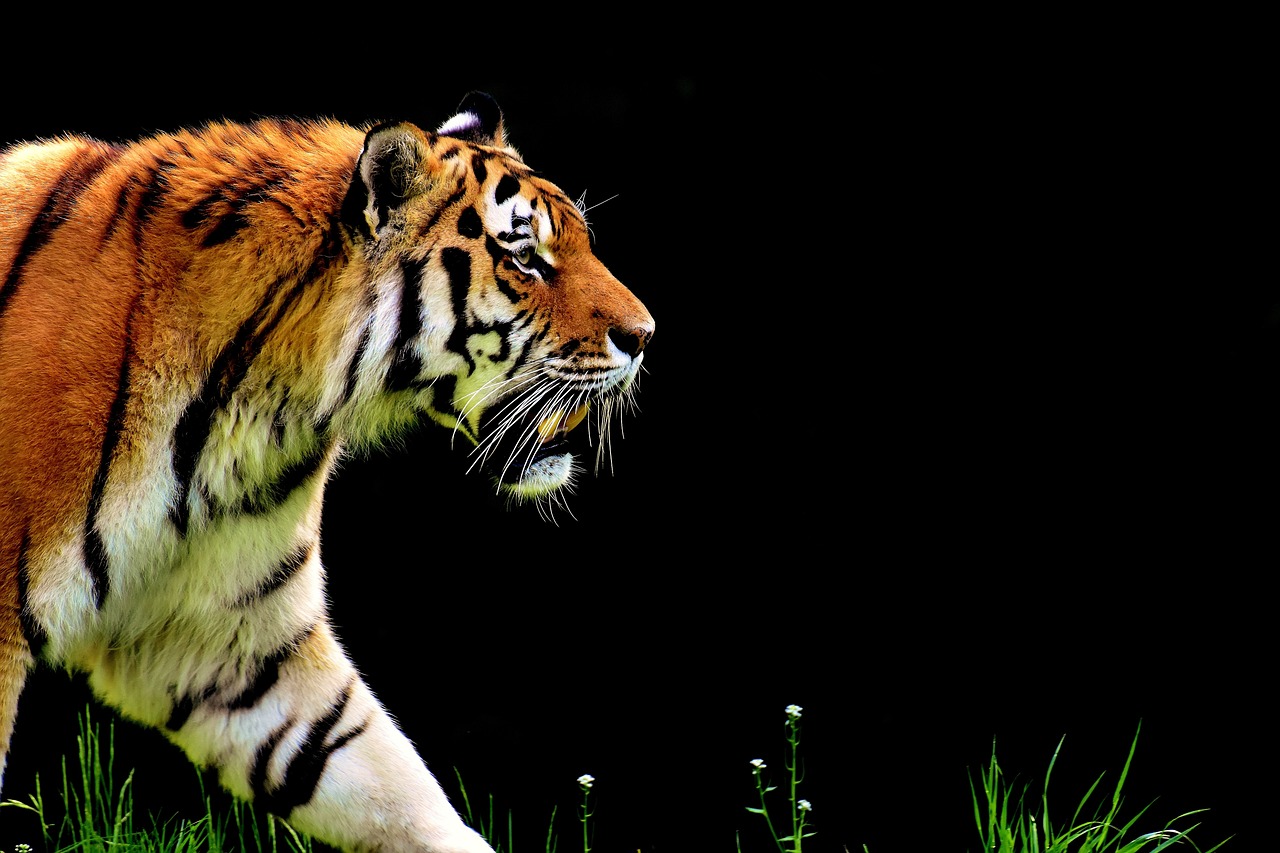
| Tiger | Orange, Black, White, Brown |
| Persian Cat | Gray, White, Cream, Light Brown |
Once you’ve chosen your colors, layering becomes your best friend. Start with a light base layer, gradually building up darker shades to create depth. This technique not only adds realism but also mimics the way light interacts with fur. Remember, the key to successful layering is to apply light pressure at first, allowing each layer to blend seamlessly into the next.
Don't forget about the blending techniques you can use with color pencils. You can achieve stunning effects by using a blending stump or even your fingers to smooth out the colors. This can help create that soft, fluffy look that real fur has. However, be cautious not to over-blend, as this can lead to a loss of detail. The goal is to maintain the texture while enhancing the overall appearance.
Lastly, practice is essential. Experiment with different techniques and color combinations to see what works best for you. Try drawing various animals and focus on their unique fur characteristics. Over time, you’ll develop your own style and techniques that will elevate your artwork to new heights.
- What type of paper is best for using color pencils?
It’s best to use a heavier weight paper with a bit of texture, such as bristol or drawing paper, to allow for better layering and blending. - Can I use water with color pencils?
Some artists use water to blend color pencils, but it’s important to use water-soluble pencils designed for this purpose to avoid damaging your artwork. - How do I fix mistakes when using color pencils?
You can use an eraser to gently lift color or add additional layers to cover mistakes. For more significant errors, consider using a colorless blender pencil to smooth out the area.
Paper Selection
When it comes to drawing realistic animal fur, the choice of paper plays a crucial role in achieving the desired texture and detail. Just like a painter selects the right canvas for their masterpiece, you too must consider the characteristics of various papers to enhance your artwork. Different papers interact uniquely with your drawing tools, affecting everything from the texture of the fur to the vibrancy of the colors you apply.
There are a few key factors to consider when selecting paper for fur drawings:
- Texture: The surface texture of the paper can either help or hinder your ability to create realistic fur. Papers with a tooth (a slight roughness) can hold more graphite or color pencil, allowing for better layering and shading.
- Weight: Heavier papers (around 200 gsm or more) are generally more durable and can withstand multiple layers of medium without warping or tearing. This is particularly important when using blending tools.
- Color: While many artists default to white paper, consider using toned papers. A light gray or beige can add warmth and depth to your fur drawings, allowing you to emphasize highlights and shadows more effectively.
Here’s a quick comparison of popular paper types suited for drawing fur:
| Paper Type | Texture | Best For |
|---|---|---|
| Cold Press Watercolor Paper | Rough | Graphite and Color Pencils |
| Hot Press Watercolor Paper | Smooth | Fine Details and Blending |
| Drawing Paper (Bristol) | Semi-Smooth | Graphite and Ink |
| Toned Paper | Varied | Highlighting and Shadowing |
Ultimately, the best paper for your fur drawings will depend on your personal style and the specific effects you want to achieve. Experimenting with different types can be a fun way to discover what works best for you. So, don't hesitate to try out various options until you find the perfect match that allows your artistic vision to shine through!
Q: What type of paper is best for beginners?
A: For beginners, a smooth drawing paper or a medium-weight sketch paper is often recommended as it allows for easy practice without being too overwhelming.
Q: Can I use regular printer paper for drawing fur?
A: While you can use printer paper, it is not ideal for detailed work like fur drawing due to its thinness and lack of texture. It may not hold up well to multiple layers or blending techniques.
Q: How do I know if my paper is suitable for colored pencils?
A: Look for paper that specifies it is designed for colored pencils or has a good tooth. This will help you layer colors without the paper becoming too slick or glossy.

Techniques for Texture Creation
When it comes to drawing realistic animal fur, the technique you employ can make all the difference. Creating a lifelike texture is an art form that requires practice, patience, and a keen eye for detail. One of the most effective techniques is layering. This method involves applying multiple layers of pencil or color to build depth and richness in your artwork. Think of it as constructing a house; each layer adds strength and character, making the final product not only more durable but also more visually appealing. By layering light and dark tones, you can create the illusion of volume and movement in the fur, making it appear soft and inviting.
Another powerful technique is stippling. This method involves creating texture through a series of small dots or marks. It’s akin to the pointillism technique used in painting, where the viewer's eye blends the colors from a distance. When you apply stippling to fur, you can achieve a sense of depth and shadow that brings your drawing to life. For instance, a light stippling technique can suggest the softness of a rabbit's fur, while a denser application can emulate the roughness of a wolf’s coat. Combining stippling with cross-hatching—the practice of drawing intersecting lines—can further enhance the texture. Cross-hatching allows you to depict shadows and highlights effectively, giving your fur a three-dimensional quality.
To illustrate these techniques, consider the following table that summarizes how each method contributes to texture creation:
| Technique | Description | Effect on Fur Texture |
|---|---|---|
| Layering | Applying multiple layers of pencil or color. | Creates depth and richness, mimicking the softness of fur. |
| Stippling | Using small dots to create texture. | Gives a sense of depth and shadow, enhancing realism. |
| Cross-Hatching | Drawing intersecting lines to create shading. | Provides a three-dimensional quality to the fur. |
In addition to these techniques, it’s essential to develop your own style. Experiment with different methods and see what works best for you. Remember, practice makes perfect. The more you draw, the more intuitive these techniques will become. You might find that combining these methods yields even more stunning results. For example, starting with a layered base, then incorporating stippling for texture, and finishing with cross-hatching for shadows can create a beautifully complex fur representation.
Lastly, don't forget the importance of observational skills. Spend time studying real animals or high-quality images to understand how light interacts with fur. Look closely at how it falls and flows, the way it catches the light, and the subtle variations in color. This knowledge will inform your techniques and help you create more realistic and captivating drawings.
- What type of pencil is best for drawing fur? Generally, a range of graphite pencils from H to B will provide the best results, allowing for both fine details and deeper shading.
- How can I practice fur drawing effectively? Regularly sketch different animals, focusing on their unique fur textures. Use reference images to guide your practice.
- Is it necessary to use color pencils for fur? While not necessary, color pencils can enhance your drawings by adding vibrancy and depth, especially for animals with multi-colored fur.
Layering Techniques
Layering is a fundamental technique that can transform your animal fur drawings from flat and lifeless to rich and dynamic. Imagine building a cake; each layer adds texture and flavor, just like how layers of pencil strokes can add depth and realism to your artwork. The key to mastering layering lies in understanding how to apply multiple layers effectively to create a textured appearance that closely mimics real fur.
To start, it’s crucial to begin with a light hand. Use a hard graphite pencil (like a 2H or H) to sketch the initial outlines of the fur. This base layer should be light enough to allow for subsequent layers to build upon it without overwhelming the paper. Once you have your base, gradually introduce softer pencils (like B or 2B) to add darker shades and details. This gradual transition is essential; it’s akin to painting a sunset where you don’t just slap on the colors but instead blend them to create a natural gradient.
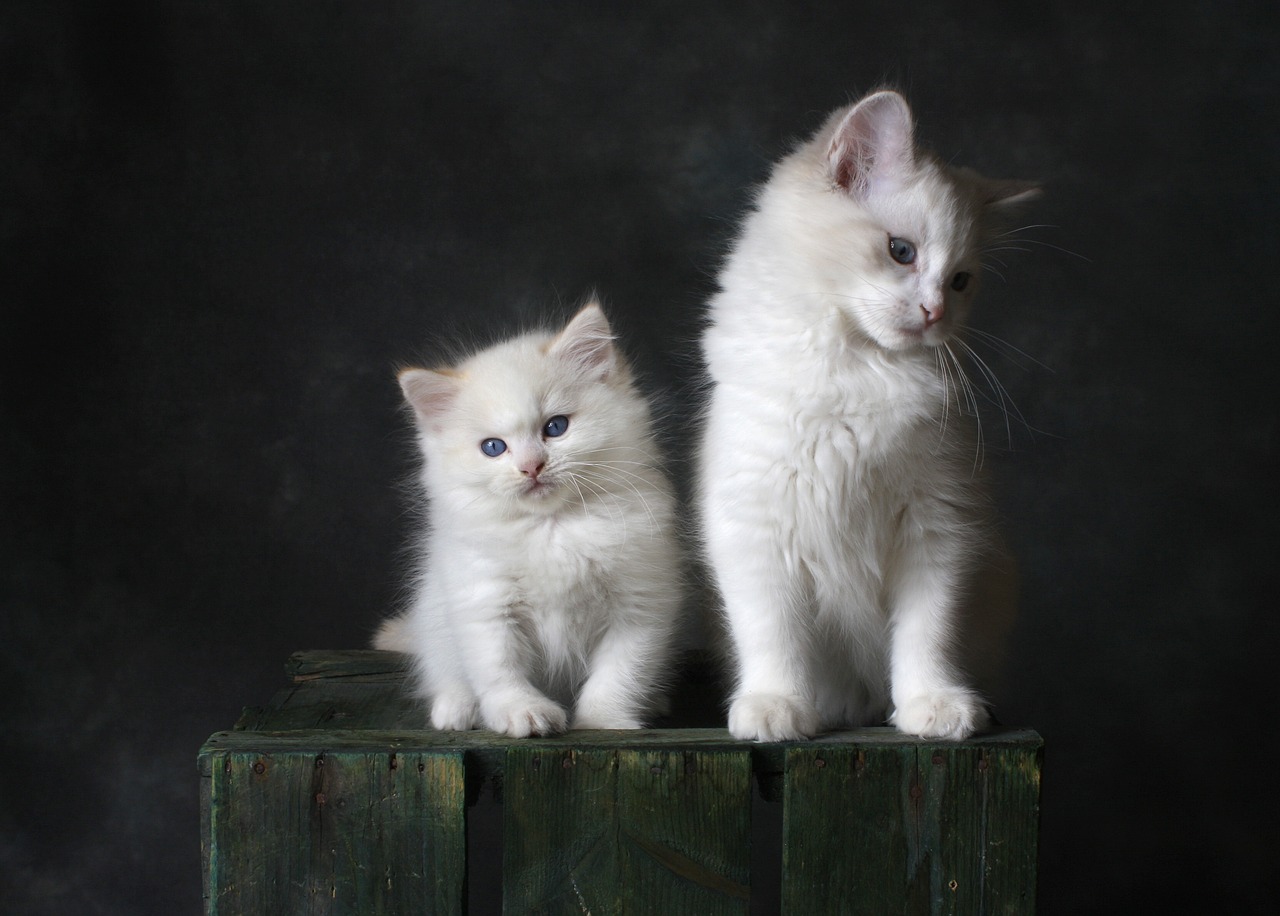
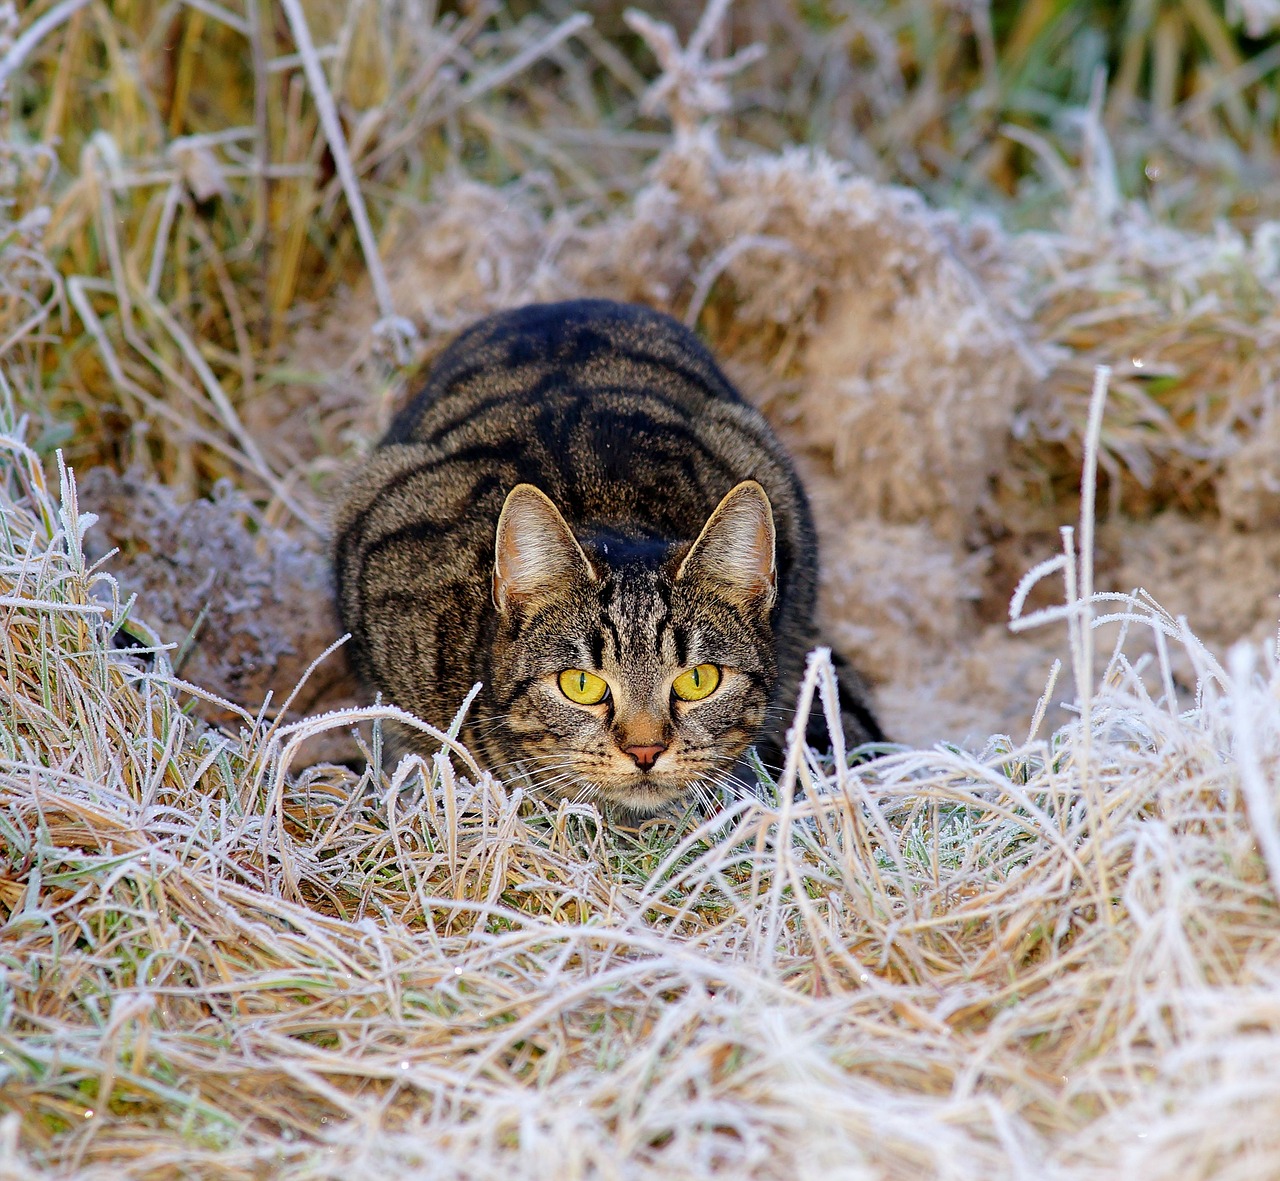
As you layer, consider the direction of the fur. Animals have fur that flows in specific directions, and replicating this is vital for realism. Use short, quick strokes that follow the natural flow of the fur. For example, when drawing a cat, the fur on the head may have a different direction than the fur on the back or legs. Pay close attention to these details and adjust your strokes accordingly.
Another important aspect of layering is the use of blending techniques. After applying your layers, consider using a blending stump or a tortillon to smooth out the transitions between different shades. This will help create a more cohesive look, similar to how a painter might use a brush to blend colors on a canvas. However, be cautious not to over-blend; you still want some texture to remain visible, as this adds to the realism of the fur.
In addition to traditional graphite, you can also experiment with colored pencils for layering. When working with color, start with lighter shades and gradually build up to darker tones. This technique allows for a vibrant and lifelike representation of fur colors, especially in animals with multi-toned fur, like a golden retriever or a calico cat.
Finally, don’t forget to step back and assess your work periodically. Sometimes, we can get so wrapped up in the details that we lose sight of the overall composition. Take a moment to look at your drawing from a distance; this will help you see if your layers are working harmoniously or if adjustments are needed.
In conclusion, layering is not just a technique; it’s a journey of discovery in your artistic process. With practice, patience, and a keen eye for detail, you’ll be able to create stunning, realistic animal fur that captivates viewers and brings your artwork to life.
- What is the best pencil for layering fur drawings?
The best pencils for layering fur drawings are typically a range of graphite pencils from hard (H) for initial sketches to soft (B) for darker details.
- How many layers should I apply?
There’s no set number of layers; it depends on the texture you want to achieve. Generally, 3 to 5 layers can create a good depth, but feel free to add more as needed.
- Can I use colored pencils for fur drawings?
Absolutely! Colored pencils can add vibrancy and depth to your fur drawings, especially when layered correctly.
Stippling and Cross-Hatching
When it comes to drawing realistic animal fur, stippling and cross-hatching are two powerful techniques that can elevate your artwork to new heights. These methods allow you to create intricate details and nuanced textures, making your drawings not just representations, but lifelike portrayals that can almost feel like you could reach out and touch them. Stippling involves using small dots to build up texture and shading, while cross-hatching employs intersecting lines to create depth and dimension. Both techniques require patience and practice, but once mastered, they can significantly enhance the realism of your fur drawings.
Let’s dive a bit deeper into how each technique works. Stippling can be likened to the way a painter uses tiny brush strokes to create a masterpiece. By carefully placing dots in varying densities, you can suggest light and shadow effectively. For instance, a denser concentration of dots can represent darker areas of fur, while more spaced-out dots can create highlights. It’s all about layering these dots to achieve the desired effect. The beauty of stippling is that it allows for a high degree of control over texture; you can create soft, fluffy fur or coarse, wiry hair depending on how you apply the dots.
On the other hand, cross-hatching is more about lines than dots. By drawing parallel lines in one direction and then layering additional lines in another direction, you can create a rich tapestry of shadows and highlights. This technique is particularly effective for rendering the sleek fur of animals like cats or the thick, bushy coats of dogs. The angle and spacing of your lines can dramatically alter the appearance of fur, so experimenting with different techniques will yield a variety of textures. For example, closely spaced lines can create a shadowy effect, while wider spacing can suggest the lighter areas of fur.
Both techniques can be used in conjunction to achieve stunning results. For instance, you might start with stippling to lay down a base layer of texture and then add cross-hatching to enhance the depth in shadowed areas. The combination can create a sense of movement and life in your drawings, making them feel dynamic and engaging. Remember, practice is key. Start with simple shapes and gradually work your way up to more complex fur patterns as your confidence grows.
In summary, mastering stippling and cross-hatching can transform your ability to depict animal fur realistically. These techniques not only add depth and texture but also allow you to explore the subtleties of light and shadow in your artwork. So grab your pencils, practice diligently, and watch as your drawings come to life with every dot and line!
- What is the best way to practice stippling and cross-hatching? Start with simple shapes and gradually add complexity. Use reference images to guide your techniques.
- Can I use stippling and cross-hatching with color pencils? Absolutely! These techniques can be adapted to color pencils, enhancing the vibrancy and depth of your artwork.
- How do I know when to use stippling versus cross-hatching? It often depends on the texture you want to achieve. Stippling is great for soft textures, while cross-hatching works well for more defined shadows and lines.
Observational Skills
When it comes to drawing realistic animal fur, are your best friends. Think of them as your artistic superpower. Without the ability to closely observe the details and nuances of fur, your drawings can end up looking flat and lifeless. So, how do you sharpen these skills? It starts with studying real animals or high-quality images. Just like a detective examining a crime scene, you need to look for clues in the fur's texture, color variations, and the way light interacts with it.
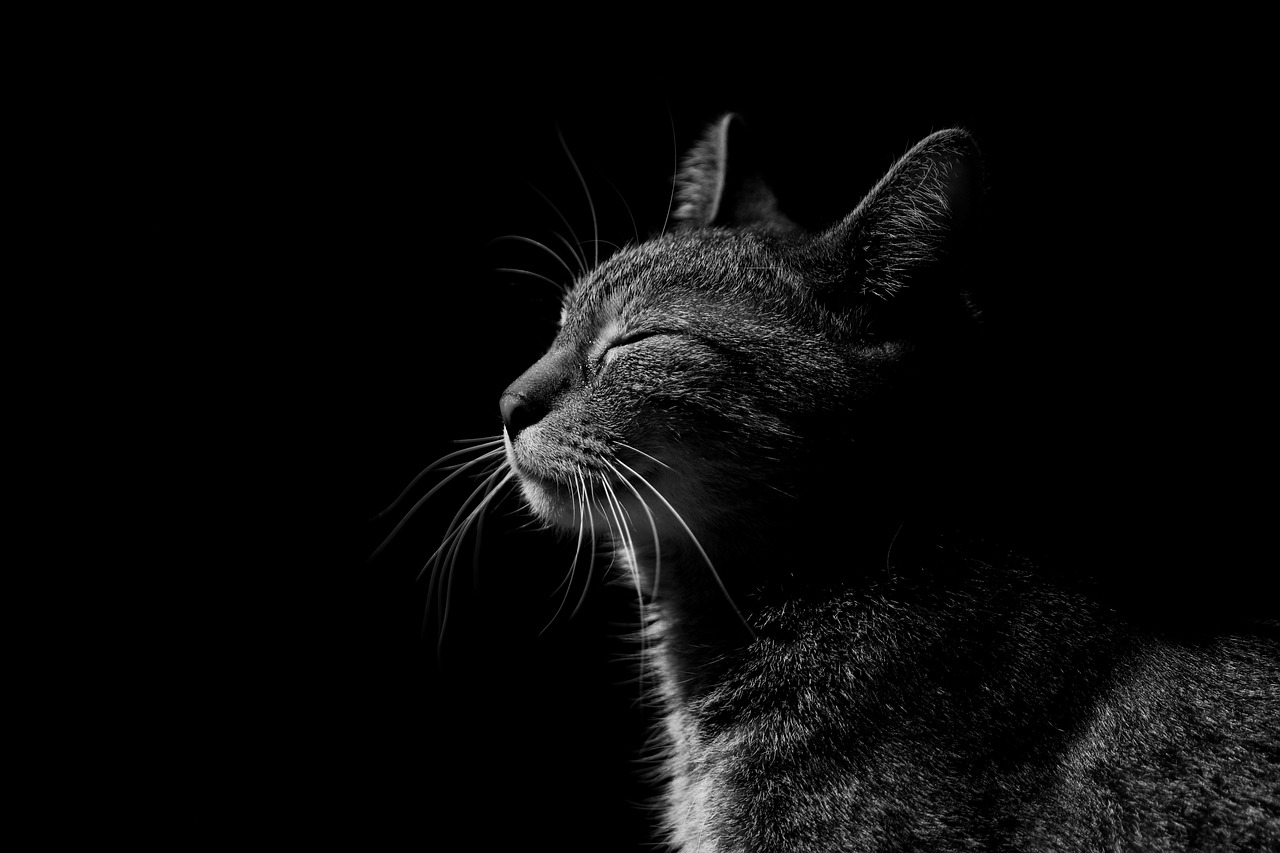
One of the most effective ways to enhance your observational skills is to spend time with animals. Whether it's at a zoo, a pet store, or even in your backyard, take the time to watch them closely. Notice how their fur moves as they walk or play. Is it smooth and sleek, or is it fluffy and tousled? Each type of fur has its own personality, and understanding these subtleties can help you capture them in your artwork. If you can’t get up close and personal with the animals, high-resolution photographs can be a great alternative. Look for images that showcase the fur in different lighting conditions, as this will help you understand how shadows and highlights work.
In addition to observing live animals, consider the following tips to elevate your observational skills:
- Take Notes: Jot down your observations about different fur types, colors, and textures. This will help you remember details when you sit down to draw.
- Practice Sketching: Create quick sketches of animals, focusing on the fur. Don’t worry about perfection; just capture the essence of what you see.
- Study Fur Patterns: Many animals have unique patterns in their fur. Spend time analyzing these patterns and how they change with the light.
Moreover, consider using a reference table to categorize different fur types and their characteristics. This can be a handy tool when you’re trying to remember specific details about various animals. Here’s a simple example:
| Animal | Fur Type | Key Characteristics |
|---|---|---|
| Dog | Short and Dense | Smooth, often shiny, with variations in color |
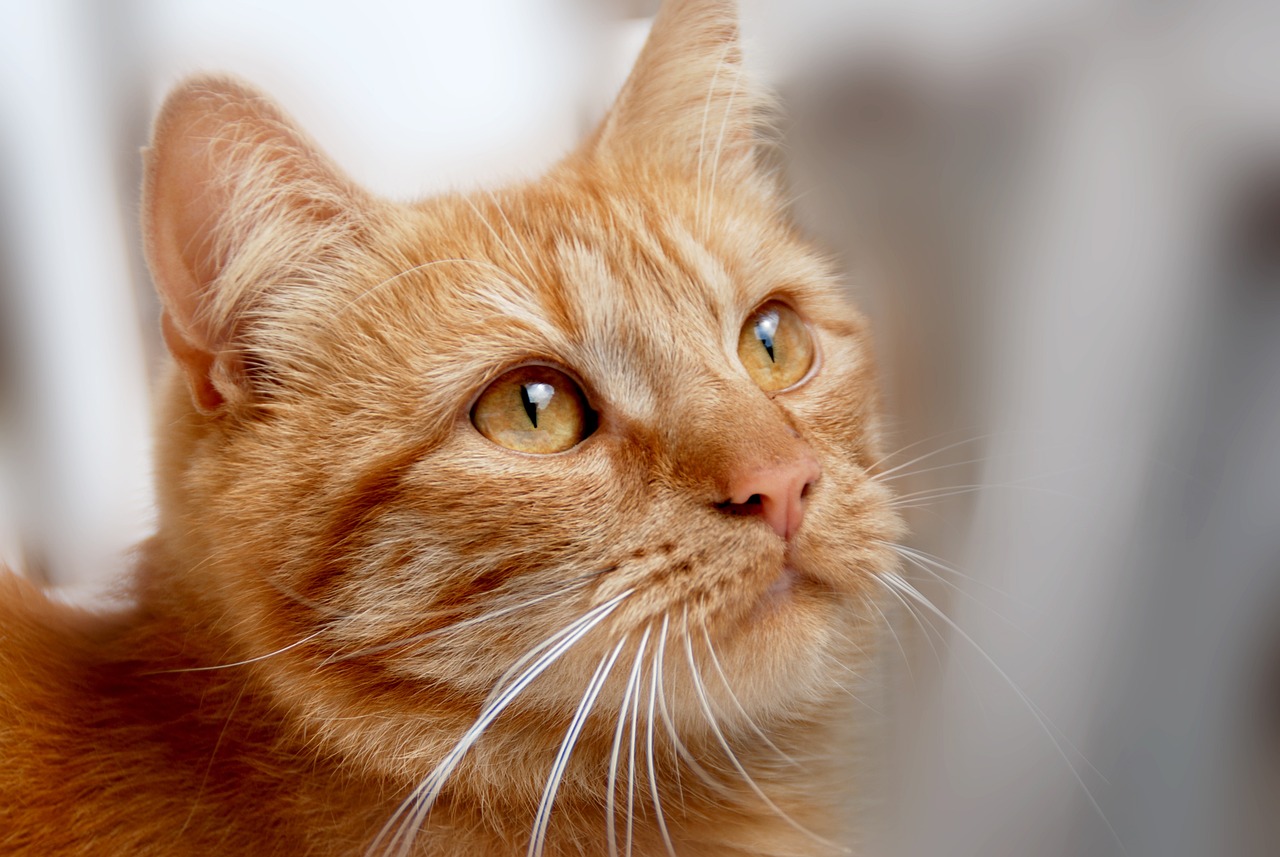
| Cat | Soft and Fluffy | Soft texture, can be long or short, often has stripes or spots |
| Rabbit | Thick and Plush | Very soft, dense undercoat, often has a gradient of color |
As you work on your observational skills, remember that patience is key. Don’t rush through the process; take your time to really absorb what you see. The more you practice observing and drawing, the better you’ll become at capturing the intricate details of animal fur. In the end, it’s all about translating what you see into your artwork, creating pieces that are not only visually appealing but also rich in realism.
Practice Exercises
Regular practice is key to mastering the art of drawing realistic animal fur. Just like a musician perfects their craft through repetition, artists too must engage in exercises that sharpen their skills. To help you on this journey, here are some engaging practice exercises you can incorporate into your routine. These exercises are designed not only to enhance your technical abilities but also to boost your confidence in capturing the intricate details of fur.
First and foremost, consider starting with simple sketches of various fur types. Choose a reference image of an animal with distinct fur characteristics—this could be the fluffy coat of a Persian cat or the sleek fur of a Doberman. Spend some time observing the way light interacts with the fur, noting the shadows and highlights. Then, use your preferred drawing medium to replicate the fur texture. Focus on getting the layering right; this will create depth and realism in your artwork.
Next, try your hand at a fur texture study. This exercise involves creating small swatches of different fur types on a single sheet of paper. For instance, you can dedicate one section to long, flowing fur, another to short, coarse fur, and yet another to curly fur. This will not only help you practice different techniques but also allow you to see the differences in texture side by side. Remember to pay close attention to the direction of the fur growth, as this can greatly affect the overall appearance.
Another effective exercise is to practice stippling and cross-hatching. These techniques are fantastic for adding depth and dimension to your drawings. Start by drawing a simple shape, like a sphere, and practice shading it with stippling. Then, try cross-hatching to see how it compares. Once you feel comfortable, apply these techniques to your fur studies. You might find that combining them can yield stunning results!
To further refine your skills, consider setting up a time challenge. Choose a reference image and give yourself a specific time limit—say, 30 minutes—to complete a fur sketch. This will not only help you work more efficiently but also encourage you to focus on the most critical aspects of fur drawing. You may be surprised at how much you can accomplish in a short amount of time!
Lastly, don't forget to keep a sketchbook dedicated to fur studies. This will serve as a visual diary of your progress. Include notes on what techniques worked well, what didn't, and any observations you made about the fur textures. Over time, you will be able to look back and see how much you've improved, which can be incredibly motivating.
In summary, practice is essential for mastering the art of drawing animal fur. By engaging in these exercises, you'll develop a deeper understanding of fur textures and improve your overall drawing skills. Remember, the key is consistency and a willingness to experiment. Happy drawing!
Q: How often should I practice drawing fur?
A: Aim for at least a few times a week. Consistent practice will lead to improvement over time.
Q: What is the best way to observe fur textures?
A: Study real animals in person or use high-quality images. Pay attention to the details, such as the direction of fur growth and how light interacts with it.
Q: Can I use digital tools to practice fur drawing?
A: Absolutely! Digital tools can offer a range of brushes and effects that can mimic traditional techniques.
Q: What if I struggle with getting the texture right?
A: Don't be discouraged! Keep practicing the exercises mentioned, and consider seeking feedback from fellow artists or joining online art communities.
Frequently Asked Questions
- What are the different types of animal fur I should know about?
Understanding the various types of animal fur is essential for achieving realistic drawings. For instance, the fur of a lion is much different from that of a rabbit. Each type has its own texture and pattern, which requires specific techniques to replicate accurately.
- What tools do I need to draw realistic fur?
To create lifelike fur drawings, you'll need a variety of tools. Graphite pencils of different hardness levels are crucial for shading, while blending tools like tortillons help create smooth transitions. Color pencils can add depth and vibrancy, and the right type of paper can enhance your artwork's texture.
- How can I improve my fur drawing techniques?
Improving your fur drawing skills involves practicing specific techniques such as layering, stippling, and cross-hatching. Regular practice exercises can help refine these skills, allowing you to capture the intricate details of fur more effectively.
- Is it important to study real animals when drawing fur?
Absolutely! Developing strong observational skills is vital for accurately depicting fur. Studying real animals or high-quality images allows you to understand the nuances of fur texture and color, which can greatly inform your artistic practice.
- Can blending tools really make a difference in my drawings?
Yes! Blending tools like blending stumps and tortillons are game-changers when it comes to achieving smooth transitions in fur textures. They help create a more realistic appearance by softening harsh lines and blending colors seamlessly.
- How do I choose the right colors for my fur drawings?
Selecting the right colors is crucial for realism. Start by observing the animal's fur in natural light to see how colors vary. Layering different shades can also help create depth and mimic the natural look of fur.


