How to Paint a Flowing River: Step-By-Step Tutorial
Have you ever gazed at a flowing river and felt an overwhelming desire to capture its beauty on canvas? Whether you’re a budding artist or a seasoned painter, creating a stunning river scene can be both a rewarding and challenging endeavor. In this comprehensive guide, we’ll walk you through the process of painting a flowing river, from selecting the right materials to adding those final touches that make your artwork pop. So grab your brushes, and let’s dive into the world of watercolors!
First things first, let’s talk about materials. Selecting appropriate brushes, paints, and canvases is crucial for achieving the desired effect in your river painting. If you’re just starting out, you don’t need to break the bank; a basic set of watercolor paints, a few brushes of varying sizes, and a good quality watercolor paper will do the trick. Here’s a quick overview of what you’ll need:
| Material | Description |
|---|---|
| Watercolor Paints | Choose a set with a variety of colors, focusing on blues and greens for water. |
| Brushes | A mix of round and flat brushes will help you achieve different effects. |
| Watercolor Paper | Opt for heavy-weight paper (300gsm) to prevent warping. |
| Pencil | For sketching your composition before painting. |
Watercolor paints require specific techniques to depict flowing water effectively. To truly capture the essence of a river, you’ll need to master the art of washes, gradients, and layering. A wash is a technique where you apply a large area of color, creating a base for your river. Gradients can help transition between colors, simulating the depth and movement of water. Layering allows you to build up colors gradually, adding richness and complexity to your artwork. Think of it like building a house; you need a solid foundation before adding details!
A well-thought-out color palette enhances the realism of your river painting. When selecting colors, consider the natural hues of water and the surrounding landscape. Blues and greens are your go-to colors for the river, but don’t forget about the reflections of the sky and trees. You might also want to incorporate earthy tones for the riverbank. A vibrant palette can breathe life into your painting, making it feel as though the water is flowing right off the canvas!
Learning to mix colors accurately can greatly improve your painting. Start by experimenting with different combinations of blues and greens to find the perfect shade for your river. Remember, water isn’t just blue; it reflects the colors around it. Use a color wheel as your guide and don’t be afraid to play around with mixing complementary colors to create depth. It’s like cooking; sometimes the best dishes come from a pinch of this and a dash of that!
Complementary colors can create visual interest and contrast in your river painting. For instance, pairing a bright blue river with warm oranges or reds in the sunset sky can make your artwork pop. This technique draws the viewer’s eye and adds a dynamic quality to your composition. Think of it as a dance between colors, where each hue complements the other, resulting in a beautiful harmony!
Different brush techniques can simulate the movement of water, making your river come alive. For ripples, try using a stippling technique with a small round brush, gently tapping the paper to create texture. For waves, a sweeping motion with a flat brush can mimic the flow of water. Reflections can be achieved by lightly dragging a wet brush across the area where the water meets the land, creating a soft, blurred effect. Remember, practice makes perfect, so don’t hesitate to experiment with different strokes!
A solid composition is the foundation of a successful painting. Before diving into color, take the time to sketch out your river scene. Start with light pencil strokes to outline the river’s path, banks, and any surrounding elements like trees or rocks. This initial sketch will serve as a roadmap, guiding you as you add color and detail. Think of it as creating a blueprint for a magnificent building; without it, you might end up with a structure that doesn’t quite stand!
Identifying focal points in your painting can guide the viewer's eye and create balance. Consider placing a striking element, like a large rock or a unique tree, along the riverbank. This focal point will draw attention and create a sense of depth. Balance is key; you don’t want one side of your painting to feel heavier than the other. It’s like a seesaw; both sides need to be equal for it to function properly!
The background plays a significant role in setting the scene. When painting the sky, consider using lighter shades at the horizon and gradually deepening the color as you move upward. For trees and other elements, use varying shades of green and brown to create depth and dimension. Remember, the background should complement the river, not overshadow it. Think of it as the supporting cast in a play; they enhance the main character without stealing the spotlight!
Adding final touches can elevate your painting from good to great. Once you’ve laid down the primary colors, step back and assess your work. Are there areas that need highlights or shadows? Use a fine brush to add details like glimmers of light on the water or shadows cast by trees. These finishing touches can make all the difference, transforming your river painting into a stunning masterpiece that captures the viewer's imagination.
- What type of paper is best for watercolor painting? Heavy-weight watercolor paper (300gsm) is ideal as it can absorb water without warping.
- How do I prevent my colors from becoming muddy? Always clean your brush thoroughly between color changes and work from light to dark.
- Can I use acrylics instead of watercolors? Yes, but the techniques and effects will differ significantly, so be prepared to adjust your approach.
- What should I do if I make a mistake? Don’t panic! Watercolors are forgiving; you can lift some paint with a damp brush or sponge.
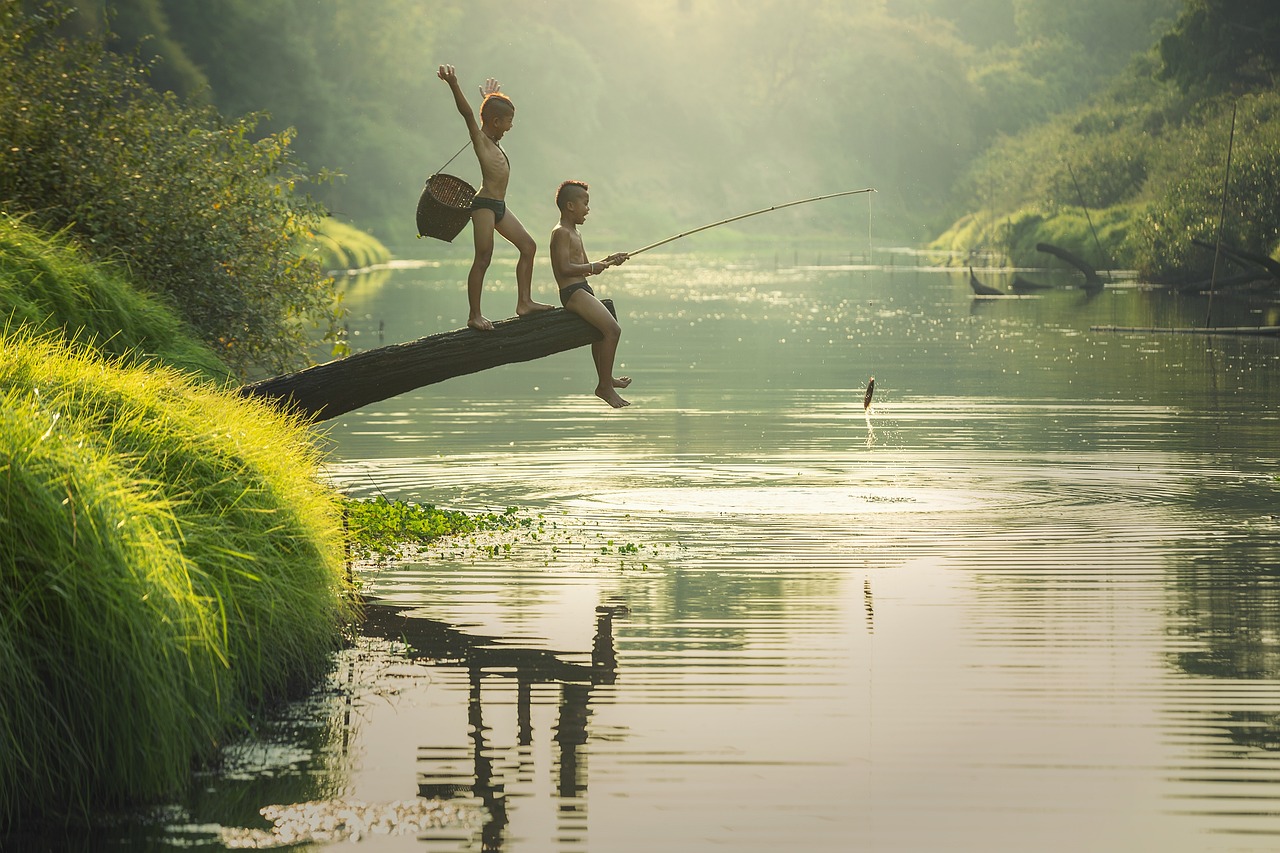
Choosing the Right Materials
When it comes to painting a flowing river, is essential for capturing the essence of water. Whether you are a budding artist or a seasoned pro, the tools you select can make a significant difference in the outcome of your artwork. So, what do you need? Let's dive into the essentials!
First off, you’ll want to select your paints. Watercolors are a popular choice for river scenes because they allow for transparency and layering, which are crucial for depicting the fluidity of water. However, acrylics can also work wonders, especially if you prefer a more vibrant and opaque finish. Consider the following types of paints:
- Watercolor Paints: Great for soft washes and blending.
- Acrylic Paints: Ideal for bold colors and quick drying.
- Oil Paints: Excellent for rich textures and depth, but they take longer to dry.
Next, let’s talk about brushes. The type of brush you use can drastically change the way you apply paint and the effects you achieve. Here’s a quick breakdown of some brushes that are particularly effective for painting water:
| Brush Type | Best For |
|---|---|
| Round Brush | Detail work and soft edges |
| Flat Brush | Washes and broad strokes |
| Fan Brush | Texture and foliage |
| Filbert Brush | Blending and softening edges |
Now, let’s not forget about the canvas or paper! For watercolor, you should opt for a good quality watercolor paper, preferably 200 lb (or 425 gsm) to handle the water without warping. If you’re using acrylics or oils, a canvas or a primed board will work just fine. Each surface has its unique characteristics that can affect the final look of your river painting.
Finally, it’s crucial to equip yourself with some additional tools. Having a palette for mixing colors, a water container for rinsing brushes, and paper towels for blotting are all part of the painting process. These tools may seem trivial, but they can streamline your workflow and enhance your painting experience.
In summary, the right materials can elevate your river painting from ordinary to extraordinary. By carefully selecting your paints, brushes, and surfaces, you set the stage for a stunning artwork that truly captures the beauty of flowing water. So, gather your materials, and let’s get ready to paint!
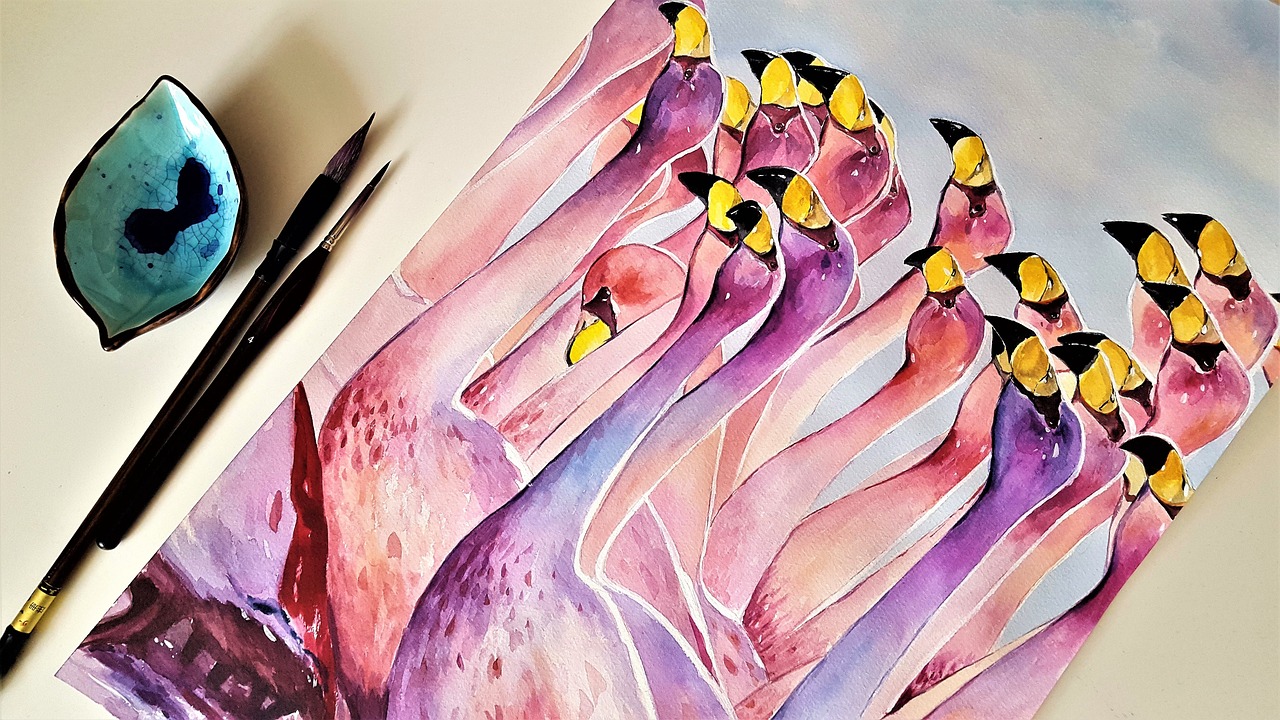
Understanding Watercolor Techniques
Watercolor painting is a mesmerizing art form that allows you to capture the essence of flowing water with stunning vibrancy and depth. However, to truly master the art of painting a flowing river, it’s essential to understand the unique techniques that watercolor offers. Unlike other mediums, watercolors are all about transparency and layering, which can create beautiful effects that mimic the natural movement of water. So, let’s dive into some fundamental techniques that will help you depict flowing water effectively.
One of the key techniques to grasp is the concept of washes. A wash is a technique where you apply a large area of color, diluted with water, to create a smooth background or base layer. This is particularly useful for establishing the sky or the river’s surface. You can create different types of washes, such as:
- Flat Wash: A uniform layer of color that covers the entire area.
- Gradient Wash: A transition from one color to another, which can add depth to your water.
- Wet-on-Wet Wash: Applying wet paint onto wet paper, allowing colors to blend seamlessly.
Another vital technique is layering. This involves applying multiple layers of paint to build up color and texture. Start with light washes and gradually add darker shades to create dimension. This method is particularly effective in depicting the rippling effects of water, as the light reflects off the surface and creates a sense of movement. Remember, patience is key here; allow each layer to dry before adding the next to avoid muddy colors.
To create the illusion of depth and movement, you’ll also want to explore gradients. Gradients can help you transition smoothly between colors, mimicking the way light interacts with water. For instance, you might start with a deep blue at the bottom of your river and gradually lighten it towards the top, suggesting the reflection of the sky. This technique not only adds realism but also guides the viewer’s eye through your composition.
As you gain confidence, begin to experiment with textures. Techniques such as spattering can mimic the appearance of splashes and ripples on the water’s surface. Use a stiff brush to flick paint onto your canvas or paper for an unpredictable yet captivating effect. This can add a dynamic quality to your river painting, making it feel alive.
To further enhance your watercolor skills, consider practicing with a variety of brushes. Different brush shapes and sizes can produce distinct effects. For instance, a flat brush is excellent for broad washes, while a round brush can create fine lines and details. Understanding how to use your brushes effectively will give you more control over your painting and allow you to replicate the delicate nuances of water.
Lastly, don’t forget about the importance of color mixing when it comes to watercolors. Achieving realistic water colors requires a good understanding of how to mix shades. For example, adding a touch of green to your blues can create a more natural look, reflecting the algae and plant life often found in rivers. Experiment with different combinations until you find the perfect hues that resonate with your vision of a flowing river.
In summary, mastering watercolor techniques involves understanding washes, layering, gradients, textures, brush types, and color mixing. Each technique contributes to the overall effect of your painting, allowing you to recreate the mesmerizing beauty of a flowing river. So, grab your brushes, unleash your creativity, and let the water flow on your canvas!
Q: What type of paper is best for watercolor painting?
A: For watercolor painting, it's best to use watercolor paper that is specifically designed to handle the amount of water you'll be using. Look for paper that is 200gsm or heavier to prevent warping.
Q: How do I prevent my colors from becoming muddy?
A: To avoid muddy colors, always let each layer dry before applying additional layers and clean your brush thoroughly between color changes. Also, try to use colors that are close in hue to maintain harmony.
Q: Can I use acrylic paints instead of watercolors?
A: While acrylics can mimic some watercolor effects, they behave differently. Watercolors are transparent and blend seamlessly, while acrylics are opaque and dry quickly. If you're looking for traditional watercolor effects, it's best to stick with watercolors.
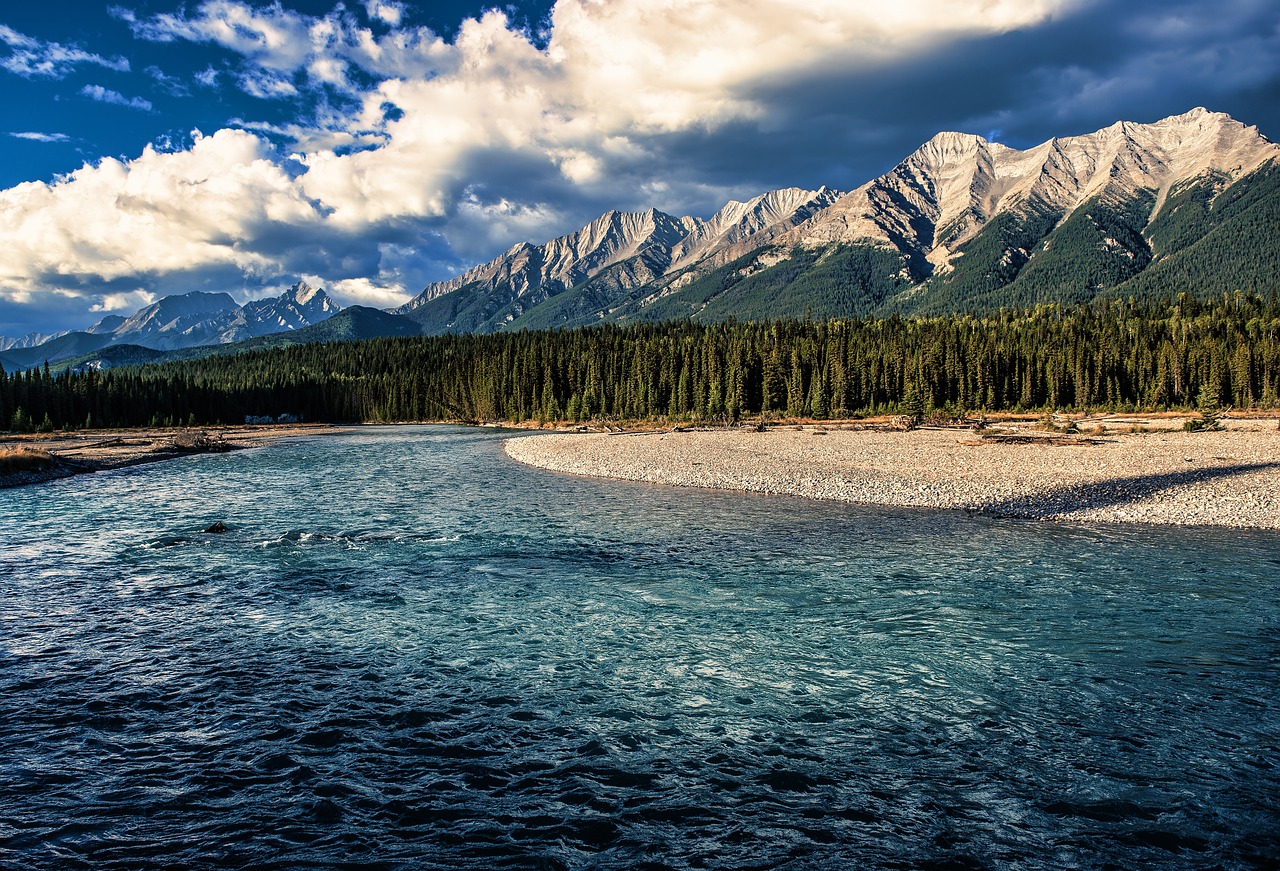
Creating a Color Palette
When it comes to painting a flowing river, creating a well-thought-out color palette is essential for capturing the essence of water and its surrounding environment. Think of your color palette as the emotional foundation of your artwork; it sets the mood and can evoke feelings of tranquility, excitement, or even nostalgia. To get started, you’ll want to consider the natural hues found in rivers and their landscapes. This includes not only the water itself but also the reflections, the sky above, and the foliage that frames the scene.
One of the first steps in developing your color palette is to observe real-life rivers. Take a moment to notice the various shades of blue and green in the water, the way the light dances on the surface, and how the colors change depending on the time of day. For instance, early morning light might cast a soft, golden hue, while midday sun could create vibrant, sparkling reflections. To help you visualize these colors, consider creating a small swatch chart. Here’s a simple table to guide you in selecting your colors:
| Color | Hex Code | Usage |
|---|---|---|
| Sky Blue | #87CEEB | For the sky and reflections in the water |
| Turquoise | #40E0D0 | To depict shallow water and highlights |
| Deep Blue | #00008B | For deeper sections of the river |
| Forest Green | #228B22 | To represent trees and foliage along the riverbank |
| Warm Yellow | #FFD700 | For sunlight reflections and warm highlights |
As you mix your colors, aim for a balance that reflects the natural world. You might want to use a combination of cool and warm colors to create depth and interest. For example, pairing a soft turquoise with a rich, deep blue can simulate the varying depths of the water. Additionally, don’t shy away from using earthy tones like browns and greens to ground your painting and provide context to your river scene.
Another important aspect to consider is the use of complementary colors. These are colors that are opposite each other on the color wheel, and they can create striking contrasts that draw the viewer's eye. For instance, if your river is primarily blue, adding hints of orange or coral can enhance the vibrancy of your painting. This interplay of colors can make your artwork feel alive and dynamic, much like the flowing river itself.
Ultimately, the key to a successful color palette lies in experimentation. Don’t hesitate to try different combinations and see how they interact on your canvas. Remember, painting is as much about intuition as it is about technique. So grab your brushes, mix those colors, and let your creativity flow like the river you’re about to paint!
- What colors should I use for a realistic river painting? - Aim for a mix of blues, greens, and earthy tones. Observe real rivers for inspiration.
- How do I create depth in my river painting? - Use varying shades of color and layering techniques to give the illusion of depth.
- Can I use acrylics instead of watercolors? - Absolutely! The techniques can be adapted for different mediums.
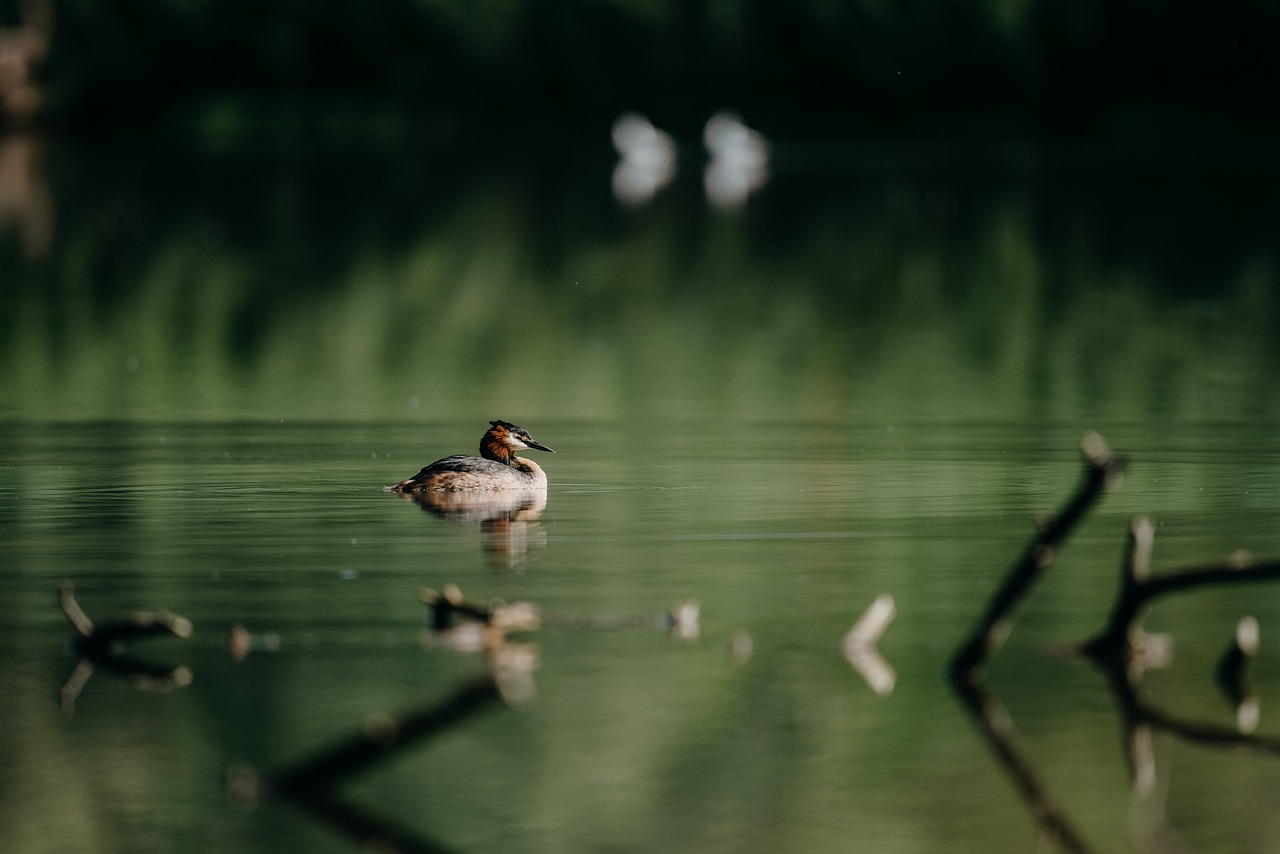
Mixing Colors for Realism
When it comes to painting a flowing river, mixing colors accurately is one of the most essential skills you can develop. The beauty of water lies not just in its surface but in the myriad of colors that reflect the sky, the surrounding landscape, and the depth of the water itself. To achieve a realistic portrayal, you need to understand how to blend colors effectively, creating a palette that captures the essence of your river scene.
Start by observing the colors of real water. You might notice that a river isn’t just blue; it has hints of green, gray, and even brown, depending on the environment. Nature is your best teacher here. Take a moment to look at a river in different lighting conditions—morning light, midday sun, and evening glow. Each time, you'll see a different set of colors. Make a mental note or even a quick sketch of these hues to refer back to while you're painting.
One effective technique for mixing colors is to use a color wheel. Understanding primary, secondary, and tertiary colors can help you create a harmonious palette. For instance, if you're painting a river under a cloudy sky, you might want to mix a muted blue with a touch of gray to reflect the mood of the scene. Here’s a simple breakdown of how you can mix colors:
| Base Color | Mixing Suggestions | Resulting Color |
|---|---|---|
| Blue | Add a touch of green | Teal |
| Green | Add a hint of yellow | Lime Green |
| Gray | Add a bit of blue | Cool Gray |
| Brown | Add a touch of blue | Muted Brown |
Additionally, don’t shy away from experimenting. Mixing colors can be a bit like cooking; sometimes, a pinch of this and a dash of that can yield the most delicious results. You might find that adding a bit of white creates a lovely soft highlight, while a touch of black can add depth and shadow. Just remember to mix in small amounts—it's easier to add than to take away!
Lastly, always keep a test palette handy. Before applying your mixed colors to the canvas, try them out on a scrap piece of paper. This practice allows you to see how the colors interact and whether they achieve the desired effect. By taking these steps, you can ensure that your river painting will not only look realistic but also resonate with the viewer, drawing them into the scene.
- What colors should I use for a river painting? Start with blues and greens, but don't forget to incorporate other colors like browns, grays, and even whites to reflect the environment.
- How do I create depth in my river painting? Use a mix of lighter and darker shades to create the illusion of depth. Layering your colors can also help achieve this effect.
- Can I use acrylics instead of watercolors? Absolutely! While the techniques may differ slightly, acrylics can also produce stunning river paintings.
Using Complementary Colors
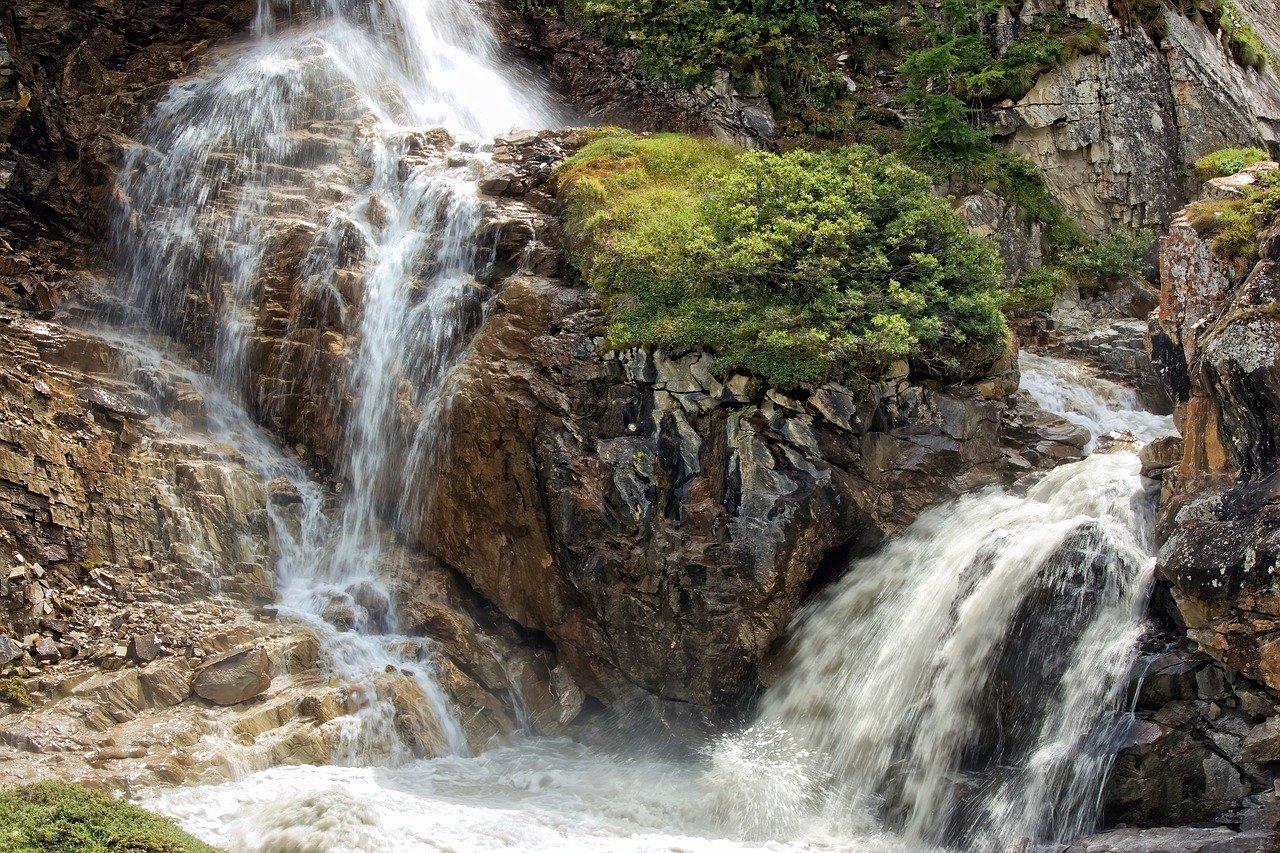
When it comes to painting a flowing river, the use of complementary colors can take your artwork to a whole new level. Complementary colors are pairs of colors that, when combined, cancel each other out, producing a grayscale color like white or black. They are located opposite each other on the color wheel. For instance, blue and orange or green and red are classic examples. Incorporating these colors into your river painting not only enhances visual interest but also creates a dynamic contrast that can make the water appear more vibrant and alive.
Imagine standing by a riverbank, the sun glistening off the water's surface, and the surrounding foliage reflecting in the stream. The blues of the water can be beautifully contrasted with the warm oranges or yellows of the sunlit foliage. This interplay draws the viewer's eye and adds depth to your piece. To effectively use complementary colors in your painting, consider the following:
- Balance: Ensure that you don't overpower one color over the other. A harmonious balance between your complementary colors can create a more cohesive look.
- Layering: Apply your colors in layers. Start with the base color of the river, and then add touches of its complementary color in the reflections or shadows.
- Experiment: Don’t hesitate to play around with different shades and tints of your complementary colors. Sometimes, a muted tone can work better than a bright one.
Moreover, using complementary colors can help in creating a sense of movement in your river painting. For example, if you’re painting a river with a vibrant blue hue, adding a touch of orange in the reflections or in the surrounding landscape can suggest the shimmering effect of sunlight dancing on the water. This technique not only enhances the visual appeal but also helps in guiding the viewer's gaze through the painting.
In summary, by thoughtfully incorporating complementary colors into your river artwork, you can create a stunning visual experience that captures the essence of flowing water. Remember, the goal is to evoke emotion and draw the viewer into your scene, making them feel as if they are standing right there on the riverbank, experiencing the beauty firsthand.
1. What are complementary colors?
Complementary colors are pairs of colors that are opposite each other on the color wheel. They create a strong contrast when used together, enhancing the overall visual impact of a painting.
2. How do I choose complementary colors for my river painting?
To choose complementary colors, refer to a color wheel. For a blue river, consider using shades of orange or yellow in the surrounding landscape to create contrast and visual interest.
3. Can I use more than two complementary colors in a painting?
Absolutely! While focusing on two complementary colors provides a strong foundation, adding additional colors can create depth and complexity in your artwork. Just ensure they work harmoniously together.
Brush Techniques for Water Effects
When it comes to painting a flowing river, mastering brush techniques is essential for capturing the essence of water. Just like a musician learns to play their instrument, an artist must learn how to wield their brush to create the beautiful, dynamic effects of flowing water. The right strokes can mimic the gentle ripples, the swift currents, and the serene reflections that make a river scene come alive. So, let’s dive into some of the most effective brush techniques that will enhance your river painting.
First up, we have the dry brush technique. This technique involves using a brush that is relatively dry and applying it to the canvas with minimal paint. It’s perfect for creating the illusion of texture on the surface of the water. Imagine the way light dances on the ripples—using a dry brush allows you to mimic that shimmering effect effortlessly. To execute this technique, simply dip your brush in the paint, wipe off the excess, and lightly drag it across the canvas. This will give you that sought-after, textured look.
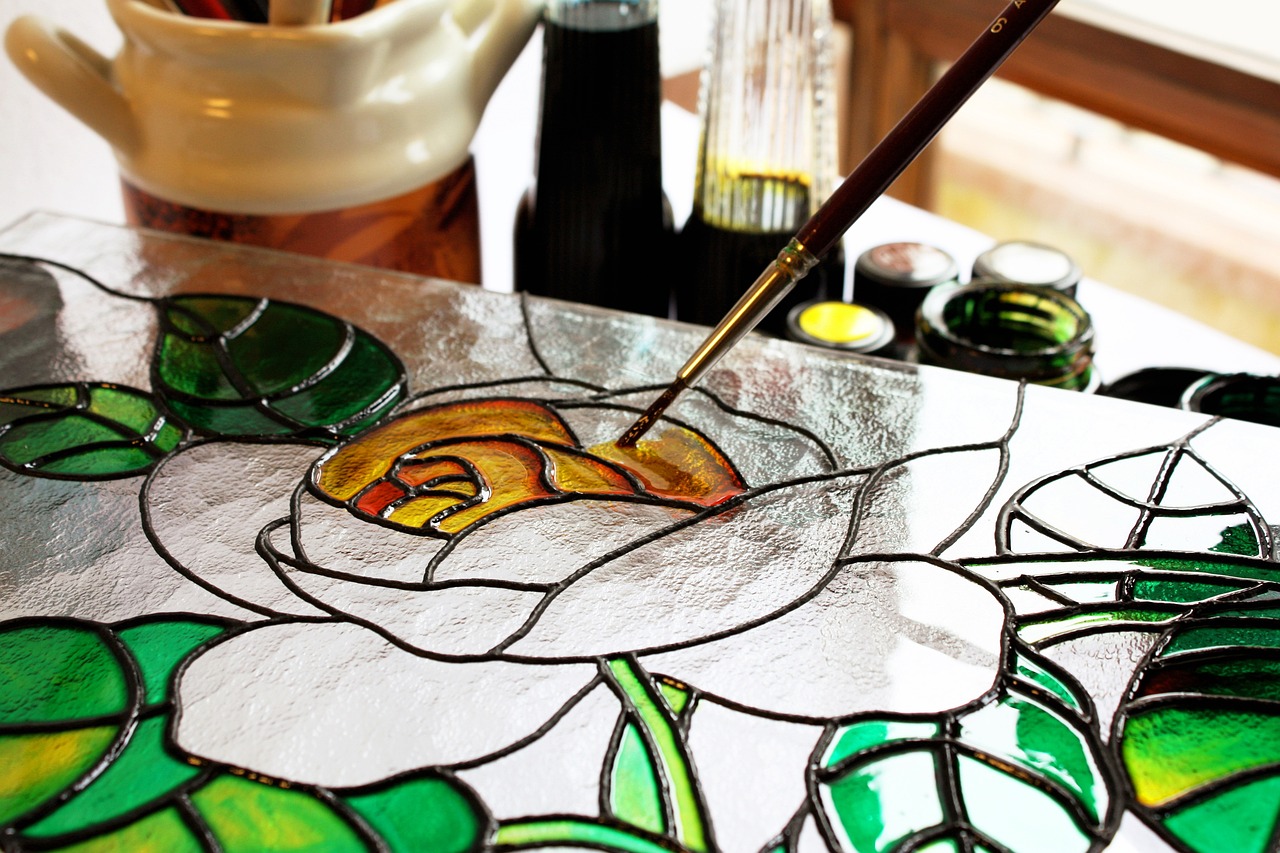
Next, let’s talk about the wash technique. This method is essential for laying down the base colors of your river. A wash is essentially a thin layer of paint that provides a smooth and even coverage. To achieve this, mix your watercolor with plenty of water and use a larger brush to apply it to the canvas in sweeping motions. This technique is particularly useful for creating the illusion of depth and movement in your water. Think of it as laying the foundation of a house; without a solid base, everything else will crumble.
Another important technique is the layering method. Layering allows you to build up colors and create a sense of depth in your painting. Start with lighter colors and gradually add darker shades to give your river dimension. This method is akin to stacking transparent sheets of colored glass; each layer adds complexity and richness to the overall image. As you layer your paints, remember to let each layer dry before applying the next to avoid muddying your colors.
Reflections are another key element in river paintings, and to achieve realistic reflections, you can use a technique known as glazing. Glazing involves applying a thin, transparent layer of paint over dried paint. This technique can help you create the illusion of water reflecting the colors of the sky and surrounding landscape. It’s like putting on a pair of sunglasses that tint your view—suddenly, everything looks more vibrant and alive. To glaze, simply mix your color with a medium, then apply it gently over the desired area.
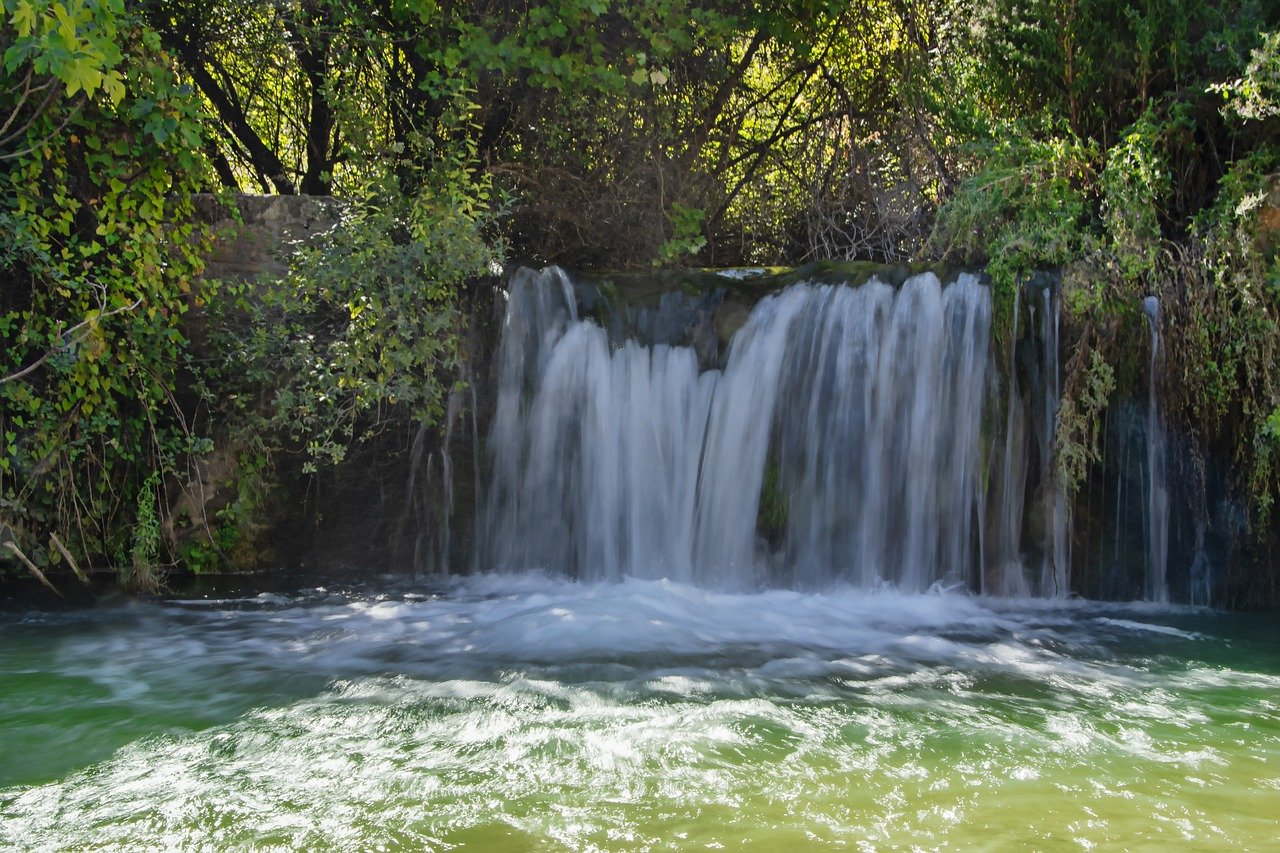
Lastly, don’t forget about stippling. This technique involves using the tip of your brush to create small dots or strokes that can represent bubbles or the frothy edges of waves. It’s a fantastic way to add detail without being overwhelming. Think of it as adding sprinkles on a cake; just a few can elevate the whole appearance without overshadowing the main flavors.
In summary, mastering these brush techniques will not only enhance your ability to depict a flowing river but also enrich your overall painting skills. Remember, practice makes perfect! So grab your brushes, experiment with these techniques, and watch as your river painting transforms into a stunning work of art that captures the beauty and movement of water.
- What type of brush should I use for painting water? A variety of brushes can be used, but flat and round brushes are particularly effective for different techniques.
- How do I prevent my colors from becoming muddy? Make sure to allow each layer to dry before adding more paint, and use clean water when mixing colors.
- Can I use acrylics instead of watercolors? Yes, acrylics can also be used to create beautiful water effects, but the techniques may vary slightly.
Sketching Your Composition
When it comes to painting a flowing river, the first step is to create a solid foundation through sketching. Think of your sketch as the blueprint for your masterpiece; without it, you may find yourself lost in a sea of colors and shapes. Begin by visualizing the scene you want to create. Do you want a tranquil river winding through a lush forest, or perhaps a vibrant river bustling with life? This initial vision will guide your pencil strokes.
Start with light, gentle lines to outline the main elements of your composition. Focus on the river's flow, as it should be the centerpiece of your artwork. Consider the curves and bends in the water; they should mimic the natural movement of a river, creating a sense of dynamism. Remember, the river isn’t just a straight line; it should weave through your canvas, inviting the viewer's eye to follow its journey.
As you sketch, keep in mind the rule of thirds. This principle suggests dividing your canvas into nine equal sections using two horizontal and two vertical lines. Positioning your river and other elements along these lines or at their intersections can create a more balanced and engaging composition. For instance, you might place a large tree or a rock formation at one of the intersections to draw attention and add interest.
Next, think about the background. The elements behind the river can significantly enhance your painting. Sketch in the horizon line, trees, mountains, or any other features that will frame your river. These elements should complement the flowing water, adding depth and context to your scene. Use light strokes to indicate these features, allowing for adjustments as you refine your composition.
Once you have the basic shapes down, take a step back and evaluate your work. Does the composition feel balanced? Are there any areas that seem too crowded or empty? This is the time to make adjustments. Remember, sketching is about exploration and flexibility. Don’t hesitate to erase and redraw until you’re satisfied with the layout.
To summarize the key points for sketching your composition:
- Visualize your scene and determine the river's flow.
- Use light lines to outline the main elements.
- Apply the rule of thirds for balance.
- Incorporate background elements to add depth.
- Evaluate and adjust your sketch as needed.
In conclusion, sketching your composition is an essential step in painting a flowing river. It sets the stage for your artistic journey and helps you organize your thoughts and ideas. With a well-planned sketch, you can confidently move on to the next stages of your painting, knowing that you have a solid foundation to build upon.
Q: How detailed should my sketch be?
A: Your sketch should capture the essential elements and flow of the river without being overly detailed. Focus on proportions and placement rather than intricate details.
Q: Can I change my composition after I start painting?
A: Yes! While your sketch serves as a guide, painting is a fluid process. Feel free to adapt your composition as you go along.
Q: What if I make a mistake while sketching?
A: Mistakes are part of the creative process. Use an eraser or a light hand to adjust your sketch as needed. Remember, every artist makes mistakes!
Establishing Focal Points
When it comes to painting a flowing river, is essential for directing the viewer's eye and creating a sense of harmony within your artwork. Think of your painting as a story; just like a good story has a central theme or character, your painting needs focal points that will draw the viewer in and keep their attention. But how do you create these focal points? It starts with understanding the elements of your composition and how they interact with each other.
One effective way to establish focal points is by using contrast. For instance, if your river flows through a lush green landscape, incorporating a bright, vibrant color—like a red canoe or a cluster of wildflowers—can create a striking contrast that naturally pulls the viewer's gaze. This technique not only enhances the visual interest but also helps to guide the eye along the river's path. You can think of contrast as the cherry on top of your painting; it adds that extra pop that makes everything come alive.
Another approach is to consider the rule of thirds. Imagine dividing your canvas into a 3x3 grid. Place your focal points along these lines or at the intersections. This technique is grounded in the idea that our eyes naturally gravitate towards these areas, making them ideal locations for your most important elements. For example, if you have a small waterfall in your river scene, positioning it at one of these intersections can create a dynamic and engaging composition.
Additionally, remember to create a sense of balance in your painting. While it’s important to have focal points, too many can create chaos. Instead, strive for a balance between your focal points and the surrounding elements. This could mean placing a larger focal point on one side of the river while balancing it with smaller elements, such as rocks or trees, on the opposite side. This way, your river painting will have a sense of unity, guiding the viewer's eye smoothly from one point to another.
Finally, consider the narrative of your painting. What story do you want to tell? Establishing a focal point can also involve creating a sense of movement or flow within your artwork. For example, if the river is winding through the landscape, you could position a fisherman casting his line at a bend in the river. This not only serves as a focal point but also enhances the storytelling aspect of your painting, inviting viewers to imagine the scene unfolding.
In summary, establishing focal points in your river painting is about creating a visual hierarchy that guides the viewer's eye and enhances the overall composition. By using contrast, adhering to the rule of thirds, maintaining balance, and weaving a narrative, you can create a captivating piece that resonates with your audience. Your river will not just flow on the canvas; it will tell a story, inviting everyone who looks at it to take a moment and get lost in its beauty.
- What are focal points in painting? Focal points are areas in a painting that draw the viewer's attention, often due to contrast, color, or placement within the composition.
- How do I create a focal point? You can create focal points by using contrasting colors, applying the rule of thirds, balancing elements, and telling a story through your composition.
- Can I have multiple focal points? Yes, but it's important to maintain balance. Too many focal points can create chaos and detract from the overall harmony of the painting.

Planning the Background
When it comes to painting a flowing river, the background is not just an afterthought; it’s a crucial component that sets the entire scene. Think of the background as the stage where your river performs its dance. A well-planned background can enhance the beauty of your river, drawing the viewer's eye and creating a sense of depth. So, how do you go about planning it? Let’s dive in!
First, consider the elements you want to include in your background. Are you envisioning a serene forest, majestic mountains, or perhaps a vibrant sunset? Each of these elements will contribute to the overall mood of your painting. For instance, a sunset might evoke feelings of tranquility, while towering mountains can add a sense of grandeur. It’s essential to choose a background that complements your river scene, creating a harmonious balance.
Next, sketch out your background lightly on your canvas. This is your chance to play around with composition. You might want to use a rule of thirds approach, where you divide your canvas into three equal parts both vertically and horizontally. Placing your horizon line along one of these lines can create a more dynamic composition. Don’t hesitate to adjust the placement of trees, hills, or other elements until you find a layout that feels right.
Once you have your sketch, it’s time to think about color. The background colors should not only reflect the natural environment but also serve to enhance the colors of the river. For example, if your river is a deep blue, consider using softer hues of blue and green in the background. This creates a sense of cohesion. Using a color wheel can help you understand how to choose colors that work well together. Here’s a quick overview:
| Color | Effect |
|---|---|
| Soft Blues | Promotes calmness and tranquility |
| Earthy Greens | Brings a natural feel |
| Warm Oranges | Adds vibrancy and warmth |
| Cool Grays | Provides depth and contrast |
As you paint, remember to use lighter shades for distant elements and darker shades for those closer to the foreground. This technique, known as atmospheric perspective, will help create a sense of depth and make your river appear more three-dimensional. Additionally, consider how the light interacts with your background elements. For instance, if the sun is setting, the colors should reflect the warm glow, casting shadows and highlights that bring your painting to life.
Lastly, don’t forget about texture! Incorporating different brush techniques can add interest to your background. A dry brush technique can create the effect of foliage, while a wet-on-wet approach can simulate clouds in the sky. Experiment with these techniques to see what works best for your vision. Remember, the background should support your river without overwhelming it, allowing the water to remain the focal point of your artwork.
In conclusion, planning the background of your river painting is an essential step that should not be overlooked. By thoughtfully considering the elements, colors, and techniques, you can create a stunning backdrop that enhances the beauty of your flowing river. So grab your brushes and let your creativity flow!
- What materials do I need for painting a river?
You'll need watercolor paints, brushes of various sizes, a suitable canvas or watercolor paper, and a palette for mixing colors. - How do I create depth in my river painting?
Use lighter colors for distant elements and darker shades for foreground objects. Incorporating atmospheric perspective can greatly enhance depth. - Can I use acrylics instead of watercolors?
Absolutely! While techniques may differ slightly, acrylics can also produce beautiful river paintings. - What are some common mistakes to avoid?
Avoid overloading your painting with too many details, which can distract from the main subject. Also, be cautious with color choices; ensure they complement rather than clash.

Final Touches and Details
When it comes to painting a flowing river, the are what truly bring your artwork to life. This is the stage where your painting transitions from merely good to absolutely stunning. Think of it like the icing on a cake; without it, the cake may be delicious, but it lacks that visual appeal that makes it irresistible. So, how do you achieve these final touches? Let's dive in!
First and foremost, highlights are essential in creating the illusion of light reflecting off the water's surface. Use a fine brush and a lighter shade of your base color to add small, quick strokes on the areas where you want to depict light. This technique mimics the natural sparkle of sunlight dancing on the water, making your river appear alive and dynamic. Remember, less is more; you want these highlights to be subtle yet effective.
Next up, we have the shadows. Shadows add depth and dimension, making your river scene more realistic. Observe where the light source is coming from and apply darker shades underneath rocks, along the riverbanks, and in the ripples of the water. By carefully layering these shadows, you can create a sense of movement and flow that draws the viewer's eye through the painting.
Another crucial aspect is the details. Don’t shy away from adding elements like rocks, foliage, or even wildlife along the riverbank. These small details can provide context and interest to your painting. For instance, you might paint a few pebbles in the water or some grasses swaying by the bank. These additions not only enhance the beauty of your scene but also tell a story, inviting viewers to imagine what lies beyond the canvas.
As you near completion, take a step back and evaluate your work. Are there areas that feel too flat or lacking in detail? Use this opportunity to refine those spots. Sometimes, a simple adjustment can make all the difference. Consider using a glaze technique, where you apply a thin layer of transparent paint over certain areas to unify the colors and add richness.
Finally, don’t forget about the background. A well-painted sky can set the mood for your river scene. Whether it’s a bright blue sky or a dramatic sunset, make sure it complements the colors of your river. Blend the colors smoothly and consider adding clouds or birds to give your painting a sense of scale and life.
In conclusion, the final touches and details are what transform a simple river painting into a breathtaking masterpiece. By focusing on highlights, shadows, and intricate details, you can create a work of art that captivates and inspires. Remember, art is subjective, so trust your instincts and let your creativity flow!
- What materials do I need for the final touches? You will need fine brushes, a selection of lighter and darker paint colors, and possibly a glazing medium.
- How do I know when my painting is finished? A painting is finished when it feels balanced and complete. Trust your instincts and step back to evaluate your work.
- Can I use acrylics for final touches on a watercolor painting? Yes, acrylics can be used for final touches, but ensure they blend well with the watercolors to maintain harmony.
Frequently Asked Questions
- What materials do I need to paint a flowing river?
To get started with painting a flowing river, you'll need some basic materials. This includes watercolor paints, a variety of brushes (round and flat), watercolor paper or canvas, a palette for mixing colors, and water for rinsing your brushes. Having a good set of colors will help you capture the vibrant hues of nature, so consider investing in quality materials!
- How do I create realistic water effects in my painting?
Creating realistic water effects involves mastering a few key techniques. Start with washes to lay down a base color, then build up layers to add depth. Use different brush strokes to simulate ripples and waves. Don't forget to incorporate highlights and shadows to reflect light on the water surface, which adds a dynamic quality to your artwork!
- What color palette should I choose for my river painting?
Choosing a color palette is crucial for achieving realism. Look at the colors present in actual rivers: various shades of blue, green, and brown can reflect the water and surrounding landscape. You can also mix in complementary colors to create contrast and vibrancy. Experimenting with different combinations will help you find what works best for your vision.
- Can I use acrylics instead of watercolors?
Absolutely! While the techniques may differ slightly, acrylic paints can also be used to create stunning river paintings. Acrylics dry faster and can be layered more easily, allowing you to achieve bold colors and textures. Just remember to adjust your techniques to suit the medium you are using!
- How do I sketch my river composition before painting?
Sketching your composition is a vital step to ensure your painting has a solid foundation. Start by lightly outlining the main elements of your scene, such as the river's flow, trees, and any focal points. This will help you visualize the layout and make adjustments before you commit to color. Use a pencil for easy corrections!
- What are the final touches I should consider for my painting?
Final touches can really elevate your artwork! Focus on adding highlights to the water to simulate reflections, and use darker shades to create shadows for depth. Consider adding small details like birds or rocks to enhance the scene. These finishing touches will bring your painting to life and capture the viewer's attention!


