Drawing Human Anatomy: A Simple Guide
This article provides an overview of essential techniques and tips for drawing human anatomy, making it accessible for artists of all skill levels. Learn to capture the human form with confidence.
Understanding human anatomy is crucial for artists to create realistic figures. When you have a solid grasp of anatomy, you don't just draw shapes; you bring your characters to life. Think of anatomy as the foundation of a house—without a strong base, your structure could crumble. By knowing how the body is built, you can enhance your artistic skills and improve the overall quality of your drawings. Artists who understand anatomy can convey emotions, movement, and personality through their work. It's like having a secret weapon in your artistic arsenal!
Mastering the fundamental proportions of the human body is essential for accurate representation in drawings. The classic approach often uses the head as a unit of measurement. For instance, an average adult is typically about 7.5 to 8 heads tall. This means that if you can measure the head, you can estimate the rest of the body. Understanding limb length is also vital; arms generally reach down to the mid-thigh, while legs make up nearly half the height of a person. By familiarizing yourself with these proportions, you can create figures that look balanced and natural.
The head is a complex structure, and capturing its likeness is a challenge many artists face. The positioning of facial features is crucial for achieving realism. A well-proportioned face often follows the rule of thirds, where the face is divided into three equal horizontal sections: the hairline to the eyebrows, the eyebrows to the bottom of the nose, and the nose to the chin. By using these guidelines, you can improve your portraiture skills. Remember, capturing expression is just as important as getting the proportions right. A slight tilt of the head or a change in the eyes can convey a whole range of emotions.
Focusing on individual features, let’s delve into the anatomy of the eyes, nose, and mouth. The eyes are often referred to as the “windows to the soul,” and for good reason. They can express a multitude of feelings. When drawing eyes, pay attention to their shape, size, and the way they reflect light. The nose, on the other hand, is more than just a protrusion; it has a unique structure that varies from person to person. Understanding the bridge, nostrils, and overall shape can help you create a more realistic portrayal. Lastly, the mouth is incredibly expressive, and its shape changes dramatically depending on the emotion being conveyed. Practice sketching different mouth positions to capture various expressions effectively.
Hair and ears play significant roles in defining a character. Hair isn’t just a bunch of lines; it has volume, texture, and flow. When drawing hair, think of it as a series of shapes rather than individual strands. This approach will help you create a more natural look. Ears can be tricky, but they follow a specific structure that includes the outer ear (pinna), ear canal, and inner ear. Pay attention to the angles and curves; they can significantly affect the overall likeness of your character. With practice, you’ll find that these features can add a great deal of personality to your drawings.
Muscle structure adds depth and realism to drawings. Knowing the major muscle groups and their functions can help you depict the human figure effectively in various poses. For instance, the biceps and triceps in the arms, the quadriceps in the legs, and the abdominal muscles all contribute to the overall shape of the body. When drawing figures in motion, understanding how these muscles interact can help you create dynamic poses that feel alive. Remember, it’s not just about drawing muscles; it’s about showing how they work together to create movement.
Even the most seasoned artists can fall into common pitfalls when drawing anatomy. Recognizing these mistakes can help improve your accuracy and enhance the overall quality of your artwork.
While details are important, overemphasizing them can lead to unrealistic drawings. It’s easy to get caught up in the minutiae, but remember that the overall form is what matters most. A well-structured figure with less detail can often convey more than a crowded drawing filled with intricate lines. Balance is key; focus on the essential features that define your subject while allowing some areas to remain less defined.
Perspective and foreshortening are crucial for creating depth. When you ignore these concepts, your drawings can appear flat and lifeless. Foreshortening is especially important when depicting limbs or other body parts that recede into space. By practicing these techniques, you can create more dynamic and lifelike representations of the human form.
- What is the best way to start learning anatomy for drawing? Begin with understanding basic proportions and gradually move to more complex structures.
- How can I improve my figure drawing skills? Practice regularly, study anatomy books, and use reference images to understand different poses.
- Are there specific tools I should use for anatomy drawing? Pencils, charcoal, and sketching paper are great for practice, along with anatomy reference books or online resources.
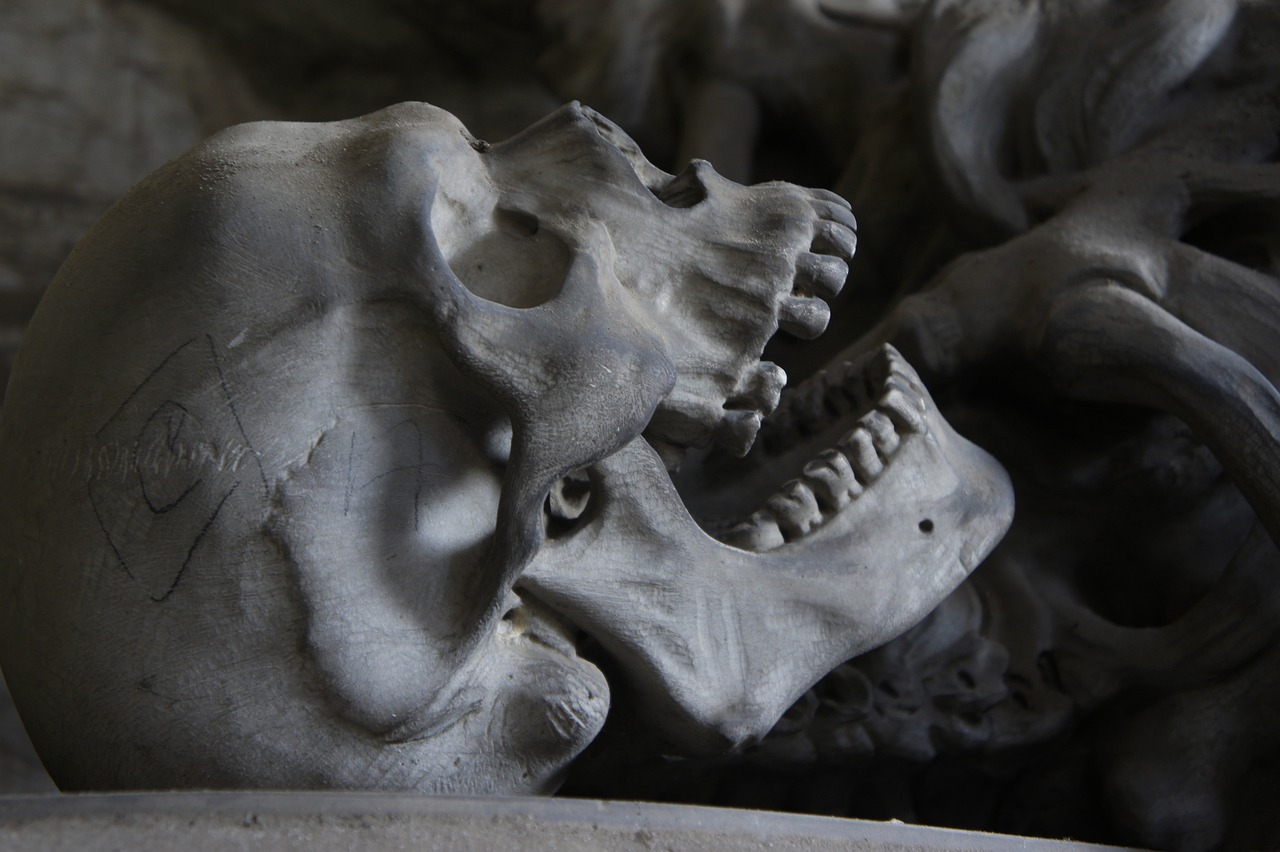
The Importance of Understanding Anatomy
Understanding human anatomy is not just a fancy add-on for artists; it's the backbone of creating realistic figures. Imagine trying to build a house without knowing how to lay a solid foundation—your structure would be shaky and prone to collapse. Similarly, without a firm grasp of anatomy, your drawings can lack the depth and realism that makes them truly captivating.
When you delve into the intricacies of the human body, you unlock the ability to portray movement, emotion, and personality in your art. Think of anatomy as a roadmap; the more familiar you are with the twists and turns, the better you can navigate your creative journey. A solid understanding of anatomy enhances your artistic skills in several ways:
- Improved Proportions: Knowing the typical proportions of the human body allows you to create figures that are not only accurate but also aesthetically pleasing.
- Enhanced Realism: Understanding how muscles and bones interact helps you depict the human form in a way that feels alive and dynamic.
- Increased Confidence: With a strong foundation in anatomy, you’ll feel more secure in your ability to tackle complex poses and expressions.
Furthermore, studying anatomy can serve as a creative catalyst. It can spark new ideas and inspire you to explore different styles and techniques. For instance, once you understand the basic muscle groups and how they function, you can experiment with exaggerated forms or stylized characters, all while maintaining a sense of believability.
Ultimately, grasping human anatomy is about more than just technical skill; it’s about connecting with your subject. When you understand how the body moves and functions, you can infuse your drawings with emotion and life, making them resonate with viewers on a deeper level. So, whether you’re sketching a quick figure study or crafting a detailed portrait, remember that anatomy is your best friend in the world of art.
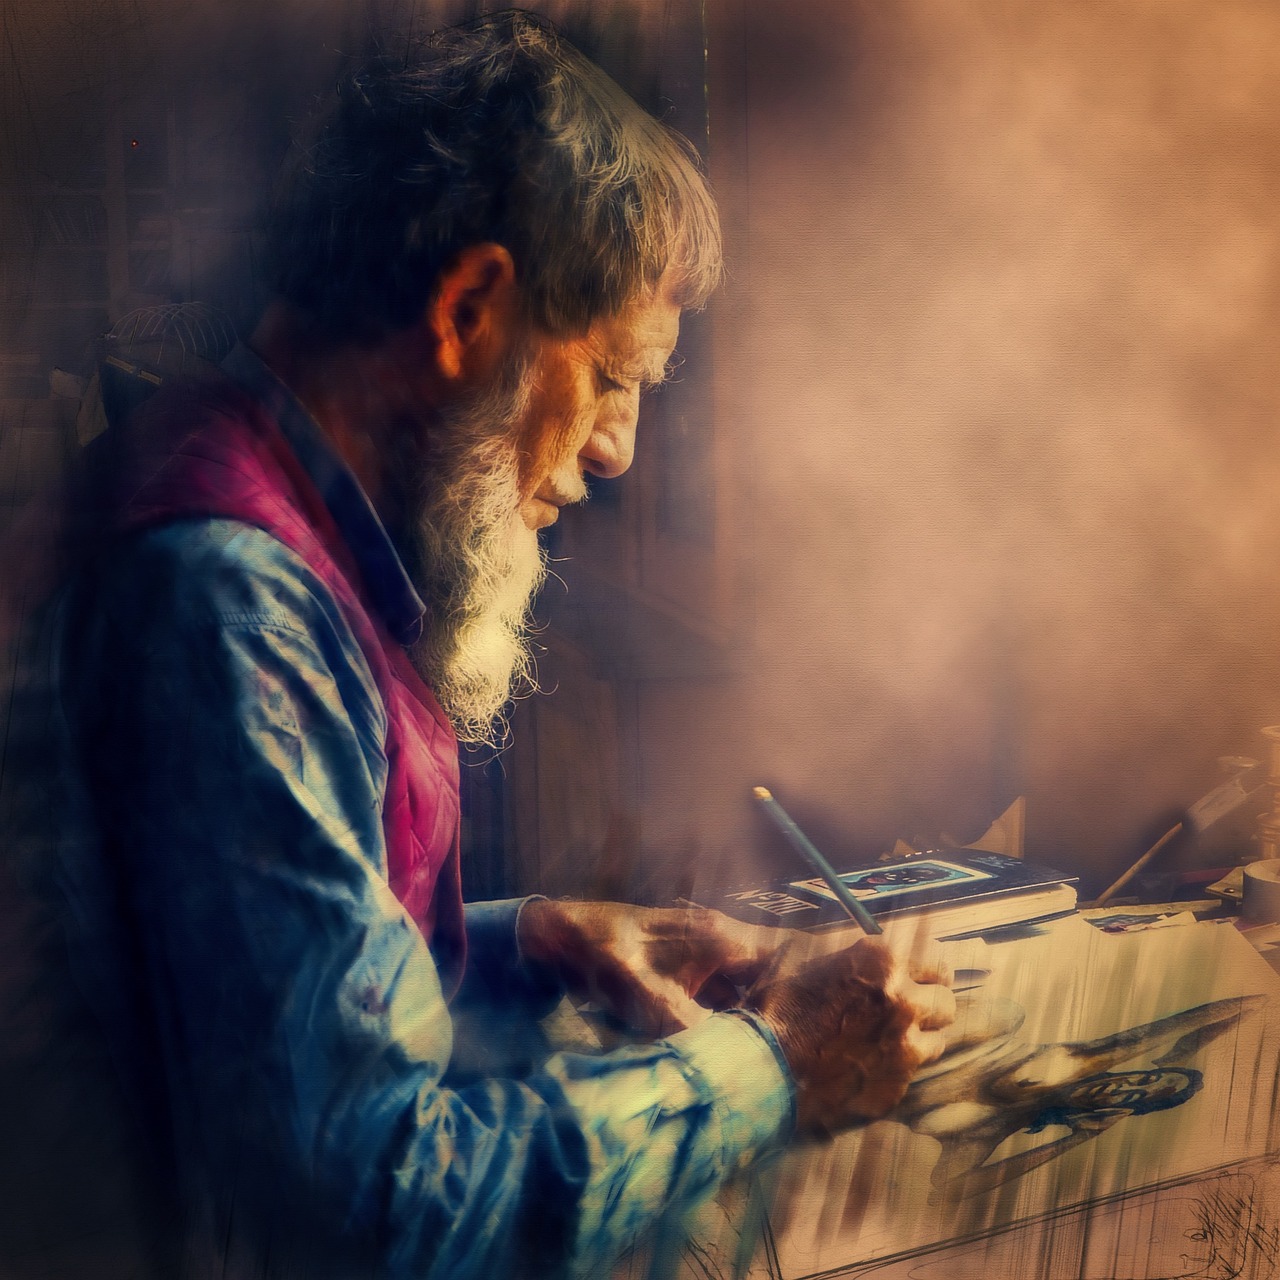
Basic Proportions of the Human Body
When it comes to drawing the human body, understanding basic proportions is like having a roadmap. It guides you through the complex landscape of human anatomy, helping you to create figures that are not only realistic but also aesthetically pleasing. So, what exactly are these proportions? Well, the classic approach often refers to the human body being approximately seven to eight heads tall. This means that if you measure the height of the head, you can multiply it to get a rough estimate of the entire body's height. But don't let that number box you in! Different styles and body types can alter these proportions.
Moreover, proportions are not just about height; they also involve the relationship between various body parts. For instance, the width of the shoulders typically measures about two heads across, while the hips usually measure about one and a half heads in width. These basic ratios help in maintaining balance and symmetry in your drawings. If you’re keen on capturing the essence of a figure, pay attention to the limb lengths as well. The arms, when relaxed, should ideally reach the mid-thigh, while the legs, from hip to heel, should be about four heads long.
To make this easier to visualize, here’s a simple table that outlines some of the key proportions:
| Body Part | Proportion |
|---|---|
| Height (total) | 7-8 heads |
| Shoulder Width | 2 heads |
| Hip Width | 1.5 heads |
| Arm Length | Mid-thigh |
| Leg Length | 4 heads |
Understanding these proportions is just the beginning. It’s crucial to remember that the human body is dynamic and varies from person to person. For example, athletes may have broader shoulders and longer limbs, while dancers might have elongated torsos and flexible joints. Therefore, while these proportions provide a solid foundation, don't hesitate to adapt them based on the character you are trying to depict.
As you practice, you’ll start to notice how these proportions help in creating a sense of movement and life in your figures. Think of it like building a house: the proportions serve as the framework that supports everything else. Once you’ve nailed down the basic shapes and relationships, you can then layer in the details that bring your drawings to life. So grab your pencil, and let’s start sketching those proportions!
- What is the ideal head-to-body ratio for drawing?
The ideal ratio is typically 1:7 or 1:8, meaning the height of the body is seven to eight times the height of the head.
- How do I adjust proportions for different body types?
Observe real-life figures and adjust the basic proportions accordingly—athletes may have broader shoulders, while dancers might have longer limbs.
- Can I break the rules of proportions?
Absolutely! While proportions provide a guideline, feel free to experiment and create stylized figures that resonate with your artistic vision.

Head and Facial Features
When it comes to drawing the human figure, the head and facial features are like the icing on the cake. They are the first things people notice and can make or break the overall impression of your artwork. Understanding the proportions and positioning of facial features is essential for capturing likeness and expression in portraiture. It’s not just about getting the shapes right; it’s about conveying emotion and personality through subtle details.
Let’s dive into the proportions of the head. Generally, the human head can be divided into sections that help artists maintain balance and symmetry. A common method is the “five-eye rule”, where the width of the head is approximately equal to five eyes placed side by side. This rule provides a solid foundation, but remember, it’s just a guideline. Different individuals will have unique features that may deviate from these standards.
Now, let’s talk about the placement of facial features. The eyes are typically located halfway down the head, while the bottom of the nose falls about halfway between the eyes and the chin. The mouth sits a little above the halfway mark between the nose and the chin. These proportions can vary based on age, gender, and ethnicity, so being observant is key. Here’s a quick reference table to help you visualize these proportions:
| Feature | Position |
|---|---|
| Eyes | Halfway down the head |
| Nose | Halfway between eyes and chin |
| Mouth | Above the halfway mark between nose and chin |
As you start sketching, keep in mind that the eyes are often referred to as the "windows to the soul." They can express a vast array of emotions, from joy to sorrow. Pay close attention to the shape and size of the eyes, as they can vary significantly among individuals. For instance, almond-shaped eyes convey a different feel than round, wide-set eyes. Experimenting with these shapes can lead to more expressive portraits.
Next up, we have the nose. The nose is a fascinating feature because it has so many variations, from the delicate and narrow to the broad and prominent. When drawing the nose, focus on its three-dimensional form. Consider the bridge, nostrils, and how light interacts with these surfaces to create shadows. A well-drawn nose can significantly enhance the realism of your portrait.
Lastly, let’s not forget the mouth. The mouth is incredibly expressive and can communicate a range of emotions, from a subtle smile to a wide grin. Pay attention to the shape of the lips and how they relate to the overall structure of the face. The upper lip is generally thinner than the lower lip, and both should curve naturally to reflect the individual’s expression.
In addition to these features, hair and ears also play significant roles in defining a character. Hair can add movement and personality to your drawings, while ears, often overlooked, can provide balance to the face. Techniques for drawing hair textures can vary widely, from smooth and sleek to tousled and wild. The shape of the ear can also influence the overall appearance of the head, so don’t skimp on these details!
To sum it up, mastering the head and facial features is a journey that requires practice and observation. The more you draw, the more intuitive these proportions and placements will become. Remember, art is about expression, so don’t be afraid to experiment and develop your unique style!
- What are the key proportions for drawing a face? The face can generally be divided into sections based on the five-eye rule, where the width of the head equals five eyes.
- How can I make my portraits more expressive? Focus on the eyes and mouth, as these features convey the most emotion. Experiment with their shapes and positioning.
- What should I keep in mind when drawing hair? Consider the texture, flow, and volume of the hair, as well as how it frames the face.
Eyes, Nose, and Mouth
When it comes to drawing the human face, are the three key features that define expression and character. Each of these features has its own unique anatomy and proportions, which can significantly impact the overall likeness of your portrait. Understanding how to draw these elements accurately is essential for any artist looking to capture the essence of a person.
The eyes are often considered the windows to the soul, and they play a crucial role in conveying emotion. When drawing eyes, it's important to remember that they are not just simple ovals. Instead, they consist of several parts: the iris, pupil, eyelids, and eyelashes, all of which contribute to their unique appearance. Pay attention to the following aspects:
- Shape: Different people have different eye shapes, from almond to round. Observe and replicate these variations.
- Position: The eyes should be spaced approximately one eye-width apart. This spacing is vital for maintaining proportion.
- Expression: The way the eyelids are positioned can alter the expression dramatically. A slight droop can indicate tiredness, while wide-open eyes express surprise.
Next, let’s talk about the nose. The nose is often overlooked, but it is a central feature that can define the face's character. When drawing the nose, consider its structure, which includes the bridge, nostrils, and tip. The nose should be drawn with an understanding of its three-dimensional form. Here are a few tips:
- Bridge: The bridge of the nose can vary in width and height. Make sure to observe these details to create a realistic representation.
- Nostrils: Nostrils are often overlooked, yet they can add significant depth to your drawing. Pay attention to their shape and how they flare.
- Shadow: Use shading to indicate the nose's contour, which will help it appear more three-dimensional.
Finally, we have the mouth. The mouth is another expressive feature that can convey a wide range of emotions, from joy to sadness. When drawing the mouth, focus on the shape of the lips, the position of the teeth, and the overall curvature of the smile or frown. Here are some important points to keep in mind:
- Lips: The upper lip is typically thinner than the lower lip, and the shape can vary significantly between individuals.
- Teeth: When drawing a smile, hint at the teeth without detailing every single one. A few well-placed lines can suggest their presence.
- Expression: The way the mouth is positioned can alter the entire expression of the face. A slight downturn can indicate sadness, while an upward curve suggests happiness.
In summary, mastering the drawing of the eyes, nose, and mouth is essential for creating lifelike portraits. By paying close attention to the unique characteristics and proportions of these features, you can enhance the realism and emotional impact of your artwork. Remember, practice makes perfect, so don't hesitate to spend time observing and sketching these features from different angles and in various expressions.
Q: How can I improve my drawing skills for facial features?
A: Practice is key! Spend time sketching from life or photographs, and focus on understanding the anatomy and proportions of the features.
Q: What tools are best for drawing facial features?
A: Pencils, charcoal, and digital tools can all work well. Experiment with different mediums to find what suits you best.
Q: Should I focus on details or overall form when drawing?
A: It's important to balance both. Start with the overall form and proportions, then gradually add details as you refine your drawing.
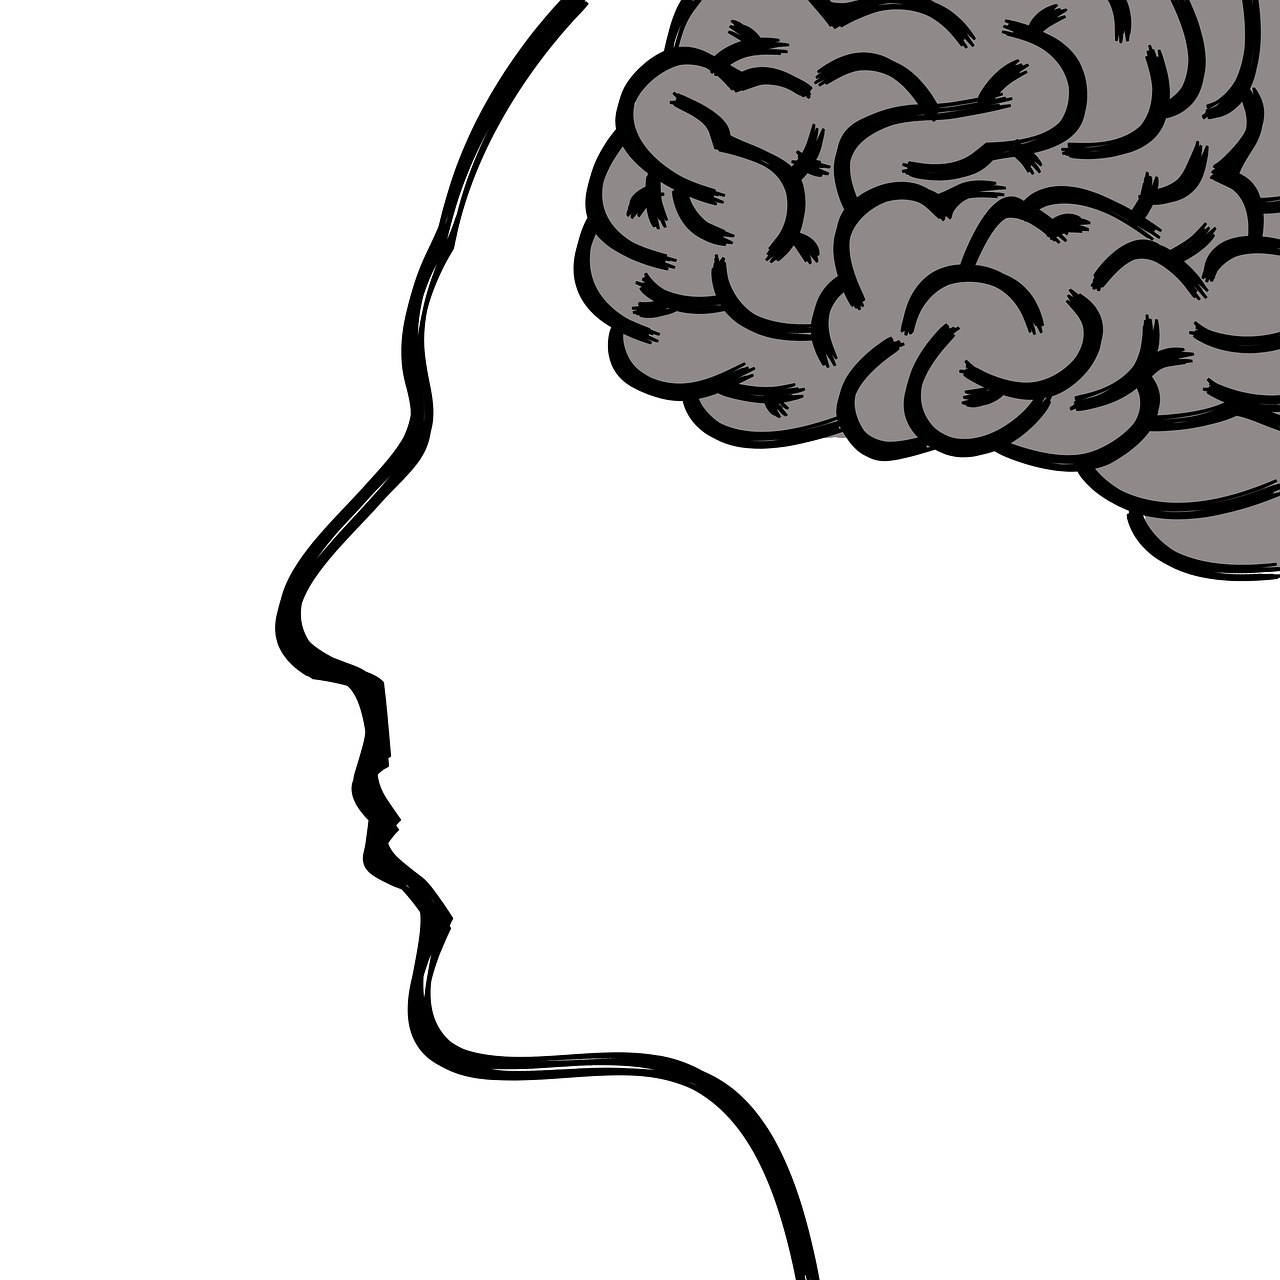
Hair and Ears
When it comes to drawing the human figure, hair and ears are often overlooked, yet they play a pivotal role in defining a character's identity and personality. Hair can convey emotions, style, and even cultural background, while ears, despite their subtlety, can significantly affect the overall likeness of a portrait. Mastering these features not only enhances realism but also adds depth to your artistic expression.
Let’s start with hair. Drawing hair can seem daunting at first, but think of it as a series of flowing shapes rather than individual strands. Begin by sketching the overall shape and volume of the hair, which can be influenced by factors like the character's age, personality, or even the weather. Use curved lines to indicate the flow and direction of the hair, and remember that hair has a natural fall that should be respected. For instance, long hair will drape differently than short hair, and curly hair will have its own unique bounce and texture.
As you refine your drawing, consider the following tips for capturing the essence of hair:
- Layering: Build up the hair in layers, starting with the base color and adding highlights and shadows to create depth.
- Texture: Use different strokes to represent various hair types, such as smooth lines for straight hair and more chaotic strokes for curly hair.
- Light and Shadow: Pay attention to how light interacts with hair, as highlights can bring a sense of realism and volume.
Now, let’s talk about ears. Although they might seem like simple shapes, ears can be quite complex. They consist of various parts, including the helix, antihelix, lobule, and the tragus. Understanding these components will help you draw ears that look natural and proportionate. Start by observing the ear from different angles—this will give you insight into its three-dimensional form.
When drawing ears, consider the following aspects:
- Placement: Ears should be positioned correctly in relation to the eyes and nose. Generally, the top of the ear aligns with the eyebrow, and the bottom aligns with the bottom of the nose.
- Shape: Ears are not just flat surfaces; they have folds and curves that add to their realism. Make sure to capture these subtleties.
- Size: The size of the ears can vary significantly between individuals. Be mindful of this variability to avoid creating generic characters.
Incorporating hair and ears into your drawings can elevate the overall quality of your artwork. By focusing on these features, you not only enhance the likeness of your subjects but also tell a story through their appearance. Remember, practice is key! The more you draw, the better you’ll understand how to represent these intricate details.
Q: How can I improve my hair drawing skills?
A: Practice drawing different hairstyles and observe how light interacts with hair. Use references to understand the flow and texture better.
Q: What are some tips for drawing realistic ears?
A: Focus on the ear's anatomy and practice drawing from various angles. Pay attention to the shapes and shadows that create depth.
Q: Should I always include hair and ears in my portraits?
A: Yes, unless stylistically choosing to omit them. Hair and ears contribute significantly to the character's identity and realism.

Understanding Muscle Structure
When it comes to drawing the human figure, understanding muscle structure is like having a secret key that unlocks the door to realism. Muscles are not just about adding bulk; they play a crucial role in defining the form and movement of the body. Imagine a well-crafted sculpture—every curve and contour tells a story of strength and grace. By grasping how muscles work, you can breathe life into your drawings, giving them a sense of dynamism and authenticity.
Muscles are categorized into three main types: skeletal, smooth, and cardiac. For artists, skeletal muscles are the most relevant as they are attached to bones and facilitate movement. These muscles are responsible for the voluntary actions we perform every day, from raising an arm to sprinting down the street. Understanding the major muscle groups and their functions can significantly enhance your ability to depict the human form accurately.
Let’s dive into the major muscle groups that every artist should be familiar with:
| Muscle Group | Location | Function |
|---|---|---|
| Deltoids | Shoulders | Arm abduction and rotation |
| Pectorals | Chest | Arm flexion and adduction |
| Quadriceps | Thighs | Knee extension |
| Hamstrings | Back of thighs | Knee flexion |
| Gastrocnemius | Calves | Plantar flexion of the foot |
Each muscle group contributes to the overall silhouette of the body. For instance, the deltoids give the shoulders their rounded appearance, while the pectorals help create the broad chest that is often associated with strength. When you draw, pay attention to how these muscles interact with one another, especially during different poses. The way muscles contract and expand can dramatically change the figure’s appearance.
Moreover, understanding how to depict muscle tension and relaxation can add a layer of realism to your work. Consider how a runner’s muscles tighten as they prepare to sprint versus how they relax when they come to a stop. This dynamic can be illustrated through careful shading and highlighting, allowing you to capture the essence of movement on paper.
Additionally, don't overlook the role of skin over muscles. The skin is not just a flat surface; it has texture and elasticity that responds to the underlying muscle structure. When drawing, remember to show how the skin stretches and compresses over the muscles, especially in areas with significant movement. This interplay creates a more lifelike representation of the human body.
In conclusion, mastering muscle structure is essential for any artist looking to enhance their understanding of human anatomy. By studying the major muscle groups and their functions, you can create drawings that not only look realistic but also convey a sense of motion and life. So grab your sketchbook and start exploring the fascinating world of muscles—you'll be amazed at how much it improves your artwork!
- Why is understanding muscle structure important for artists?
Understanding muscle structure helps artists create more realistic and dynamic figures, as it allows them to accurately depict movement and form.
- How can I learn more about human anatomy for drawing?
There are numerous resources available, including books, online courses, and anatomy workshops specifically designed for artists.
- What are some common mistakes when drawing muscles?
Common mistakes include overemphasizing detail without considering overall form and neglecting the relationship between muscles and movement.

Common Mistakes in Anatomy Drawing
When it comes to drawing human anatomy, even seasoned artists can fall into common traps that hinder their progress. Understanding these pitfalls is essential for anyone looking to improve their skills. One of the most prevalent mistakes is the overemphasis on detail. While capturing intricate details like wrinkles, veins, and textures can enhance a drawing, focusing too much on these elements can lead to a lack of cohesion in the overall composition. Imagine trying to appreciate a beautiful painting, but all you can see are the tiny brush strokes instead of the entire masterpiece. This is why it's important to maintain a balance between detail and the broader structure of the figure.
Another common error is ignoring perspective and foreshortening. These concepts are crucial for creating a sense of depth and realism in your drawings. Without proper perspective, your figures can appear flat and lifeless. For instance, when drawing a hand reaching towards the viewer, failing to apply foreshortening can result in an awkwardly proportioned appendage that looks more like a pancake than a hand. To avoid this, always consider the viewer's perspective. A simple trick is to use reference images that depict various angles and positions, allowing you to visualize how limbs and features appear in three-dimensional space.
It’s also vital to avoid the trap of drawing from memory without reference. Many artists believe they can rely solely on their mental images of anatomy, but this often leads to inaccuracies. Using references—whether photos, live models, or anatomical diagrams—can provide a clearer understanding of how muscles and bones interact and how they appear in different poses. Remember, even the most skilled artists use references to enhance their work. So, don’t shy away from them; embrace them!
Furthermore, many artists tend to neglect the importance of gesture drawing. Gesture drawing focuses on the essence and movement of the figure rather than its precise details. This technique helps in developing a sense of flow and liveliness in your drawings. By practicing gesture drawing regularly, you can improve your ability to capture the human form in action, which is a significant aspect of anatomy drawing. Think of it as the foundation of a house; without a solid base, everything built on top is at risk of collapsing.
Lastly, one of the most overlooked aspects is the relationship between different body parts. Often, artists might get caught up in drawing individual elements, like a hand or a foot, without considering how they relate to the entire body. Understanding how different parts connect and interact is key to achieving realistic proportions. For example, when drawing an arm, consider how it connects to the shoulder and how the elbow bends. A good exercise is to practice drawing the human figure in its entirety before focusing on individual parts. This way, you’ll develop a more holistic understanding of anatomy.
- What is the best way to practice anatomy drawing?
Regular practice with live models or high-quality reference images is essential. Gesture drawing can also help improve your skills. - How can I avoid making common mistakes in my drawings?
Stay aware of the common pitfalls discussed, and make a habit of using references and practicing gesture drawing. - Is it necessary to learn anatomy for figure drawing?
Yes, understanding anatomy greatly enhances your ability to create realistic and dynamic figures.
Overemphasis on Detail
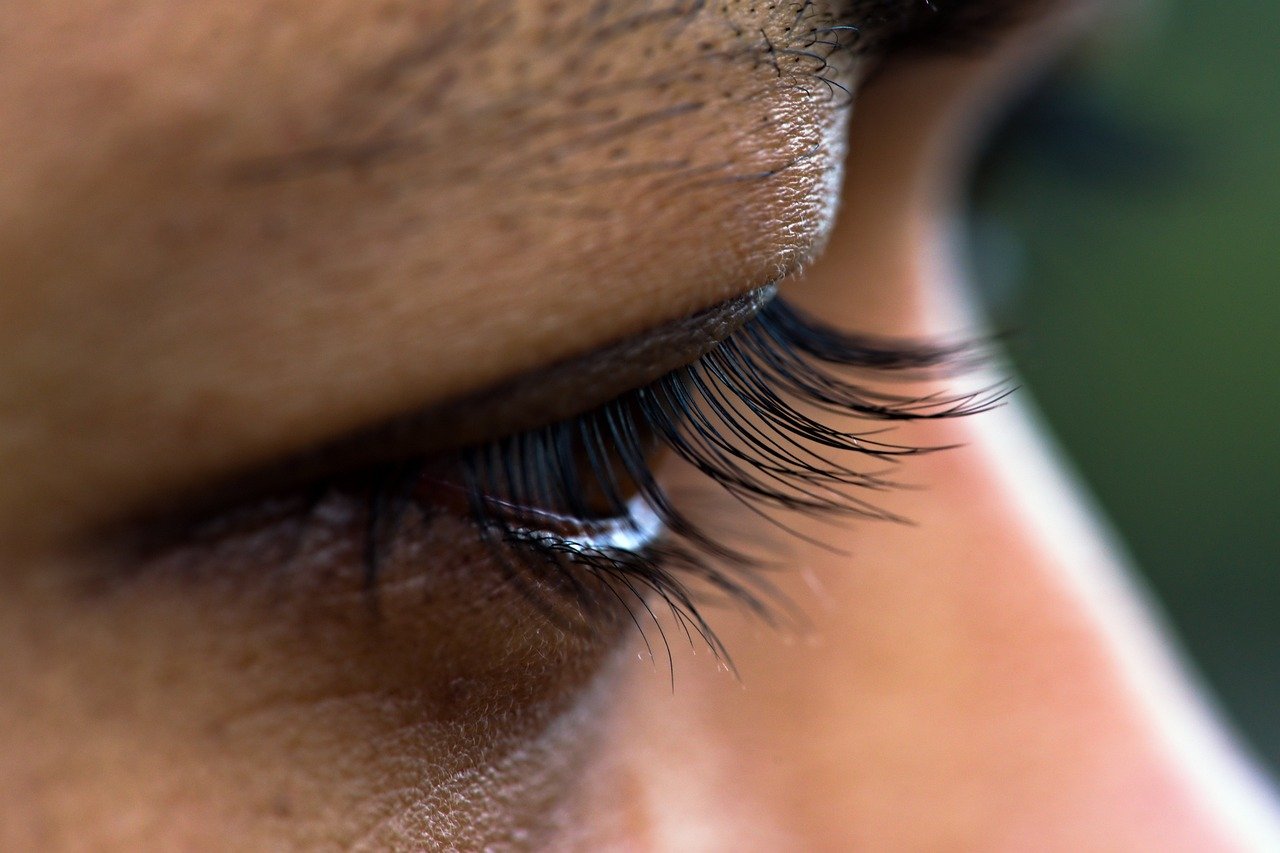
When it comes to drawing human anatomy, one of the most common pitfalls artists encounter is the . It’s like trying to bake a cake and getting so caught up in the frosting that you forget about the flavor of the cake itself. Sure, intricate details can add beauty and realism to your artwork, but if you focus solely on them, you risk losing the overall form and essence of the human figure.
Imagine you're looking at a stunning portrait. What draws you in? Is it the perfectly rendered eyelashes, or is it the emotion captured in the subject's expression? The truth is, while details can enhance your drawing, they should never overpower the fundamental structure. If you zoom in too much on the minutiae, you may end up with a drawing that looks more like a collection of parts rather than a cohesive whole.
To avoid this trap, it’s essential to maintain a balance. Start with a solid foundation by sketching the basic shapes and proportions of the human body. Once you have that down, you can gradually introduce details. This approach will help you keep the drawing's integrity intact while still allowing for those beautiful, intricate touches.
Here are a few tips to help you strike that balance:
- Prioritize Structure: Always begin with the basic shapes. Think of the body as a series of geometric forms—cylinders for limbs, spheres for joints, and so on. This will ensure that your proportions are correct before you dive into details.
- Use Reference Images: Studying real-life anatomy or high-quality reference images can give you a better understanding of how details fit into the larger picture. It’s like having a map when navigating a new city.
- Step Back: Periodically take a step back from your drawing. This will give you a fresh perspective and help you see if you’re losing the overall form in the quest for detail.
Remember, the goal is to create a drawing that is not only detailed but also expressive and lifelike. Overemphasizing details can lead to a stiff and unrealistic portrayal, while a well-balanced approach will breathe life into your work.
In conclusion, while details are important, they should serve to enhance, not dominate, your artwork. Keep the big picture in mind, and you’ll find that your drawings become more dynamic and engaging. After all, art is about storytelling, and the best stories are told with both broad strokes and fine details.
Q: How can I improve my understanding of human anatomy for drawing?
A: Start by studying basic anatomy books and online resources that focus on the human body. Practice drawing from life and use reference images to familiarize yourself with proportions and muscle structure.
Q: What are some common mistakes to avoid when drawing human figures?
A: Some common mistakes include neglecting proportions, overemphasizing details, and ignoring perspective. Always keep the overall form in mind and practice regularly to improve your skills.
Q: How can I make my drawings look more lifelike?
A: Incorporate shading, texture, and a variety of line weights. Pay attention to the light source and how it affects the figure, and don’t forget to capture the emotions and expressions of your subjects.
Ignoring Perspective and Foreshortening
When it comes to drawing human anatomy, one of the most common pitfalls artists encounter is . These concepts are essential for creating a sense of depth and realism in your artwork. Imagine trying to portray a person standing with one leg closer to the viewer; without understanding how perspective alters the appearance of that leg, it could end up looking flat or awkward. This is where foreshortening comes into play—it's the technique that allows you to depict an object or figure in a picture in depth. By compressing the forms, you can create a more dynamic and lifelike representation.
To truly grasp the importance of these principles, consider this analogy: think of drawing the human body like taking a photograph. If you were to snap a picture of someone jumping towards you, the closer parts of their body (like their feet) would appear larger than the parts further away (like their head). This same principle applies to drawing. If you neglect foreshortening, your drawings can end up looking like they were made with a ruler—stiff and lifeless.
Incorporating perspective into your anatomy drawings means you have to pay attention to how the human body interacts with the space around it. For example, when drawing a figure in motion, consider how the limbs extend and contract based on their position relative to the viewer. This requires a keen eye and a willingness to adjust proportions as necessary. A great way to practice is by using a grid system or even tracing over photographs to see how perspective shifts the appearance of the body.
Here’s a simple way to visualize it:
| Aspect | Without Perspective | With Perspective |
|---|---|---|
| Proportions | Uniform size across all limbs | Closer limbs appear larger, further limbs smaller |
| Depth | Flat representation | Dynamic and three-dimensional |
| Realism | Unrealistic and stiff | Natural and fluid |
To master these techniques, practice drawing from life or using reference images that showcase various angles and perspectives. Try sketching a friend standing at an angle or even a family member sitting down. Notice how their body changes shape and size depending on where you are positioned. This kind of practice will enhance your ability to capture the human form accurately.
In conclusion, ignoring perspective and foreshortening can severely limit your artistic abilities. By acknowledging these concepts and integrating them into your drawings, you can create pieces that are not only visually appealing but also full of life and movement. So, the next time you pick up your pencil, remember to consider how perspective can transform your work from flat to fabulous!
- What is foreshortening? Foreshortening is a technique used in drawing and painting to depict an object or figure in a picture in depth, creating a sense of perspective.
- How can I practice perspective drawing? You can practice perspective drawing by sketching from life, using reference images, or employing a grid system to help visualize proportions.
- Why is understanding perspective important for artists? Understanding perspective is crucial for creating realistic and dynamic representations of figures, allowing for depth and movement in artwork.
Frequently Asked Questions
- Why is understanding human anatomy important for artists?
Understanding human anatomy is like having a secret weapon for artists. It helps you create realistic figures that resonate with viewers. When you know how the body is structured, you can capture movement, emotion, and life in your drawings. This knowledge not only enhances your skills but also elevates the quality of your art, making it more relatable and engaging.
- What are the basic proportions of the human body that I should know?
Mastering the basic proportions of the human body is essential, and it’s easier than you might think! Typically, the human figure is about 7 to 8 heads tall. Understanding the head-to-body ratio and limb lengths can help you create accurate and balanced figures. Think of it like building a house; if the foundation is solid, everything else falls into place beautifully!
- How can I improve my drawing of facial features?
Capturing the likeness of a person through facial features can be tricky, but with practice, you can nail it! Start by breaking down the face into basic shapes and proportions. Focus on the placement of the eyes, nose, and mouth. Remember, it’s all about the little details that bring your portrait to life. Think of it as piecing together a puzzle; once all the pieces fit, you have a stunning image!
- What common mistakes should I avoid in anatomy drawing?
One of the biggest pitfalls is overemphasizing detail without considering the overall form. While details are important, they should complement the structure of your drawing. Additionally, ignoring perspective and foreshortening can flatten your work. Keep in mind that a dynamic pose can really bring your art to life, so always pay attention to how the body interacts with space!
- How do I effectively depict muscle structure in my drawings?
To depict muscle structure effectively, familiarize yourself with major muscle groups and their functions. Studying anatomy books or using reference images can be incredibly helpful. When drawing, think about how muscles change shape with movement. It’s like understanding the engine of a car; once you know how it works, you can better represent its power and dynamics in your artwork!


