Creating Textures in Your Drawings: A Quick Guide
Have you ever looked at a drawing and been captivated by the richness of its textures? Texture is not just an embellishment; it's a vital aspect that brings life and depth to your artwork. In this guide, we will delve into the exciting world of textures, exploring various techniques that can elevate your artistic skills and create stunning visual effects. Whether you’re a seasoned artist or just starting, understanding how to incorporate texture can transform your drawings into captivating pieces that tell a story.
Texture in art is akin to the seasoning in a dish; it enhances the overall flavor of your work. It is the tactile quality that can be seen and felt, adding depth and interest. There are two main types of textures: actual texture, which you can physically feel, and implied texture, which is visual and created through artistic techniques. Think of a rough tree bark or the soft fur of an animal; these textures can evoke emotions and draw viewers into your piece. By mastering texture, you can create a more immersive experience for your audience, making them feel as if they could reach out and touch your artwork.
When it comes to creating textures, the right tools can make all the difference. Artists have a plethora of options at their disposal, from traditional tools like pencils and brushes to innovative methods like digital tools. Each tool offers unique possibilities for texture creation. For instance, a simple pencil can produce everything from fine lines to broad strokes, while brushes can apply paint in various ways to create dynamic surfaces. Sponges can also be used to dab and create unique patterns. Experimenting with these tools can lead to exciting discoveries in your artwork.
Pencils are incredibly versatile when it comes to creating textures. With just a few different techniques, you can achieve a wide range of effects. By varying your pressure and stroke styles, you can create everything from smooth gradients to rough, jagged surfaces. For example, using a light touch can produce soft shading, while applying more pressure can create darker, more pronounced lines. The key is to practice and find your own style. Don't be afraid to experiment; sometimes the best textures come from unexpected techniques!
One of the most popular methods for adding texture is cross-hatching. This technique involves drawing overlapping lines in different directions to create the illusion of depth and shadow. Start by laying down a series of parallel lines, then add another layer of lines crossing them at an angle. The denser the lines, the darker the area will appear. This technique can add a dramatic effect to your work, making it feel more three-dimensional. Think of it as weaving a tapestry of light and shadow!
Another effective method is stippling, which uses small dots to create texture and shading. By varying the density of the dots, you can convey different levels of light and shadow. For instance, closely packed dots can create darker areas, while more spaced-out dots can give a lighter effect. This technique requires patience but can yield stunning results. It's like creating a beautiful starry night, where each dot contributes to the overall brilliance of the piece.
Brushes open up a world of possibilities for texture creation. Different brush techniques, such as dry brushing and layering, can add unique effects to your artwork. Dry brushing involves using a brush with minimal paint to create a scratchy, textured look, perfect for representing rough surfaces like stone or sand. Layering, on the other hand, allows you to build up colors and textures gradually, creating depth and richness in your work. Think of it as building a cake; each layer adds to the overall flavor and complexity.
Mixing different media can take your textures to the next level. By combining materials like charcoal, ink, and pastels, you can create rich, varied textures that are visually stunning. Each medium brings its own unique qualities, allowing you to play with contrasts and harmonies. For example, using charcoal for deep shadows and pastels for soft highlights can create a beautiful interplay of light and dark. This approach not only enhances the texture but also adds a layer of creativity to your work.
Collage techniques offer another fantastic way to add dimension and interest to your artwork. By incorporating various materials—like fabric, paper, and found objects—you can create layered textures that tell a story. Imagine a landscape where the grass is made of torn green paper, and the sky is a beautiful blend of blue fabric. This technique encourages you to think outside the box and explore new avenues of creativity.
In today’s digital age, artists have access to a variety of software and tools that can help achieve realistic textures in their drawings. Programs like Adobe Photoshop and Procreate offer brushes and effects that mimic traditional techniques, allowing for endless experimentation. Whether you’re adding texture to a digital painting or enhancing a photograph, the possibilities are virtually limitless. Embrace technology as a tool to expand your artistic horizons!
- What is the best tool for creating texture? It depends on your preference! Pencils, brushes, and mixed media all have unique advantages.
- Can I create texture digitally? Absolutely! Digital tools offer a wide range of options for texture creation.
- How do I know which texture techniques to use? Experimentation is key! Try different techniques and see what resonates with your style.
Understanding Texture in Art
Texture is a fundamental element in art that adds depth and interest, transforming a flat surface into a captivating visual experience. It’s not just about what you see; it’s about what you feel. When you look at a piece of art, you might find yourself imagining the roughness of a tree bark or the smoothness of a silk scarf. This sensory connection is what makes texture such a powerful tool in an artist's arsenal.
There are various types of textures that artists can incorporate into their work. These can be broadly categorized into two main types: actual texture and implied texture. Actual texture refers to the tangible surface quality of an artwork—think of the roughness of a sculpture or the layered paint on a canvas. On the other hand, implied texture is a visual illusion, where artists create the appearance of texture through techniques like shading and line work. This distinction is crucial, as it helps artists decide how to approach their work. Understanding these types will not only enhance your artistic skills but also deepen your appreciation of art.
Texture plays a significant role in enhancing the overall composition of your drawings. It can guide the viewer’s eye, create focal points, and evoke emotions. For instance, a rough texture can convey a sense of chaos or turmoil, while a smooth texture might evoke calmness and serenity. By manipulating texture, artists can create a narrative within their artwork, allowing the viewer to engage with the piece on a more profound level.
To illustrate the importance of texture, consider the following points:
- Visual Interest: Texture adds layers to your artwork, making it more engaging and inviting to the viewer.
- Depth and Dimension: By using texture, you can create a three-dimensional effect on a two-dimensional surface, making your drawings appear more lifelike.
- Emotional Impact: Different textures can evoke various feelings, enhancing the emotional connection between the artwork and the viewer.
In summary, understanding texture in art is not just about knowing how to create it; it’s about recognizing its power to transform your drawings into compelling visual stories. As you explore various techniques and tools, remember that texture is an essential element that can elevate your artistic expression to new heights.
Tools for Creating Texture
When it comes to adding texture to your drawings, the right tools can make all the difference. Whether you're a seasoned artist or just starting, understanding how to utilize various tools can elevate your artwork to new heights. Let's dive into the world of artistic tools that can help you create stunning textures that breathe life into your drawings.
First up on our list are pencils. These versatile instruments can create a wide array of textures, from the smoothest gradients to the roughest surfaces. The beauty of pencils lies in their ability to allow you to control the pressure and angle, giving you the freedom to produce intricate details or broad strokes. For instance, using a softer pencil can yield darker lines, while a harder pencil can create lighter, more delicate marks. Experimenting with different pencil types can lead to surprising results!
Next, we have brushes. Brushes are not just for painting; they can also be used to create texture in your drawings. The type of brush you choose can significantly impact the texture you're trying to achieve. For example, a flat brush can create bold, sweeping strokes, while a round brush can produce fine details. Techniques like dry brushing—where you use a brush with very little paint on it—can create a unique, textured effect that adds depth to your work. Additionally, layering paint with different brush sizes can yield stunning, complex textures that draw the viewer's eye.
Don't overlook the potential of sponges! These simple tools can create interesting textures that are hard to achieve with traditional drawing tools. By dabbing a sponge onto your paper, you can create soft, organic textures that mimic natural elements like clouds or foliage. The randomness of a sponge can add an element of surprise to your artwork, making it feel more dynamic and alive.
In addition to these traditional tools, there are also digital tools that can enhance your texture game. Software like Adobe Photoshop or Procreate offers brushes that simulate real-life textures, allowing you to experiment without the mess of physical materials. You can also layer different textures digitally, which can be a game changer for artists looking to push their creative boundaries. The ability to undo and redo in digital art means you can play around with textures without the fear of making permanent mistakes.
To summarize, the tools you choose can profoundly impact the texture in your drawings. Here's a quick overview of some of the most effective tools:
| Tool | Texture Type | Usage Tips |
|---|---|---|
| Pencils | Varied (smooth to rough) | Vary pressure and angle for different effects. |
| Brushes | Layered textures | Experiment with sizes and dry brushing techniques. |
| Sponges | Soft, organic | Dab for randomness and natural feel. |
| Digital Tools | Simulated textures | Utilize brushes and layers for complex effects. |
By understanding these tools and how to wield them effectively, you can transform your drawings from basic sketches into rich, textured masterpieces. So, grab your pencils, brushes, and sponges, and start experimenting with different techniques today!
Q1: What is the best tool for beginners to create texture?
A1: Pencils are often the best starting point for beginners due to their versatility and ease of use. They allow for a wide range of textures and are forgiving for those just learning the ropes.
Q2: Can I create texture without traditional tools?
A2: Absolutely! Digital tools provide a fantastic alternative for creating textures. Many software programs offer brushes that mimic traditional textures, allowing you to explore creativity without physical materials.
Q3: How do I know which technique to use for texture?
A3: It often depends on the effect you want to achieve. Experimenting with different techniques like stippling, cross-hatching, or using a sponge can help you discover what works best for your artistic vision.
Using Pencils for Textures
When it comes to creating textures in your drawings, pencils are like the Swiss Army knife of the art world. They are incredibly versatile and can produce an array of textures, from the softest shadows to the roughest surfaces. The key to mastering pencil textures lies in understanding how to manipulate pressure, stroke direction, and layering techniques. By varying the pressure you apply, you can create everything from delicate lines to bold, expressive marks. Imagine pressing lightly to create a whisper of a line, then digging in deeper for a dramatic shadow—it's all about the control you wield over your pencil.
One of the most effective ways to achieve texture with pencils is through cross-hatching. This technique involves drawing closely spaced parallel lines that intersect at various angles. The density and direction of these lines can create a sense of depth and volume in your artwork. For instance, if you want to depict the rough bark of a tree, you might use more lines in a crisscross pattern, while a smooth surface, like skin, might require softer, more spaced-out lines. Mastering cross-hatching can transform a flat image into a three-dimensional masterpiece.
Another technique to consider is stippling, which uses dots to build texture. This method is particularly effective for creating gradients and soft transitions between light and shadow. By varying the concentration of dots, you can suggest different textures, such as the fine grains of sand or the roughness of a stone. It’s a bit like cooking; just as different spices can elevate a dish, varying your dot placement can enhance the texture in your drawing.
To help you visualize the differences between these techniques, here's a simple comparison:
| Technique | Description | Best For |
|---|---|---|
| Cross-Hatching | Intersecting lines to create depth | Shadows, volume, and texture |
| Stippling | Using dots to create light and shadow | Gradients and soft textures |
As you experiment with these techniques, remember that practice is crucial. Set aside time to sketch and play with different pressures and strokes. Don't be afraid to make mistakes; they are often the stepping stones to discovering your unique style. You might find that layering techniques—applying multiple layers of pencil in varying pressures—can also yield stunning results. This method can create a rich texture that feels almost tactile, inviting viewers to reach out and touch your art.
In conclusion, using pencils for texture is all about exploration and experimentation. Whether you are trying to capture the delicate softness of a feather or the ruggedness of a mountain, your pencil can help you achieve those effects with just a little practice and creativity. So grab your pencils and start adding those textures that will bring your drawings to life!

Cross-Hatching Techniques
Cross-hatching is a classic technique in drawing that can transform a flat image into a dynamic piece of art. Imagine shading as a dance; each stroke is a step that adds rhythm and depth to your work. By layering lines in various directions, you create a network of intersecting strokes that can convey light, shadow, and texture. This method is not just about making things darker; it’s about adding dimension and interest to your drawings, making them pop off the page.
To master cross-hatching, it's essential to understand the direction and density of your lines. Start with light pressure and gradually increase it as you layer your strokes. You can use different angles to create a variety of effects: vertical, horizontal, and diagonal lines can all work together to build up a rich texture. For example, if you want to create the illusion of a rounded form, you might use curved lines in combination with straight ones to suggest curvature. This technique is akin to sculpting with lines, where every stroke adds to the overall form.
Another crucial aspect of cross-hatching is the spacing between your lines. Closer lines will create darker areas, while wider spaces will allow light to penetrate, giving the illusion of highlights. Think of it like a woven fabric; the tighter the weave, the more opaque it becomes. You can also vary the thickness of your lines to create contrast. Thicker lines can delineate shadows, while finer lines can suggest delicate textures, like the soft fur of an animal or the intricate details of a leaf.
Here’s a quick overview of some effective cross-hatching techniques:
- Basic Cross-Hatching: Start with parallel lines and then add another set crossing them at an angle. This technique is fundamental and versatile.
- Contour Cross-Hatching: Follow the contours of the object you’re drawing. This adds a sense of volume and form.
- Random Cross-Hatching: Use varying line lengths and angles to create a more organic, less structured texture.
As you practice these techniques, remember that cross-hatching is a personal journey. Experiment with different styles and find what works best for you. The beauty of this technique lies in its flexibility; you can adapt it to suit any subject matter, from portraits to landscapes. So grab your pencil and start layering those lines—your drawings are about to get a whole lot more exciting!
1. What is cross-hatching?
Cross-hatching is a drawing technique that involves creating a series of parallel lines that intersect at various angles to create shading and texture.
2. How can I improve my cross-hatching skills?
Practice is key! Start with simple shapes and gradually move to more complex forms. Experiment with line density and direction to see how it affects your shading.
3. Can I use cross-hatching with digital art?
Absolutely! Many digital art programs have tools that simulate traditional cross-hatching techniques, allowing you to achieve similar effects in your digital drawings.
4. What materials are best for cross-hatching?
Pencils, pens, and markers are excellent for cross-hatching. Choose materials that allow you to control line thickness and pressure.
Stippling Techniques
Stippling is an intriguing technique that can add a remarkable level of detail and texture to your drawings. It involves the meticulous placement of dots to create images, making it a unique method that can convey depth and dimension effectively. Imagine creating a beautiful landscape or a portrait where every dot contributes to the overall image; that’s the magic of stippling! However, mastering this technique requires practice and an understanding of how light and shadow interact in your artwork.
When you start stippling, you’ll want to consider the size and spacing of your dots. Smaller, closely placed dots can create darker areas, while larger, more spaced-out dots can produce lighter tones. This variation is crucial for achieving a realistic representation of light and shadow. To illustrate this, think of how sunlight filters through leaves; the dappled light creates a play of shadows that can be mimicked through careful stippling.
Here are some tips to enhance your stippling technique:
- Experiment with Dot Density: Varying the density of your dots can help you achieve different textures. For instance, if you're depicting skin, you might want to use a lighter touch with more spaced-out dots, while for rough surfaces like bark, you could use a denser arrangement.
- Use Different Tools: While fine-tipped pens are commonly used for stippling, you can also experiment with brushes or even pencils. Each tool will give you a different effect, so don’t hesitate to try out various options!
- Be Patient: Stippling is a time-consuming process, but the results are worth it. Take your time to build up layers gradually; this will help you achieve a more nuanced texture.
Additionally, consider the direction and pressure you apply while creating your dots. This can significantly influence the texture and overall feel of your artwork. For instance, varying the pressure can create a gradient effect, making some areas appear softer while others feel more pronounced. Remember, stippling is not just about filling in spaces; it’s about creating a visual journey for the viewer.
To wrap it up, stippling can be a powerful technique in your artistic toolbox. It allows for a level of detail that can bring your drawings to life. So, grab your pen or brush, and start dotting your way to stunning textures!
Q: What materials are best for stippling?
A: While fine-tipped pens are popular, you can also use pencils, brushes, or even markers. It’s about finding what works best for your style.
Q: How long does it take to master stippling?
A: Mastery varies by individual. With consistent practice, you can see improvement in just a few weeks, but achieving intricate details may take longer.
Q: Can stippling be used in digital art?
A: Absolutely! Many digital art programs have tools that mimic stippling, allowing you to create similar effects in your digital drawings.
Brush Techniques for Texture
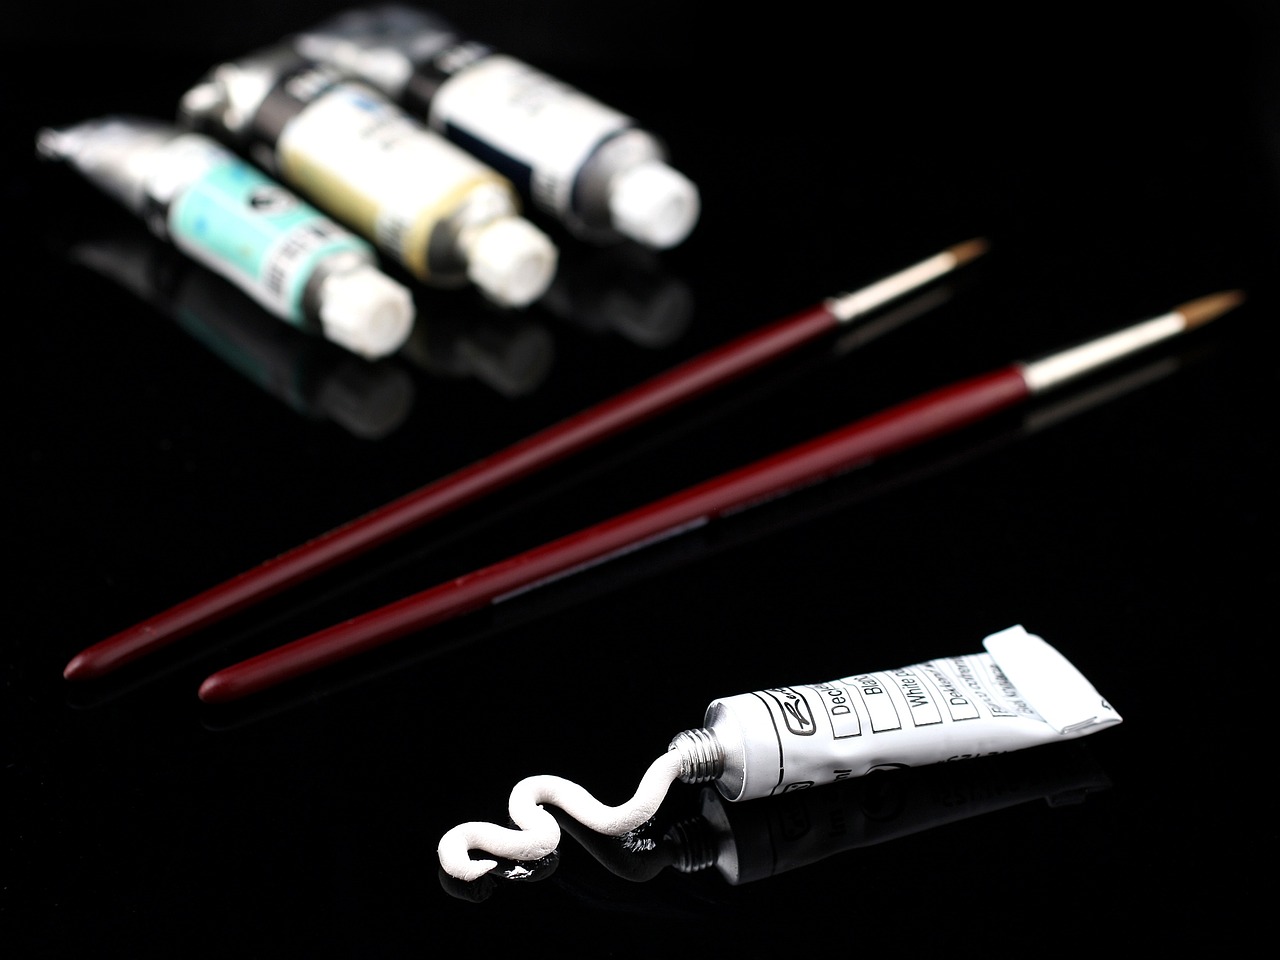
Brush techniques are a fantastic way to introduce a variety of textures into your artwork. Whether you’re a seasoned artist or just starting, understanding how to manipulate your brushes can dramatically enhance the visual interest of your pieces. The way you hold your brush, the pressure you apply, and the type of brush you use can all contribute to the textures you create. For instance, a stiff-bristled brush can produce rough, expressive strokes, while a soft brush can create smooth transitions and subtle textures. It's all about experimenting and finding what works best for your artistic style.
One popular technique is dry brushing, which involves using a brush that has little paint on it. This method can create a scratchy, textured effect that’s perfect for depicting rough surfaces, such as tree bark or weathered stone. To achieve this, simply dip your brush lightly into the paint, then wipe off most of it on a paper towel before applying it to your canvas. The result is a beautiful, textured finish that can add depth to your work.
Another effective technique is layering. This involves applying multiple layers of paint, allowing each layer to dry before adding the next. This method not only builds texture but also creates a sense of depth and complexity in your artwork. You can use different colors or shades to create a more dynamic effect. For example, if you’re painting a sunset, layering warm colors like oranges and yellows can give the sky a vibrant, textured appearance.
To give you a clearer understanding, here’s a quick comparison of different brush techniques and their effects:
| Technique | Description | Best For |
|---|---|---|
| Dry Brushing | Using a brush with minimal paint to create a scratchy texture. | Rough surfaces, highlights. |
| Layering | Applying multiple layers of paint for depth and complexity. | Skies, landscapes, and portraits. |
| Wet-on-Wet | Applying wet paint onto wet paint to blend colors. | Soft transitions, atmospheric effects. |
Lastly, the wet-on-wet technique can create stunning textures as well. By applying wet paint onto a wet surface, you can achieve beautiful blends and soft transitions. This method is especially effective for creating atmospheric effects in landscapes, like fog or mist. Just remember to work quickly, as the paint will blend more easily when it’s still wet.
In conclusion, mastering these brush techniques can significantly enhance the texture in your drawings. Don’t be afraid to experiment with different brushes and methods. Each stroke you make is an opportunity to add your unique touch to your artwork. So grab your brushes and start exploring the endless possibilities of texture!
- What type of brush is best for creating textures?
It depends on the texture you want to achieve! Stiff-bristled brushes are great for rough textures, while soft brushes are ideal for smooth effects.
- Can I use regular paint brushes for texture techniques?
Absolutely! However, specialized brushes can offer different effects. Experiment with various types to see what works best for you.
- How do I know when to stop layering paint?
It's often a matter of personal preference. Step back and assess your work; if you feel the texture and depth are where you want them, it's time to stop!
Incorporating Mixed Media
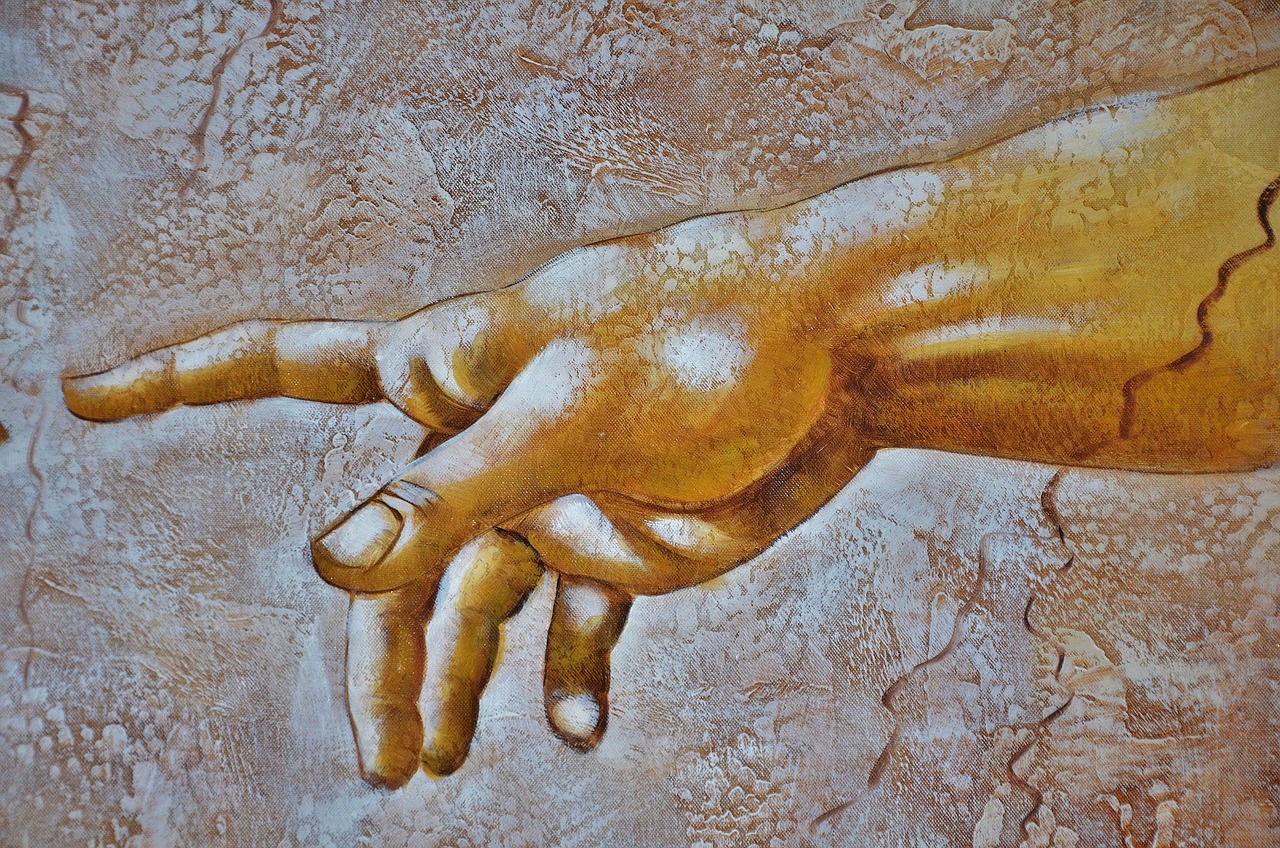
When it comes to adding depth and interest to your drawings, incorporating mixed media can be a game-changer. The beauty of mixed media lies in its ability to combine various materials and techniques, allowing artists to explore an endless array of textures and effects. Imagine creating a piece that not only captivates the eye but also engages the senses through its tactile quality. By mixing materials like charcoal, ink, watercolor, and pastels, you can achieve a richness that single medium simply cannot offer.
One of the most exciting aspects of mixed media is the freedom it provides. You can layer different materials to create a sense of dimension and movement. For instance, starting with a charcoal base can give your artwork a strong foundation. From there, you might add watercolor washes for a splash of color, followed by ink detailing to sharpen the focus. This layering technique not only enhances the visual appeal but also creates a narrative within your artwork, inviting viewers to explore each layer and discover the story behind your creation.
Additionally, mixed media allows for experimentation. Don't be afraid to break the rules! Use unconventional materials like fabric, newspaper clippings, or even natural elements like leaves and flowers. These materials can add unique textures that are hard to replicate with traditional art supplies. For example, embedding small pieces of fabric into your drawing can create a stunning contrast against smooth surfaces, drawing the viewer’s attention and adding a tactile element that invites them to reach out and touch the artwork.
When incorporating mixed media, consider the following tips to maximize your creative potential:
- Plan Your Layers: Before diving in, sketch out a rough idea of how you want to layer your materials. This will help you visualize the final piece and ensure that each element complements the others.
- Experiment with Adhesives: Different adhesives can yield different effects. For instance, using gel medium can allow you to create a translucent layer that adds depth.
- Allow Drying Time: When working with wet materials, patience is key. Allow each layer to dry before adding the next to prevent muddiness.
Another wonderful aspect of mixed media is its adaptability to digital platforms. Many artists now blend traditional techniques with digital tools, creating a fusion of textures that stand out in the digital realm. Software like Adobe Photoshop or Procreate allows you to scan your traditional artwork and enhance it with digital elements, adding another layer of complexity and intrigue. This not only broadens your artistic horizons but also opens up new avenues for sharing your work online.
In conclusion, incorporating mixed media into your drawings is a fantastic way to elevate your artistic expression. It encourages creativity, experimentation, and the discovery of new techniques that can transform your artwork into a multi-dimensional experience. So, gather your materials, let your imagination run wild, and watch as your drawings come to life in ways you never thought possible!
Q: What is mixed media art?
A: Mixed media art involves combining different artistic materials and techniques in a single artwork. This can include traditional media like paint and pencil, as well as unconventional materials like fabric or found objects.
Q: Can I use digital tools in mixed media?
A: Absolutely! Many artists blend traditional and digital techniques to create unique textures and effects. Digital tools allow for easy manipulation and enhancement of your artwork.
Q: How do I start with mixed media?
A: Begin by gathering a variety of materials that inspire you. Experiment with layering and combining them in different ways to see what works best for your artistic vision. Don't be afraid to try new things!
Collage Techniques
Collage techniques are a fantastic way to add dimension and interest to your artwork, allowing you to break away from traditional drawing methods and explore the world of mixed media. By combining various materials—like paper, fabric, photographs, and even found objects—you can create layered textures that bring your drawings to life. Think of collage as a way to create a visual dialogue between different elements, where each piece contributes to the overall narrative of your artwork.
When starting with collage, it's essential to consider the materials you want to use. The beauty of collage is that almost anything can be incorporated. For example, you might use:
- Old magazines for vibrant colors and patterns
- Fabric scraps for a tactile experience
- Photographs to add a personal touch
- Natural elements like leaves or flowers for organic textures
Once you've gathered your materials, the next step is to think about composition. This is where the magic happens! You can layer pieces in various ways—overlapping them, tearing edges for a rough look, or even cutting them into shapes to create a more structured design. The key is to experiment and not be afraid of making mistakes. Sometimes, the most unexpected combinations produce the most stunning results.
Another crucial aspect of collage techniques is the use of adhesives. Different types of glue can affect the texture and integrity of your artwork. For instance, a glossy medium can create a shiny finish that enhances colors, while a matte medium can provide a more subdued look. Additionally, consider using gel mediums for thicker applications that can give your artwork a three-dimensional effect.
As you work, think about how each layer interacts with the others. Are there areas where you want to create contrast? Perhaps you can juxtapose a smooth, glossy surface against a rough, textured one. This interplay can draw the viewer's eye and create a sense of depth that is visually captivating.
Finally, don't forget to integrate your drawing skills into your collage work. You can enhance your collages by adding hand-drawn elements, whether through sketching, painting, or even doodling. This fusion of techniques can yield a unique style that is distinctly yours.
In summary, collage techniques offer a world of possibilities for artists looking to explore texture and depth in their work. By combining various materials, experimenting with composition, and integrating your drawing skills, you can create stunning pieces that are rich in visual interest and personal expression.
Q: What materials are best for collage?
A: The best materials for collage can vary depending on your style, but common options include magazines, fabric, photographs, and natural elements. Feel free to experiment with anything that inspires you!
Q: How can I ensure my collage holds together over time?
A: Use quality adhesives and consider sealing your finished piece with a protective medium. This will help preserve your collage and prevent any materials from peeling or fading.
Q: Can I combine digital elements in my collage?
A: Absolutely! Digital collage is a popular technique where you can incorporate scanned images, digital drawings, and graphic design elements into your artwork.
Using Digital Tools
In the age of technology, digital tools have revolutionized the way artists create textures in their drawings. Gone are the days when textures were solely the domain of traditional mediums. Now, with just a few clicks, you can achieve stunning textures that can rival the finest pencil or paint techniques. But how do you navigate this digital landscape? Let’s dive into the world of digital art tools and explore some exciting options!
First off, you need to choose the right software. Programs like Adobe Photoshop, Corel Painter, and Procreate are popular choices among digital artists. Each software offers unique features that can help you create intricate textures. For instance, Photoshop is renowned for its extensive brush library and layering capabilities, while Procreate is favored for its user-friendly interface and portability on iPads. Choosing the right software can greatly influence your creative process.
Once you’ve selected your software, it’s time to explore the tools at your disposal. Here are some essential tools and techniques to consider:
- Brushes: Digital brushes can mimic traditional textures, from rough canvas to smooth skin. Experiment with different brush settings, such as opacity and flow, to create varied effects.
- Texture Overlays: You can import texture images and overlay them onto your digital canvas. Adjusting the blending modes can create stunning effects that add depth.
- Filters: Many software programs come equipped with filters that can simulate textures like watercolor or oil paint. Play around with these to see how they can enhance your artwork.
Moreover, layering is a crucial technique in digital art. By stacking multiple layers, you can build complex textures and add depth to your drawings. For instance, you might start with a base color layer, add texture overlays, and then apply highlights and shadows on separate layers. This method not only keeps your artwork organized but also allows for easy adjustments without compromising the original work.
Another exciting aspect of using digital tools is the ability to undo mistakes. Unlike traditional mediums, where a wrong stroke can be permanent, digital art allows you to experiment fearlessly. You can try out various textures and effects without the fear of ruining your piece. This freedom encourages creativity and innovation, enabling you to explore new techniques that you might not attempt with traditional materials.
Lastly, don't forget about the community and resources available online. Websites like DeviantArt and ArtStation provide platforms for artists to share their work, receive feedback, and learn from one another. Additionally, countless tutorials and videos on platforms like YouTube can guide you through specific techniques or software features, helping you refine your skills and expand your creative toolkit.
In conclusion, embracing digital tools in your artistic journey can significantly enhance the textures in your drawings. By understanding the software, experimenting with various tools, and engaging with the artistic community, you can elevate your artwork to new heights. So grab your stylus, open your favorite program, and let your creativity flow!
- What software is best for creating textures in digital art? Popular choices include Adobe Photoshop, Corel Painter, and Procreate, each offering unique features.
- Can I create realistic textures using digital tools? Absolutely! Digital tools allow for a wide range of textures that can mimic traditional mediums.
- Are there free tools available for digital texture creation? Yes, programs like GIMP and Krita are excellent free alternatives that offer robust features for texture creation.
Frequently Asked Questions
- What is texture in art?
Texture in art refers to the surface quality or feel of an artwork. It can be tactile (how it feels to the touch) or visual (how it appears to the eye). By incorporating texture, artists can create depth, interest, and realism in their drawings, making them more engaging to viewers.
- What tools can I use to create texture in my drawings?
You can use a variety of tools to create texture in your artwork. Common tools include pencils, brushes, sponges, and even your fingers! Each tool offers unique possibilities, allowing you to experiment and find the techniques that work best for you.
- How do I use pencils to create different textures?
Pencils are incredibly versatile for creating textures. By varying the pressure and type of strokes you use, you can achieve a range of effects—from smooth shading to rough surfaces. Techniques like cross-hatching and stippling can also help you add depth and dimension to your drawings.
- What is cross-hatching and how do I use it?
Cross-hatching is a drawing technique where you create a series of intersecting lines to build up shading and texture. To master this technique, practice layering lines at different angles and densities. This will help you create a rich sense of depth and form in your artwork.
- Can I mix different media to enhance texture?
Absolutely! Mixing different media, such as charcoal, ink, and pastels, can significantly enhance texture in your drawings. Each medium interacts uniquely, allowing you to create layered and complex textures that can make your artwork stand out.
- What are some effective brush techniques for texture?
Brush techniques like dry brushing, layering, and stippling can produce unique textures in your artwork. Experiment with different brush sizes and shapes to see how they affect the texture. Remember, the key is to play around and find what works best for your artistic style!
- How can I use digital tools to create textures in my artwork?
Digital tools offer fantastic opportunities for texture creation. Software like Adobe Photoshop or Procreate allows you to experiment with various brushes and textures. You can layer different effects, adjust opacity, and use filters to achieve realistic textures in your digital drawings.
- What are collage techniques and how do they add texture?
Collage techniques involve combining various materials, such as paper, fabric, or found objects, to create layered textures. By incorporating different elements, you can add depth and interest to your artwork, making it visually captivating and unique.


